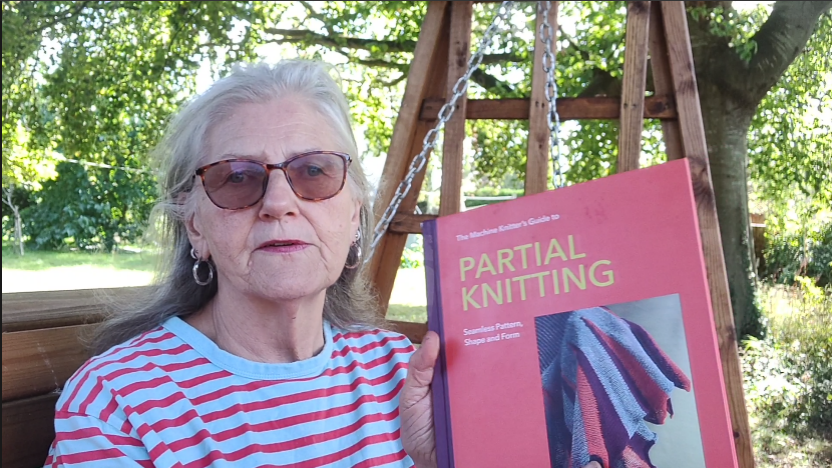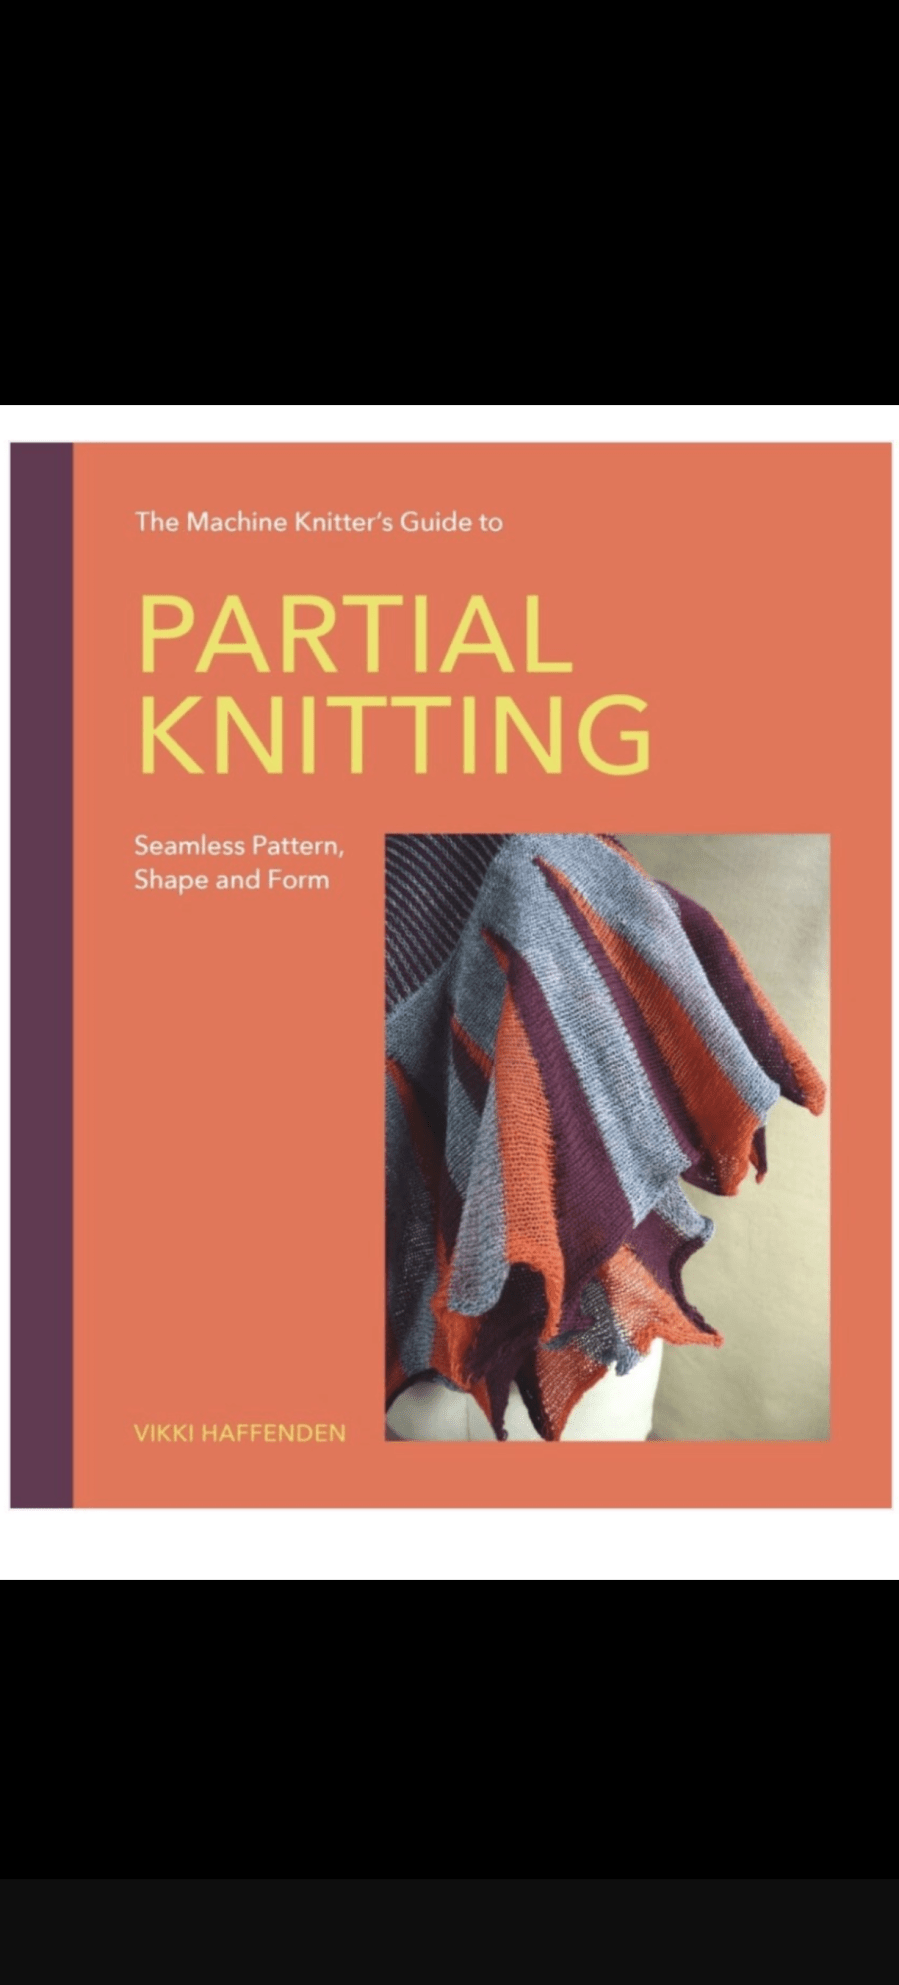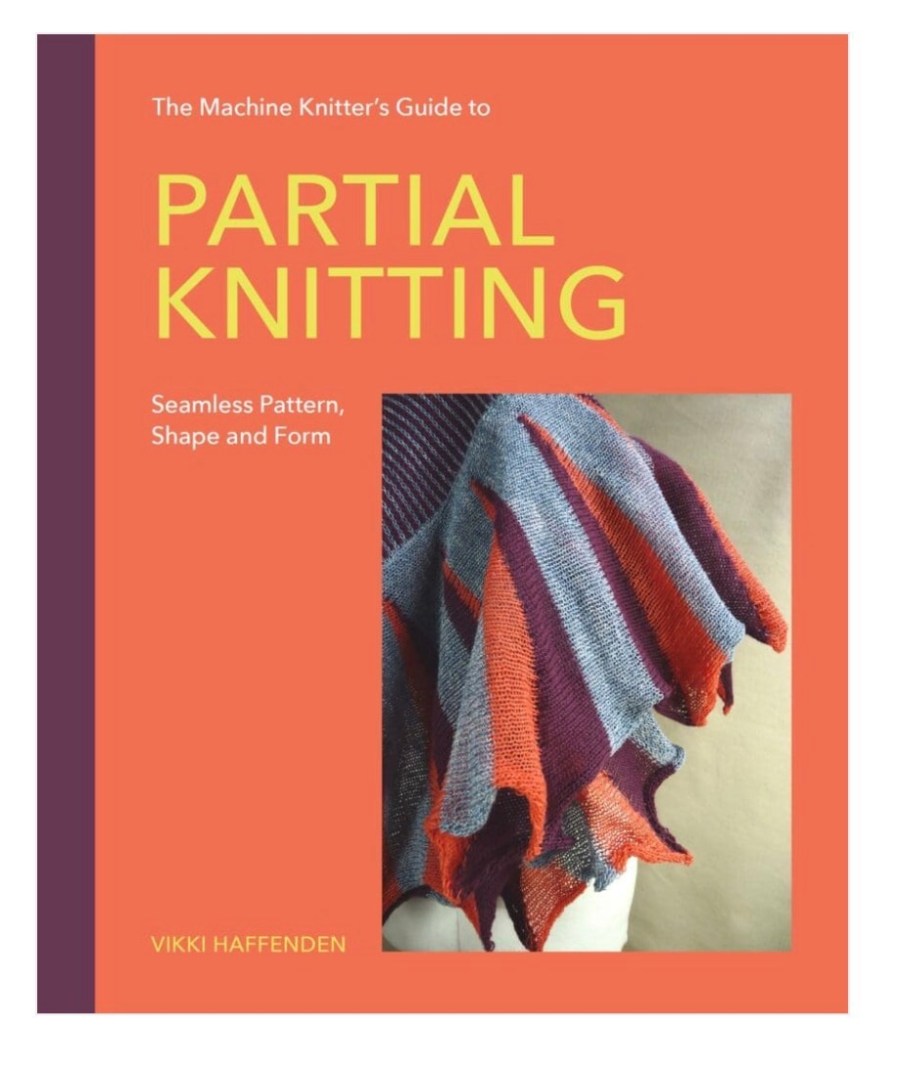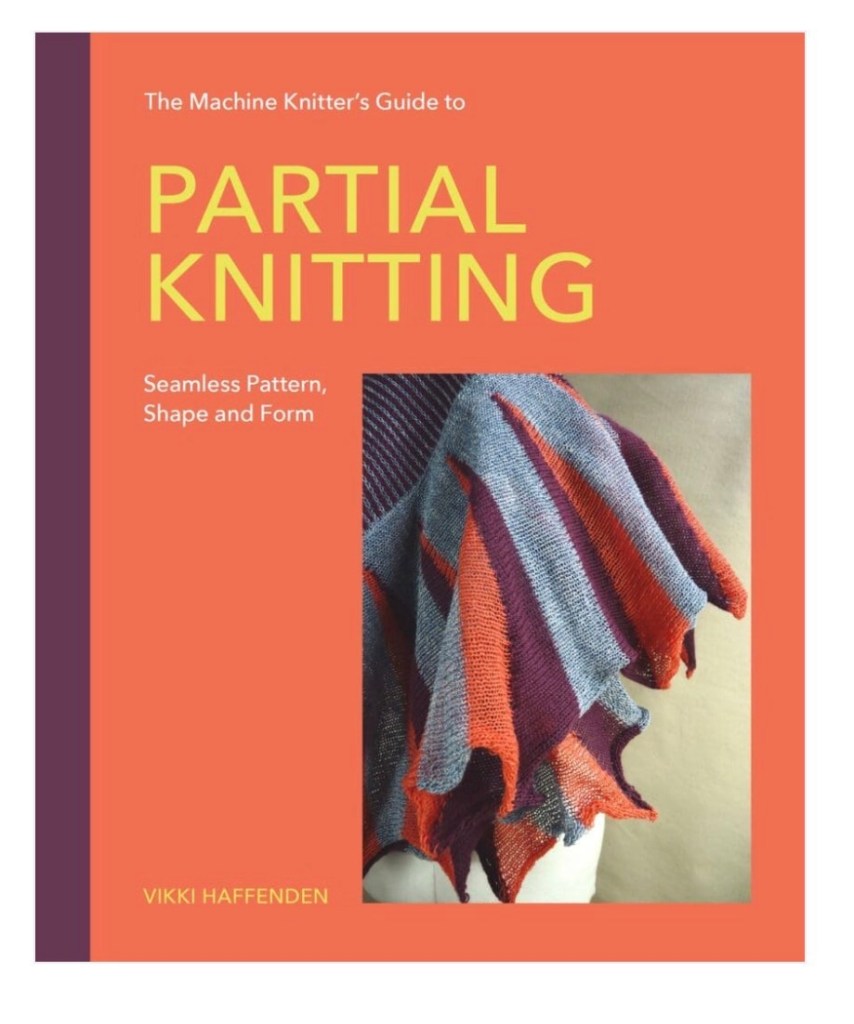
The manuscript for my latest book on machine knitting has gone to the publishers, (printers)

The Machine Knitter’s Guide to Partial Knitting; Seamless Pattern, Shape and Form

I wrote this post last July, and thought I would share it with you in retrospect, as the book has now gone to  print.

July 2025

Finally, after a long and fraught 18 months it is done!

I signed the book contract only a few weeks before we moved house. After several false starts with the sale of the house we thought we would be staying for a while and would lose the property we wanted to purchase. However, the way it happened in the end meant that we had to rush into moving in a 3 week window.

Which meant of course that we had to pack what we hadn’t already packed in a hurry, and organize everything else and then move and organize this end when we arrived. Settling in took far longer than anticipated due to unanticipated building work through last summer. It wasn’t until late autumn that I was able to safely unpack a machine and start to knit and write in earnest. Then the arrival of our first grandchild interrupted my flow for a while, the sun shone and the garden needed work done. All in all, let’s say life got in the way!

The last month has been full-on working on the book, so it was wonderful to finally send it off. Of course they will be editorial suggestions and corrections to do, and then a final check once it is laid out for printing, so it’s not finished yet.

May 2026

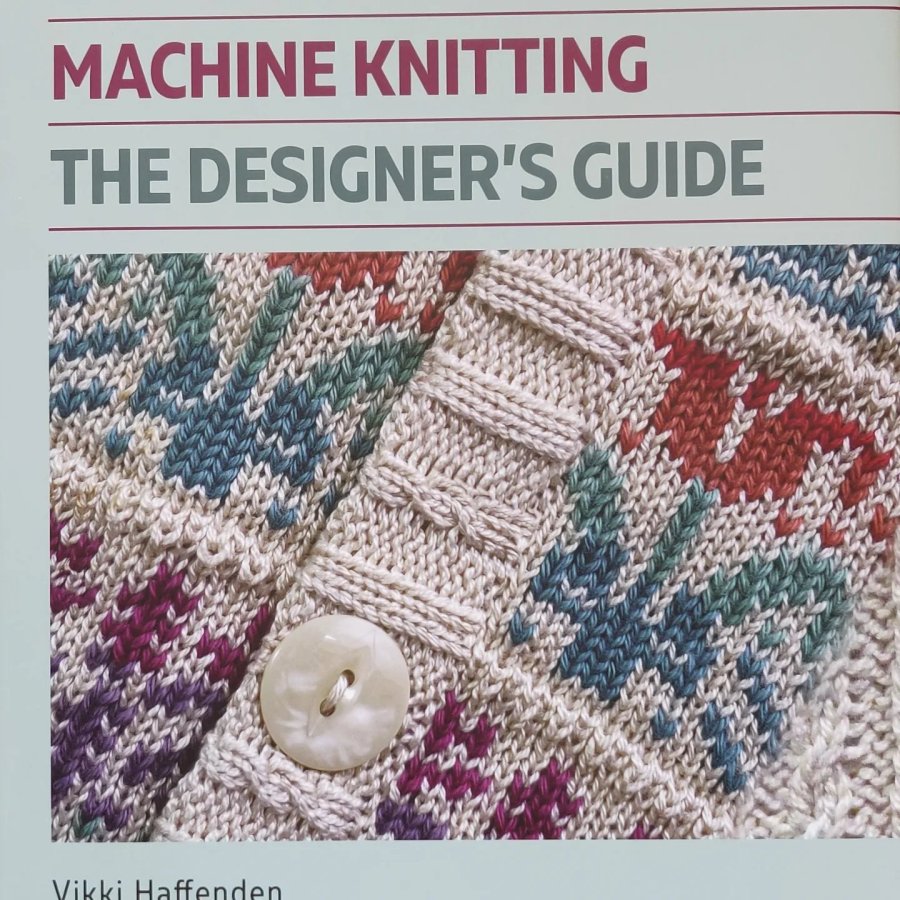
If you have persevered and read to this point, you might like to know what the book is about. This book, my third about machine knitting focuses on short rows, or partial knitting. It is suitable for any machine with holding position, single bed, double bed, plastic or metal bed, and any gauge. I particularly wanted to include the popular plastic bed, mid-gauge machines like the LK150. Rather than struggle to emulate the punchcard machines with repeating patterns, short row pattern and shaping can be as easily done on either type of machine.

A quick peak at my latest book

‘The Machine Knitter’s Guide to Partial Knitting: Seamless Pattern, Shape and Form’, is available to pre-order in the UK from Crowood Books, and online retailers. In the US it can be ordered from Blackwells.

Learn how to control short rows and create fab effects with this fascinating technique.

I’ve always been fascinated by short rows, or partial knitting as this technique is also called, so when the opportunity came to write a whole book about the technique I was super excited. The book opens with some interesting information about short rows to whet the appetite, the first chapter is about the absolute basics, so is ideal for people who have not worked with short rows before. The chapters progress through the different ways of using short rows; shown with examples, diagrams and written instructions. Some also have half scale sample patterns for practising the techniques which include more advanced uses, such as 3d shaping.. There are step-by-step instructions and each chapter builds on the knowledge of the previous chapter. The book ends with a chapter of patterns exemplifying the techniques covered throughout the book.

I so look forward to receiving my first copy!

Seeing up at Craft 4 Crafter’s show -updated

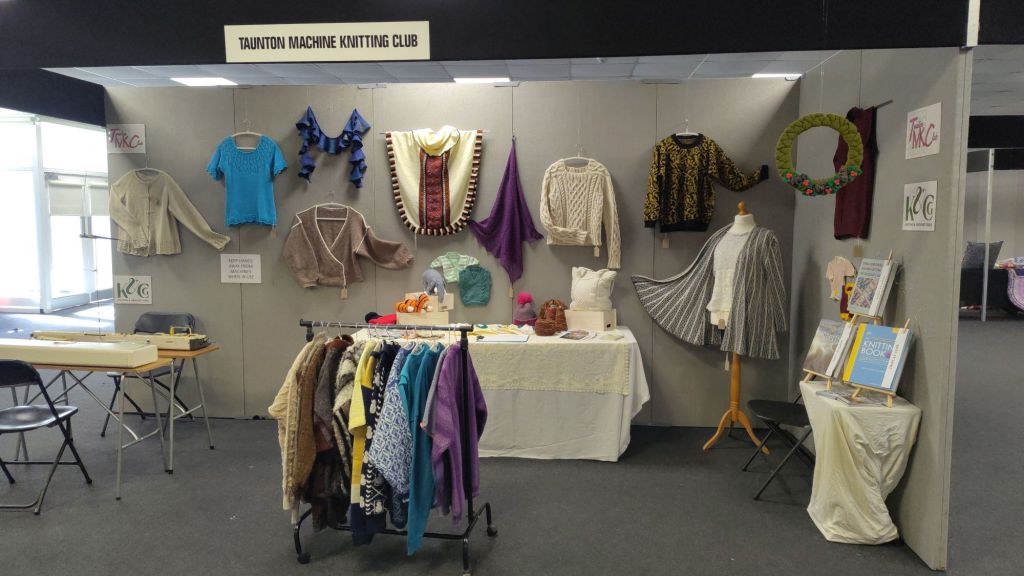
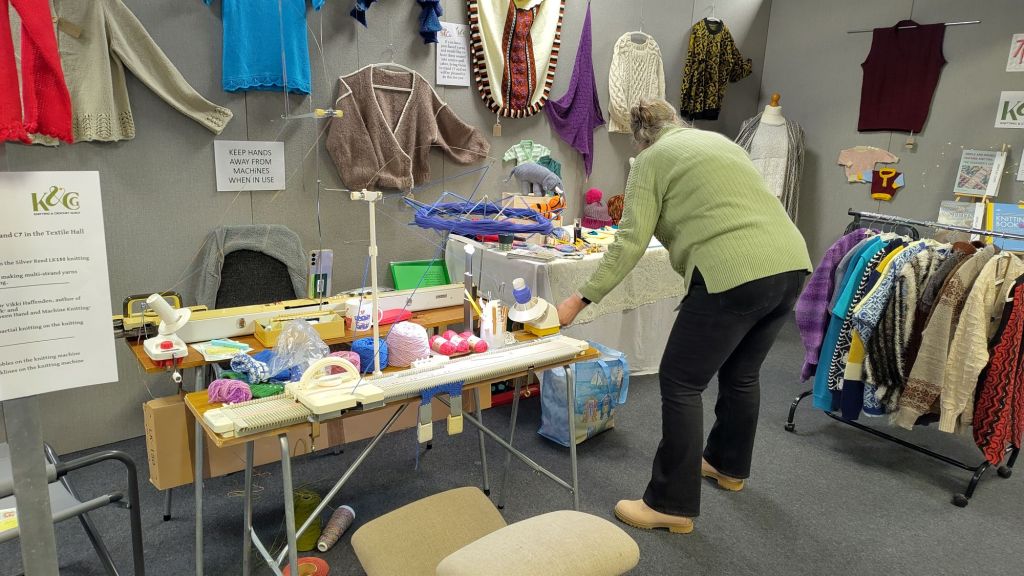
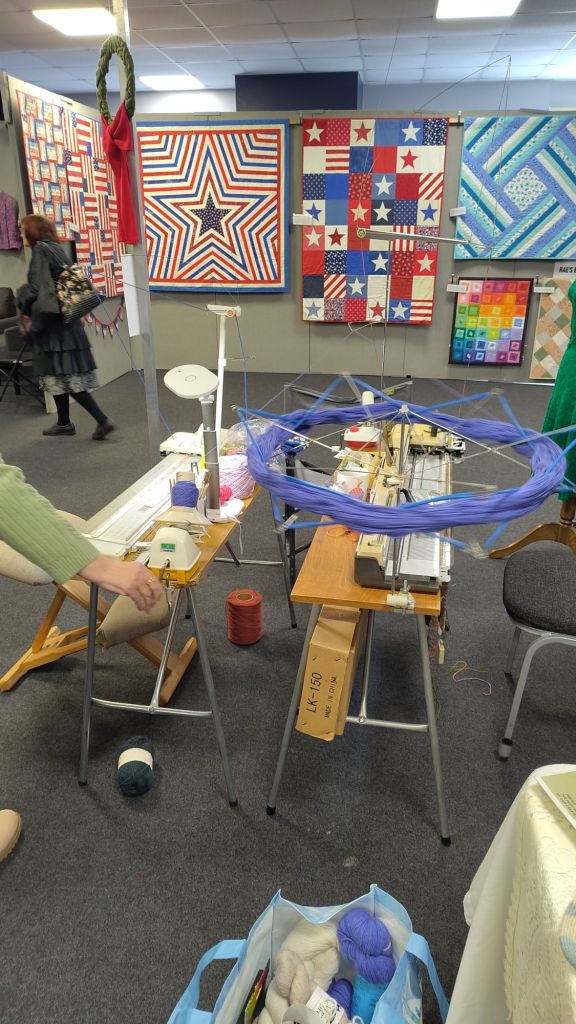
It’s been a busy day today setting up the Taunton Machine Knitting Club stand at Craft 4 Crafter’s exhibition in Exeter. The Club is pleased to have recently become a branch of The Knitting and Crochet Guild, making us part of the wider UK knitting community.

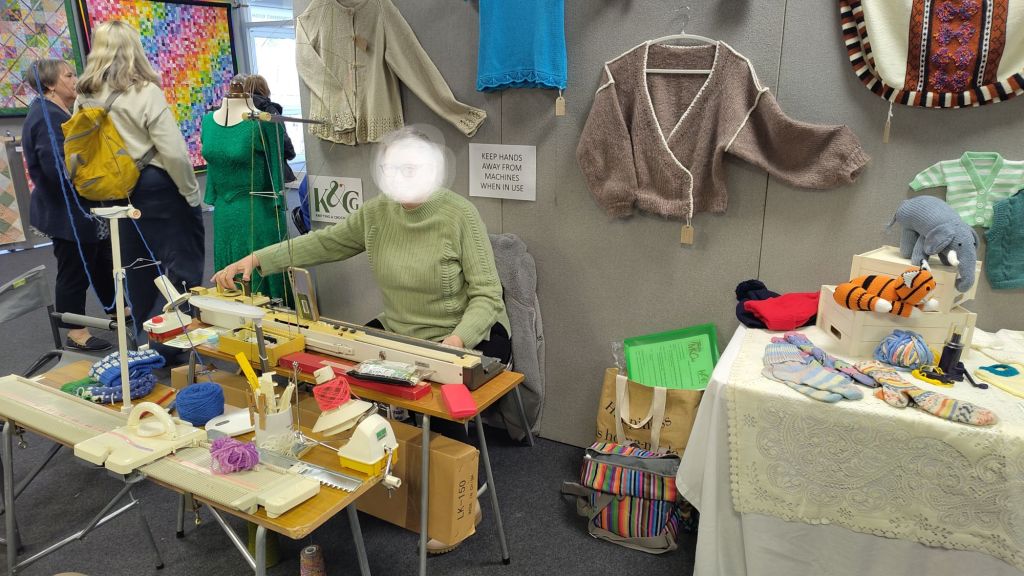
The display features work by most club members including lace, intarsia, knitweave and double jacquard. Throughout the three day exhibition members will be demonstrating different techniques such as cables, bobbles,  shaping and short row knitting.

The display is finally ready, and I am not  climbing a stepladder again today!

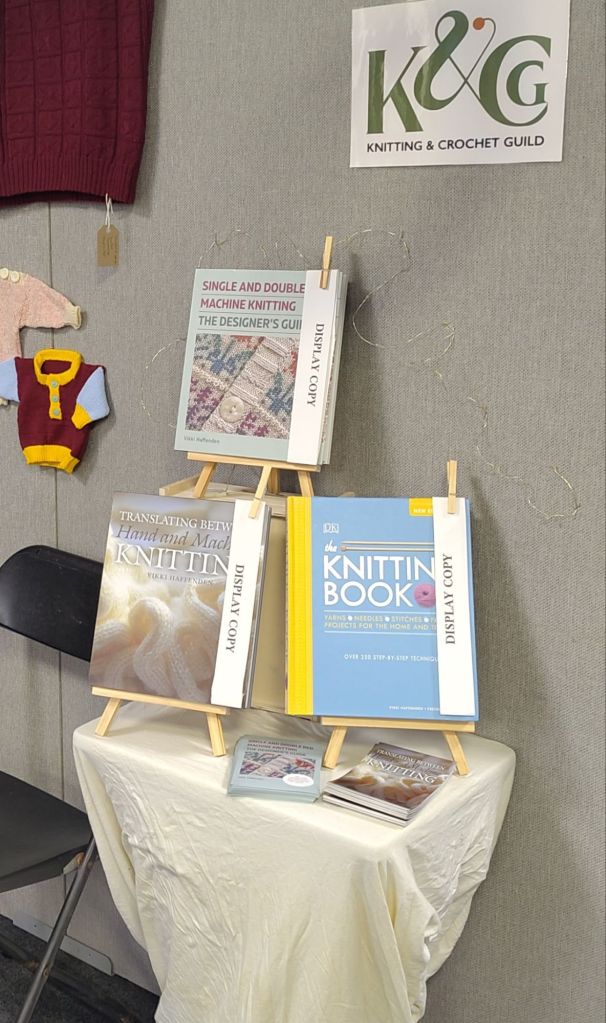
I will be giving a talk on Friday about my books, ‘The Knitting Book’, ‘Translating Between Hand and Machine Knitting’ and ‘Single and Double Bed Machine Knitting; the Designer’s Guide’.

The table will have to be large enough to fit four copies once my latest book, ‘The Machine Knitter’s Guide to Partial Knitting’ is published later this year.

Update

The show went really well. There was lots of interest in the club,  machine knitting in general and the Knitting and Crochet Guild.

The machines were a great draw
Yarn winding for those who bought yarn in hanks
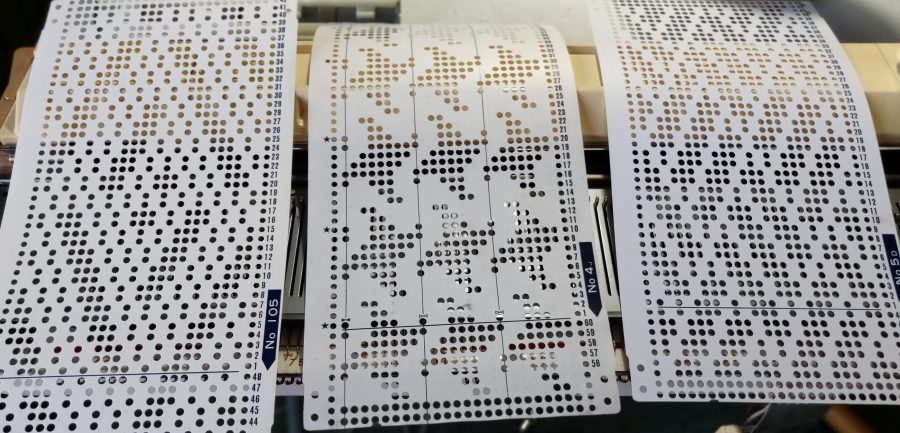
three knitting machine punchcards

Holes and blanks: reading a knitting machine punchcard

This is something I used to struggle with when first starting to machine knit, and to be honest, it still sometimes needs a bit of thinking before I get it right.

So I put some information together which I hope will be useful to others who find the holes and blanks a bit confusing. It also has some helpful ways to read what is actually being read by the card-reader, rather than what is visible above it.

Lets start with the fundamentals:

However, on both makes the needle positions are the same

Pattern cam settingPunched holesNeedle positionBlanksNeedle position
2-col-in-a-rowknit with 2nd colourUWPknit with MCWP
tuckknitUWPtuckWP
slip/partknitUWPslipWP

On both Brother and KM/SR machines, the punchard line being selected is hidden inside the machine. Seven lines below on a Brother, and five below on a KM/SR.

Download a printable version here.

To read more about how a punchcards, read my post ‘Knitting Machine Punchcards, How do They Work?’

What a lovely review of ‘Single and Double Bed Machine Knitting; the Designer’s Guide’

November’s edition of Machine Knitting Monthly has a great review of ‘Single and Double Bed Machine Knitting; the Designer’s Guide’. Amongst other nice things, they mention the broad scope of the book’s contents. I deliberately wrote so that it is suitable for any machine owner from Brother to Passap with lots of hints and tips to work on different types of machines. Thank you Machine Knitting Monthly!

Read excerpts from the review here.

‘Single and Double Bed Machine Knitting; the Designer’s Guide’

The advance copy of my new book arrived today, and you can see some pages from the book here.

Meanwhile here is a quick look at the book.

I have made a more in depth video introduction to the book, and if you would like to watch this, please keep on scrolling down the page.

Proofreading ‘Single and Double Bed Machine Knitting; the Designer’s Guide’

I am now part way through proofreading my latest book. It’s a lot knottier checking double bed as well as single bed instructions!

The book covers, without stating the obvious, single and double bed machine knitting techniques and design. Brother,  Silver reed/Knitmaster are the main machines, but Passap machines are also included in some sections.

Step by step instructions are illustrated as well as explained in the text and at the end of each chapter there is a Design Studio exploring how to develop the techniques discussed in the first part of the chapter.

It’s got to be done before Christmas, so early mornings and late nights are the order of the day. I’m baking mince pies when taking a rest from the screen.

If you enjoyed Translating Between Hand and Machine Knitting, or are looking for the definitive book on machine knitting I think to will want this book.  You will be able to pre-order soon so keep an eye out.

‘Single and Double Bed Machine Knitting’; The Designer’s Guide‘ will be published in Spring 2023. Yippee.

Brother KH710 knitting machine refurbishment

Or

How I disassembled the needle selector plates of a KH710 and they lived to knit again

I have purchased one of these older, push-button knitting machines and at first look it was not in too bad condition. I have fond memories of these machines; Jones KH588 machines were the first ones I used at college when I started my degree in textile design in the dim and distant past. Apart from being cream rather than blue, the KH 710 is pretty similar to look at, and has the same functions and a lace carriage included. The KH710 is a little more streamlined as the two carriages have integral handles, not screw-on ones like the 588.

The 710 unpacked, de-needled and ready to be worked on

After a quick assessment it seemed to be complete and by the state of the brushes, I would say never used – but the main problems were sticking push buttons and, sadly, rusty needles. It looks like the machine may have been stored in a damp place as the needles were rusted underneath the sponge bar. This is not too bad, as the hooks and latches are not damaged so I planned to salvage as many as possible. The sponge bar itself was disgusting, melted, sticky and disintegrating into the bed, but this actually made it easier to clean it and re-line with a replacement sponge from Xena Knits. https://www.xenaknits.com/

The new sponge bar ready to go in

Before I tackled the sponge bar I removed the needles and put them into a jar of 10% citric acid for about an hour or so to see if I could shift the rust. The needles came out of the soak and after a thorough rub with wire wool and surgical spirit followed by a gentle oil they are not too bad. I’ve only had to swap a few few dire ones for fresh ones, and after a knitting test the salvaged needles knit fine. I’ve tried tuck, fair isle and slip in an acrylic 4ply and all went well.

Sample still on the machine, fair isle, tuck and slip all working OK

However, I now needed to take a look at the push buttons as some were sticking down. This started with number 8; it was very slow to rise up so the cancel button didn’t clear the selection and the needle was reselect – really annoying.

Brother apparently didn’t issue a separate service manual for the KH710, so I worked with the KH588 one I have, which was a good starting place. Although I have taken these machines apart before it was a long time ago, so I trawled the internet and found useful info on YouTube from the Answerladyknits and also from Vintage Knitting Machines. However, as with the service manual, these feature older KH585 and 588s which seem to be slightly different inside – particularly where the button module sits.

Whilst working on the machine I cleaned out the buttons, not that they were dirty, but one of the little springs was out of line, so had to be babied back into position. I may have done that whilst repeatedly testing the buttons for a clean return.

One of the parts that was difficult to get apart was the long wire that is attached to the plate which slides the button/needle selection across the bed. This is connected to the black numbered scale on the cover which shows the needle positions and has to be removed if you want to take the main back cover off. The screw is difficult to remove becasue there is nothing behind it, so no resistance to turn against. I managed to strip this and needed to use pliers in the end and a new screw was needed to replace the old one.

Since starting the refurbishment I’ve taken it apart several times and made a video which might help people with this model. I will put it on YouTube and link to it at the end of this post. The first time I removed the case, and sprayed the insides with LP1 to clean and food grade silicone to lubricate as recommended by Jack on the Answerladyknits, using both on the selector plates as well. After testing I thought the buttons were freer, but they reverted to sticking quite quickly, and had this had now moved to numbers 3 and 7. By now they were not miss-selecting but the slow return was annoying me! The physical needle selection with the set lever was also a little sluggish, so I decide the problem was probably with the needle selector plates inside the machine rather than the buttons themselves. All really frustrating. A lot of rude words were heard!

As I had taken the machine apart I thought it might be useful for other owners of 710s to see how I did this. Sadly I didn’t think of this until I was putting it back together again, but have put photos and video together to show most of my method, as you can see below.

This video explains how to disassemble and reassemble a Brother KH710 push button knitting machine. I have also made another video about unsticking sticky buttons on this machine and refurbishing rusty needles.

This video explains how to check over a Brother KH710 push button machine and the first thing to try to release sticky buttons. It also describes how to clean rusty needles and knitting to test the machine. For a more advanced fix, which includes taking the needle selector plates apart for extremely thorough cleaning, read on…
Garment pattern in tuck and stripe knit cotton yarn. Prepared in DAK 9 to be knitted on the KH710

At this point, thinking I had solved the problem I decided to knit a garment to test the machine. But whilst knitting this number 3 button began to get sticky and annoyingly slow to respond to the cancel button and pop up to neutral. It was only a little glitch, but enough to be noticeable. I also noted that number 1 and 2 were a bit slow as well. After I completed the back my frustration with the buttons overcame me and the machine came apart again.

This time I decided to concentrate on the needle selector plates. There are eight of these plates which are thin metal strips with tabs along the top, longer edge that look a bit like castle battlements. These are sandwiched between two ‘L’ shaped nesting metal needle selector plate holders in one complete assembly. Each thin plate has differently positioned, evenly spaced tabs which correspond to a push button and a needle. These plates are held in the needle selector plate holder with pins and screws and slide across each other, so must be clean and smooth without any gunge between them.

Close up of the selector plates when out of the machine, but still in their holder. In this image, plate one, which responds to button one is at the back, plate eight, which responds to button eight is at the front. This positioning depends on the way in which the needle selector holder is viewed.

The way these plates work is rather neat. Each has a different sequence of holes, (round and elongated) along their length. They also have as series of slots shaped like extended ‘U’s. When the plates are stacked together in the holder in the right order the holes overlap, forming a set of eight small holes that line up with the control wires, (or feelers) that come from the eight push buttons. When a button is pressed its feeler wire moves to the side, sliding the corresponding plate so that the tabs are inline with the needle number (1-8) to be selected. However, the plate is still too low to touch the needle butts and this is where the pins and slots come into action. When the plates are stacked in the holder, the slots fit onto the pins. As a plate slides, the slot travels over the static pin and the plate rises upwards as it reaches the higher side of the ‘U’. This lifts the tab high enough to align it with the butt of the correct needle. As the set lever is pulled the whole plate assembly slides forwards and each selected plate tab pushes the needle in front of it as it moves forward.

So I bit the bullet and stripped it down a bit more. To start with I unscrewed the white nylon zig-zag arm and removed the metal plate that slides the button selection/assembly along the bed from position 1-8. You can see how to do this in more detail in the earlier video. This allowed me to see the needle selector plates more easily. At this point the needle selector plates were still inside the machine. Next I tried taking out the three little screws on the base of the plate holder assembly which hold the right angle plate-holders together. This allowed me to open them up so that I could slide a scalpel blade between the plates to open the gaps, and squirt more LP1 into the gap and clean out any debris. I then stood the machine at 45 degrees so that the fluid would run out from between the plates and left it for an hour or so. After this the sticking improved, but didn’t go away. Plus I had a pool of lubricant in the lid of the machine that I had sat the end in… messy and smelly.

Next I decided to remove the plate holder itself. This involved removing the button assembly as well. Horrors! I was entering the dark side…

All the sensible advice is to avoid disassembling the needle selector plates, but I could see that there was a stringy, viscous substance between them preventing them sliding across each other. I really needed to clean this off! My envy of videos showing effortless button pressing on other machines spurred me on.

The selector plates being taken apart. Note the ‘U’ shaped slots and the labelling of the parts. These plates are shown with the tabs at the top, as they would be in the machine.

It all came out quite easily, which was a surprise to me. The whole needle selector assembly is mounted on three raised-head screws that enable it to slide from left to right but there is a long, screwheaded nut that fits through a metal blocking plate attached to the button assembly which stops it sliding totally off these mounting screws. I had to remove this long screwheaded blocking nut to remove the holder from the machine body. The button assembly had tocome out as well, so before going any further I carefully unscrewed the two large headed screws that hold it in place on the metal slide its rear. Once that long headed blocking nut was removed, and with a little fiddling the whole needle plate holder could be slid to the ‘keyhole’ end of the three long screw slots and holder and button assembly lifted out completely. The button wires could then be slid out of the plates and put to one side. Mine was clean, but if yours needs cleaning do that after cleaning the plates and before reassembling it all.

The long screwheaded blocking nut fitted underneath the needle selector plate holder. It fits through that metal plate so that the plate stops against a bracket, preventing the needle plate holder sliding all the way out of the raised-head mounting screws.

Now it was easy to take the plates apart. BUT, if you do this, take the time study how it all works before starting. Take lots of photos as you disassemble, and label each part clearly in permanent marker BEFORE moving it. Then if you knock things over, or have to leave the machine for a period of time, you will know how it goes back together again.

My order of work, once the holder was out of the machine, was a follows:

Remove the inner plate holder

Label L and R end

Remove all the plates in one go and lay them parallel to the inner with the tabs facing away from you

Label the outer holder L and R.

Carefully separated the top needle selector plate

Label it on one end. I used ‘L1’ meaning it is push button 1, and that that end matches ‘L’ on the holders. All others followed as ‘L2’, ‘L3’ etc. One is the plate at the rear of the holder, eight is the one at the front.

Wipe the plate clean of oil and dirt and polished both sides

Replace it onto the pins in the outer holder, matching L to L.

Repeat with each plate, making sure to label them methodically.

Test that the plates slide smoothly.

Screw the holder back together.

Phew, time for a cuppa now!

With a little fiddling the button wires went back into their respective holes. I found this easier to do with the assembly held so that the wires were vertical.

Sliding the button wires back through the selector plate holes

Because that long screwheaded blocking plate nut is really awkward to replace in situ I replaced it in the needle plate holder before putting it back into the machine. This meant that I had to remove one of the raised screws which the holder slides on otherwise the blocking plate didn’t fit correctly and the holder would not slide. These raised screws attach through to the set lever mechanism, but temporarily removing the left hand one, (button side of the bed) meant that I could slide the needle selector holder and button assembly back in place so that the blocking plate and nut fitted together correctly and did their job. Just remember to replace and fasten this screw before you move anything else.

A quick test showed that the buttons were zapping away cleanly and efficiently and that the needles were selecting with ease. After that is was plain sailing, and the machine went back together as shown in the original videos without any problem.

I hope this might help anyone who wants to take a Brother KH710 apart for repair. I certainly could have done with a bit of help.

I will put this into a pdf at some point and upload it here.

Ergonomic knitting machine table upgrade

I’ve been having back problems and unable to use my knitting machine for several months which had been frustrating. Especially as I am coming towards the end of writing my latest book and wanted to knit some of the final samples. The same was of course true of trying to sit down to write the text of the book, or do any work at the computer.

I had seen sit-stand desks, and fancied one for computer work when I first looked at the start of the panedemic in the UK, but they were terribly expensive. My son acquired one for his work as a computer programmer and it looked an interesting solution for spending a long time writing at the computer. I tried putting my computer on a static raised desk, which was great for teaching as I could move about, but then I couldn’t sit down to do the accompanying admin and ended up with real back problems. After the best part of two years struggling with WFH teaching online, (actually we were all trying to do most things online weren’t we) as well as writing a book, my back finally gave up with an acute bout of sciatica

Several months down the line I am still plagued by this problem, and have invested in a sit-stand desk converter. So far this is proving to be a solution for computer work, (along with a timer telling me to take a walk). I chose a converter because I didn’t want to lose the lovely desk my husband had built for me.

Back to the knitting machine. Yes I know this is a round about way of telling the story, but I’m getting there.

The physiotherapist from whom I am receiving treatment for my back problem suggested putting the knitting machine on a high table to improve the ergonomics of working on it. I have long wanted to do this so that I could stand whilst working on it – as if it was a Dubied – but I also sometimes want it lower, for example with or without ribber. The practicalities of moving machines from high table to low table, let alone the space I would need to do this made a static high table a poor solution. Recently, whilst investigating sit-stand converters it dawned on me that I might be able to solve both of these ‘wants’ by using a sit-stand desk as the table for my knitting machine. Having been put off by the price when I had looked before, I did a fresh internet trawl and found the price first these desks has become almost sensible – lots of demand I guess – so I decided to research a combination that would work.

The max load for the lower priced, single motor ones seemed to be 70kilos, and my machine plus ribber comes within that. Next questions were, ‘would it overbalance? and ‘would there be room for the clamps?’ I bought the powered version, frame only and we fitted a separate top so that it could be positioned to address these issues. In fact the frame is pretty sturdy, and the feet quite deep, so the balance works OK and the top overlaps at front and back sufficiently to allow room for clamps. Another advantage of fitting our own top was that the controller could be fixed to the side so it isn’t obscured by the ribber. Cable management was next, and not to arduous and then my machine was ready to zoom up and down – well not too fast!

Price-wise this solution cost probably five or six times that of a standard machine table, but I hope it will mean I can use my machine comfortably both now and in the future. So far its going well, and I am very pleased with the result. The top is wide enough for two single bed machines back to back instead of the double bed if I want to do this at some point in the future. Let’s hope it lasts long enough for me to test this arrangement!

Here is the machine on the desk, with a little demo of it rising up. The motor is a bit noisy, but nothing like as loud as the machine!