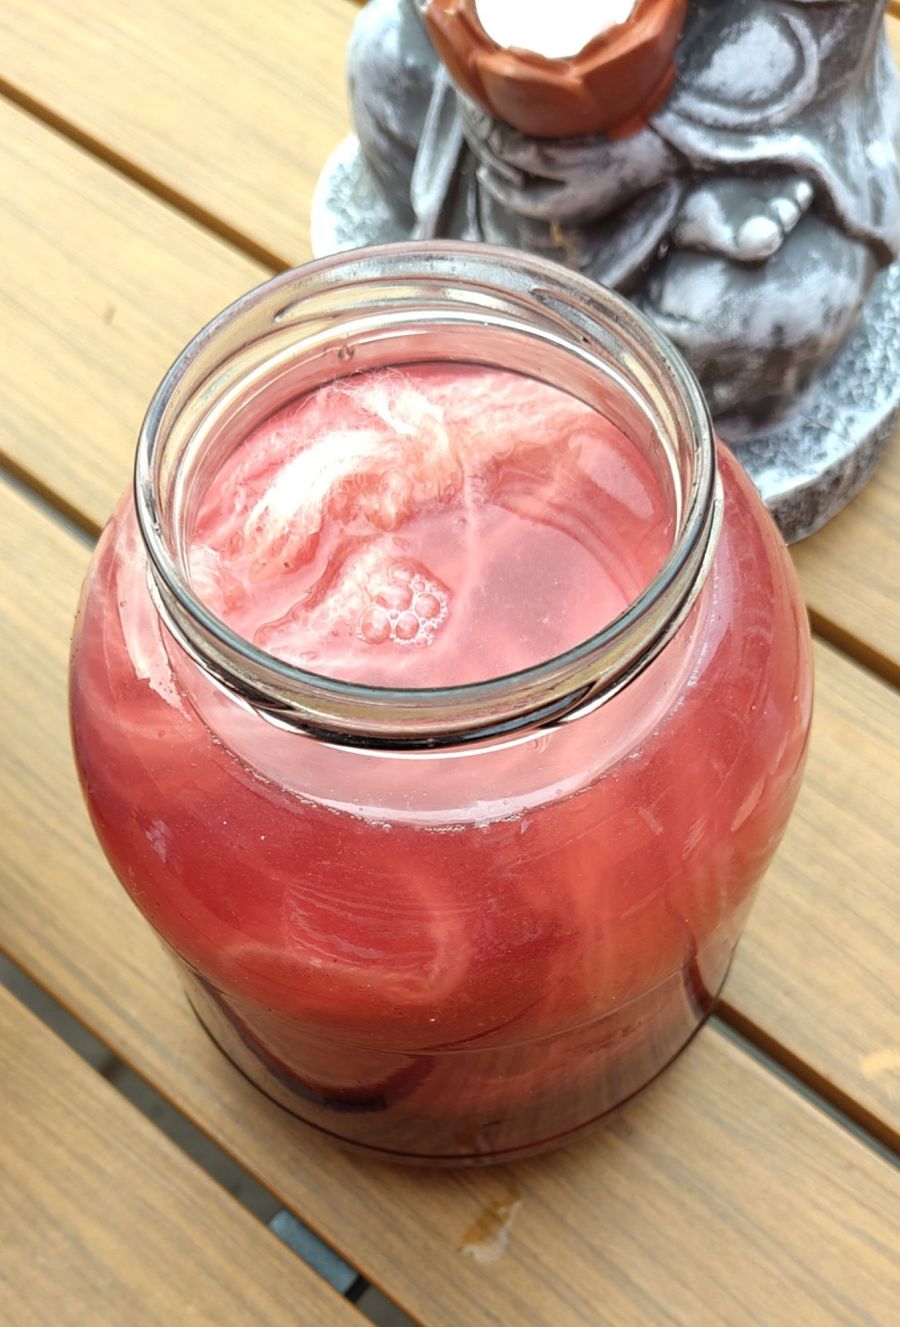
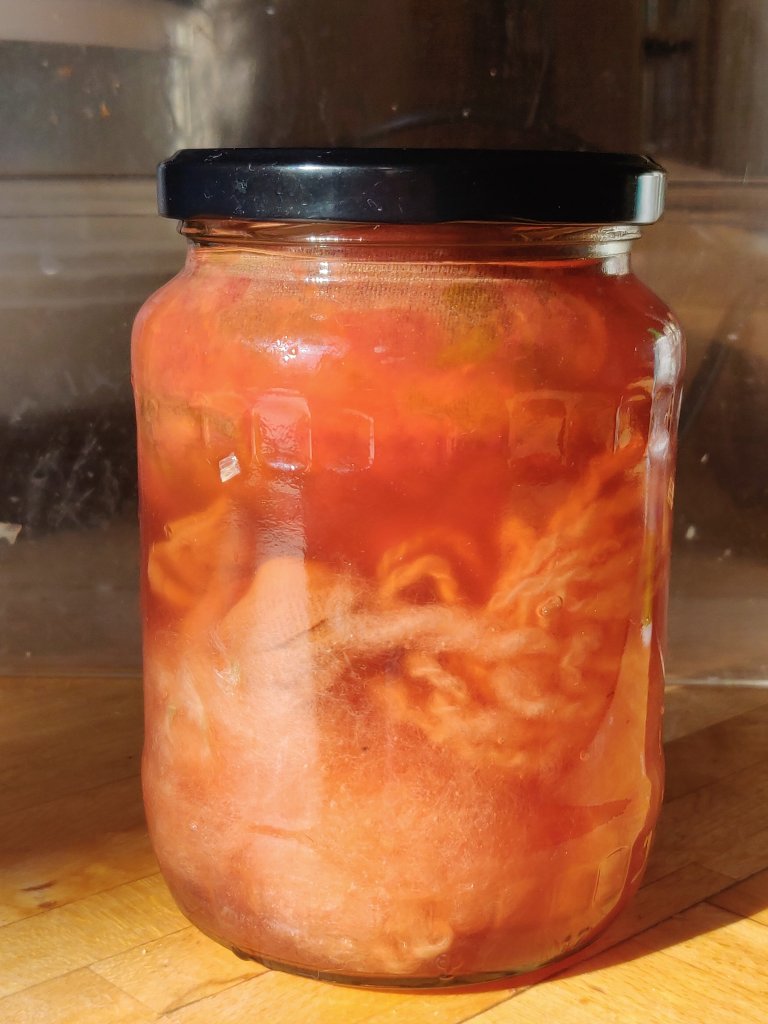
I have put some hand spun yarn in jar to Solar dye with raspberries. I am waiting for the outcome, but you can read more about the process by scrolling down the page here
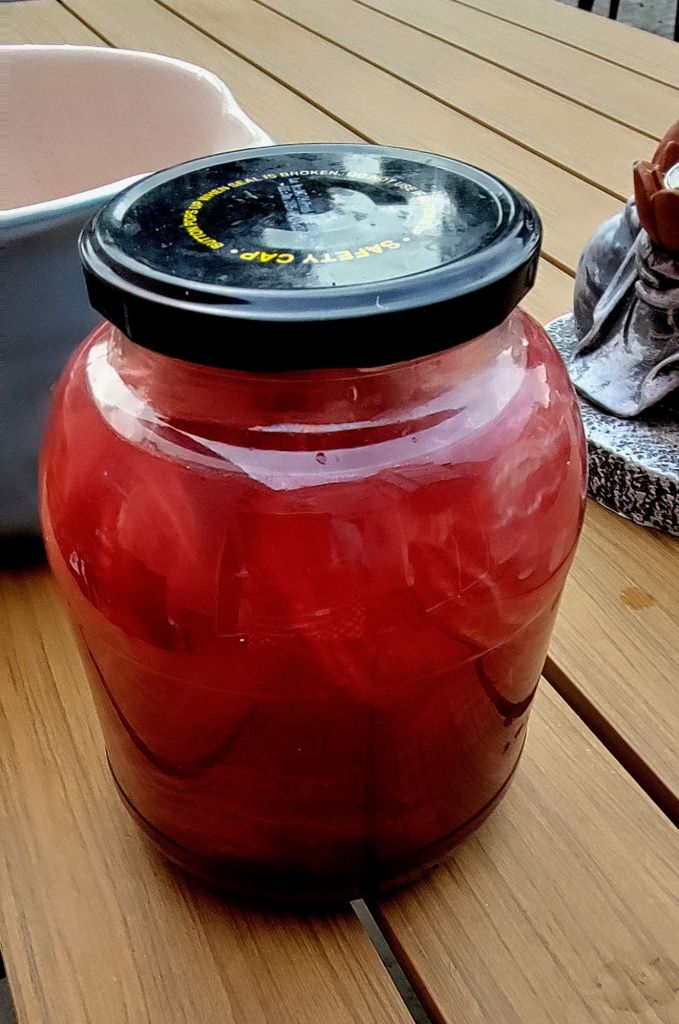
The jar and contents working their magic…

I have put some hand spun yarn in jar to Solar dye with raspberries. I am waiting for the outcome, but you can read more about the process by scrolling down the page here
The jar and contents working their magic…

Yesterday, a friend who I think has more spinning wheels than even I have, brought an older Louet wheel along to the monthly meeting of the Brighton Textile Arts Group. She didn’t know the model, and I still haven’t found it online, but that’s sort of irrelevant as it’s the Irish tension that caught my eye.
I have learned from many texts and posts online that ‘Scotch’ and ‘Irish’ don’t really relate to geographical origins. I also understand that ‘Scotch’ and double drive are both flyer-led and ‘Irish’ is bobbin-led (literal and more accurate descriptors), but the terms Scotch and Irish tension are in common use so I will stick to them here. In flyer led systems the wheel drives the flyer around the bobbin, and the bobbin is braked by either the brake band or the second loop of the double drive band. In bobbin led systems the bobbin is driven by the wheel so spins constantly, but the flyer, which feeds the yarn onto the bobbin is braked by either a leather band at the front (as on the Louet) or by using a brake band. In both systems, the spinner restrains the yarn from being pulled through the hooks/flyer and onto bobbin as twist is introduced in to the fibres and then releases their hold to allow the yarn to be drawn onto the bobbin. Both systems rely on some slippage of the bands, which is something I have not fully understood as yet, and am not sure is really necessary, but fascinating all the same. So far I am not sure how the difference in circumference of bobbin and flyer whorl affect each other in Irish tension as they do in double and Scotch tension systems. Another interesting thing to spend time testing out.
I learned to spin on a Westbury wheel, which was a gem of a wheel. My Mother bought it in Glastonbury as a kit – she was so excited, and my Dad built it for her and stained it dark walnut – not a fashionable option today, but it did look charming. The Westbury has both double drive and Scotch tensions, but I only used the Scotch option as we really didn’t understand the double drive. After this there was a gap in my spinning and Mum didn’t carry on with it for long, so that wheel has long gone, (something I really regret).
My interest in yarn design endured, but was industrially focused, so it was quite a few years later that I resumed hand spinning. I now prefer double drive but have several wheel which are switchable and value the flexibility this gives me. So that I can share with you, these are a Wee Peggy and a Schacht Matchless and an Ashford Traddie that I have converted to double drive but which still retains the option of Scotch tension. Of these the Matchless is a recent purchase, chosen after trying lots of wheels over longish periods of time, (hence my collection of wheels) and is my absolute favourite. It is a dream to spin on and has double treadles and a central orifice which is super ergonomic; I find single treadles can make me twist and lead to back and hip ache nowadays so can’t spin for too long on these.
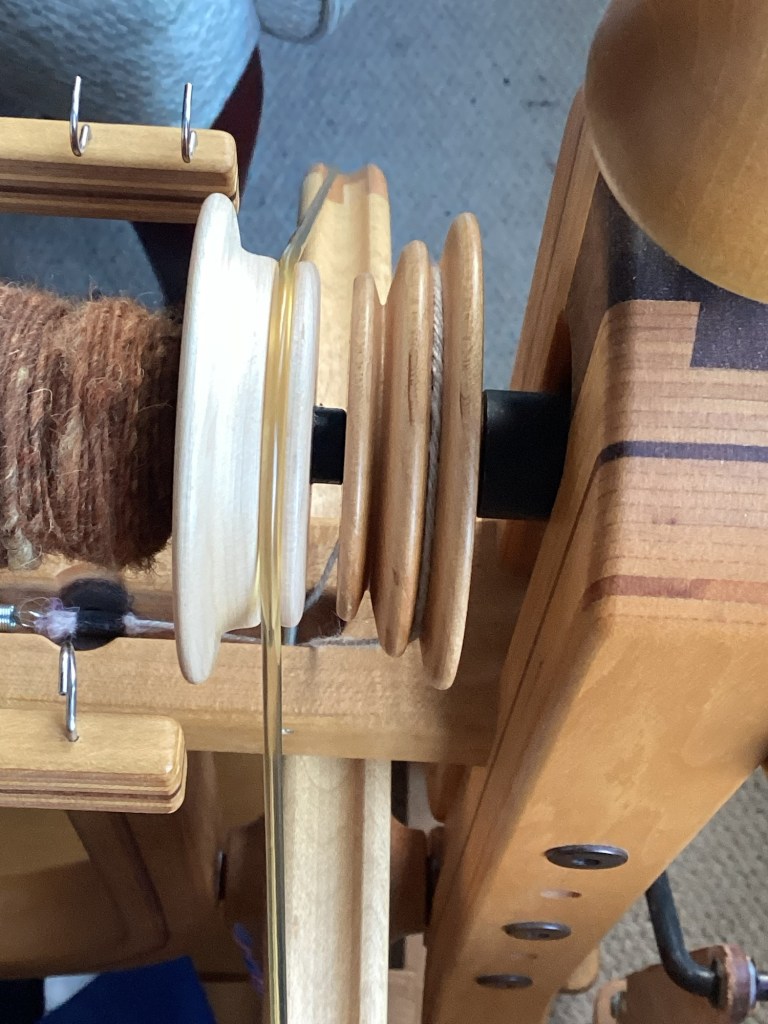
So let’s get back to yesterday and the Louet wheel. Which is a sweetie I have to say. I like Louet wheels, (and of course own one) because they are so thoughtfully designed and this was no exception; sturdy with a central orifice and an onboard Lazy Kate, all made in lovely wood – very nice apart from the rather high treadle position. I’ve not used the Irish tension system before and so was keen to try it. I didn’t actually shove her out of the way, but hovered and green-eyed it and eventually asked if I could have a go. Generously she gave me fibre, and left me with it, saying she found it quite a challenge to be able to control what she was spinning, although I thought her samples were soft and pretty even. However, she was right!
After a while I managed to set the leather band so that the fibre wasn’t ripped from my fingers, and could start to spin. I found that very little tension was needed, which I am not sure is normal. We inspected the tension band, orifice and brass bearing and whilst the band didn’t look worn at all, the orifice outer was a bit sticky and the brass bearing seemed a bit rough. We cleaned these as best we could with what we had to hand which helped a little, but probably a gentle swab of alcohol on the orifice outer and brass would be a good idea.
Once it was going I was really surprised how different the Irish tension felt to the two other systems, and can see why it is good for thicker yarns because of its pretty intense pull-in. Plus I imagine it is great for plying. However I managed a reasonably even singles that was indeed thicker than I usually spin double drive, so that sort of proved it to me.
Being an equipment squirrel I immediately wanted an Irish tension wheel. So imagine my joy when I found that my Matchless would convert to Irish tension! In my excitement of first owning the Matchless I tried both double and Scotch tensions and have been using these both since then, but I clearly forgot that it has three tension modes. I’m not sure it tells you in the manual, but you simply swap the drive bands over. The wheel drive band goes on the bobbin, and the Scotch brake band on the flyer whorl. I have set mine with the larger bobbin whorl to the back with the medium flyer whorl, there may be better arrangements but I have yet to try these out.
The result felt very similar to the Louet, with the brake band needing hardly any tension, so maybe that is normal after all. I found starting needed care so that the fibre doesn’t pull away too rapidly, but once going it went well. It might be me, but most times after I moved hooks the pull-in became stronger, then settled down again. This must be because the smaller circumference of the bobbin to start with pulls the yarn in faster. Because of this I can see why a Woollee Winder type system might be useful with this tension system, but I am not tempted due to price. The hooks will do me just fine and I really don’t like the sliding hooks on any make so far.
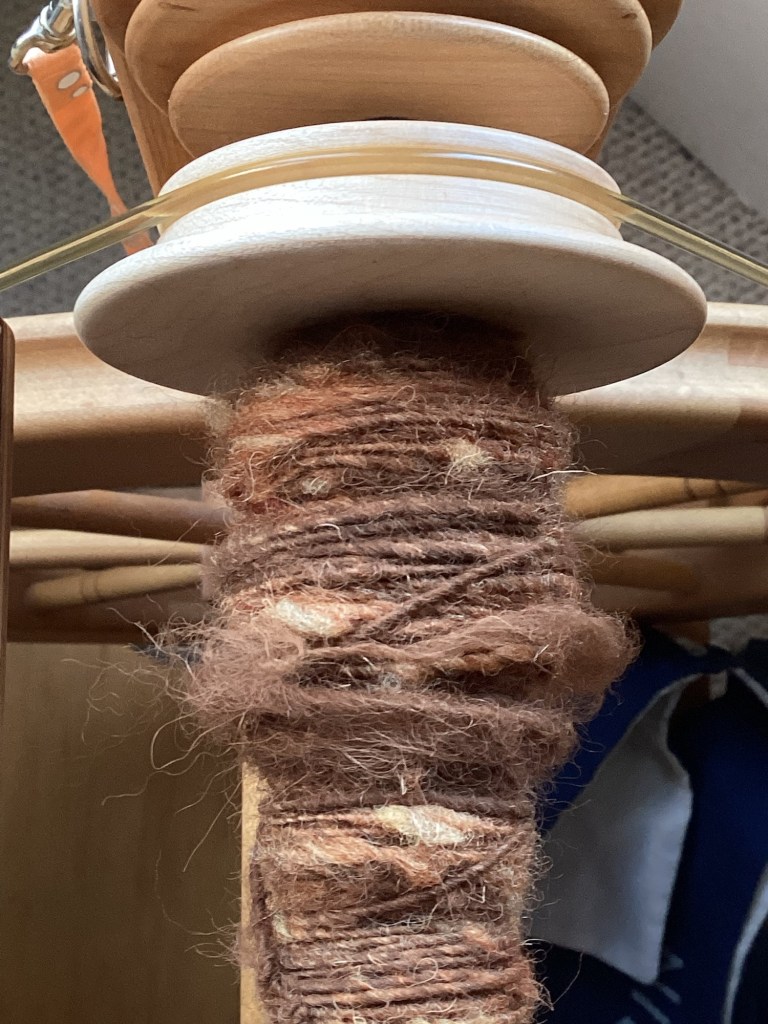
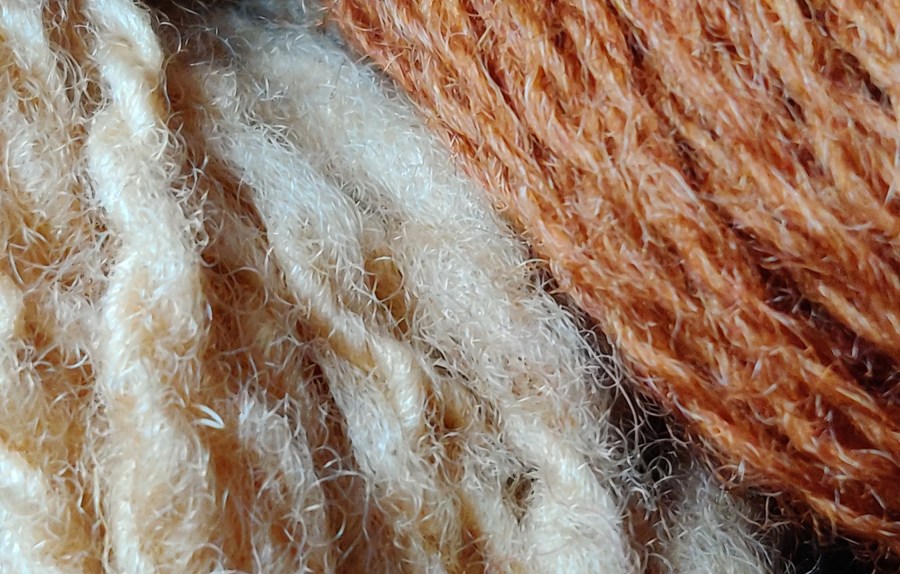
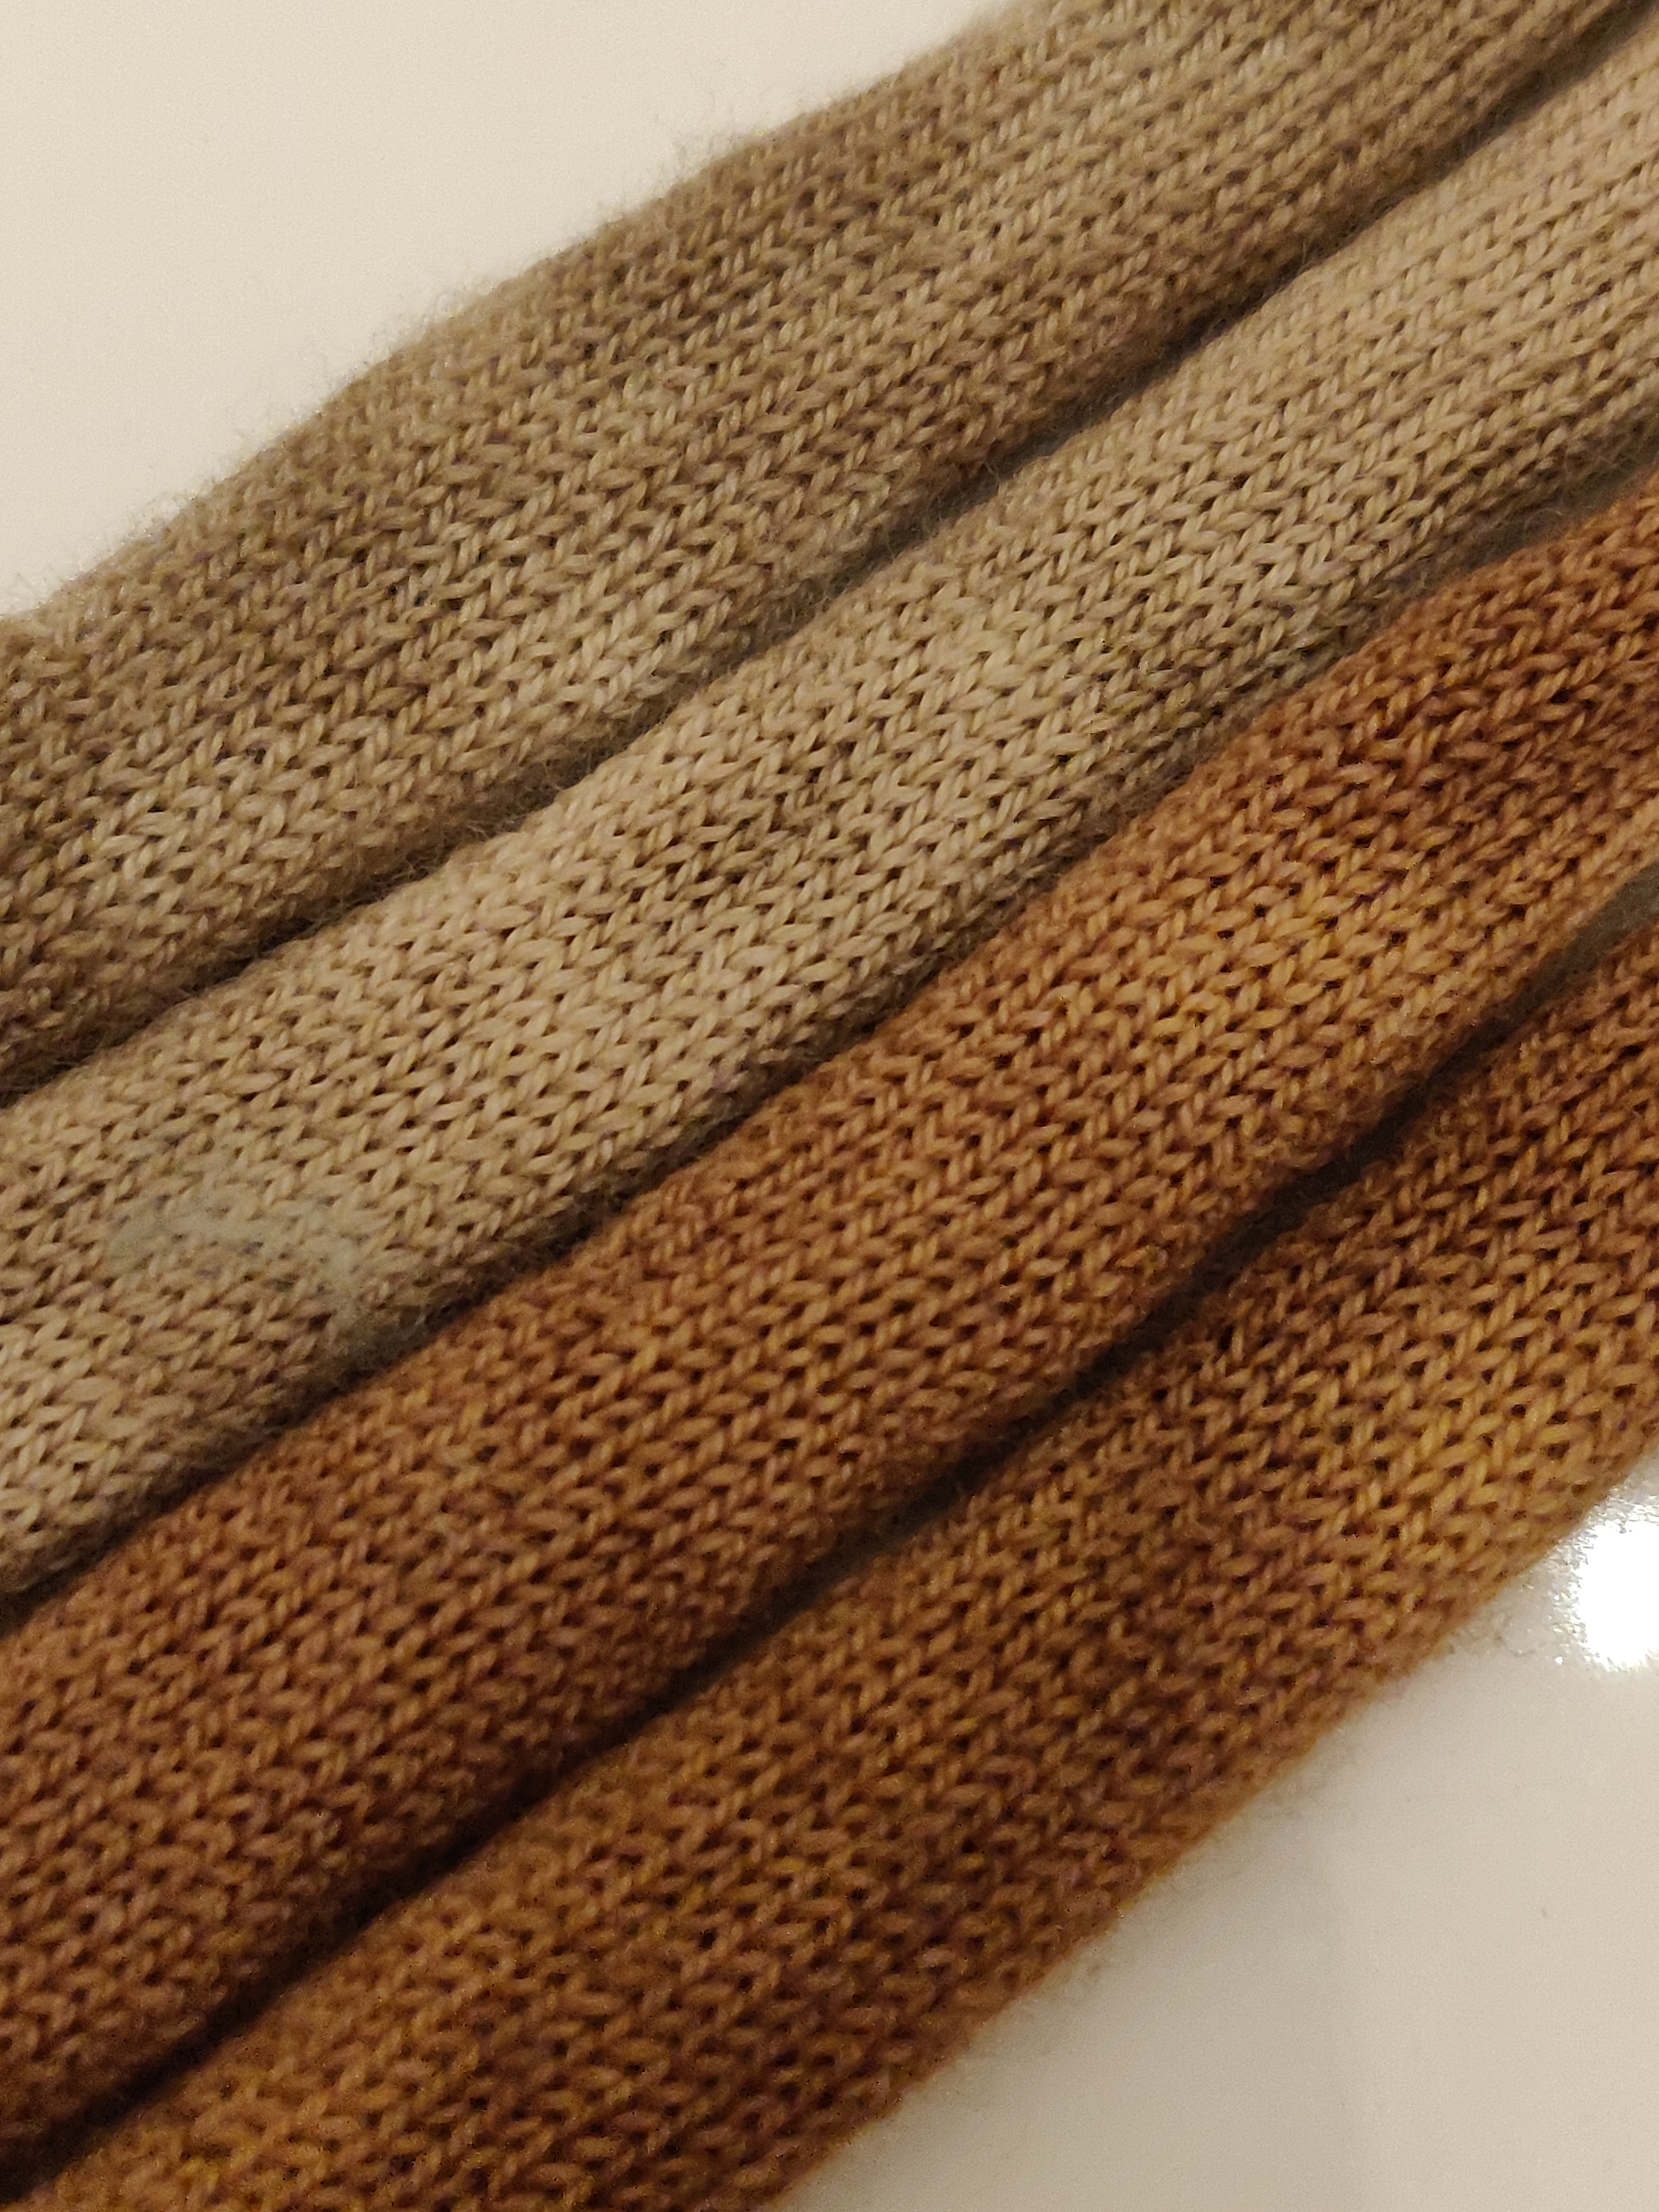
As you will see in the photos, the singles I spun are nothing to write home about, but its early days for the Irish tension set-up. The fibre is onion-skin dyed Lleyn blended, (rather poorly because I was in a hurry) with rust coloured Alpaca, then taken as tops off the drum-carder.
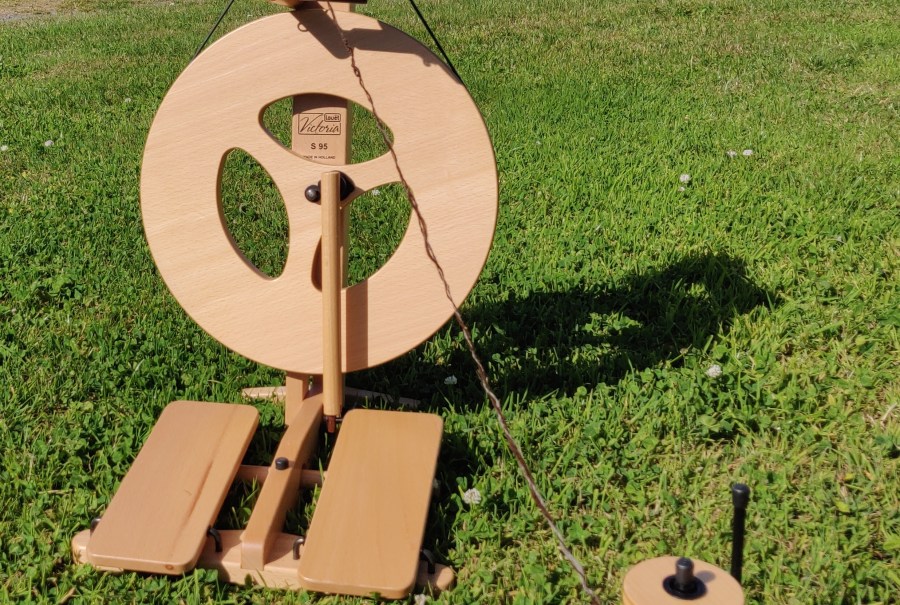
A bit like outdoor anything – providing its not raining or freezing – spinning is enhanced by the open-air. I took my little Louet wheel with me whilst on holiday on the Pembroke coast recently. We were being careful and avoiding towns etc in our caravan sitting on a farm, so there was plenty of opportunity to spin in the lovely sunshine. It seems ages ago now, but was so refreshing.

I took a bag full of mixed colour Jacob’s fleece and sorted it into dark and light before hand carding it. Ifirst of all spun a skein of cream to test the tpi and grist I was aiming at and on a rainy day decided to dye it with the onion skins from our soup.
All very earthy!
I can’t resist a marl yarn, so plied the colours into variations on this.

I’m practising my red cabbage dye recipes for Friday because if anything can go wrong it will. At least if I test the recipes it’s only likely to be the technology that glitches.


Ha ha!
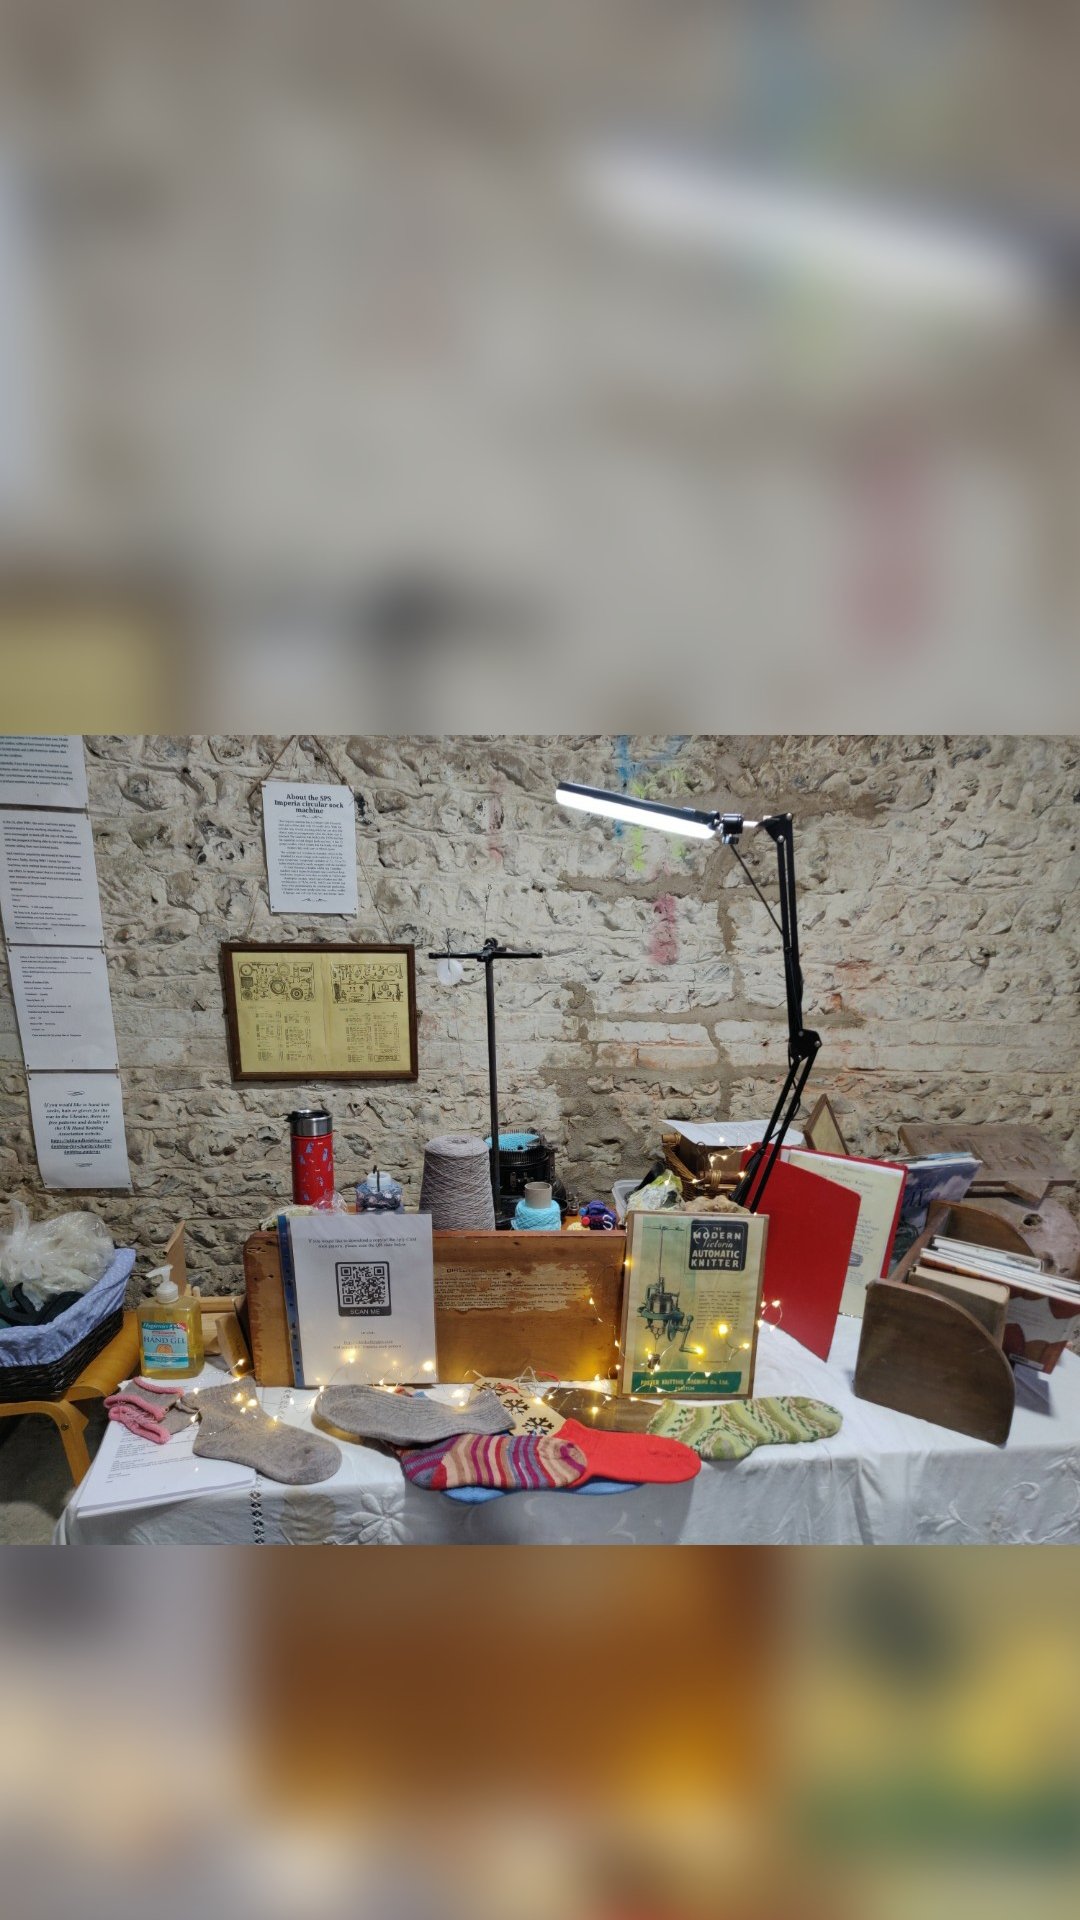
Friday p.m. update
Wow, I think that went well! My camera man was brilliant, he cued me to face one of the 3 cameras he was using according to the best view, and even made me a coffee!
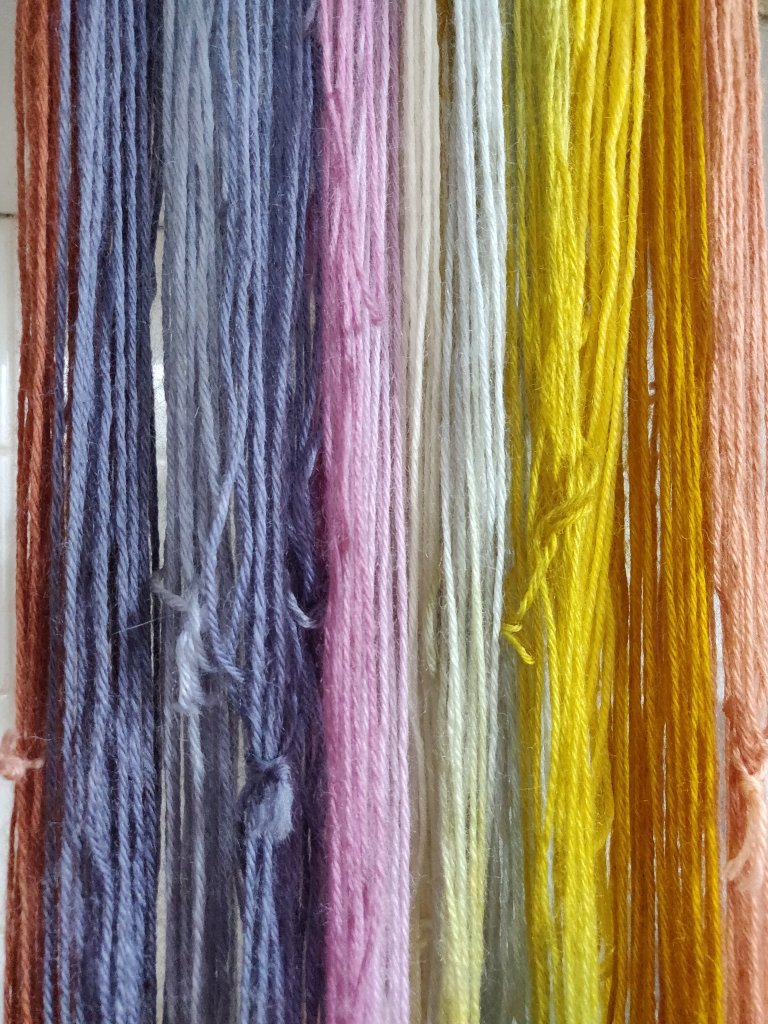
We started with onion skins because as a substantive dye everyone could use these even if they had not mordanted their wool yarn. Some people used red skins only and got an olivey green whilst I used mixed and got a dark gold. Interestingly I popped a 50/50 acrylic wool skein in and got a brilliant yellow.
Second dye was another substantive material – avocado skins and pits. Some people mixed them, but I kept then separate. I soaked both overnight, in fact the pits were so hard I had to cook them overnight on a slow cooker in order to soften then enough to be able to chop them up and release more colour as they continued to cook this morning.
I added ammonia to the avocado skins as they soaked. I read somewhere that this develops the colour well – but maybe that was pits? The colour from the skins was a yellowy mid peach, and from the pits was a pinky deep peach.
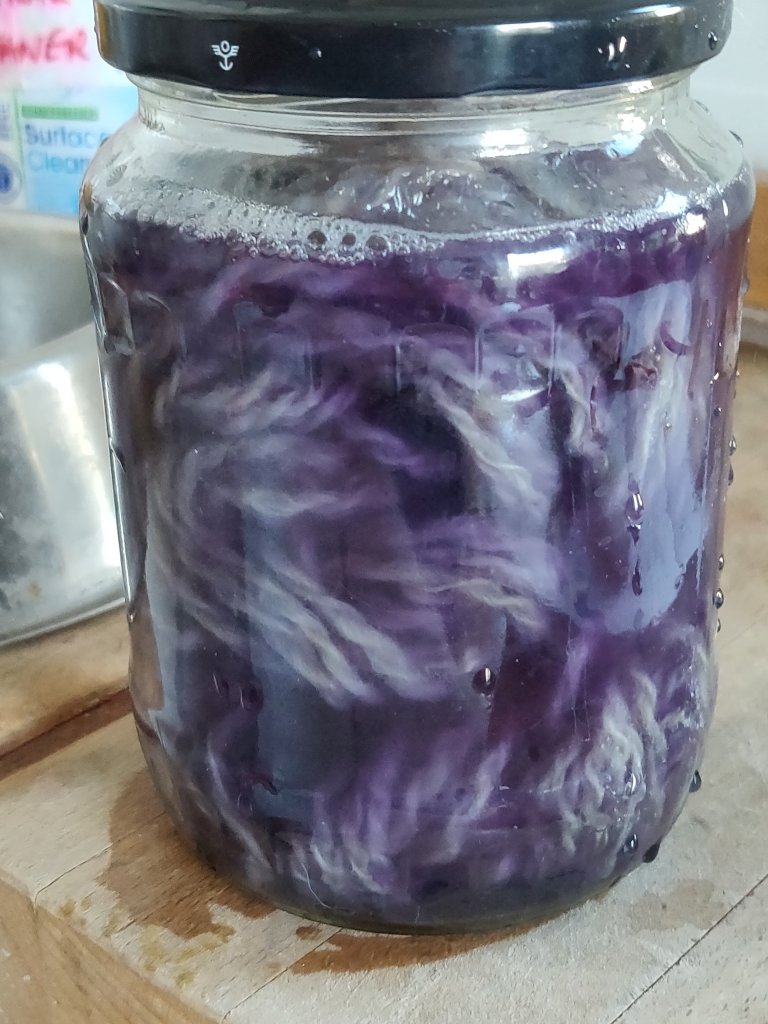
Dyes four, five and six were red cabbage. But itself as for, but five had ammonia added to make it green whilst six had citric acid added to make it lilacy pink.
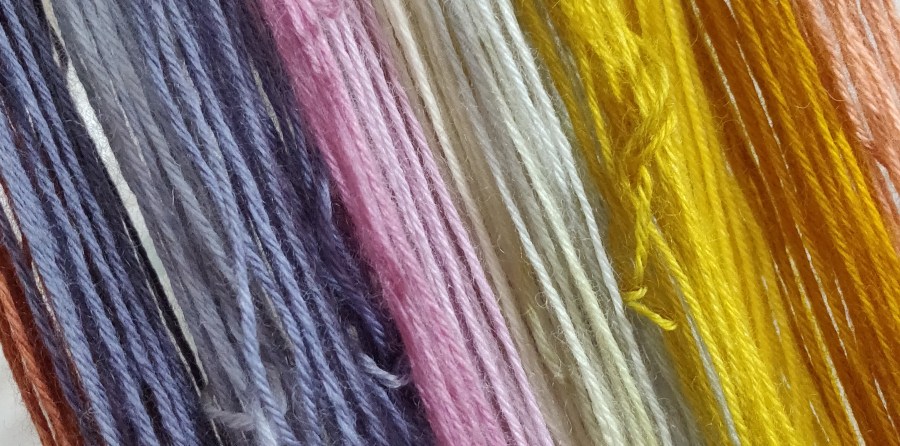
I have never had such great colours from cabbage before! Stunning, if fugitive as they will fade over time. I chopped half a large cabbage very small, layered it with 4 tablespoons of salt and covered it with water. Then cooked it to the boil and left it to soak overnight. Fab results!
The dark blues are amazing! See below…
I’m now soaking some fleece in mordant to use up the red cabbage baths tomorrow. Plus have dyed 4 hanks of handspun wool/alpaca in the onionskin and avocado baths.
I’ve just put the beans to dial in cool water in a large jar. I’ve used 100g beans so will see what weight of yarn I can dye with these. Now I have to wait for 24 hours, shaking it gently now and then.
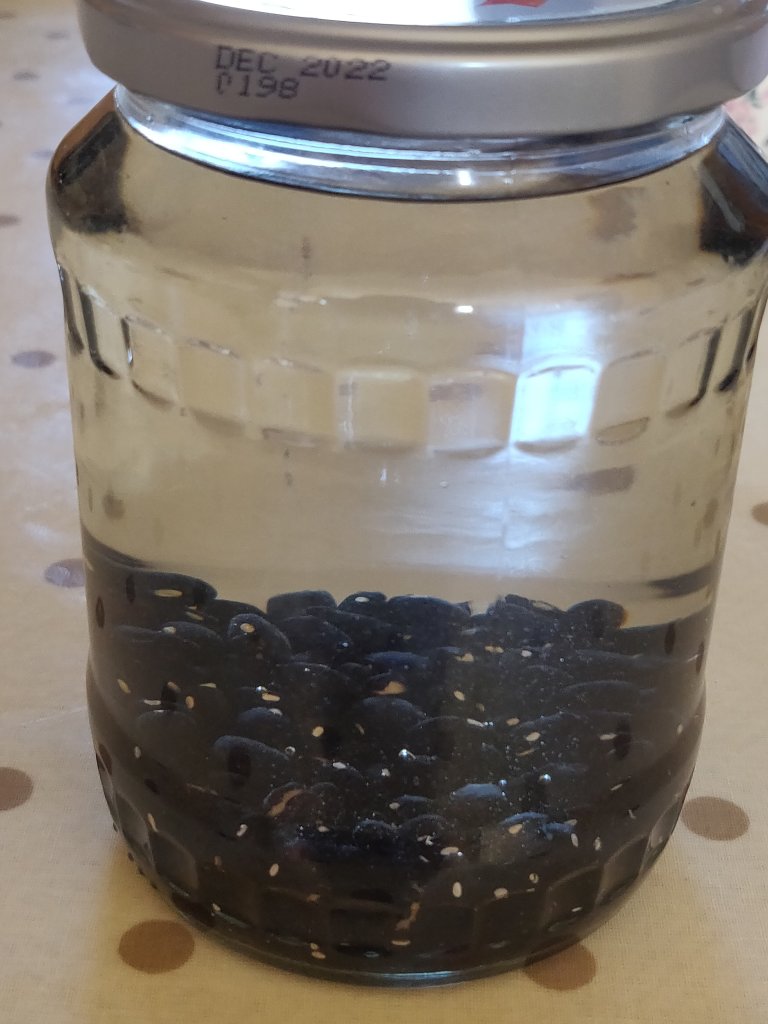
It’s 24 hours later, and time to get the due working. Of course I’d overlooked the problem of getting the liquid or without disturbing the beans. Instructions said to stop shaking the beans at least an hour before adding the fibre, so I did that. Then to remove the liquid carefully as any bean debris will turn the dye brown. However, it’s not easy to get the liquid out without the beans when you’ve stupidly put it in a narrow-ish mouthed jar!
Luckily I found a small ladle in the kitchen that just fitted, so managed to get some out. Not sure if it’s enough. I’ve added plenty of salt and enough water to cover the yarn and am now waiting…
It did not work sadly. But I may try again with more means this time.
Having been eating loads of avocados last summer I dried the skins and stones for dye material later on in the year. I want sure if the colour outcome would be effected by drying so decided to try some out recently.
I took 60g dried avocado skins and two skeins of yarn; one 14g hand spun 50/50 cream wool and alpaca and 12g commercially spun 2/9nm will and nylon (sock yarn). I reckoned half yarn to dye material, but being dried may have made a difference.
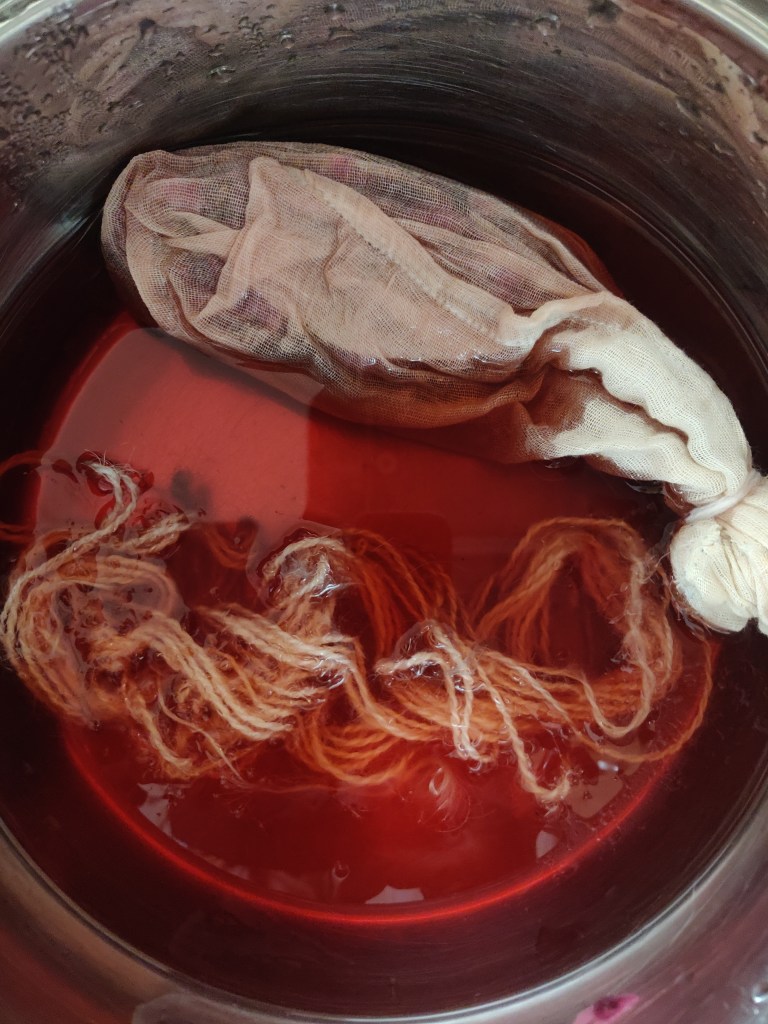
I cold mordanted the yarns overnight and soaked and cooked up the skins. Stained the liquid and made up the due bath. Then gently simmered the yarn for about 60 minutes, with the skins in a muslin bag in the bath as well. After that I left the whole pot to cool overnight.
I was surprised that the hand spun did not take much colour whereas the wool and nylon took loads. Both had had same pretreatment.

I will be using the will nylon in machine knit socks, so pleased with the colour. It’s not as warm as the undried skins I’ve used in the past, more like onion skin colour.
UPDATE On reflection I think the Alpaca may have influenced the way the dye was taken up by the hand spun yarn
Update:
The weather has turned so I have taken both sample skeins out of the dye. The results are shown below.

Original post
My lovely husband gave me roses a week ago, but sadly they have drooped and begun to drop petals. I’ve decided to use the petals for dyeing; they were a lovely dark red and I hope I’ll get at least a pale pinky-brown from them.
The main thing I have learned is not to overheat petals – or any red natural dyes for that matter – as that seems to make them brown.
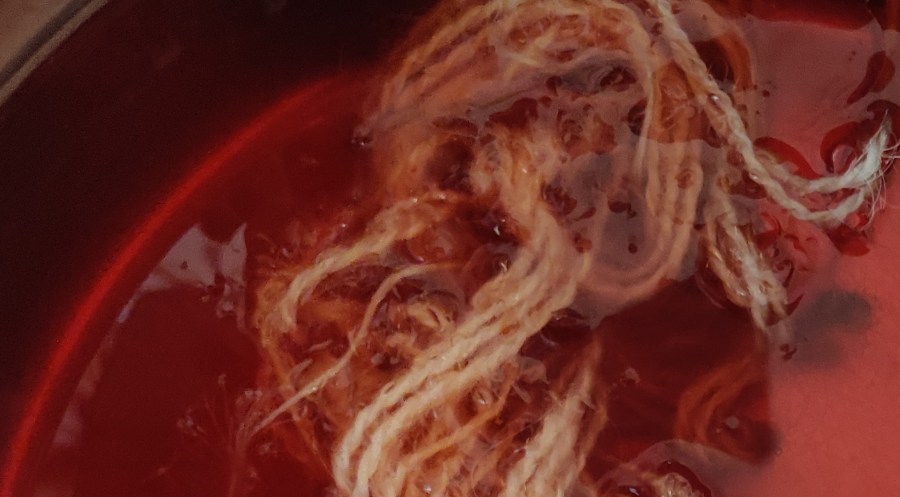
I tore up the petals and covered them in cold water, then added a little salt and white vinegar to the pot before gently heating it to below a simmer. I left the petals overnight to steep and strained the liquid off this morning. After that I put the drained petals into a muslin bag, returned this to the pan and added a skein of wet mordanted yarn to the cold liquid before reheating to a mid range temperature.
After heating the dye I poured the contents of the pan into a large lidded jar and have left it to steep for as long as it needs…

I’ve also put some over-ripe strawberries into a solar-dyeing jar next to the rose petals.
In preparation I have been experimenting with common plants to see what colours can be achieved. In the local park there are plenty of plants to try out. Cow parsley and dock (sorrel) were the ones on test recently.
I hope it was cow parsley anyway, Google lens wasn’t sure if it was hemlock or a type of chervil (cow parsely). Hoping that I wasn’t going to go the same route as Socrates I brewed up the innocent cow parsley (yes I had found out by now that it was safe). The liquid didn’t look promising, unlike the sorrel liquid that was already a rich golden colour. Steeping the ripped leaves overnight didn’t improve it much either.
However, once the wool fabric had been immersed and heated the colour did come through. I tried an alkaline modifier on the sorrel to try to warm the brown up, and an acid on the sorrel to enhance the green. Im not sure either made much difference!

I’ve got a pot of onion skin dye ready to tie-dye a silk scarf and a skein of hand spun Jacobs marl yarn.
The yarn changed colour during the mordanting, and the cream ply has taken on a pale golden yellow tone. I think I will dip dye it to preserve this rather pleasant effect. Let’s hope the pale yellow doesn’t wash out at the end!
The scarf is already dyed in an ombre effect from grey to white, but cool greys don’t suit me; I want a warmer golden colour. The underlying ombre effect will be interesting, and I’ve tried marbles in in a pattern. I may add some eco prints on too, I’ll see what happens with the tie dye.

I’ve rigged up a spoon and bowl into a frame to hold the hank of yarn whilst being dip-dyed.
I use a neat little induction hob from Ikea for dyeing to save energy as we have solar panels.

The yarn was a little disappointing. I think I didn’t have enough dye material in the bath, and the silk took it up faster than the wool. However I dunked it into an iron mordant and it’s slightly saddened it into a softer yellow that blends better with the darker ply.
The scarf was ok, tie-dyed but wishy-washy and unexciting. So plan B, to eco print on it, came into action. During my dog-walk I collected a variety of leaves, luckily there is a small cluster of sumac and lots of Oak varieties in our local park.
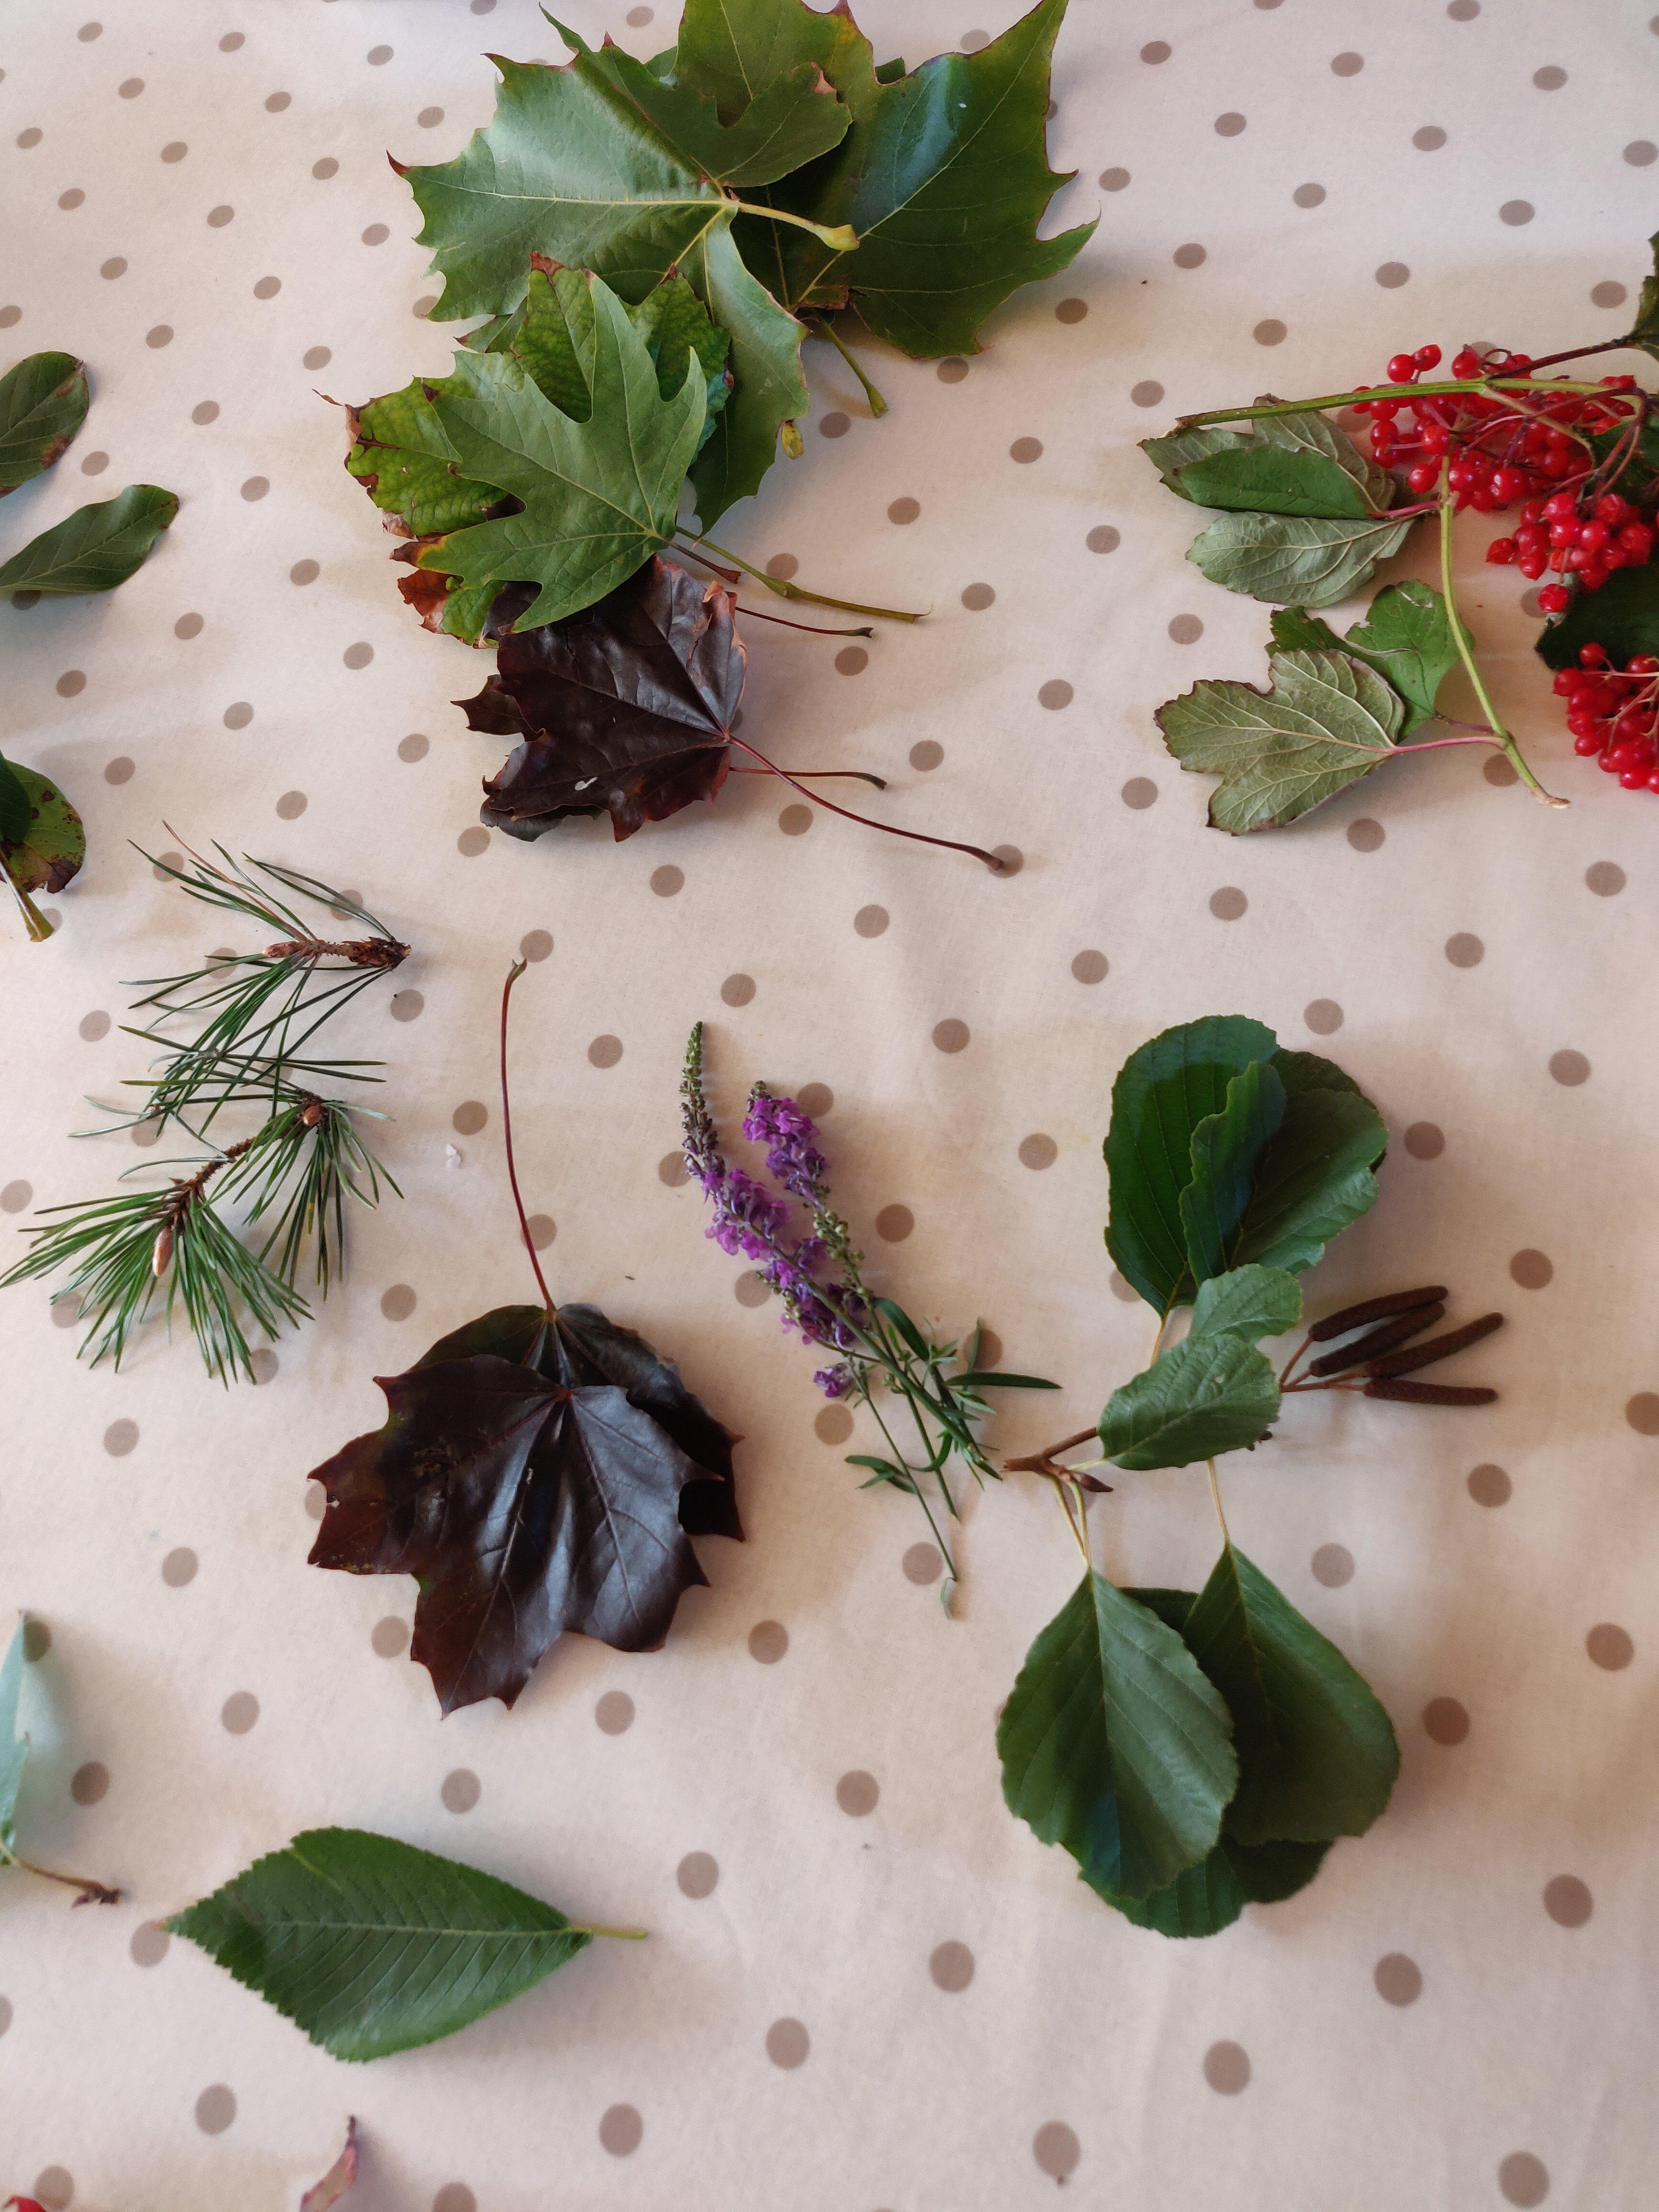

I also collected a few bunches of Rowan berries, beech and other leaves.
In my excitement I forgot to take a picture of the tie-dyed silk, or of laying out the leaves. I did that lengthwise along half of the width of the scarf, then folded it in half to sandwich the leaves between two layers. I’m not sure if this would have worked better if I had waited until the scarf had dried; I added the leaves directly after rinsing it after tie-dying.
Not having a spray bottle handy that I wanted to use for iron mordant solution, I’d already decided to soak the whole thing in the iron solution. Before doing that I folded the scarf widthwise once again and then tightly wound the folded scarf around a short length of plastic pipe, securing the ends with elastic bands. After giving the rolled packages a good soak in iron I used load of string to bind the fabric really tightly to the pipe all along its length.
Then it went into an improvised steamer for an hour. Unfortunately, because the steamer set-up only allowed a shallow water bath, I managed to boil it dry! This has mildly effected the outer layer on the underside of the pipe. It’s a bit darker.
For good measure I dribbled a bit of copper mordant on it as well. The effect was so strong that the white plastic pipe has now got leaf prints on it as well!
After unwrapping the scarf from the pipe, and following thorough wash it has come out rather well I think. Miles away from the boring grey one anyway!

George the cat approves of it as well!