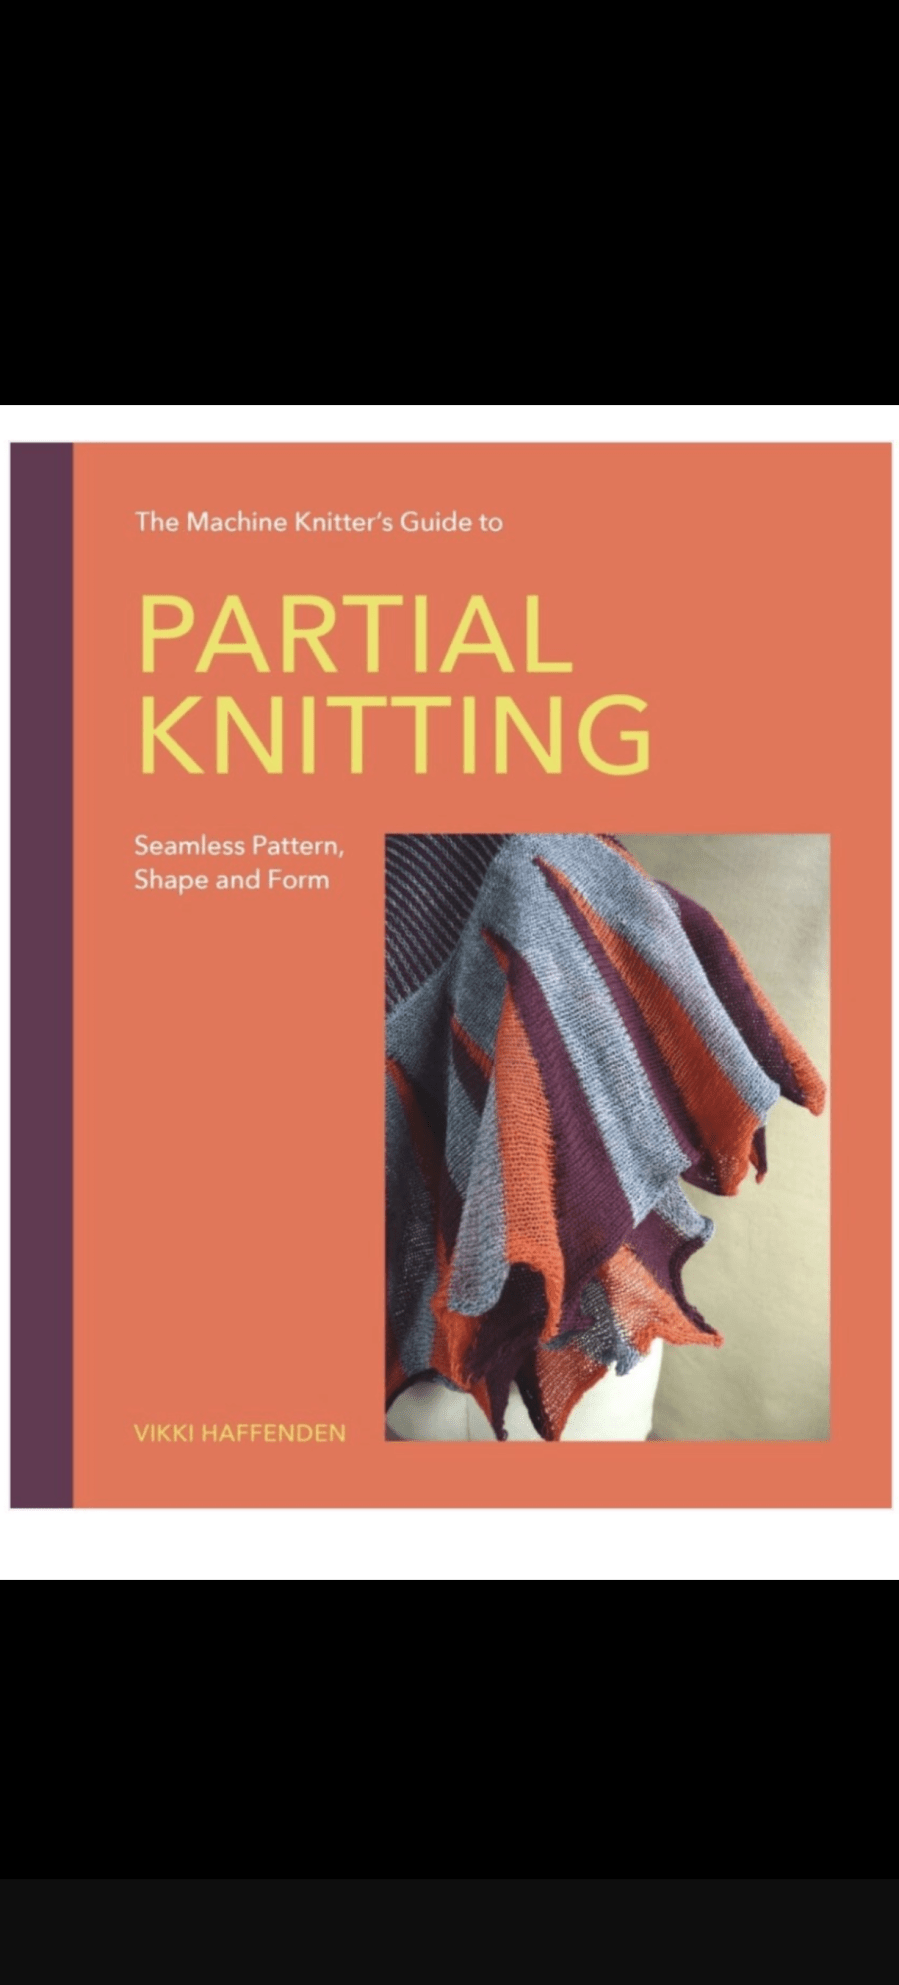
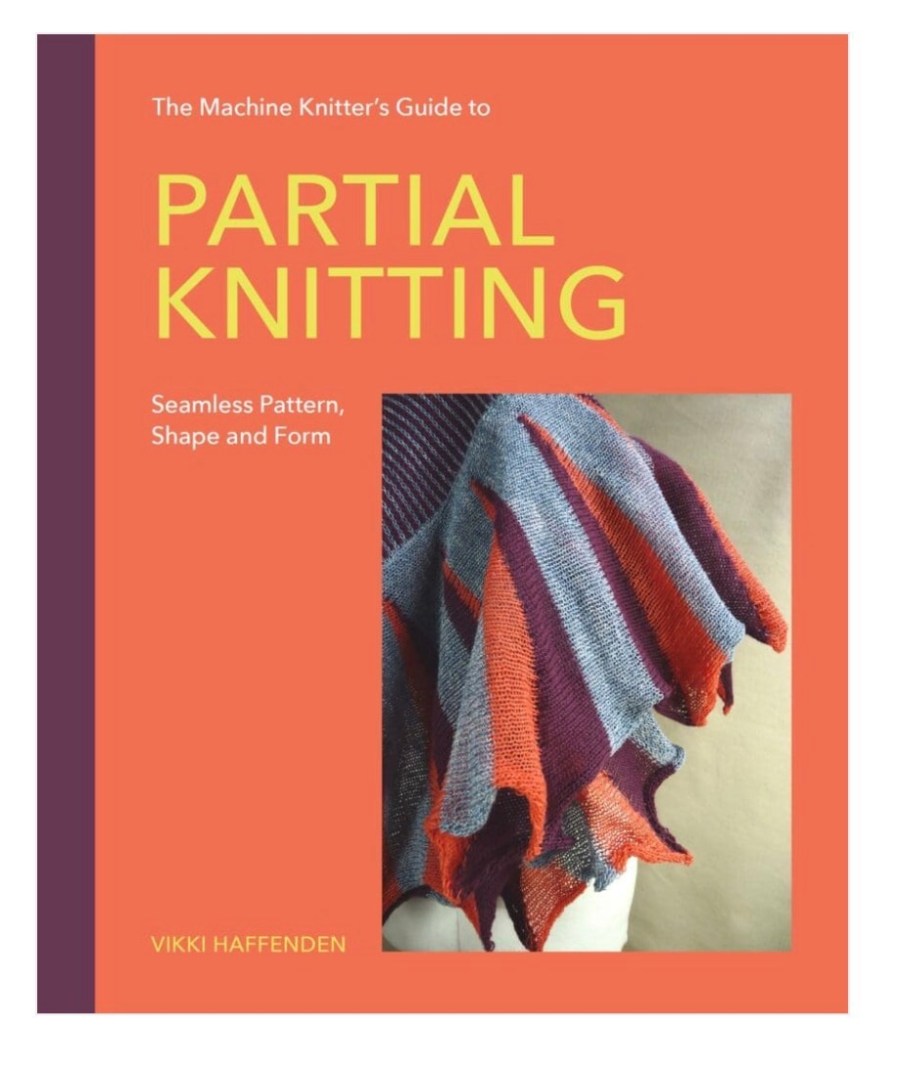
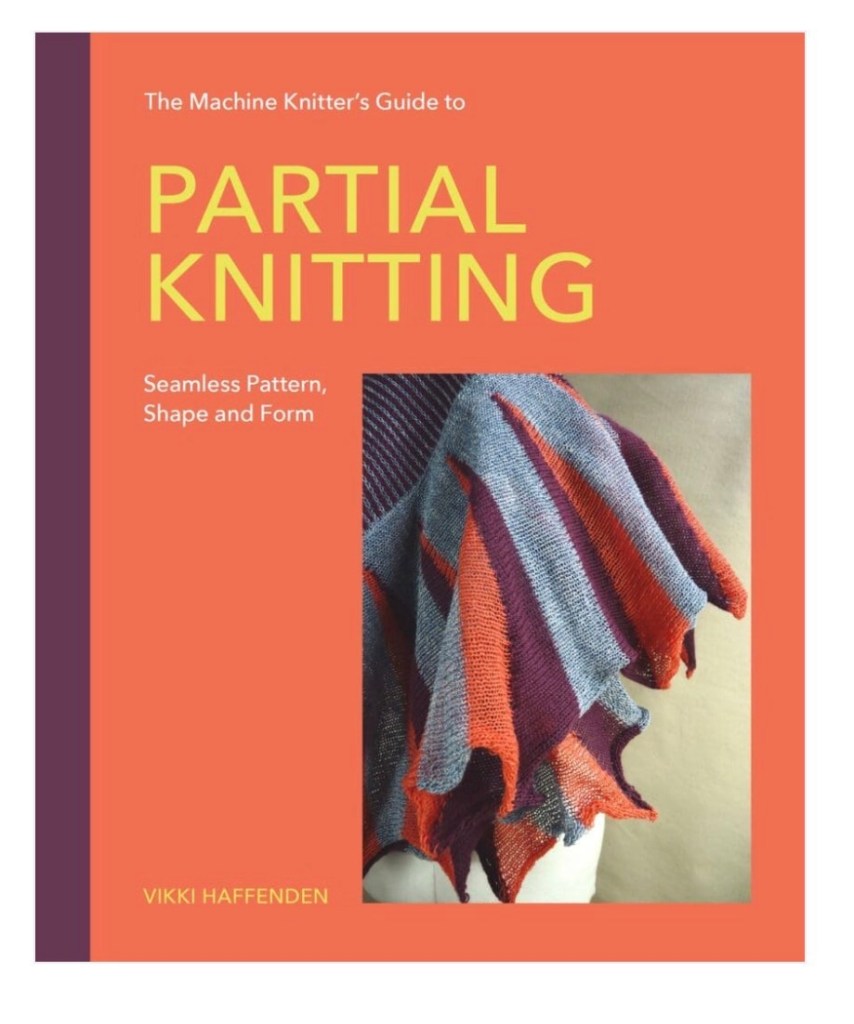
The Machine Knitter’s Guide to Partial Knitting; Seamless Pattern, Shape and Form
I wrote this post last July, and thought I would share it with you in retrospect, as the book has now gone to print.
July 2025
Finally, after a long and fraught 18 months it is done!
I signed the book contract only a few weeks before we moved house. After several false starts with the sale of the house we thought we would be staying for a while and would lose the property we wanted to purchase. However, the way it happened in the end meant that we had to rush into moving in a 3 week window.
Which meant of course that we had to pack what we hadn’t already packed in a hurry, and organize everything else and then move and organize this end when we arrived. Settling in took far longer than anticipated due to unanticipated building work through last summer. It wasn’t until late autumn that I was able to safely unpack a machine and start to knit and write in earnest. Then the arrival of our first grandchild interrupted my flow for a while, the sun shone and the garden needed work done. All in all, let’s say life got in the way!
The last month has been full-on working on the book, so it was wonderful to finally send it off. Of course they will be editorial suggestions and corrections to do, and then a final check once it is laid out for printing, so it’s not finished yet.
May 2026
If you have persevered and read to this point, you might like to know what the book is about. This book, my third about machine knitting focuses on short rows, or partial knitting. It is suitable for any machine with holding position, single bed, double bed, plastic or metal bed, and any gauge. I particularly wanted to include the popular plastic bed, mid-gauge machines like the LK150. Rather than struggle to emulate the punchcard machines with repeating patterns, short row pattern and shaping can be as easily done on either type of machine.
‘The Machine Knitter’s Guide to Partial Knitting: Seamless Pattern, Shape and Form’, is available to pre-order in the UK from Crowood Books, and online retailers. In the US it can be ordered from Blackwells.
Learn how to control short rows and create fab effects with this fascinating technique.
I’ve always been fascinated by short rows, or partial knitting as this technique is also called, so when the opportunity came to write a whole book about the technique I was super excited. The book opens with some interesting information about short rows to whet the appetite, the first chapter is about the absolute basics, so is ideal for people who have not worked with short rows before. The chapters progress through the different ways of using short rows; shown with examples, diagrams and written instructions. Some also have half scale sample patterns for practising the techniques which include more advanced uses, such as 3d shaping.. There are step-by-step instructions and each chapter builds on the knowledge of the previous chapter. The book ends with a chapter of patterns exemplifying the techniques covered throughout the book.
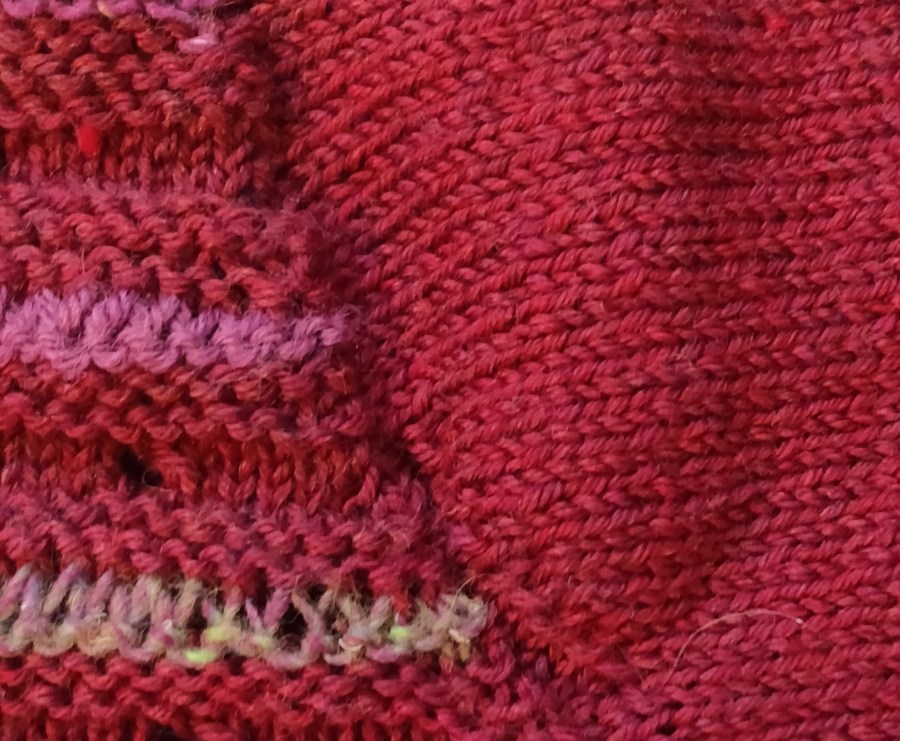
Today I finally completed a top-down jumper I started last December! I bought the main 100% wool yarn in Hereford, and the stripes are worked in two odd balls, one Noro and the other Icelandic. I’m looking forward to hearing it next winter.
Today I’ve been sewing a jersey dress, and the fabric is a double-sided tubular jacquard which has very fine yarn loops that are easy to pull. When I was cutting it out I found that the pins points were catching the fine knit threads, even breaking one and making a hole so I had to move the whole pattern around – not much fun! I usually weight the pattern pieces and don’t pin, but this fabric is over stretchy for this, hence the pins.
So now I’m sewing-up the dress, I’m testing out using Clover Wonder Clips rather than pins to hold the seams together. These clips have made joining the seams very easy and seem to be a really good addition to my equipment. They have a flat back and a curved jaw with a ridge at the point that grips the fabric securely. The flat side makes it very easy to slide the clip under the fabric without disturbing it. On this flat side they also have measurement lines marked out to help keep a straight seam.
I’ve already used them to hold knitted pieces together when hand sewing them and they work extremely well for this, there are no pins drop out onto the floor for the dog to tread on!
I also used the little ones to clip long yarn tails (I keep them long to use for sewing-up), to both hand and machine knitting whilst I work. Yes I could use binder clips or bulldog clips or clothes pegs for this, and I still do, but I find the Wonder Clips grip more firmly and they look a lot nicer. They’re also not as heavy as the binder clip so don’t drag the knitting down.
Overall I’m really pleased with the way they work, and now have three sizes to work with. Their bright ‘jelly’ colours cheer me up on a grey day!
Sewing towards the Wonder Clips – I’m using a walking foot in my Bernina 1030 in this photo.
Making up knitwear can be quite a chore, and using a linker makes it a lot quicker. Linkers make a chain stitch, which is extensible so will not burst the seam when the fabric is stretched.
Domestic linkers can be operated by hand or have a motor. The most common make in the UK is the Hague linker, which is blue, and made in the UK by Hague. It can used on a table, or mounted on its own stand. When joining large pieces whilst working a table you have to be careful that the pieces don’t drag as the dial revolves as this is likely to effect the stitch formation and make the machine heavy to use. Using a stand means that larger pieces can hang down and revolve with the dial.
Hague type linkers make the stitch on the outside of the dial where the needle is positioned, and the chain on the inside where the looper is situated. A linker is a usually circular, and has a dial of spikes radiating outwards. These are called ‘points’ and as with a knitting machine, the number of points per inch is used to describe the gauge of the linker.
Linkers have large eyed, usually curved, needles and are designed to be used with a similar weight yarn to that in which the garment has been knitted, e.g. a linker with 5 points to the inch will take yarn of similar diameter/count to that used on a domestic knitting machine. The linker in this video has more points per inch than one intended for use with domestic machines; it is probably a 10-12 point model.
Linking different gauges of knitting
Obviously its not possible to have a linker for each of your different machines, or for hand knits, but the good news is that you can use a linker for different gauges of knitting. If the stitches are wider spaced than the points, spread them out so that not every point has a stitch; the chain will carry over the odd empty point. If the stitches are closer together than the points, it is a little more difficult as you have to double them up on the points, and to frequent doubling can lead to a gathered seam, so I wouldn’t recommend using a domestic linker for finer than 8gge knitting.
Before starting, hold the knitting up to the dial (remember that the circumference of the dial is smaller at the inner end of the points, where the stitches are made), and estimate how often you need to add a space, or double-up on a point. Make a note of this, and put the stitches up onto the points with evenly spaced gaps or double stitches.
Linking tips and troubleshooting
If the garment is knitted in a fancy of fluffy yarn, I recommend linking with a smooth, strong yarn of a suitably matching colour instead.
The tension of the chain stitch can be adjusted with a thumb screw, and it is important to use this adjustment to achieve successful linking. Put broadly, over-large and/or missing loops indicate loose tension, and skipping, dragging and stiff operation indicates too tight, but the only way to get it right is to practise on scraps of knitting prior to sewing the garment.
In very rare circumstances the timing of needle and looper can become disrupted, and it is impossible to get the linker to make stitches; the needle may break or bang into the looper, or the looper may be totally out of synch with the needle thrust. Although it is possible to adjust this yourself, unless you are very experienced with the machine and understand how the stitches are formed, I recommend sending the linker to Hague for repair.
Preparing your knitting
When preparing knitting for point-to-point linking the last row of main yarn knitting is not bound off; the stitches are left ‘live’. Before removing the knitting from the machine, 10-20 rows of ‘waste’ yarn are knitted, then the piece is knocked off the machine without binding off. When choosing ‘waste’ yarn, aim for a strong colour contrast in a yarn that is slightly thicker than the main yarn. A thicker yarn will open the last row of stitches, making it easier to insert the points, and a contrast colour helps the operator pick the correct row of stitches to catch onto the points. Try to choose smooth waste yarns; fluffy ones may leave contrast colour fibres when the waste is removed.
More detail about the video example shown above
The video above shows how to point-to-point link a double thickness, folded collar around the neckline of a garment. The collar in this example has been knitted across the needle bed of the knitting machine, with ‘live’ stitches left at both start and finish as follows:
cast on with waste
work 10-20 rows waste
change to main yarn and knit the number of rows required for the collar outer depth e.g. 20 rows
knit a loose tension fold row if you want one
knit a second series of rows equal to the inner depth of the collar, e.g. 20 rows
change to waste yarn
knit 10-20 rows
remove the knitting from the machine
See ‘Preparing your knitting’ for how to work the joining rows between main and waste yarn to facilitate easy linking.
Putting the knitting onto the linker
Before starting to put the collar and garment on the linker, check whether your linker makes the stitches inside or outside the dial, and position the piecs accordingly. In my example, the stitches are on the outside, the loops inside.
Put the open stitches of the inner edge of the collar onto the points as described in the video, (wrong side facing in this example), and then put the garment neck onto the points (right side facing the operator in this example). Finally fold the collar over the top of the garment neck edge, and catch the open stitches onto the points – make sure to align the inner and outer stitches so that the collar is not twisted.
Sew through the three layers, and pull the end back through the last chain to secure the linking. Remove the garment and unravel the waste yarn back to the main stitches. Take care on the last row, and if any stitches have been missed, catch them with a pin or a strand of waste yarn. I find those little safety-pin stitch markers very useful for this on domestic- machine knits.

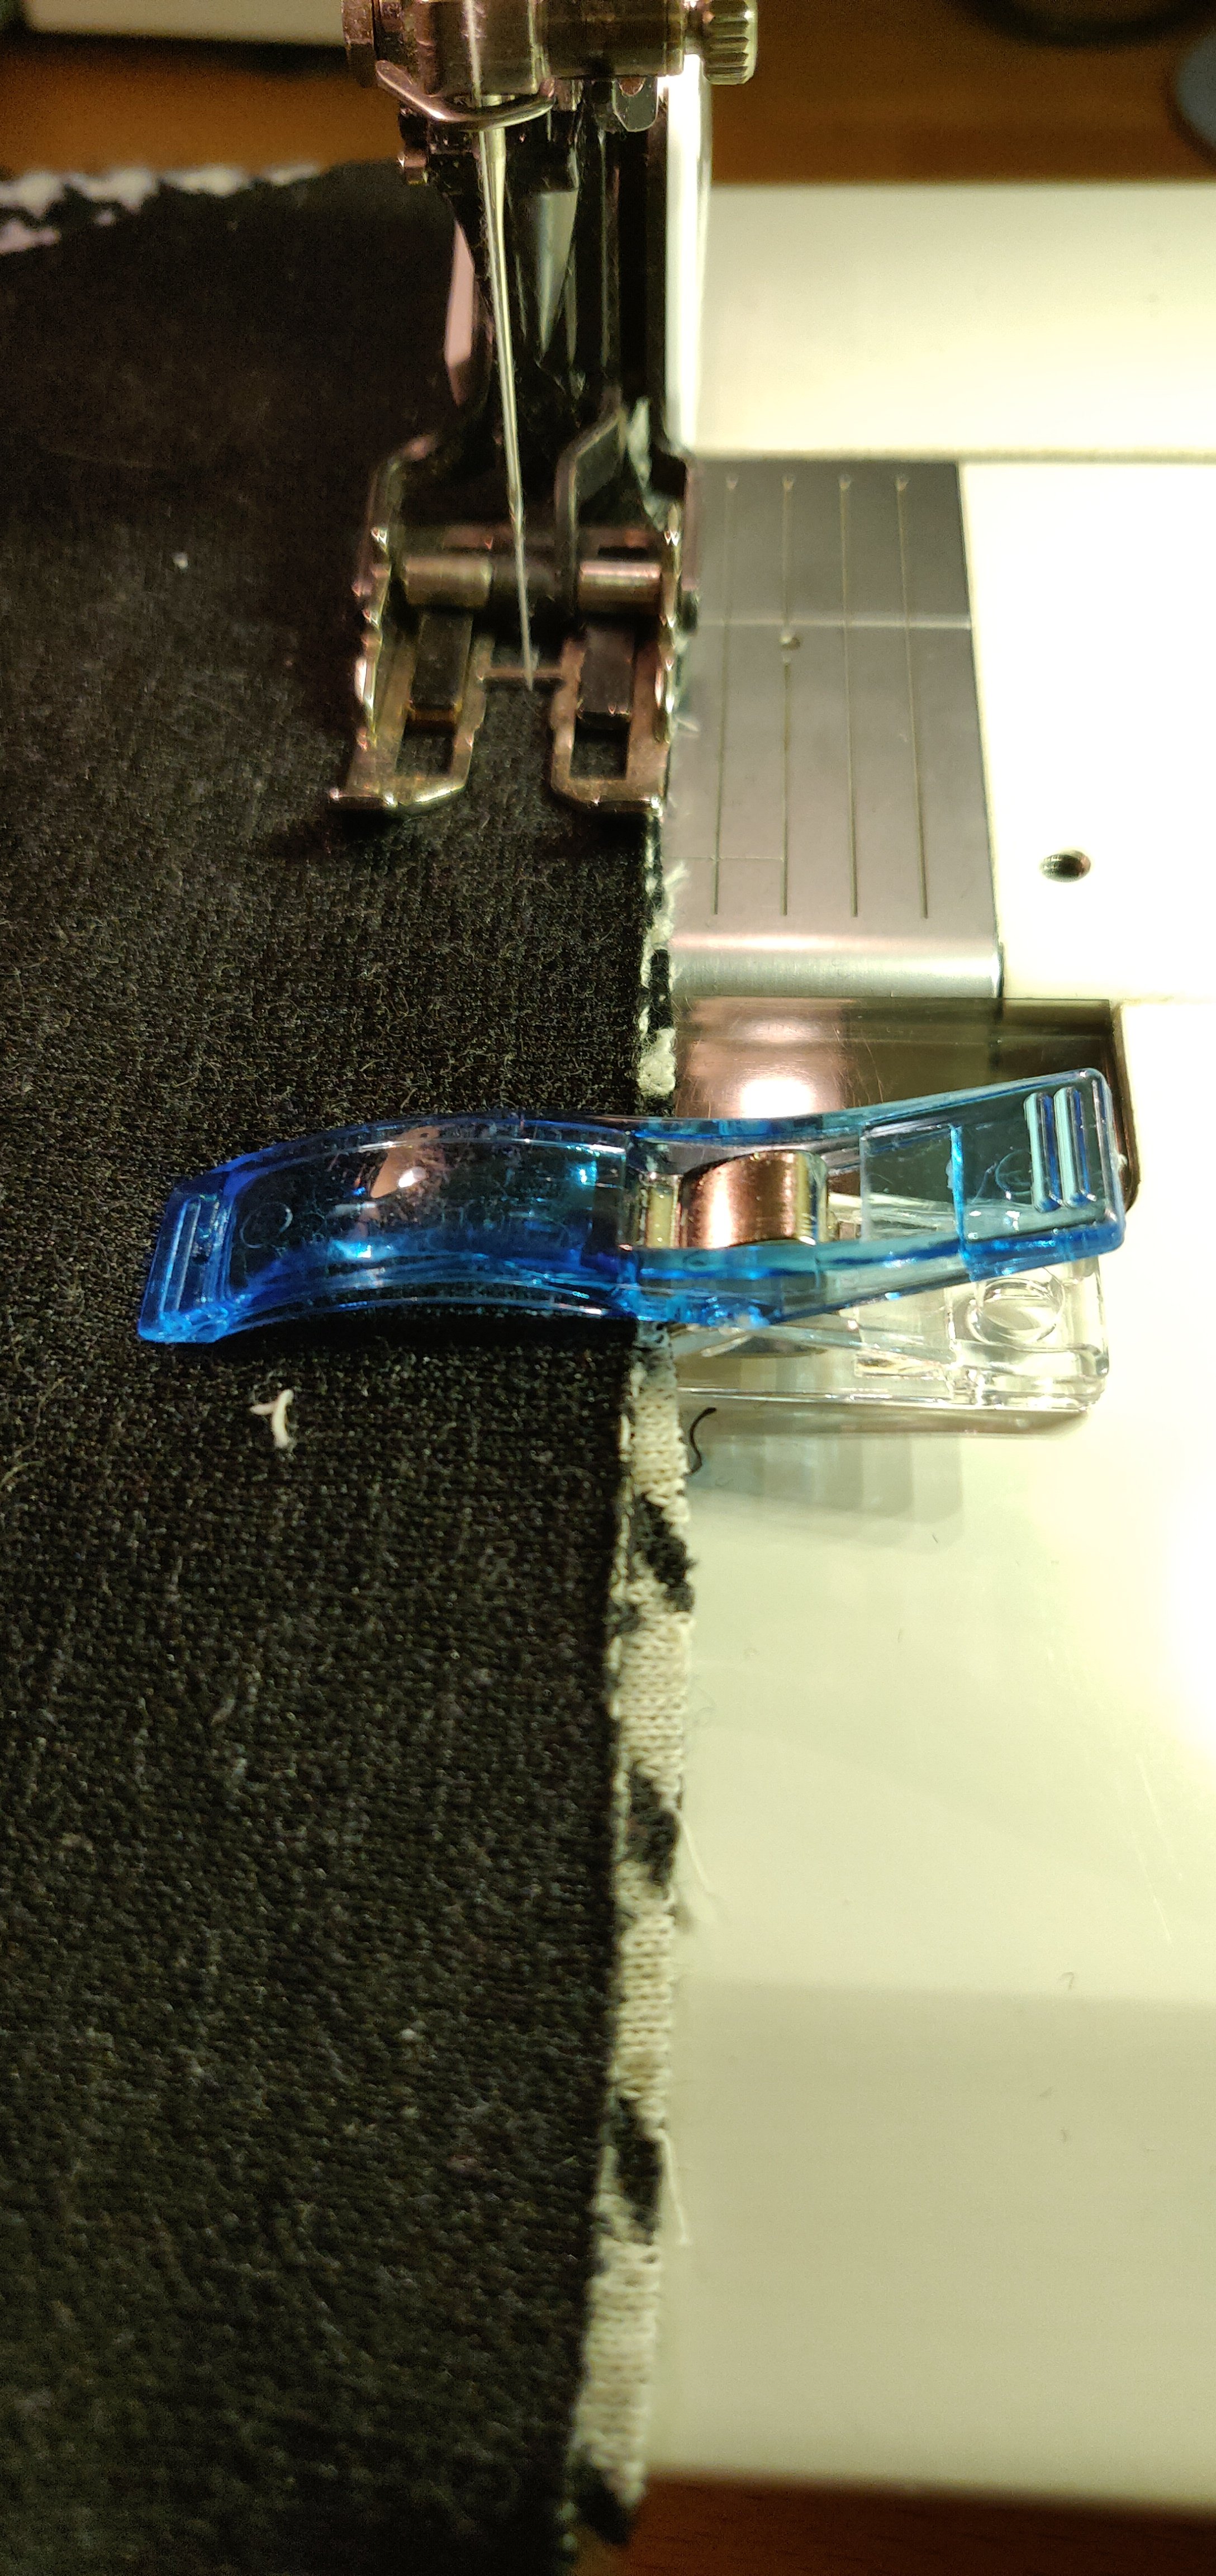 Sewing towards the Wonder Clips – I’m using a walking foot in my Bernina 1030 in this photo.
