
A page about sewing, dressmaking, and related things.
Making my own bias binding
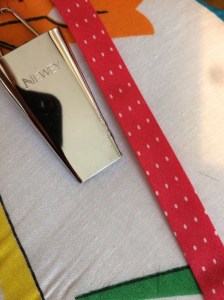
I’ve done this many times over the years with varying level of success. Probably the best investments were a few different sized bias binding maker tools,
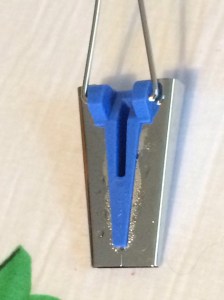
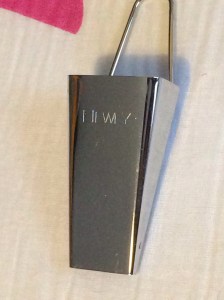
This is Newey brand, but there are others available.
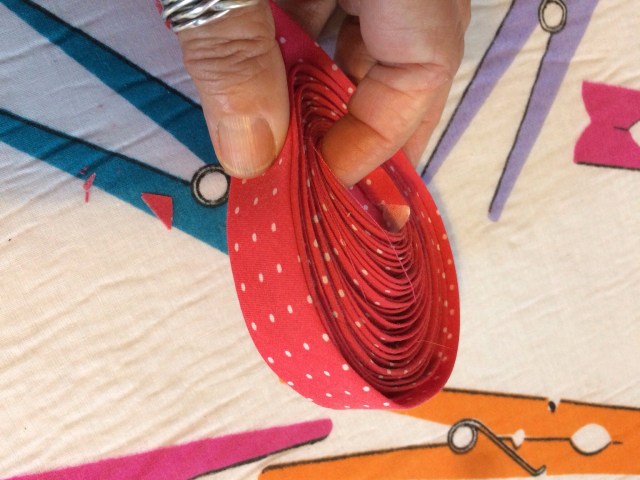
In principle, you cut the fabric diagonally across the bias of fabric into strips that are then folded along both long edges so that these edges meet along the centre of the strip.
When cutting the flat strips, cut them 2mm narrower than double the width of the final binding; so for a 25mm binding cut the fabric strips 48mm wide. In practise you will find that some fabric need to be cut a little wider. This is because when you pull the finished binding through the maker, some fabrics stretch more, producing a slightly narrow binding than intended, and of course the inside folds also become narrower. I suggest practising a bit with some short spare strips from the corners of the fabric before cutting the main strips.
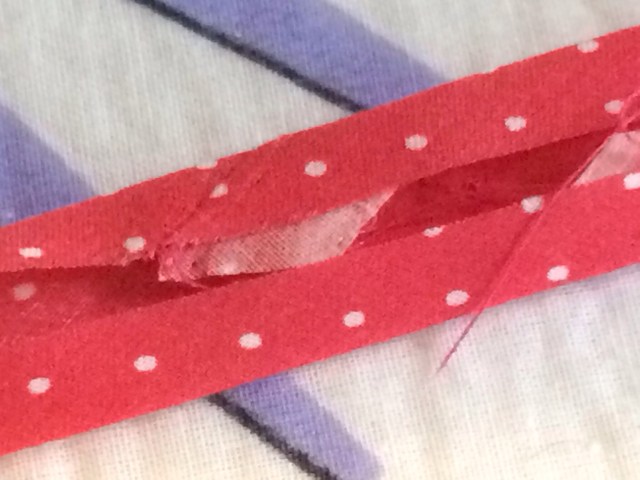
Because fabric is not infinitely wide, you are going to have to join your binding to get the length you require. Join the pieces so that they make a right angle when the diagonal ends match up when laid over each over. Remember to have the right sides together!
Sew the join, and trim the bits that poke out along the long edge. Press the seam open.
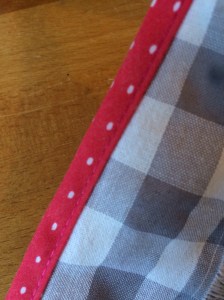
I used to painstakingly sew the binding to the edge, and then hand sew the other edge down. This looks lovely, but takes time and effort, so reduced my commitment to using bindings.
I have a binding foot with my Bernina, but it is for a specific width binding, which limits its use, and when I bought an adjustable bias binding foot I found it far easier to use my own made bias binding.
