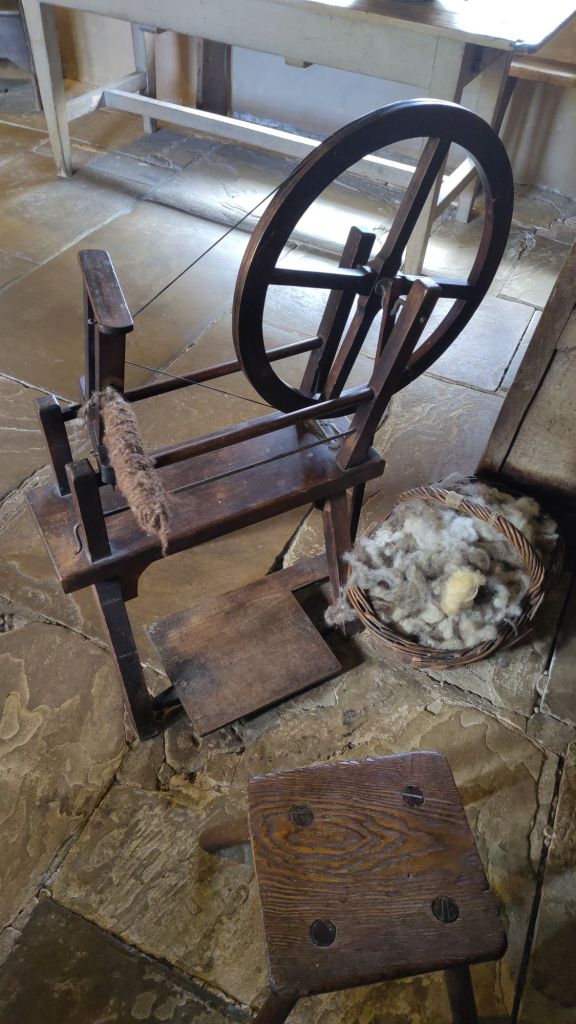
The Somerset Guild will be taking our spinning and weaving to Dawes Twine Works in West Coker in August and in preparation for that I decided to meet a challenge I have been meaning to take for several years.
That challenge is spinning flax into linen yarn. Now I know lots of people do this but it’s not something I have done much of. The only experience I have is at a two hour Flaxland workshop, which was great, where we spun line flax from a distaff with a drop spindle. I’m not great on the drop spindle but I did manage to get a little bit of flax turned into singles, which when I got home I plied and then wove on a pin loom.
I believe I have posted about this on the website already so I won’t repeat this story.
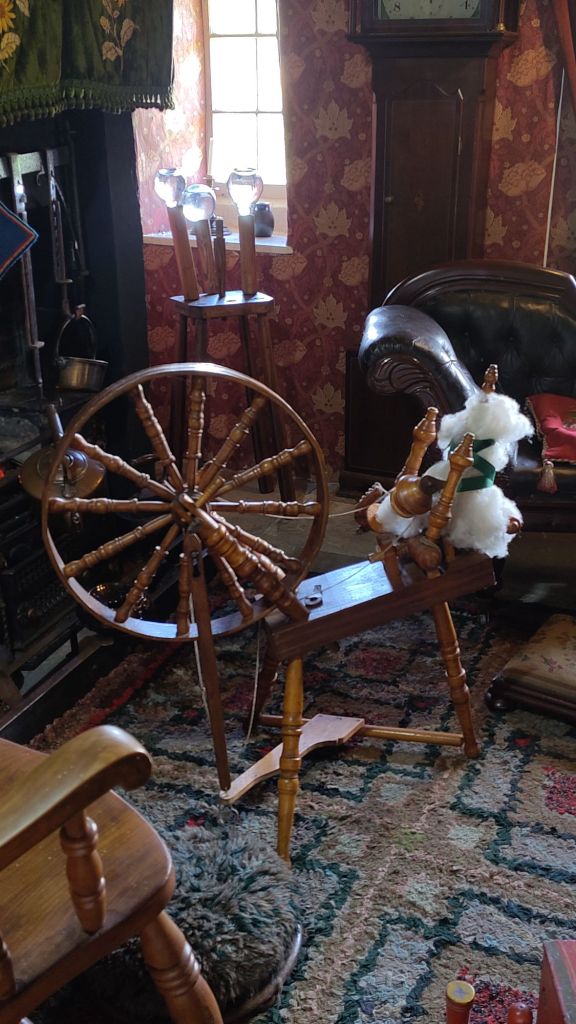
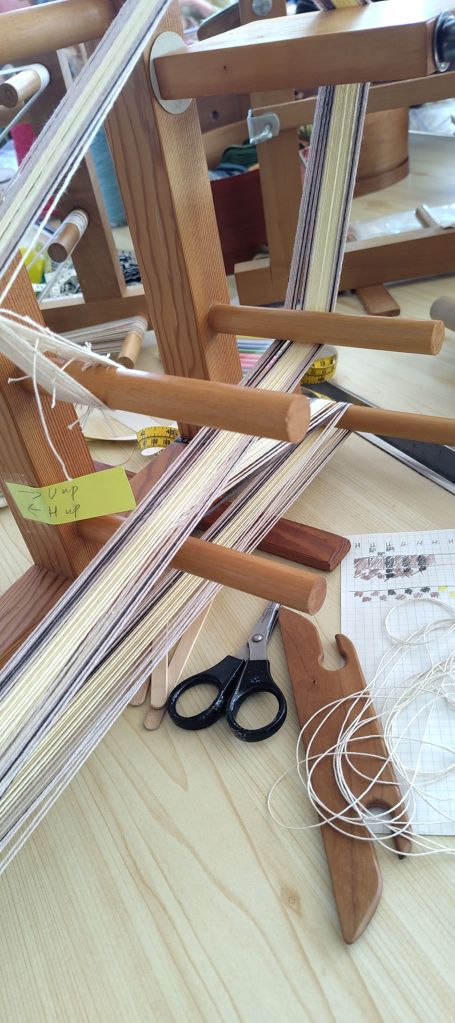
In preparation for spinning at Dawes I acquired some line flax and whilst we were on holiday I set up my Ashford e-spinner in the caravan and set about spinning some linen. Stupidly I hadn’t taken any spinning books with me and there was no signal there so I was working blind. Firstly I made it too thick and this was partly because I forgot it was best to wet it as you spin so I spun it dry. Secondly, I went it in the Z (clockwise) direction which I now realize should have been S (anticlockwise) for singles as flax seems to prefer this direction.
Still I spun about 120 meters of this which I was quite pleased with as a first, (well to be honest second) effort despite its rather chunky nature. When I got home I forgot about it and left it on the wheel.
A week ago I prepared some Leaf Green Dylon dye to over-dye a linen vest. As the dye bath was not exhausted I thought, ‘oh I could dye that linen yarn in this’. To test this out I used the little bit of yarn left over from my first attempt at drop spindling. I wet it thoroughly using some washing up liquid in the water as a wetting agent, rinsed it and then popped this into the Dylon for 45 minutes or so, and it came out very pretty, leafy green.

Well now I was hooked so I dug out my e-spinner and plied the singles that were sitting on the bobbin using my Wee Peggy wheel. Luckily I remembered I had spun Z the first time so I plied them S. This gave me 60 m of 2 ply linen, Yippee.
I had access to my books now so I went to Patricia Baines’ book Hand Spinning and Weaving with Linen to make sure I cleaned it sufficiently before trying to dye this second lot. The dry hank weighs 28g, not a lot, but enough for an experiment.

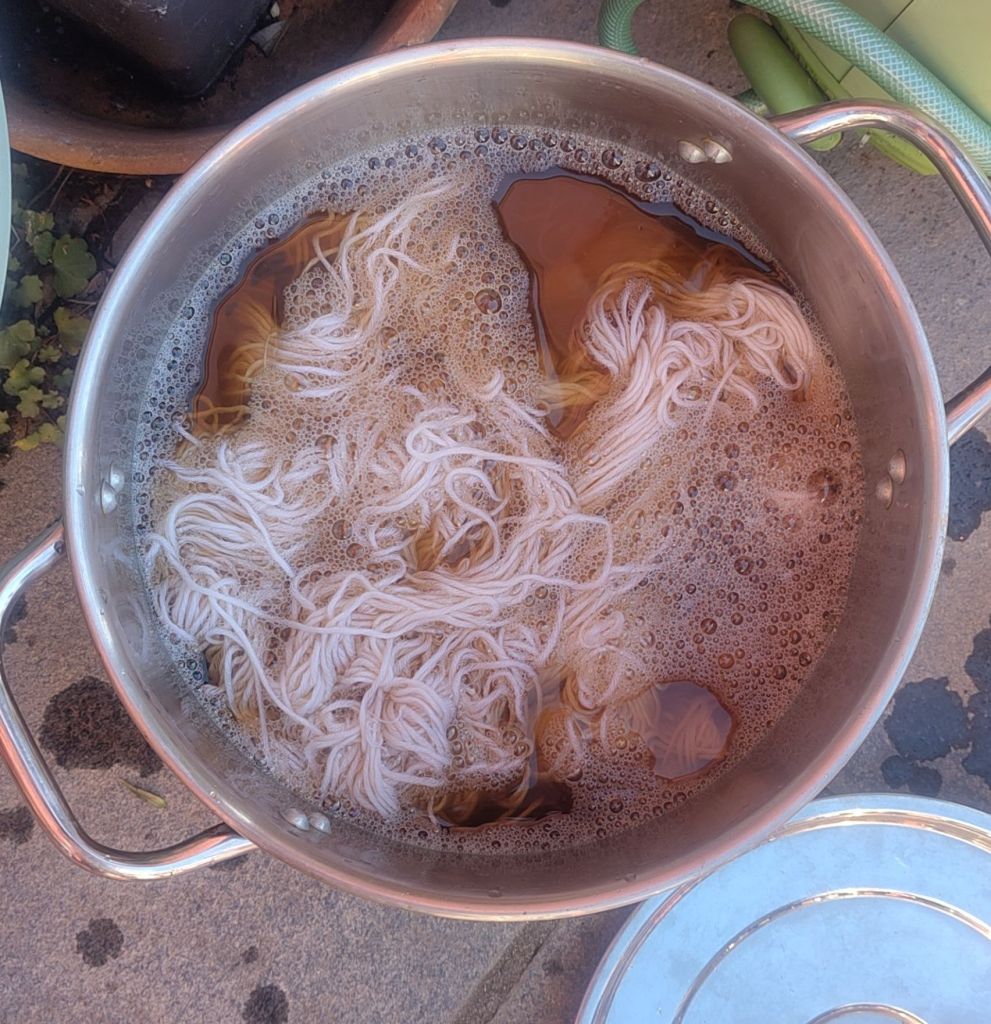
At the moment having thoroughly wet the hank it’s now sitting in boiling water with 50% of its weight in soap and 3% of its weight in washing soda per-dissolved in the hot water. I’m going to boil this for 45 minutes take it out and give it one or two hot rinses followed by a cold rinse and if the water is still dirty I’ll do it again.

If the water looks clean I probably won’t give another wash even though Baines suggests doing this. But I may bleach it according to instructions to see if I can lighten it a bit before I put it in the green dye.
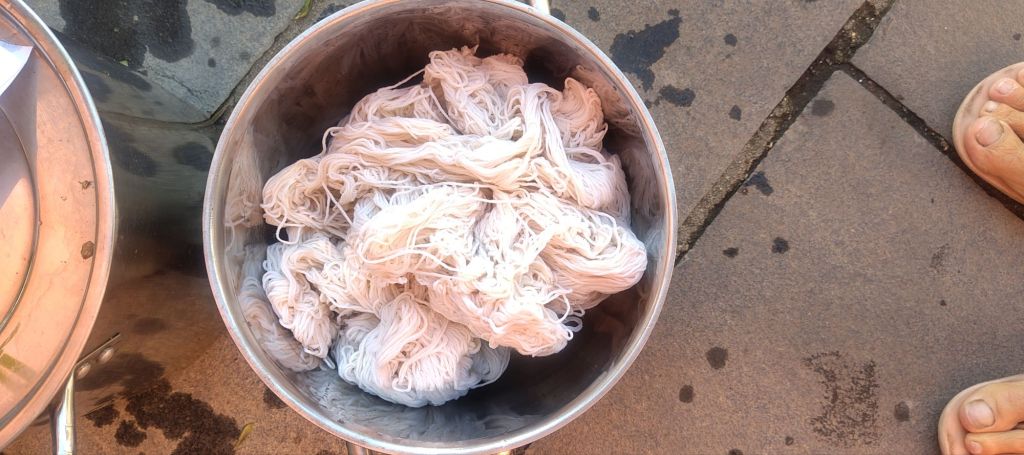
Well, the water was still sludgy so I did give it a second scour using 25% soap and 1% soda and the yarn came out much cleaner but still grey.
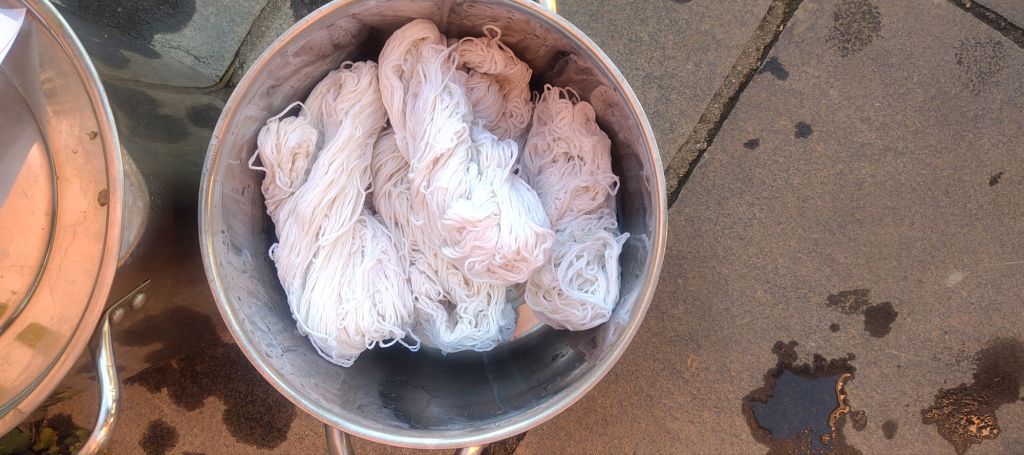
So in all I ended up doing 2 x 45 minute boil washes which were progressively less filthy. Then I bleached the yarn with Sodium Percarbonate (green bleach) in warm water using 3 grams of the bleach granules pre-dissolved in the hot water. That was left to soak for about an hour. After rinsing the yarn was a lovely light creamy colour. Unfortunately I forgot to take a photograph of this, so you’ll have to take my word for it.
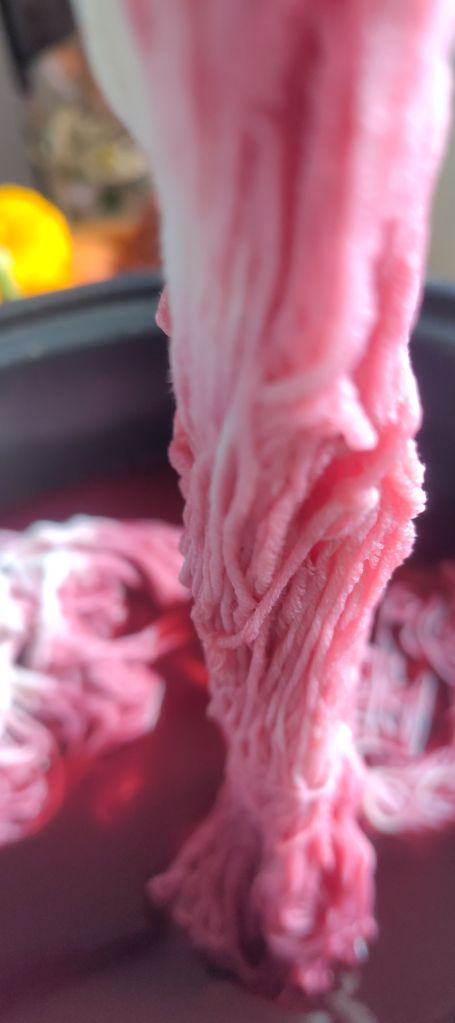
After another rinse it went into the warm dye bath where it sat for 45 minutes with no heat, just the occasional stir. I added more salt to the dye as well.
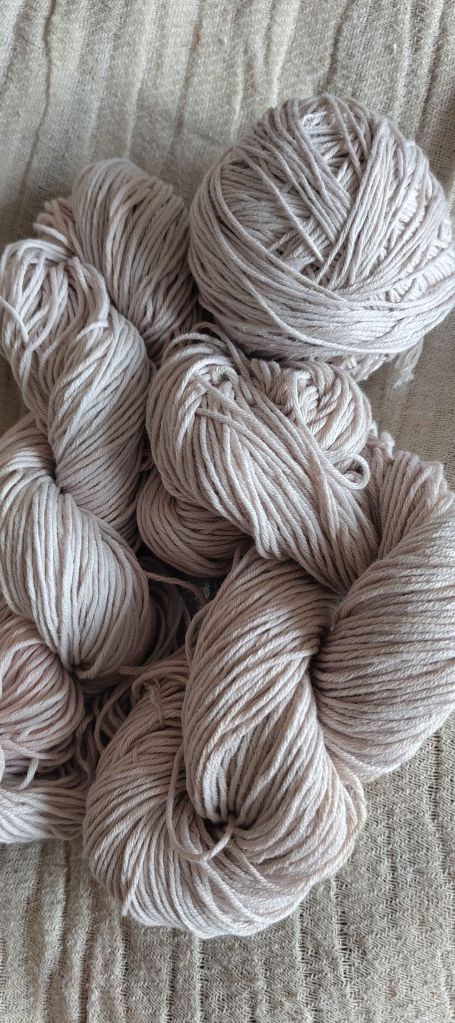
Ok, so now I have some quite attractive, green linen yarn!

Even after all this washing and soaking the fibre still felt quite crisp. So again following Patricia Baines’ suggestions I damped it and beat it with a rolling pin, which seems to have helped a bit. Scrunching it between my fingers has softened it further. My next move is to wind it off the hank through a slightly damp sponge onto another bank to smooth down the fibers and hopefully restore the lustre. Then I’ll wind it into a ball. I don’t know what I’ll do with it I might knit with it I might pin weave with it. Sadly I don’t think there is enough to weave anything meaningful on even a small warped loom.