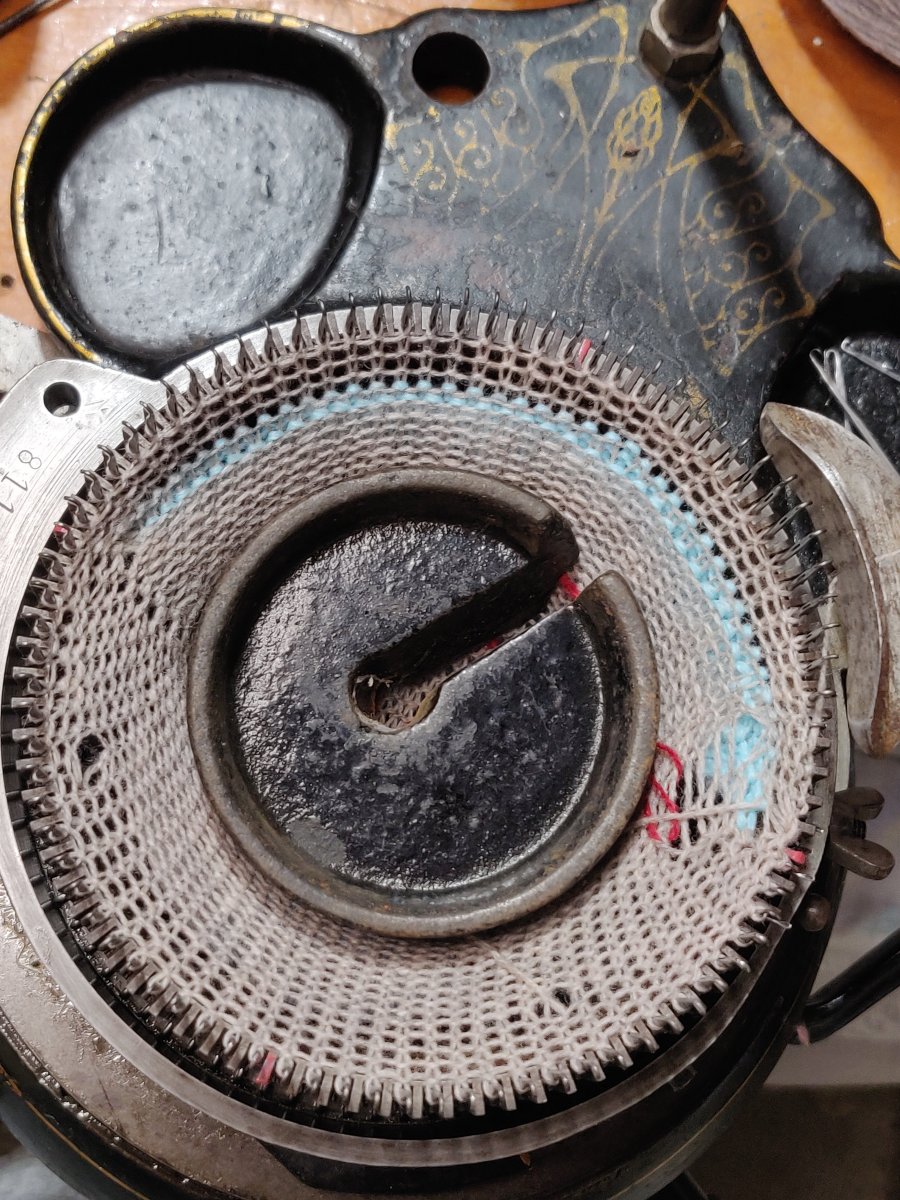
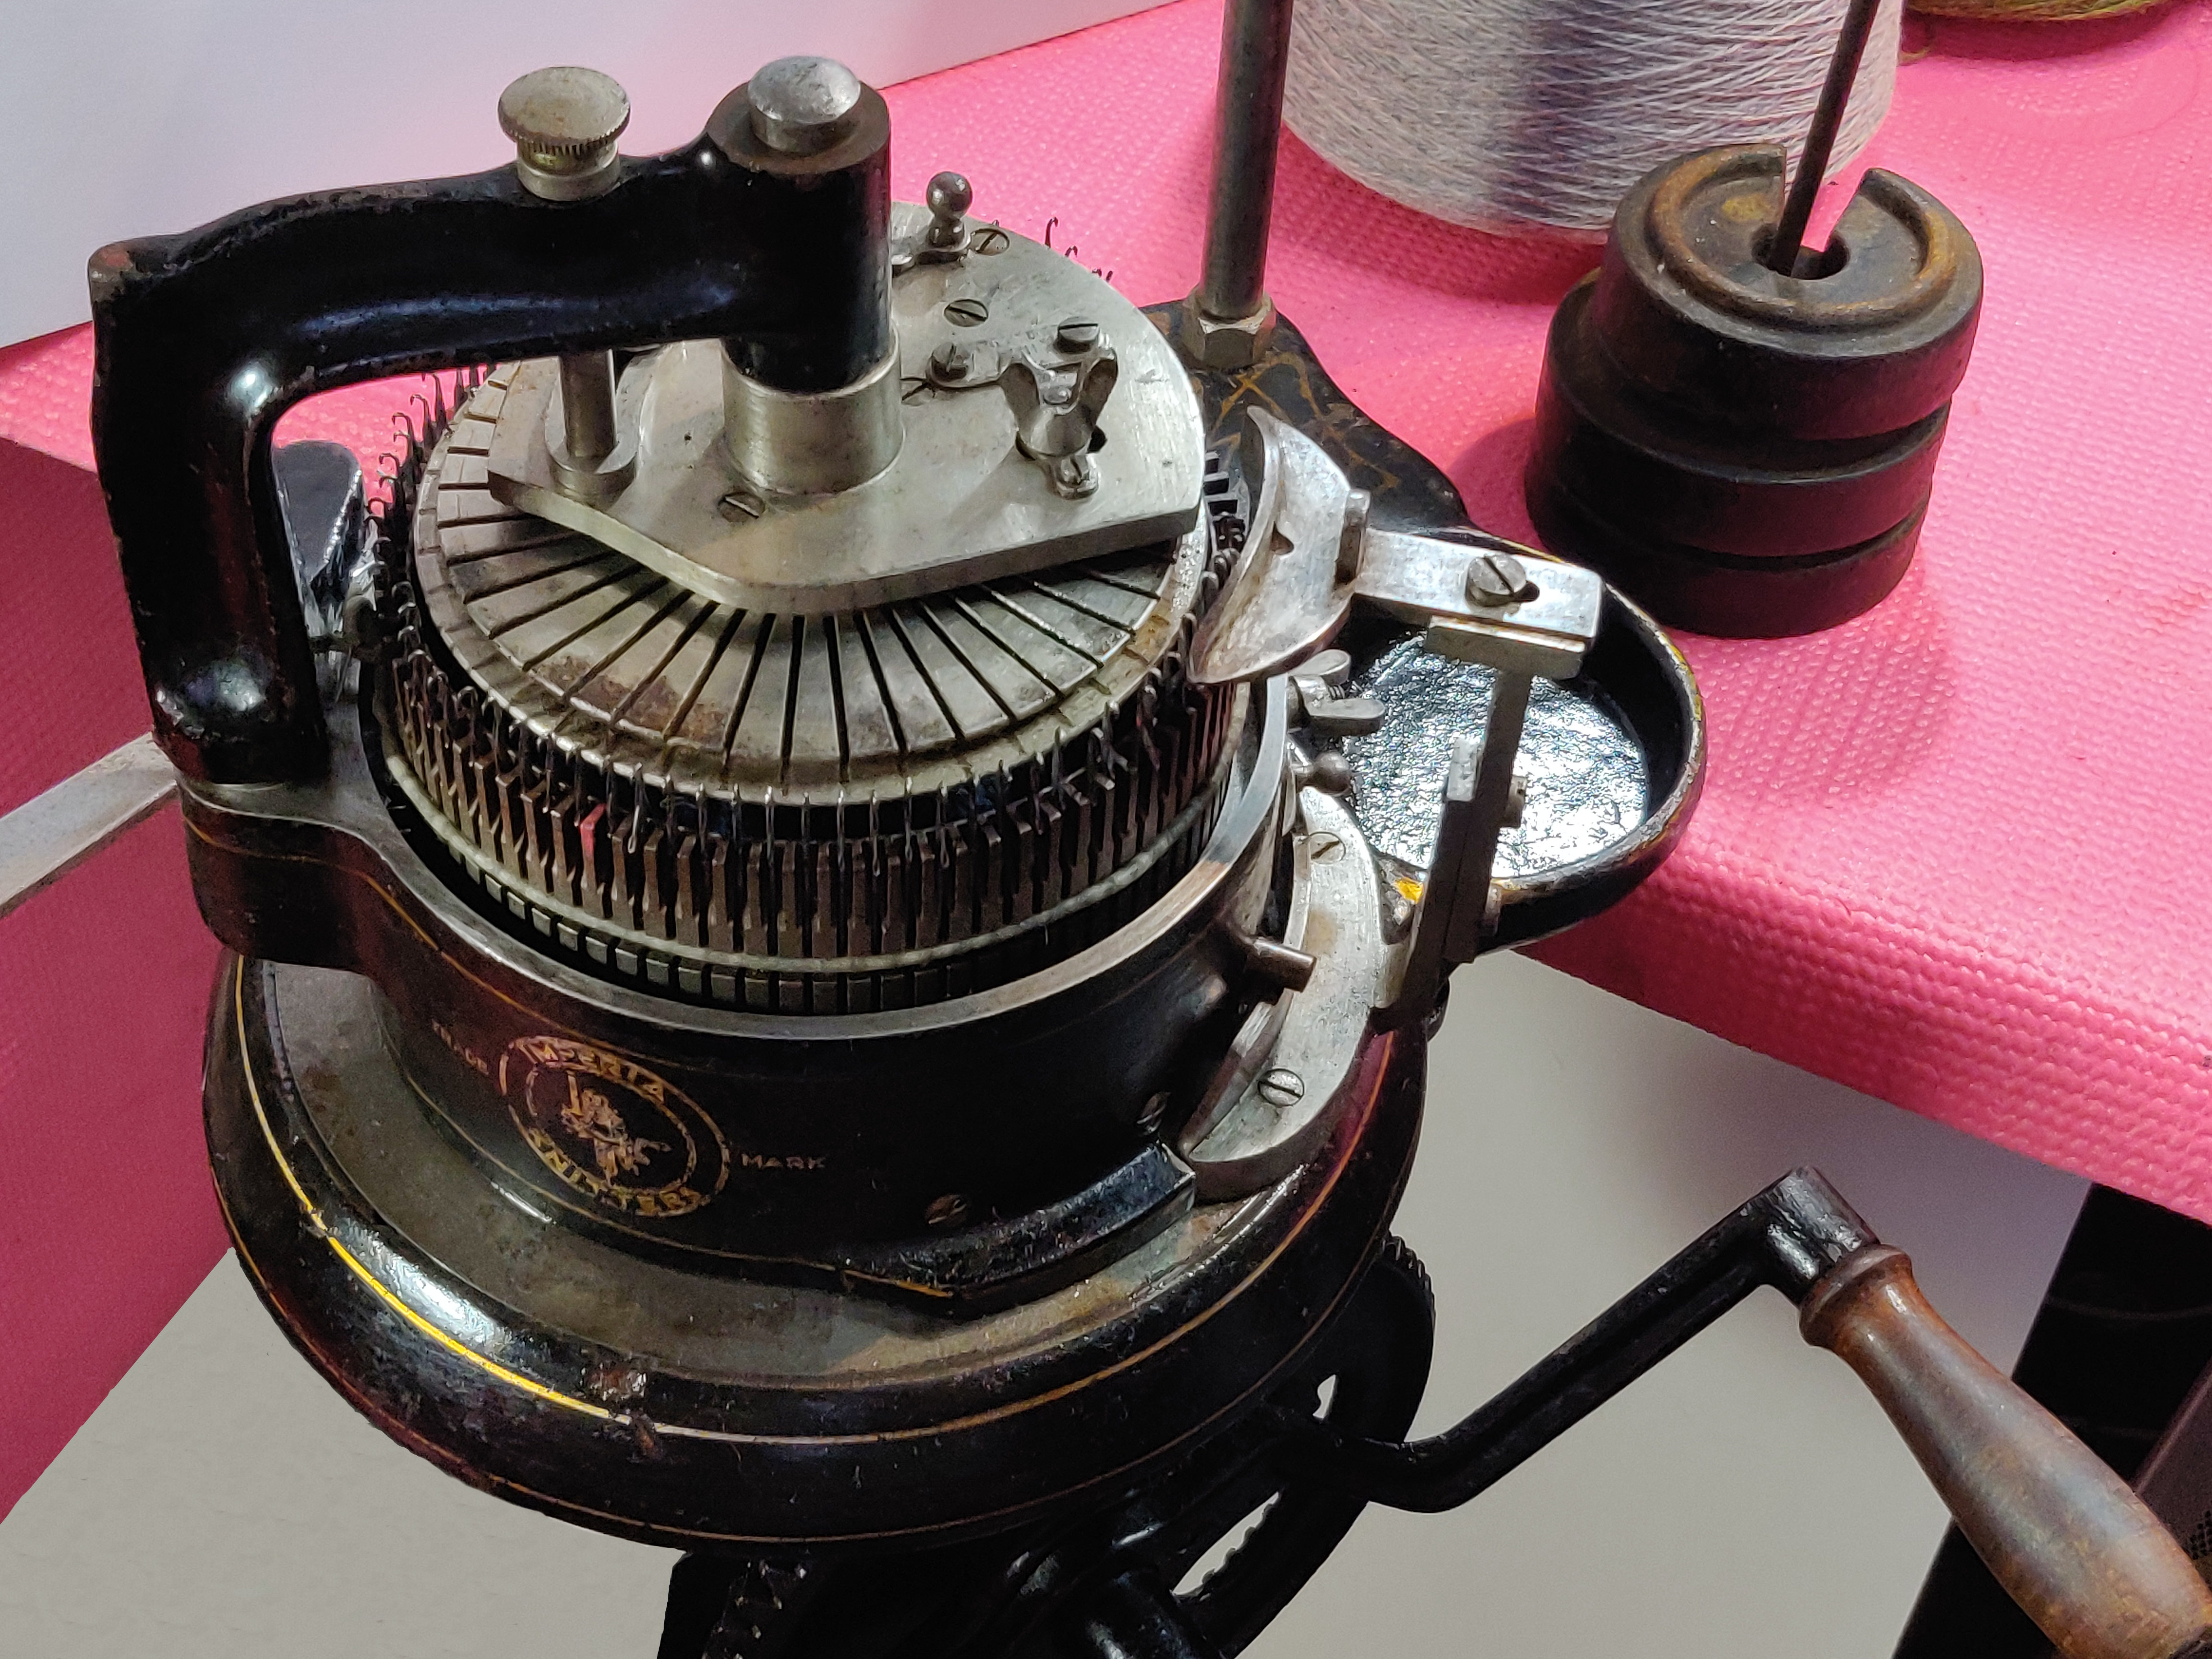
I restored this Imperia sock machine for the Stanmer Preservation Society in Sussex. It was a treat to find this video of me working on the machine at the Heritage Open Day at Stanmer Park in 2021. The event focused on the heritage crafts of spinning, weaving, knitting, linen and lace making. The Preservation Society had grown its own flax crop and were processing it from straw to yarn in preparation for weaving it into linen cloth.
Me enjoying a glitch-free session with the Imperia in the charming barn at Stanmer Park
I can’t believe that this was five years ago! I had my own machine then, an AKMC made by the Automatic Knitting Machine Co, and now I also have an Autoknitter. The AKMC, although a gorgeous and better made machine has more needles so I actually use it less because it comes up a bit wide in diameter for socks, whereas the Autoknitter has the perfect number of needles. Of the top of my head I seem to remember that the AKMC has 84 needles and the Autoknitter has 64 needles, but don’t hold me to that. I dearly wish I had the compound dial for the AKMC to make smaller diameter tubes.
Fortunately I have ribber dials for both machines which makes a difference. The AKMC knits great socks in rib.
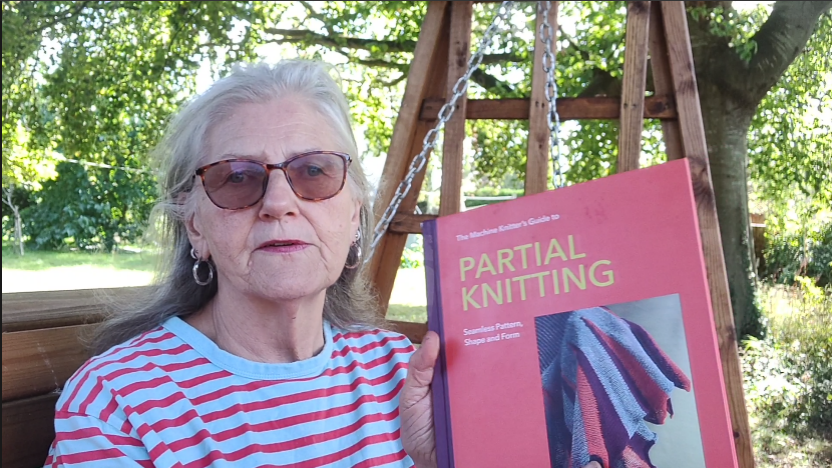
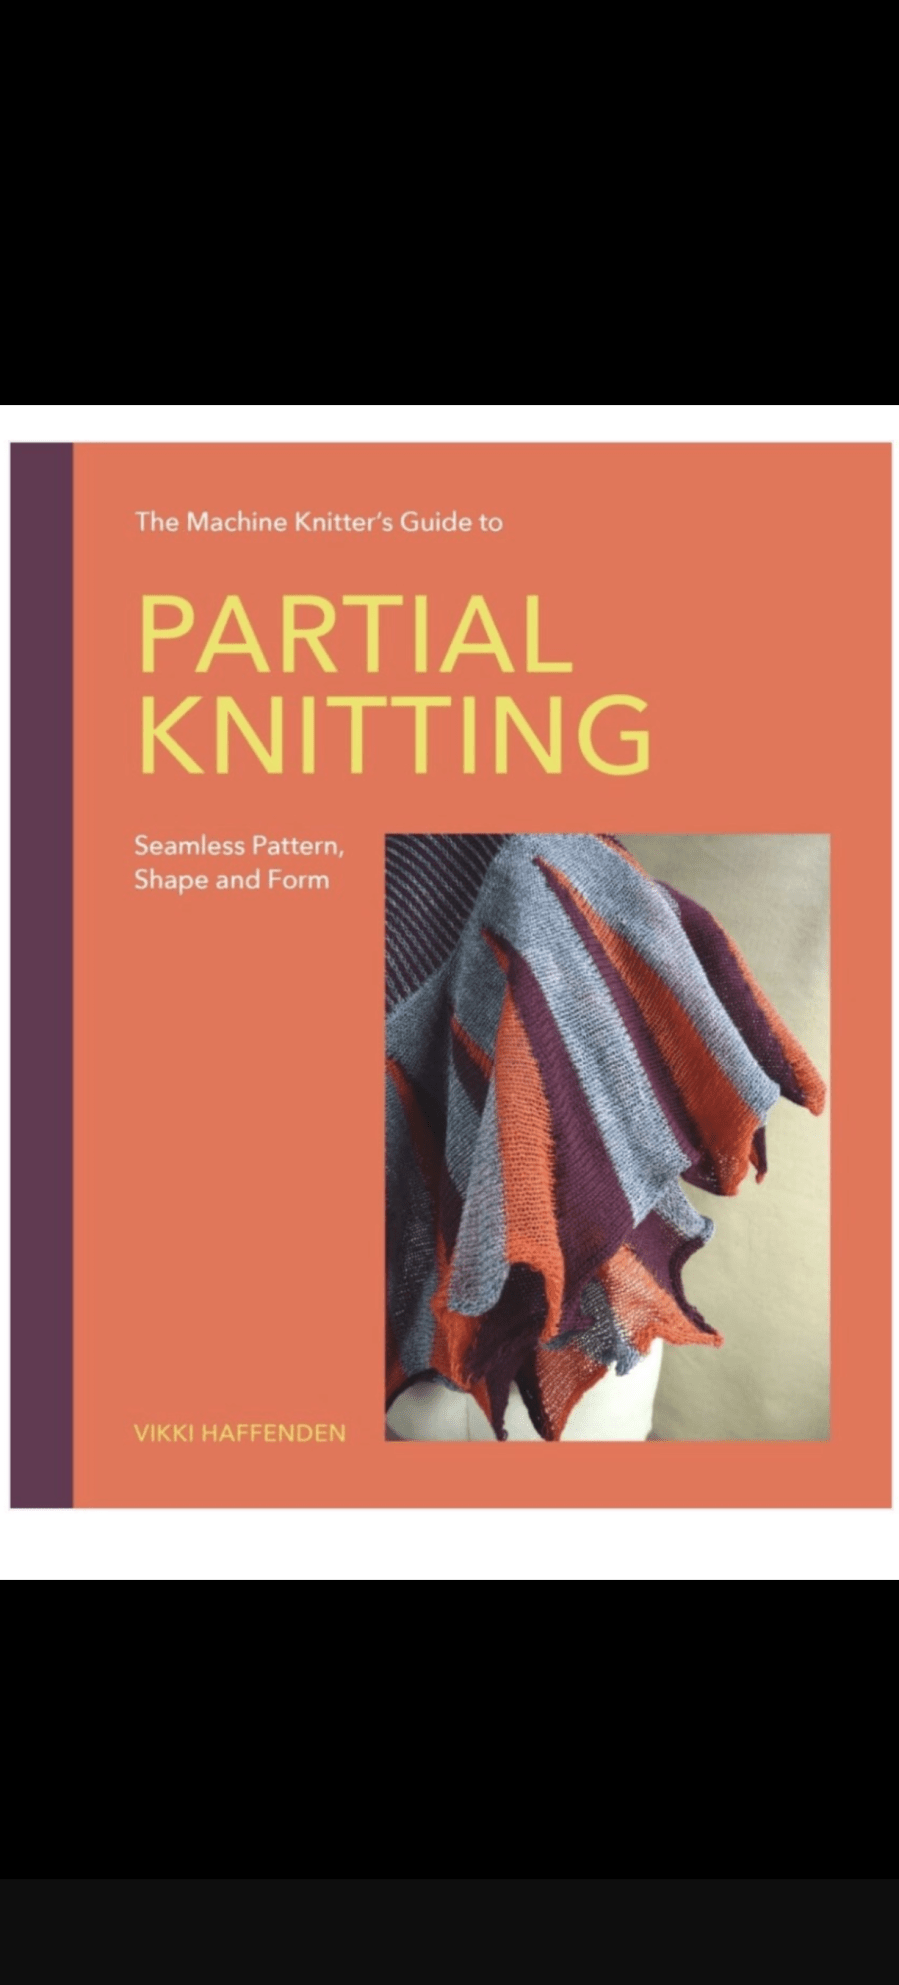
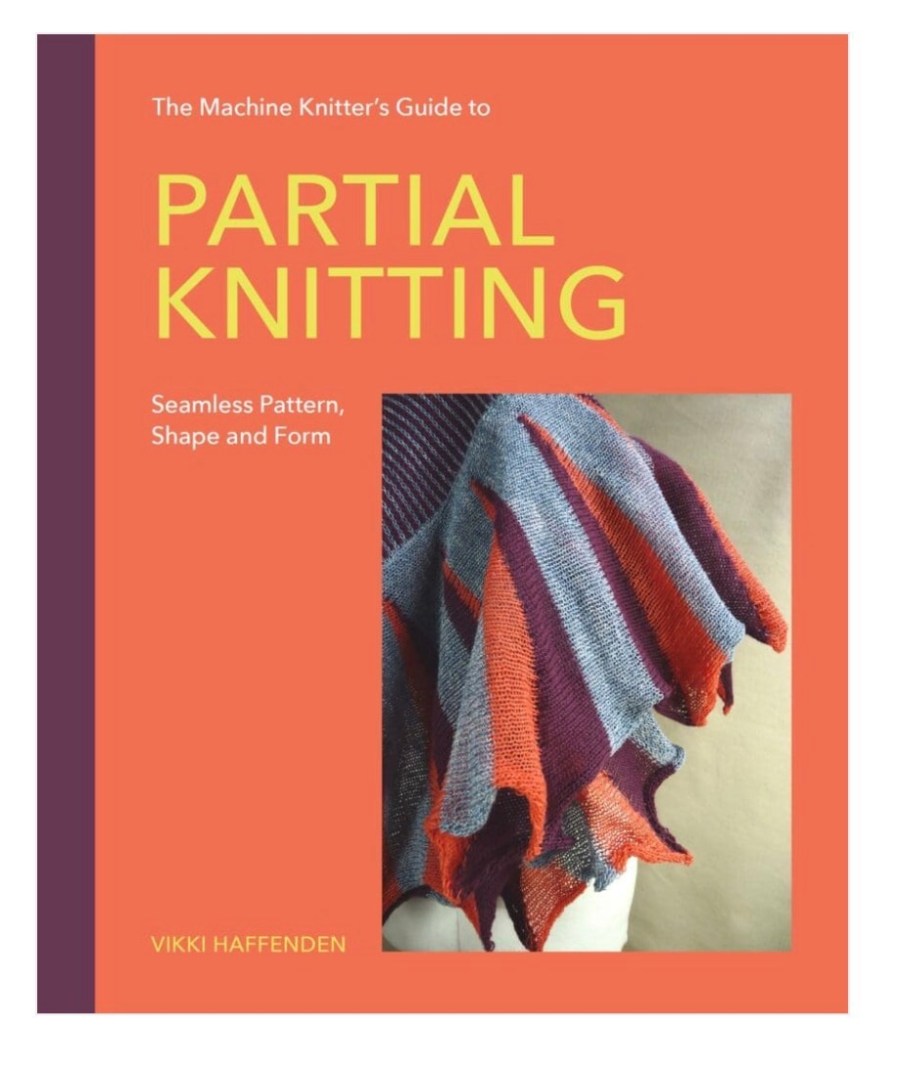
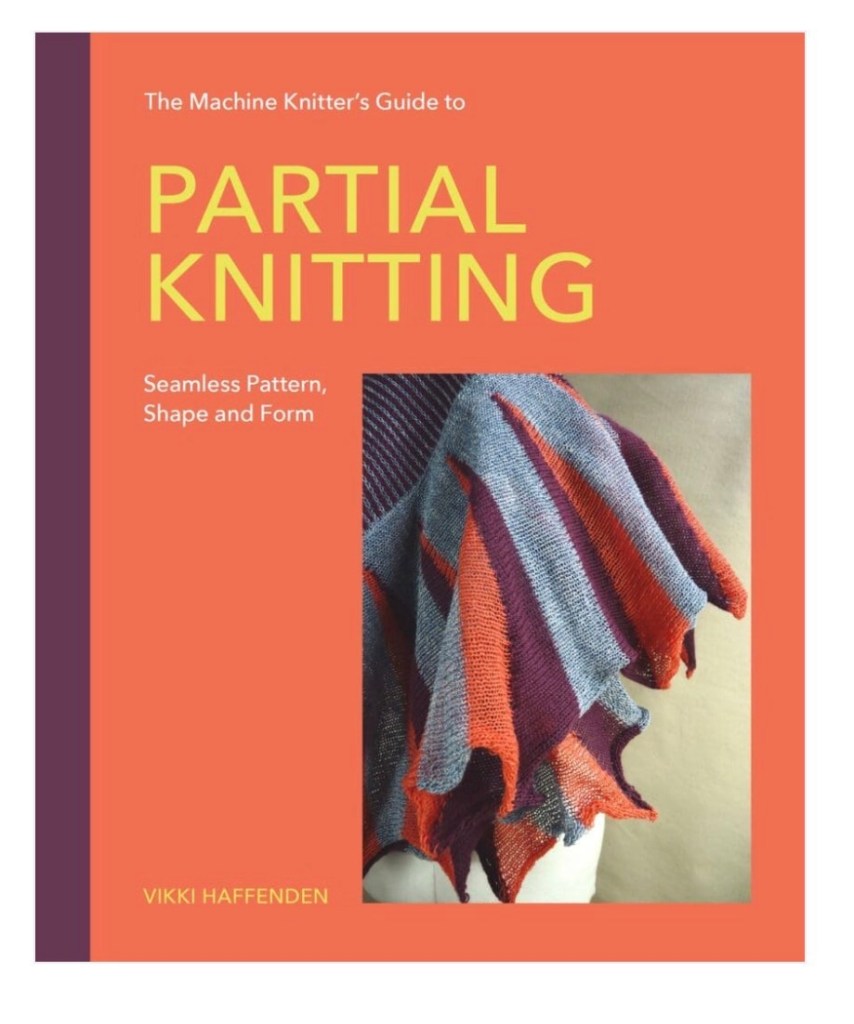
The Machine Knitter’s Guide to Partial Knitting; Seamless Pattern, Shape and Form
I wrote this post last July, and thought I would share it with you in retrospect, as the book has now gone to print.
July 2025
Finally, after a long and fraught 18 months it is done!
I signed the book contract only a few weeks before we moved house. After several false starts with the sale of the house we thought we would be staying for a while and would lose the property we wanted to purchase. However, the way it happened in the end meant that we had to rush into moving in a 3 week window.
Which meant of course that we had to pack what we hadn’t already packed in a hurry, and organize everything else and then move and organize this end when we arrived. Settling in took far longer than anticipated due to unanticipated building work through last summer. It wasn’t until late autumn that I was able to safely unpack a machine and start to knit and write in earnest. Then the arrival of our first grandchild interrupted my flow for a while, the sun shone and the garden needed work done. All in all, let’s say life got in the way!
The last month has been full-on working on the book, so it was wonderful to finally send it off. Of course they will be editorial suggestions and corrections to do, and then a final check once it is laid out for printing, so it’s not finished yet.
May 2026
If you have persevered and read to this point, you might like to know what the book is about. This book, my third about machine knitting focuses on short rows, or partial knitting. It is suitable for any machine with holding position, single bed, double bed, plastic or metal bed, and any gauge. I particularly wanted to include the popular plastic bed, mid-gauge machines like the LK150. Rather than struggle to emulate the punchcard machines with repeating patterns, short row pattern and shaping can be as easily done on either type of machine.
Hands up who doesn’t like icord? It’s an extremely versatile little tube that has many uses, amongst which is as a trimming or tie cord, or standalone as a thick yarn. Reach back to your childhood memories and you might have used a ‘Knitting Nancy’, or even a cotton reel with nails driven into the top to knit i-cord. You can hand knit i-cord with double pointed needles or even on two straights, with a bit of slipping and reverse knitting.
To my joy you can also knit it on a bed domestic knitting machine. On a double bed machine, or a single bed with a ribber attached, on each bed you cast on half the number of stitches that you wish to have around the i-cord, (for example, two needles on each bed will create a four stitch i-cord), then set one bed to slip and one bed to knit. This creates a tube of circular knitting. When using just a single bed, this is also an easy setting. Cast on four stitches, set your carriage to slip in one direction, and off you go. The slip pulls the yarn around from the last stitch directly back to the first needle and then you knit all four stitches again. After which the yarn goes back to the first needle again, and it makes a very nice little tube.
I have knitted i-cord by hand and on my knitting machine for many years, and at one point I purchased a hand-cranked, four needle circular i-cord machine, (I think it was a Prym?) which meant I could knit yardage very simply without blocking the use of my main knitting machine. I found the design to be quite awkward to use, so a bit later on I purchased another model, (it might have been Clover, but I think it was a French make). This is a much better designed piece of equipment, it fits well in the hand and is far more cheerful to look at because it is bright yellow and purple. The big plus is that any of these machines produce a consistently even i-cord. However, althouigh its faster than hand knitting, it still requires hand cranking.
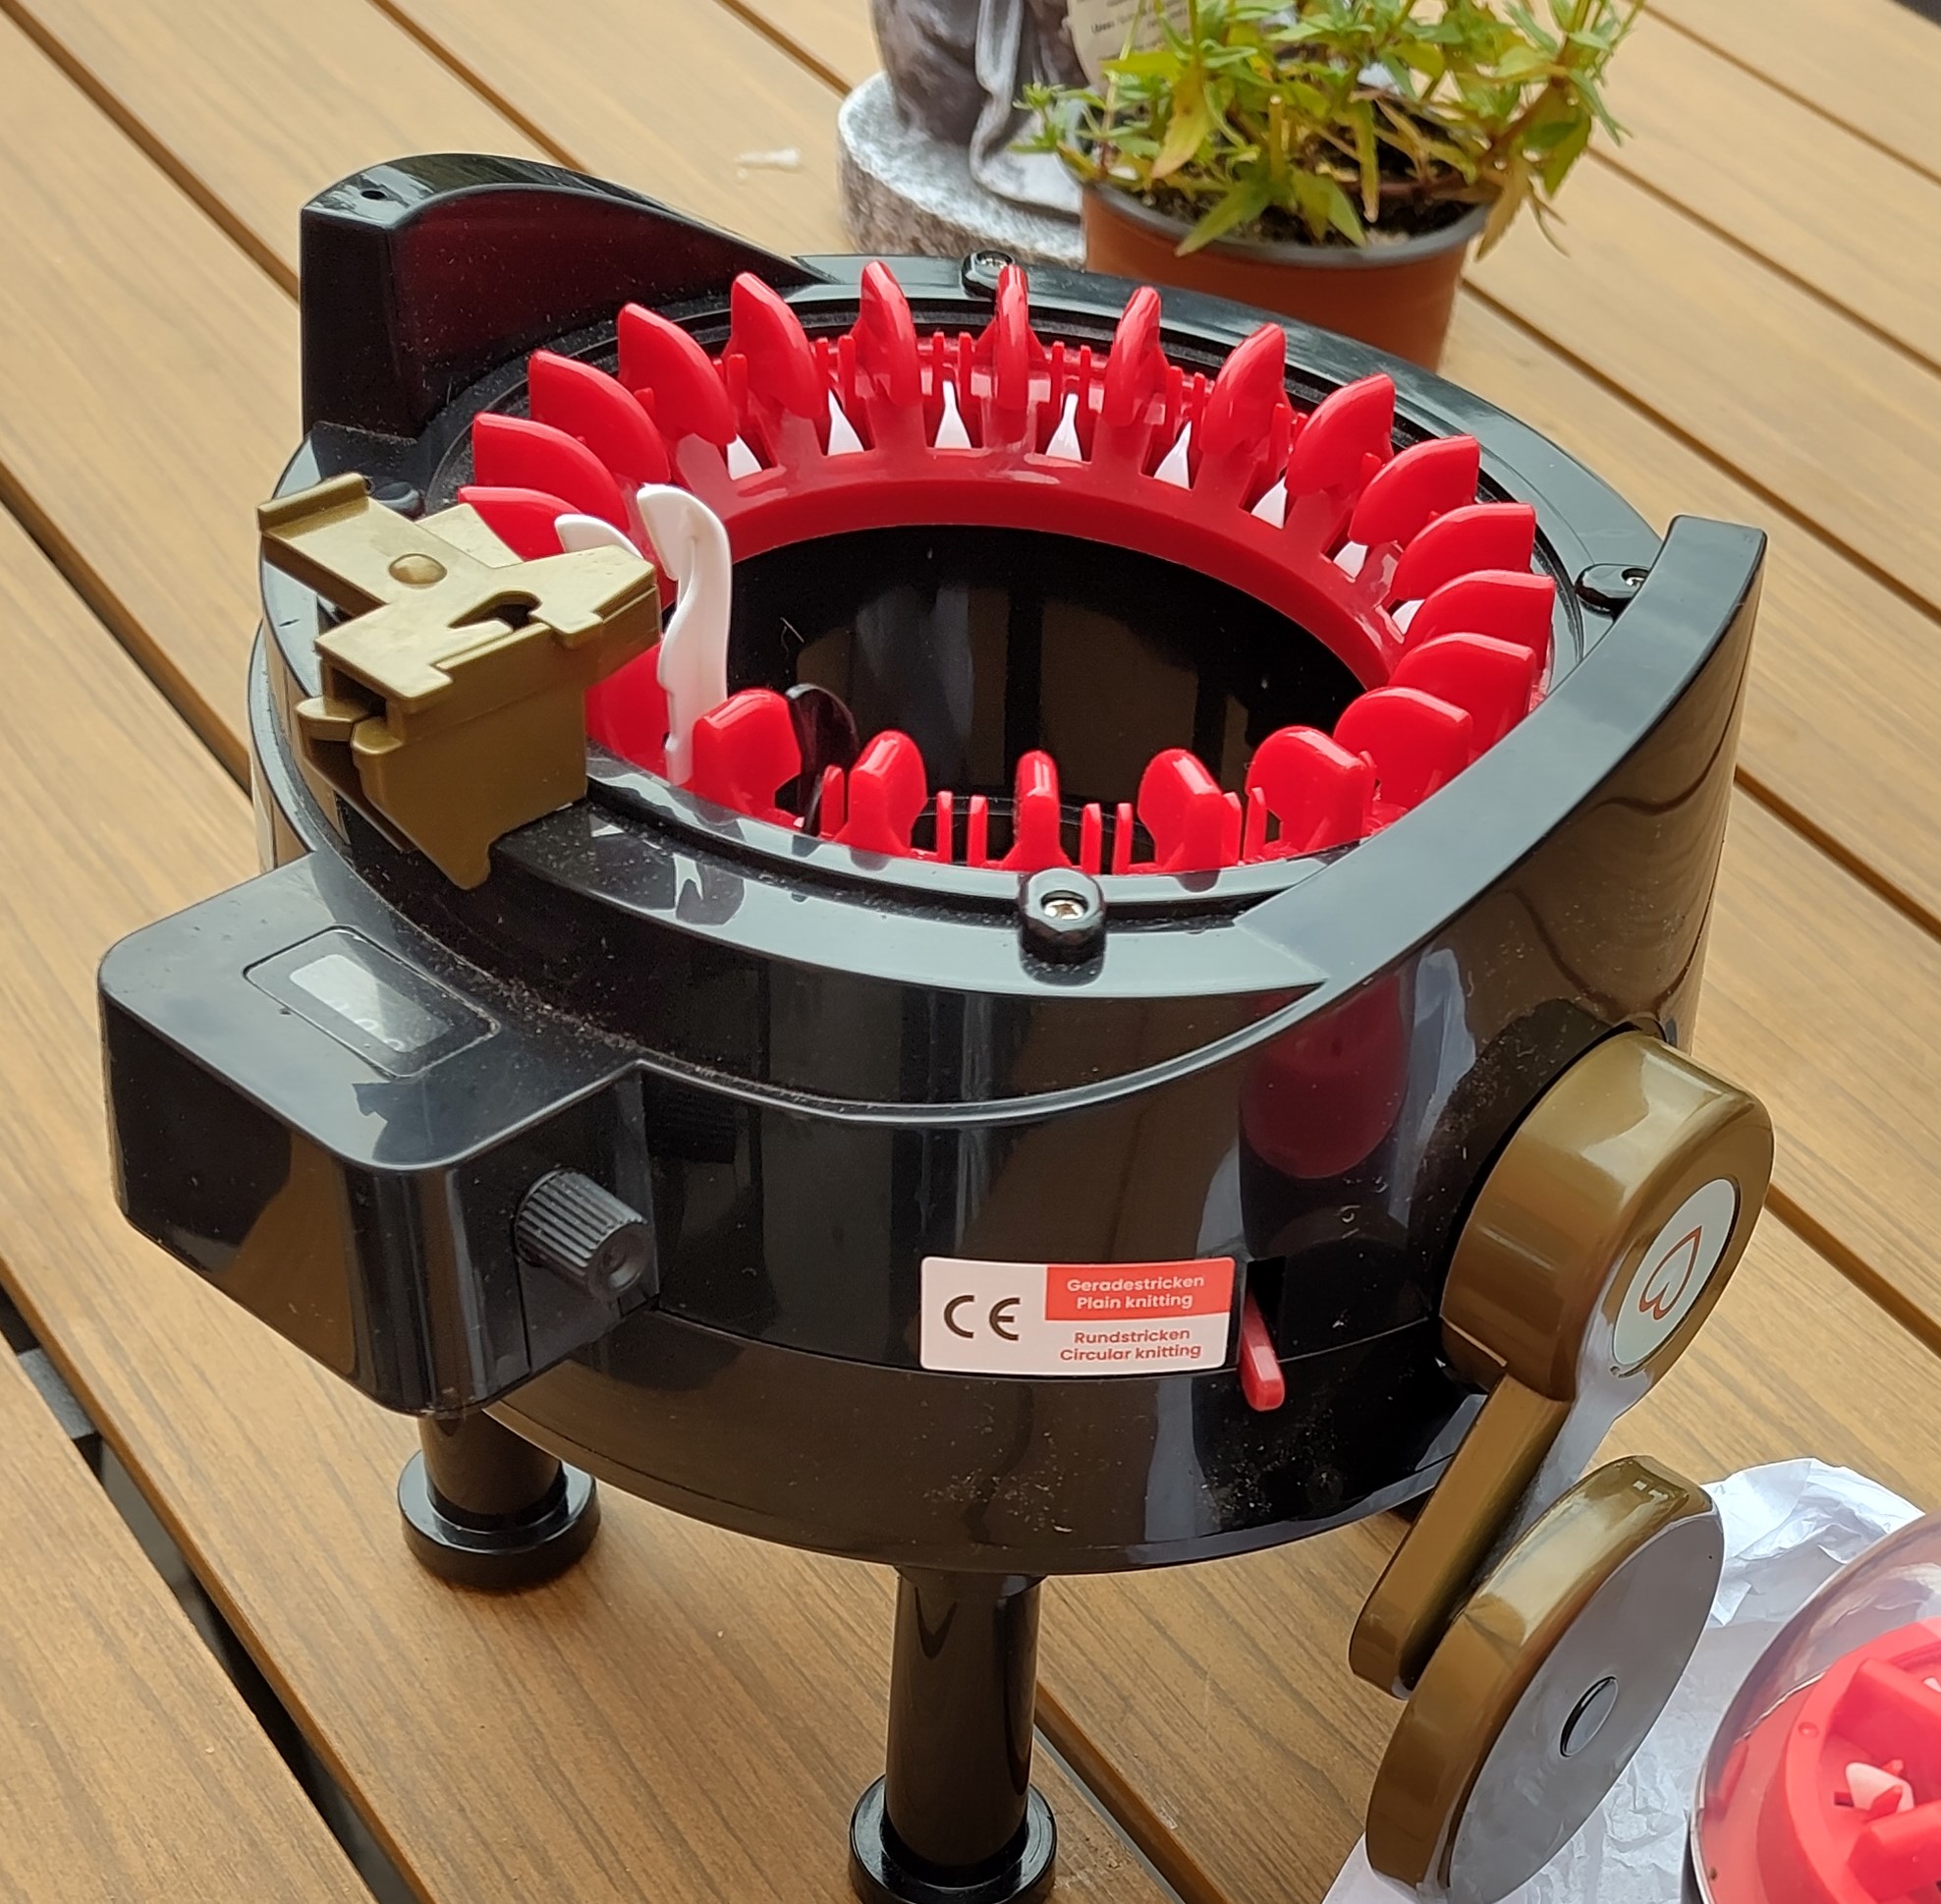
Apart from these little i-cord machines I also have a plastic, twenty-two needle Addi circular machine. The Addi clearly knits a bigger tube that the little four-needle machines, but it works on the same principle with a revolving cylinder of vertical needles into which the yarn is fed through a statioary feeder. This means that the knitting coming out of the bottom of the machine turns with the cylinder of needles and can (and will) tangle.
The drawback with all these circular knitting machines described so far is that the knitting hangs down in the center of the cylinder and requires considerable weighting to make sure the stitches clear off the needles. Once the weights reaches the floor they stopped doing their job and unless rehung further up towards the cylinder, the stitches will miss-knit. If the knitted tube is turning at the same time as the weights descend, there is clearly far more potential for disaster to happen as the weight swings and the knitting twists. That is why the four needle i-cord machines and the Addi are my least favorite to use.
My pride and joy is a vintage, and very heavy, solid metal, circular sock machine. Although this still requires weights and they are very heavy weights, this knits in a slightly different way, with the feeder revolving around a stationary cylinder of vertical needles. This means that the knitting hangs straight down and does not twist as it is made. The advantage of this is that you only have to keep an eye on the weight, and do not have to untangle the knitted tube every so often.
Whilst working in industry, and at the University where I taught, I worked with what are called ‘strapping’ or ‘cording’ machines. The ones in use were small cylinder circular machines and fine gauge, so had tiny needle hooks and required thin yarns. These operated on the same principle as the CSM, but instead of weights, the cord winds onto a vertical frame which is synchronised to revolve at the pace necessary to keep tension on the cord as it descends towards the frame. This automates the process; the only human interaction is to change yarns and swap full frames out for empty ones. I suspect that the latest models will be almost totally automated with automatic yarn splicing.
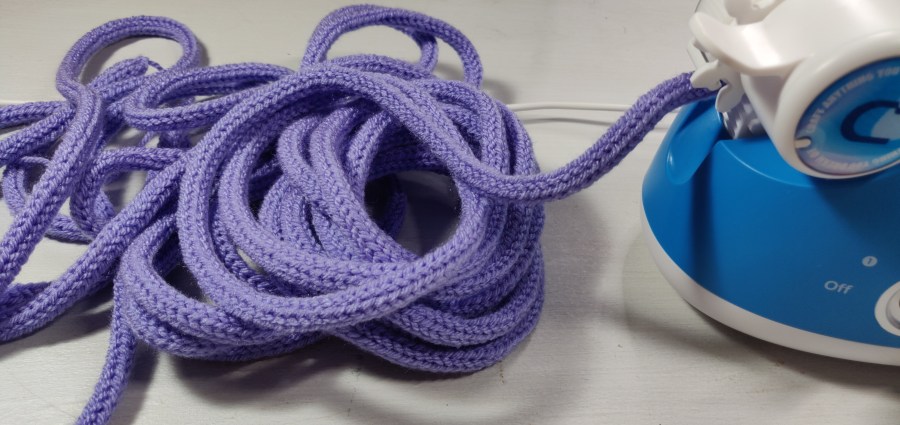
Which brings me to the purpose of this post. At last! Because of the problems already discussed I was interested to try out the Caydo Automatic I-cord Machine. On close inspection, Caydo seemed to have addressed the problem of the knitting twisting by adopting the idea of a static needle cylinder and a revolving feeder, and overcome the weighting by laying the machine on its side and adding rotating cogs to tension the completed i-cord. I was intrigued as to whether this machine would prove to be as good as it looked in the adverts.
My verdict is that overall I really like this machine
I love gadgets, and this looked like a great gadget with thoughtful design which suggested to me an improved user experience and a positive practical outcome. Caydo kindly provided me with a machine to test and review, so that is where we are now. My video review is quite long, but I wanted to share the unpacking and assembly, (minimal) as well as explore the knitting process. My verdict is that overall I really like this machine.
It doesn’t like fancy yarns, but thats not uncommon
The machine won’t knit well with fancy yarns, and works with a limited range of yarn weights, but that is true of all domestic knitting machines. I met a lady the other day, and when chatting about the machine she was disappointed that it would not knit with chenille, but I am not sure that is a reasonable expectation as it clearly says in the manual what is and isn’t suitable.
I experimented a little, but as my aim was to review the machine as it stands, these were quite limited. I found that the harsher/firmer the yarn, the less the machine liked it. For example, I tried some crepe yarn and although it worked, the machine was not as happy as with less tightly spun yarn, until I helped by unwinding the yarn from the ball, the machine dropped the occasional stitch. I have had reports from other users that hand knit DK cotton works really well, but have not so far tested this out. The size of the hooks dictate the thickness of the yarn. Aran is listed as the thickest, but if not sure, lay the yarn in the hook and see if it sits there comfortably without being compressed.
Things I found that helped if the machine struggled:
manually wind to begin with and start with slow speed until you are satisfied that all is well
check that the yarn is in the tension disk correctly
watch for the yarn ball flipping over, this will tug on the machine
rewind the yarn onto balls that will pull-off easily, (if the machine has to tug at the yarn it stutters)
waxing as you rewind can help smooth the yarn
manually unwind the yarn before it gets to the machine if it is sticking to itself on the ball
listen to the machine, you can detect problems early by a change in rythmn/note
Be thoughtful when choosing yarns
The machine has weight, so does not shift around in use, and the case seems pretty robust. I am a little concerned about the rather delicate design of on/off/speed lever, as that is your ’emergency stop’ and might need to be turned quite rapidly, but so far it feels strong enough in use. The ‘knit/purl’ dial rotates when the machine is working, and yarn might get caught on this, so keep your work space clear of odd bits of yarn. I obviously don’t know how long the machine is going to last, and my guess is that the mechanism inside is largely plastic, (but I’m not taking it apart to find out). In my experience plastic cogs, such as those in ball winders are susceptible to strain and if worn may start to slip. The needles are metal, unlike the Addi, so should give stalwart service, as long as the latches don’t get bent. The needle ‘tricks’ in which they slide in and out are also plastic, but once again, provided they do not get burred or dented, they should wear smoothly, much as those in the larger, flat, plastic bed machines. If they do get dented with a sharp edge on one side of the indentation, the needle may catch on them as it slides in and out and could cause jams, (that is the voice of experience speaking). Over-thick and fancy yarns will contribute to all these potential problems, so be thoughtful when choosing yarns.
I was provided with a machine so that I could write/film this review, but have tried to be unbiased in my opinion and when describing my experience whilst using it.
‘The Machine Knitter’s Guide to Partial Knitting: Seamless Pattern, Shape and Form’, is available to pre-order in the UK from Crowood Books, and online retailers. In the US it can be ordered from Blackwells.
Learn how to control short rows and create fab effects with this fascinating technique.
I’ve always been fascinated by short rows, or partial knitting as this technique is also called, so when the opportunity came to write a whole book about the technique I was super excited. The book opens with some interesting information about short rows to whet the appetite, the first chapter is about the absolute basics, so is ideal for people who have not worked with short rows before. The chapters progress through the different ways of using short rows; shown with examples, diagrams and written instructions. Some also have half scale sample patterns for practising the techniques which include more advanced uses, such as 3d shaping.. There are step-by-step instructions and each chapter builds on the knowledge of the previous chapter. The book ends with a chapter of patterns exemplifying the techniques covered throughout the book.
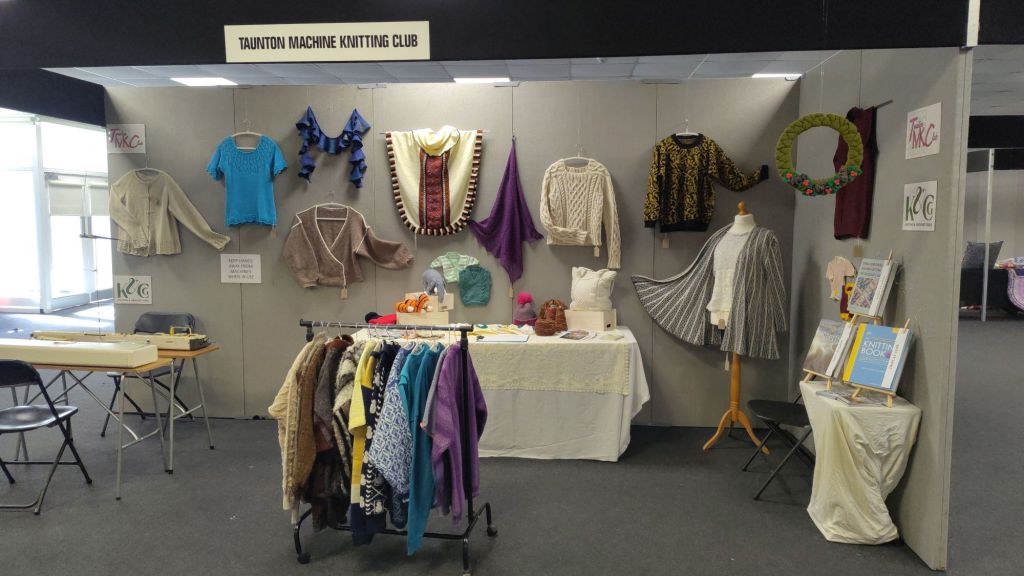
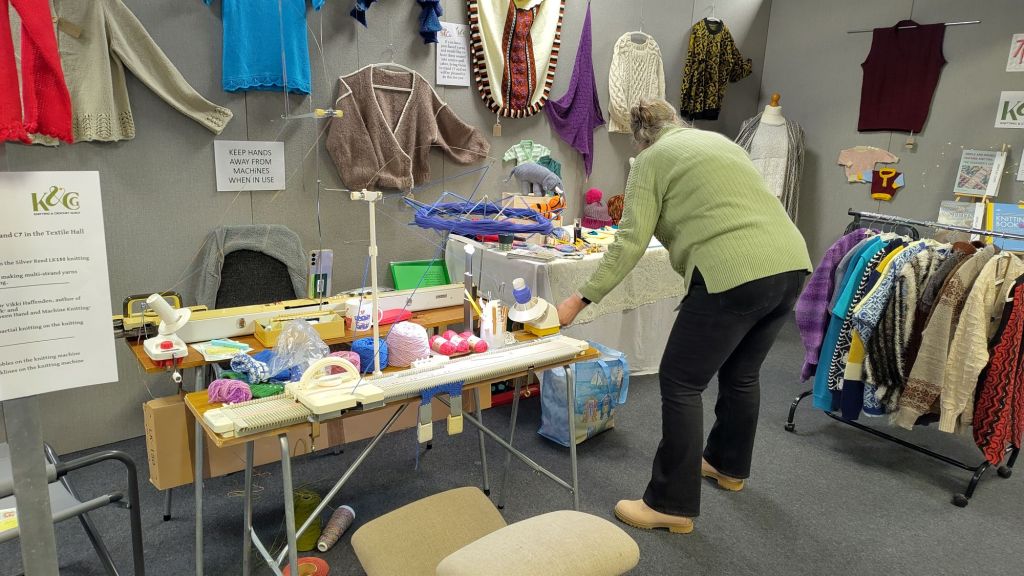
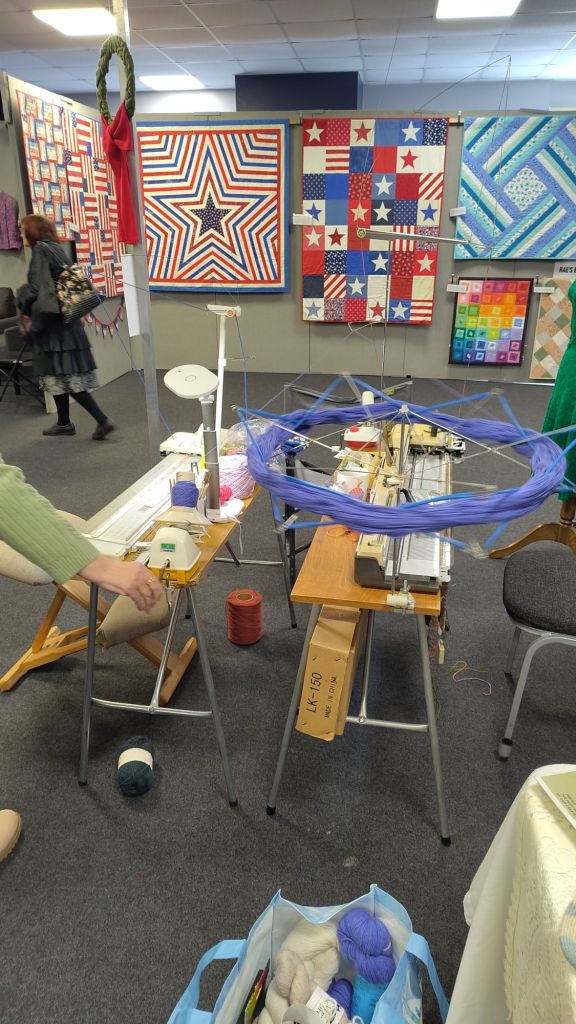
It’s been a busy day today setting up the Taunton Machine Knitting Club stand at Craft 4 Crafter’s exhibition in Exeter. The Club is pleased to have recently become a branch of The Knitting and Crochet Guild, making us part of the wider UK knitting community.
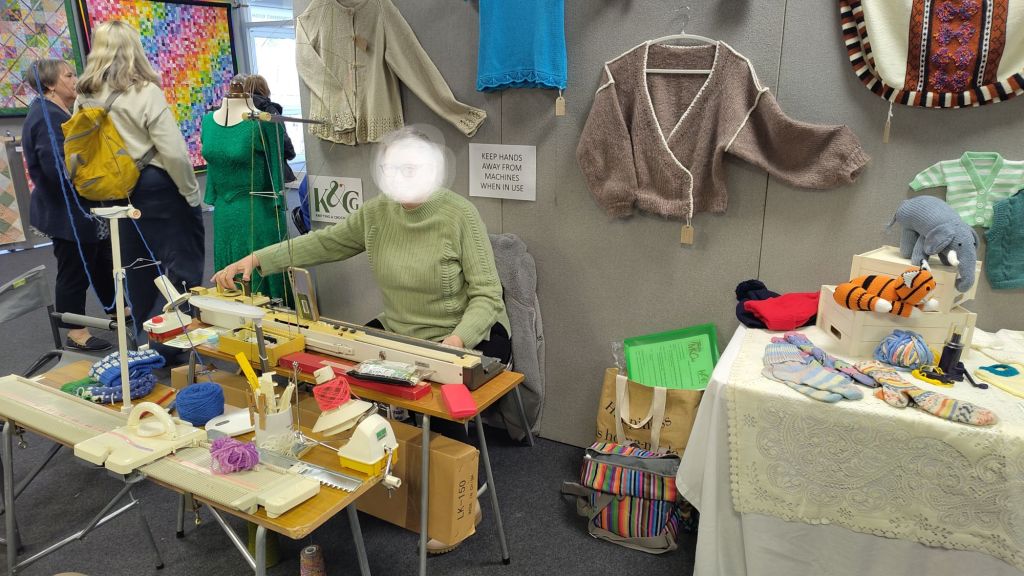
The display features work by most club members including lace, intarsia, knitweave and double jacquard. Throughout the three day exhibition members will be demonstrating different techniques such as cables, bobbles, shaping and short row knitting.
The display is finally ready, and I am not climbing a stepladder again today!
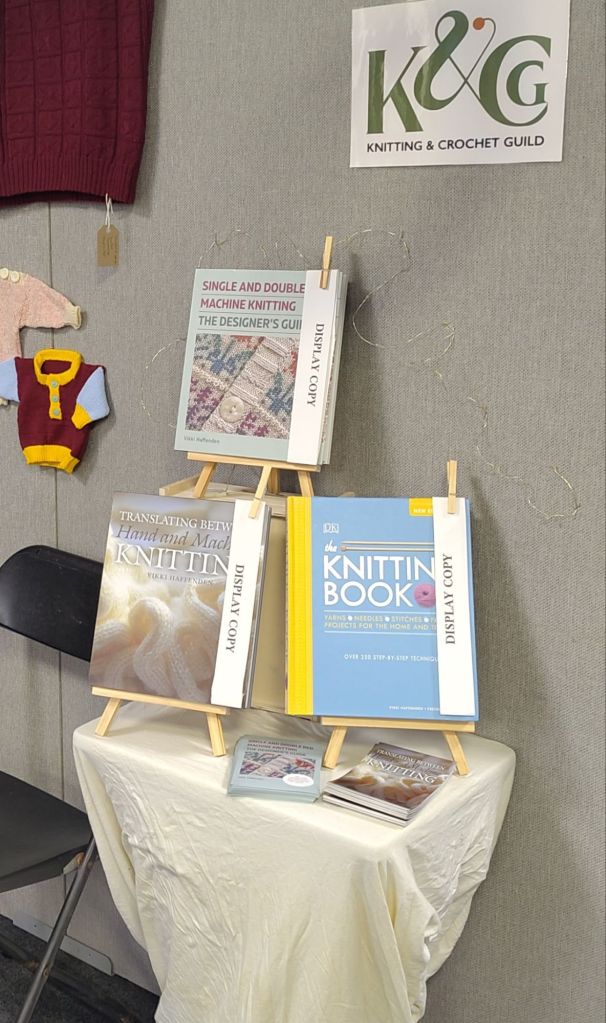
I will be giving a talk on Friday about my books, ‘The Knitting Book’, ‘Translating Between Hand and Machine Knitting’ and ‘Single and Double Bed Machine Knitting; the Designer’s Guide’.
The table will have to be large enough to fit four copies once my latest book, ‘The Machine Knitter’s Guide to Partial Knitting’ is published later this year.
Update
The show went really well. There was lots of interest in the club, machine knitting in general and the Knitting and Crochet Guild.
The machines were a great drawYarn winding for those who bought yarn in hanks
This is something I used to struggle with when first starting to machine knit, and to be honest, it still sometimes needs a bit of thinking before I get it right.
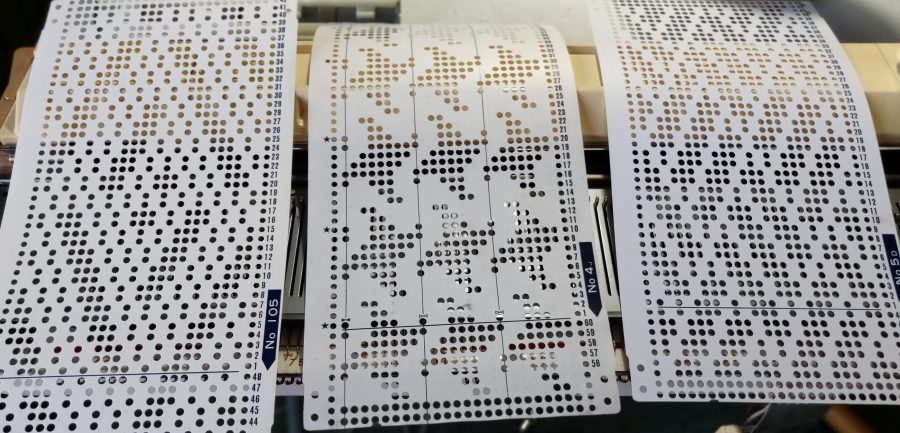
So I put some information together which I hope will be useful to others who find the holes and blanks a bit confusing. It also has some helpful ways to read what is actually being read by the card-reader, rather than what is visible above it.
Lets start with the fundamentals:
Knitmaster/Silver Reed (KM/SR) machines only knit pattern from the punchcard when the side levers are at the triangle and the pattern cam dial is set to the relevant stitch type; F, S, T etc.
Brother machines only knit pattern from the punchcard when the KC dial is set to KC, KCI or KCII, as appropriate to the machine, and when the relevant pattern cam buttons are pressed, MC, tuck, part etc…
However, on both makes the needle positions are the same
Pattern cam setting
Punched holes
Needle position
Blanks
Needle position
2-col-in-a-row
knit with 2nd colour
UWP
knit with MC
WP
tuck
knit
UWP
tuck
WP
slip/part
knit
UWP
slip
WP
On both Brother and KM/SR machines, the punchard line being selected is hidden inside the machine. Seven lines below on a Brother, and five below on a KM/SR.
Brother machines, both punchcard and electronic, pre-select needles before knitting the row. Therefore, the pattern can be interrogated by looking at the needle selection in conjunction with the needle positions listed above.
KM/SRpunchcard machines have a card reader with feelers. These are selected according to the punchcard pattern but the actual feeler action is hidden behind the carriage. The pattern line can be manually interrogated by locking the punchcard.
On Monday I had the pleasure of talking to Techknitters Machine Knitting Club in Chicago about my book ‘Single and Double Bed Machine Knitting; the Designer’s Guide’. Although this was published in 2024 the UK, it was not published in the USA until 2025 and I was due to talk to the group in December of that year. Moving house and having a lot of building work in progress meant that I couldn’t manage an online talk at that time, so we rescheduled. The new date came around quickly, doesn’t time fly?
Although several members indicated that they already have the book, I decided to discuss the overall content of book for those who do not yet have a copy. During this I explained my thinking behind the plan of the book and the main intention behind my writing. Following on to this, I concentrated on snippets from each chapter.
One of the reviews of the book mentioned that it is unusual to find design development and process included in a knitting book, so I took this comment as the focus of the rest of my talk working with material from the chapters, ‘Designing with Colour’ and ‘Finding Inspiration and Designing Pattern’.
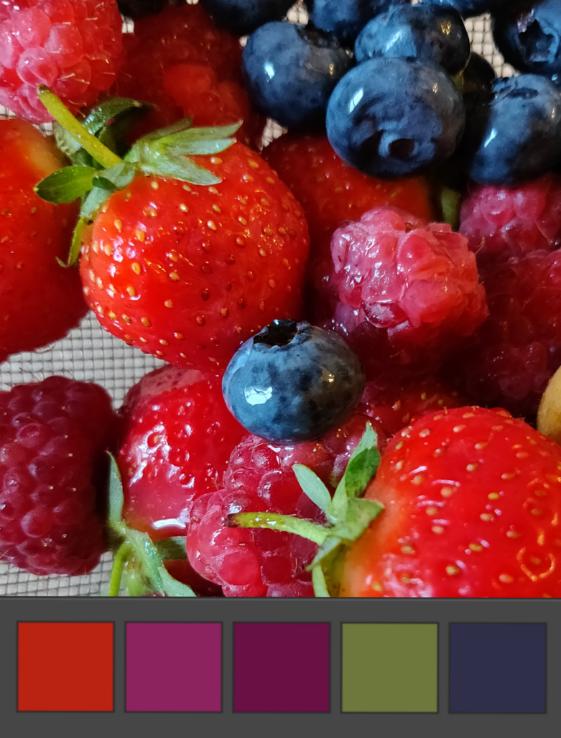
This section of the talk started by looking at extracting colour inspiration from one of the images used in the book, and then reviewing a sample from the book that had been designed using these colours to work stripes. The practical part of the talk was about selecting yarns, designing another stripe, and revising and developing the design. Each step was shown and design rationales discussed. The sample was knitted and a finished and steamed version was reviewed to which the group gave feedback on how it might be improved/adapted. All in all it was an enjoyable experience.
I will be talking to the group again in August about my latest book, ‘The Machine Knitter’s Guide to Partial Knitting; Seamless Patter, Shape and Form’ which is due to be published in Spring 2026 by Crowood Press.
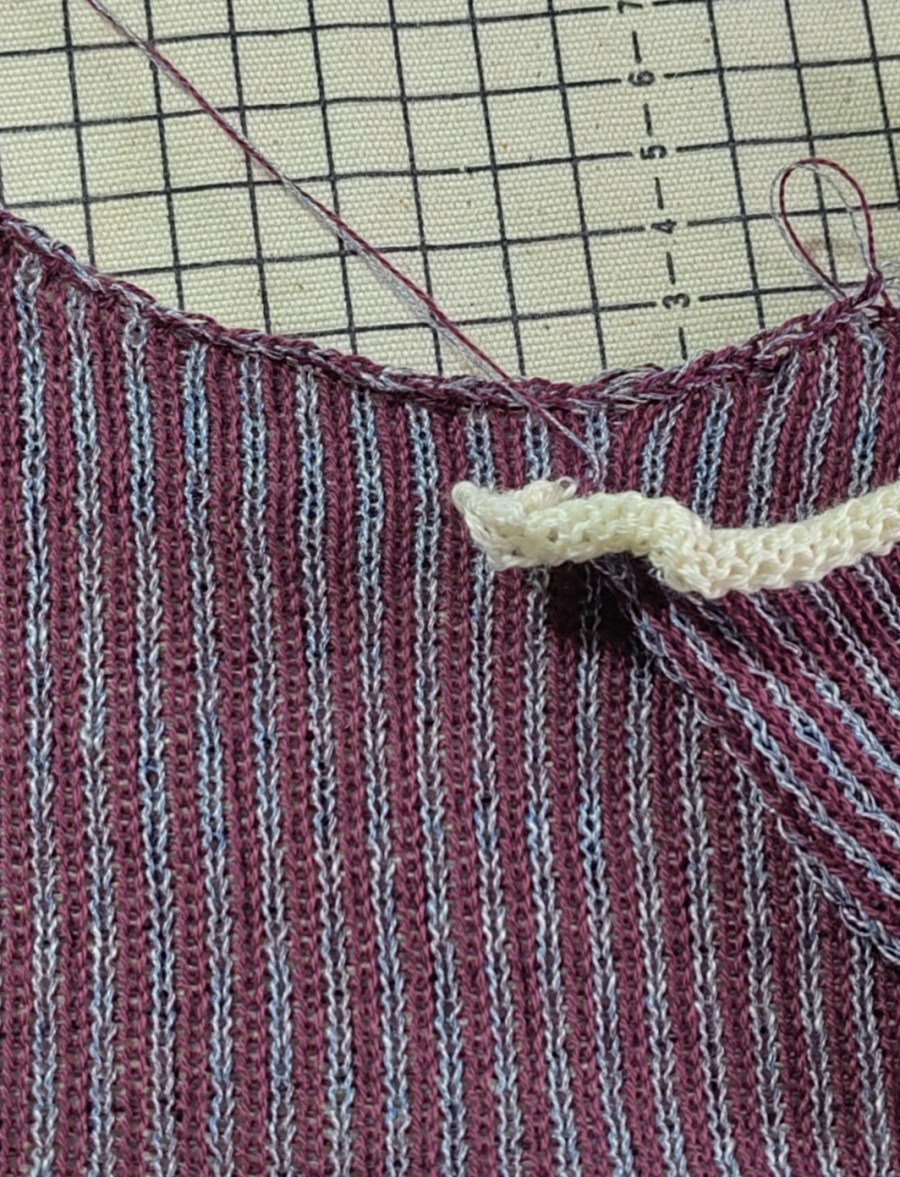
I think this might be the final sample for my latest book. The manuscript went into the publishers a week or so ago and I’m just working in a few outstanding samples and photos.
Of course machine knitters, well knitters in general, will know that ‘sorting out a sample’ is a shorthand for:
knitting several design swatches
knitting a tension swatch (or three)
working out the garment pattern
knitting it
finding you’ve made a mistake
knitting it again
steaming it
sewing it together
washing it
blocking it
etcetera, etcetera….
So I am just at the first steaming stage and getting ready to assemble the garment. And of course I’ve had to re-knit one piece because the dratted yarn got caught by the brushes irrevocably and it was easier to restart than try and sort that out. More haste, less speed is so very true in machine knitting. Nice and steady is always the best way.
I’m hoping this garment will be nice enough to go on the cover, but we will see.
Meanwhile let me tell you a little bit about the book. The title is still to be finalised, but it is all about short rows and partial knitting on a machine. There is a lot in there for beginners, for example the first chapter is all about the principles of short rows and how you knit them and there is a whole basic techniques appendix at the back for additional support. Chapters 2 to 5 offer loads of information, samples, examples and exercises for more experienced knitters to really come to grips for short rows, and to understand how and when to use them for different results.
Chapter 6 has patterns that use short rows as they’ve been described in the earlier chapters, but applied to an item. So from these patterns you actually get to use short rows purposefully to create shape and form combined with colour and surface pattern.
So once it’s published I will obviously be shouting about it, but keep an eye out and do pop back here for updates.