
Tag: dyeingwool
Acid dyeing session
Having acquired a Devon/Cornwall fleece that is quite similar to a Romney in feel and quality, I thought I’d dye some for blending. This fine will be great to comb for a semi-worsted spun yarn.
One of my favourite methods for safely dyeing fleece without matting the fibres is to use a slow cooker. I have a large family sized one that will dye 100g comfortably and 150g at a pinch, and a single-person one that does 20g for samples etc.
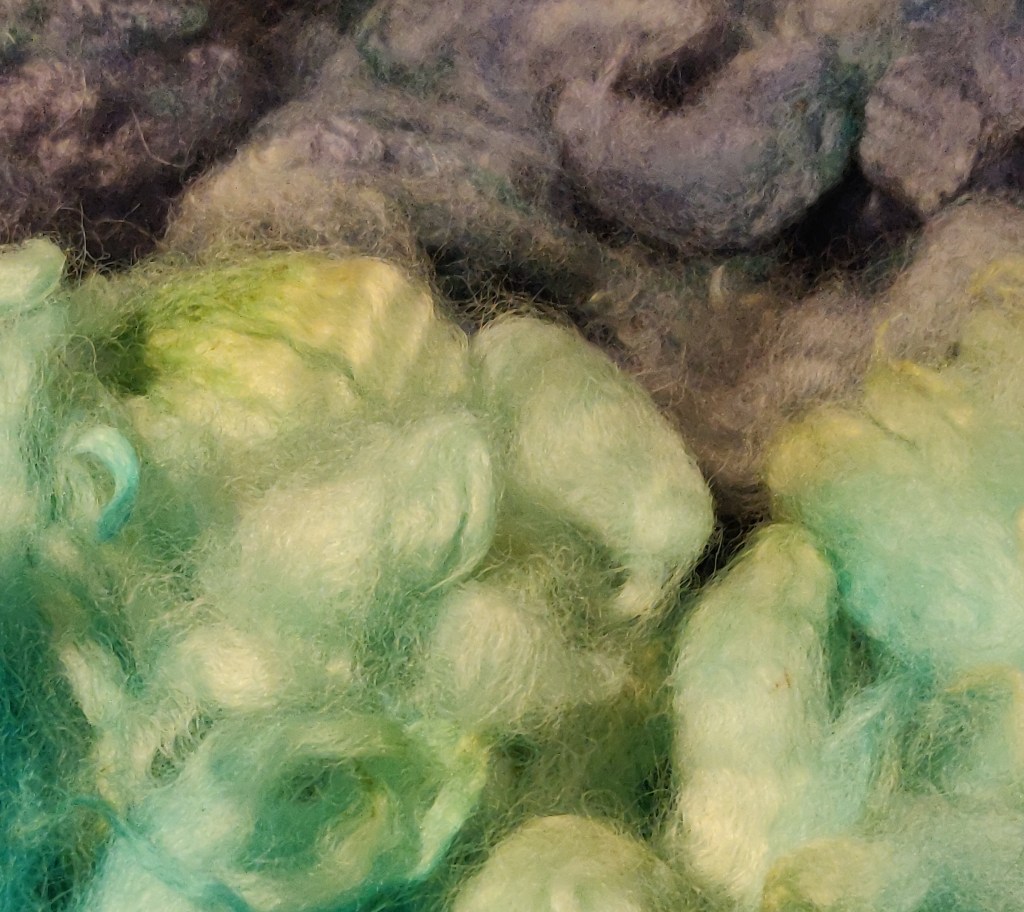
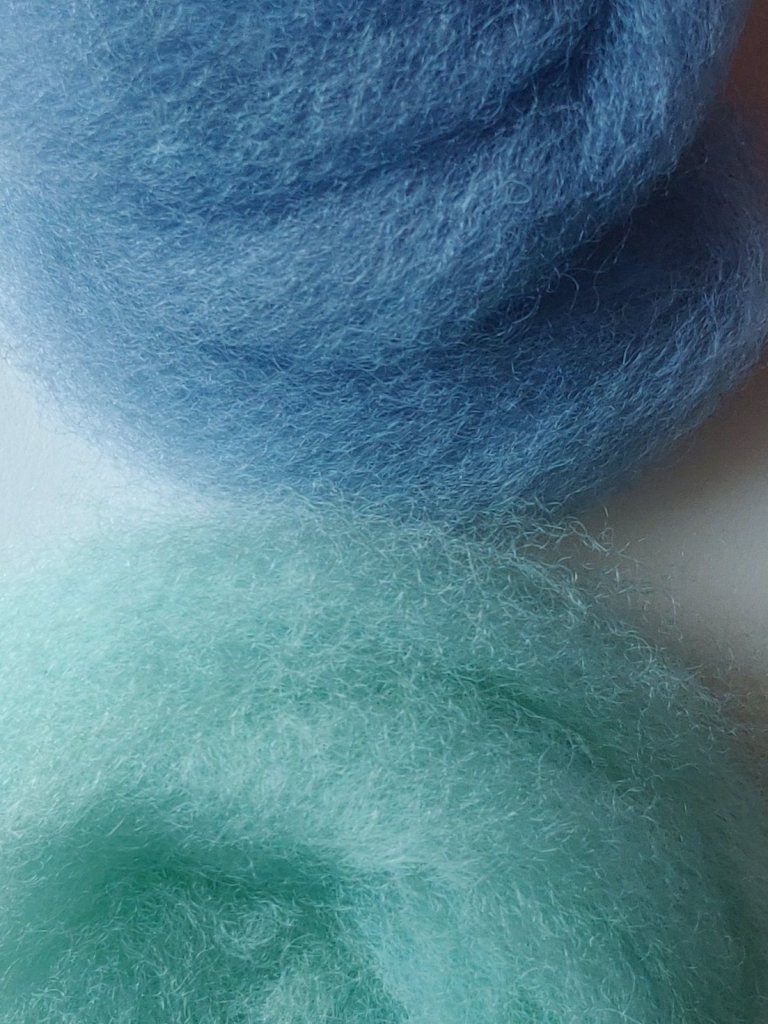
Using a pre-mixed colour I’ve used before I did a blue first. However, on this fleece it came out darker than I anticipated, but will probably lighten up once combed or carded and spun.
From the remains of the dyebath I got a pretty light turquoise.
I have combed these colours as shown in this video.
I hoped.
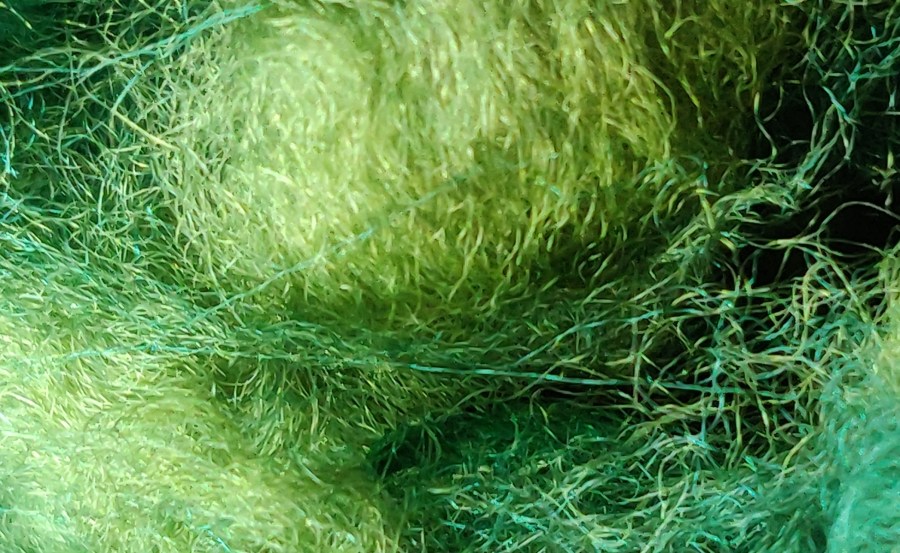
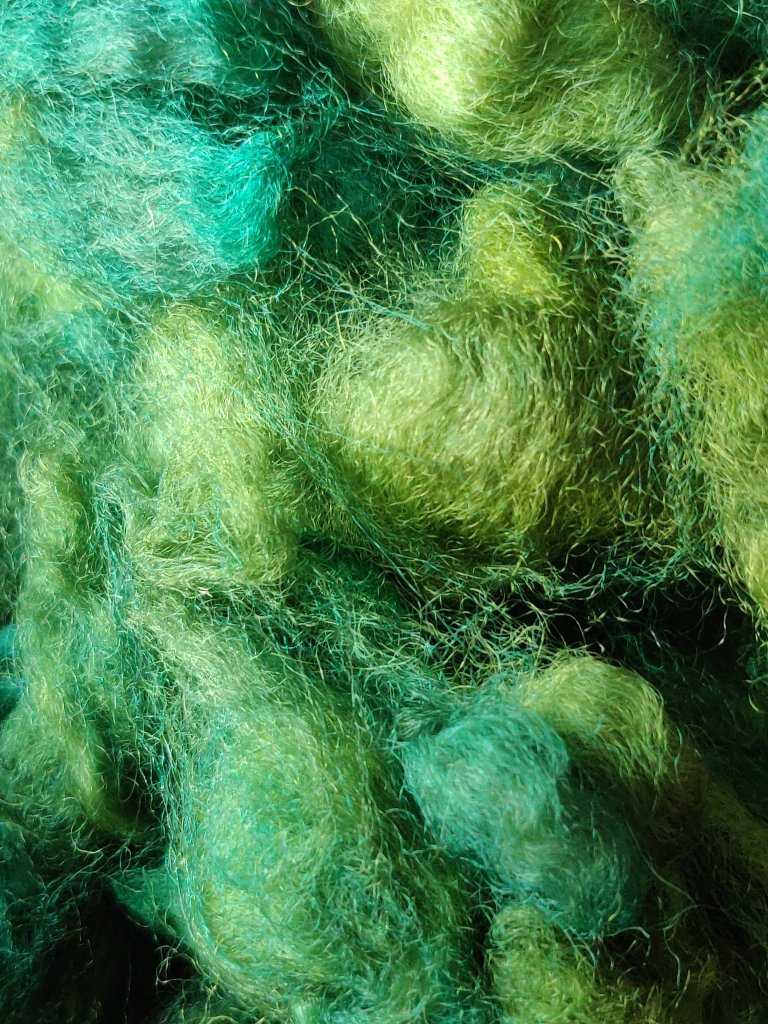
I also wanted an olive green, and have a recipe that worked perfectly on a Dorset fleece last year. I must have made a mistake somewhere, because I got a dark green instead. Maybe it is the different fleece, but I think I got my proportions wrong!
Once again they was some colour left in the bath, so in went 100g of Dorset fleece. OMG, the colour was bright! No idea what I did wrong, but it makes me blink.
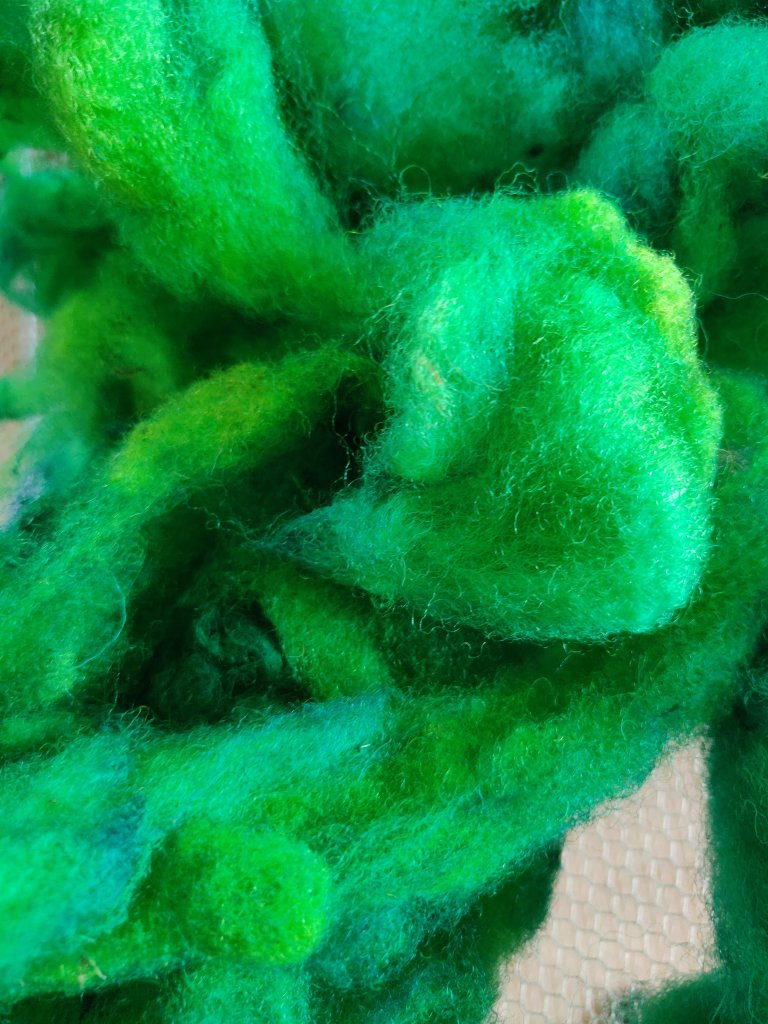
That bright green total exhausted the dye – no surprise really! I will probably card this as the staples of the Dorset fleece are short and it is a soft fibre. Great for soft woollen spun yarn.
If you are interested in discovering the difference between different terms such as roving, tops etc, click here to read Abby Franquemont on Spin Off.
Avocado surprises
Having been eating loads of avocados last summer I dried the skins and stones for dye material later on in the year. I want sure if the colour outcome would be effected by drying so decided to try some out recently.
I took 60g dried avocado skins and two skeins of yarn; one 14g hand spun 50/50 cream wool and alpaca and 12g commercially spun 2/9nm will and nylon (sock yarn). I reckoned half yarn to dye material, but being dried may have made a difference.
I cold mordanted the yarns overnight and soaked and cooked up the skins. Stained the liquid and made up the due bath. Then gently simmered the yarn for about 60 minutes, with the skins in a muslin bag in the bath as well. After that I left the whole pot to cool overnight.
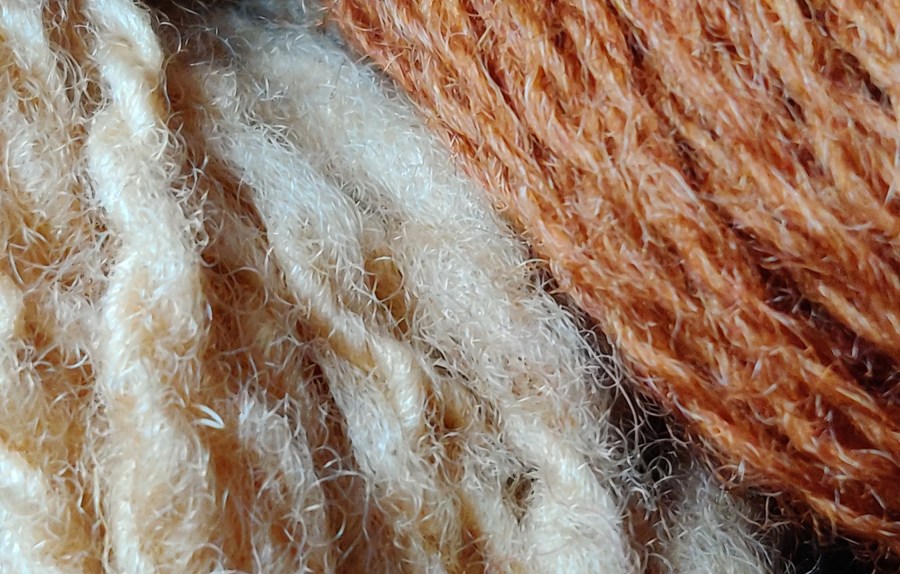
I was surprised that the hand spun did not take much colour whereas the wool and nylon took loads. Both had had same pretreatment.

I will be using the will nylon in machine knit socks, so pleased with the colour. It’s not as warm as the undried skins I’ve used in the past, more like onion skin colour.
UPDATE On reflection I think the Alpaca may have influenced the way the dye was taken up by the hand spun yarn
Colour-changing yarn spun from a distaff
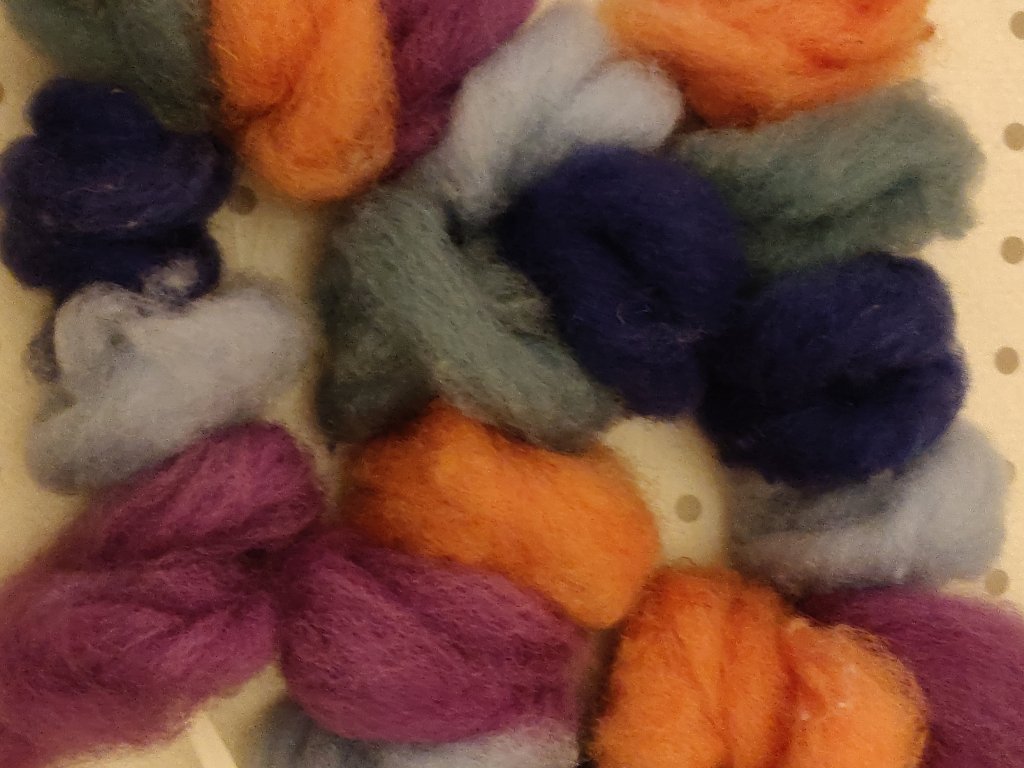
I’ve had a number of different colour hand dyed carded batts sitting waiting for me to find inspiration. They are all from fleece I have scored and carder myself, so are a mix of Shetland, Suffolk and Texel, with maybe a little Alpaca blended into some of them. Some are in 200g amounts, some less. I’d got a bit stuck about how to use them until I saw a useful tip by Anna from my spinning group that she has put on YouTube.
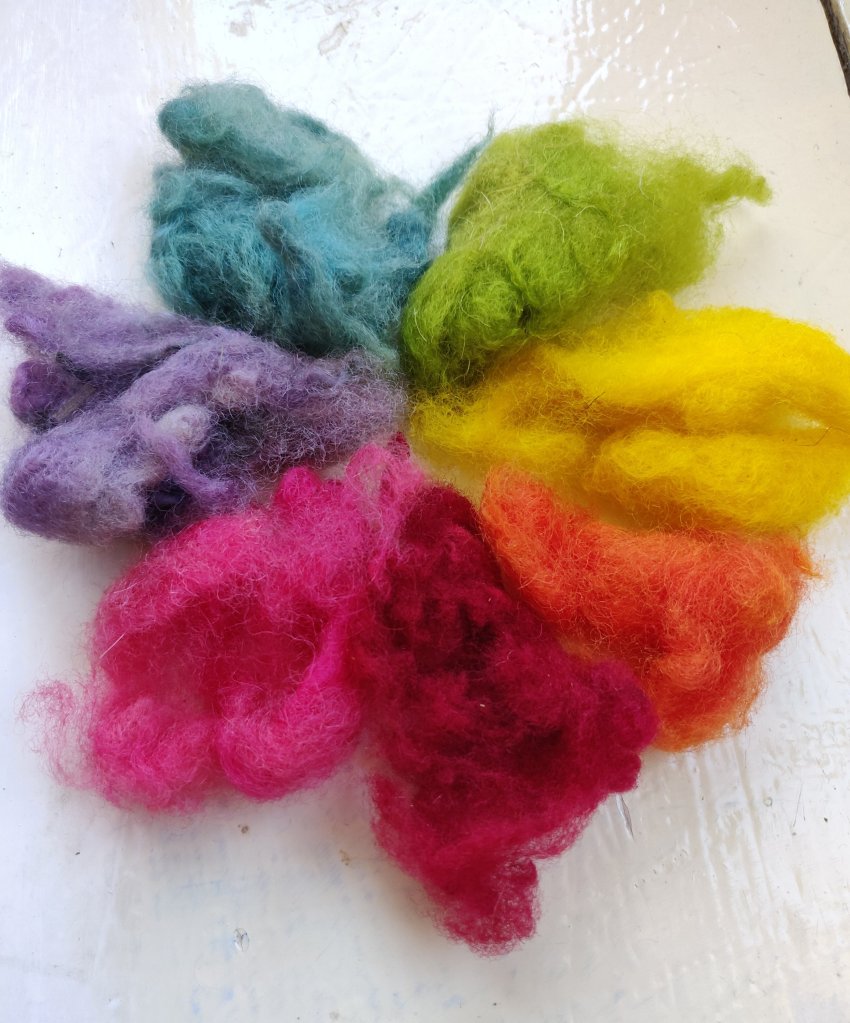
Before you start, select a group of colours that work together. After a designing session during which I wrapped different colours together, I chose five: orange, pale green, mid blue, pale blue and lilac.
Anna used a combination of hand dyed and commercial roving, but the principle is the same with your own carded batts.
1. First of all split the roving/batt into the required lengths, (I just used the whole length of the batt of my drum carder).
2. Then split each length lengthwise into 4, (or more, depending on the thickness of the roving/batt).
3. Next, lay out the colours lengthwise, next to each other in the order you want to spin them into yarn. Test this beforehand to see how they mix throughout one repeat of a yarn, and if this works for your chosen outcome, such as knitting.
4. Repeat the colour sequence three more times so you have a table full of ‘stripes’ of fibre. If you have more than four lengths let colour, carry on until all are used up.
5. Now this is the clever part. I have hand spun colour changing yarns before and got the sequence wrong because I put it all away in a box between spinning sessions. To keep the sequence do the following.
6. Take a metre + long length off ribbon and tie a pencil or empty pen across one end. This is your fibre-stopper. Tie a hand-sized loop on the other end. This is your distaff.
7. Starting at one end of the ‘stripes’, wind each length off fibre into a loose roll and slip the looped end of the ribbon through the centre hole. Carry on doing this, working methodically through the fibre lengths, keeping the colour order as mapped out in your ‘stripes’.
8. You will end up with a ‘necklace’ of colour ordered fibre rolls on the ribbon. Tie the ends together to stop the fibre sliding off.
Now to can put them in a box and they won’t get muddled. To start spinning, simply lift the necklace out, untie the ends, and slip the loop over your hand. It acts as a distaff and will hold your fibre nicely as you spin each colour.
What a great tip!
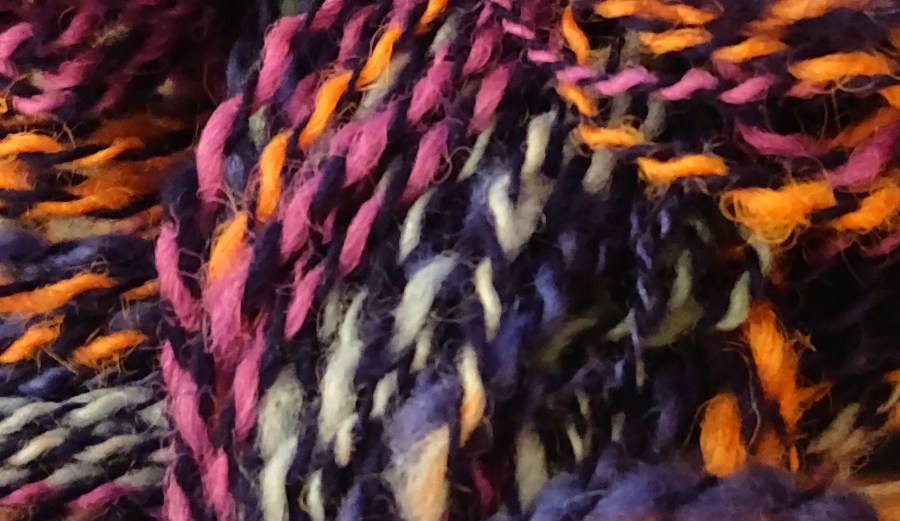
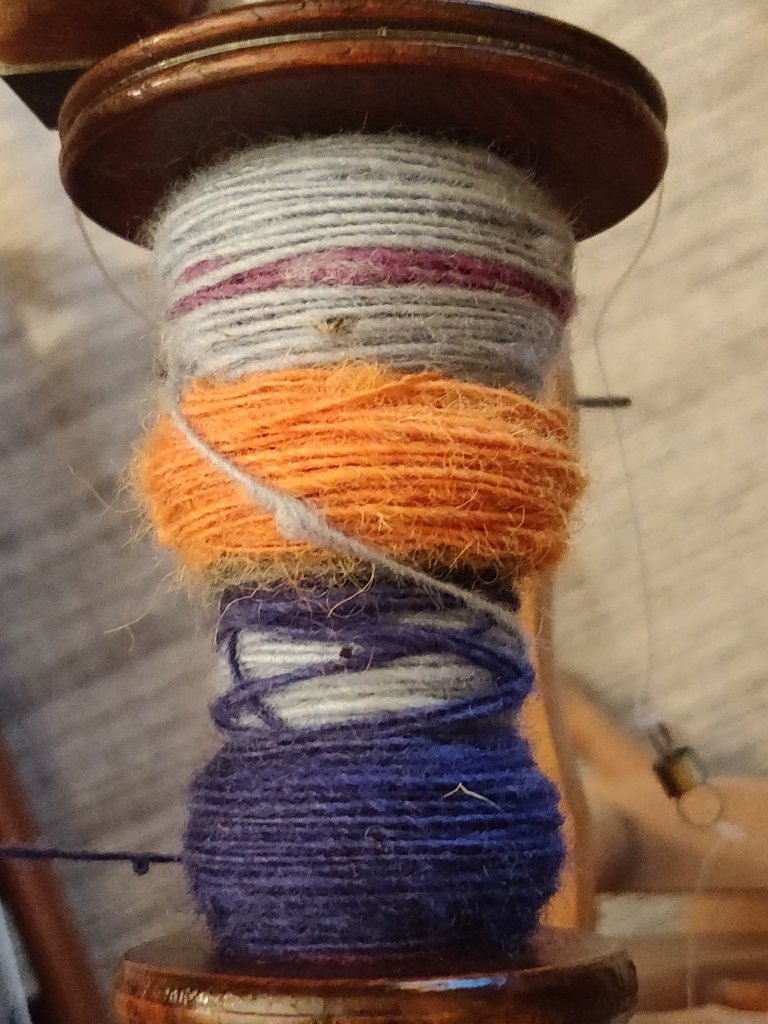
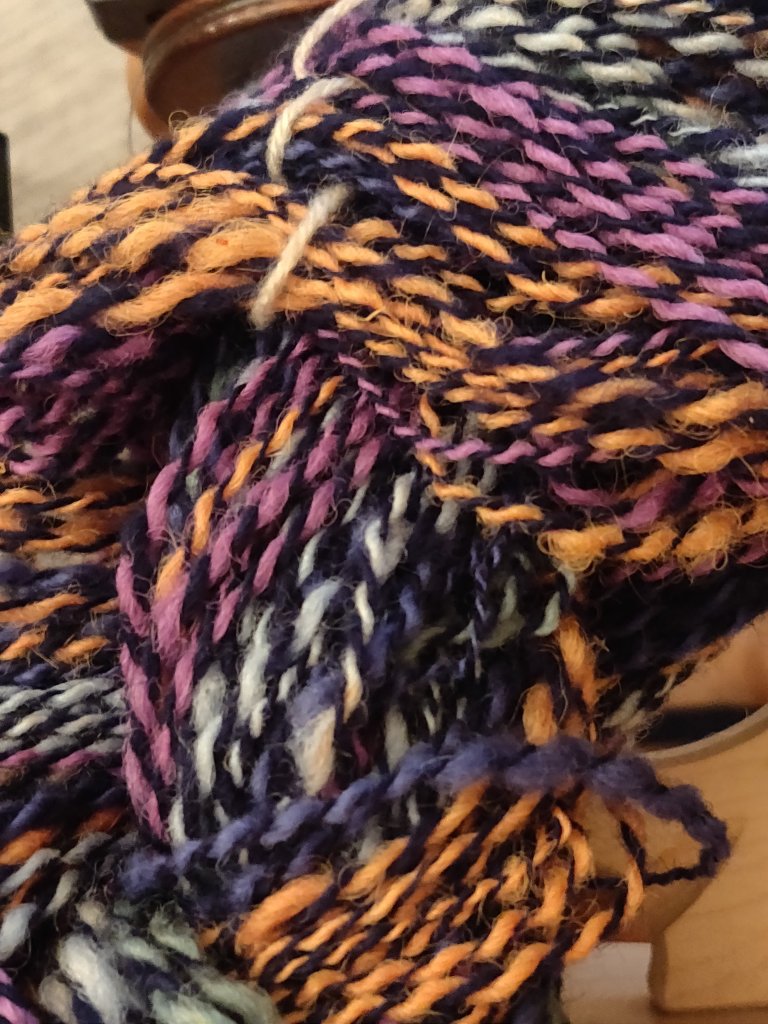
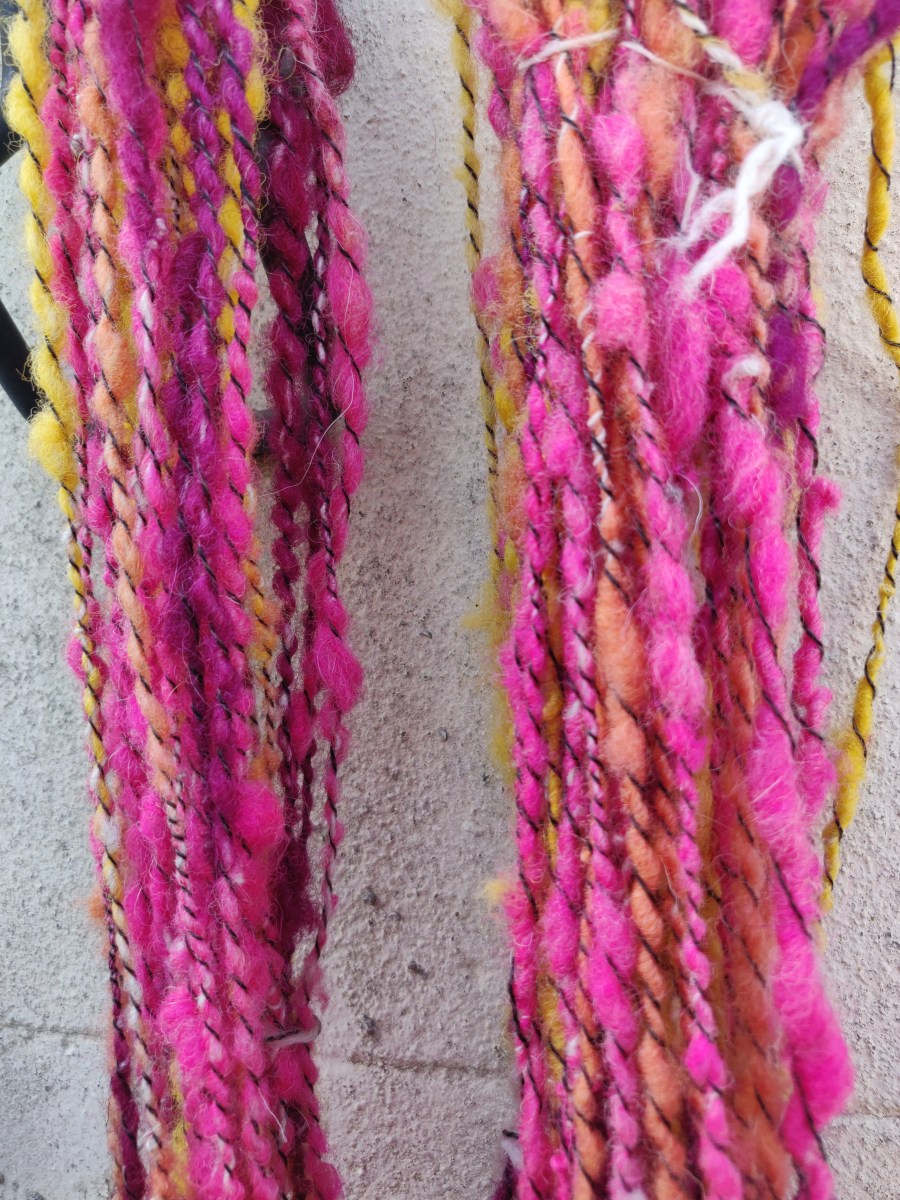
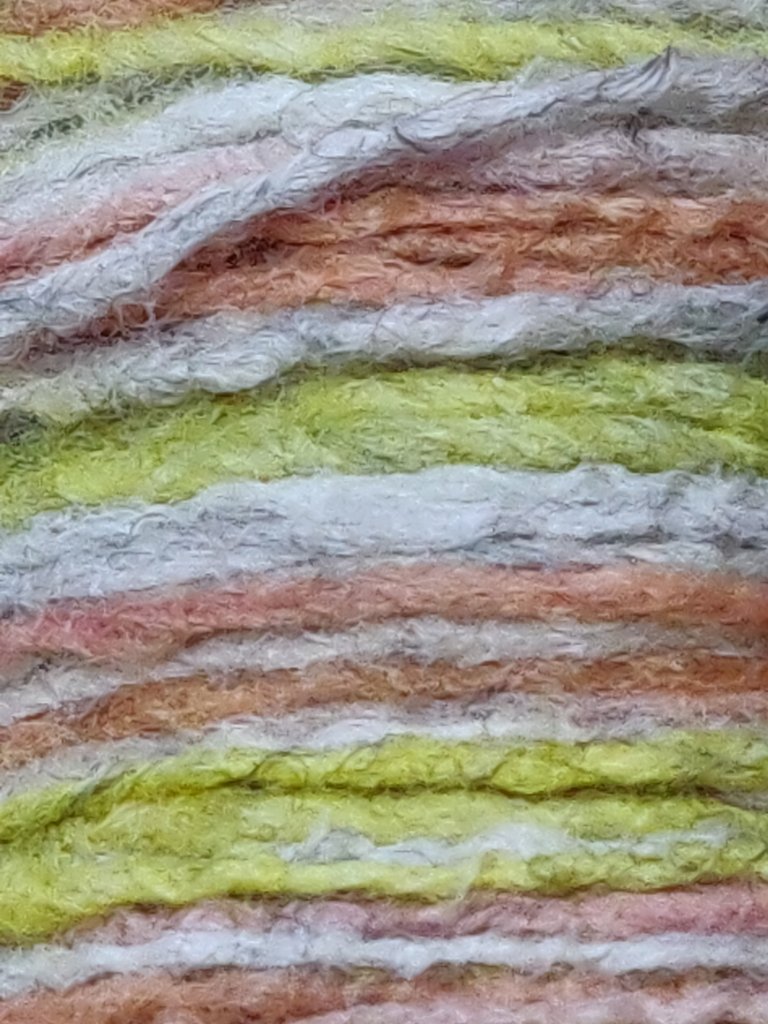
I plied the colour changing yarn with a single spun made from navy blue Corriedale. This made a lovely marl yarn that to me resembles stained glass windows. I can’t wait to see what it looks like knitted.
Here is the link to Anna’s video
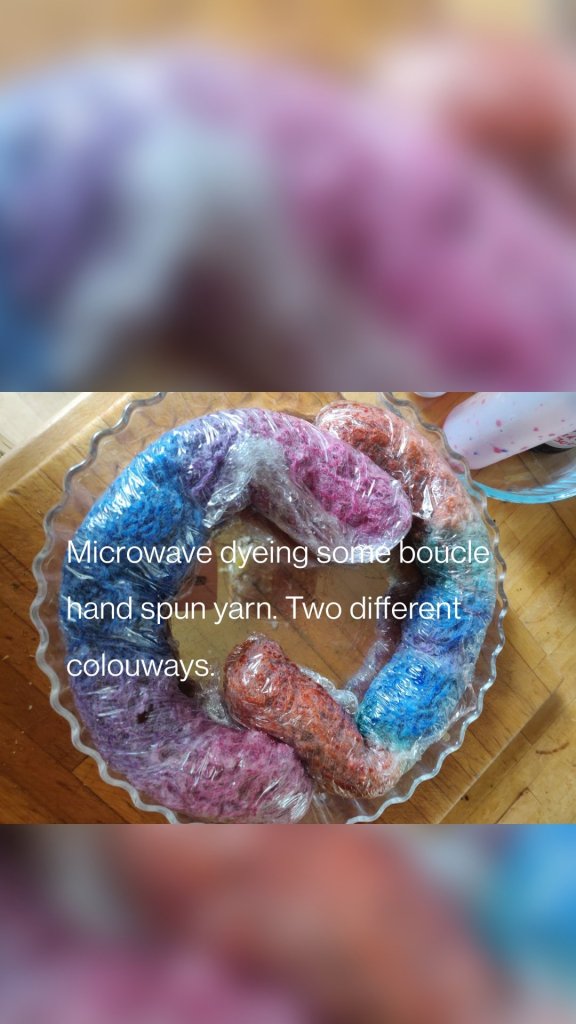
Going for brighter colours
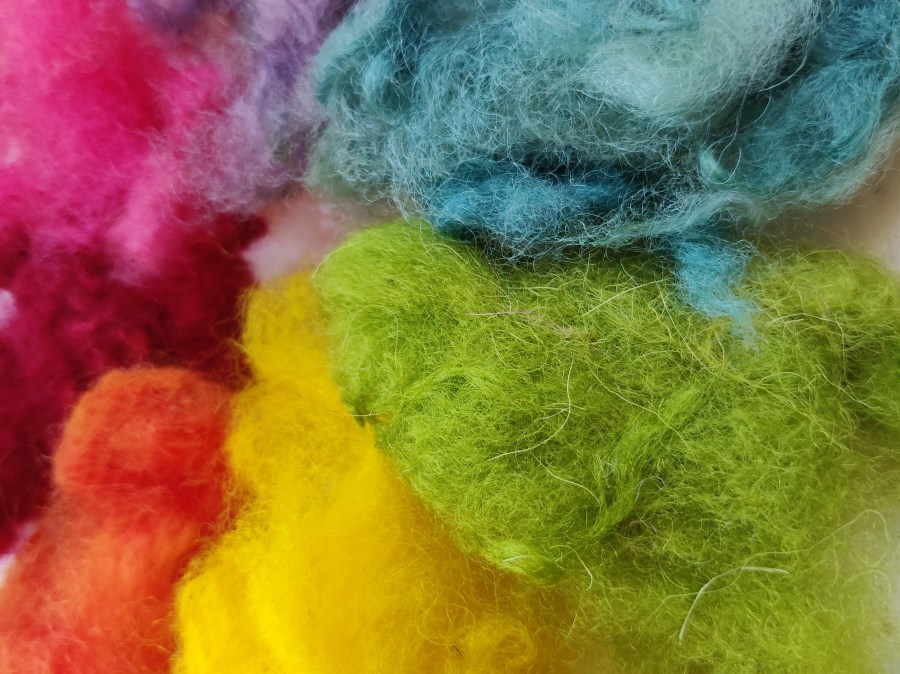
I’ve been dyeing a whole fleece into 100g lots mixing my own colours from primaries from Colourcraft acid dyes bought from George Weil.
I’ve gone into detail about this here, but the colours are zinging.
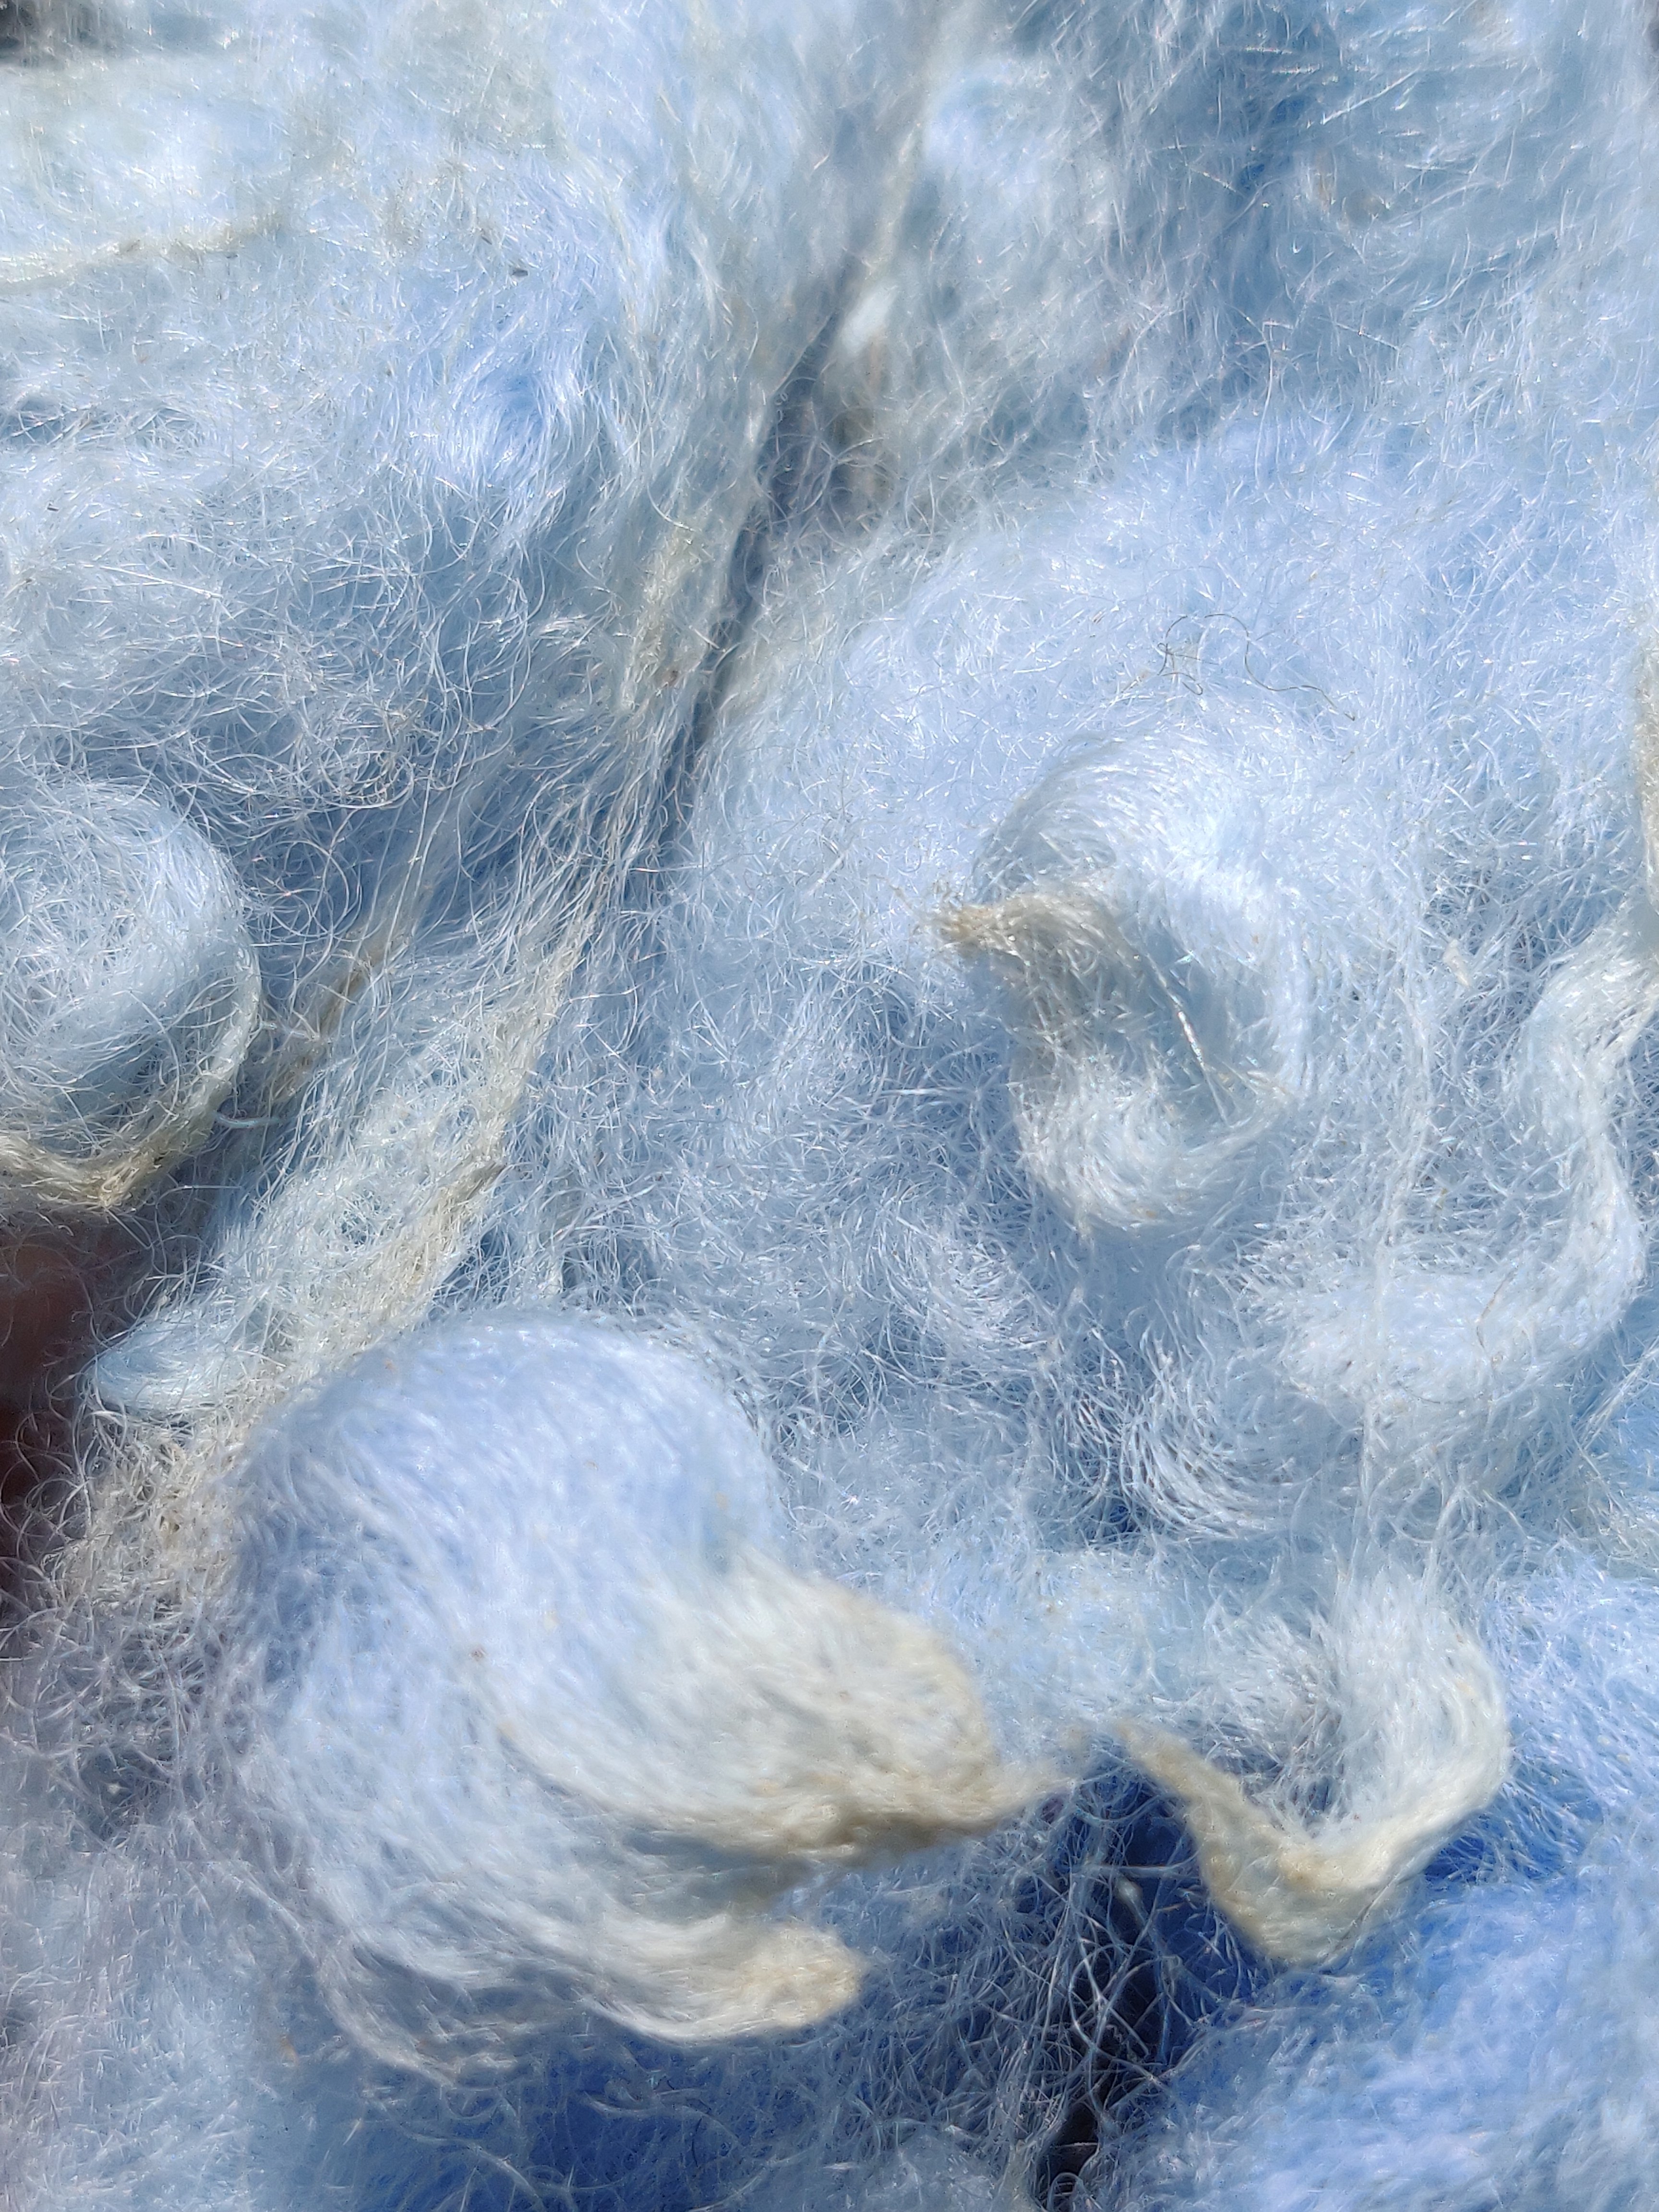
Pink, greens, dark red, yellow and orange. I’ve just completed a blue, but it’s still wet so will have to wait to be added later on. I added another batch of fleece to the finished due bath to exhaust it totally, which gave me a pretty pale blue.

I’ve also tried stove-top rainbow dyeing. More about that can be found here.
Spinning outdoors
Last week a few of us got together (safely distanced and masked), to take our textiles into the park. I enjoyed myself so much I forgot to take a photo!
The thought of spinning outside in the sunshine encouraged me to use bright colours. So I took along some Shetland fleece I dyed a while ago using acid dyes, (I have written more about dyeing fleece with acid dye here).
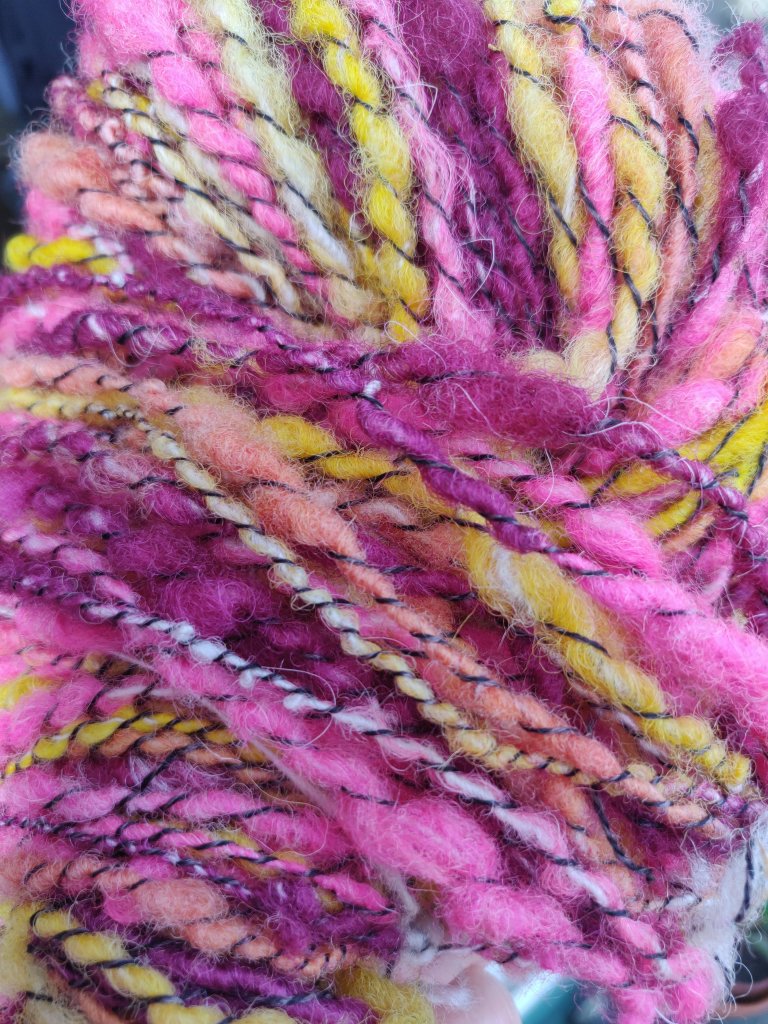
I’d spun up a bobbin of Suffolk fleece that is not very exciting, so I planned to use that as the core for a bright, irregular spun, core-spun yarn to which I would add a charcoal wrapping yarn. All 100%wool. I took my folding Louet Victoria S95 wheel which is a joy to use.
The core yarn was Z twisted quite tight. The wrapping colours were also put on Z twist, and the final charcoal, commercial yarn was S spun over the others.
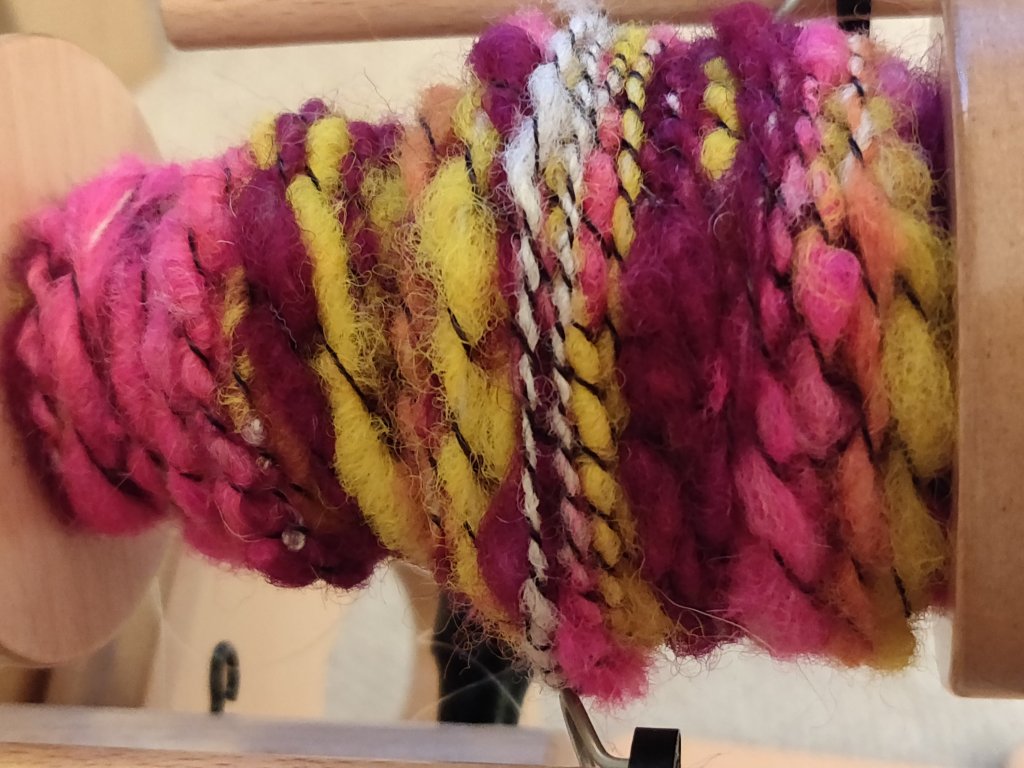
After washing and drying the twist the colours hardly muted and it’s come out as lovely yarn.
Felted singles
Having read about this spinning technique I though I’d have a go. It doesn’t save much time as you still have to run the yarn back through the wheel, which takes as long as simple plying. It was prompted by my practise at making a ”Z’ twist fat singles’ and so I decided to over-twist this singles yarn as I practised the night before a dyeing session. So I treated it cruelly when washed it, and also in the hot dye bath as well.
As there were several colour dye baths it was too tempting not to dip-dye the hank. Firstly it went into red-cabbage allover, and then the ends were dipped into madder and turmeric.
I’ll be trying this out soon to see what it looks and feels like as a knit.
Onion skins and Eco-Dyeing

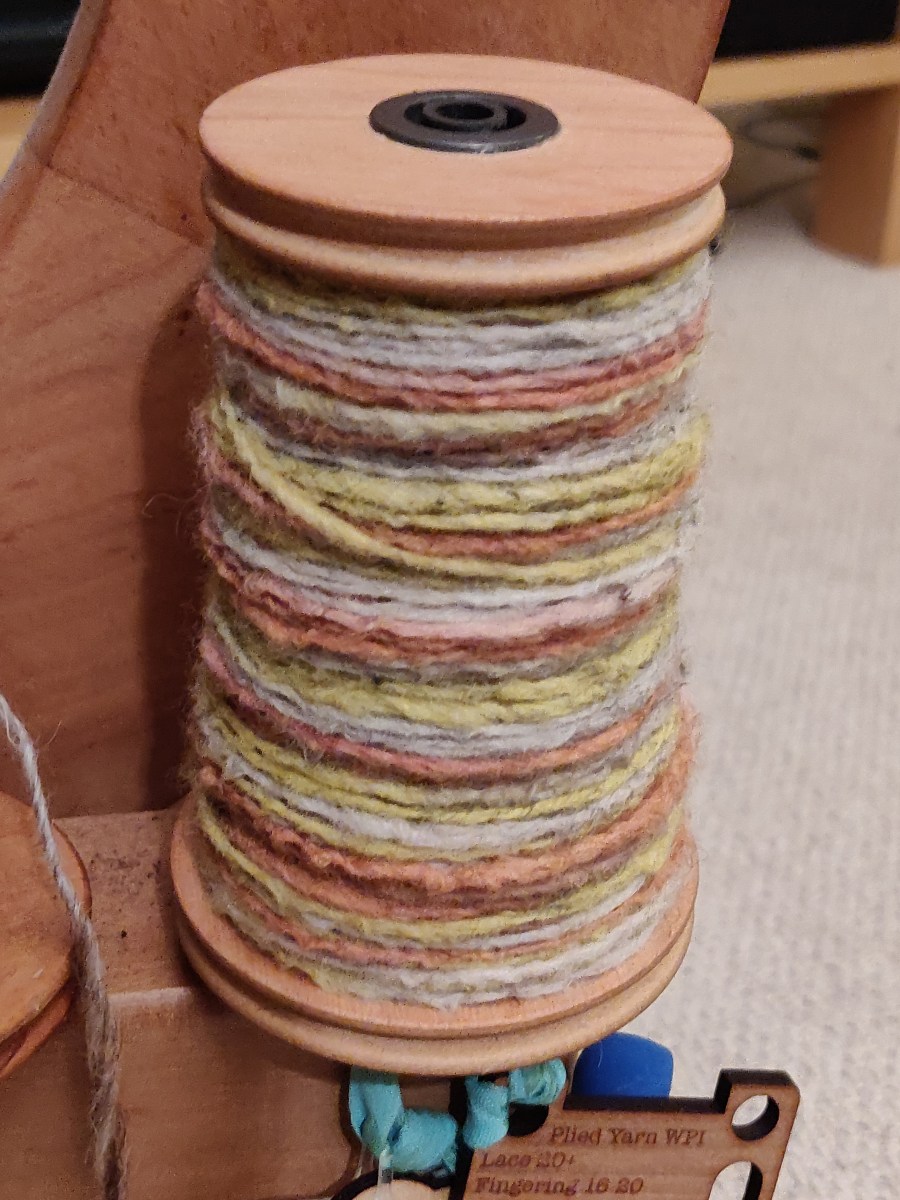
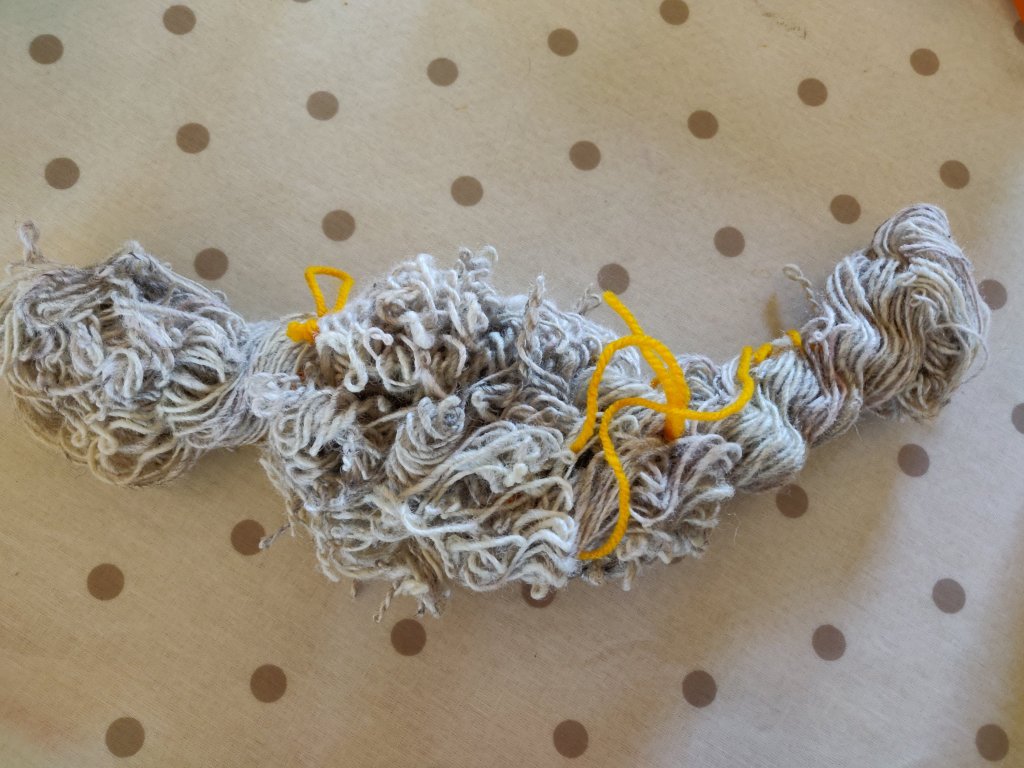
I’ve got a pot of onion skin dye ready to tie-dye a silk scarf and a skein of hand spun Jacobs marl yarn.
The yarn changed colour during the mordanting, and the cream ply has taken on a pale golden yellow tone. I think I will dip dye it to preserve this rather pleasant effect. Let’s hope the pale yellow doesn’t wash out at the end!
The scarf is already dyed in an ombre effect from grey to white, but cool greys don’t suit me; I want a warmer golden colour. The underlying ombre effect will be interesting, and I’ve tried marbles in in a pattern. I may add some eco prints on too, I’ll see what happens with the tie dye.

I’ve rigged up a spoon and bowl into a frame to hold the hank of yarn whilst being dip-dyed.
I use a neat little induction hob from Ikea for dyeing to save energy as we have solar panels.

The yarn was a little disappointing. I think I didn’t have enough dye material in the bath, and the silk took it up faster than the wool. However I dunked it into an iron mordant and it’s slightly saddened it into a softer yellow that blends better with the darker ply.
The scarf was ok, tie-dyed but wishy-washy and unexciting. So plan B, to eco print on it, came into action. During my dog-walk I collected a variety of leaves, luckily there is a small cluster of sumac and lots of Oak varieties in our local park.
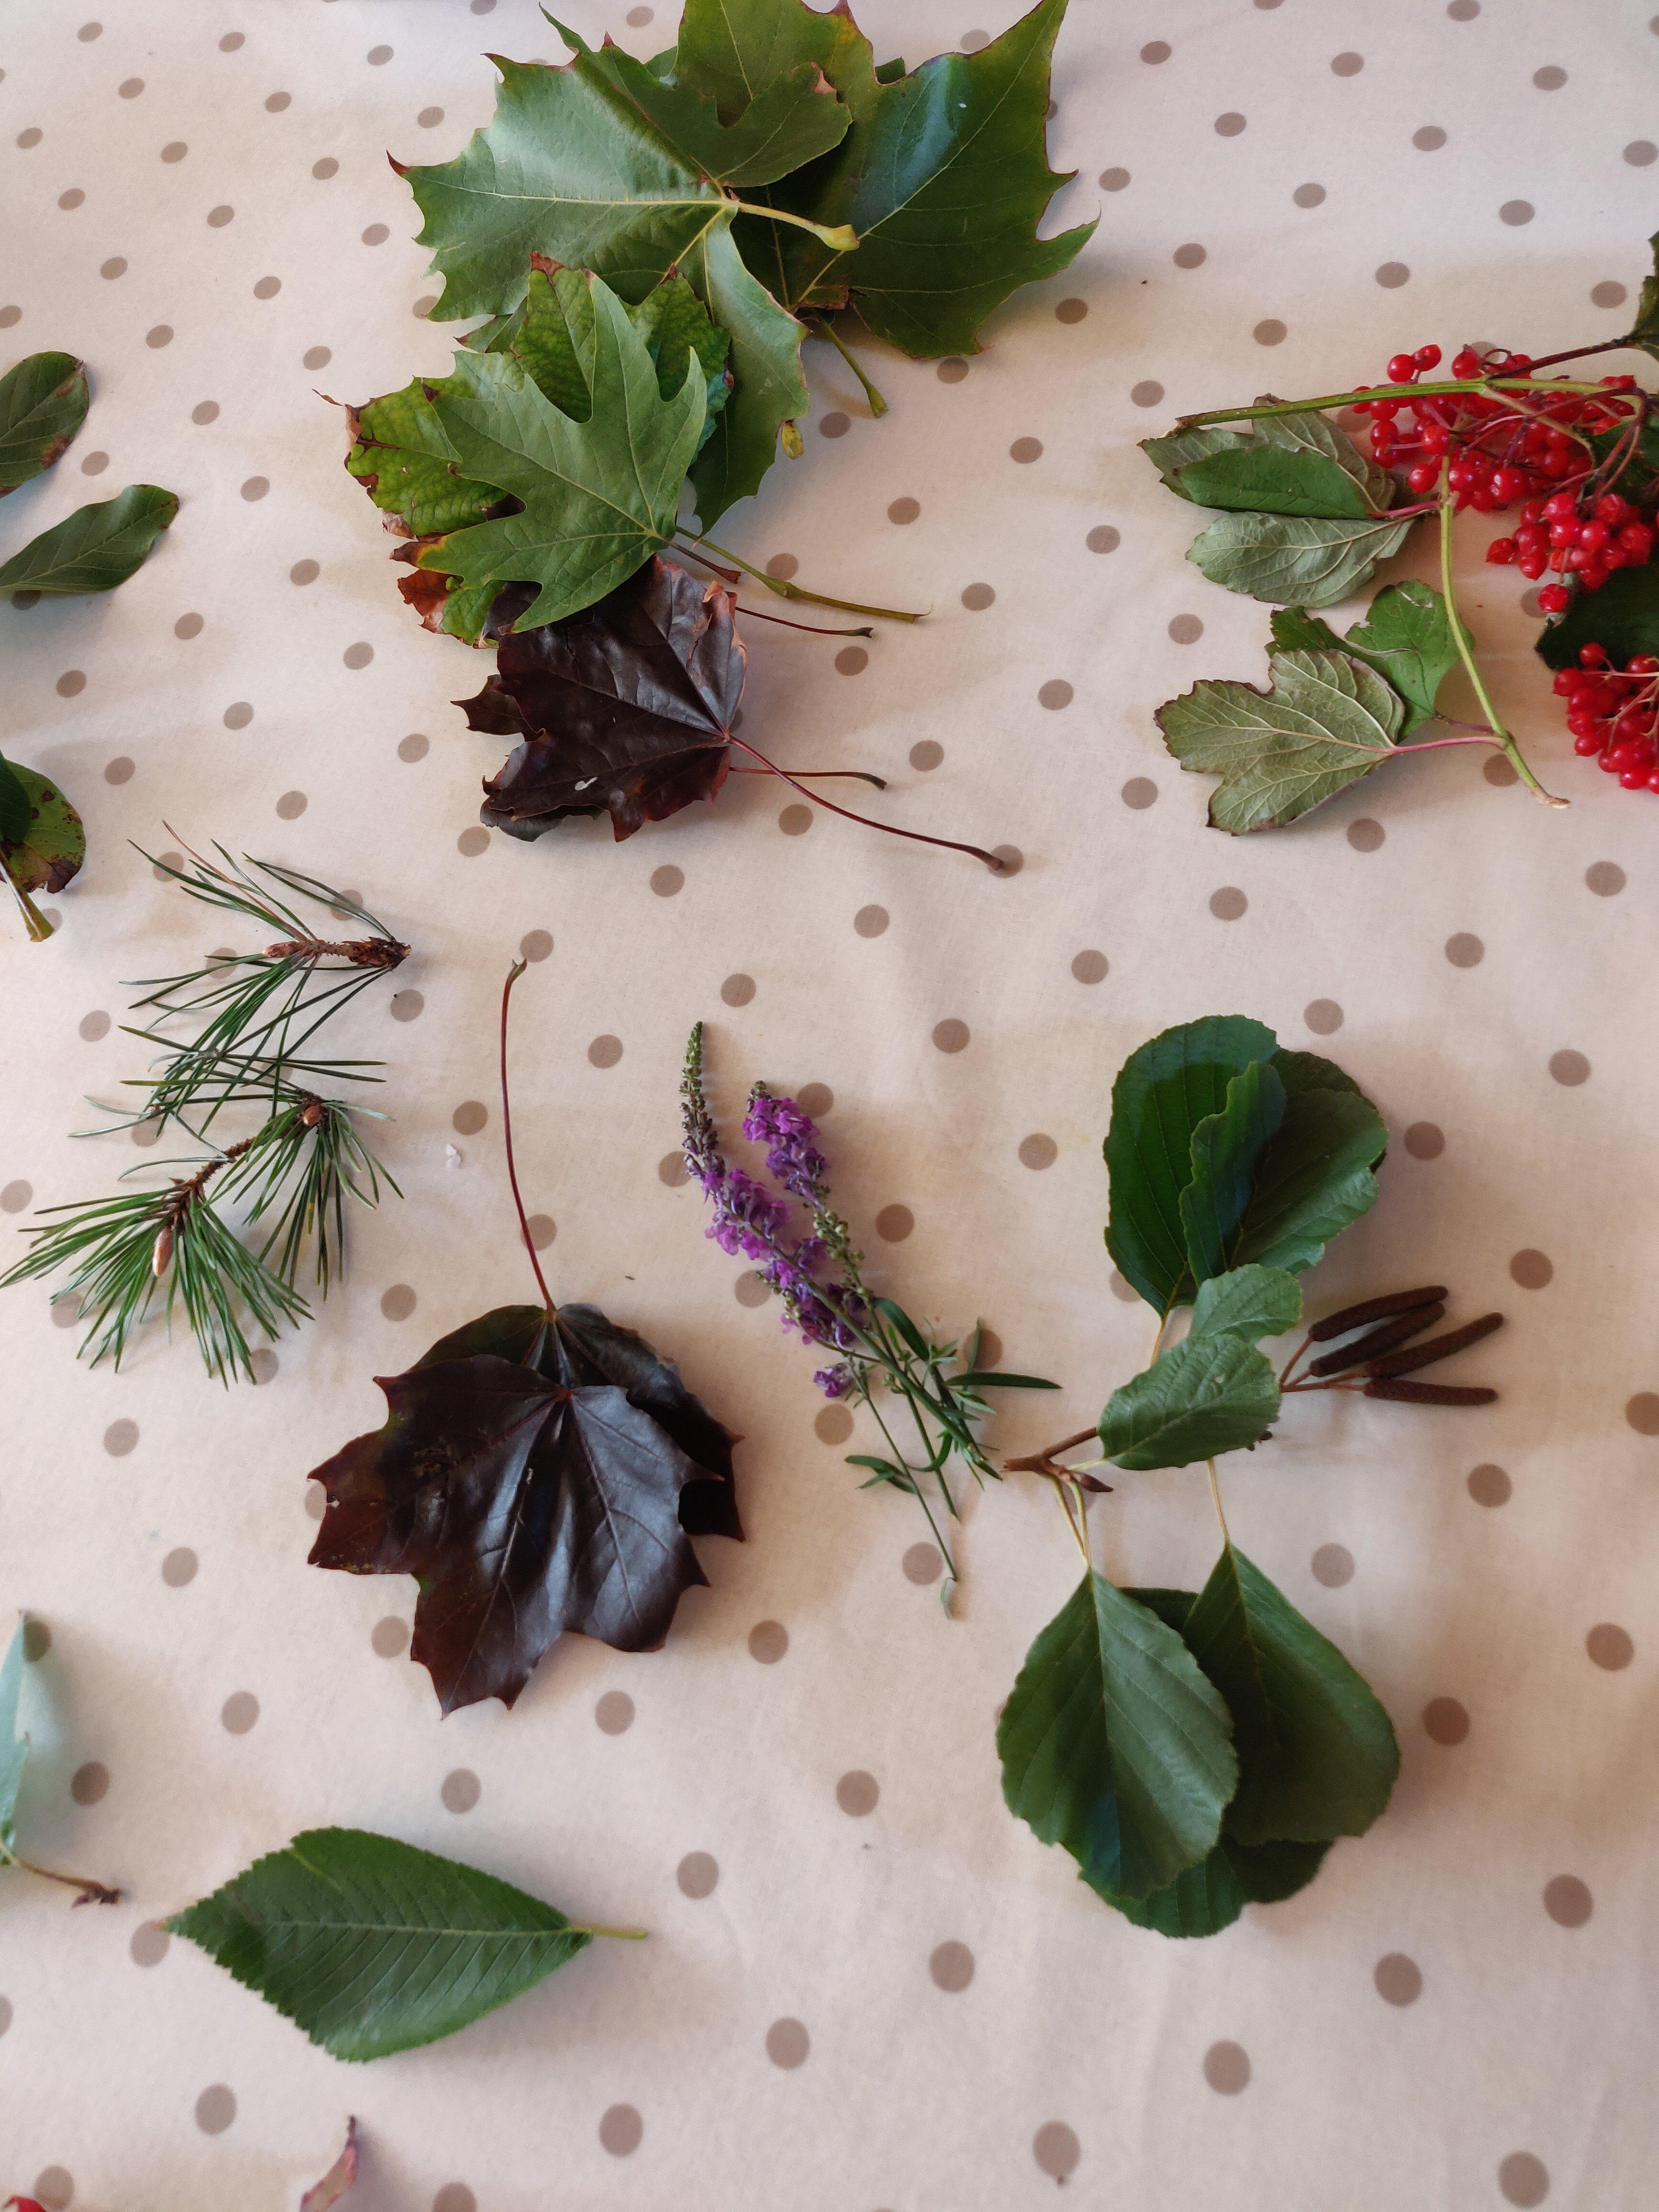

I also collected a few bunches of Rowan berries, beech and other leaves.
In my excitement I forgot to take a picture of the tie-dyed silk, or of laying out the leaves. I did that lengthwise along half of the width of the scarf, then folded it in half to sandwich the leaves between two layers. I’m not sure if this would have worked better if I had waited until the scarf had dried; I added the leaves directly after rinsing it after tie-dying.
Not having a spray bottle handy that I wanted to use for iron mordant solution, I’d already decided to soak the whole thing in the iron solution. Before doing that I folded the scarf widthwise once again and then tightly wound the folded scarf around a short length of plastic pipe, securing the ends with elastic bands. After giving the rolled packages a good soak in iron I used load of string to bind the fabric really tightly to the pipe all along its length.
Then it went into an improvised steamer for an hour. Unfortunately, because the steamer set-up only allowed a shallow water bath, I managed to boil it dry! This has mildly effected the outer layer on the underside of the pipe. It’s a bit darker.
For good measure I dribbled a bit of copper mordant on it as well. The effect was so strong that the white plastic pipe has now got leaf prints on it as well!
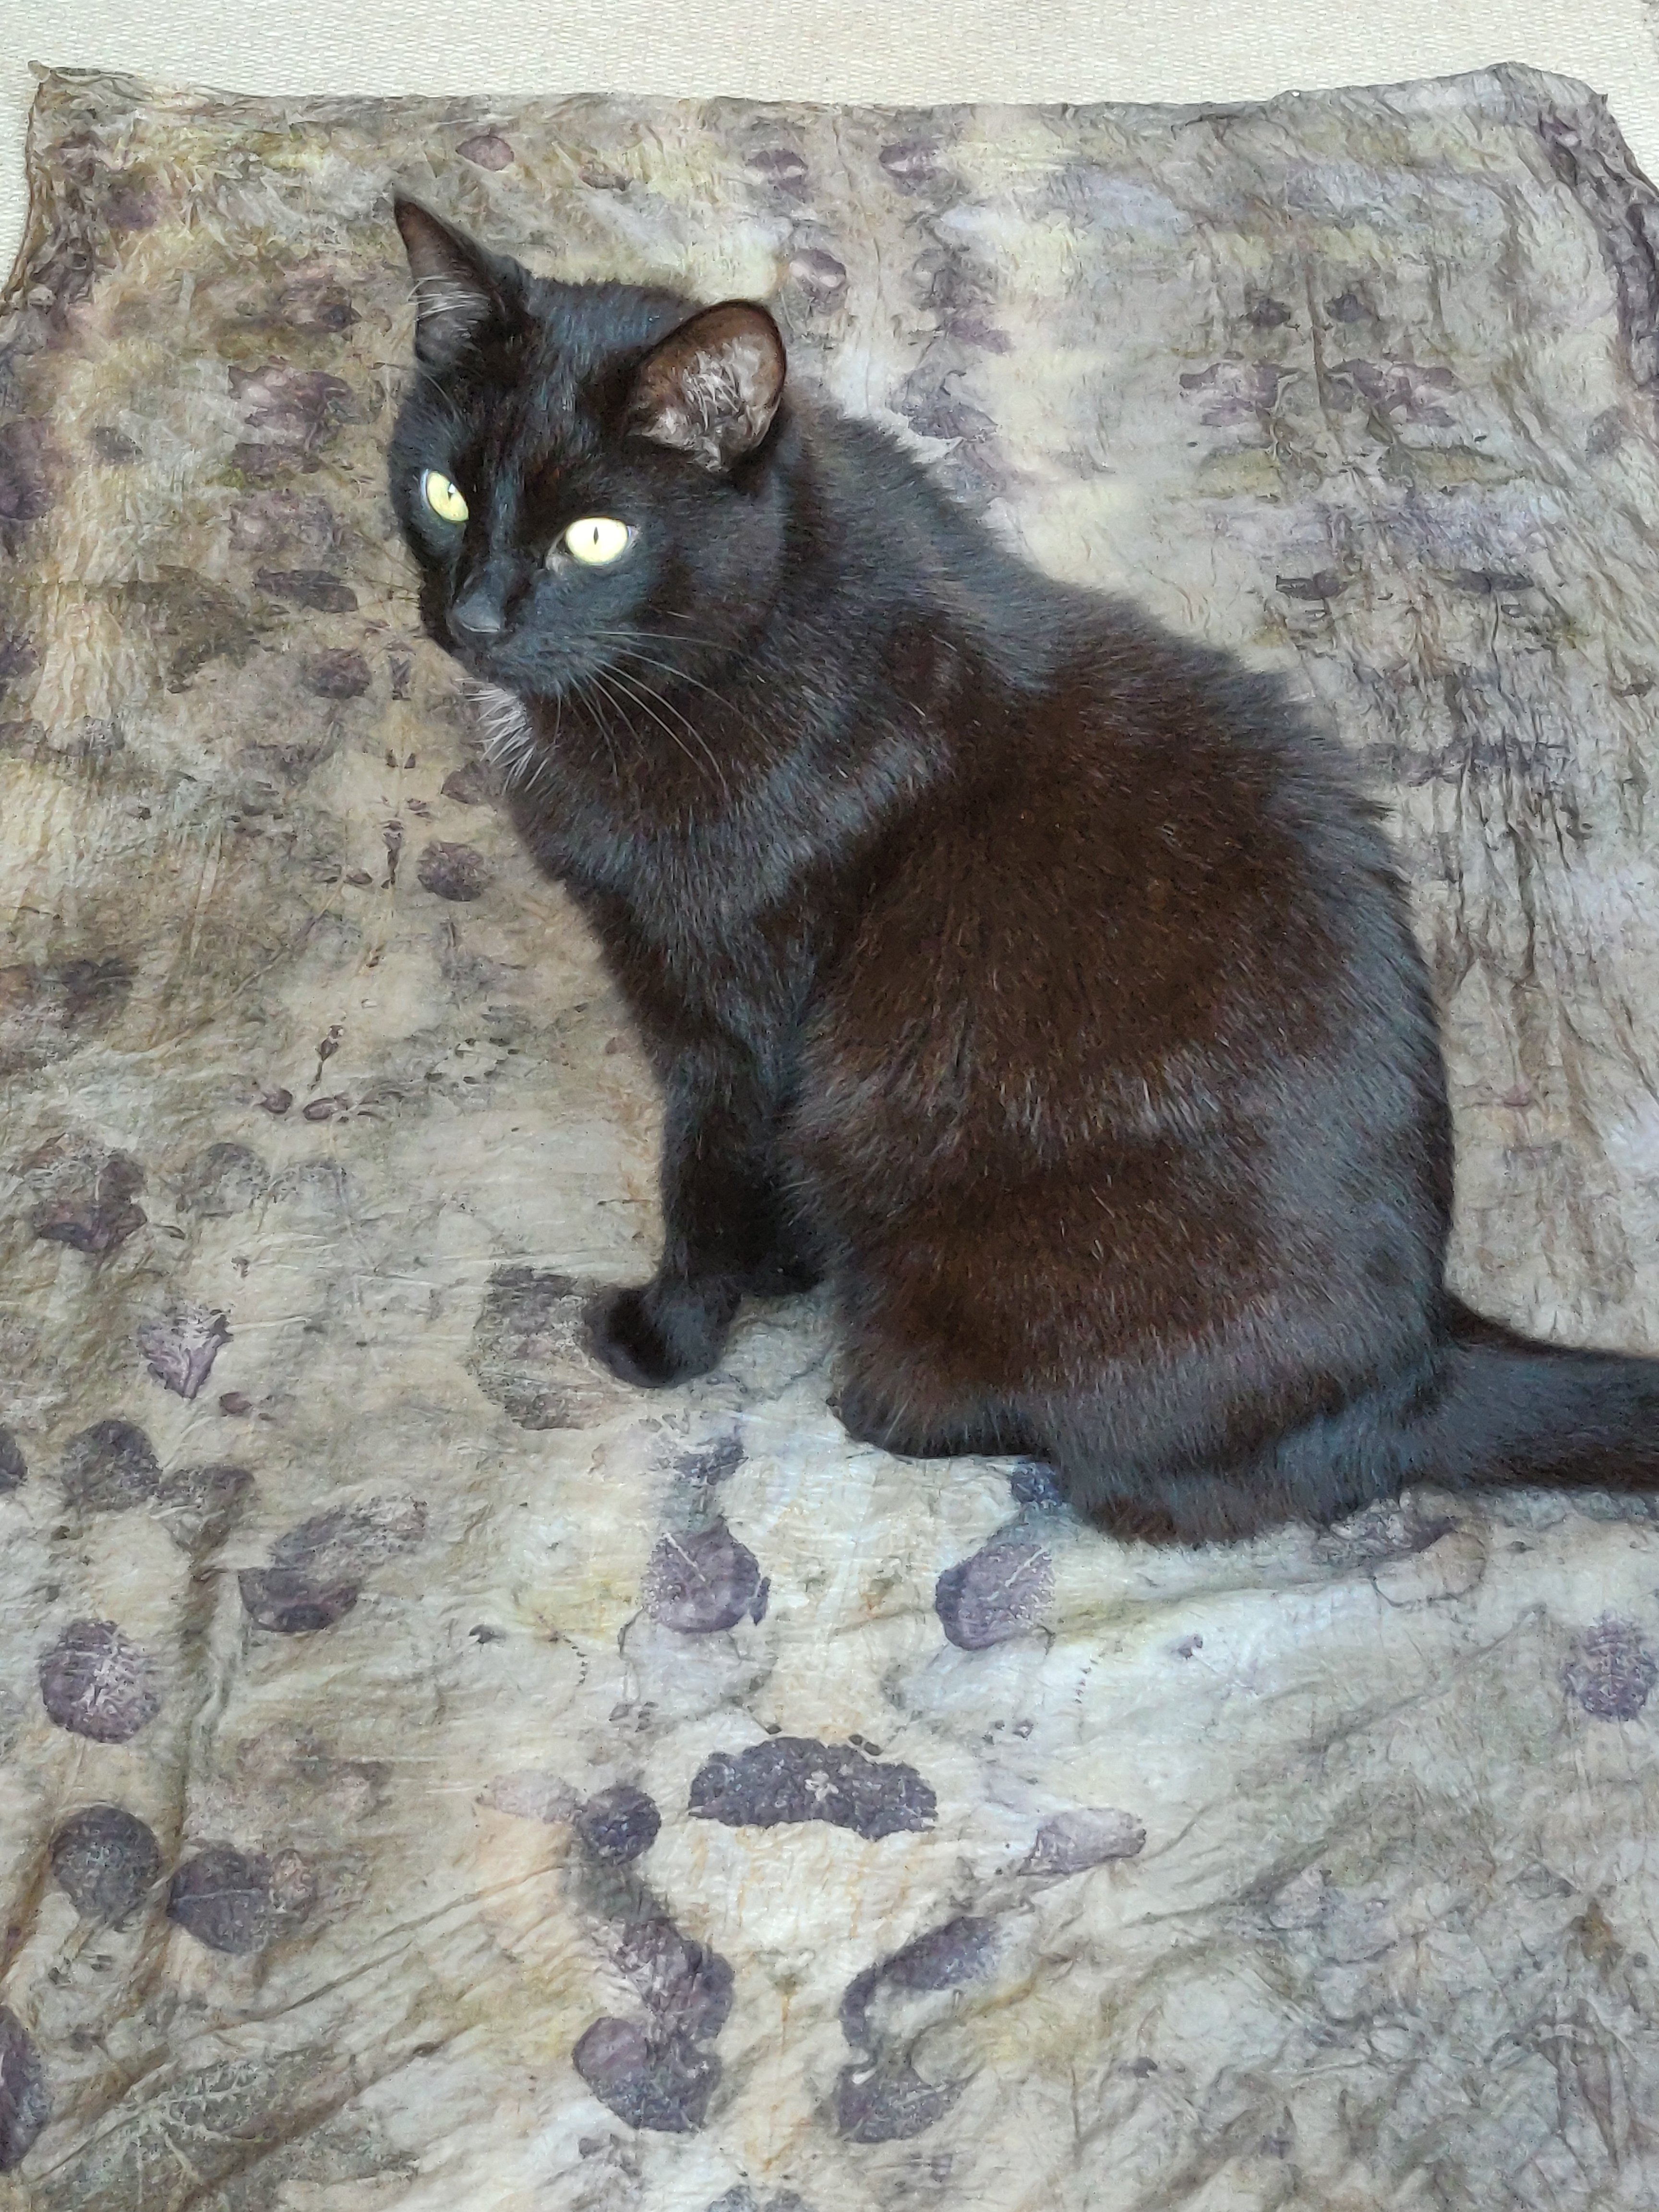
After unwrapping the scarf from the pipe, and following thorough wash it has come out rather well I think. Miles away from the boring grey one anyway!

George the cat approves of it as well!
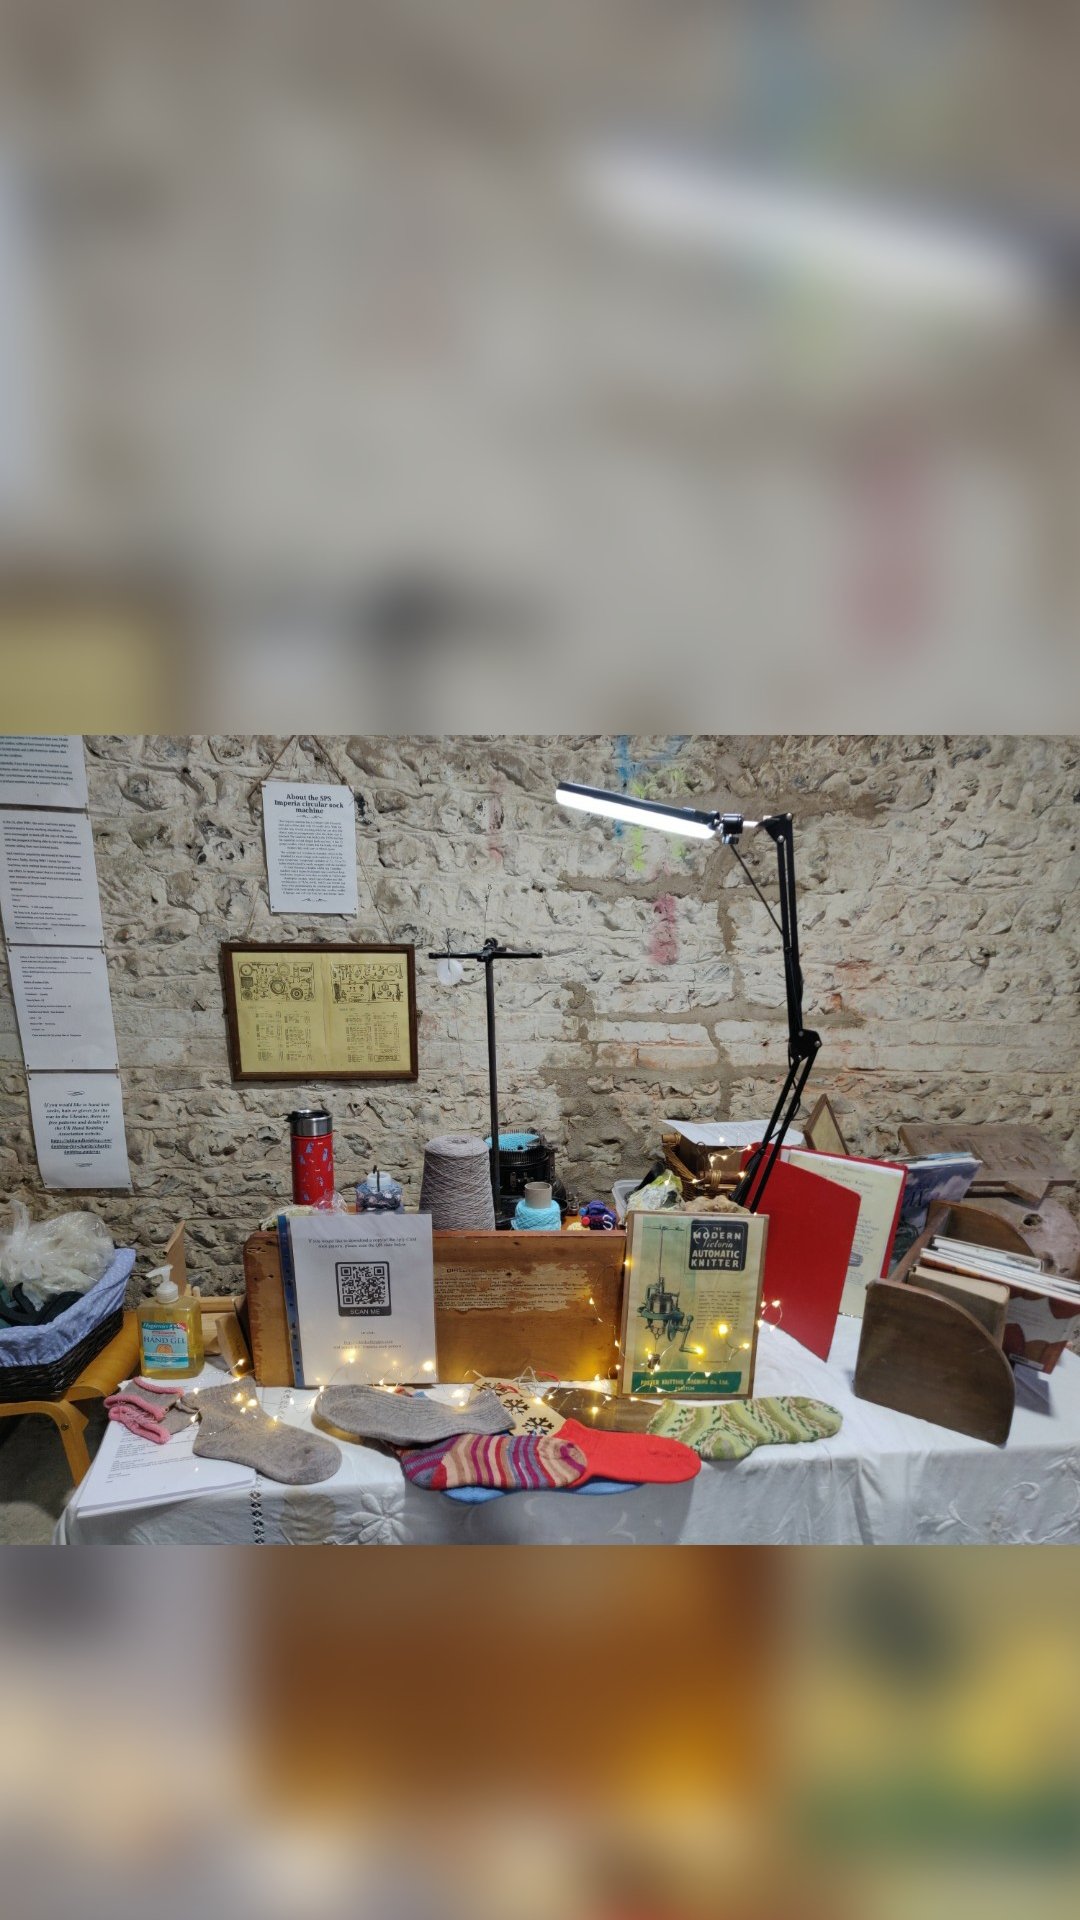
Don’t waste the demo yarn!
Whilst demonstrating as a member of a local textile group, Woolly Umbrella, at the Wild Chalk festival, I kept a drop-spindle of my own going with singles that I Andean plied at the end as part of the demo.
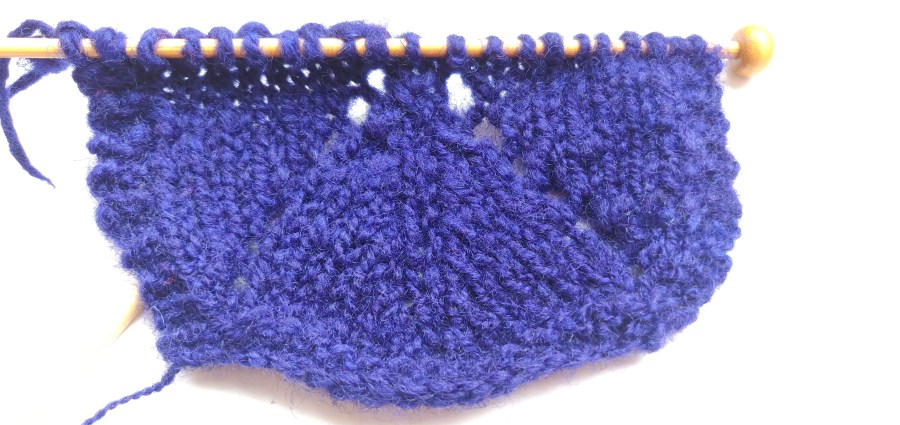
I don’t think repeatedly putting it down and restarting helped me get an even twist, or it may have been the plying, or a mixture of both, but the yarn isn’t balanced. I knitted a lace pattern with it, and the bias isn’t so pronounced as in stocking stitch, but I can see it.
For fun I added the knitted sample to a purple dye bath I had prepared to dye some other yarn, and here is the result.

Hand spun yarn dyed with purple acid dye.
