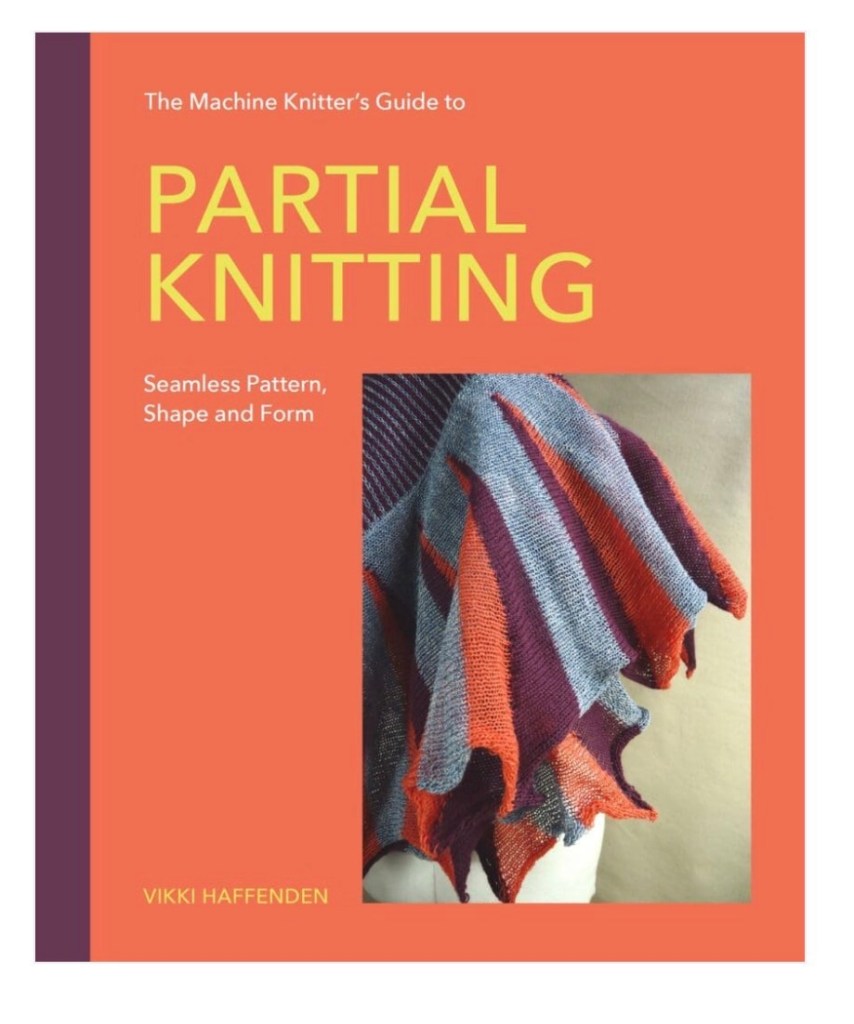
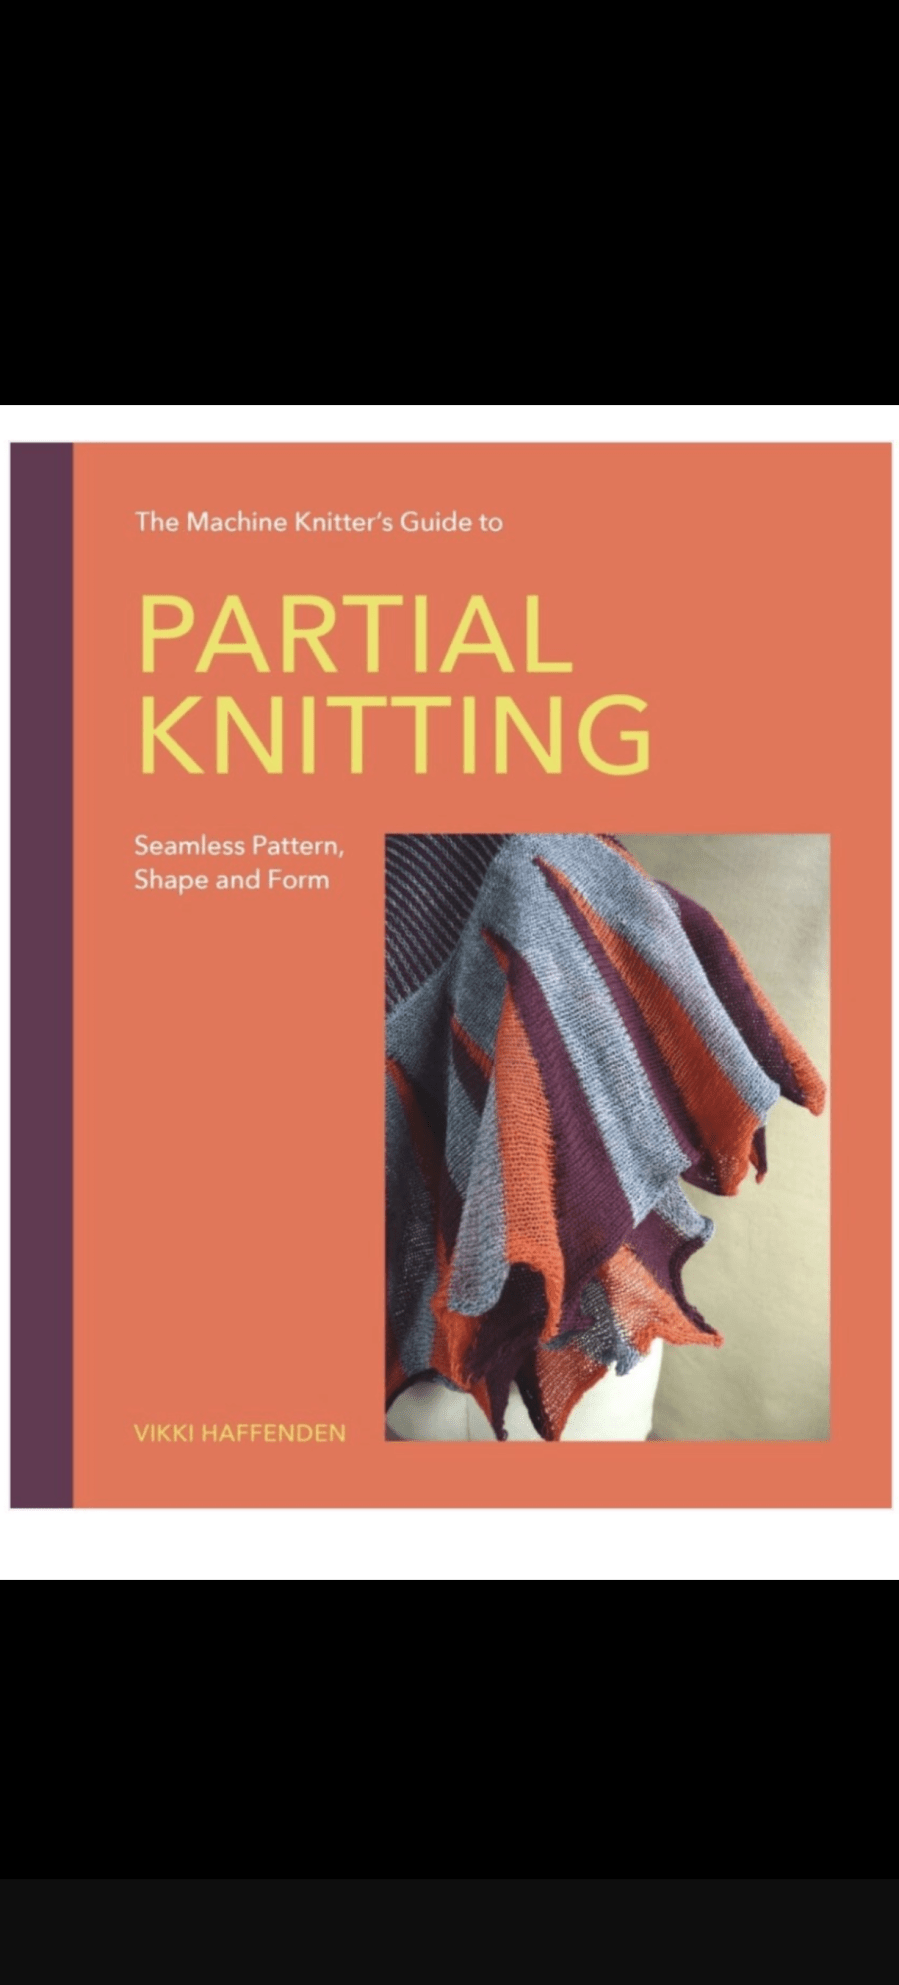
‘Single and Double Bed Machine Knitting; the Designer’s Guide’

The advance copy of my new book arrived today, and I’ve shared some previews here

Talk in March 2020

I will be talking to Long Buckby Machine Group next March about my career in knitted textile and knitwear design, and the inspiration behind ‘Translating Between Hand and Machine Knitting’.

I’m looking forward to meeting members of this well-established machine knitting group.

About Translating between Hand and MachineKnitting…

Hi, I’m Barbara from Italy and want to thank you for writing “Translating between hand and machine knitting”. It’s just great, I can now understand the differences between silver reed and brother. I have one of both but got frustrated trying to use the silver reed, so just stopped working with both… now I have the chance

Thank you Barbara, its great to hear your feedback.

Today is beanie day …

OK, I know it’s now mid January and this is a post about a Christmas gift but I’ve only just got around to finishing it off and getting it online. This is the story of knitting the hat worn in this photo.

December 2018…

I’ve started a beanie hat as a Christmas gift. Its in yarn from my stash, a rather nice airforce blue tweed 90% wool 10% acrylic blend Aran weight yarn. I dithered about the acrylic content I have to say, as I believe one’s toil is best rewarded by natural fibres, but the the colour (and having the yarn to hand), won the day.

The brim should work out to be around 7cm (3″) deep, and I’m going to knit it in a 3 row 2×2 cabled rib, with the shaped crown in stocking stitch. The pattern has been designed for a 61cm (24′) head circumference.

Gosh that doesn’t look very blue, more grey, must be the light. The rib shows though.

The cabled rib is worked on a 3.5mm circular needle, and the crown on a 4.5mm circular needle.

I have a set of those lovely interchangeable KnitPro needles, which means the world is my oyster when using circulars, but because the yarn is quite dark I have decided to use a white Prym triangular pointed circular so its easy to see the stitches. These are also comfortable to work with, and have a strange knob on the point that I quite like.

So far I have cast on 80sts (has to be divisible by 4 for the 4 stitch rib repeat) worked 2 rows rib and 6 repeats of the cable, and then 6 rows straight rib. I used the 2×2 alternate rib cast on recommended by Woolly Wormhead. Its not as stretchy as I had hoped, but looks good. Any stretchy one will do though, don’t beat yourself up about it.

How to work the c2b cable on the rib: Either use a cable needle, or work them as follows: slip the two knit stitches one-by-one knitwise, then insert the left needle from the right into the front of these stitches and slip them back to the left needle. This twists the stitches. Knit them one by one.

How I knitted the hat:

Cast on 80sts, using a stretchy cast on.

Join the round securely in your favourite way; for example work the first stitch, and pull the yarn to tighten the join before working the next stitch, or before working the first round slip the first stitch of the cast-on onto the point of the right needle so that it will be knitted at the end of the first round.

Mark the end of the round with a stitch marker.

Round 1 and 2: (k2, p2) to end.

Round 3: (c2b, p2) to end.

Repeat round 1-3, 5 times.

Round 16-20: (k2, p2) to end.

Round 21: purl.

Move the marker up to the current row.

Now you have the option to work all the stocking stitch in purl, and replace the knit decreases with purl versions, or if like me you find knit faster than purl, this is what I did.

Slip the last stitch to the left needle, and take the yarn to the back between the stitches then slip the stitch back so that the yarn is caught around the stitch. Invert the knitting and working in the opposite direction to former rounds, work the rest of the crown as knit stitches.

Round 22: knit

Continue working as Round 22 until the work measures 20.5cm from edge of rib.

Now to do the shaping.

I worked the first and every fourth round as a decrease round as follows.

First round,: k7, k2tog (70)

Second and third round: k all.

Fourth round: k6, k2tog (60)

Fifth and sixth round: k all.

Continue in this sequence, knitting one less stitch between decreases until 50 stitches on needle. Then work decreases on every second round until 20 stitches remain, finishing with a knit round.

Break yarn leaving a 40cm tail. Thread yarn onto a darning needle and slip the open stitches onto the darning needle. Draw the stitches in and secure the yarn end.

What’s inside ‘Translating Between Hand and Machine Knitting’?

Lace knitting – see more about this on my Translating Between Hand and Machine Knitting page, but in brief, yes this is explained in loads of detail, with helpful photos and diagrams, examples and step-by-step instructions.

The book does not include garment patterns, it explains how to knit different stitches by hand and machine, and why some stitches are more suitable for hand and others for machine knitting.


Hand and machine knitting – using a ‘lifeline’ when knitting lace

When hand knitting lace it is so easy to make a mistake or drop stitches, even on the plain rows, (I have a habit of dropping the yarnovers).

To save yourself the hassle of having to unpick and rediscover your pattern, adding a lifeline is a real life-saver; although it may seem tedious at the time.

A lifeline is a piece of thread passing through all the stitches along one row of the pattern so that if a stitch unravels some rows above it cannot drop below this retaining thread.

Decide where you want the lifeline to be, this would usually be at the end of one full vertical repeat of a lace pattern, on a non-patterning row, (usually a purl row). If it’s a short lace pattern repeat that is only two or four rows high, then you might put a lifeline in after every four or five repeats of the pattern.

To prepare and insert a lifeline:

  • Choose a contrast colour that’s no thicker and preferably thinner than your knitting yarn. On fine lace sewing thread is ideal.
  • Cut a length of yarn that is 20 cm longer than the width of your fabric.
  • Thread the yarn into a large eyed bodkin sewing needle. Avoid using a needle with a sharp point as this may split your stitches.
  • Using the sewing needle thread the yarn along the stitches on the needle, making sure the thread goes through each stitch.
  • Pull the lifeline gently so that there is an even length of thread at each side of the knitting.
  • Remove the bodkin sewing needle and knit the row as normal.
  • Once you have threaded another life line in place at your next chosen position you can remove the first one.

You can use a lifeline in exactly the same way when machine knitting, it is just a little bit more fiddly to thread the yarn through the stitches. But believe me, its worth it!

The image below shows a lifeline (yellow yarn), being inserted into lace knitting being worked flat, but using a circular needle. A circular needle has a thin wire in its centre (in this case its a red wire), and sliding the stitches onto the wire before inserting the lifeline creates more space inside each stitch, making it easier to thread the lifeline through.

A lifeline being threaded into lace knitting. Insert the lifeline after working a plain row. This gives you easily recognisable loops to work into.

Translating between Hand and Machine Knitting

A pre-publication glimpse of my new book, Translating between Hand and Machine Knitting.

CoverTo be published by Crowood Press in summer 2018, this book is lavishly illustrated with clear step-by-step instructions on knitting techniques, stitch structures and fabric constructions.

Unlike many other knitting books, this one explains why knit stitches behave in certain ways, and how to achieve effects using combinations of stitches. Each stitch construction is analysed and explained with diagrams and examples, for example tuck stitch (in hand knitting this is known as broiche stitch) is clearly illustrated so that the route of the yarn is tracked, and effects on vertically and horizontally adjoining stitches can be seen.  Fabrics made with this stitch in both hand and machine knitting are illustrated, explained and compared and contrasted in both methods of knitting. The most suitable method is highlighted and pros and cons of methods discussed.

diagram_stitchCopyright

The constructions of textural and colour effects are explored and described by hand and machine knitting methods. There is a whole chapter explaining how to knit a hand knitting garment pattern on a machine, or vice versa, and how to subsitute yarns between both methods. Examples and illustrations support every step, and shortcuts and hints and tips are scattered strategically throughout the text.

I am proud to say that my book has been written with the primary aim to enable the reader to take control of their knitting and create exactly what they want in both knitted textiles and knitted garment shapes.

It will take pride of place on any knitter’s book shelf, sitting next to The Knitting Book and Knit Step-by-Step.  Preorder on Amazon