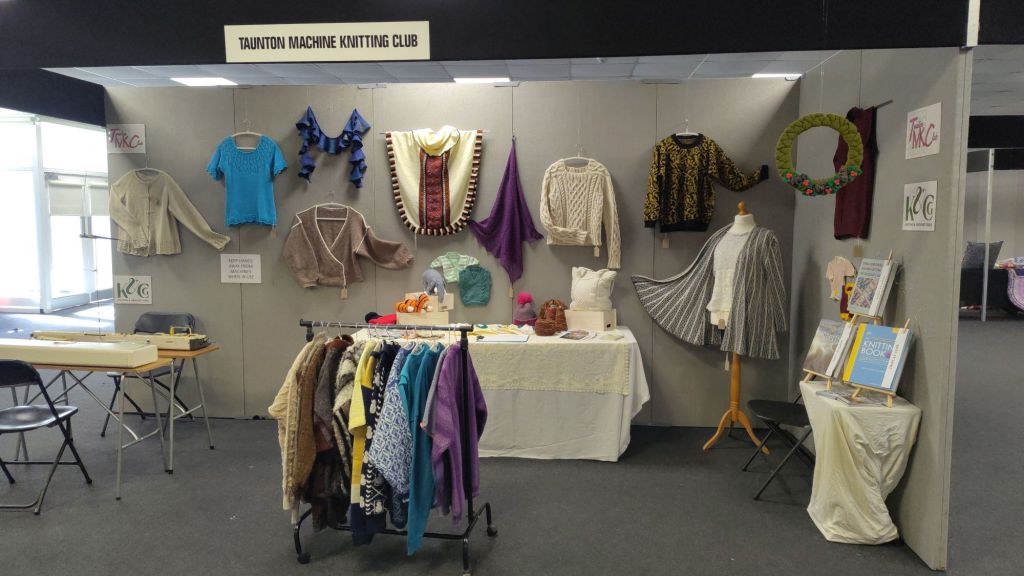
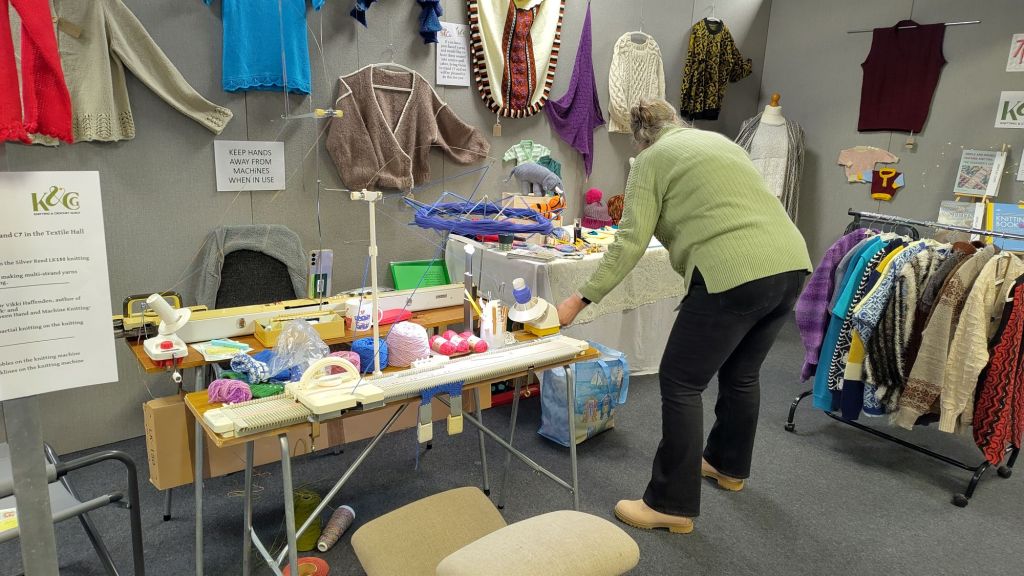
It’s been a busy day today setting up the Taunton Machine Knitting Club stand at Craft 4 Crafter’s exhibition in Exeter. The Club is pleased to have recently become a branch of The Knitting and Crochet Guild, making us part of the wider UK knitting community.
The display features work by most club members including lace, intarsia, knitweave and double jacquard. Throughout the three day exhibition members will be demonstrating different techniques such as cables, bobbles, shaping and short row knitting.
The display is finally ready, and I am not climbing a stepladder again today!
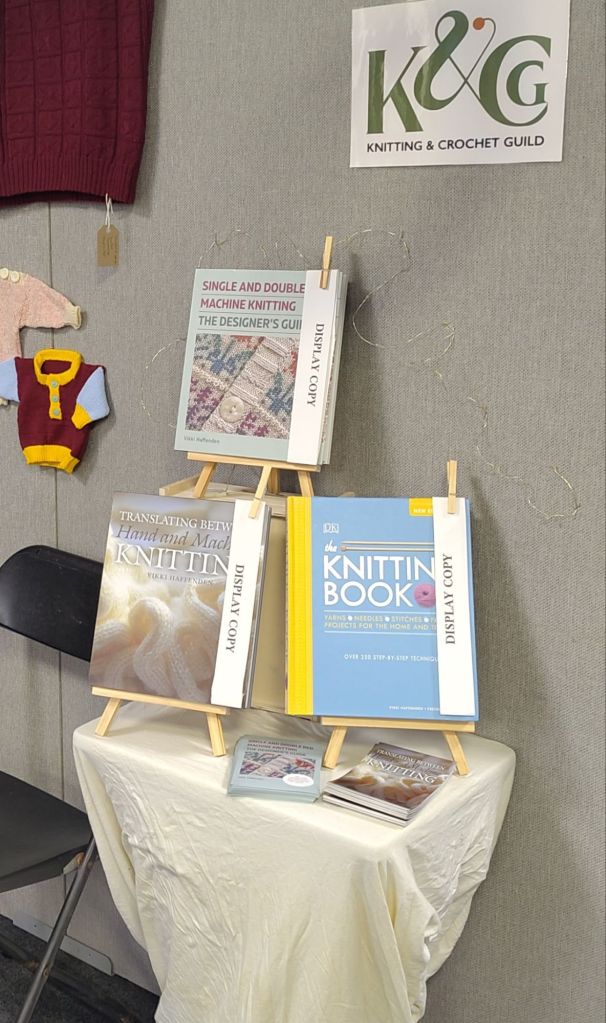
I will be giving a talk on Friday about my books, ‘The Knitting Book’, ‘Translating Between Hand and Machine Knitting’ and ‘Single and Double Bed Machine Knitting; the Designer’s Guide’.
The table will have to be large enough to fit four copies once my latest book, ‘The Machine Knitter’s Guide to Partial Knitting’ is published later this year.
Update
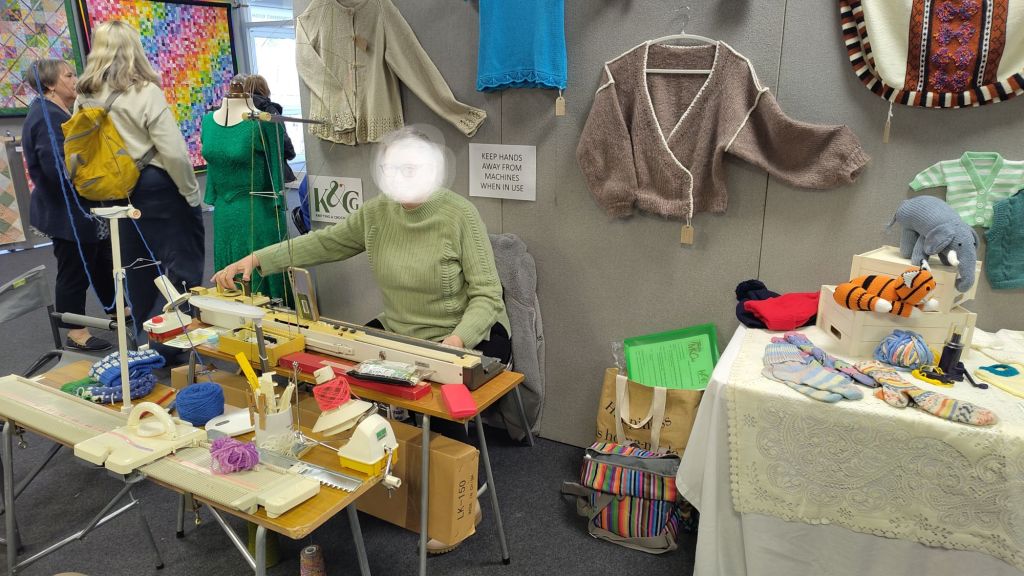
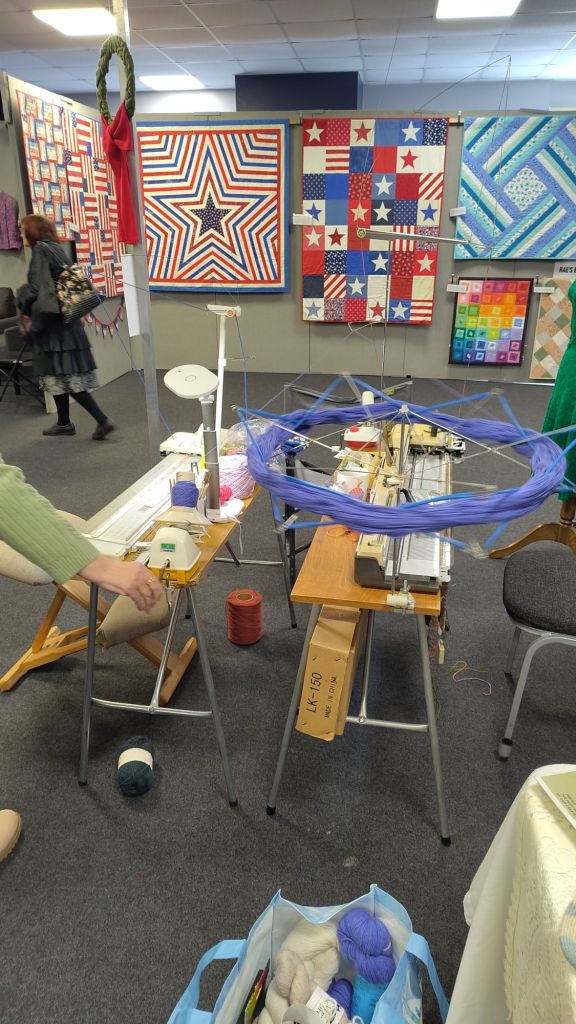
The show went really well. There was lots of interest in the club, machine knitting in general and the Knitting and Crochet Guild.
The machines were a great drawYarn winding for those who bought yarn in hanks
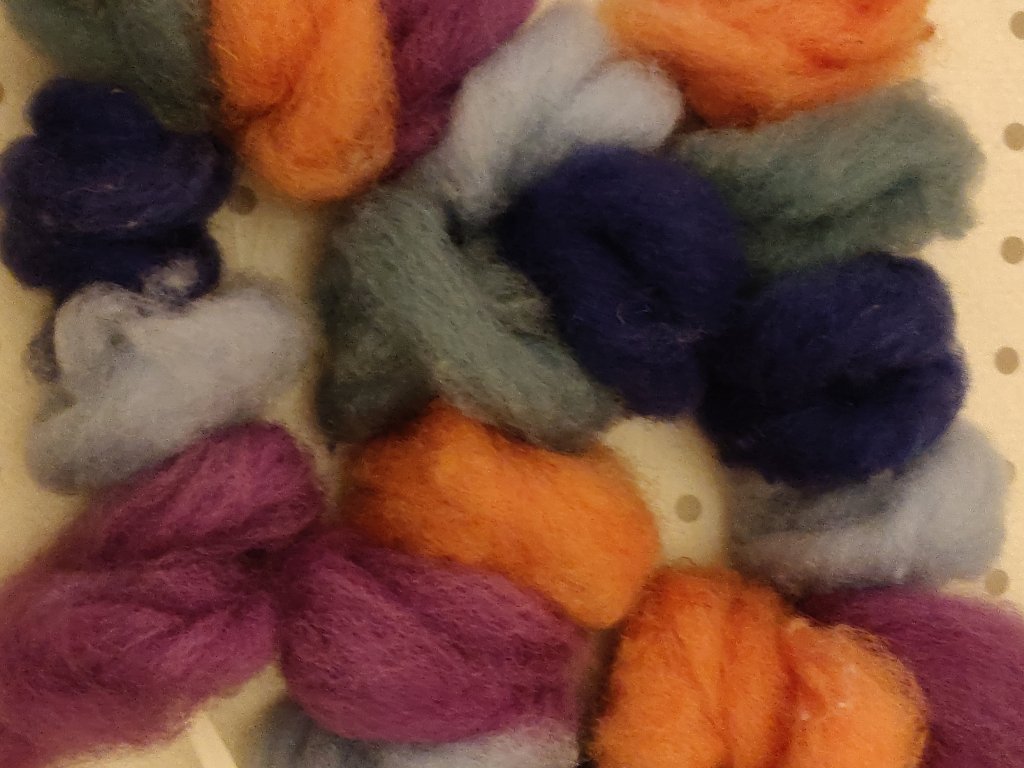
I’ve had a number of different colour hand dyed carded batts sitting waiting for me to find inspiration. They are all from fleece I have scored and carder myself, so are a mix of Shetland, Suffolk and Texel, with maybe a little Alpaca blended into some of them. Some are in 200g amounts, some less. I’d got a bit stuck about how to use them until I saw a useful tip by Anna from my spinning group that she has put on YouTube.
Before you start, select a group of colours that work together. After a designing session during which I wrapped different colours together, I chose five: orange, pale green, mid blue, pale blue and lilac.
Anna used a combination of hand dyed and commercial roving, but the principle is the same with your own carded batts.
1. First of all split the roving/batt into the required lengths, (I just used the whole length of the batt of my drum carder).
2. Then split each length lengthwise into 4, (or more, depending on the thickness of the roving/batt).
3. Next, lay out the colours lengthwise, next to each other in the order you want to spin them into yarn. Test this beforehand to see how they mix throughout one repeat of a yarn, and if this works for your chosen outcome, such as knitting.
4. Repeat the colour sequence three more times so you have a table full of ‘stripes’ of fibre. If you have more than four lengths let colour, carry on until all are used up.
5. Now this is the clever part. I have hand spun colour changing yarns before and got the sequence wrong because I put it all away in a box between spinning sessions. To keep the sequence do the following.
6. Take a metre + long length off ribbon and tie a pencil or empty pen across one end. This is your fibre-stopper. Tie a hand-sized loop on the other end. This is your distaff.
7. Starting at one end of the ‘stripes’, wind each length off fibre into a loose roll and slip the looped end of the ribbon through the centre hole. Carry on doing this, working methodically through the fibre lengths, keeping the colour order as mapped out in your ‘stripes’.
8. You will end up with a ‘necklace’ of colour ordered fibre rolls on the ribbon. Tie the ends together to stop the fibre sliding off.
The dyed fibre arranged on the ribbon distaff before spinning
Now to can put them in a box and they won’t get muddled. To start spinning, simply lift the necklace out, untie the ends, and slip the loop over your hand. It acts as a distaff and will hold your fibre nicely as you spin each colour.
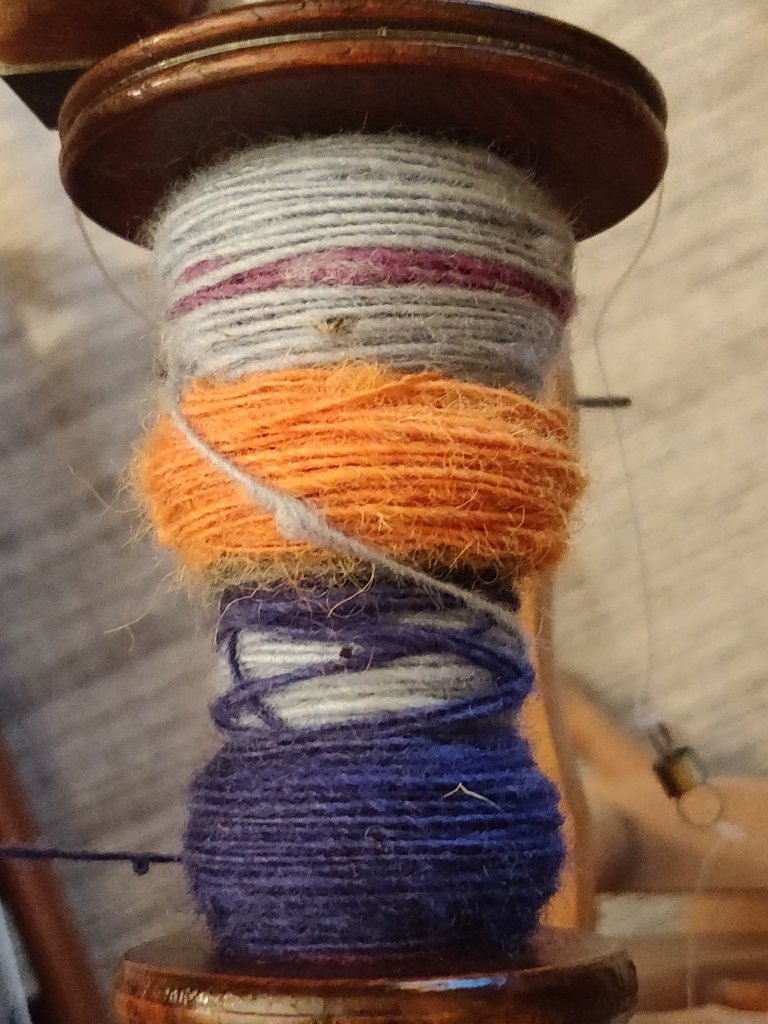
Spinning the lengths into singles
What a great tip!
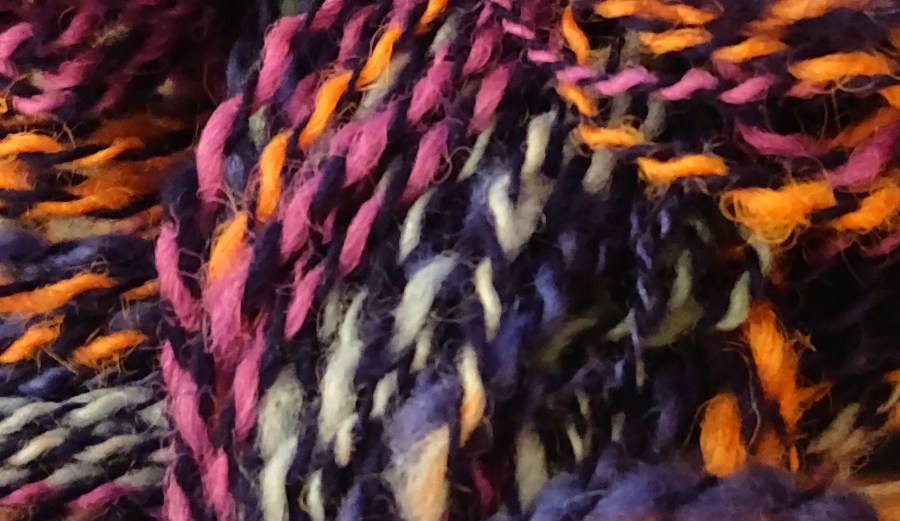
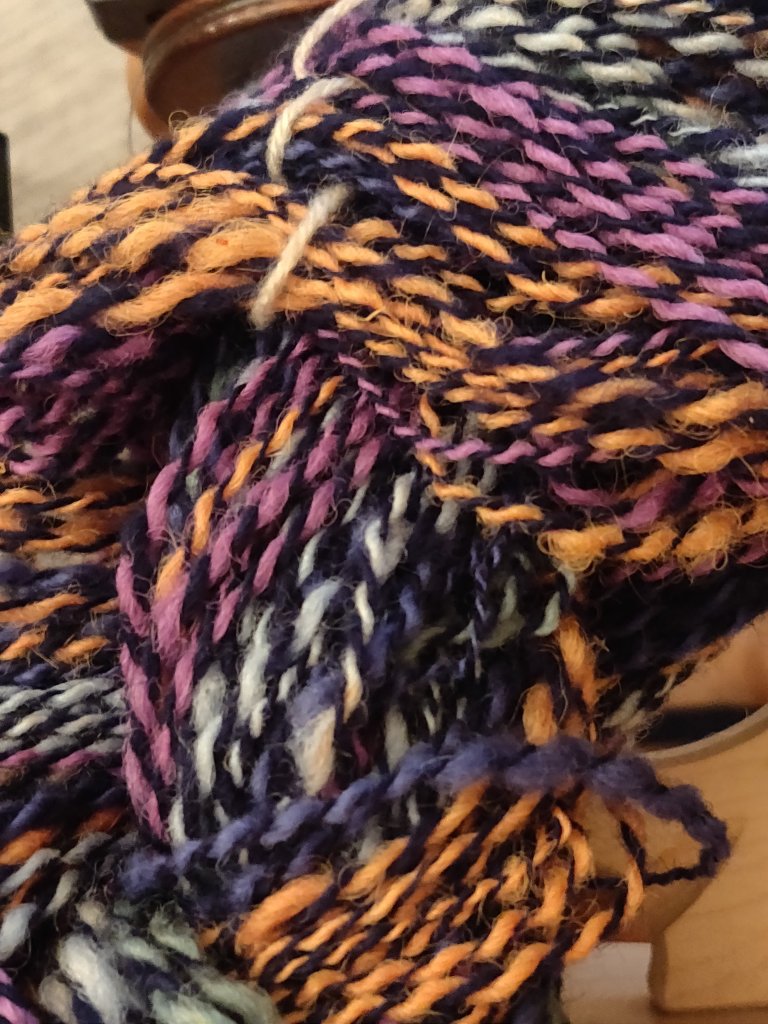
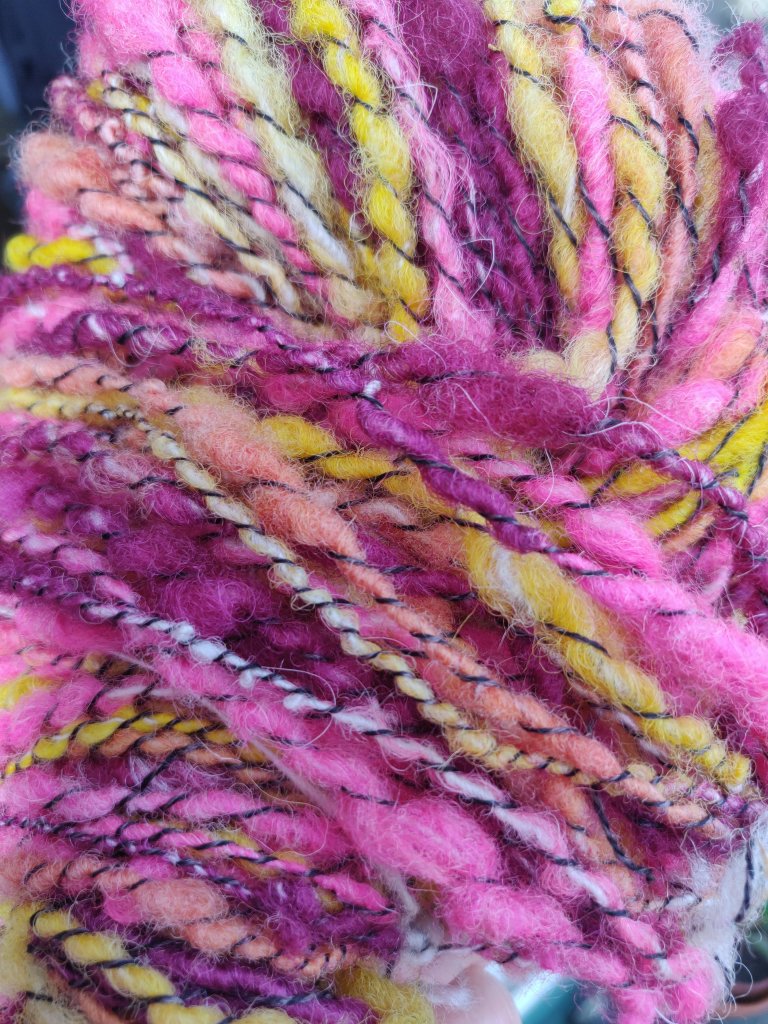
I plied the colour changing yarn with a single spun made from navy blue Corriedale. This made a lovely marl yarn that to me resembles stained glass windows. I can’t wait to see what it looks like knitted.
Last week a few of us got together (safely distanced and masked), to take our textiles into the park. I enjoyed myself so much I forgot to take a photo!
The thought of spinning outside in the sunshine encouraged me to use bright colours. So I took along some Shetland fleece I dyed a while ago using acid dyes, (I have written more about dyeing fleece with acid dye here).
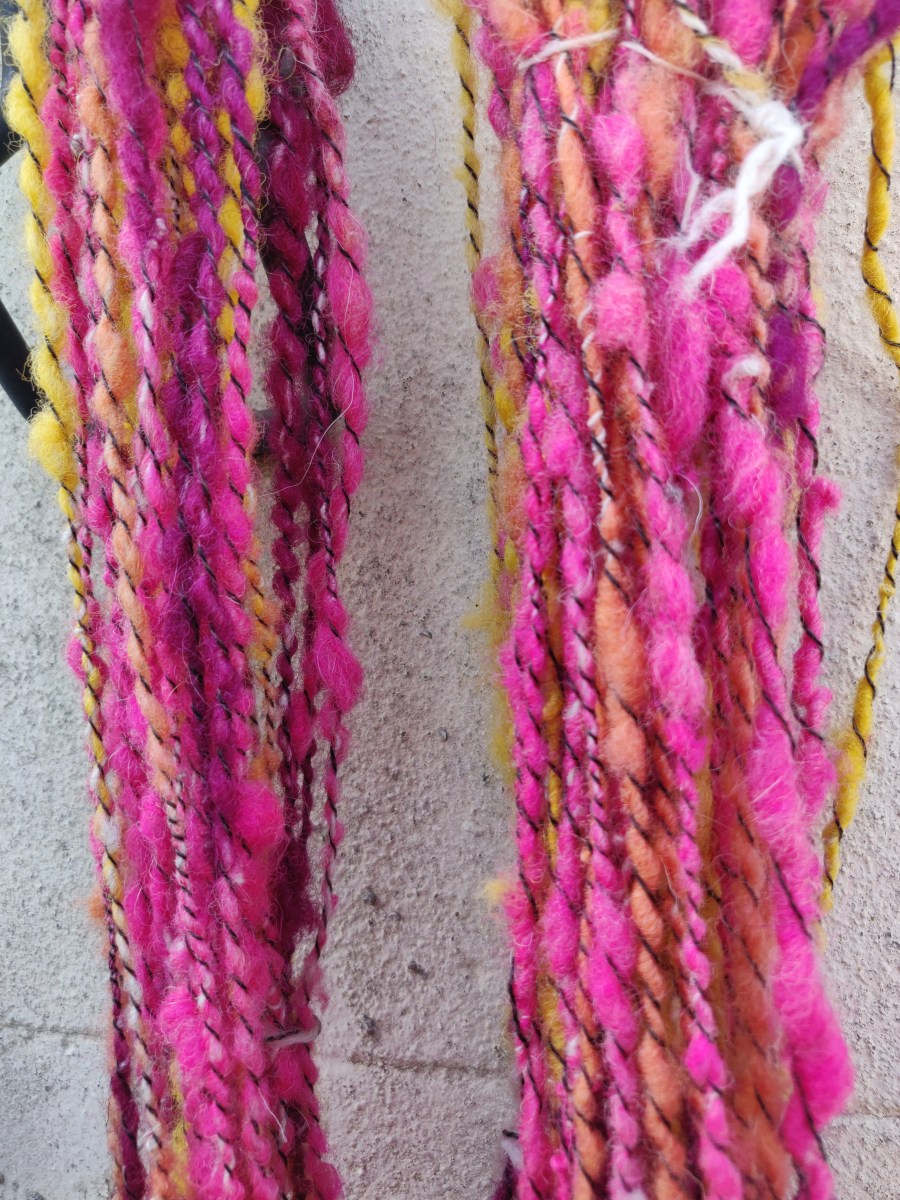
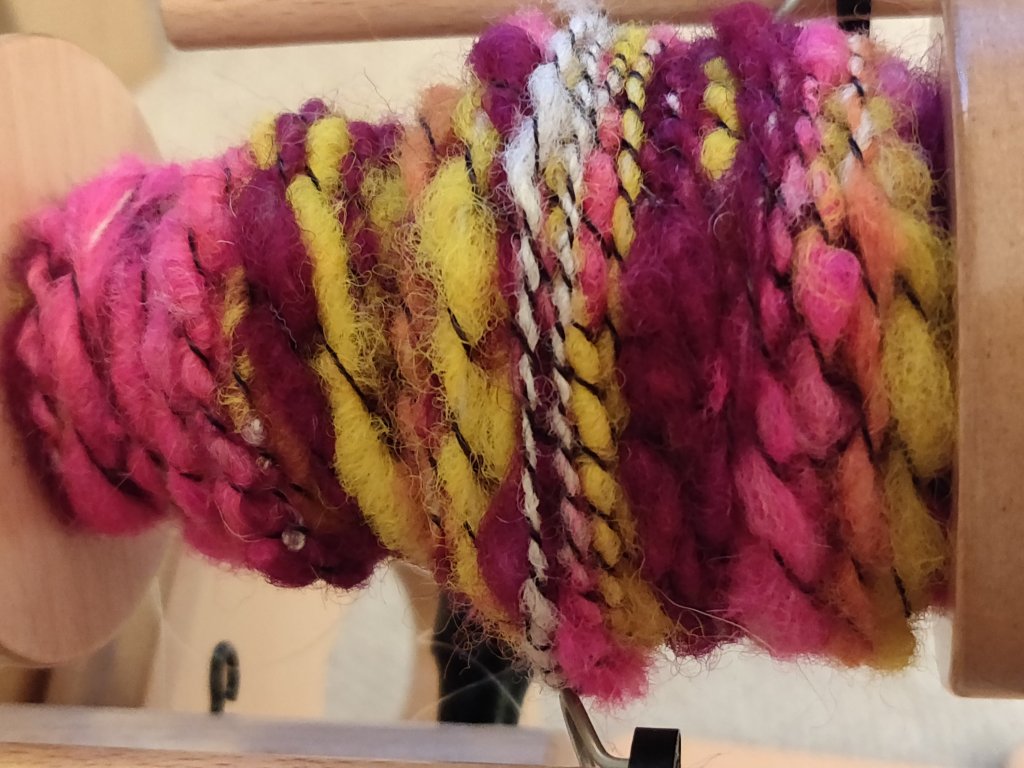
I’d spun up a bobbin of Suffolk fleece that is not very exciting, so I planned to use that as the core for a bright, irregular spun, core-spun yarn to which I would add a charcoal wrapping yarn. All 100%wool. I took my folding Louet Victoria S95 wheel which is a joy to use.
The core yarn was Z twisted quite tight. The wrapping colours were also put on Z twist, and the final charcoal, commercial yarn was S spun over the others.
Photo taken at might, so the colours are not accurate.
After washing and drying the twist the colours hardly muted and it’s come out as lovely yarn.
Washing (or scouring) raw fleece is not a quick job, I think that’s something all can agree on. It’s also surprisingly contentious. Everyone wants to tell to their method, and you gradually learn that different fleece require different scouring methods, so everyone is probably right!
So I’m going to write about my experience today.
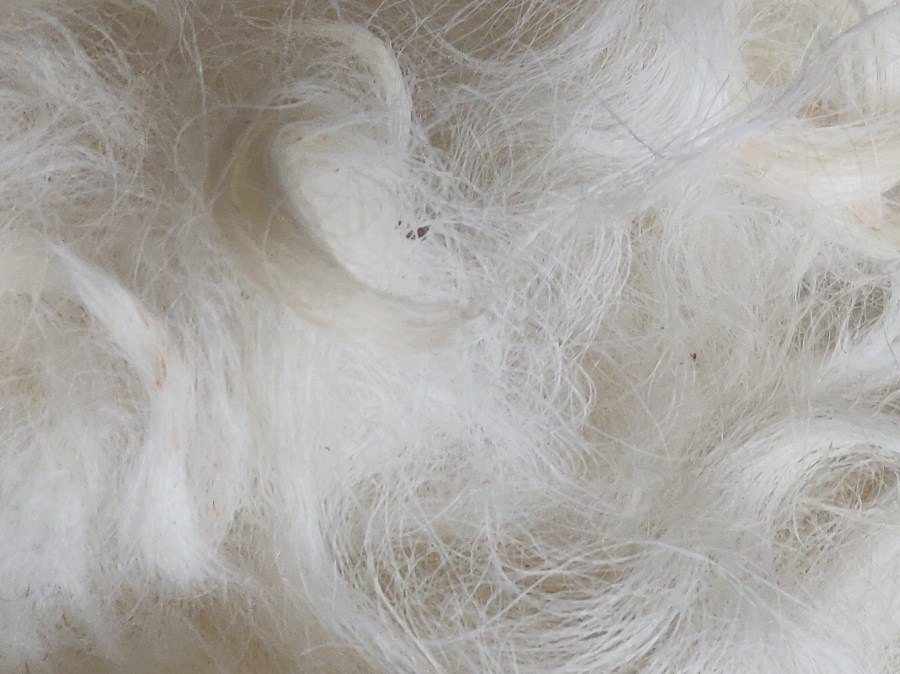
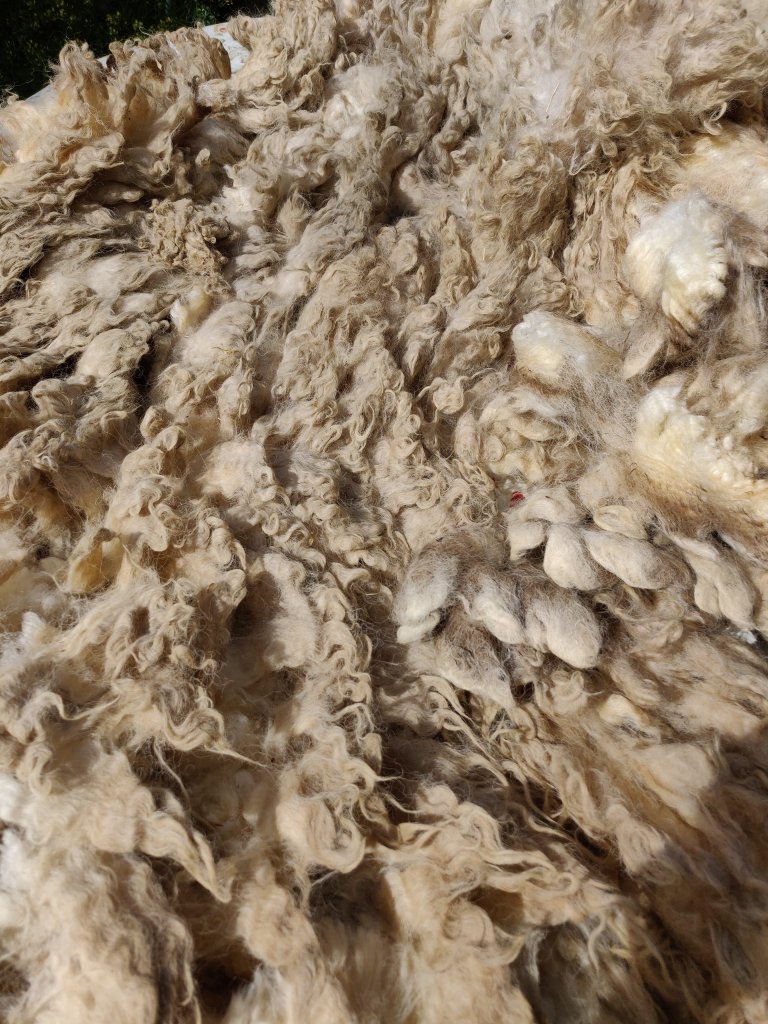
I have been given a rather nice Shetland fleece. Rather nice that is, but filthy. The fleece is very greasy and every single lock is gummed together and dirty at the tip. Underneath however, you can see the gorgeous fibre hidden under the grease-trapped dust and poo.
It doesn’t look too bad here, but thankfully this is not smelly-visionSee what I mean about those yucky tips?
I gave some of it a good hot soak yesterday with plenty of washing up liquid. The water was like oxtail soup (sorry if you like oxtail soup), but after a few rinses it seemed OK.
However, this morning’s inspection showed it to be still greasy and those dratted dirty and sticky tips were still gummed up.
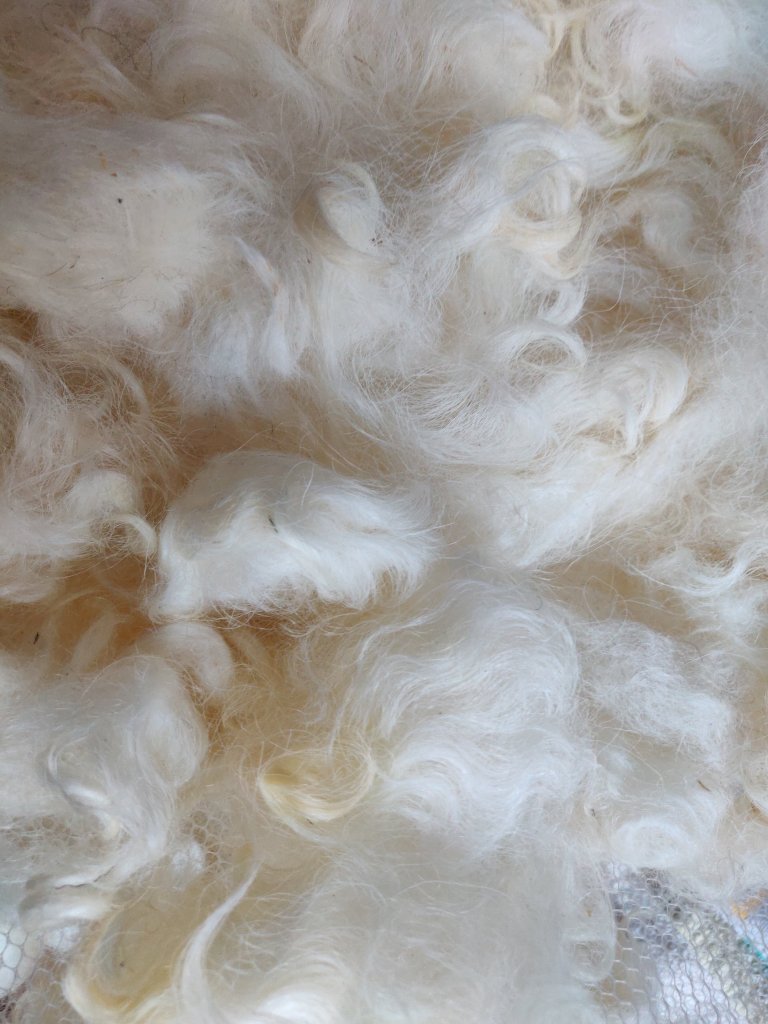
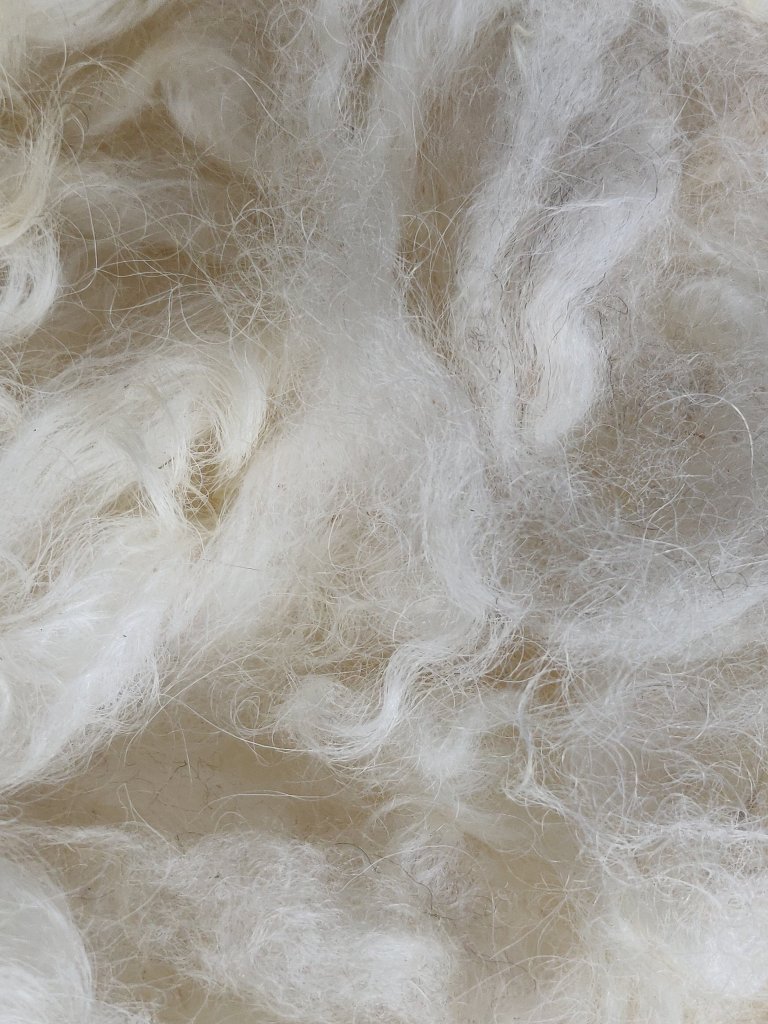
Rather than transfer that gunk to my carder I reluctantly decided to re-wash the fleece. So more really hot water baths followed. The first was so hot I couldn’t put my hand in it, with loads of washing up liquid and a dose of washing soda to break the grease. I always wash the fleece separated into small mesh lingerie washing bags. With this second wash, I opened each bag, one at a time under the water and teased the locks apart, concentrating on those dirty tips to loosen the greasy dirt.
Yes it was time consuming, bit surprisingly gratifying as the dirty came out quite easily with this method. I think because the fleece has just been sheared the dirt hasn’t had to much time to harden-off.