An hour spent blending on the drum carder has got me set for some serious spinning.
The yellow and natural are broken Merino tops that I picked up at the John arbon Open Day last year. I’ve blended these in equal parts with a very strong ultra marine blue which I won in my local Guild raffle.
I tested this first on hand carders and it produced a very nice yarn so now I’ve done it in bulk and taken rolags of a batt from the drumcard.
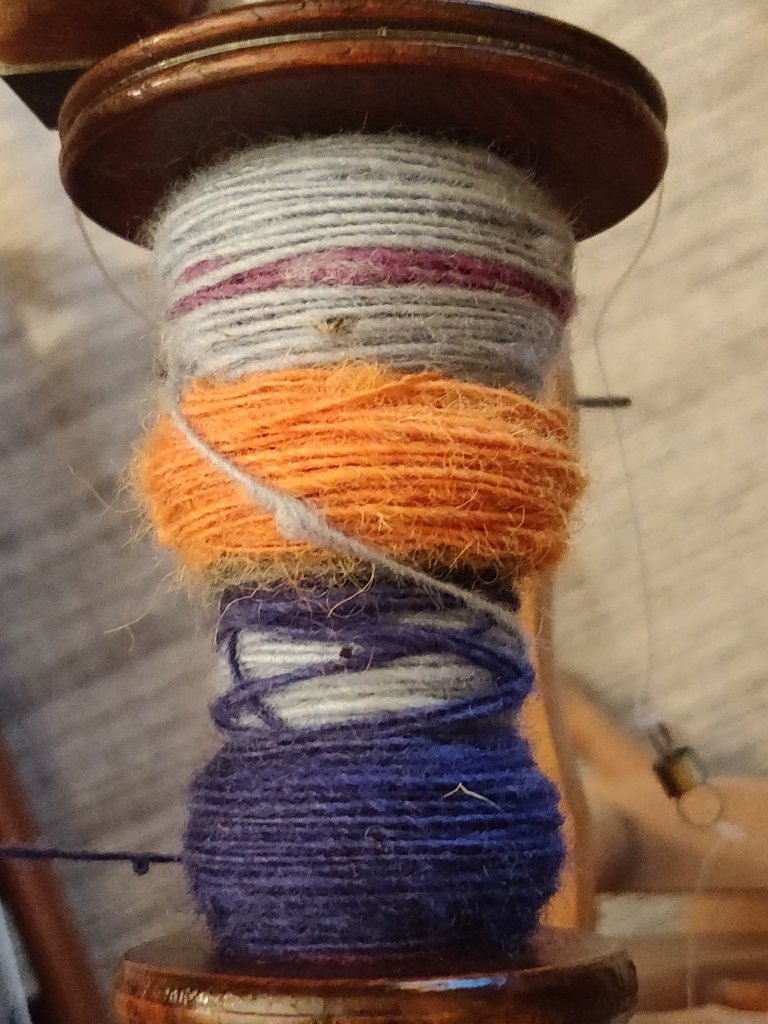
The singles so far.
I’m aiming for a 2 ply hand knit weight yarn, so spun the singles trying to let in a bit more fibre than I usually do. I read once that as you become more proficient at spinning you tend to spin finer, and that does seem to have been the case. Not that I’m claiming to be brilliant at it, just more practiced than I was.
This was spun the 1:8 whorl on my Louet S95 ‘Victoria’, which is the little folding portable wheel I take out to demonstrations. I aim to ply at the same ratio although I know it will probably work out a bit less. I am looking forward to spinning and plying this.
Yesterday, Easter Saturday was the Guild Skill Share. There were many generous members who shared their knowledge and skills in weaving, knitting and spinning related sessions.
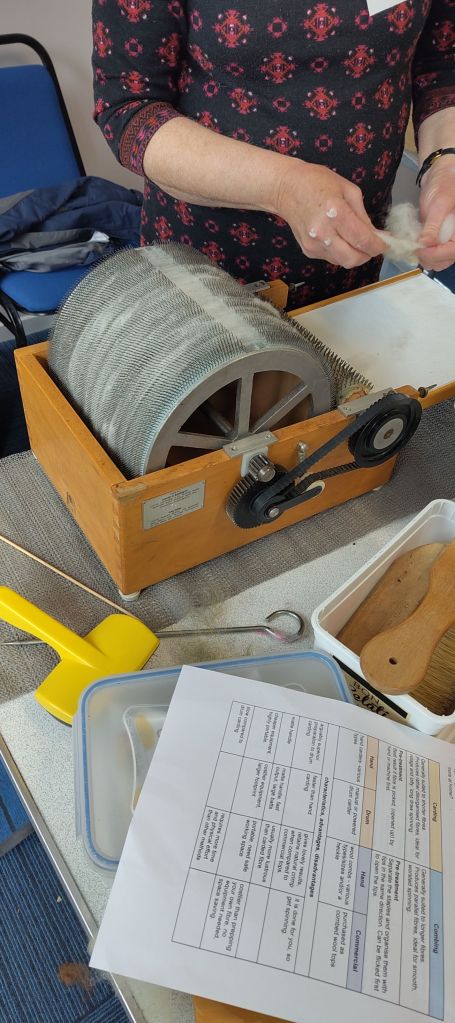
Kathy and I offered a Wool Fibre Preparation day so that members could have an induction on the Guild equipment or bring their own carders and combs etc. along to learn how to use them or just pick up some tips.
The morning was all about using swing or box pickers and hand and drum carders plus how to use these for blending. After lunch we tackled wool combing using a pair of English Combs and smaller Valkyrie ones plus blending in a heckle.
We enjoyed running the session and everyone seemed happy. After my initial H&S talk it was me that pricked my finger on the combs!
Follow the link below to read about how my old drum carder has got a new lease of life. This modification makes it so much easier to achive high quality carded fibre.
I have a large sack of Texel fleece that had been making me feel guilty for a while. It’s not the most soft of fleece so I decided to blend it with some Alpaca that has also been lurking in the cupboard. Unfortunately the Alpaca (from an animal called Kiki), has quite a bit of VM in it, but it is deliciously soft.
Picking and hand picking got a lot of the VM out, but sadly not everything. I carded both the Texel and Alpaca separately and then split the batts and layered them up in alternate layers; one wool, one Alpaca etc, and put them back in smaller batches through the drum carder.
As my carder is quite coarse I do a second run through for most fibres. So I did it for these batts. I think I probably should have done a third run, but I was afraid of over-carding the fibres and decided they had blended well enough. The result is a little uneven!
I’ve spun two small samples, one thick singles sort of semi-woollen and the other long draw woollen spun.
I’m now perfecting, (ha ha) my long draw technique with several hundred grams of comb waste that I have carded up. Hopefully by the time I get through that I will be proficient enough to tackle long draw spinning that large amount of Texel/Alpaca fibre!
I’ve hand knitted small samples of the both yarns The thicker spun on 6mm needles and the long-draw spun on 5mm needles
Left: Long draw spun yarn hand knitted on 5mm . Right: Thicker semi-woolen spun hand knittedon 6mm needles.
Having a few smallish quantities of hand spun yarn I decided to dye them.
The first was about 30g of blended tussah silk/wool singles that I’d then plied with itself. This is a slightly textured yarn with an interesting matte surface owing to the silk content. It took the deep purple dye beautifully, although the different fibres had varying take up of colour, so it isn’t quite even.
The second was a black and cream space spun yarn, plied with a solid cream. The solid is made from 50g of cream Suffolk fibre, woollen spun into singles. The second singles, with which this is plied, was prepared on a drum carder in alternating stripes of the same cream yarn and stripes of black Belwin fibre. This 25g batt was then woollen spun into singles, after which the two yarns were plied together into a 50g hank. This combination created a pretty spaced marl effect along a yarn which is reasonably even in thickness throughout.
The completed yarn was dip dyed in the same dye pot as the silk/wool yarn, plus another pink dye I had on the go. It was dipped a little into some yellow as well. Over-dyeing this black and cream marl yarn gives the impression of many more colours than there really are.
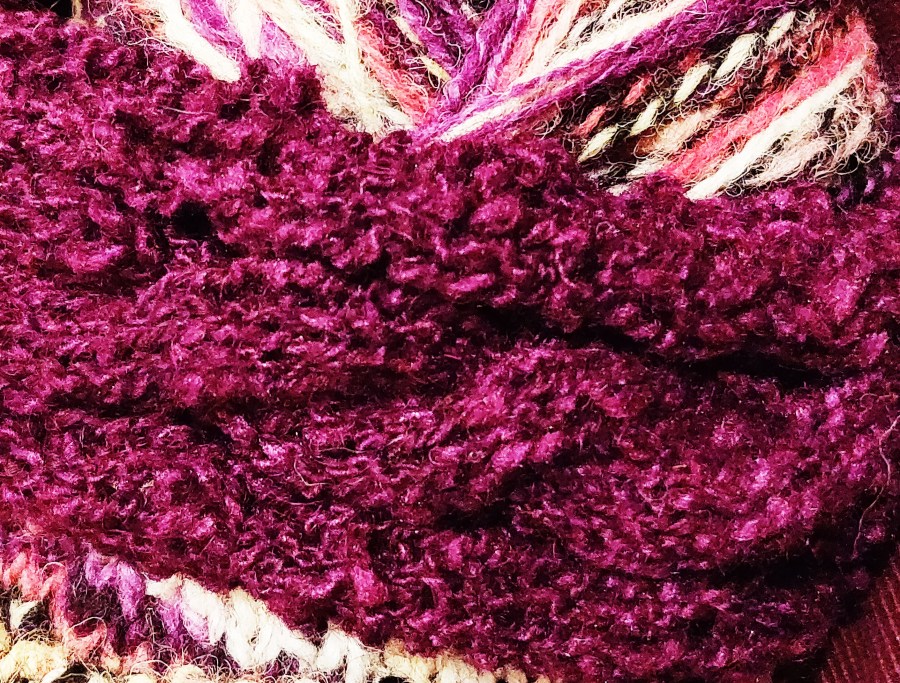
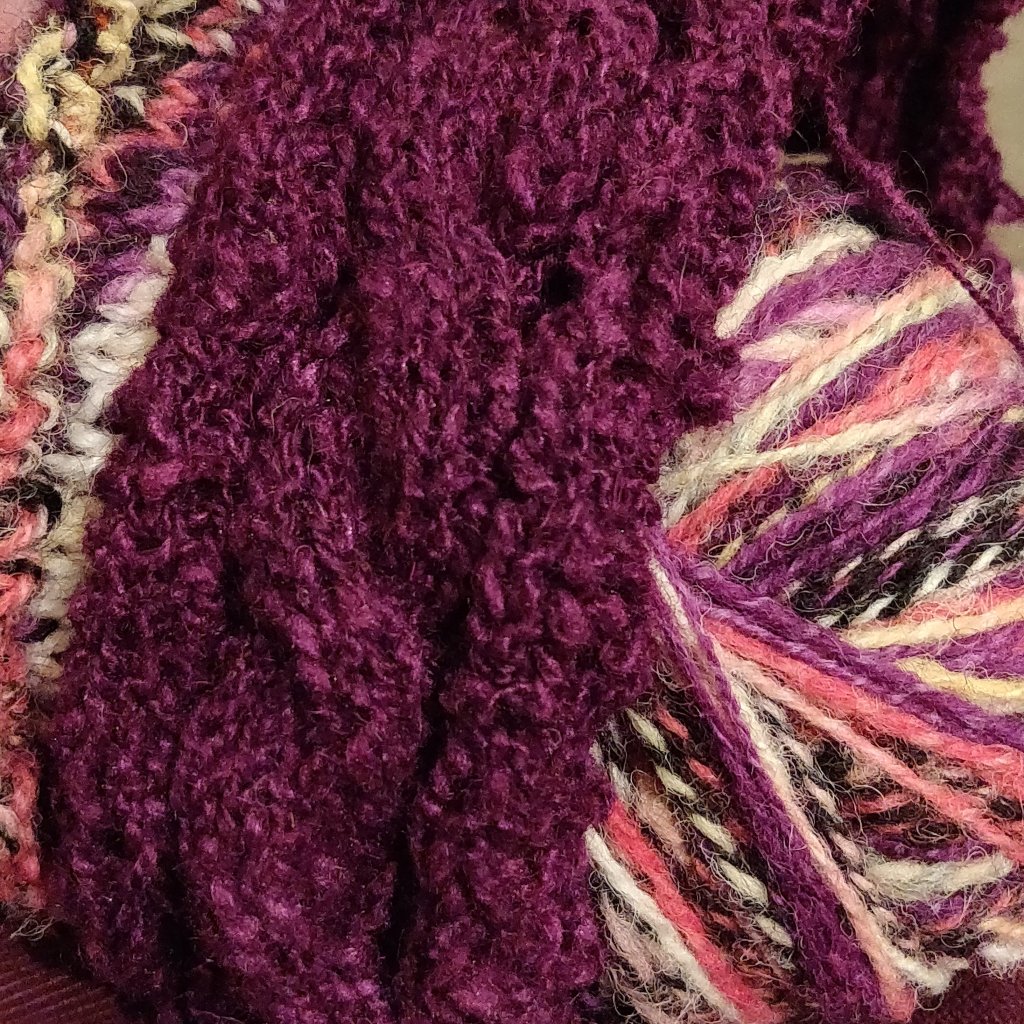
I’ve used the silk/wool as a band for a hat and the over dyed marl as the crown.
The band is knitted around the head, and has a cable along its length. The stitches for the crown are picked up along the edge and knitted in the round. The ball of yarn is on the right in the photo.
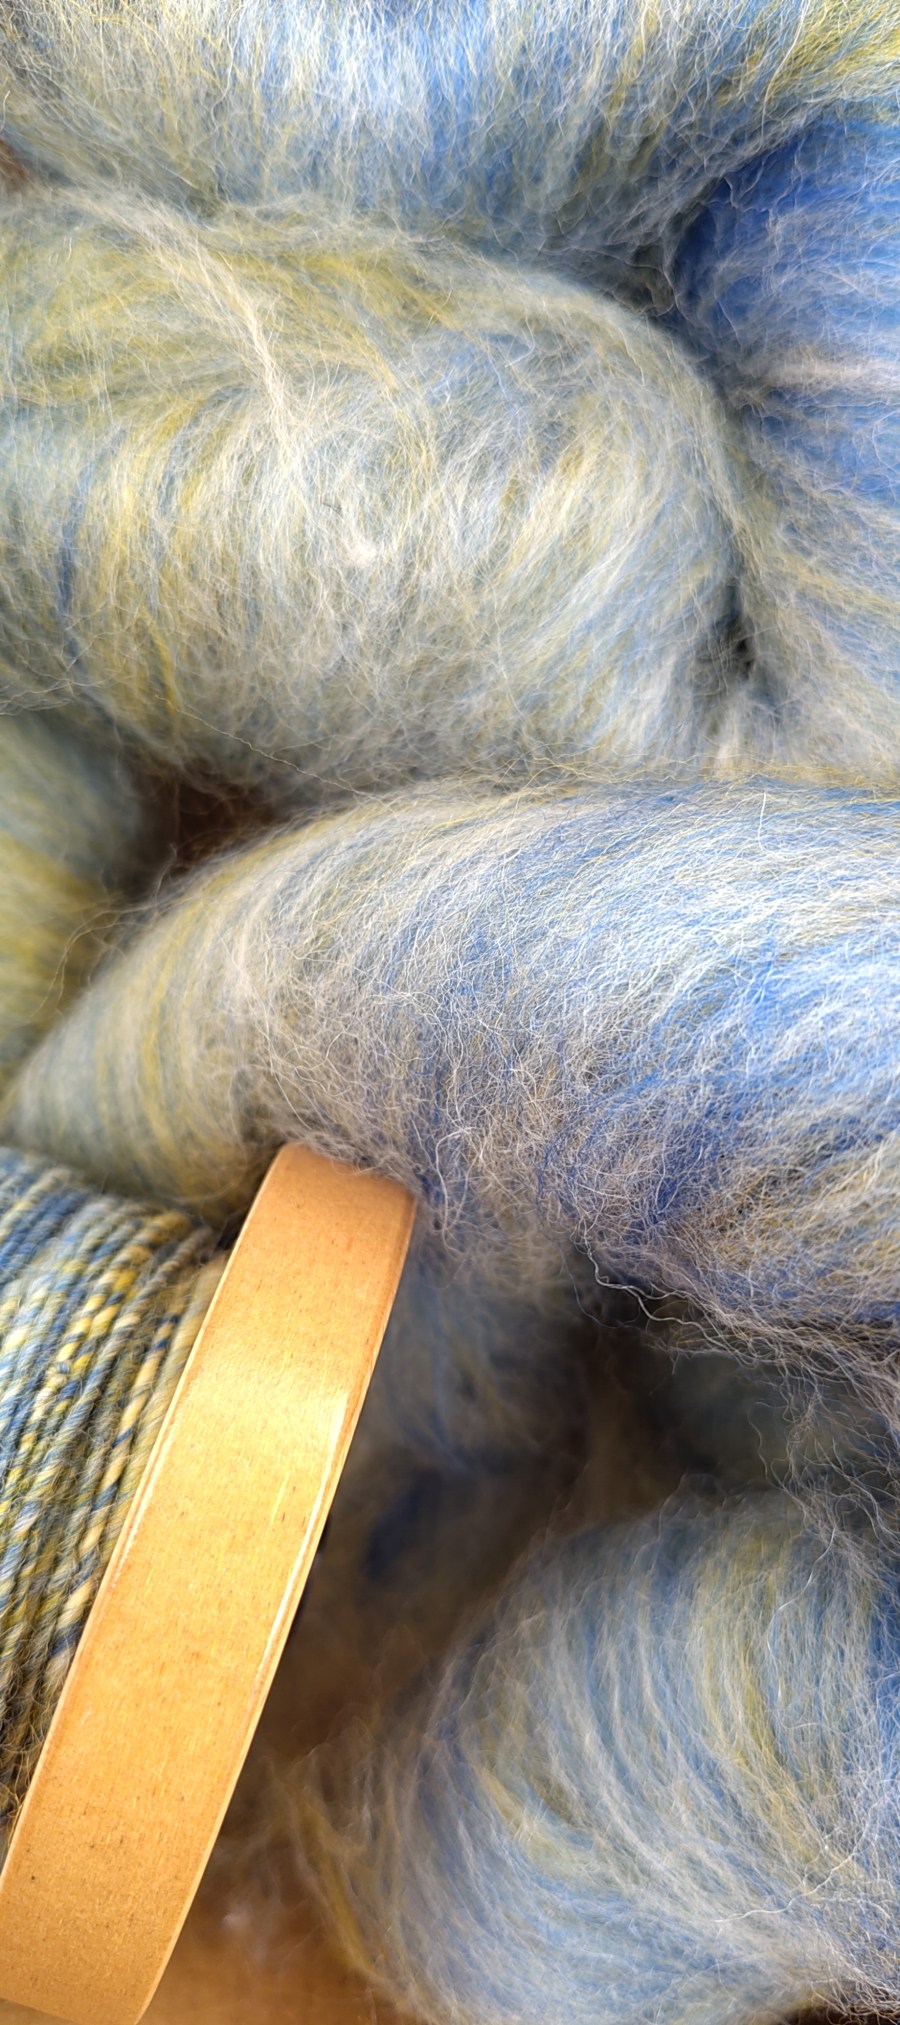
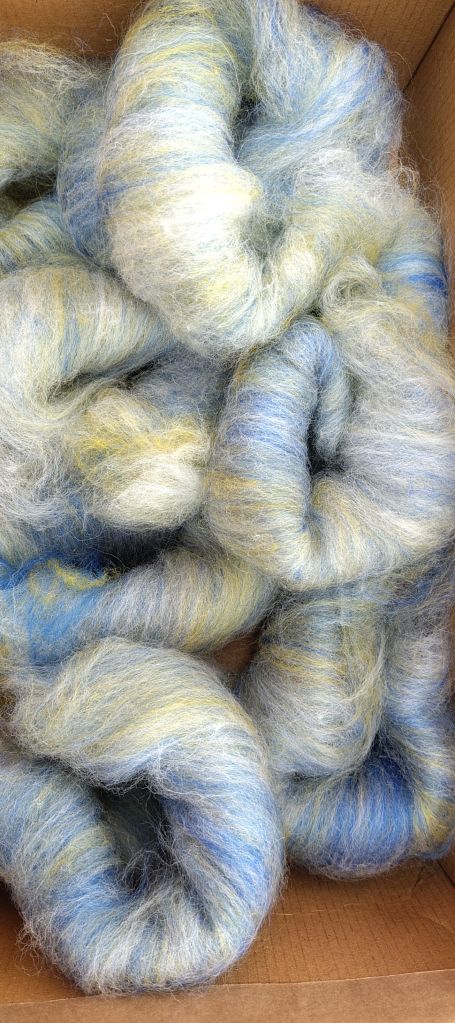
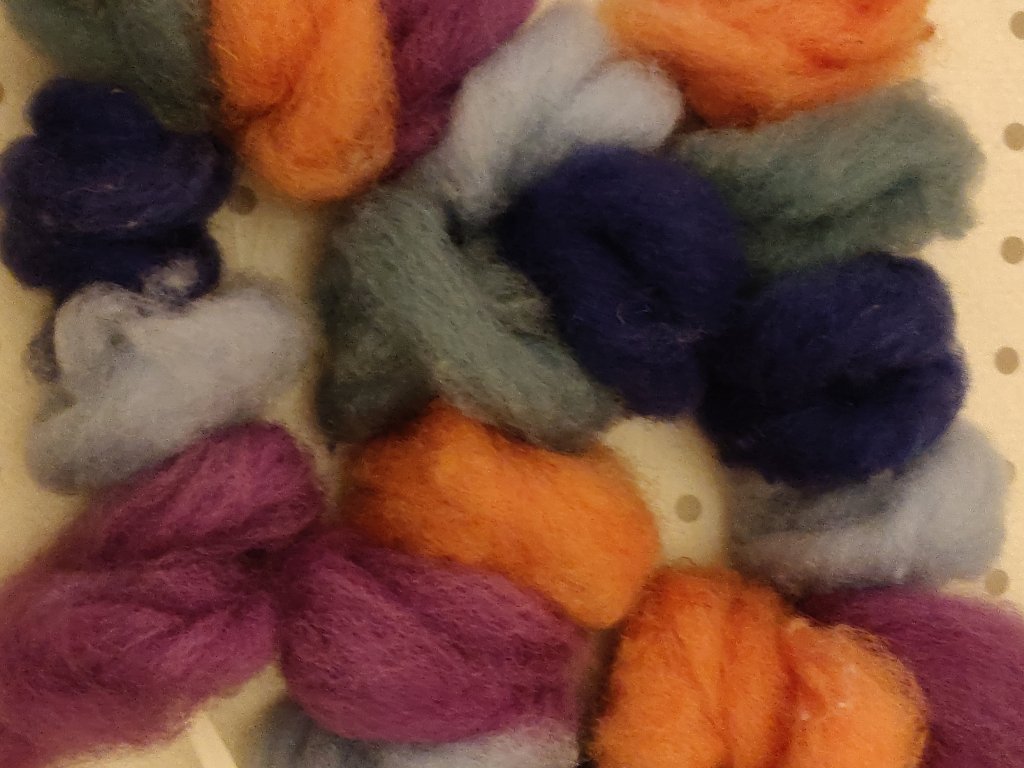
I’ve had a number of different colour hand dyed carded batts sitting waiting for me to find inspiration. They are all from fleece I have scored and carder myself, so are a mix of Shetland, Suffolk and Texel, with maybe a little Alpaca blended into some of them. Some are in 200g amounts, some less. I’d got a bit stuck about how to use them until I saw a useful tip by Anna from my spinning group that she has put on YouTube.
Before you start, select a group of colours that work together. After a designing session during which I wrapped different colours together, I chose five: orange, pale green, mid blue, pale blue and lilac.
Anna used a combination of hand dyed and commercial roving, but the principle is the same with your own carded batts.
1. First of all split the roving/batt into the required lengths, (I just used the whole length of the batt of my drum carder).
2. Then split each length lengthwise into 4, (or more, depending on the thickness of the roving/batt).
3. Next, lay out the colours lengthwise, next to each other in the order you want to spin them into yarn. Test this beforehand to see how they mix throughout one repeat of a yarn, and if this works for your chosen outcome, such as knitting.
4. Repeat the colour sequence three more times so you have a table full of ‘stripes’ of fibre. If you have more than four lengths let colour, carry on until all are used up.
5. Now this is the clever part. I have hand spun colour changing yarns before and got the sequence wrong because I put it all away in a box between spinning sessions. To keep the sequence do the following.
6. Take a metre + long length off ribbon and tie a pencil or empty pen across one end. This is your fibre-stopper. Tie a hand-sized loop on the other end. This is your distaff.
7. Starting at one end of the ‘stripes’, wind each length off fibre into a loose roll and slip the looped end of the ribbon through the centre hole. Carry on doing this, working methodically through the fibre lengths, keeping the colour order as mapped out in your ‘stripes’.
8. You will end up with a ‘necklace’ of colour ordered fibre rolls on the ribbon. Tie the ends together to stop the fibre sliding off.
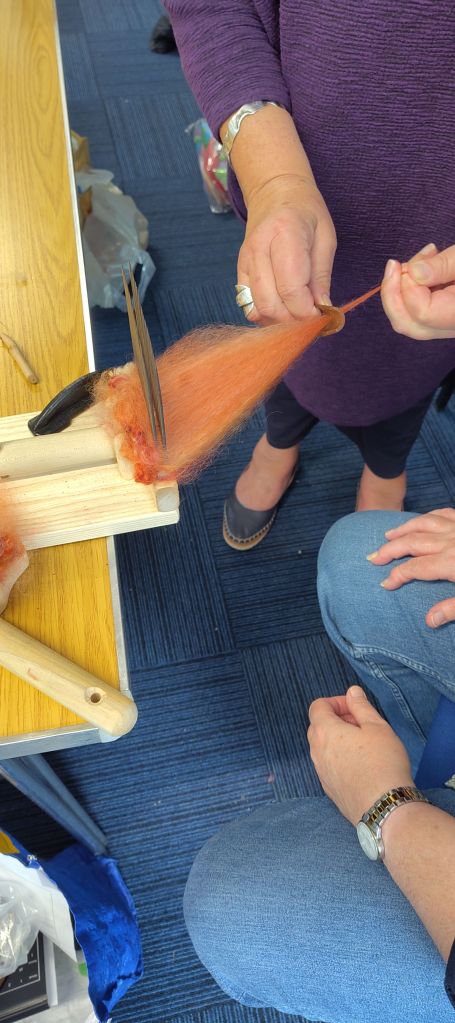
The dyed fibre arranged on the ribbon distaff before spinning
Now to can put them in a box and they won’t get muddled. To start spinning, simply lift the necklace out, untie the ends, and slip the loop over your hand. It acts as a distaff and will hold your fibre nicely as you spin each colour.
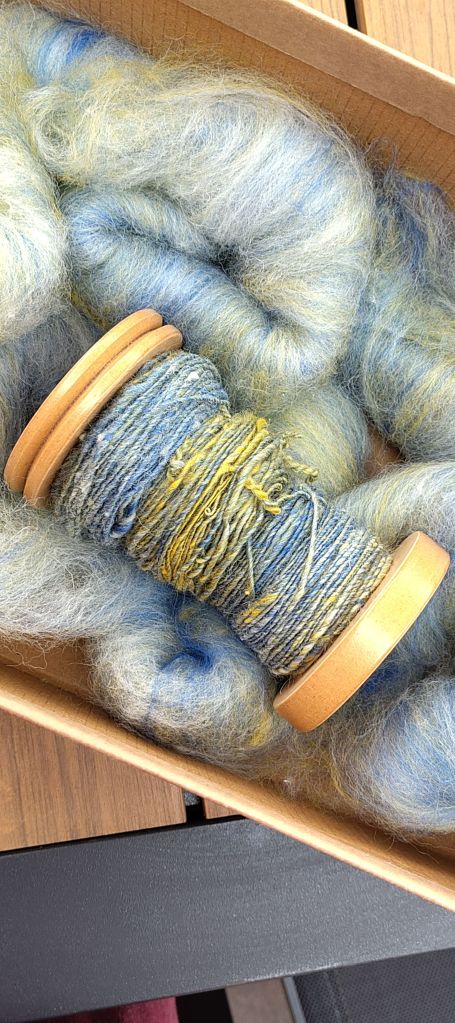
Spinning the lengths into singles
What a great tip!
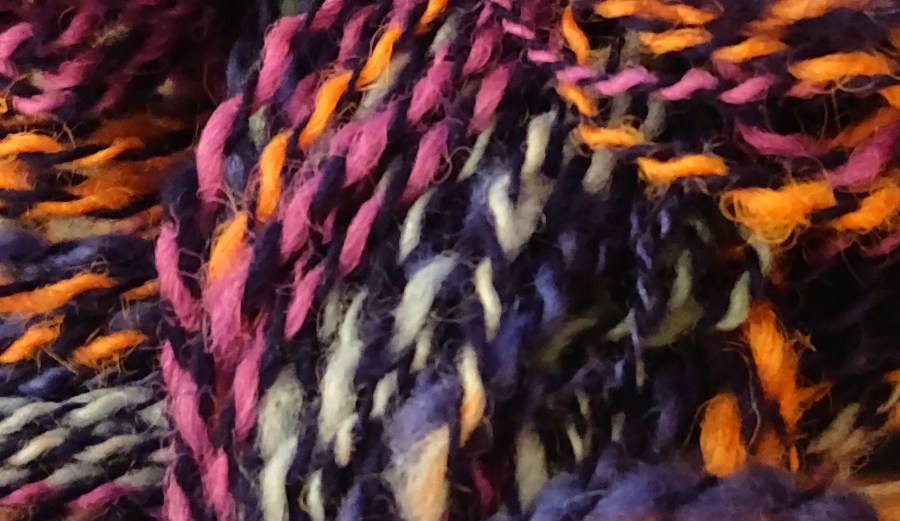
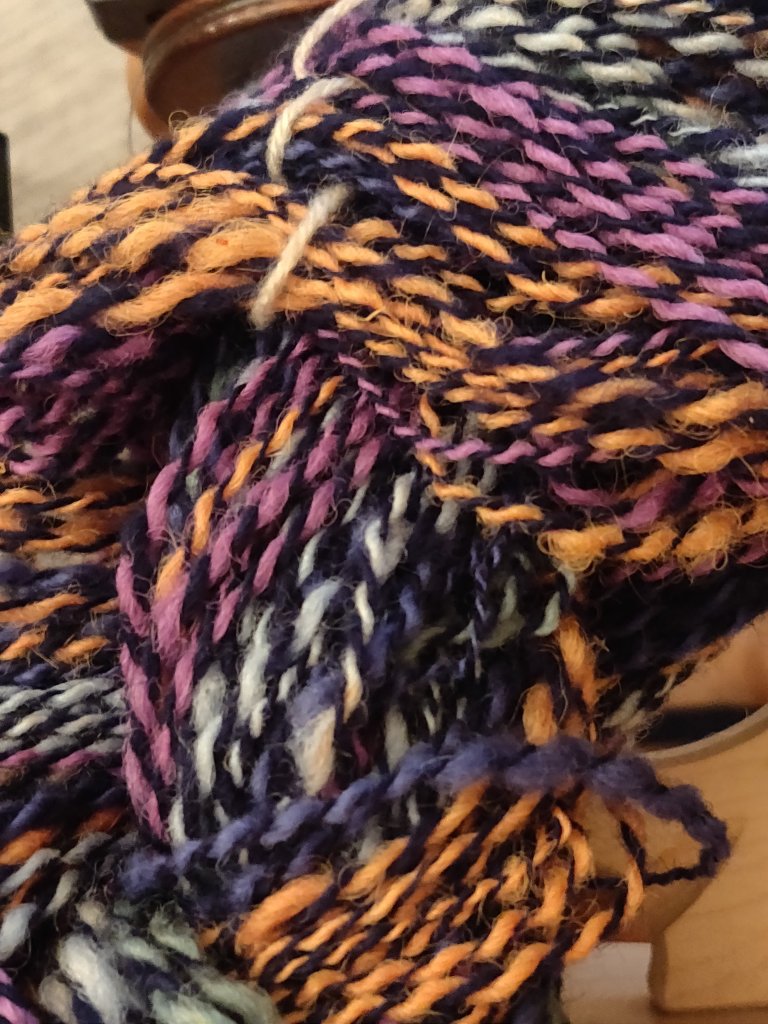
I plied the colour changing yarn with a single spun made from navy blue Corriedale. This made a lovely marl yarn that to me resembles stained glass windows. I can’t wait to see what it looks like knitted.
I have been doing quite a bit of drum carding of raw fleece I have gathered over the summer, and whilst doing this I recorded a couple of videos of the process.
This is the first one; picking and running the fibre through the carder the first time
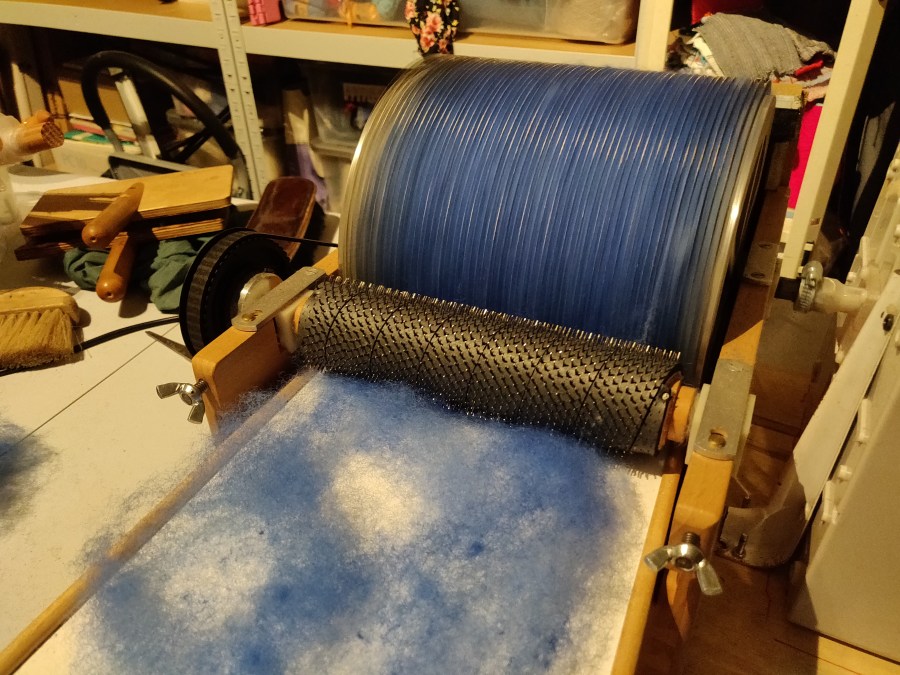
I always put the batt back through the drum carder. I find this second carding makes a much nicer fibre for spinning. The second video covers doffing the fibre, splitting it and putting it back through. After this you can either take the batt off, as shown in the video below, or use a diz to take it off in a continuous roving. To do this, only separate one end of the batt (to the width of the diz), and pull the fibre off in a spiral as the drum reverses around.
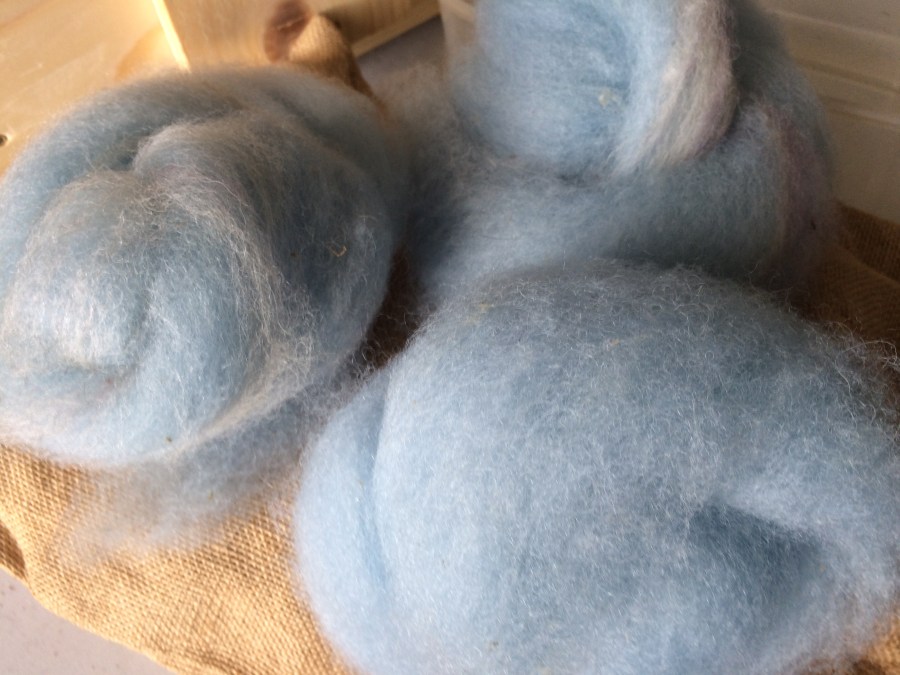
The wool is from a Dorset sheep, and I have hand-dyed it in acid dye to this rather pretty duck-egg blue.
The second video shows doffing the fibre and putting it back through the carder after splitting and drafting to thin it out.
I haven’t spun this fibre into any meaningful amount of yarn as yet. That is a pleasure I am saving for later.
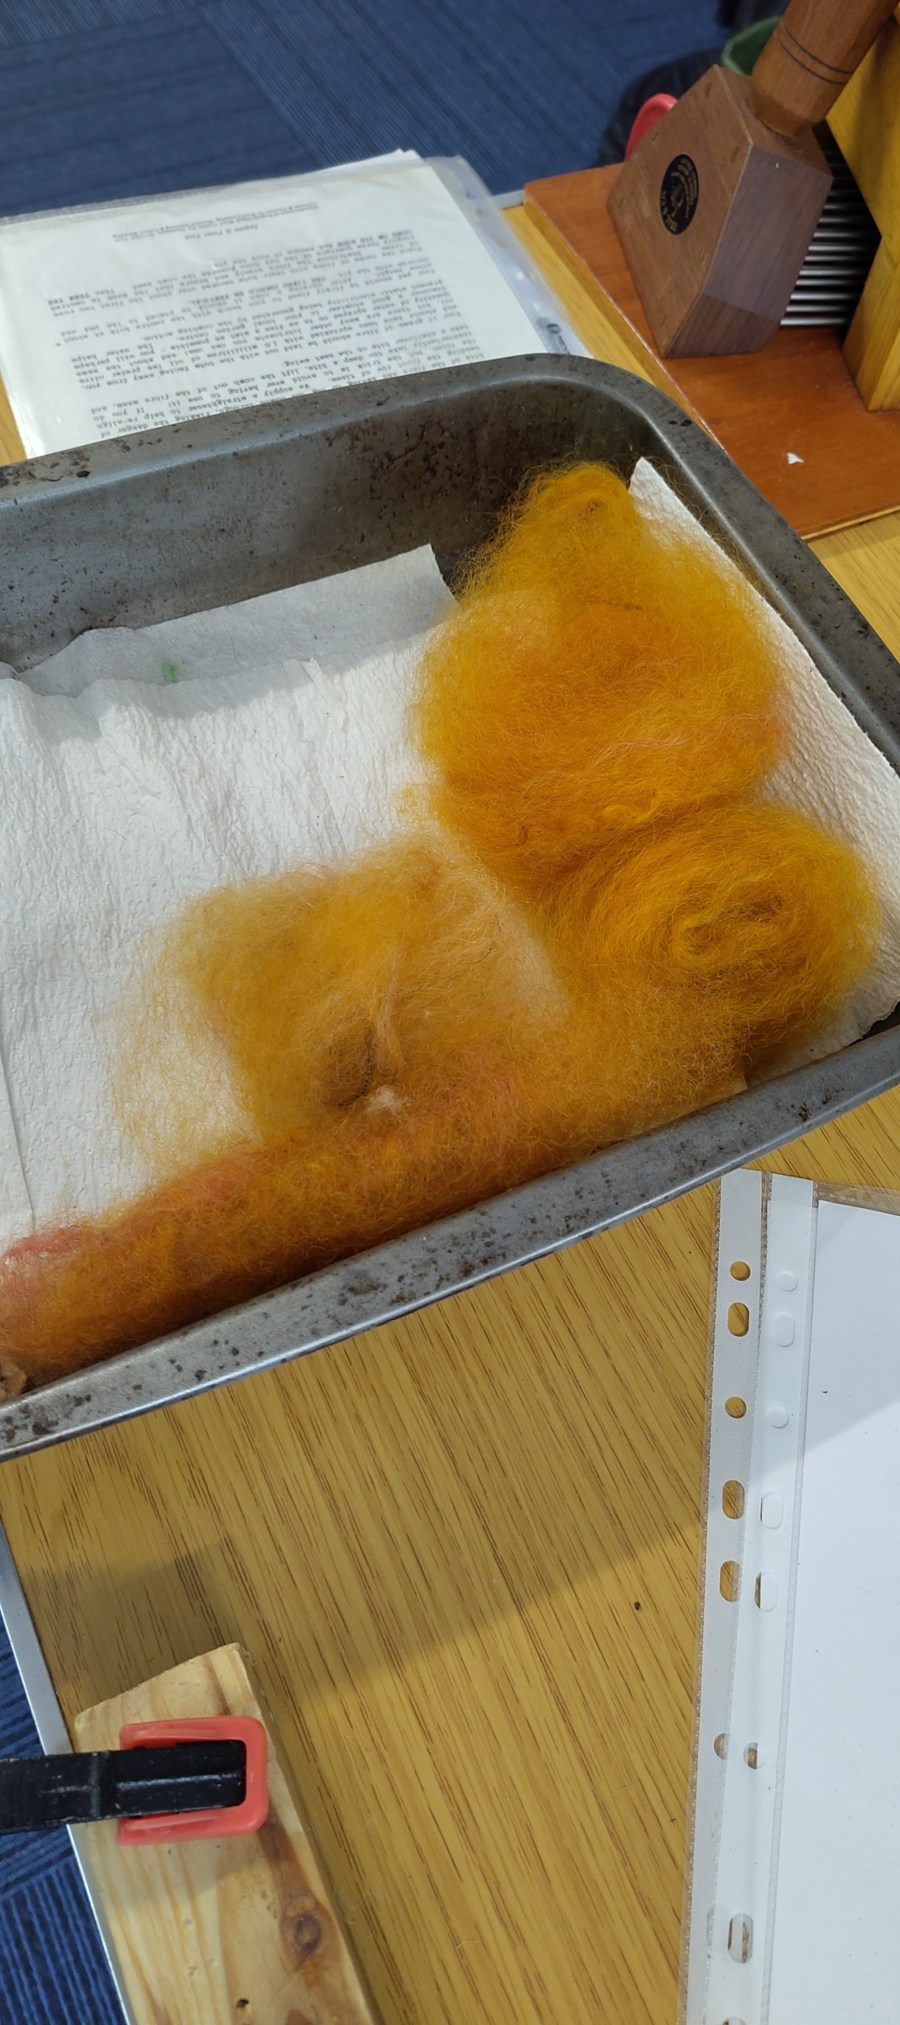
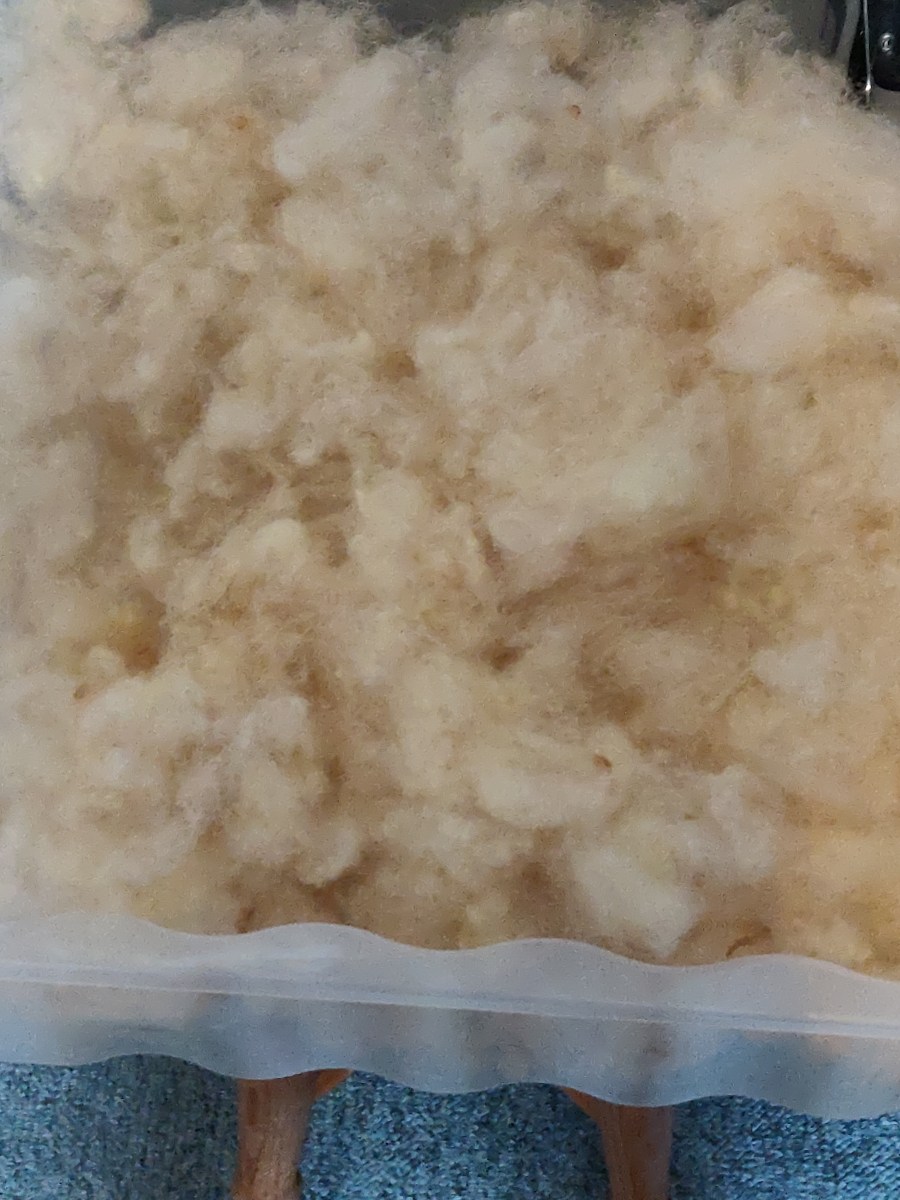
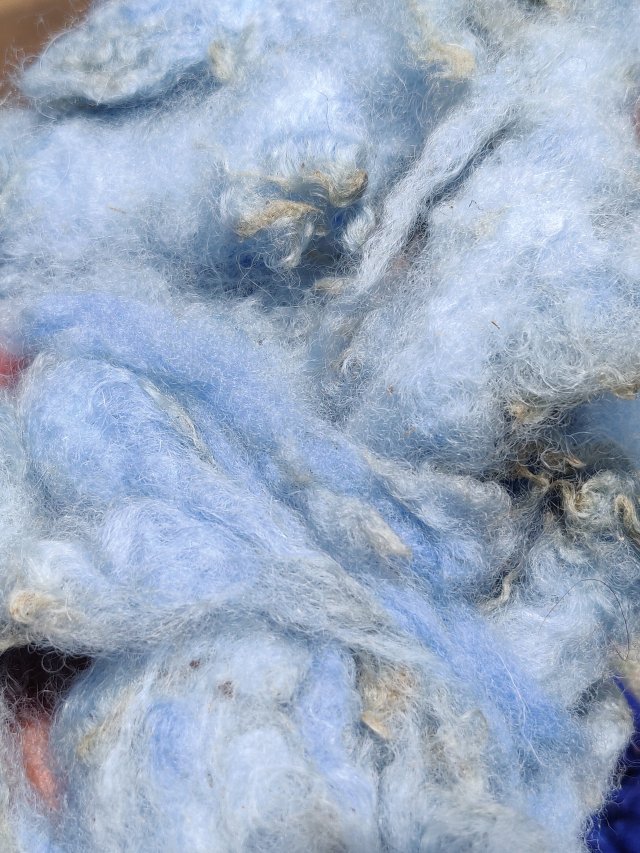
In the video below you can see the fibre being picked prior to the carding.
Aplologies for the portrait aspect filming of this video!This was the fleece just after dyeing