Top-down knitting resumed

Back problems have meant I need to avoid computers and knitting machines for a while, so I wanted a hand knit project to work on. Digging around on shelves, ( I can’t get at my stash boxes at the moment) I found a bag of knitting I had forgotten about. Inside was the first few rows of a top-down sweater. I remembered how long it took to work out the pattern, (yes I did it myself) and how carefully I chose the yarn. The notes with the pattern are dated 2013, which says volumes about my engagement with larger hand knit projects!

Luckily the moth had stayed away, thanks to ziploc bags, and I haven’t used the balance of the yarn for something else. This seemed a perfect opportunity to get on with my long-lost dream jumper.

I knitted a top-down jumper last winter with good results. Although it has dropped quite considerably due to the stitch I used, do is more a dress than a number. I like the method because you can check the shoulder fit, which is so important, and adjust it before embarking on the larger areas. Monte Stanley wrote about top-down knitting and as I am interested in integral knitting, I find the technique intriguing

I had obviously found fault with the stored knitting because there is an separate neck and shoulder be sample threaded into waste yarn in the bag. On reflection I seem to remember it was discarded because of the shaping finish rather than size. I will unravel it if I need the yarn later on, but at the moment it is useful for reference.

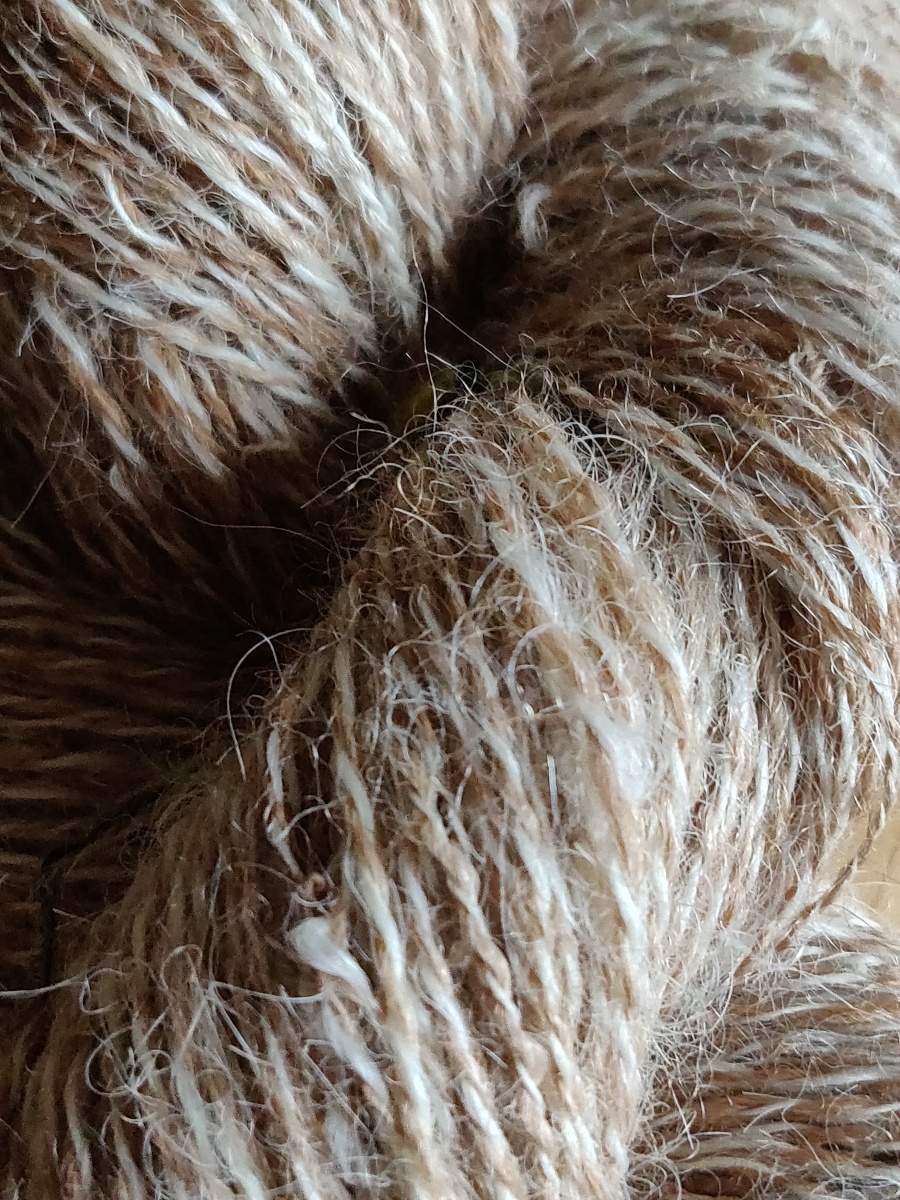
It’s knitted in DK alpaca/wool/silk blend yarn on a very pretty warm stone colour.

I’m using a 4mm circular needle from the KnitPro convertible system. These are very versatile so am using these for this project where they are separate ‘tubes’ to work on. Being able to change the length of the cable means it’s easy to work narrower sleeves as well as the larger circumference of the body.

The design is a raglan sleeve, generous fit jumper with cable panels running up front and back. Shaping is worked fully fashioned along the raglan ‘seam’ lines using lifted left and right increases. My initial sample was not fully fashioned, and clearly the fully fashioning makes a much nicer finish.

I’ve just finished one sleeve, (stocking stitch) with fully fashioned decreases along the underarm ‘seam’, and the fit seems good so far.

Part way down the first sleeve. As you can see, I love stitch markers!

Working out the pattern was quite complicated even though I used Designaknit for the basic silhouette. It was easy enough to invert the shapes, but then I had to combine them in-the-round. Some maths later I had a picture in my head, and the numbers to match it on paper. I worked out the positioning of the cable panels manually because it was important to have plain stocking stitch for the raglan shaping.

If I get the next sleeve done I might even got to finish the cable front and back before 2025!

Update : OK, it’s now the end of December and I have completed both sleeves and am part way down the body. So far I’ve used one bag of yarn, (500g) and anticipate using another 200g, making the jumper quite heavy!

The body is slightly flared, just enough so that it’s not a straight tube shape. The increases are worked down where the side seam would be, and at the outer edge of the outer cables every 11th row.

The sleeves folded towards the front cables. The cuffs are knitted as rolled edges on 3.5mm needles for 8 rows.

Update January 2022

The jumper is now complete! First blocking fine, now test-wearing before sewing in the ends. Then I shall wash so that it matches the revision swatch and the stitches even out a bit more. Something I noticed whilst knitting was that although this is a lovely yarn it has a tendency to leave fine fibres on the needle so the stitches catch. At first I unpicked and reknitted some stitches, thinking I had miss-knitted the stitches and it took me a while to realise what was happening. Gentle tugging releases the fibres and opened the stitches, but from the tension swatch I can see that washing will even the knit out.

The neckband is a single rib with a rolled edge. The neck band was picked it up into the neckline so is integrally knitted which has a tendency to stretch on top-down sweaters. In the past I have sewn take along the back neck to stabilise the neckline, but Roxanne Richardson on her YouTube channel suggests making a line of crochet slip stitch along the back neck instead. She also suggests using this solution along raglan seams.

Because it’s knitted top down, seamless I’m going to watch the raglan ‘seams’ to make sure they doesn’t drop. If the jumper does start to drop I will also work a crochet slip stitch in the back of the seams to stabilise them.

I’m just hoping the weather stays cool so I can continue to wear my new jumper.

Picking fleece for a marathon carding session

I have a large sack of Texel fleece that had been making me feel guilty for a while. It’s not the most soft of fleece so I decided to blend it with some Alpaca that has also been lurking in the cupboard. Unfortunately the Alpaca (from an animal called Kiki), has quite a bit of VM in it, but it is deliciously soft.

Picking and hand picking got a lot of the VM out, but sadly not everything. I carded both the Texel and Alpaca separately and then split the batts and layered them up in alternate layers; one wool, one Alpaca etc, and put them back in smaller batches through the drum carder.

As my carder is quite coarse I do a second run through for most fibres. So I did it for these batts. I think I probably should have done a third run, but I was afraid of over-carding the fibres and decided they had blended well enough. The result is a little uneven!

I’ve spun two small samples, one thick singles sort of semi-woollen and the other long draw woollen spun.

I’m now perfecting, (ha ha) my long draw technique with several hundred grams of comb waste that I have carded up. Hopefully by the time I get through that I will be proficient enough to tackle long draw spinning that large amount of Texel/Alpaca fibre!

I’ve hand knitted small samples of the both yarns The thicker spun on 6mm needles and the long-draw spun on 5mm needles

Left: Long draw spun yarn hand knitted on 5mm . Right: Thicker semi-woolen spun hand knittedon 6mm needles.

Spinning fine yarns for machine knitting

If you have seen some of my earlier posts about machine knitting and spinning you might realise that I am keen to put the two together. I was given a fleece that is long-staple, not-very crimped and quite lustrous, but I don’t know what breed it is from. Its also quite coarse with well defined locks. The first batch I stove-top rainbow dyed, and spun from flicked locks. It worked OK, and I got a reasonably fine yarn. I also have a lovely soft, long staple Alpaca fleece, so I worked with the two as separate singles to ply together. This yarn worked at tension 8 on a standard gauge knitting machine.

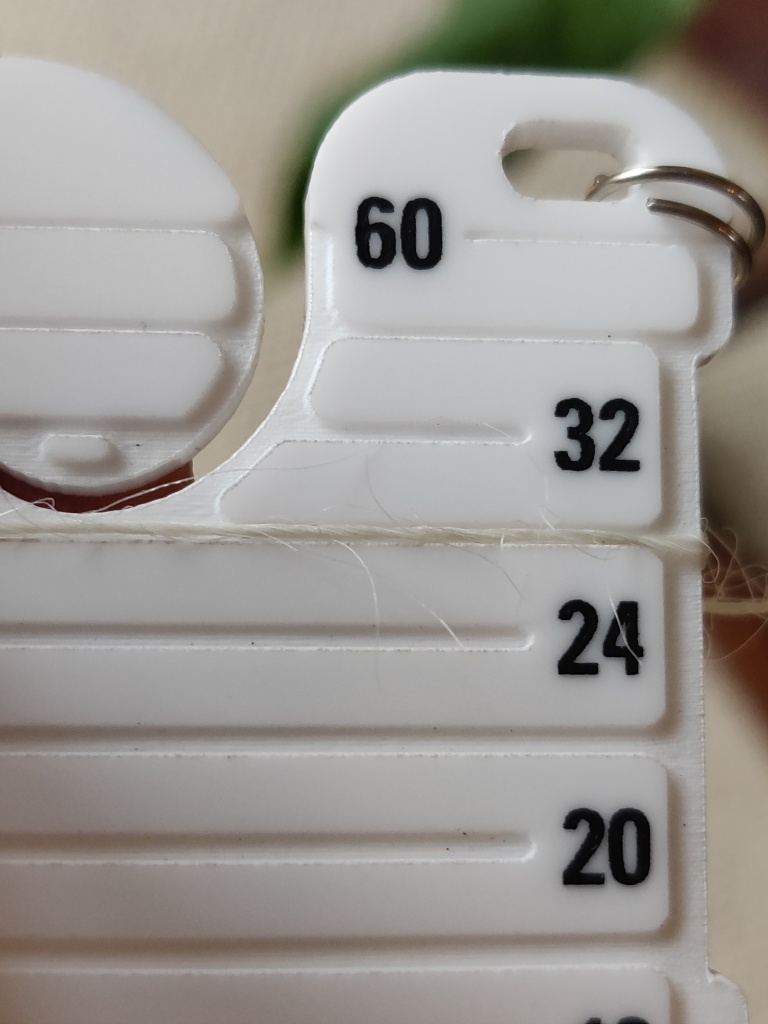
However, I was determined to get it thinner. I started with the Alpaca, and after hand carding the fibres, spun it worsted using a double drive wheel with the lace flyer and was so pleased with the results. I got a 28wpi singles from the Alpaca which was quite dense, not light an airy, but I wanted it to match the coarser fibre’s density. To prepare the long-staple wool I decided to comb the locks on wool combs. At first I was slow, because although I have done this before I’ve not practised a lot. It was exciting to find I got faster quite quickly and began to get some lovely long slivers coming off the comb. After spinning in the same set up as the Alpaca, I have also managed to get the rather coarser wool to produce a 28wpi singles, so I am pretty pleased as this will give around 14wpi 2ply.

I have plied all of the yarn, and am waiting for the second skein to dry. Meanwhile I have knitted a tension swatch on the Knitmaste SK840 and can get it to knit at either tension 5 or 6. Tension 5 is a nice looking stitch, but the handle is stiff, so I opted for tension 6 instead. I probably should have tried between the two, but when each metre of yarn takes so long to prepare and spin I was reluctant to use too much on sampling at this stage. I will add photos of the fabric once I have given it a wash and steam.

Acid dyeing handspun remainders

A recent stock-take of the various bits of hand-spun yarn sitting on bobbins I now want to use for other projects inspired me to ply them all up and dye them into interesting yarns. Only small quantites of most, but great for small items.

One was a test of blending Tussah silk with Lleyn fleece, and I plied this with some nice soft spun Dorset singles. The silk added a pleasant dry handle to the plied yarn, and the noils added texture. There was more Dorset singles left, so I plied these together as a separate yarns. Next I plied two ends of Suffolk together, they were somewhat different thicknesses and twists, so made a slightly uneven, spiralled yarn. Finally I worked with a lovely colour changing singles, spun from a blend of Alpaca and Texel (cream) and Black Alpaca and Dark Grey (almost black) Suffolk fleece. The Alpaca blends had been carded in stripes on the drum carder so that when it was spun off the batt it alternated in dark and then light lengths. I plied this with a pale grey Suffolk single that I had acquired from a farm in Hereford last summer.

All these came out as interesting yarns in their own right, but I wanted to add some COLOUR. So I got out the dye kettle and the acid dyes. After some thought I decided to aim for a Deep Red and a Blue-Violet. I’ve been trying to be more technical about my dye mixing, and so with the aid of an Excel spreadsheet I have devised, I carefully mixed the solutions, but the Blue-Violet still emerged as Violet.

There was 66g of the Dorset and Suffolk/Dorset, and they went into the Red dyebath, whilst the 45g of Lleyn/Tussah/Dorset went into the Blue-Violet bath and they gently cooked away for an hour or so.

Part of my improved technique is to use a jam thermometer to keep the bath below 90C, preferably just above 89C to prevent felting. I also walk away so I am not tempted to STIR IT! The only stir I am allowed is after teh bath gets to temperature, when I gently remove the yarns, add the vinegar and stir it in. I read that doing this allows the different colours in the mix to be absorbed into the yarn (or fibre), before the acid does its work to set the dye to the fibres. Both these techniques seem to work well for me as I am getting less felting and more even, accurate colours (apart from the Blue Violet of course).

The dye baths were not exhausted – I had worked with a 2% colour to fibre weight ratio for medium depth of colour – so the lovely tweed ply was dip dyed into both pots, leaving mid-sections of the natural tweed plies undyed. I felt this needed a third colour to lift the others, so a very small section between each of the main colours was dipped into a weak yellow dye.

Dark red in front, dip dyed tweed in the middle, blue-violet at the back. You can just see the texural Tusssah silk blended purple yarn.

I’m really pleased with the products of the session – carried out whilst I watched the new TV programme ‘Roadkill’. Unfortunately I was a bit stupid, or maybe it was the effect of the programme I was watching, and whilst mixing a new batch of yellow stock solution I mindlessly poured boiling water onto the dye powder in a plastic jar. Of course the jar melted, buckled sideways and then toppled to the floor before I could catch it. Waves of strong yellow dye flooded the kitchen floor (I am exaggerating, it was only 150ml or so, it just felt like waves). It took five washes to clean the floor so that no-one would walk yellow onto the beige carpets, and my socks will never be the same again! Plus I had to start again with the stock solution. I did debate mopping the floor with some yarn, but decided that might be too hit-and-miss even for me…

In fact this morning, whilst hiding from the dog, (don’t ask why) I noticed a snail-trail of yellow dye snaking down the side of the kitchen cabinet – how did I miss that one?

What am I going to use the yarns for? I think a warm hat to cheer me up with its bright colours during this depressing winter-to-come is on the cards. I might knit it by hand or I maybe use my Brother KH260 chunky machine, and hope to report back on here when its finished.

Footnote:

Leaving the dye overnight in the pots – I was tired after all that floor-mpopping – the next morning I decided to finally extract the last from each one. So 50g of Dorset fleece went into each, and I got a rich coral pink, and surprisingly bright lilac for my troubles. It was so rewarding to empty clear water out of the dye baths afterwards.

Waste-not-want-not is a good motto.

Patwin Rug Wool Cutter has arrived

I bought this efficient little gadget on eBay last week, and it arrived today.  I have been cutting the wool manually with a gauge I made myself from 2 rectangles of heavy mount card stuck both sides a narrower rectangle of corrugated cardboard to allow for the scissors to be inserted to cut the wool. 

Here is how I made it.


And here is the dingy little Patwin Rug Wool Cutter with some of the shorter lengths.


Unfortunately the cutter cuts to a slghtly different length so I can’t use it as is for the rug I have already started. But being inventive I hope I can pad the drum of the cutter so that it cuts to the same length as my gauge. 

The rug I am currently making is a latched rug hooked into a mesh background. The wool is a British wool and Alpaca mix, which I suspect will shed a lot, although the he British wool should make it reasonably hard wearing. I was seduced into buying the yarn as it was very attractive colours, an soft eggshell blue and a cream which will fit in with most colour schemes, and then a darker teal blue with a rust accent. The design is based on an African textile weave in simple graded stripes broken by a middle stripe with diamond and zip zag patterns as in my working graph.