
A free knitting pattern for a neat little hot water bottle cover.
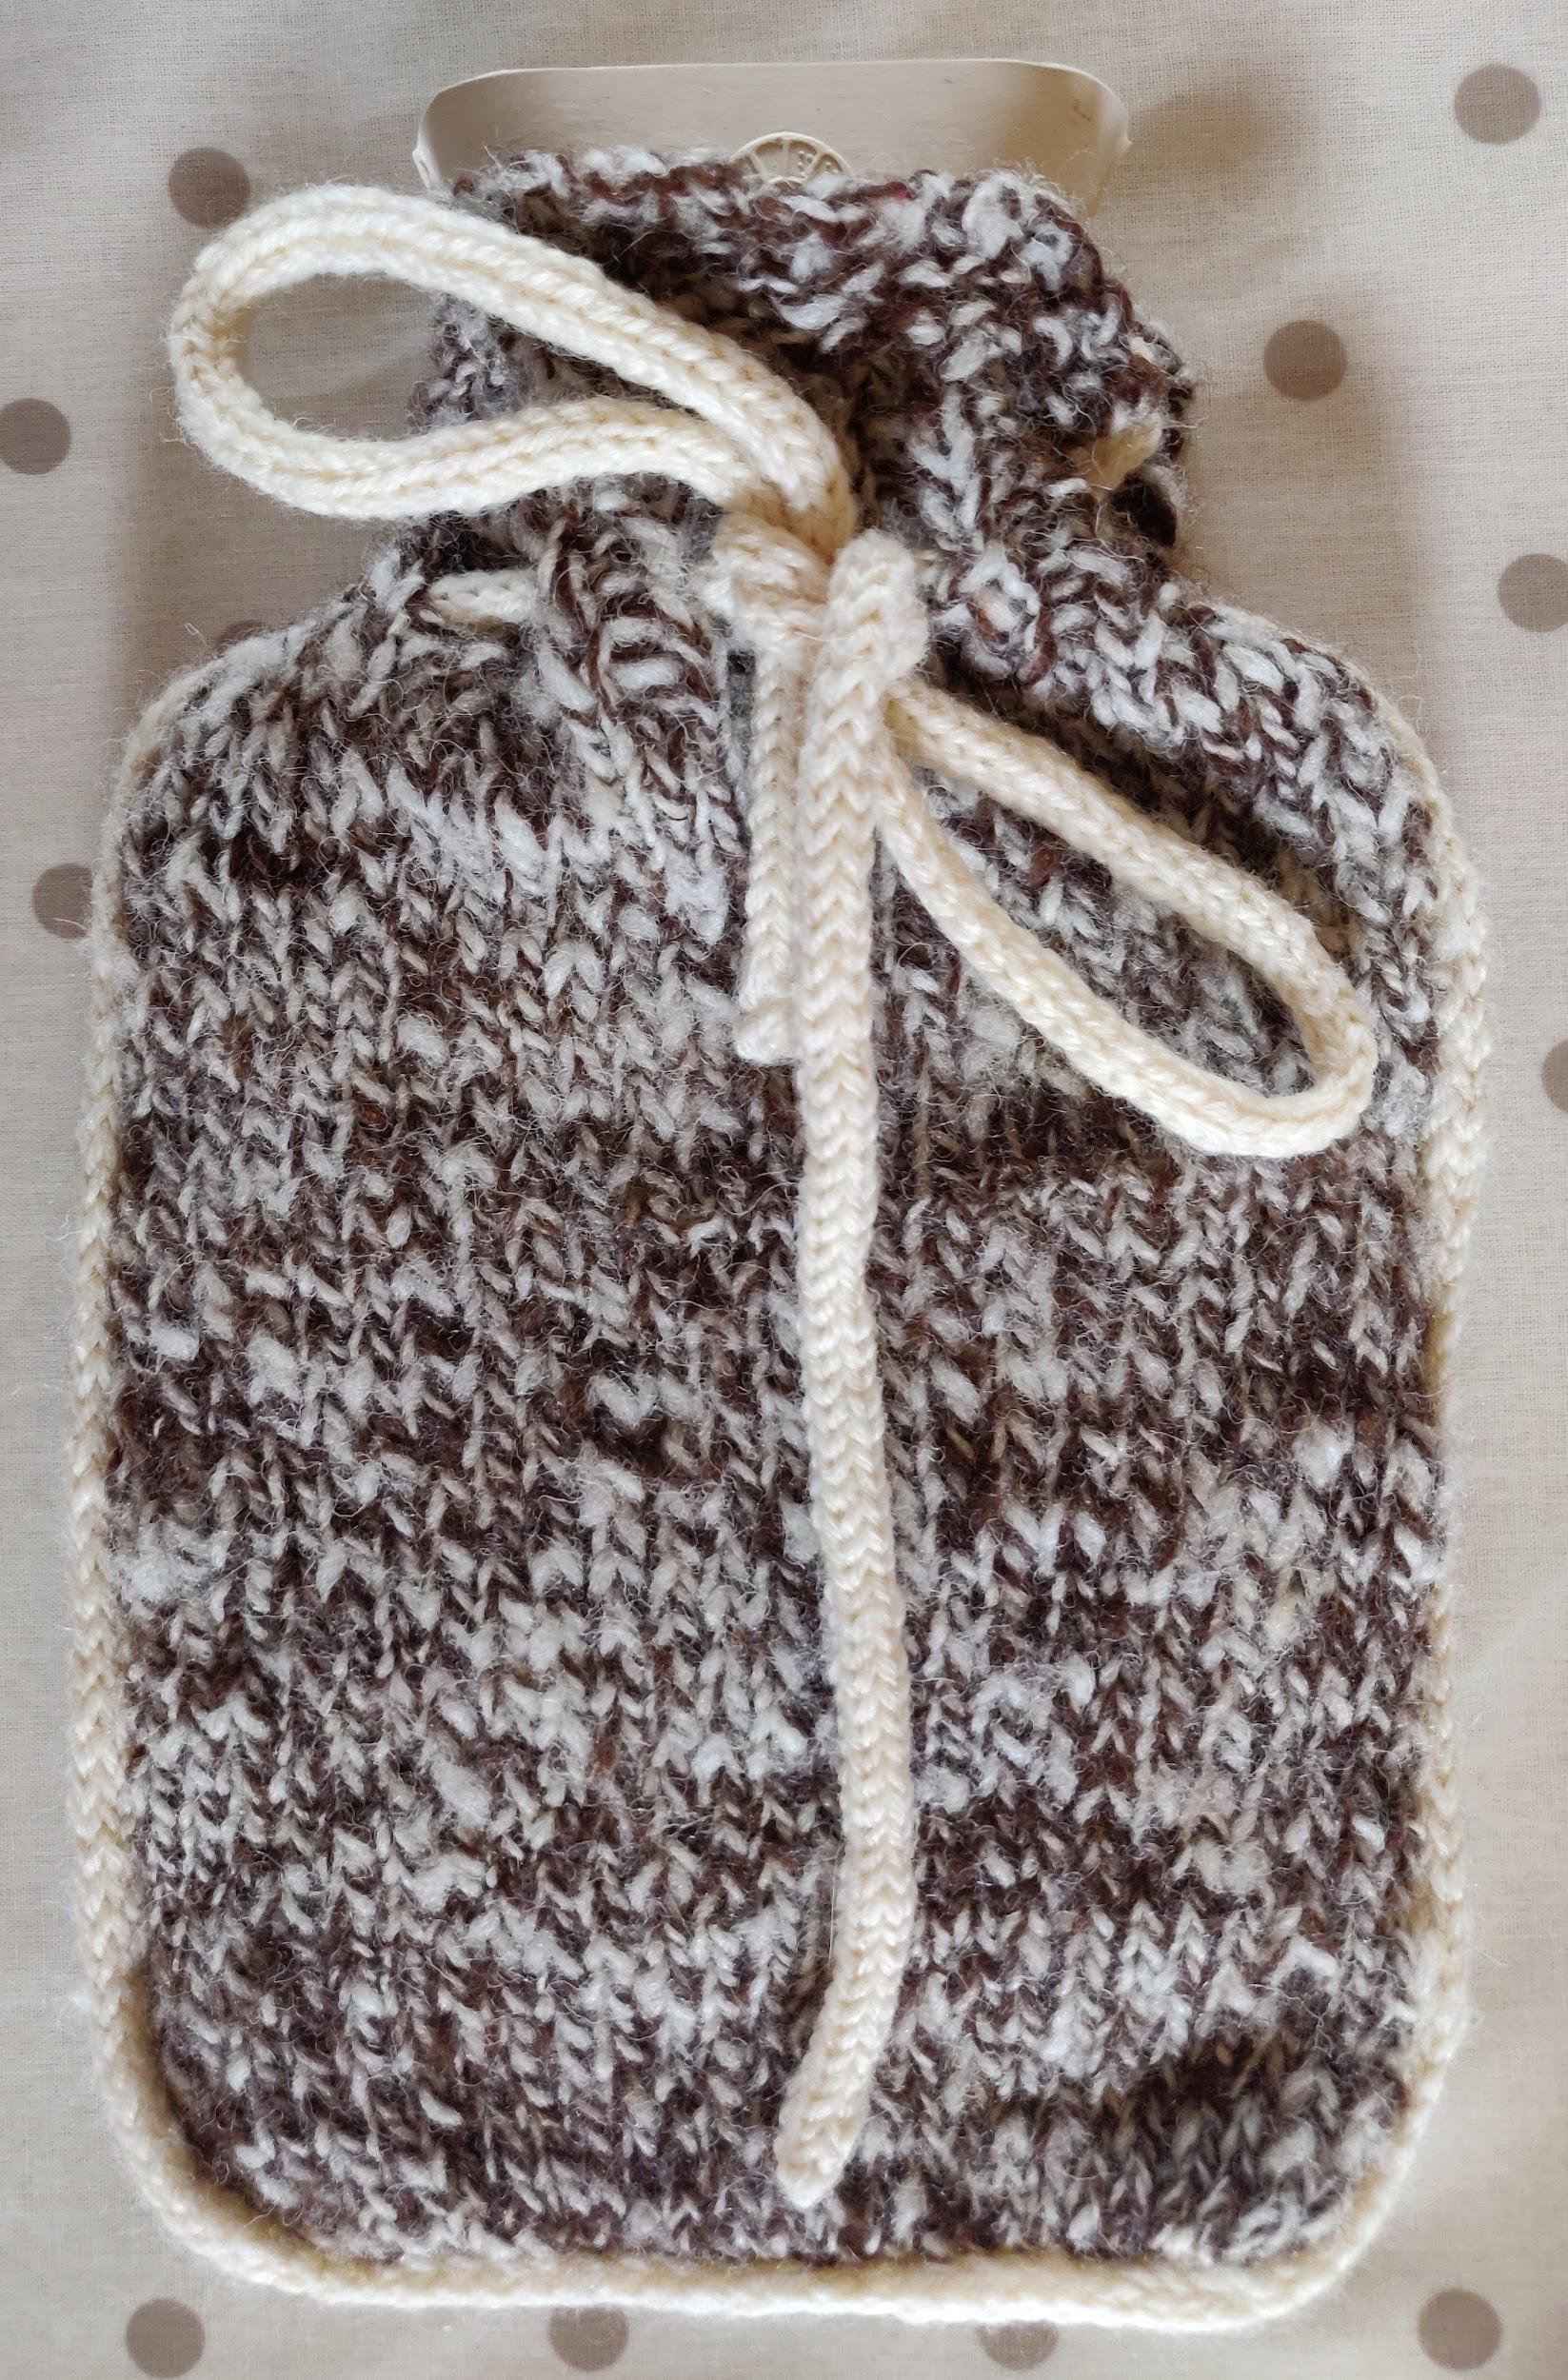
This cover fits a small, 20 x 15.5cm (8 x 6″) hot water bottle and the main body knits to approximately 22cm x 17cm.
The body is in stocking stitch which becomes a rib collar in which the drawstring tie eyelets are worked. The top edge, which covers the spout, is in garter stitch.
My version has been knitted in chunky weight yarn spun from 100% wool Jacob fleece. Hand spun tends to knit a little bulkier than commercially spun yarn, but a yarn that you can get to make a firm knit close to the stitch gauge should work as size is not critical for this simple shape. When substituting yarn it’s more accurate to do so yarn by metreage, which can be found on the ball label. My handspun Jacob yarn has 57 metres per 50g.
Rows can be adjusted to get the correct length as you work.
When made in wool the cover retains residual heat very efficiently and has a snuggly feel, but wool blends are good substitutes.The cover is knitted on 5mm needles, smaller than average for chunky yarn, to give a firmer knit with smaller stitch size to prevent gaps through which you might touch the hot bottle.
This cover might also be suitable for a smarter than average slip-on cover for a microwaveable heat pack of similar size.
Materials:
50g chunky yarn
50g aran yarn as trim (or use up odds to make a multi coloured trim).
1 pair 5mm needles
2 x 4mm dpn or circular needles
Stitch tension:
16sts x 23rows on 5mm in 10cm (4″) square.
Techniques:
Stocking stitch
I-cord
Applied i-cord
Abbreviations:
dpn – double pointed needles
sts – stitches
k – knit
p – purl
k2tog – knit two stitches together as one
yo – yarnover, take the yarn around the needle.
Back:
Cast on 26 sts
Knit 50r stocking stitch
Row 51: k1,p1 to end
Row 52: k1, p1 to end
The eyelets are created in the next two rows.
Row 53: K2, k2tog, yo, k2, k2tog, yo, k2, k2tog, yo, k2, k2tog, yo, k2, k2tog, yo, k2, k2tog, yo, k2 (26)
Row 54: k1,p1 to end
Row 55: k1,p1 to end
Row 56: k1,p1 to end
Rows 57 – 63: knit all stitches
Bind off.
Front: works as for back.
Applied i-cord binding
Take the dpns and contrast yarn.
Cast 4 sts onto one of the dpns. A long tail or cable cast on is recommended. Slide the sts to the other end of the needle pick up the second needle and knit 3 stitches.
Slip the last st purlwise.
Work from the RS of the front, contrast yarn held at the back
* Insert the needle point through the first st and knit a loop of first yarn through the stitch from back to front. You will now have 5 sts on the needle. Put the lefthand needle into the front of st last 2 sts from left to right and work purl then together.
Slip the sts to the other end of the dpn and repeat from *
When you turn the corners, work into the corner stitch the times and then proceed along the edge as before.
When you reach the top of the other side of the front bind off stitches.
Making up
Lay the back over the front WS facing. Pin together at corners and so that the eyelets and rib areas are aligned. Sew along the join between back and i cord using mattress stitch. Ease the back fabric into the curve at the corners.
Sew all the ends in neatly.
I-cord tie
Knit a separate I-cord 4 sts wide for the tie as follows:
On dpns in contrast yarn.
Cast on 4 sts.
*Slide the stitches to the other end of the needle and knit 4 stitches.
Repeat from * until required length is reached
Thread the I-cord through the eyelets and tie with a bow at the side or in the middle.
As the are several ways to work an attached icord, you may prefer to use your favourite method.
Design ideas:
- Knit the icord binding and tie in a colour that contrasts with the main fabric, e.g blue/green marl yarn with orange i-cord and ties.
- Knit the icord binding in one colour and the tie in another, e.g. blue/green marl yarn. Green binding, blue tie.
- Change colour every 10 or so rows on the i-cord binding for a horizontally striped binding.
- Work the applied i-cord, (and/or tie) as a 1×1 fair Isle to make a vertically striped binding.
- Knit the first and last few rows of the tie in a contrast colour.
- Work several rows of unattached i-cord between each time it is knitted into the fabric to create a scalloped edge.
- Instead of a marl yarn use two different coloured yarns for a striped cover. Choose one of the colours as the binding and the other as the tie.
To are welcome to use this pattern and the design suggestions for personal use.
Commercial use or reproduction is not permitted without the permission of the copyright holder.
