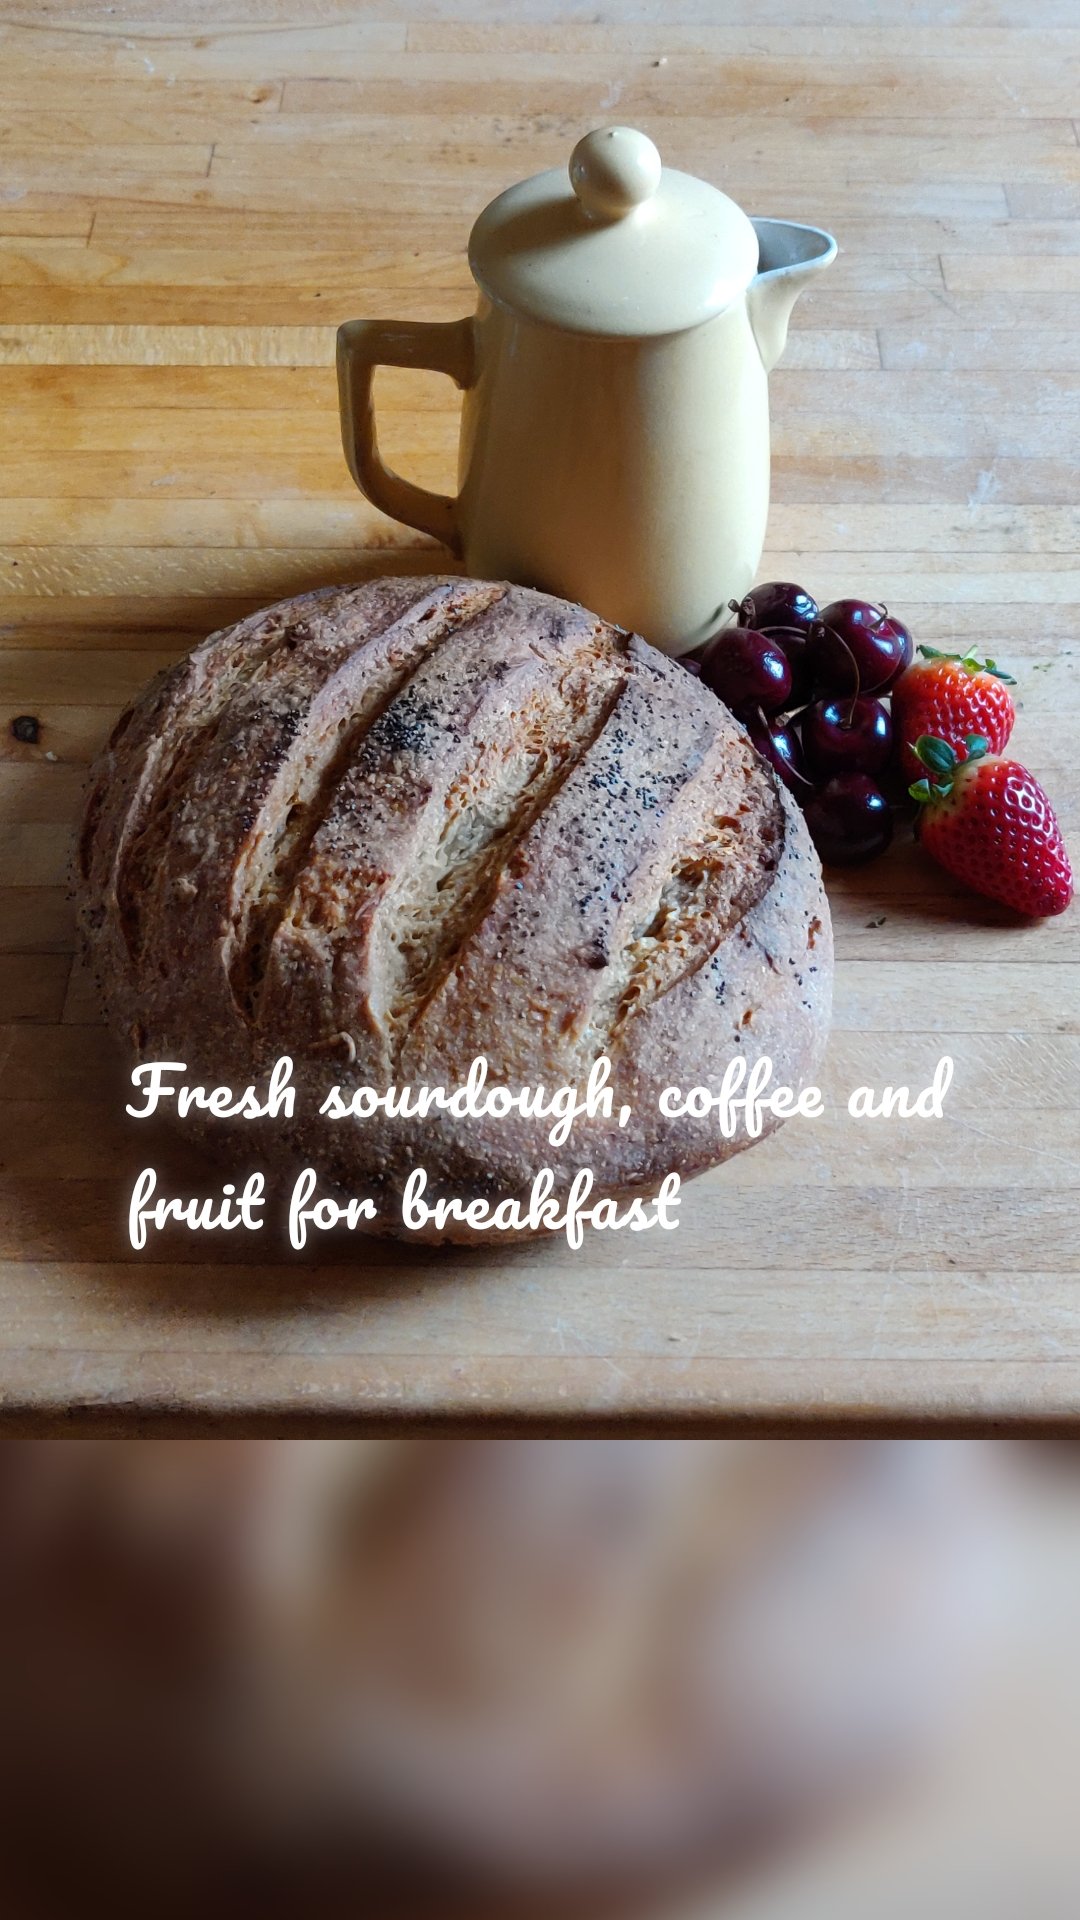
The sourdough starter I made from raisin yeast liquid is still going strong. I started the yeast off at the start of lockdown, so mid March-ish and then made the starter in April.I keep the starter in a large clip-top Kilner jar and have not cleaned it out yet; it smells wonderful when you open it. Many loaves later it is bubbling away madly still. The raisin yeast liquid is now in the fridge and has been used twice to add some zing to the starter. I refresh it with sugar and warm water and a day or two on the worktop as a reward.
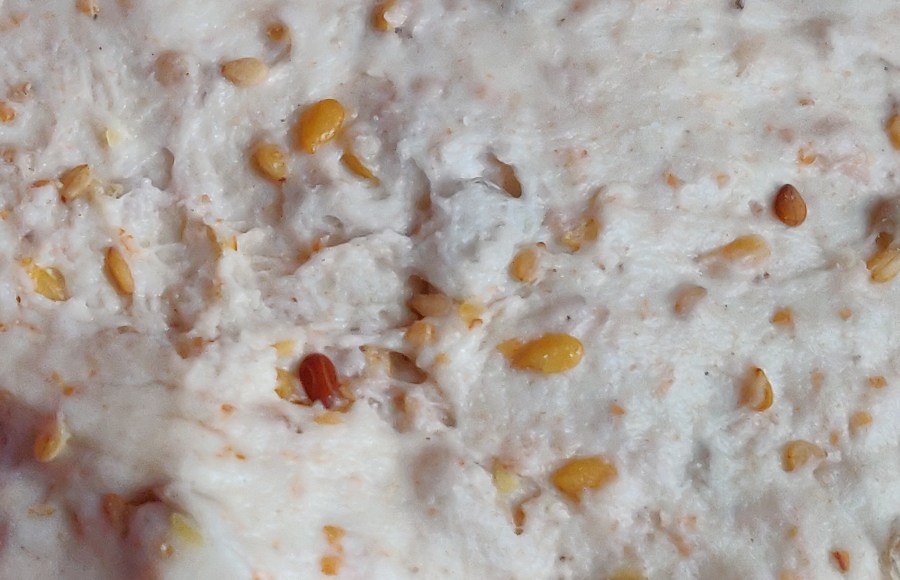
 I make bread about every 5-6 days and keep the starter in the fridge in between times. I’ve also (somewhat unsuccessfully) made apple sourdough cake. It was a bit stodgy, but tasty.Over the weeks I have established a couple of methods that are pretty foolproof for me. One is long, slow and satisfying one is fast, easy and satisfying.Long and slow:I take the starter out of the fridge in the morning, and feed it with 50g plain flour and 50g warm water and leave it on the work top for an hour or so – or until I remember, and this can be 3pm sometimes. 30 minutes before I want to knead the bread I mix 400g of white bread flour (or 100g whole meal and 300g white) with 180g water. This can is lumpy and not pretty, but is called ‘autolysing’ the dough, and I find it helps with the process.
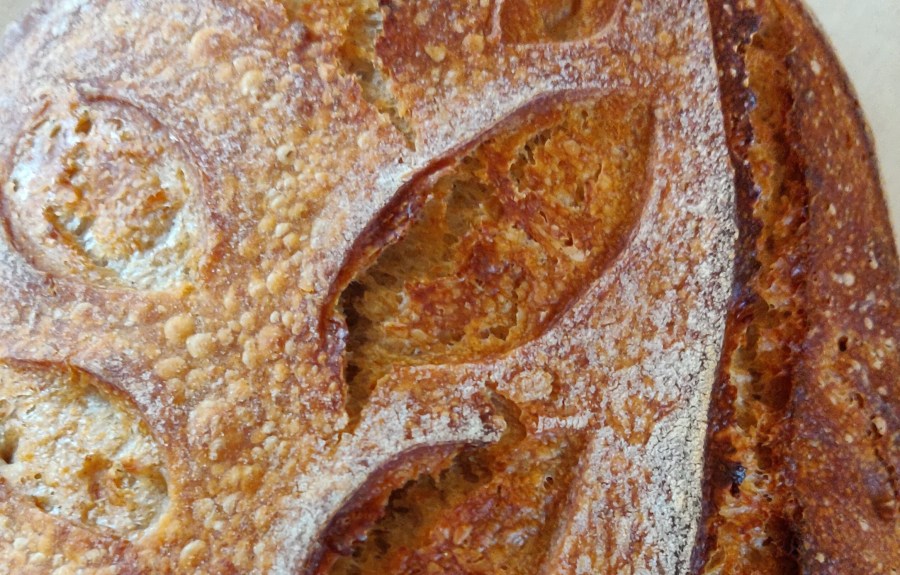
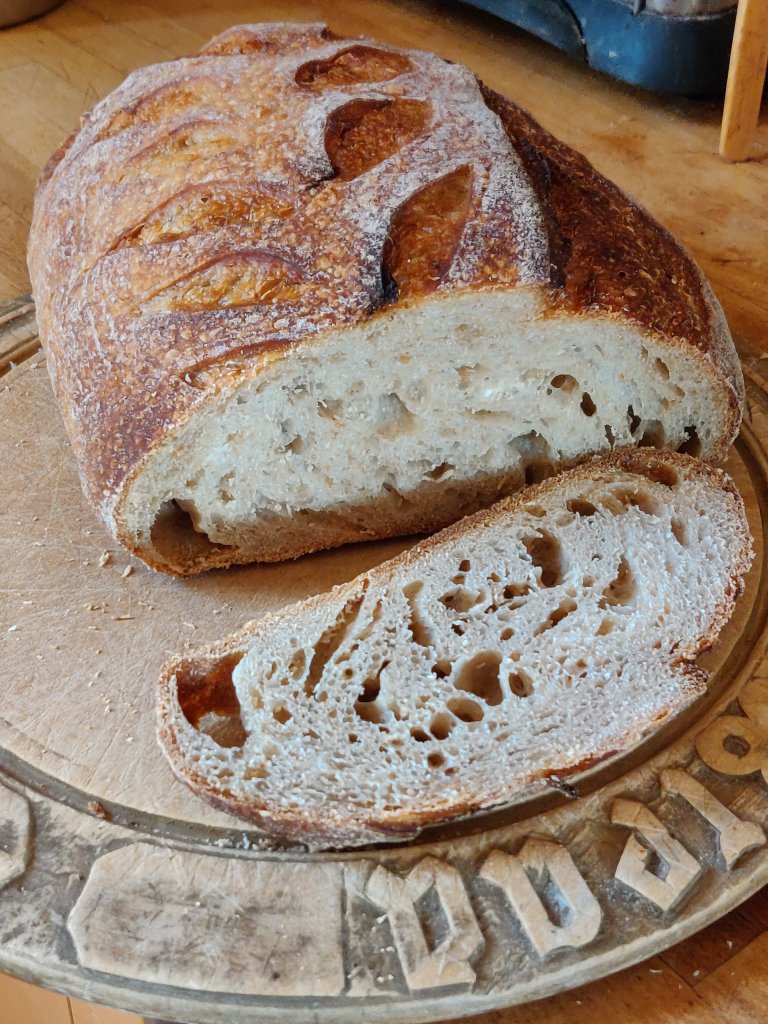
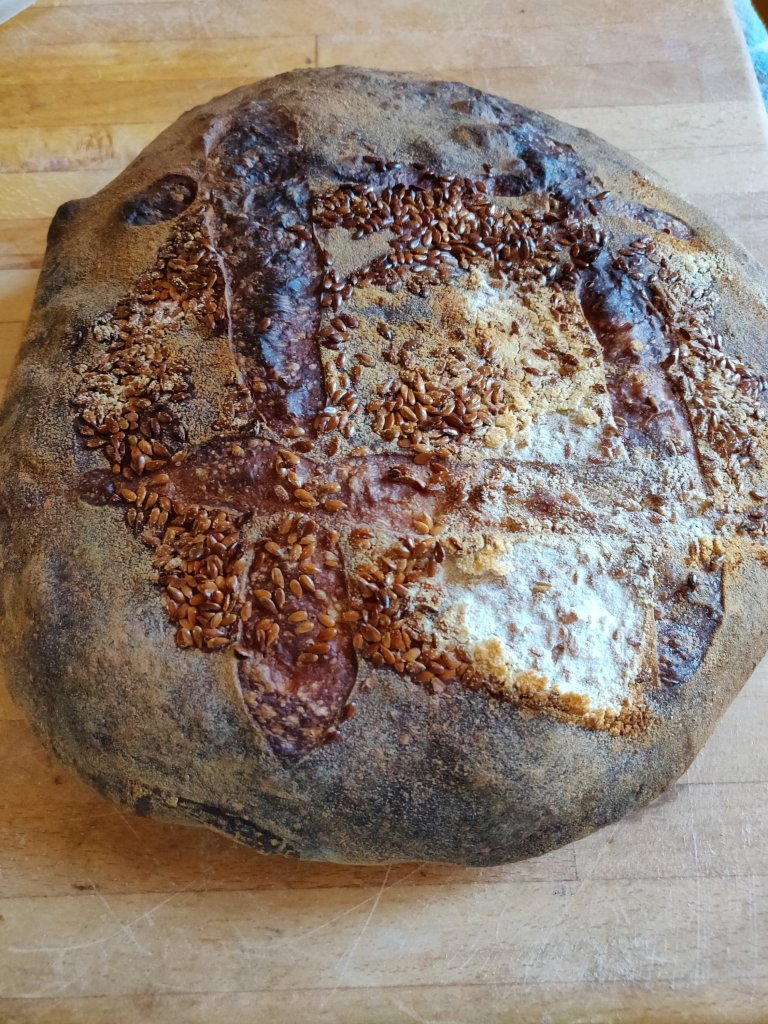
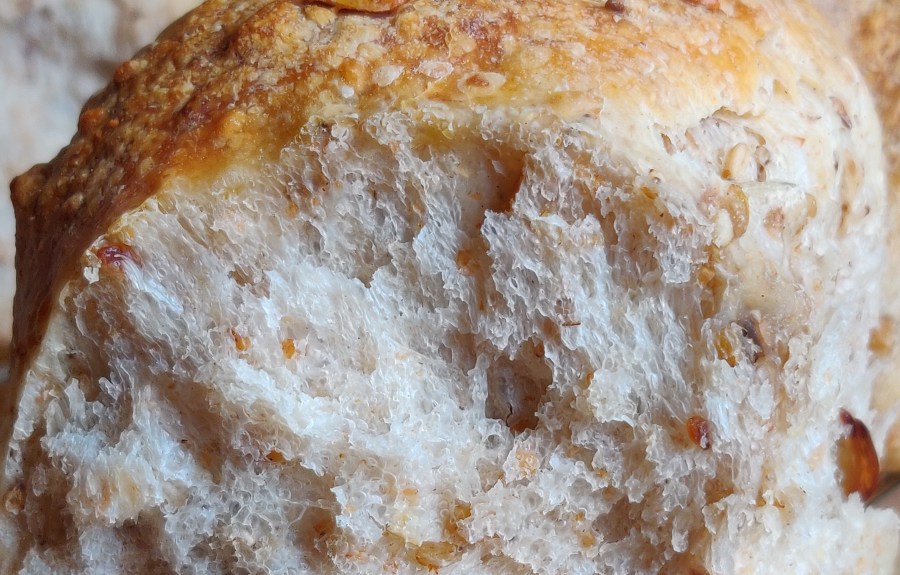
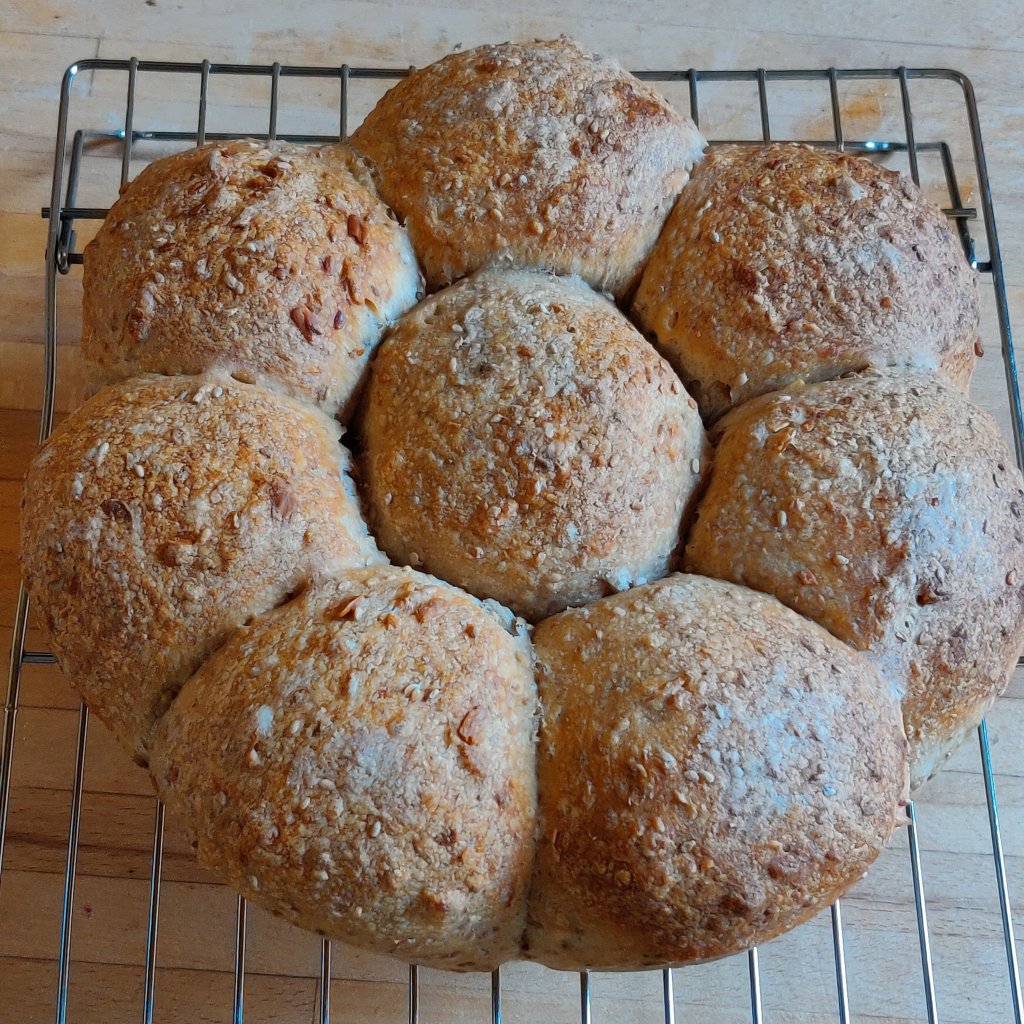
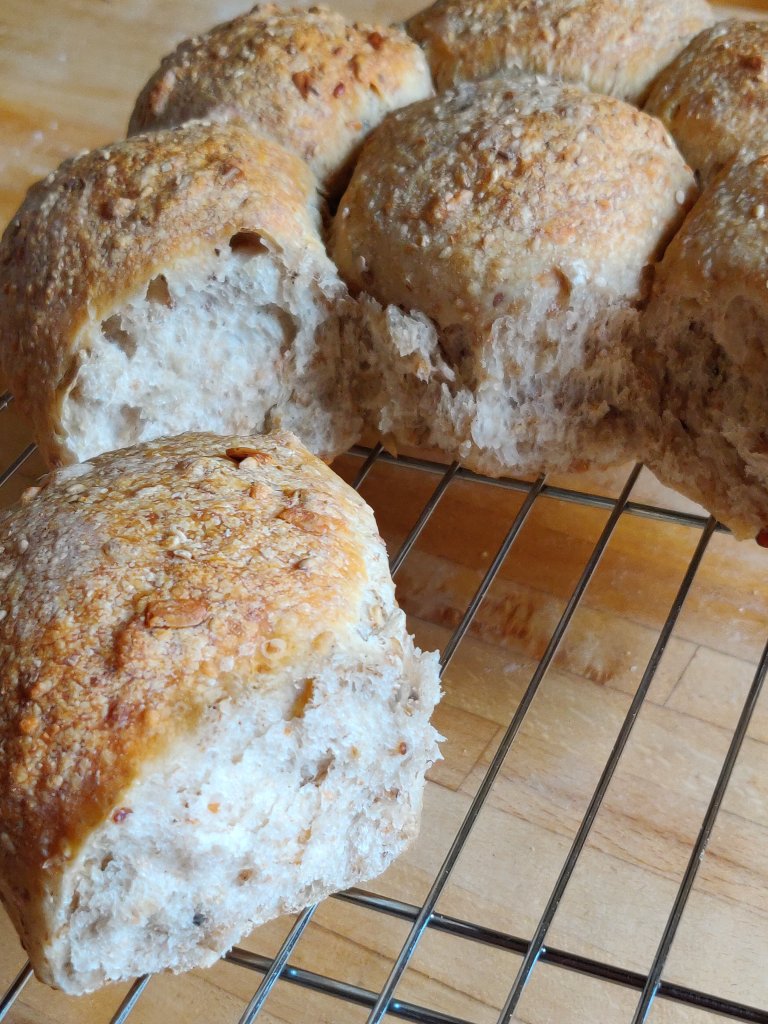
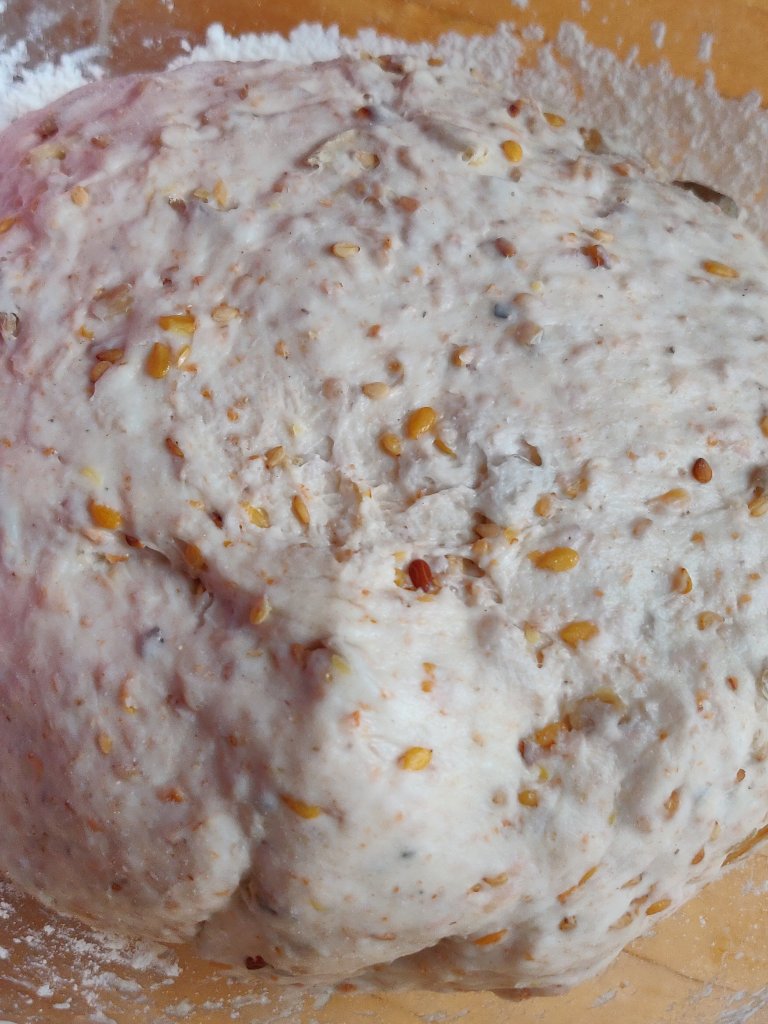
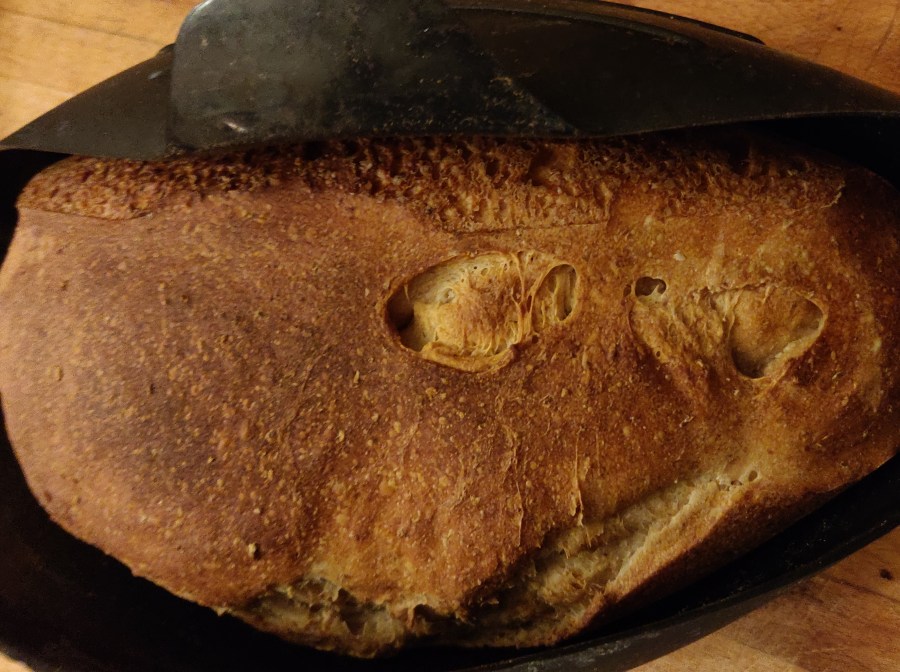
 Covering the bowl with a damp tea towel prevents crusty flour forming.When its time to knead, I give the starter a light stir and tip 200g into the bowl of flour and water and mix it all together. Feed the starter again and pop it back in the fridge for next timeI hand knead it on a floured worktop for 10-15 minutes which is incredibly therapeutic for arthritic hands, and also for edgy tempers. After about 10 minutes I sprinkle 10g of salt on the dough and knead that in. If there is a lot of wholemeal flour in the dough I might also add a 1/2 tsp of vitamin C powder to help it rise.Once its smooth and soft I return the dough to the (floured) bowl, and cover it with a wet cloth and a plastic shower cap, then put it on the worktop (or somewhere warm if the weather is chilly), and forget about it for hours on end.Sometime later, in today’s case 8pm, I knocked back the dough, shaped it into two loaves and popped them into the Lekue bread moulds I use. The wet cloth and shower cap go back over the loaves and I tonight I ended up baking the bread at 10:30pm. On other nights I might put the shaped loaves in the fridge (wet cloth and shower cap in place), and cook the loaves the next morning.
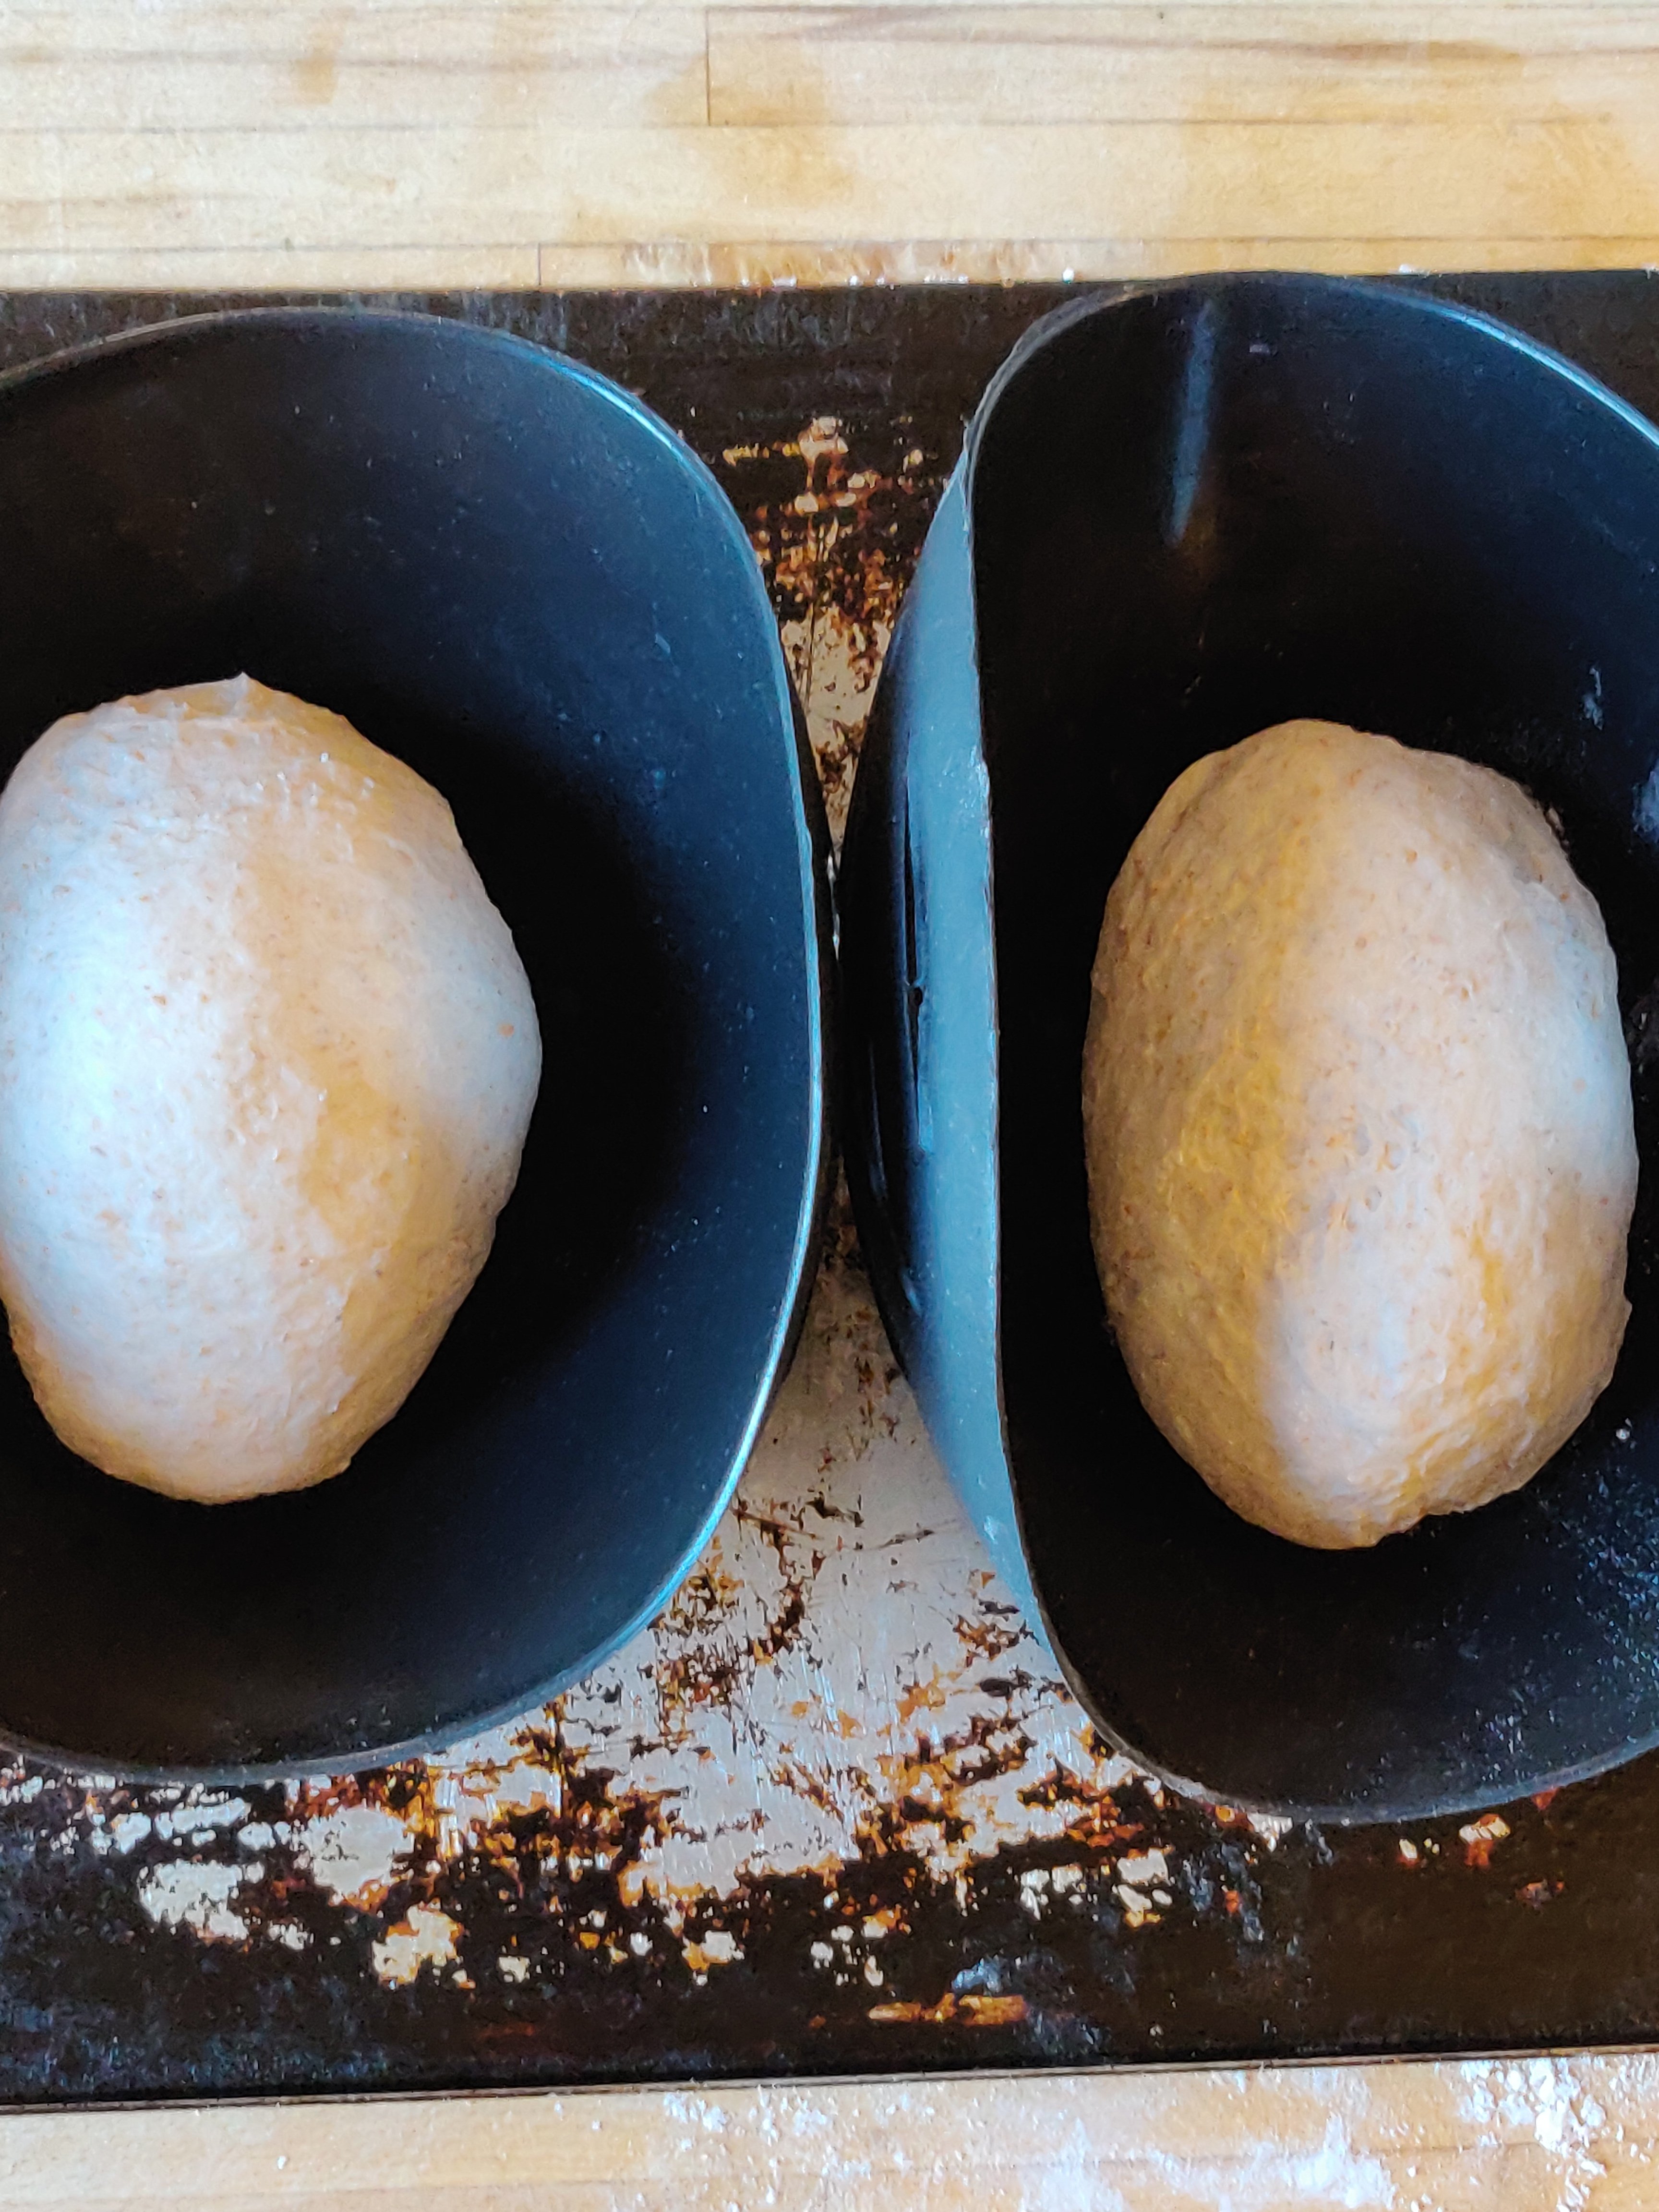
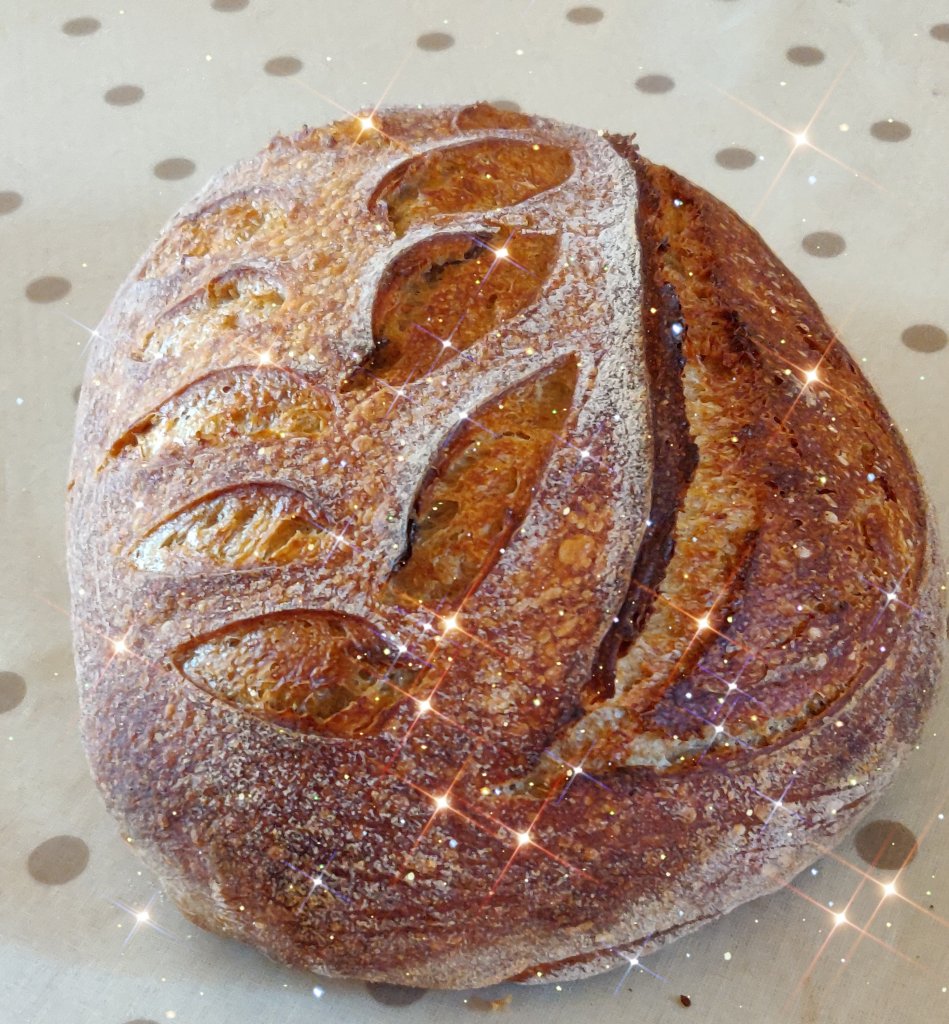
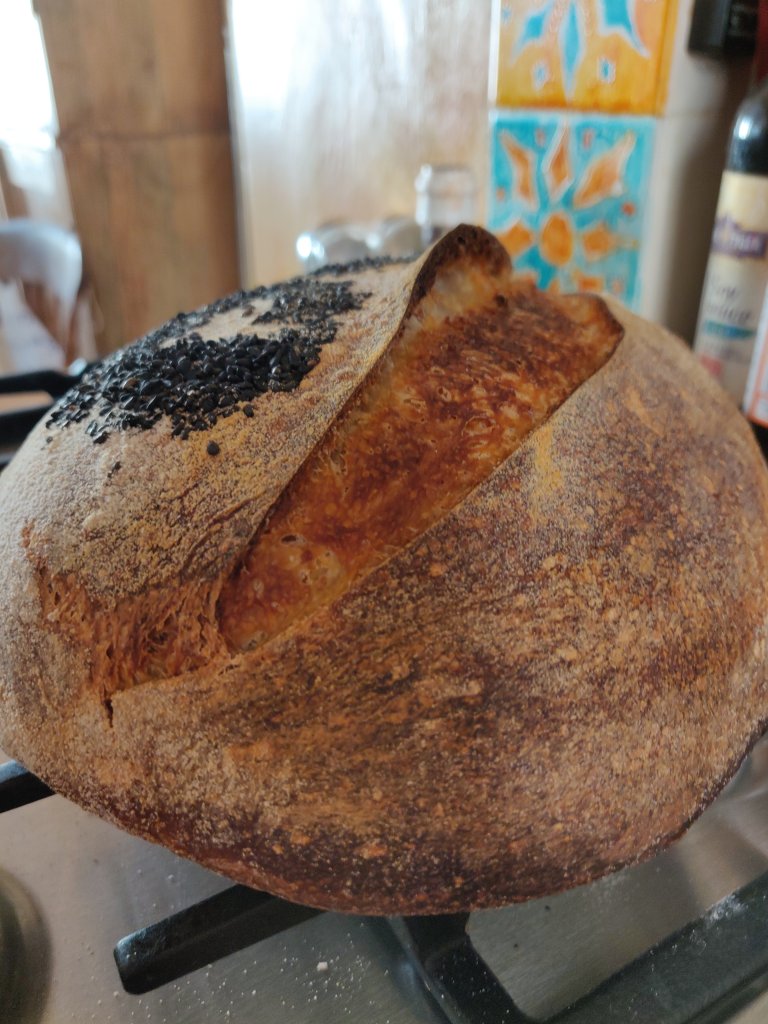
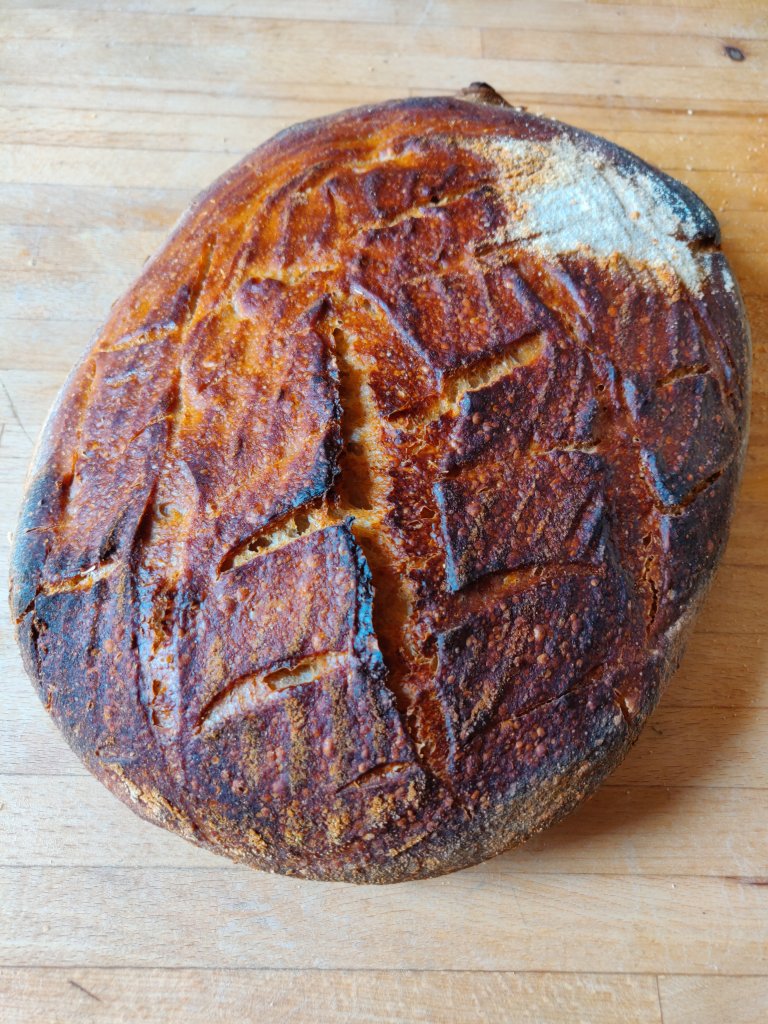
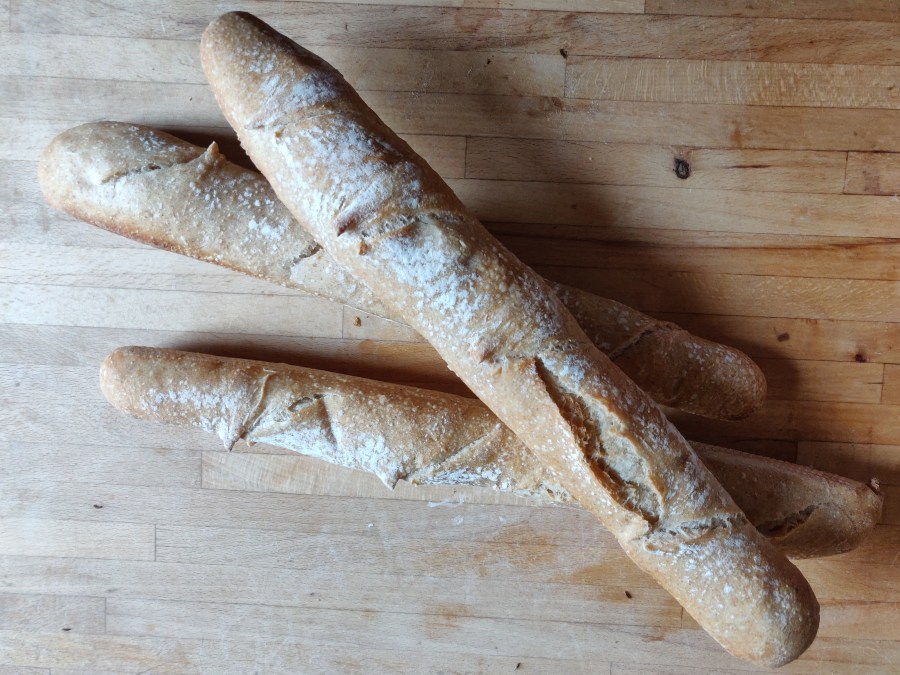
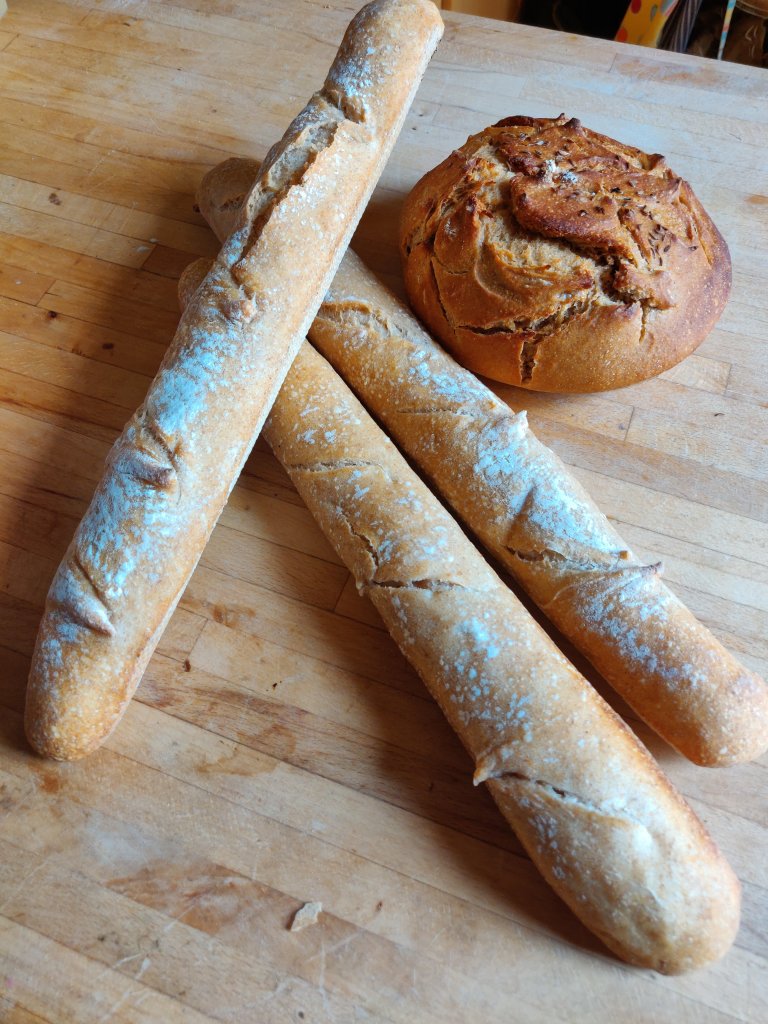
 Quite fast and easy:Feed the starter, leave it for an hour to bubble up. Put 400g bread flour, or a combination as described above, into a Kenwood chef, (or similar mixer), add 180 g warm water and pour in 200g of starter.Feed starter again and return to fridge.Mix with the dough hook for 10 minutes, adding 10g salt half way through. Remove the hook and put the bowl (covered with wet cloth and shower cap) somewhere warm to rise. Once doubled in size, knock back and shape, leave to rise again for 30-40 minutes and then bake. I use the Lekue moulds for this as well – always covering with wet cloth and shower cap as before.Easy- Peasy using a bread machine:Feed the starter, leave it for an hour to bubble up. Put 400g bread flour, or a combination as described above, into a bread machine pan, add 180 g warm water and pour in 200g of starter. Set machine to the longest dough programme (this is wholemeal on my Panasonic machine). Add 10g salt towards the end of the first knead (I set a timer to remind me otherwise I forget and have to reset the machine for an extra knead to incorporate this).Feed starter again and return to fridge.Once the machine finishes the dough programme, tip out the dough and shape, leave to rise again for 30-40 minutes and then bake, or put the shaped loaves in the fridge overnight and bake in the morning. I use the Lekue moulds for these loaves as well – always covering with wet cloth and shower cap as before.The Lekue silicone loaf moulds are great, they hold the shape of the loaf well, making a nice rustic looking loaf, and keep the dough moist during risking and baking.
 I’ve even made this loaf with only one rise and shaping into the moulds with an overnight rise, not quite as light bread, but very edible.