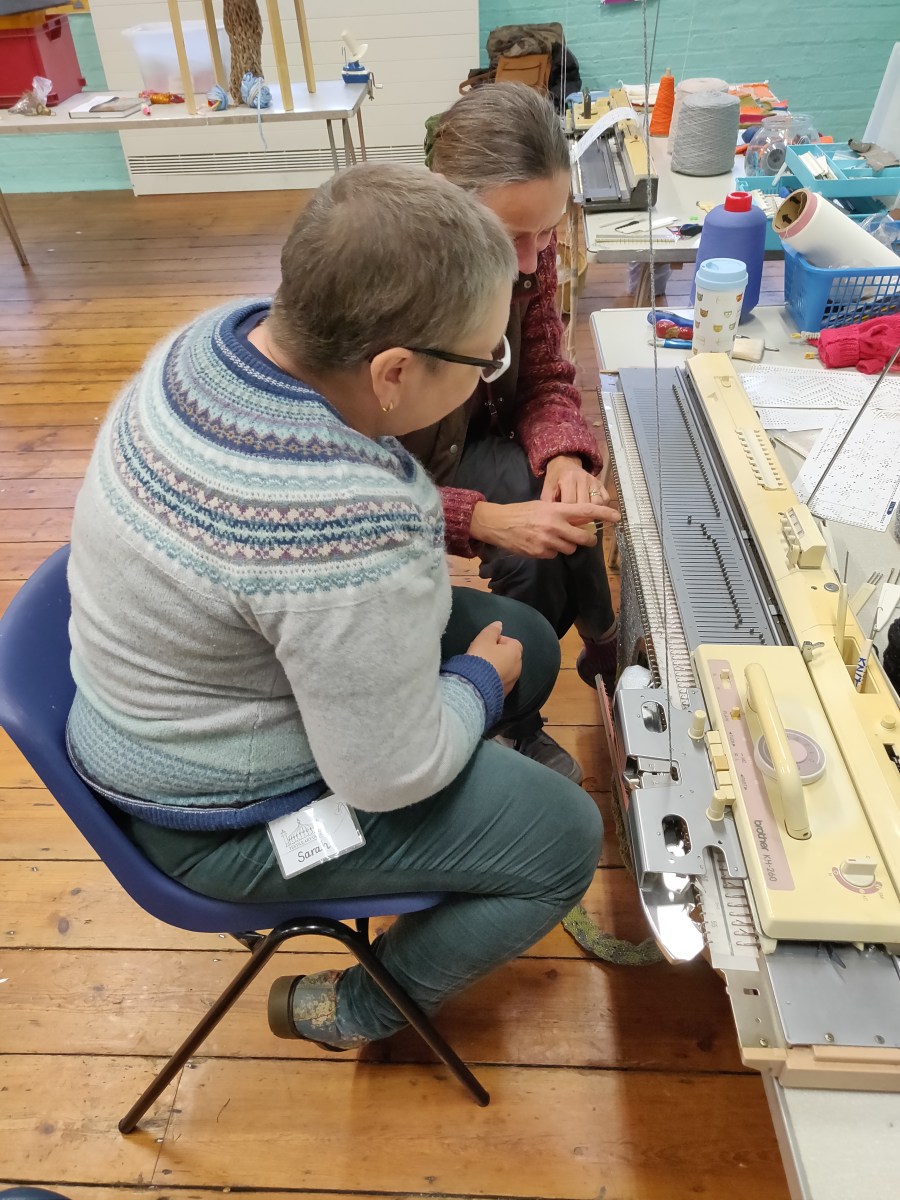
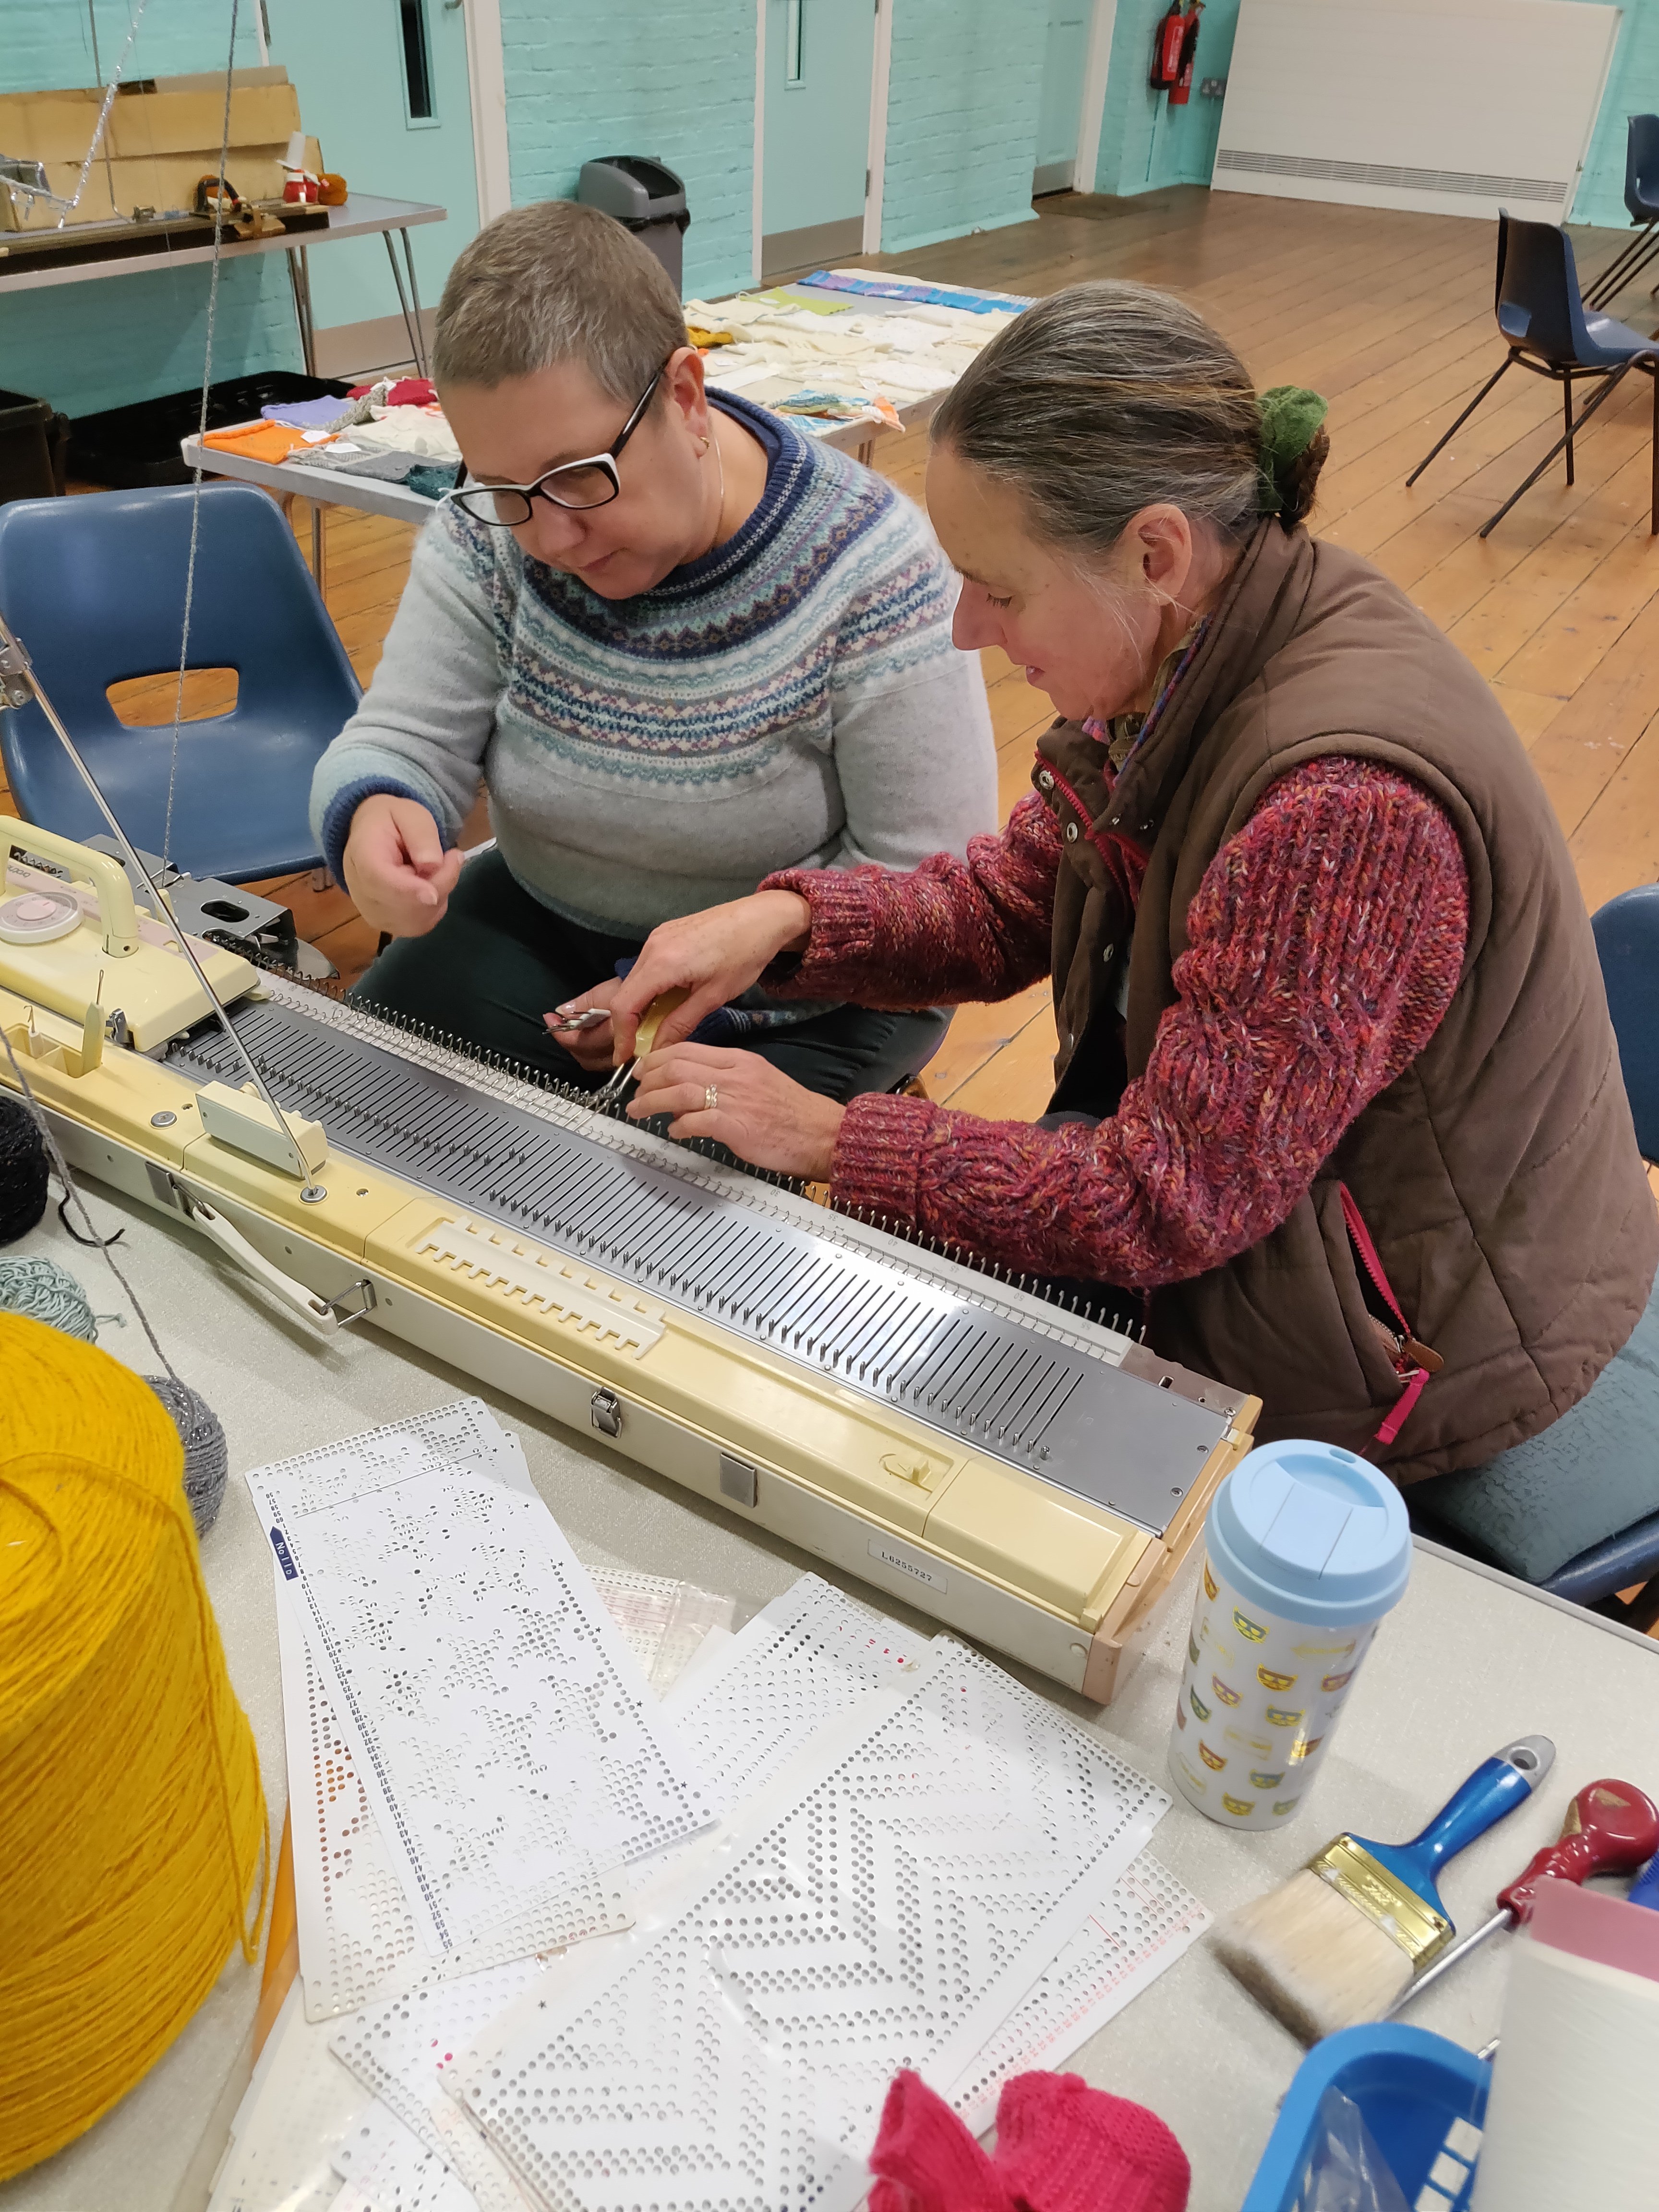
Today I ran a workshop that introduced members of Brighton Textile Art Group to machine knitting. To give a wider experience both a Knitmaster and a Brother machine were used, one standard and one chunky gauge. The chunky was particularly popular once it was found that it can knit handspun yarns.
Techniques explored included shaping, fair isle, single motif fair isle, knitwear (again great for hand spun), holding and short rows and simple, manual lace transfer.
I took along a little circular machine to demonstrate the difference between the two machine types, but the real interest was in the flat bed Japanese machines.
After the workshop response were really positive; people who had thought they would hate it had great fun, and those with machines were enthused to go home and get them out. Unfortunately the workshop clashed with the East Sussex Guild of Spinners, Weavers and Dyers meeting, so another workshop had been requested in the Spring or Summer of 2020.
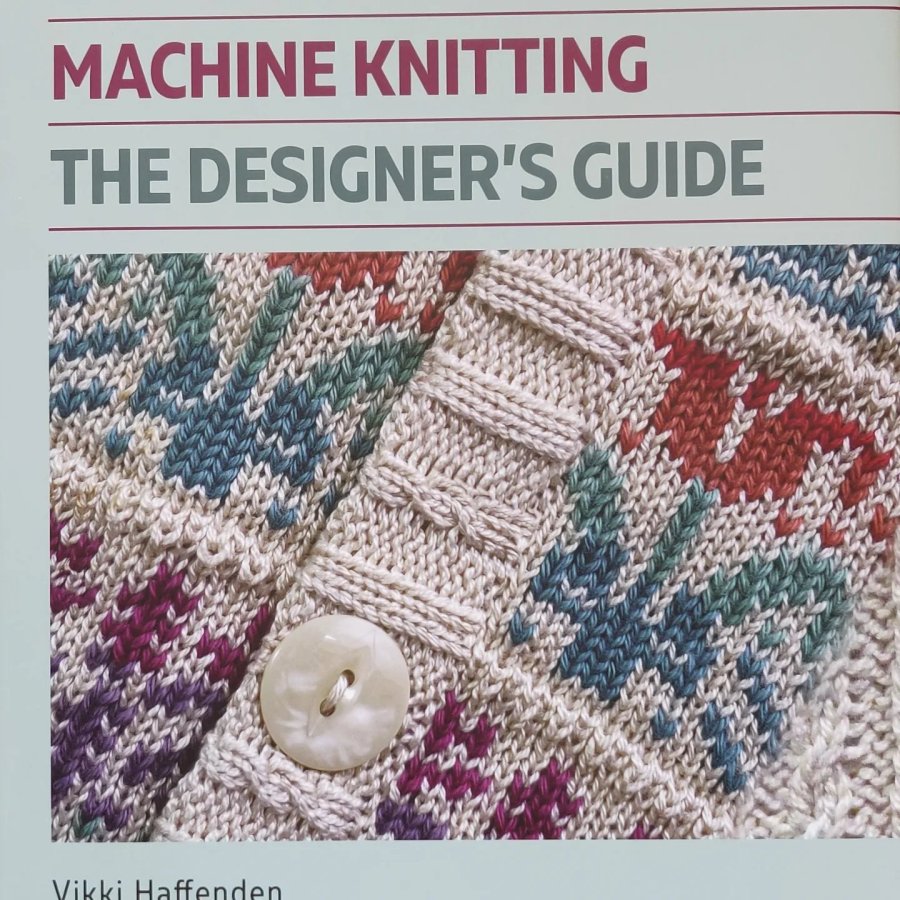
Lace knitting – see more about this on my Translating Between Hand and Machine Knitting page, but in brief, yes this is explained in loads of detail, with helpful photos and diagrams, examples and step-by-step instructions.
The book does not include garment patterns, it explains how to knit different stitches by hand and machine, and why some stitches are more suitable for hand and others for machine knitting.
When hand knitting lace it is so easy to make a mistake or drop stitches, even on the plain rows, (I have a habit of dropping the yarnovers).
To save yourself the hassle of having to unpick and rediscover your pattern, adding a lifeline is a real life-saver; although it may seem tedious at the time.
A lifeline is a piece of thread passing through all the stitches along one row of the pattern so that if a stitch unravels some rows above it cannot drop below this retaining thread.
Decide where you want the lifeline to be, this would usually be at the end of one full vertical repeat of a lace pattern, on a non-patterning row, (usually a purl row). If it’s a short lace pattern repeat that is only two or four rows high, then you might put a lifeline in after every four or five repeats of the pattern.
To prepare and insert a lifeline:
Choose a contrast colour that’s no thicker and preferably thinner than your knitting yarn. On fine lace sewing thread is ideal.
Cut a length of yarn that is 20 cm longer than the width of your fabric.
Thread the yarn into a large eyed bodkin sewing needle. Avoid using a needle with a sharp point as this may split your stitches.
Using the sewing needle thread the yarn along the stitches on the needle, making sure the thread goes through each stitch.
Pull the lifeline gently so that there is an even length of thread at each side of the knitting.
Remove the bodkin sewing needle and knit the row as normal.
Once you have threaded another life line in place at your next chosen position you can remove the first one.
You can use a lifeline in exactly the same way when machine knitting, it is just a little bit more fiddly to thread the yarn through the stitches. But believe me, its worth it!
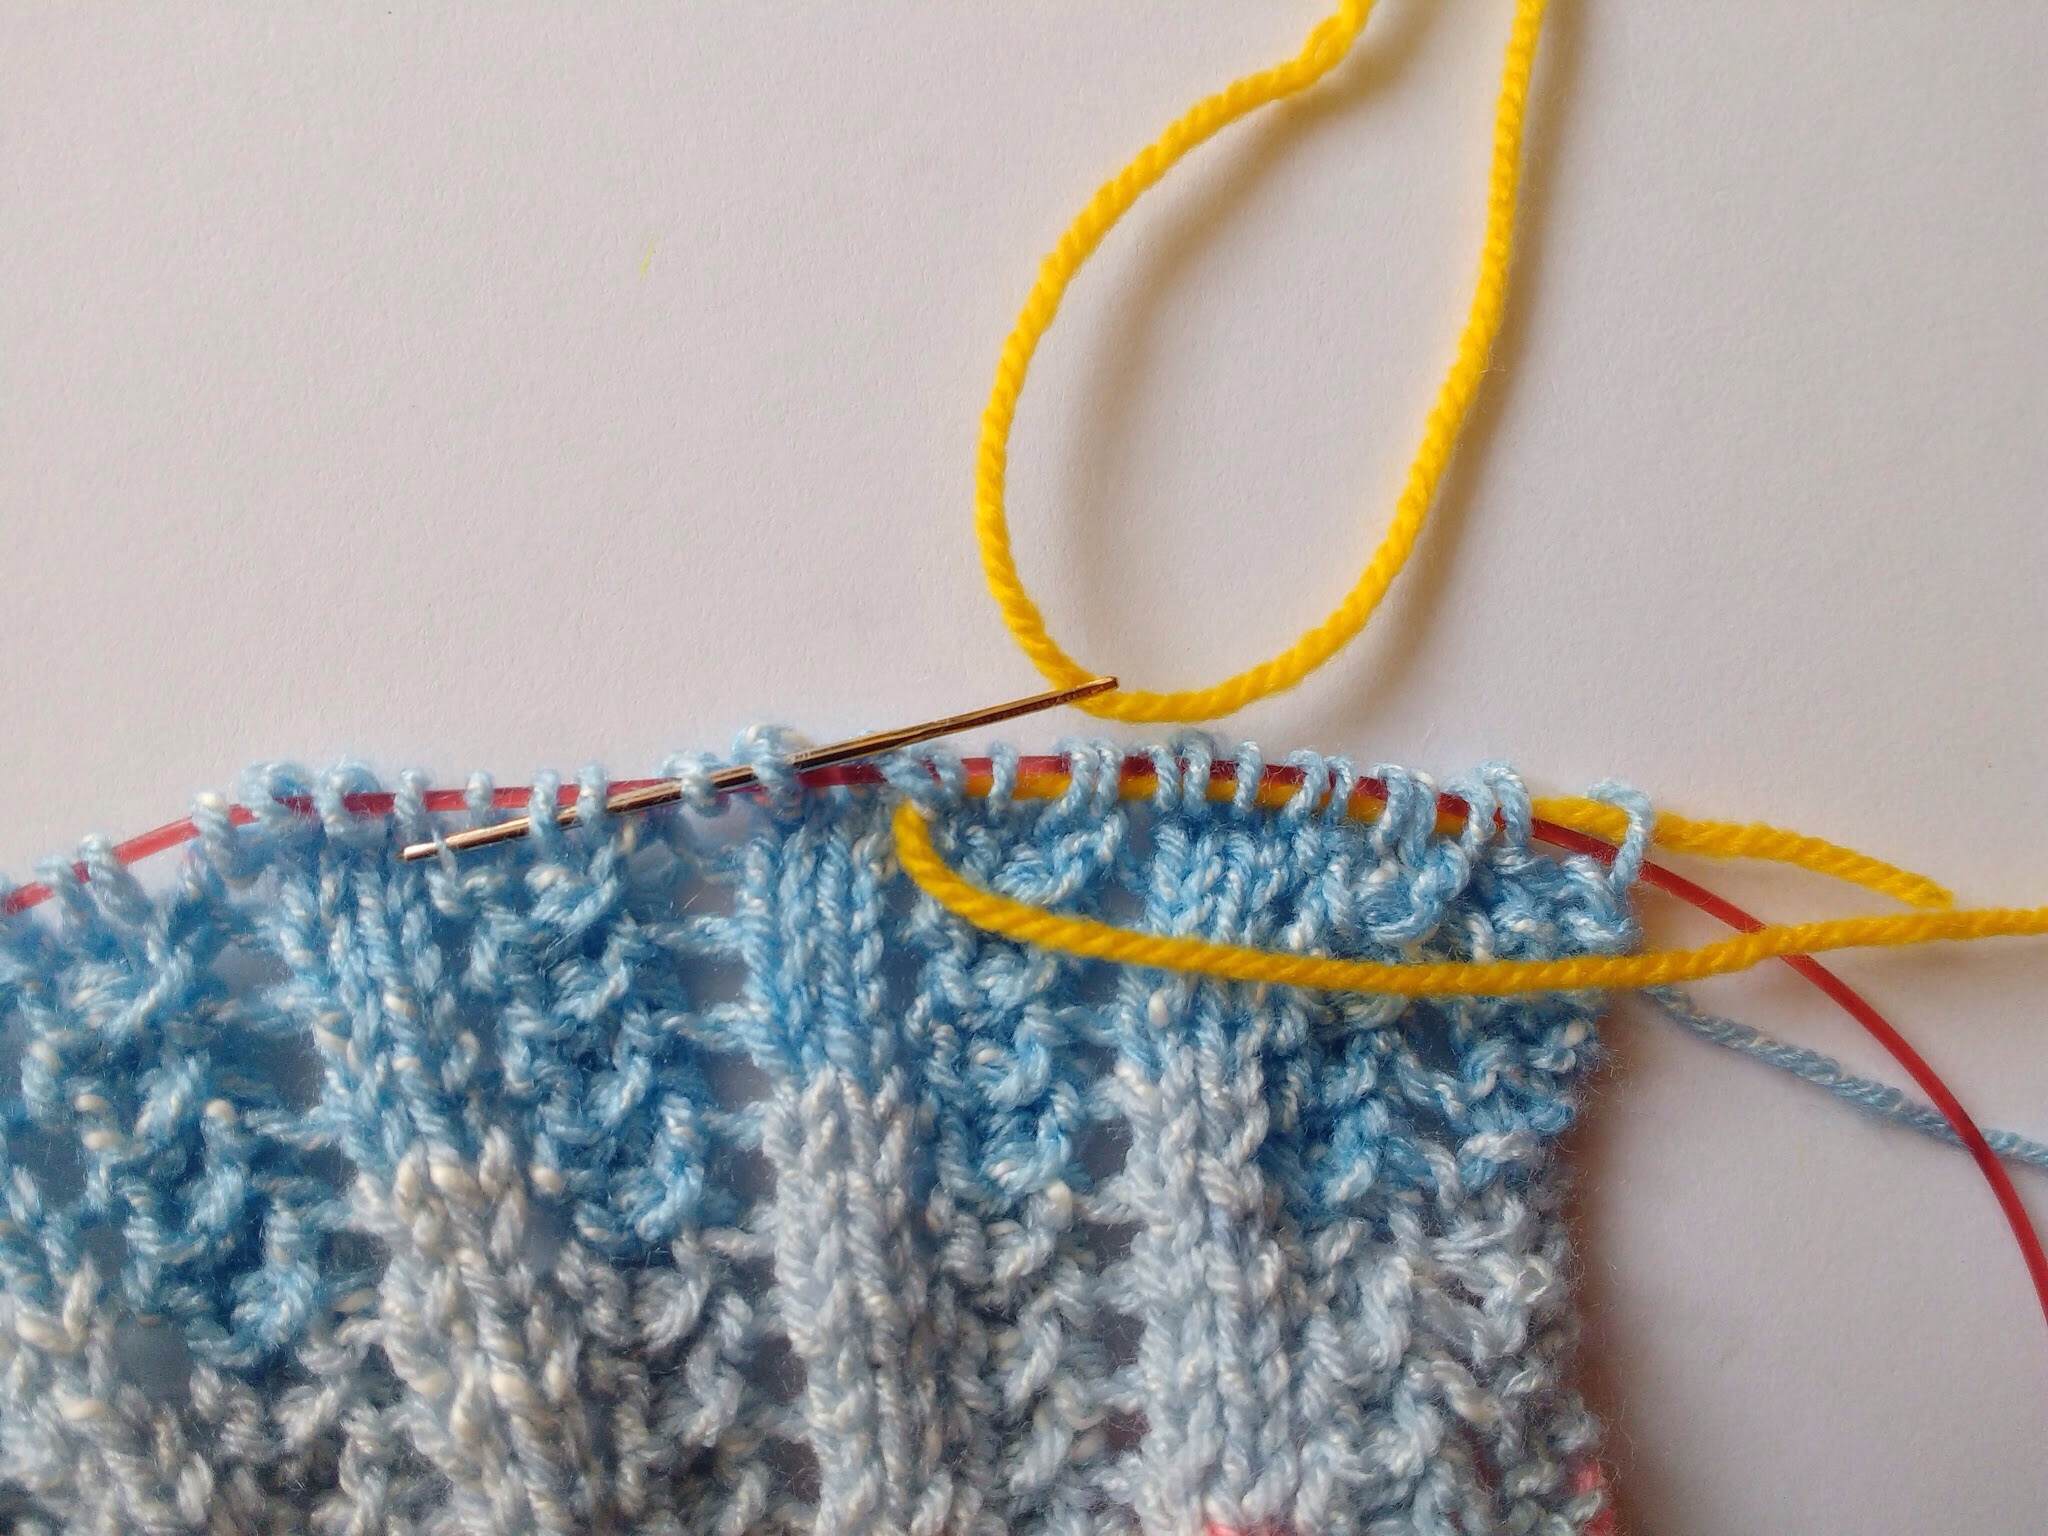
The image below shows a lifeline (yellow yarn), being inserted into lace knitting being worked flat, but using a circular needle. A circular needle has a thin wire in its centre (in this case its a red wire), and sliding the stitches onto the wire before inserting the lifeline creates more space inside each stitch, making it easier to thread the lifeline through.
A lifeline being threaded into lace knitting. Insert the lifeline after working a plain row. This gives you easily recognisable loops to work into.