Spinning outdoors,(well almost) – on my Ashford Espinner

Its a mix of rain and sun this afternoon, and we are in our caravan so I decided to do some spinning on my Ashford Espinner. I’ve brought four Frankenstein batts I carded from a mixture of old cream Jacobs and two pink and orange poorly dyed batches of Dorset fleece. Plus a small amount of a pretty olive green. The poorly dyed had nepps from the partial felting, and I kept some of these when carding to add texture.

These were all carded on the electric from carder in stripes. I ended up with four largish batts which I split and spun as rolags.

Below you can see how I split the batts and I worked out the TPI of the singles on the espinner.

Author’s not: I originally intended to upload this as a ‘story’ post, but after the uploads gobbled up my mobile data and it still didn’t work properly I decided to make it a normal post.

I split the large batt horizontally into smaller sections.

The smaller sections were then hand-rolled into individual rolags. Because the batt had been double carded and divided between each carding, the colours ran from side to side. I like to work with small rolags, so halved each one, but worked with through the rolags in a zig zage way so that the ends met to keep consistency to the colour grading.

Spinning singles on my Ashford Espinner in the caravan awning
Achieving the desired TPI on an espinner is based on knowing the number of flyer rotations per minute, which is controlled by the speed dial.

For this singles I wanted around 8 TPI, and I had already measured my drafting of 2″ lengths at about 40 which equals me 80″ per minute. So I multiplied the TPI x draft length per minute

8 x 80 = 640.

So I set my speed dial to where I know I get about 640rpm. Its not exact, but neither is it on a wheel, but it gave a pretty good average of 8TPI.

I plan to ply this with a plain colour, otherwise the colours become overwhelmed by each other. Maybe a rust or cream, or even a black?

Update. I eventually plied it with a Dorset singles from my stash. Made 70g of very useable yarn or approximately 7 TPI, 8 WPI and 20 degree angle of twist.

The finished yarn.

Pencil spinning

Due to the virus situation the workshops have been closed at the University where I work, and we are ‘remote teaching’ from now on. That is quite a challenge for a practical subject like knitted textiles.

One thing I have enjoyed over the years of teaching first year knit design students is their excitement and enthusiasm when they realise that they can make their own yarns. Normally I would be running a hand spinning workshop for them next week, but obviously not anymore. We have two spinning wheels and I take in a box of drop spindles. Cartons of fibre are pulled out of cupboards and spill all over the floor, its a lovely day with some wild yarn developments taking place. I think its a great way to encourage them to explore the raw materials of textiles, and also to introduce them to yarn design.

But sadly this year its not to be! So I decided that before they left I would demonstrate ‘pencil spinning’ using two commercial yarns. Even this simple method was received with excitement, so I have made two short videos for the students, but have shared them on YouTube for everyone and put them on here as well. Bear in mind they were made for the students, following a demonstration so I refer to this, and the focus is on making small amounts of marl yarn for hand knit design sampling.

They have taken yarns away with them, so I hope to see that they have applied their wonderful creativity to making new and colourful yarns.

Felted singles

Having read about this spinning technique I though I’d have a go. It doesn’t save much time as you still have to run the yarn back through the wheel, which takes as long as simple plying. It was prompted by my practise at making a ”Z’ twist fat singles’ and so I decided to over-twist this singles yarn as I practised the night before a dyeing session. So I treated it cruelly when washed it, and also in the hot dye bath as well.

As there were several colour dye baths it was too tempting not to dip-dye the hank. Firstly it went into red-cabbage allover, and then the ends were dipped into madder and turmeric.

This is what it looked like before hot washing and dyeing.
And after re-spinning it’s open up nicely and is quite soft.

I’ll be trying this out soon to see what it looks and feels like as a knit.

Visit to Diamond Fibres – wool processors

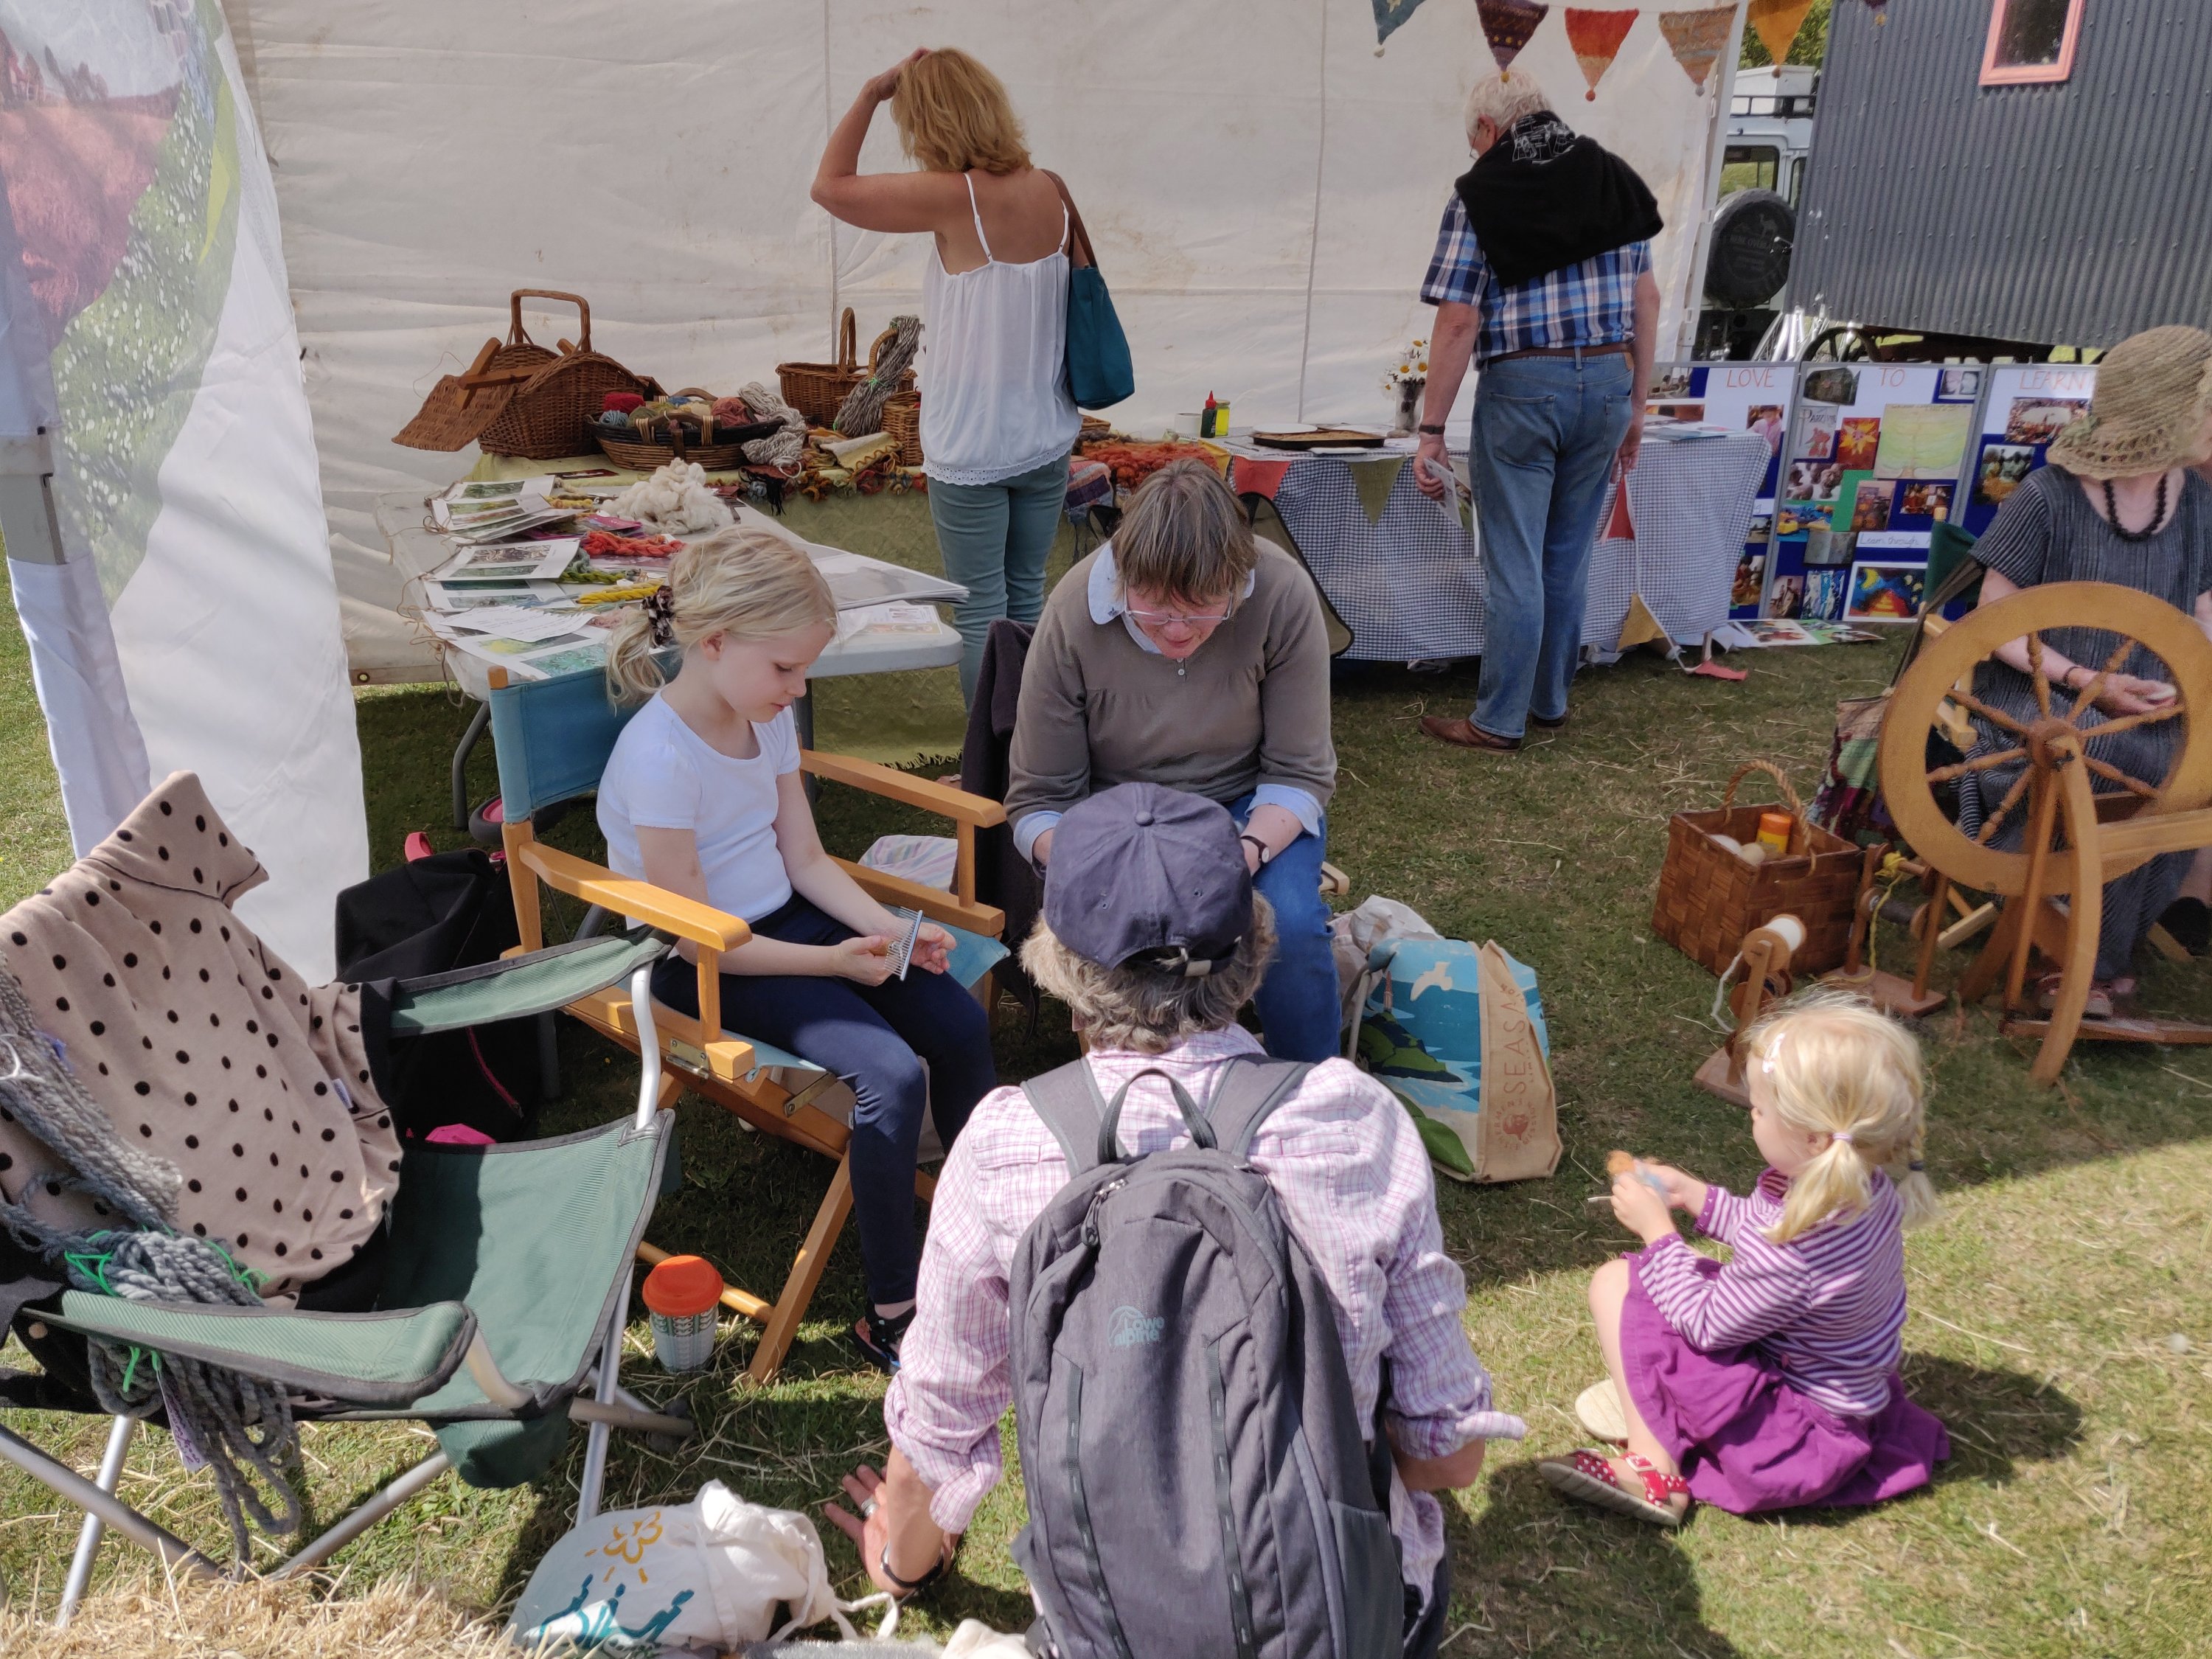
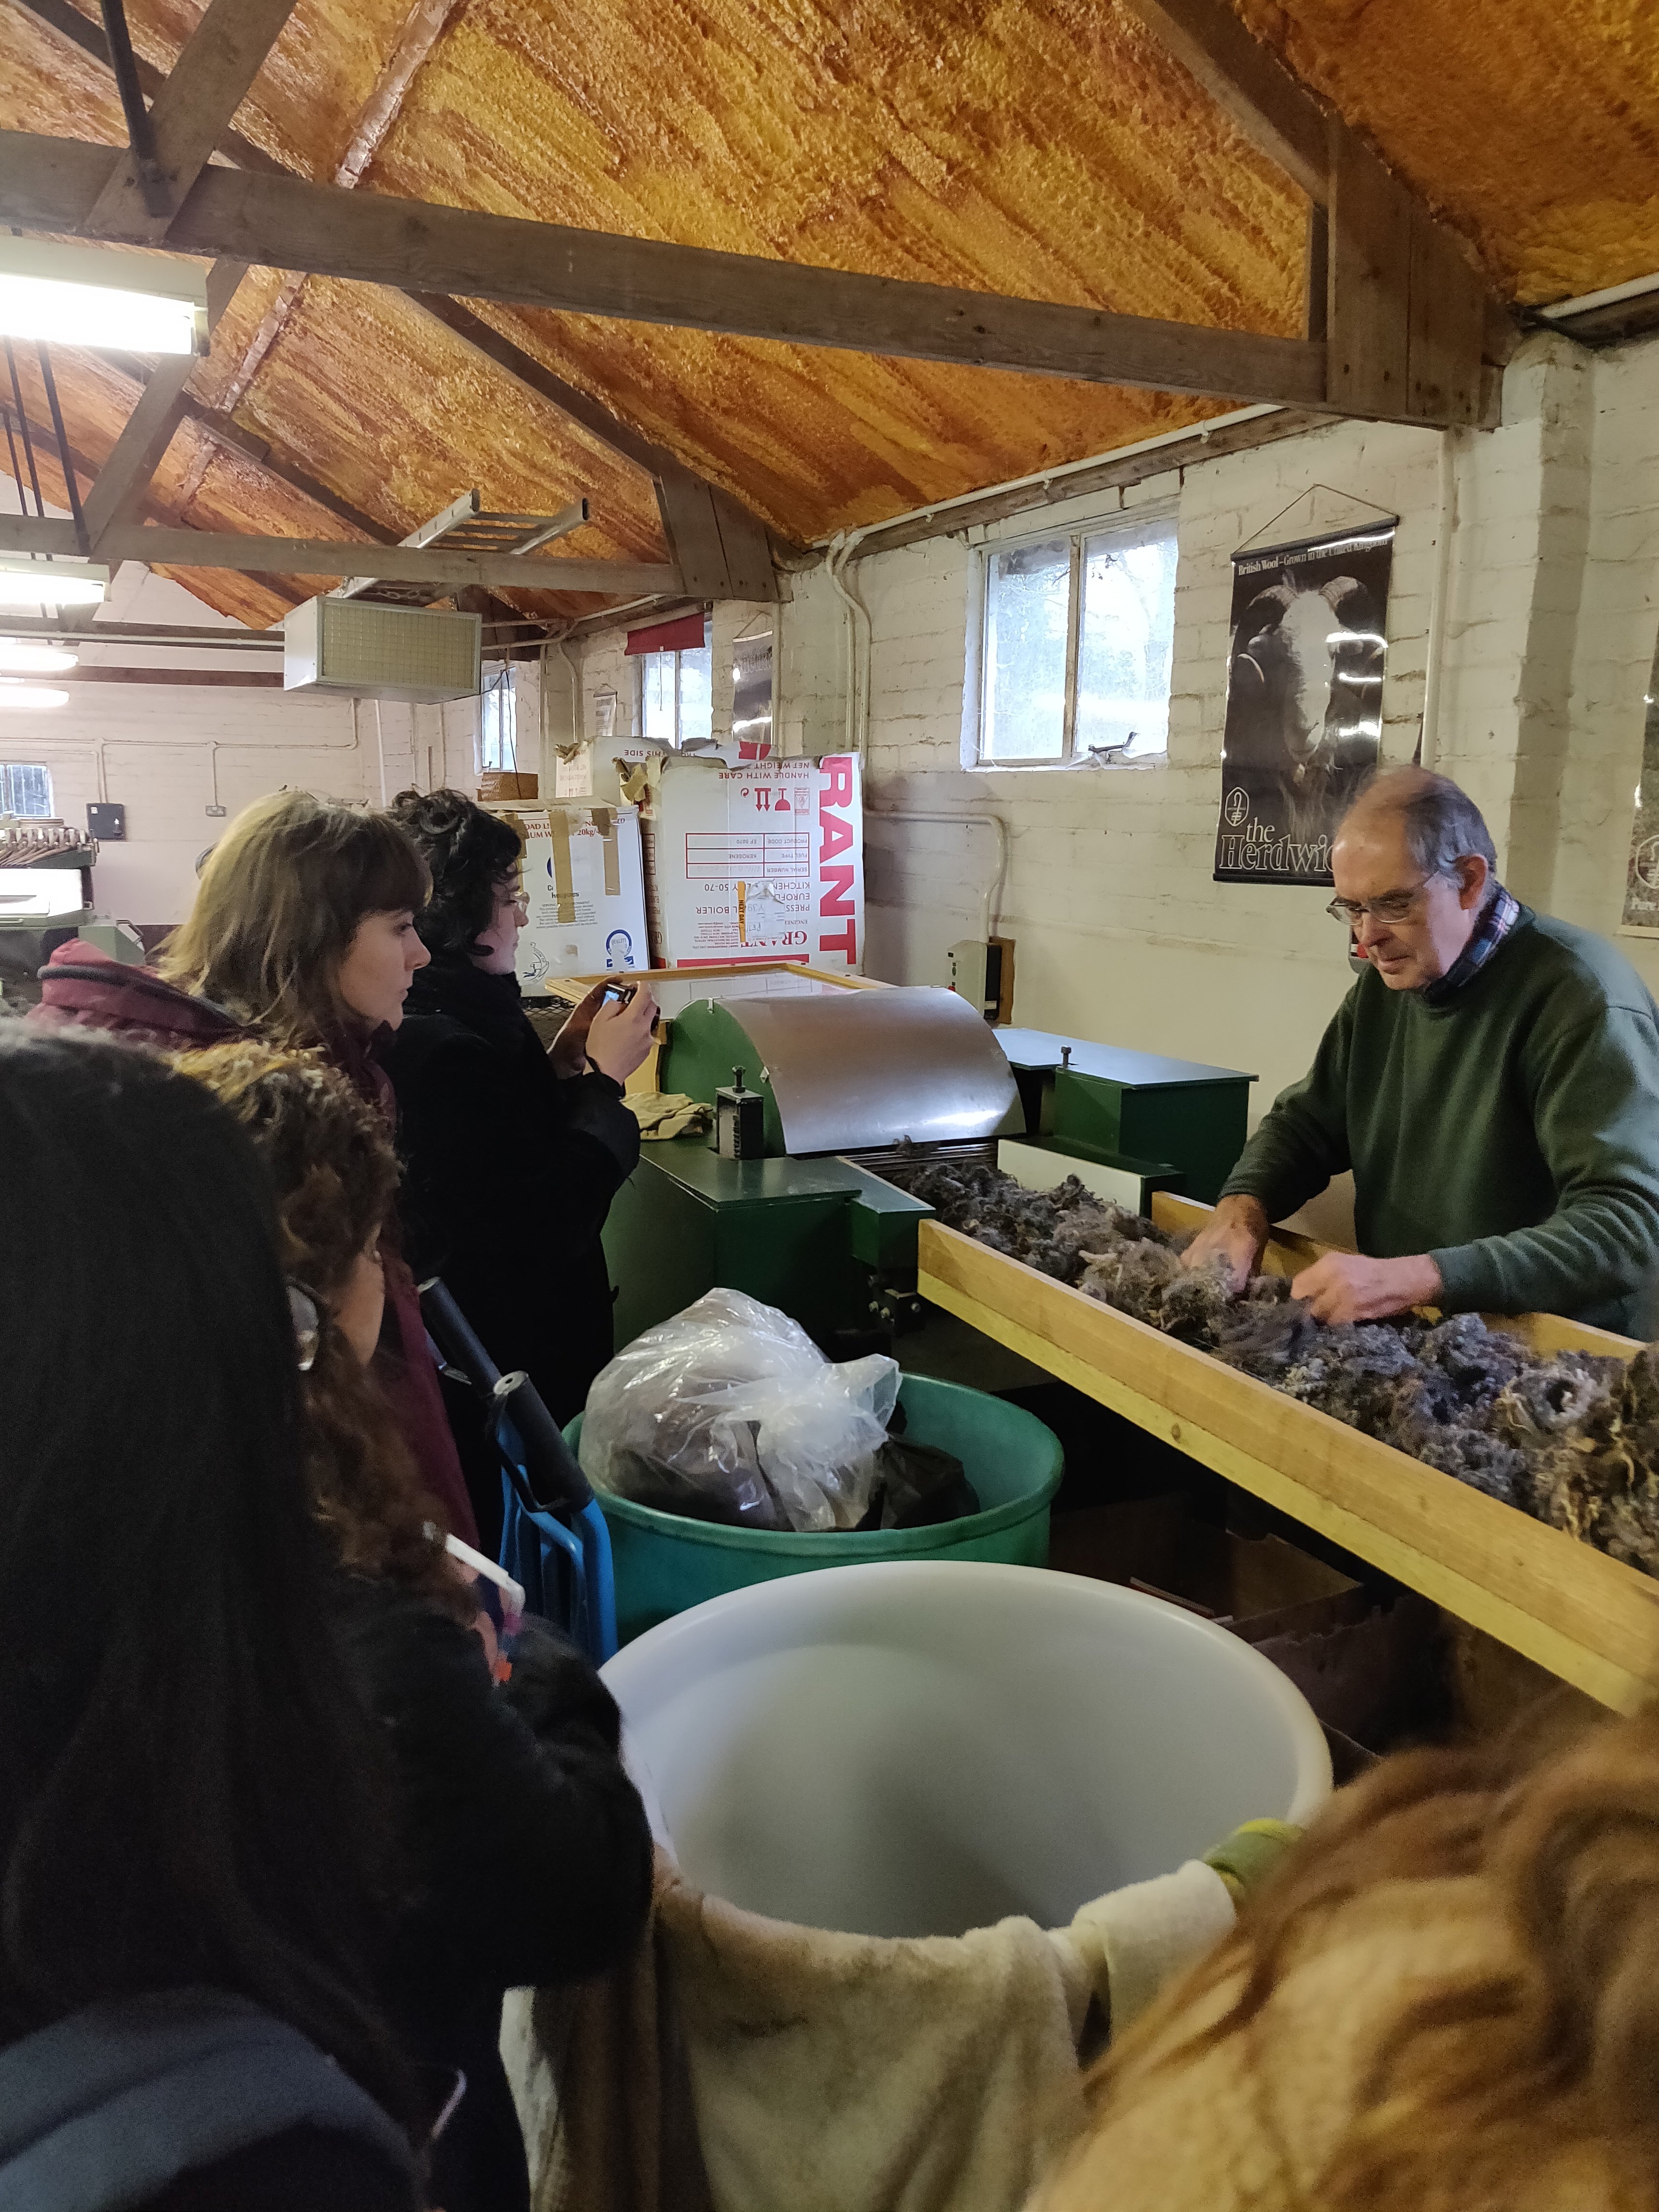
Today I accompanied a group of students on a visit to Diamond Fibres in Horam, Sussex. The company processes wool for worsted spinning, rather than woollen spinning, so concentrates more on longer staple fleece.

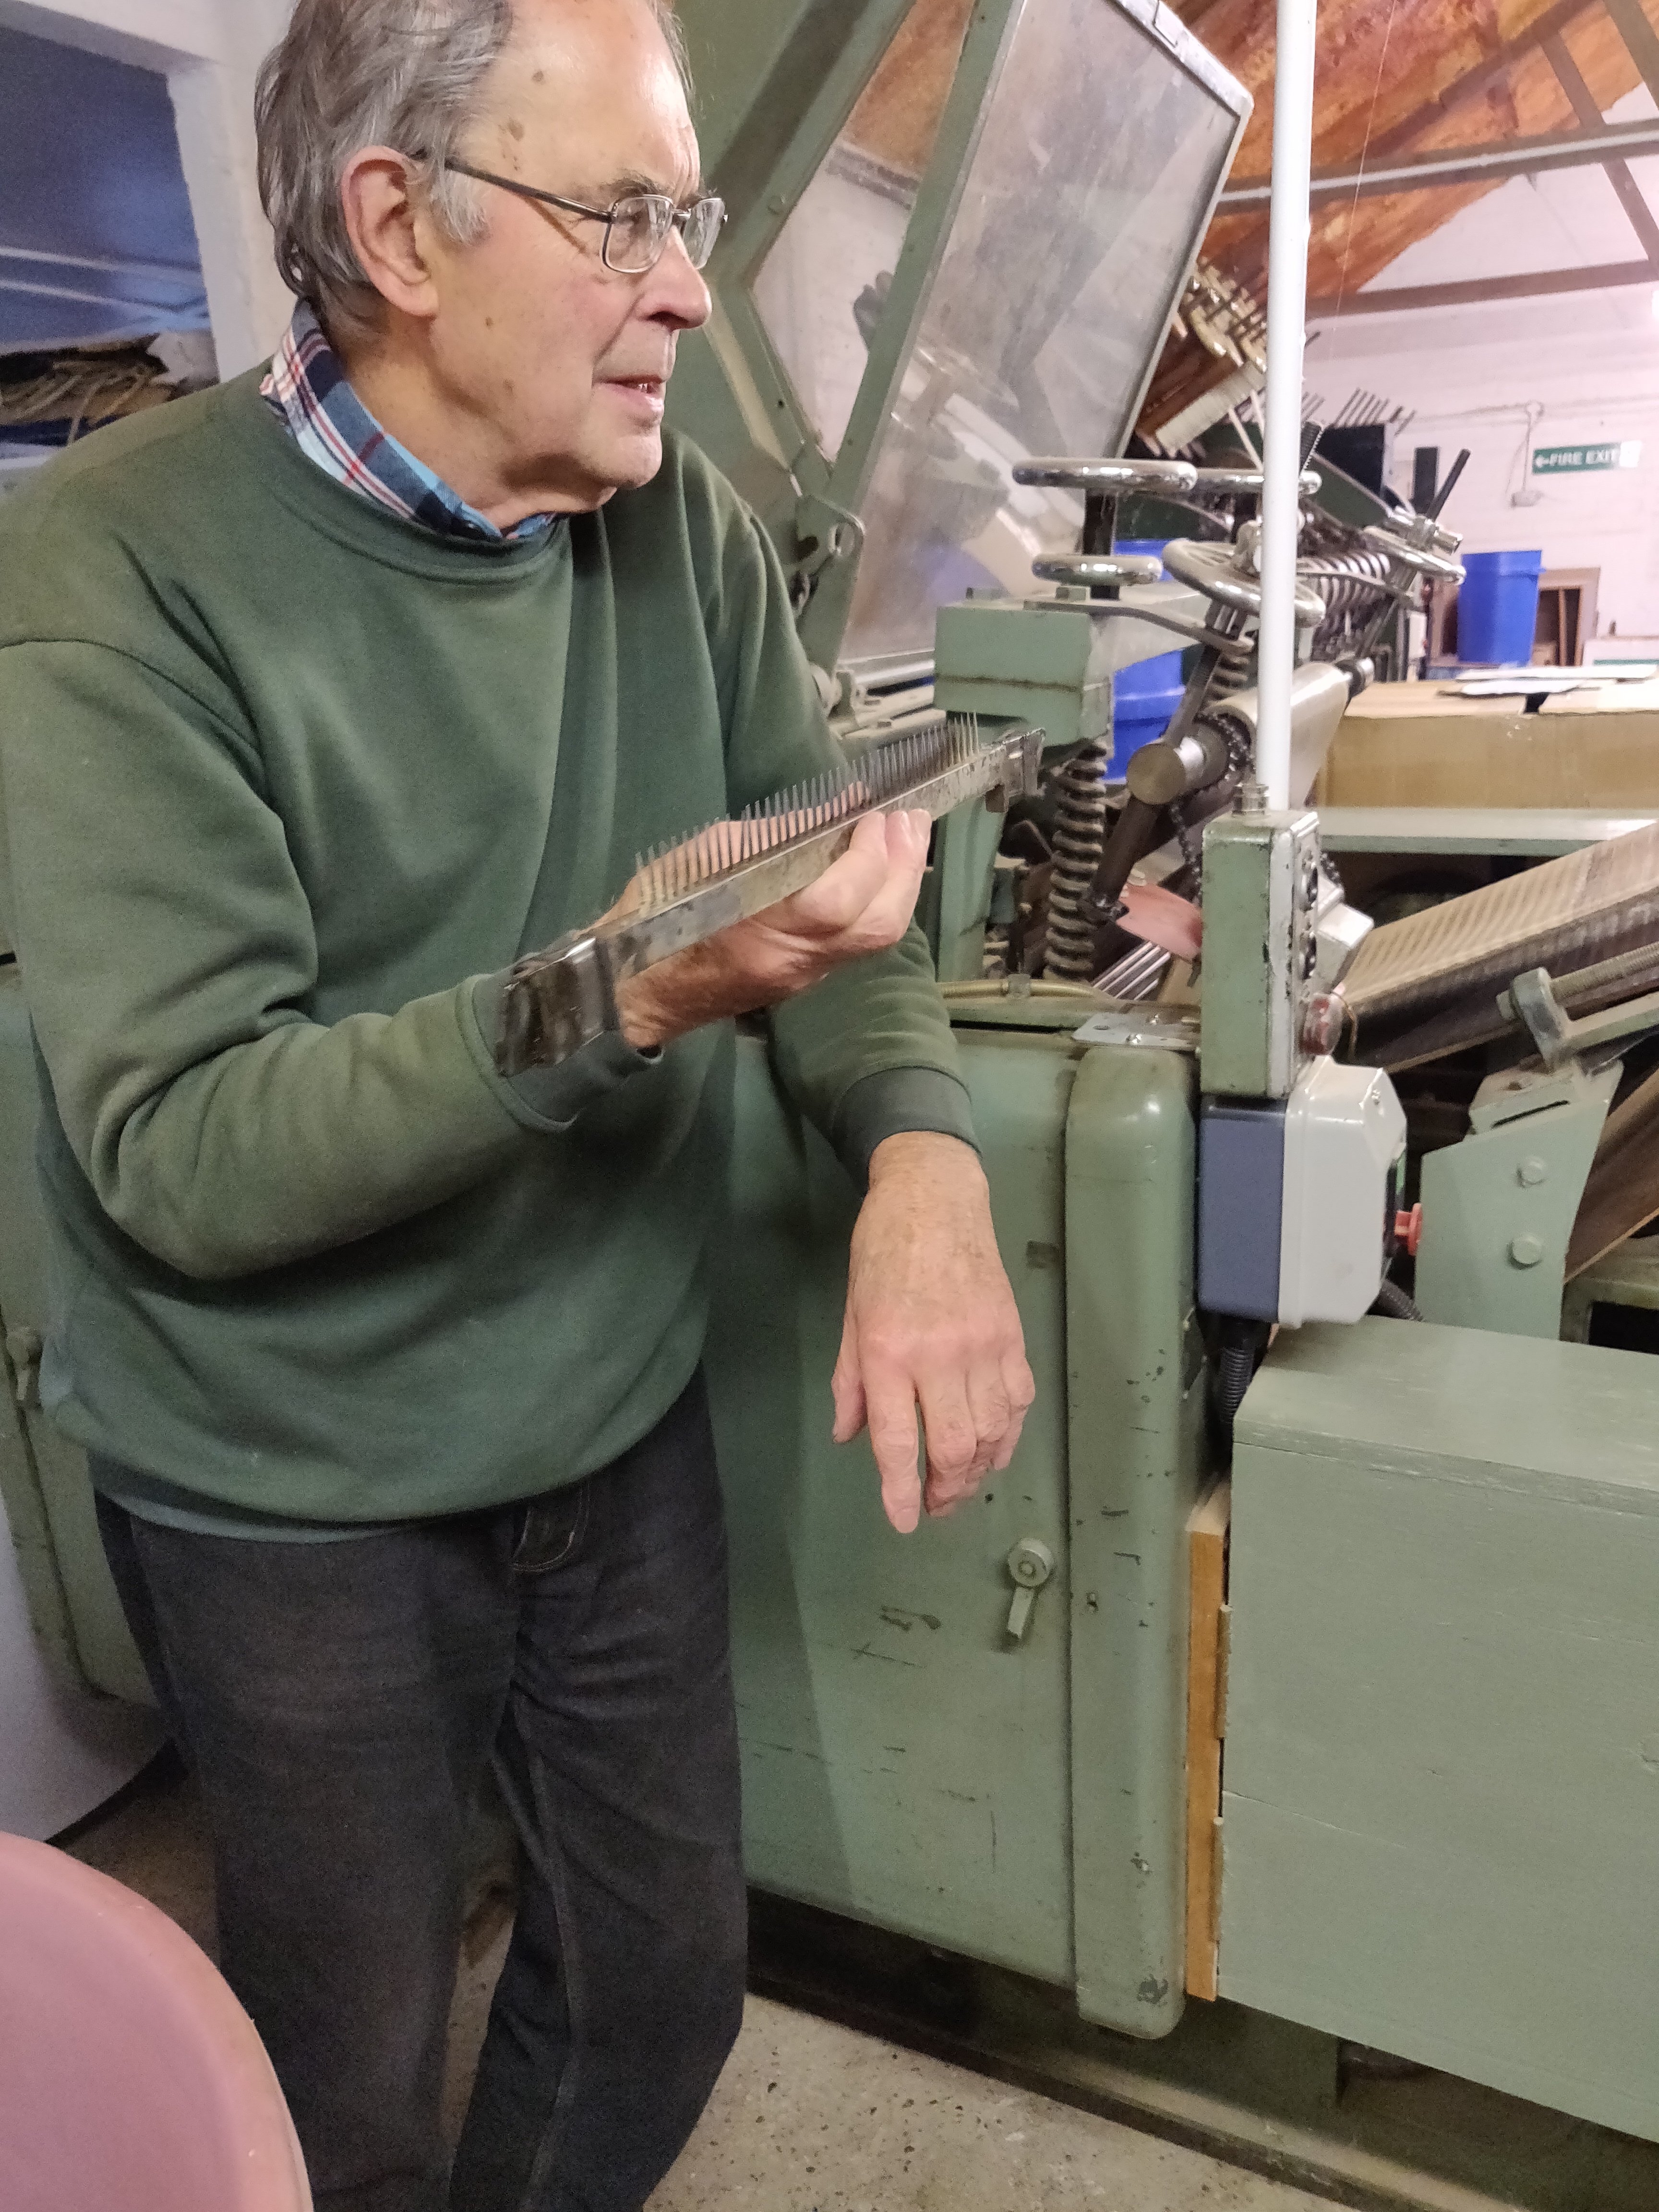
Starting in the sorting shed, we were shown round by Roger, the owner, and given a really thorough introduction to the processes involved in changing raw fleece into yarn.

There was a Wensleydale fleece on the picker, which Roger explained had already been washed once at 60 degrees to remove the first lot of dirt and oil and then dried. After picking, which would open up the compressed curls that the first wash had not reached, it would be re-washed and dried before further processing. He reckoned that it may in fact require a third pick and wash.

The students were looking tired just at the thought of this!

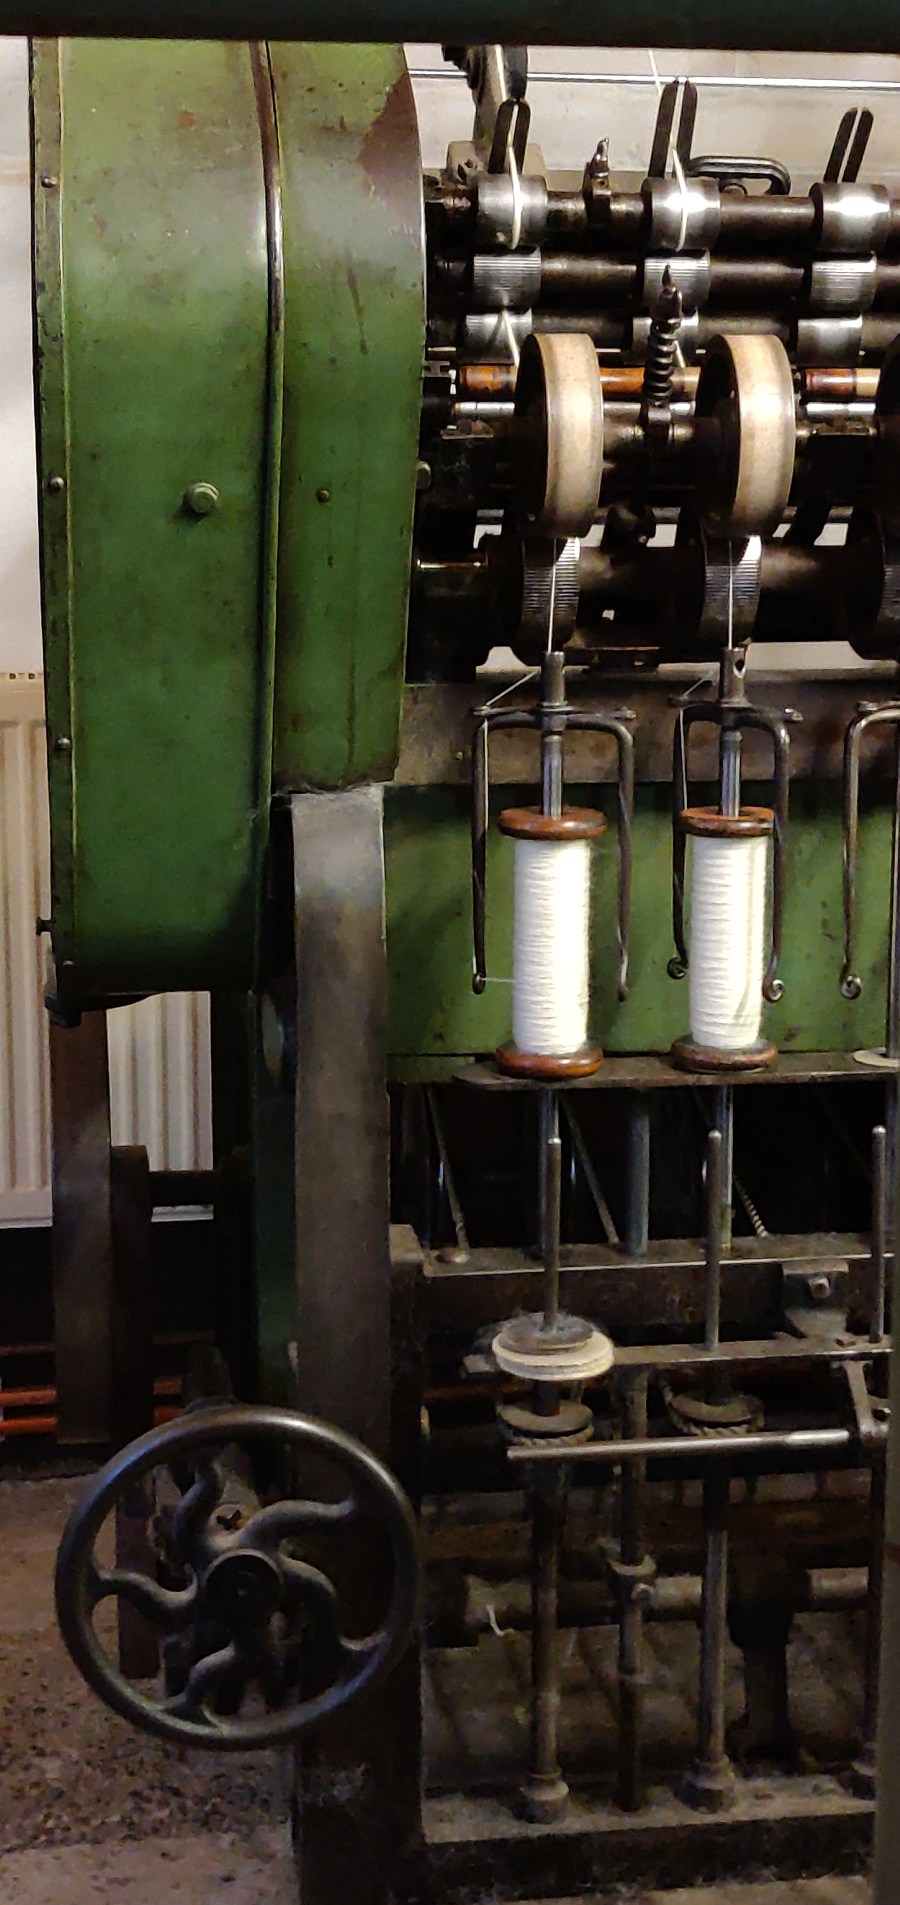
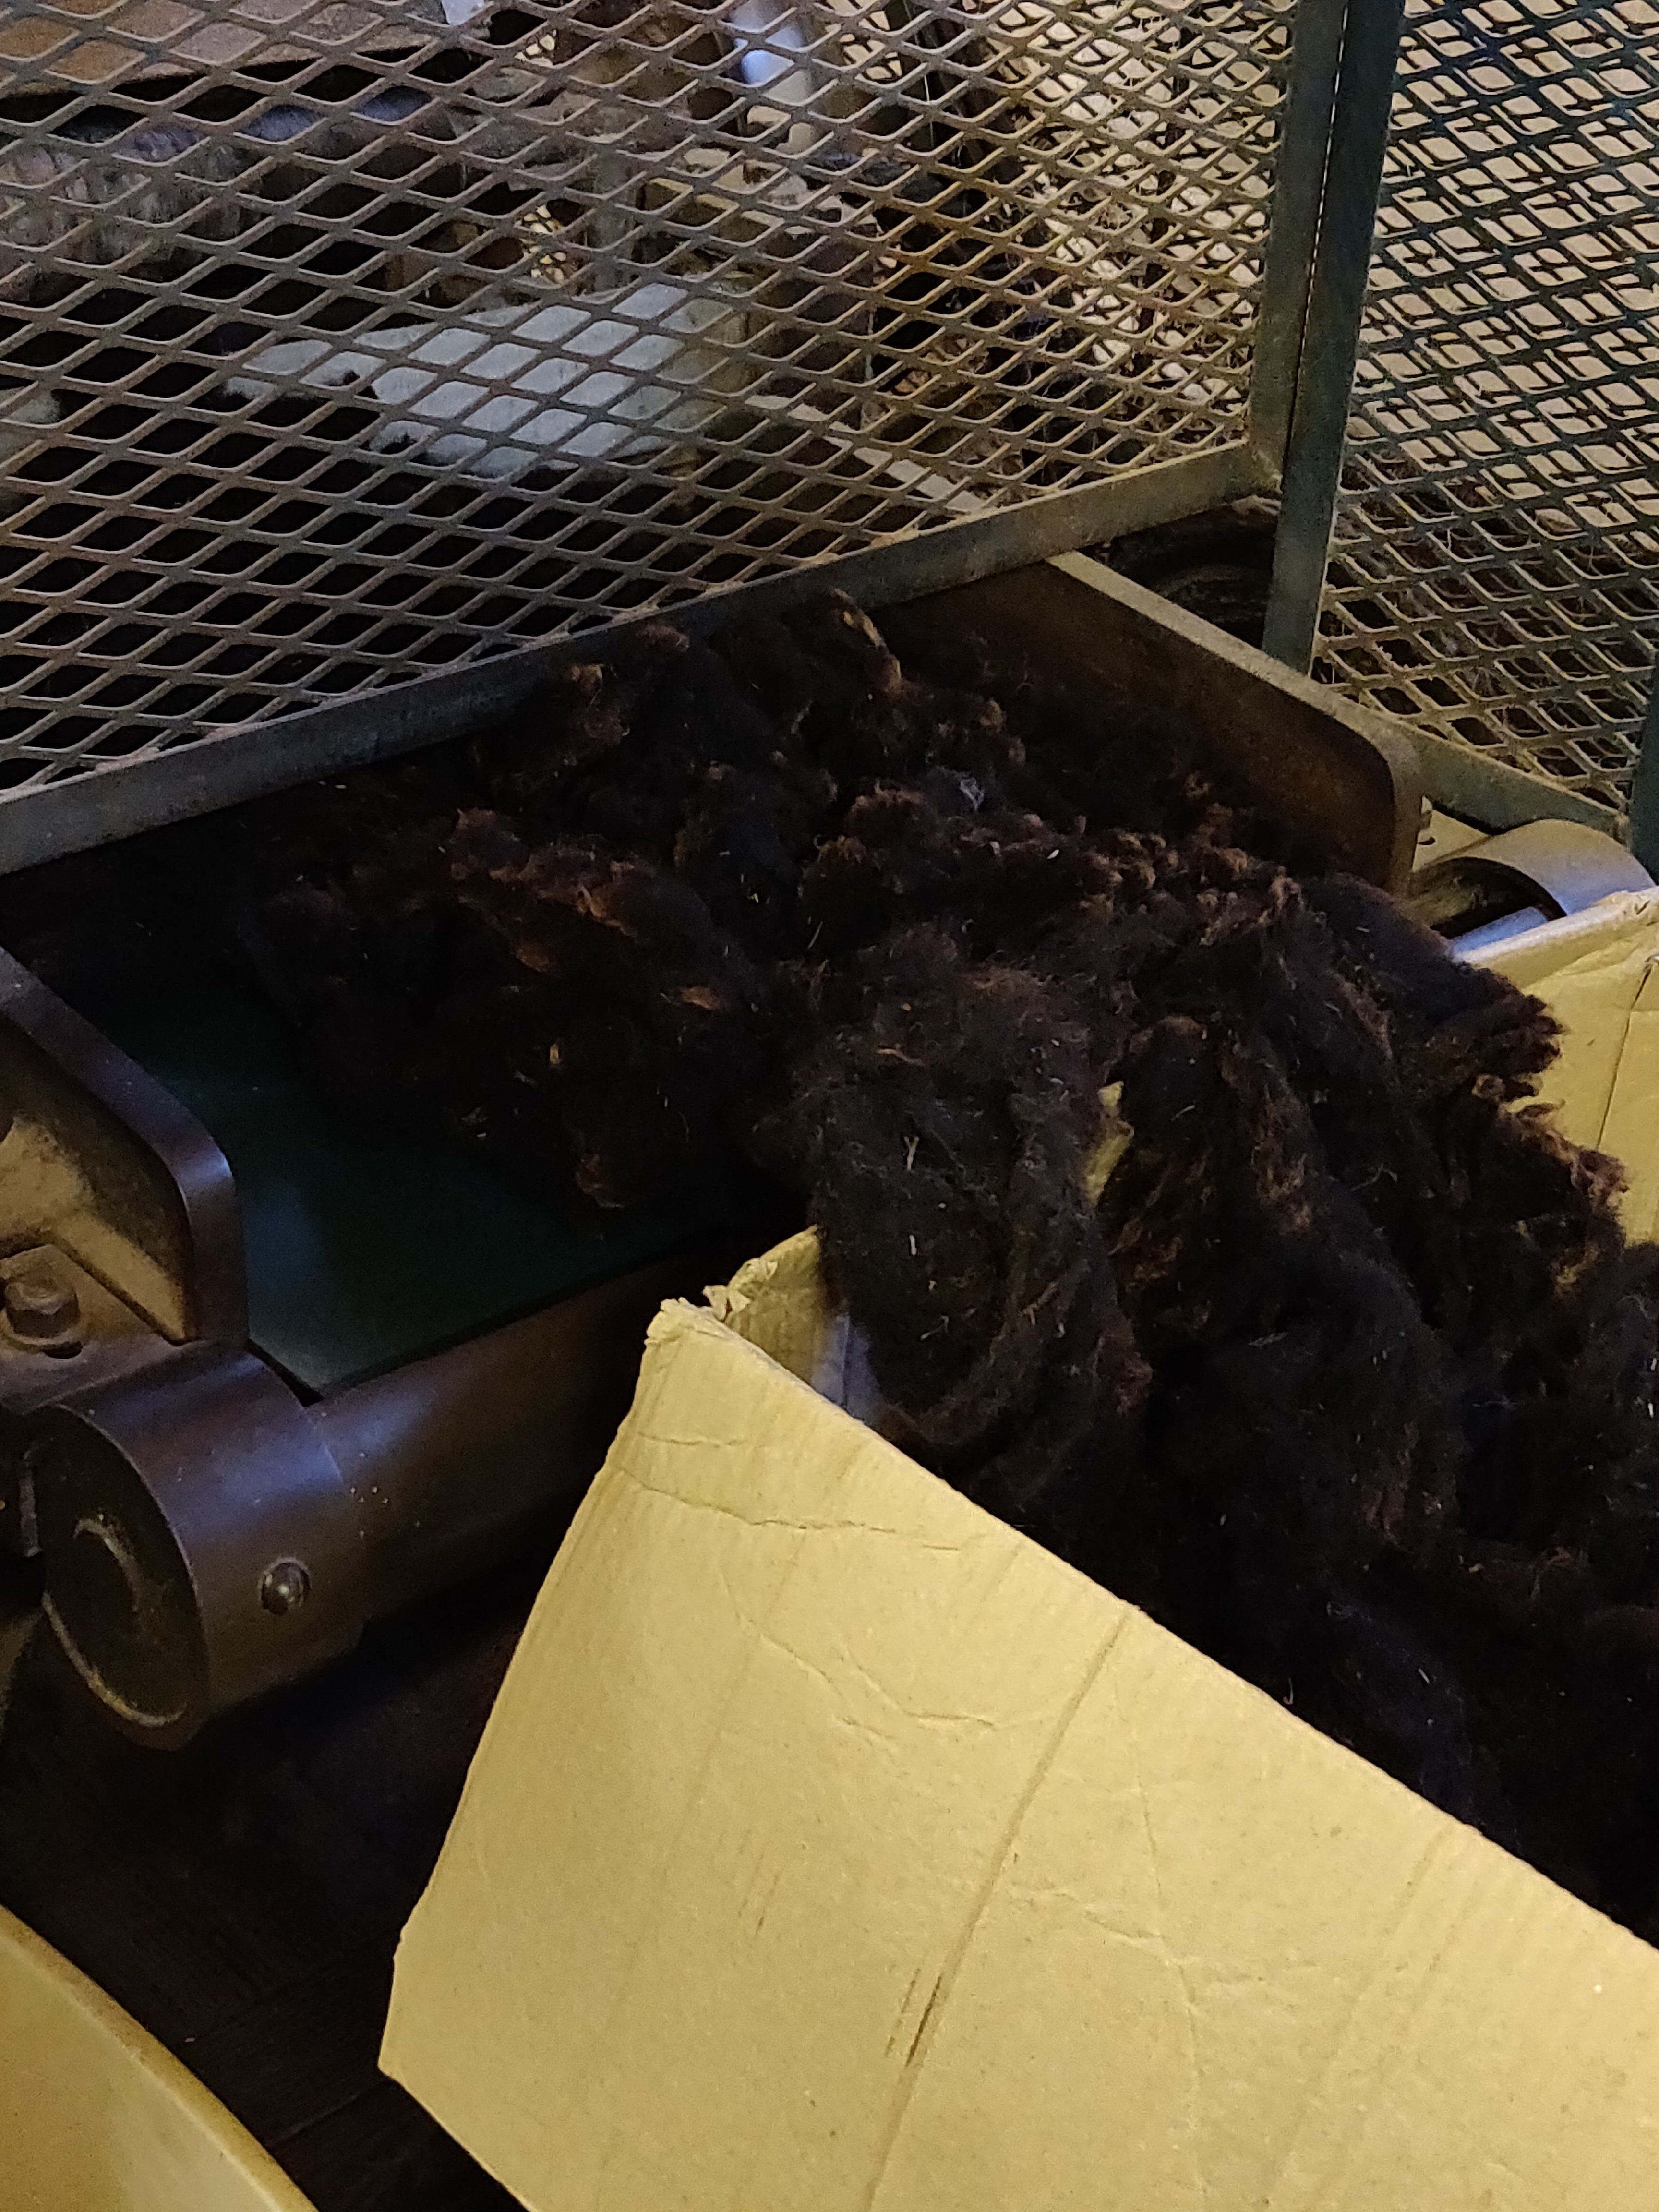
Following picking, the next process is carding the fibres to start aligning them in parallel into a continuous ”sliver’ of fibre. Unlike my meek little hand carder, they have a carding machine with 16 drums of metal, not wire, teeth. At this stage, any short fibres will still be in the sliver, it isn’t until combing that these will be removed.

The sliver begins to look more like something that is spinnable, but there are still thin and thick sections along its length. To eliminate these and even out the sliver it goes through ‘gilling’. Diamond have two of these machines. The first one has wider spaced teeth, and is used at this point, whilst the second is much finer and bulks up and evens out the sliver later on after combing.

When the sliver goes into the gilling machine, two are fed in at once, producing one thicker sliver of uniform thickness.

The fibre will in all likelihood go through a second gilling, during which the output sliver gradually bulks up, according to the machine settings, to achieve the required grams per metre.

If the requirement is for carded roving for hand spinning, this will be the last process. It may even be stopped earlier on, depending on what condition fibre is required.

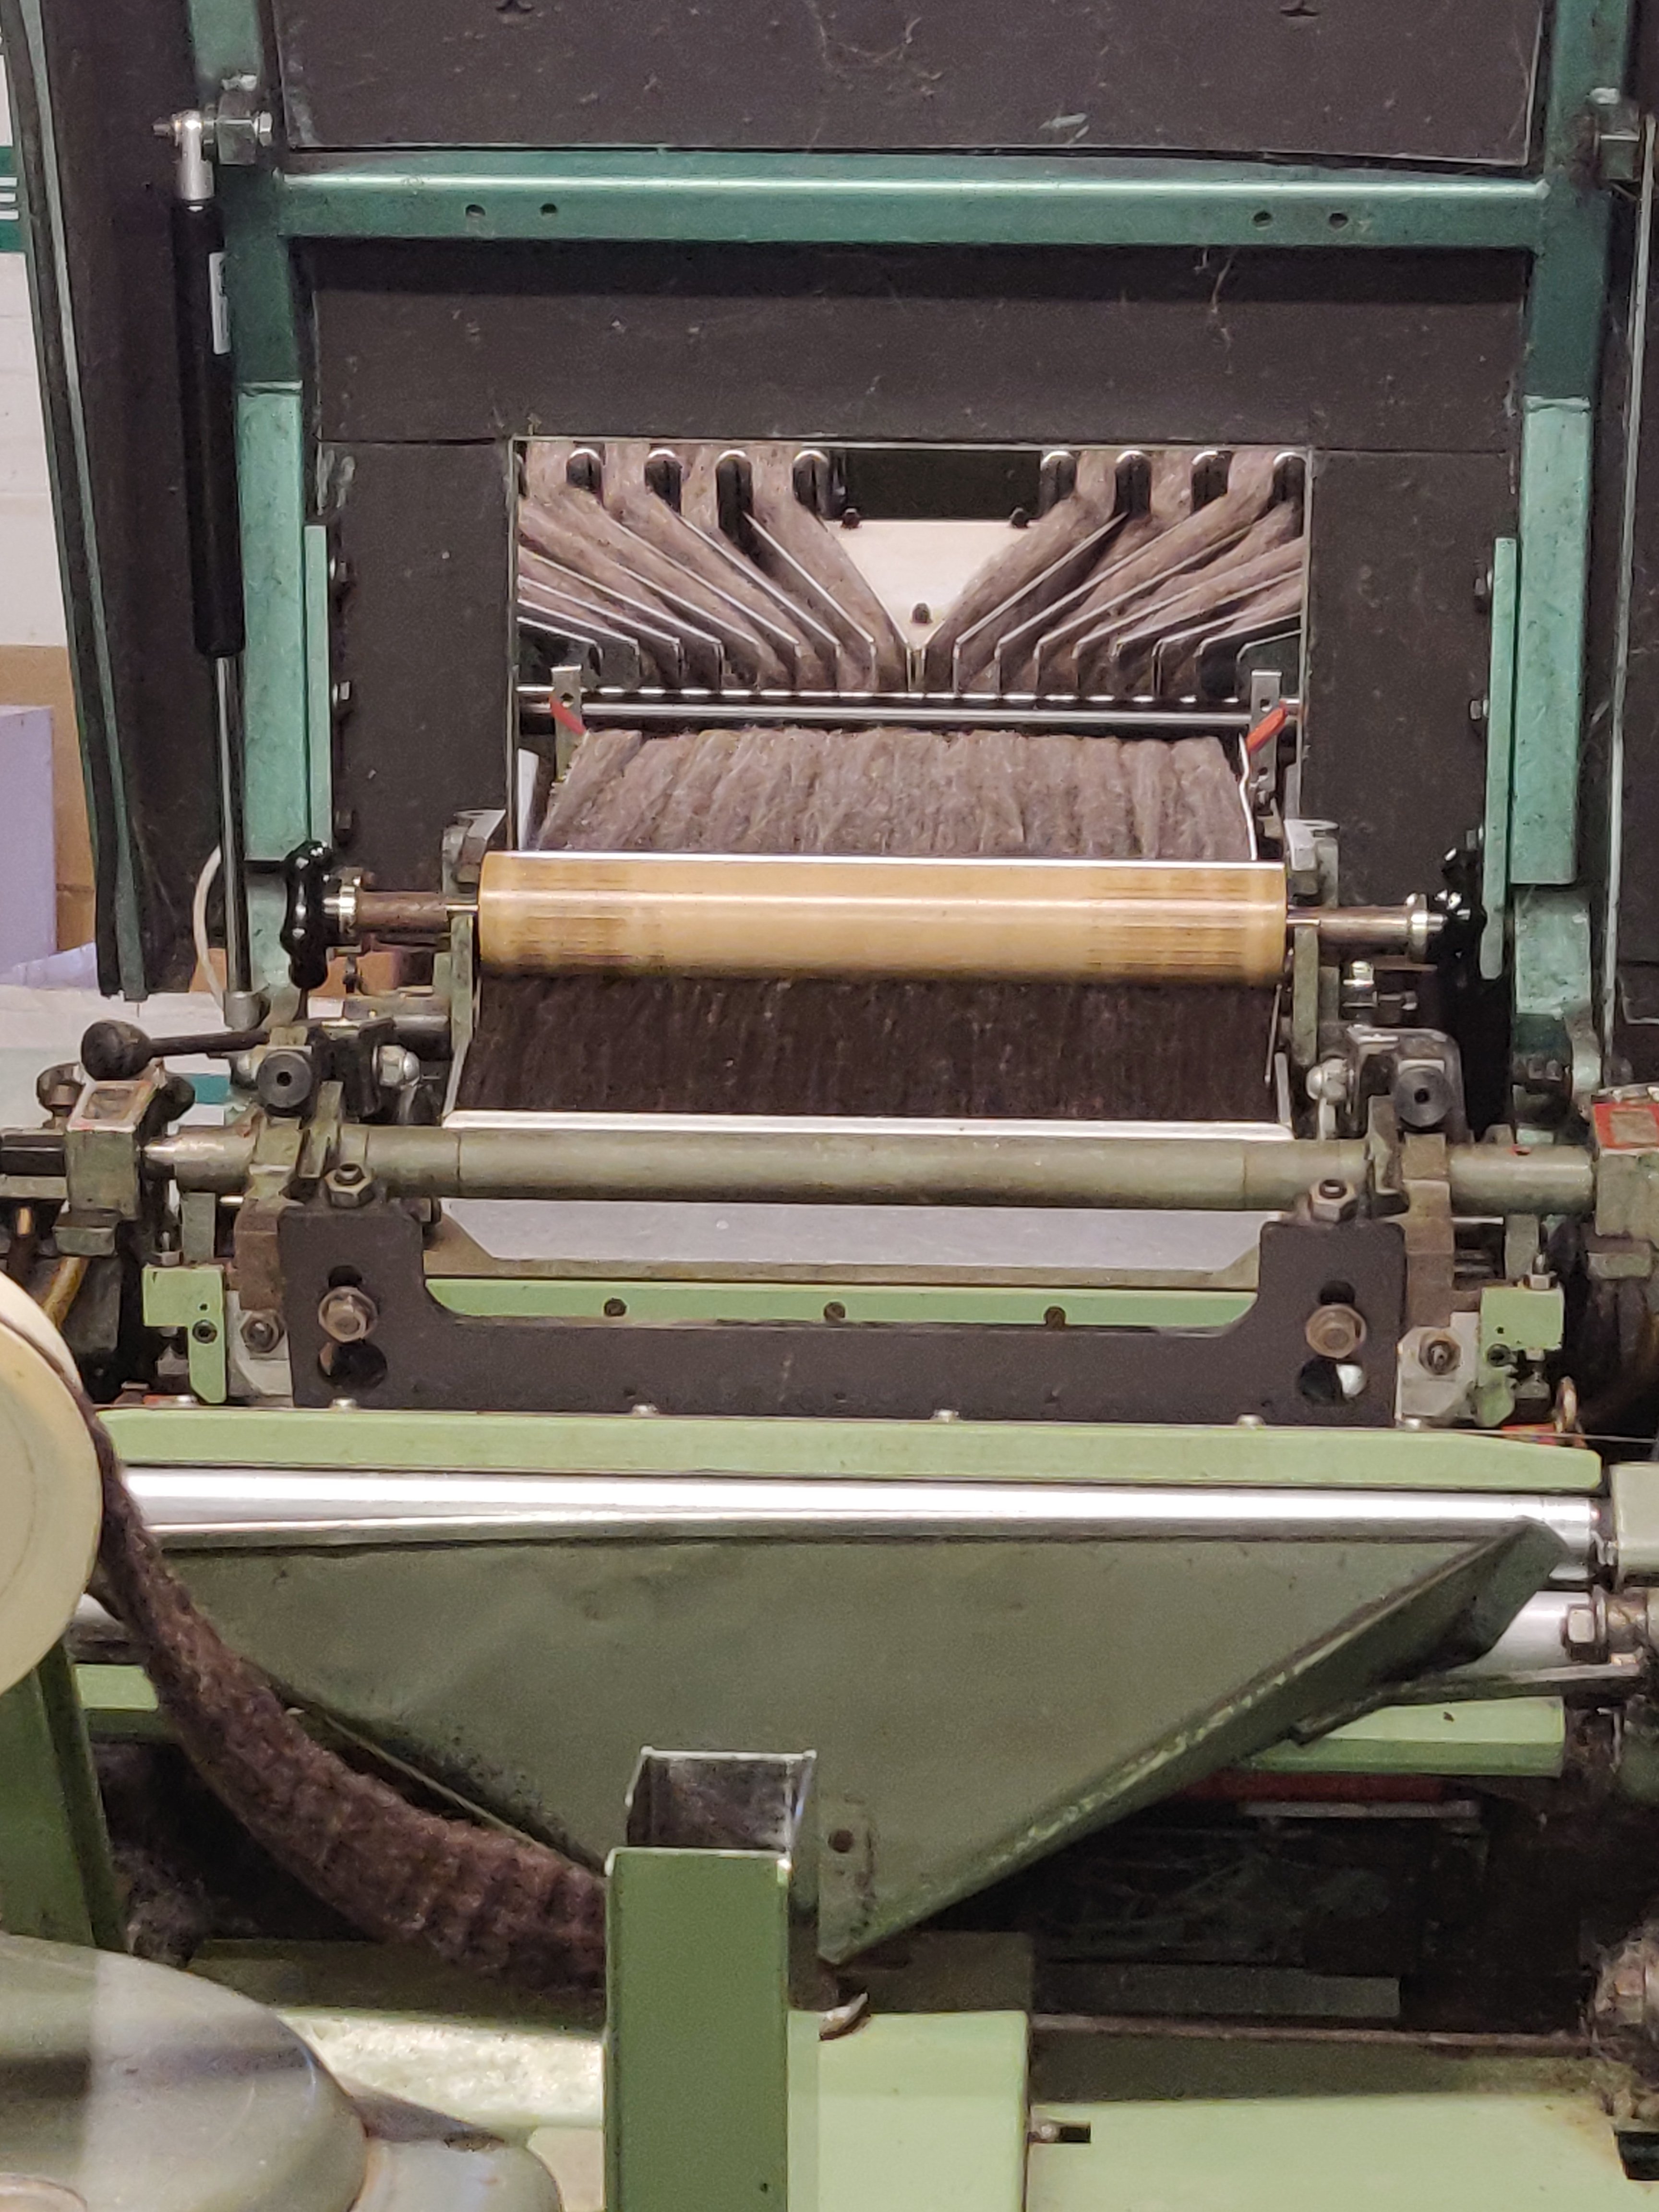
If however, the desired outcome is combed sliver, then it has to go through the combing machine. This takes up to sixteen slivers side-by-side through the combs, crimping the final sliver to compress the fibres together and prevent breakage. It looks like doll’s hair emerging from the machine. Any remaining short fibres, nepps, noils or debris fall out into a waste bin beneath the combs.

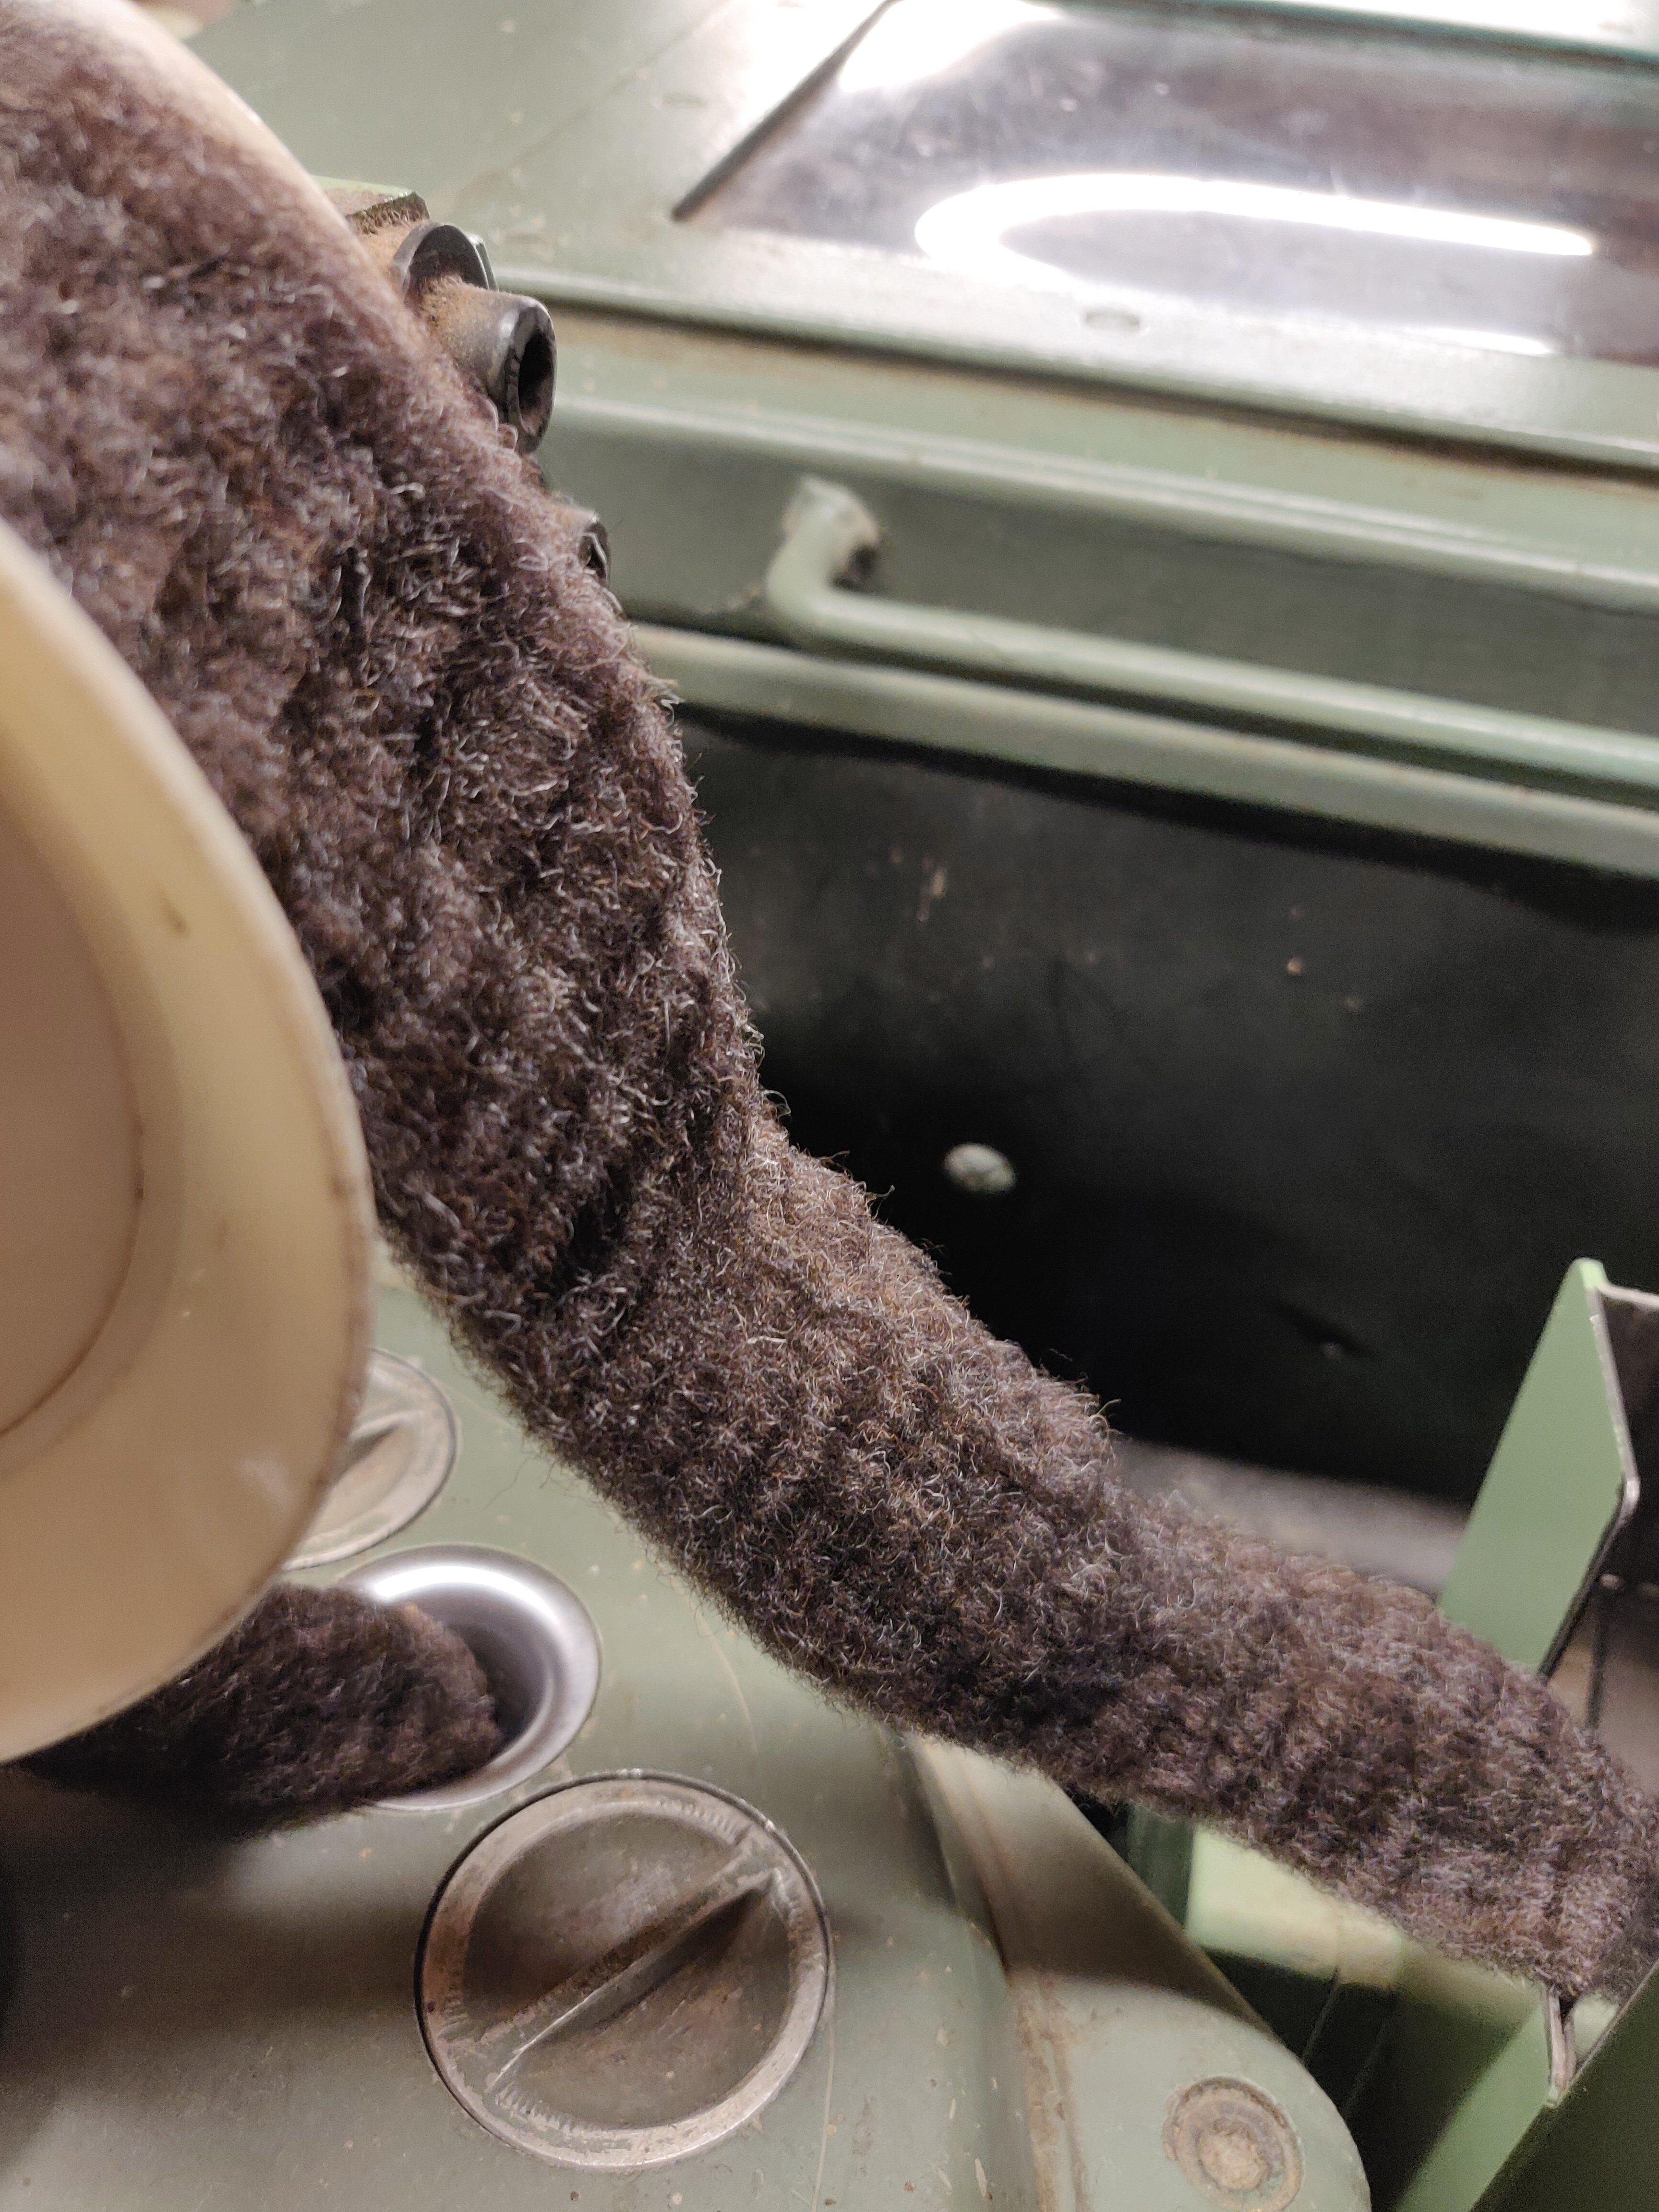
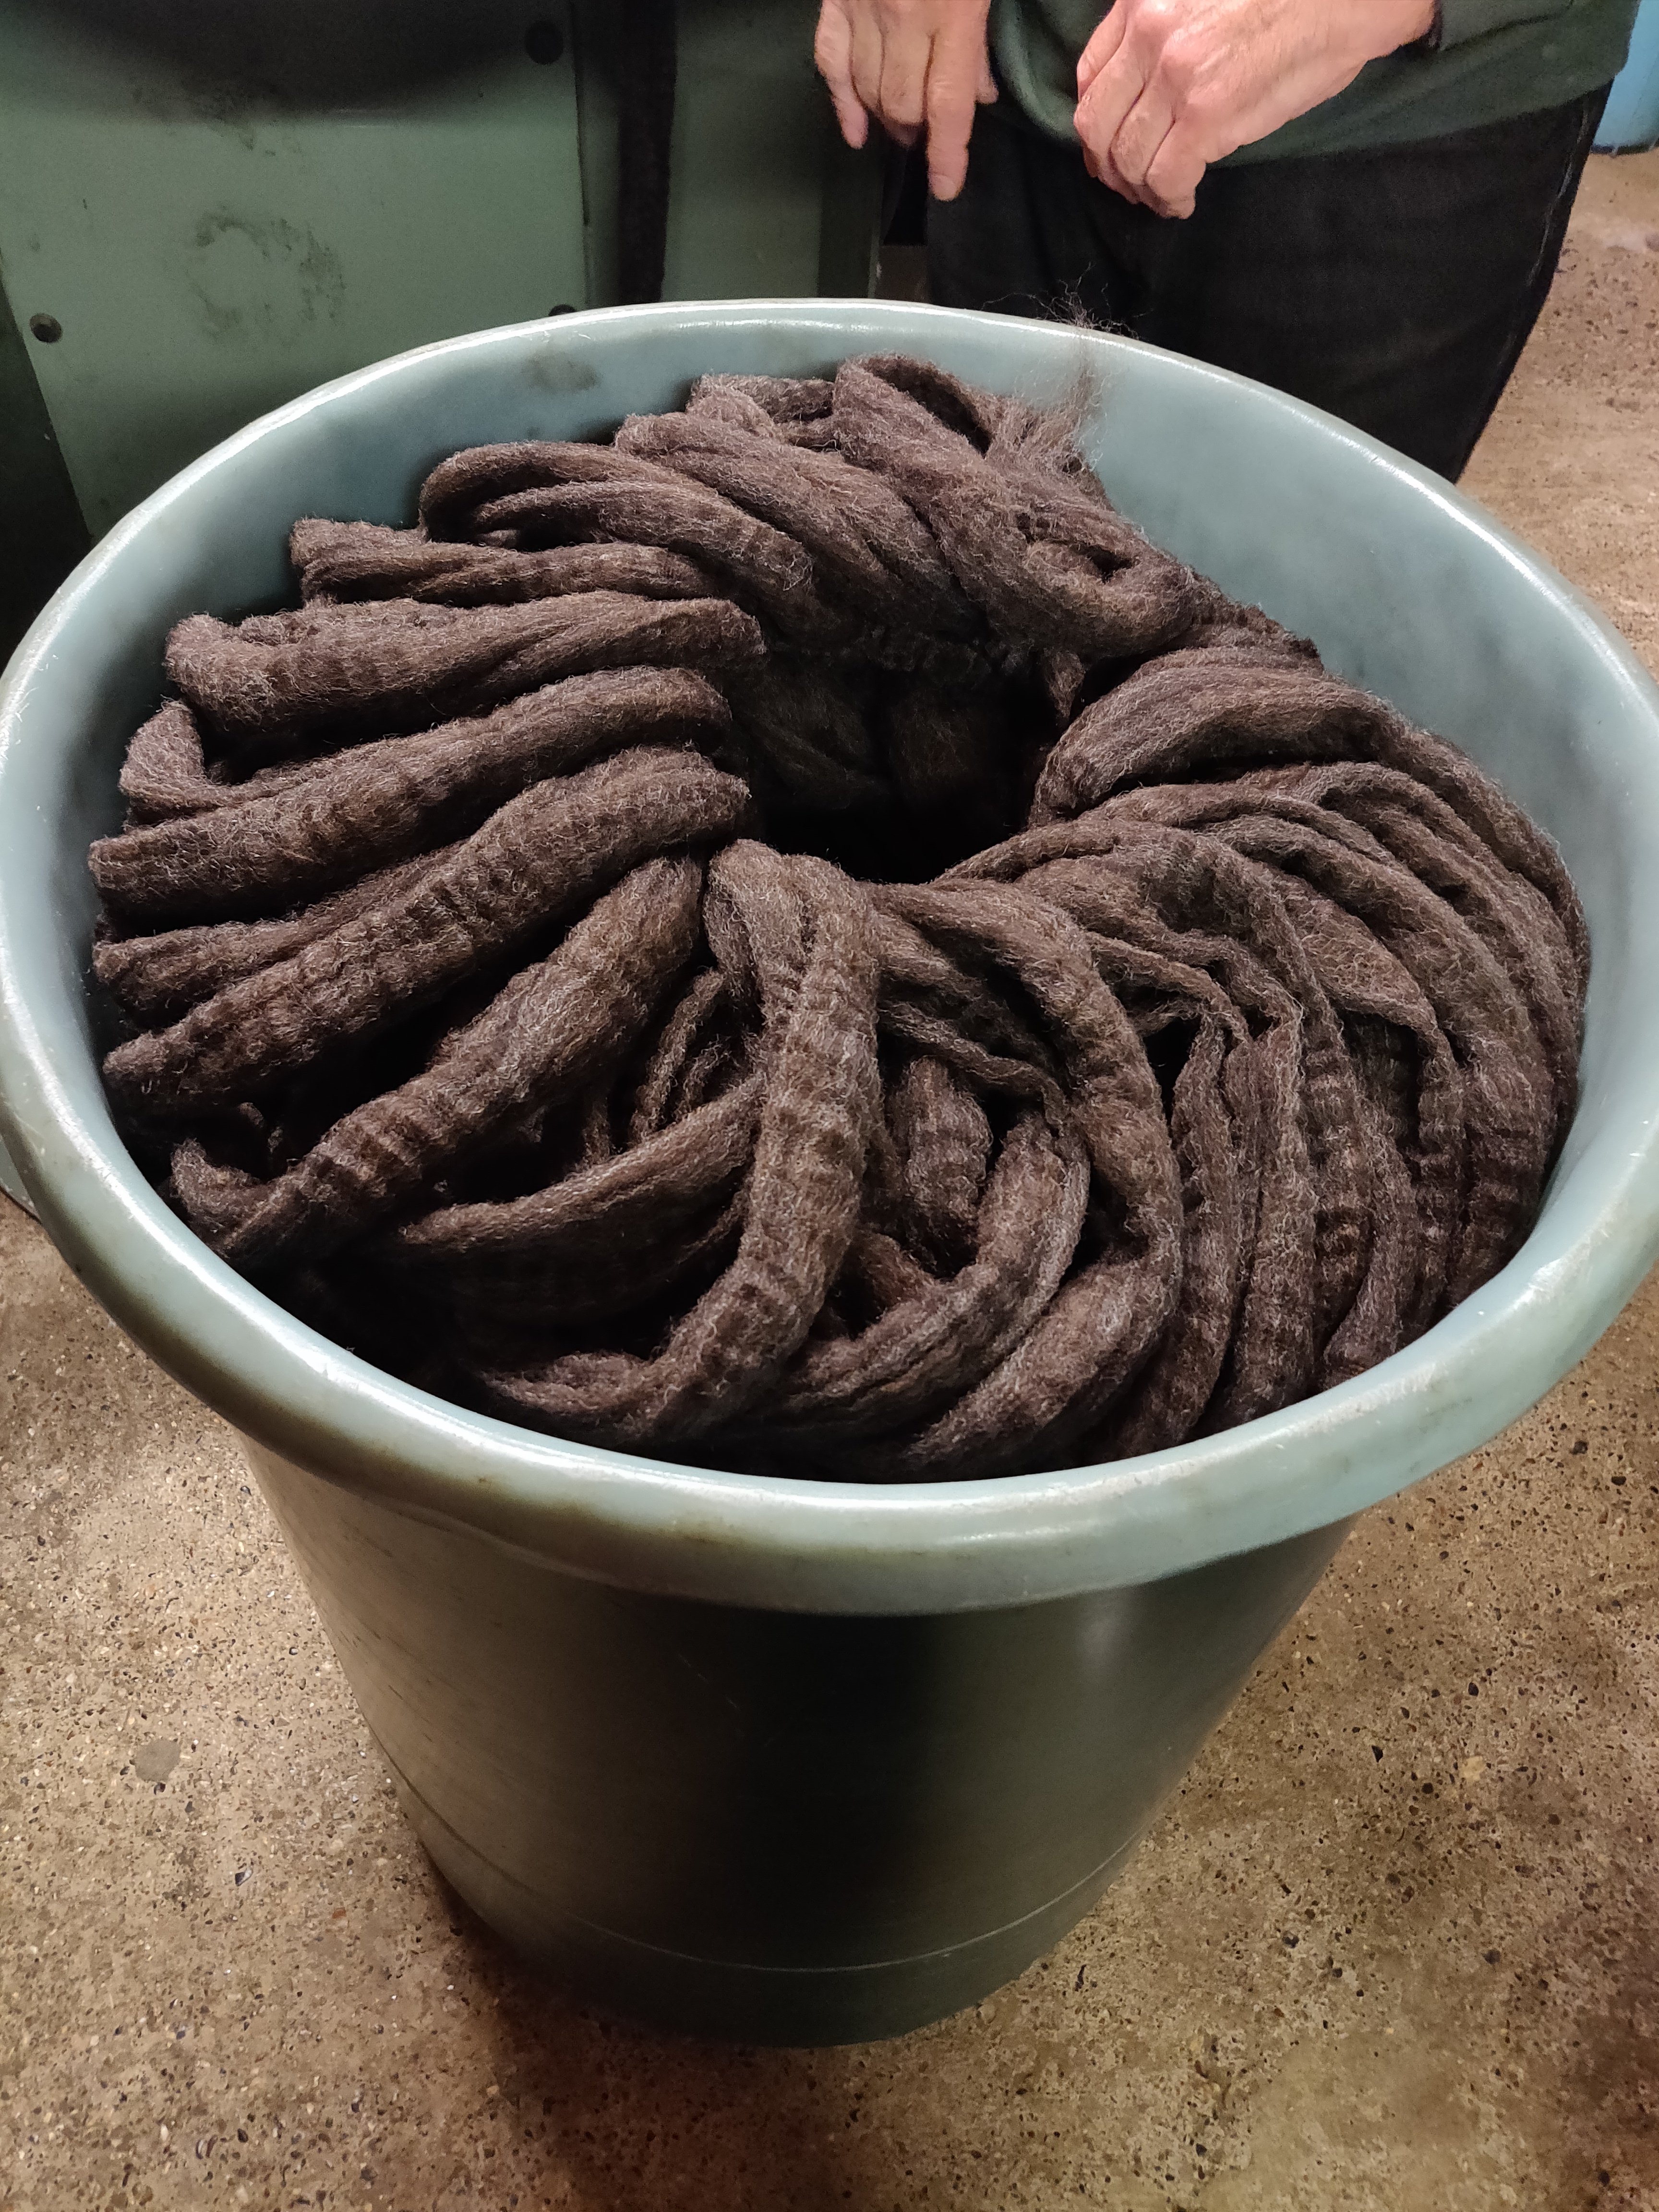
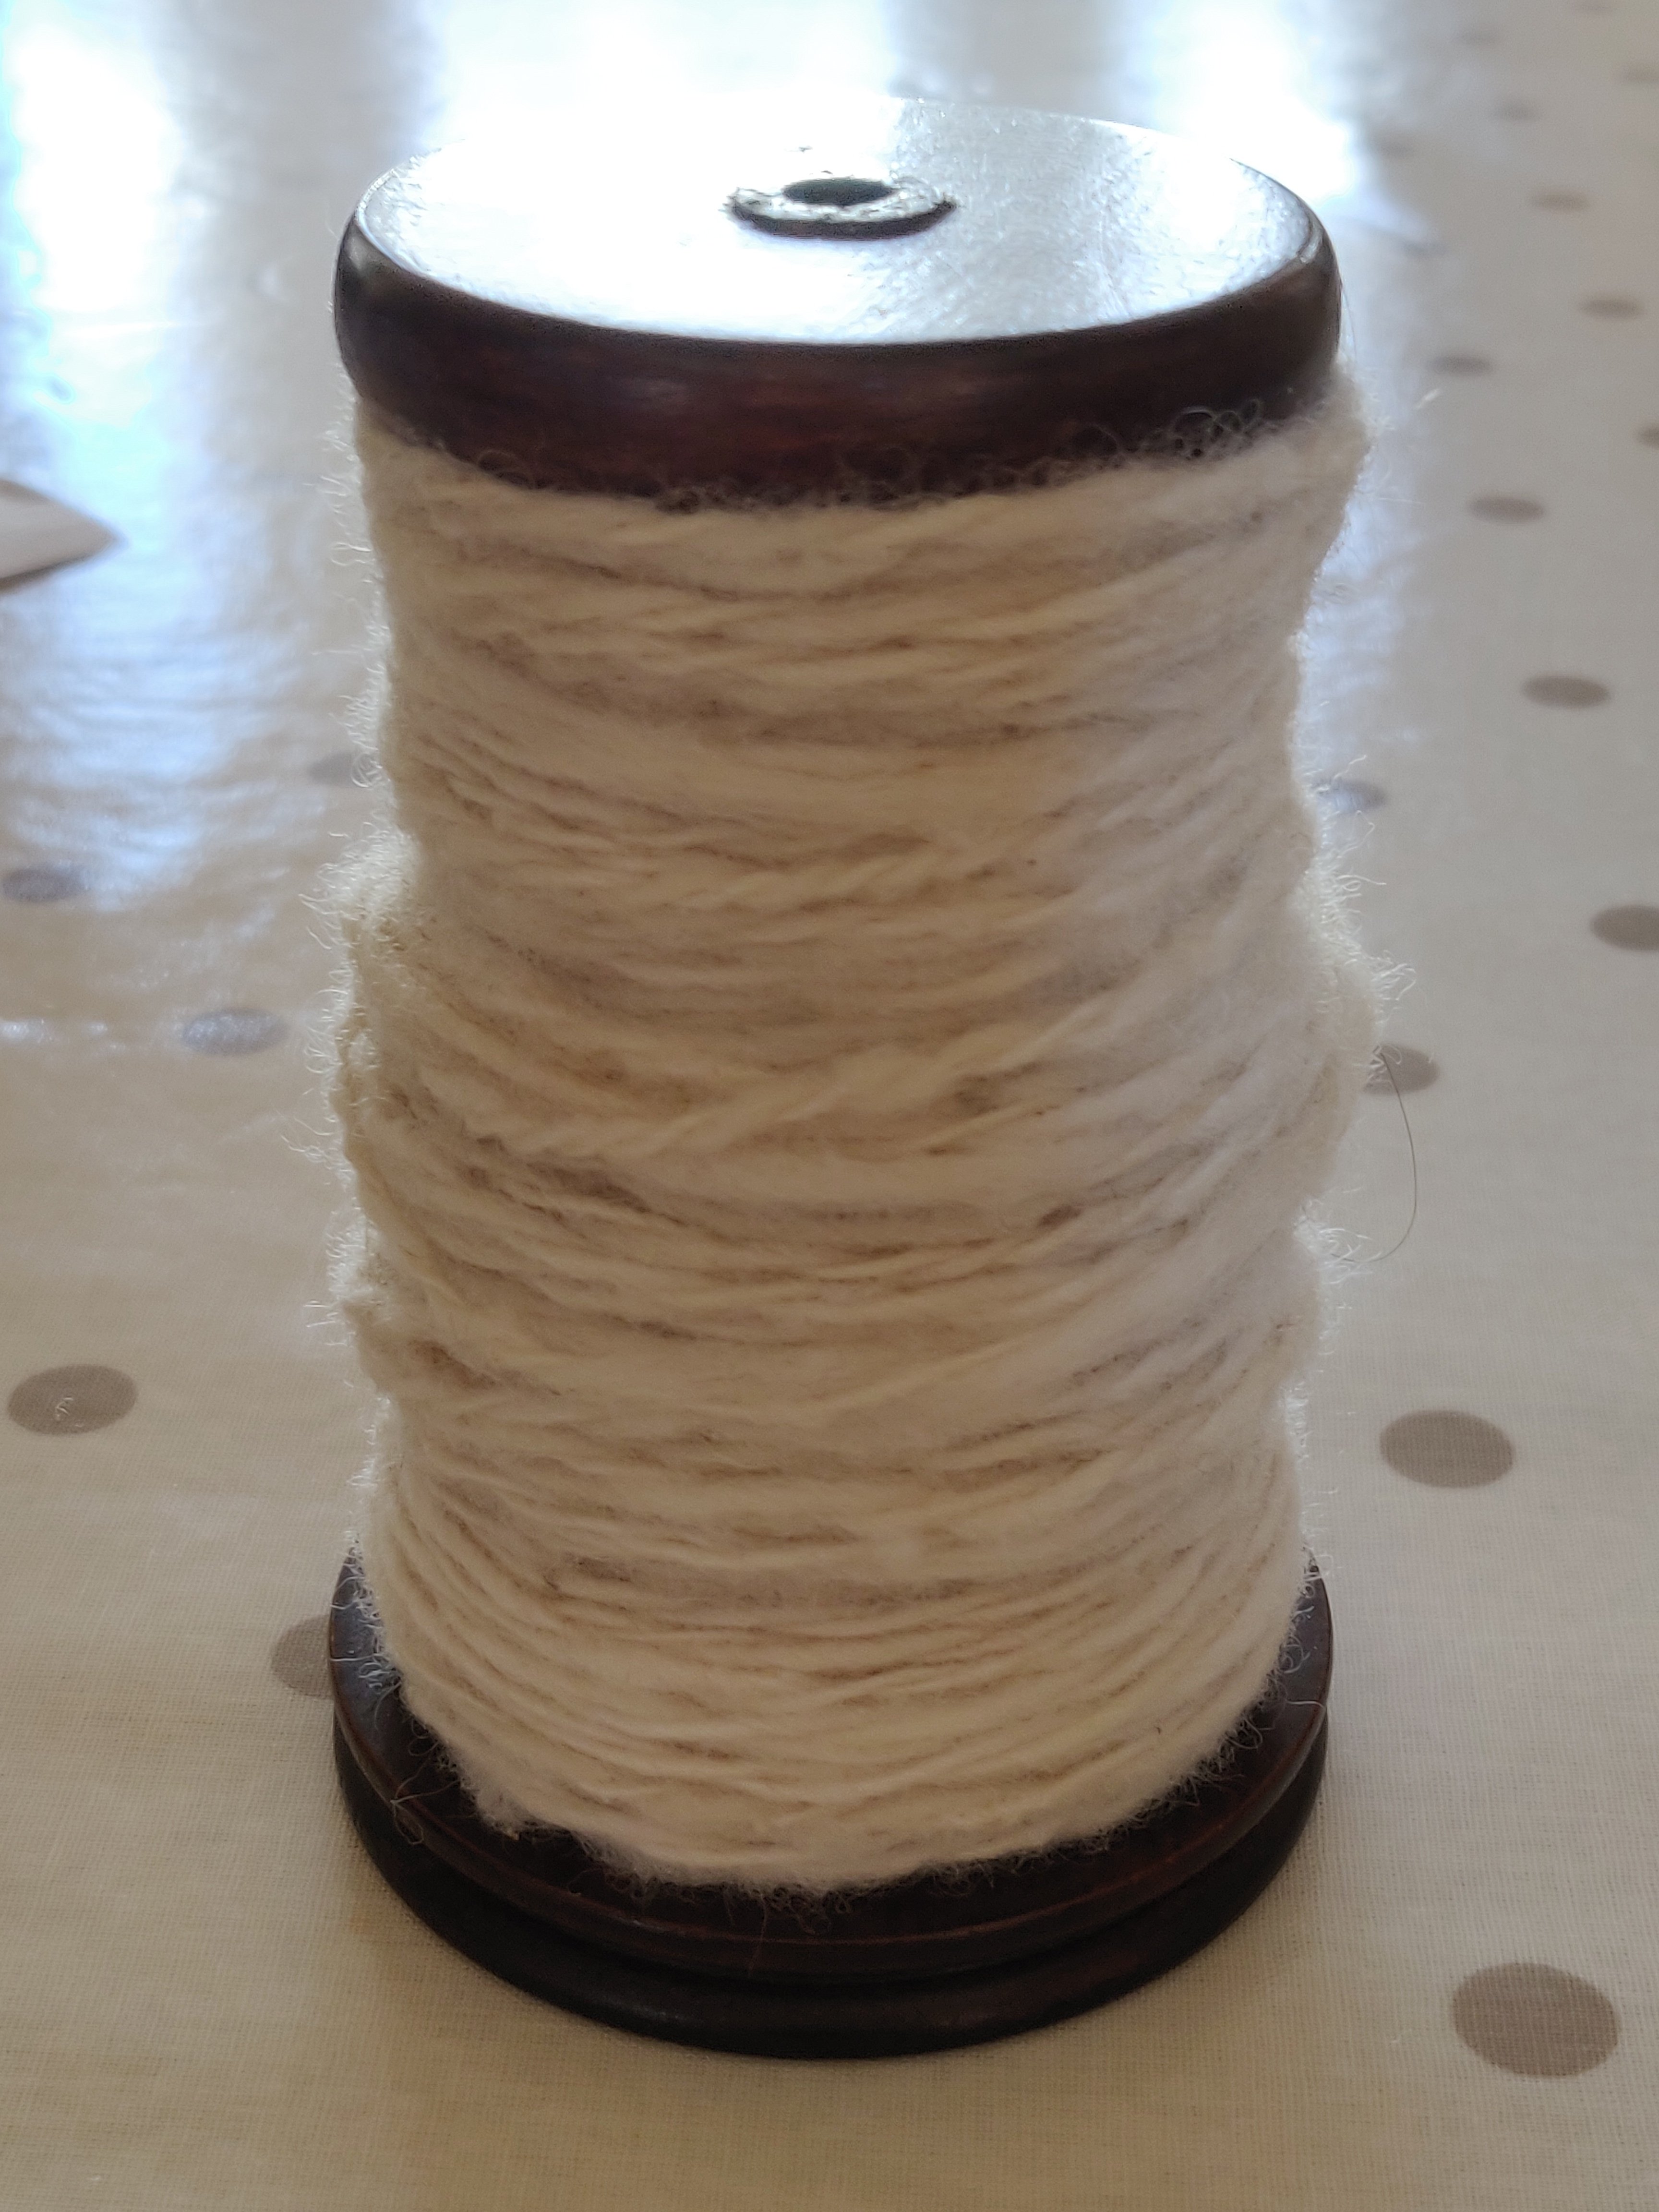
This combed sliver has become slightly uneven during the combing process, and this is when it goes through the finer gilling machine to produce a consolidated, even sliver ready to have a small amount of twist introduced, (about four turns per inch) to make a softly twisted roving.

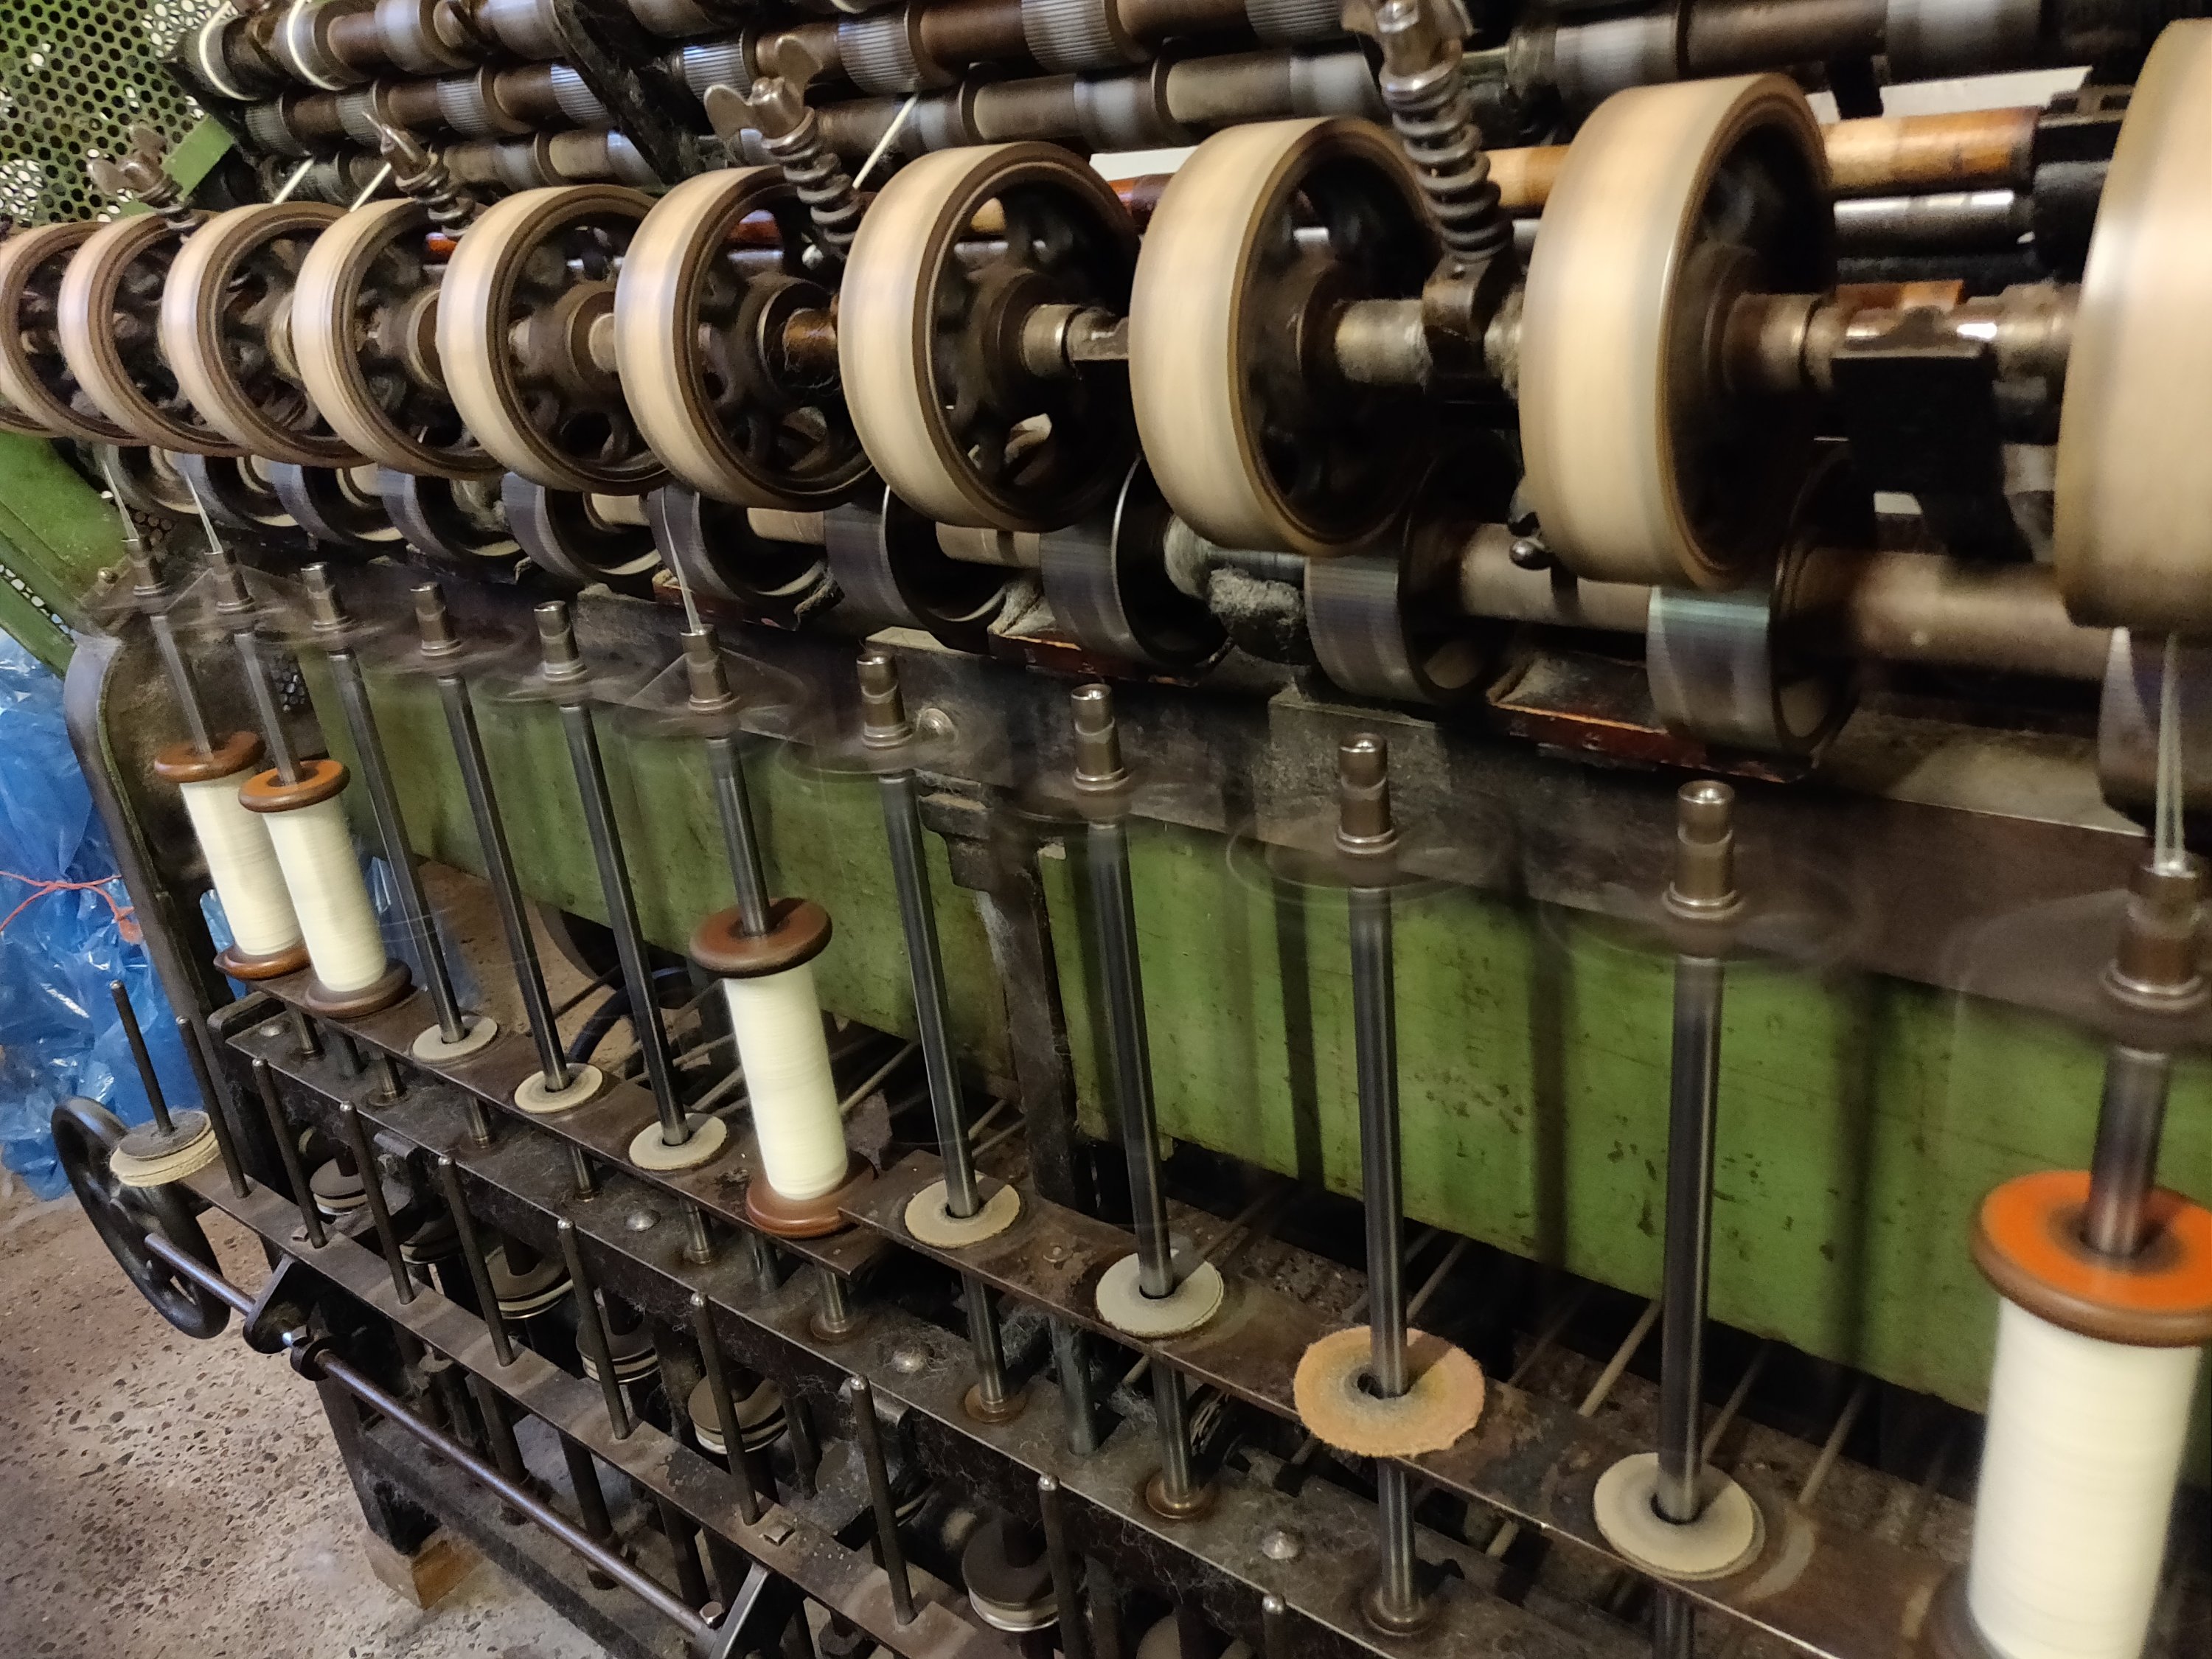
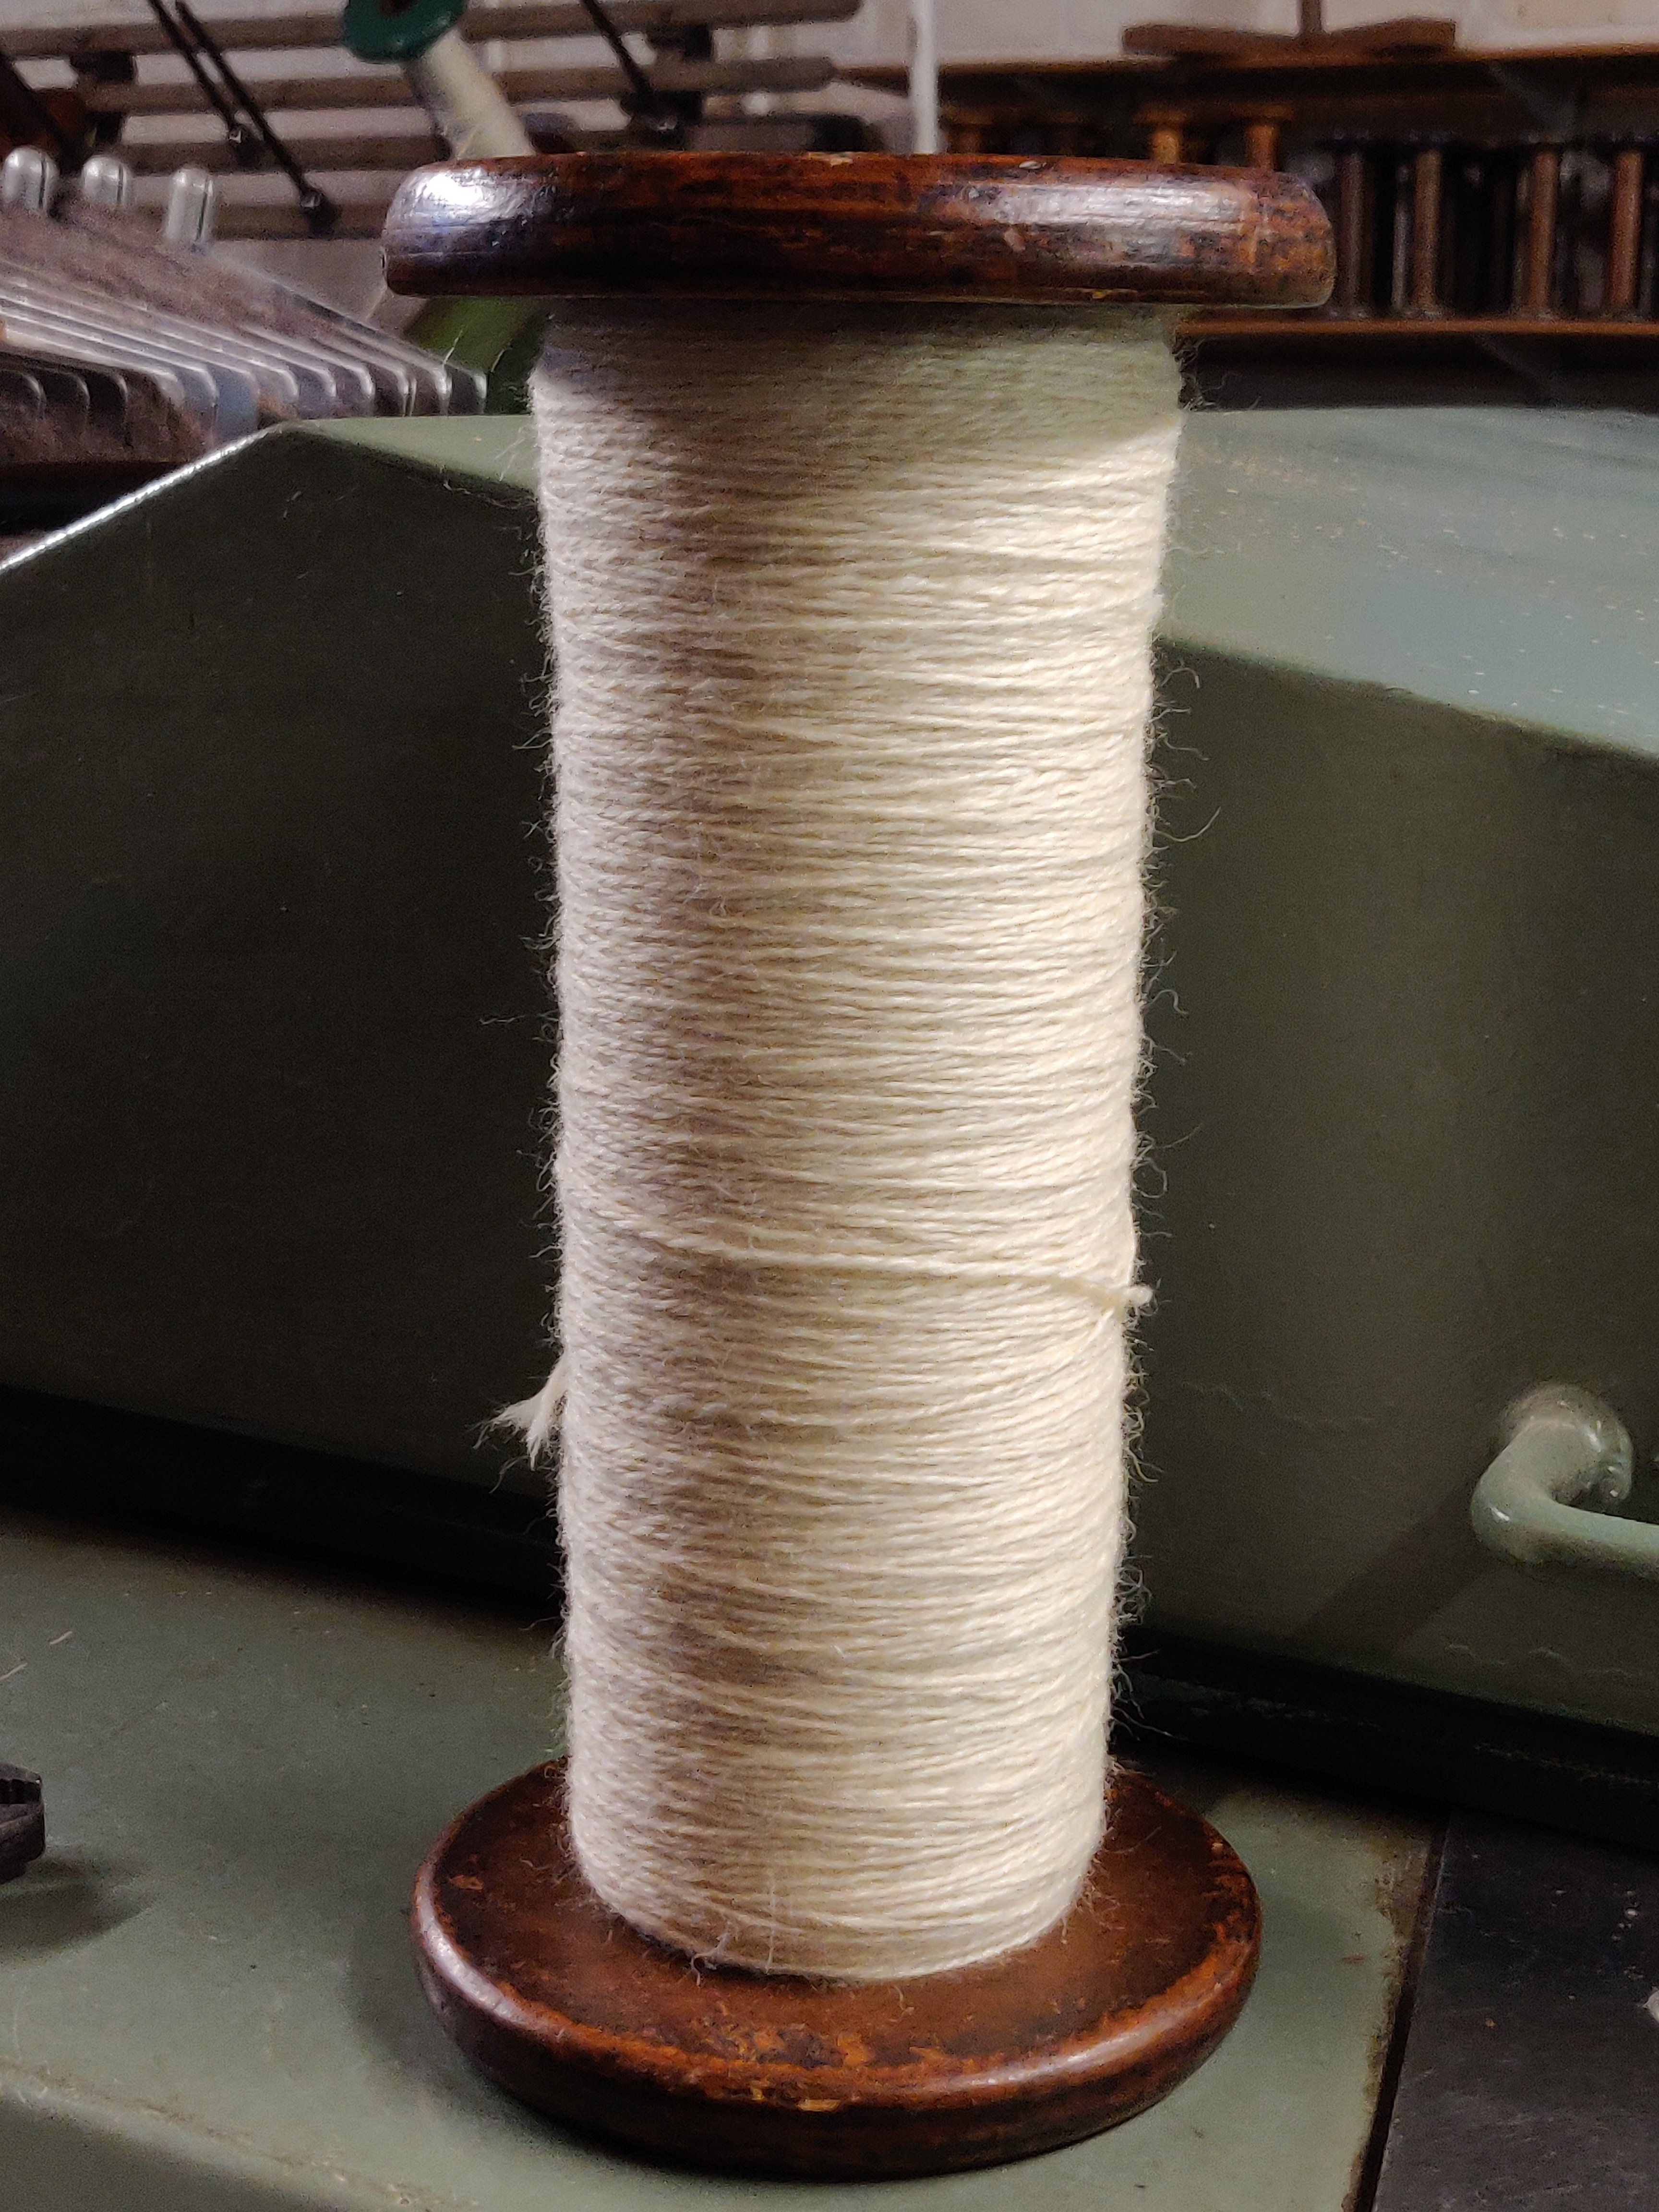
This roving is then drafted out into a thinner roving, and finally drafted and spun into singles weighing approximately 0.2g per metre. Amount of twist can be controlled to produce softer or firmer yarns at both singles and plying stages.

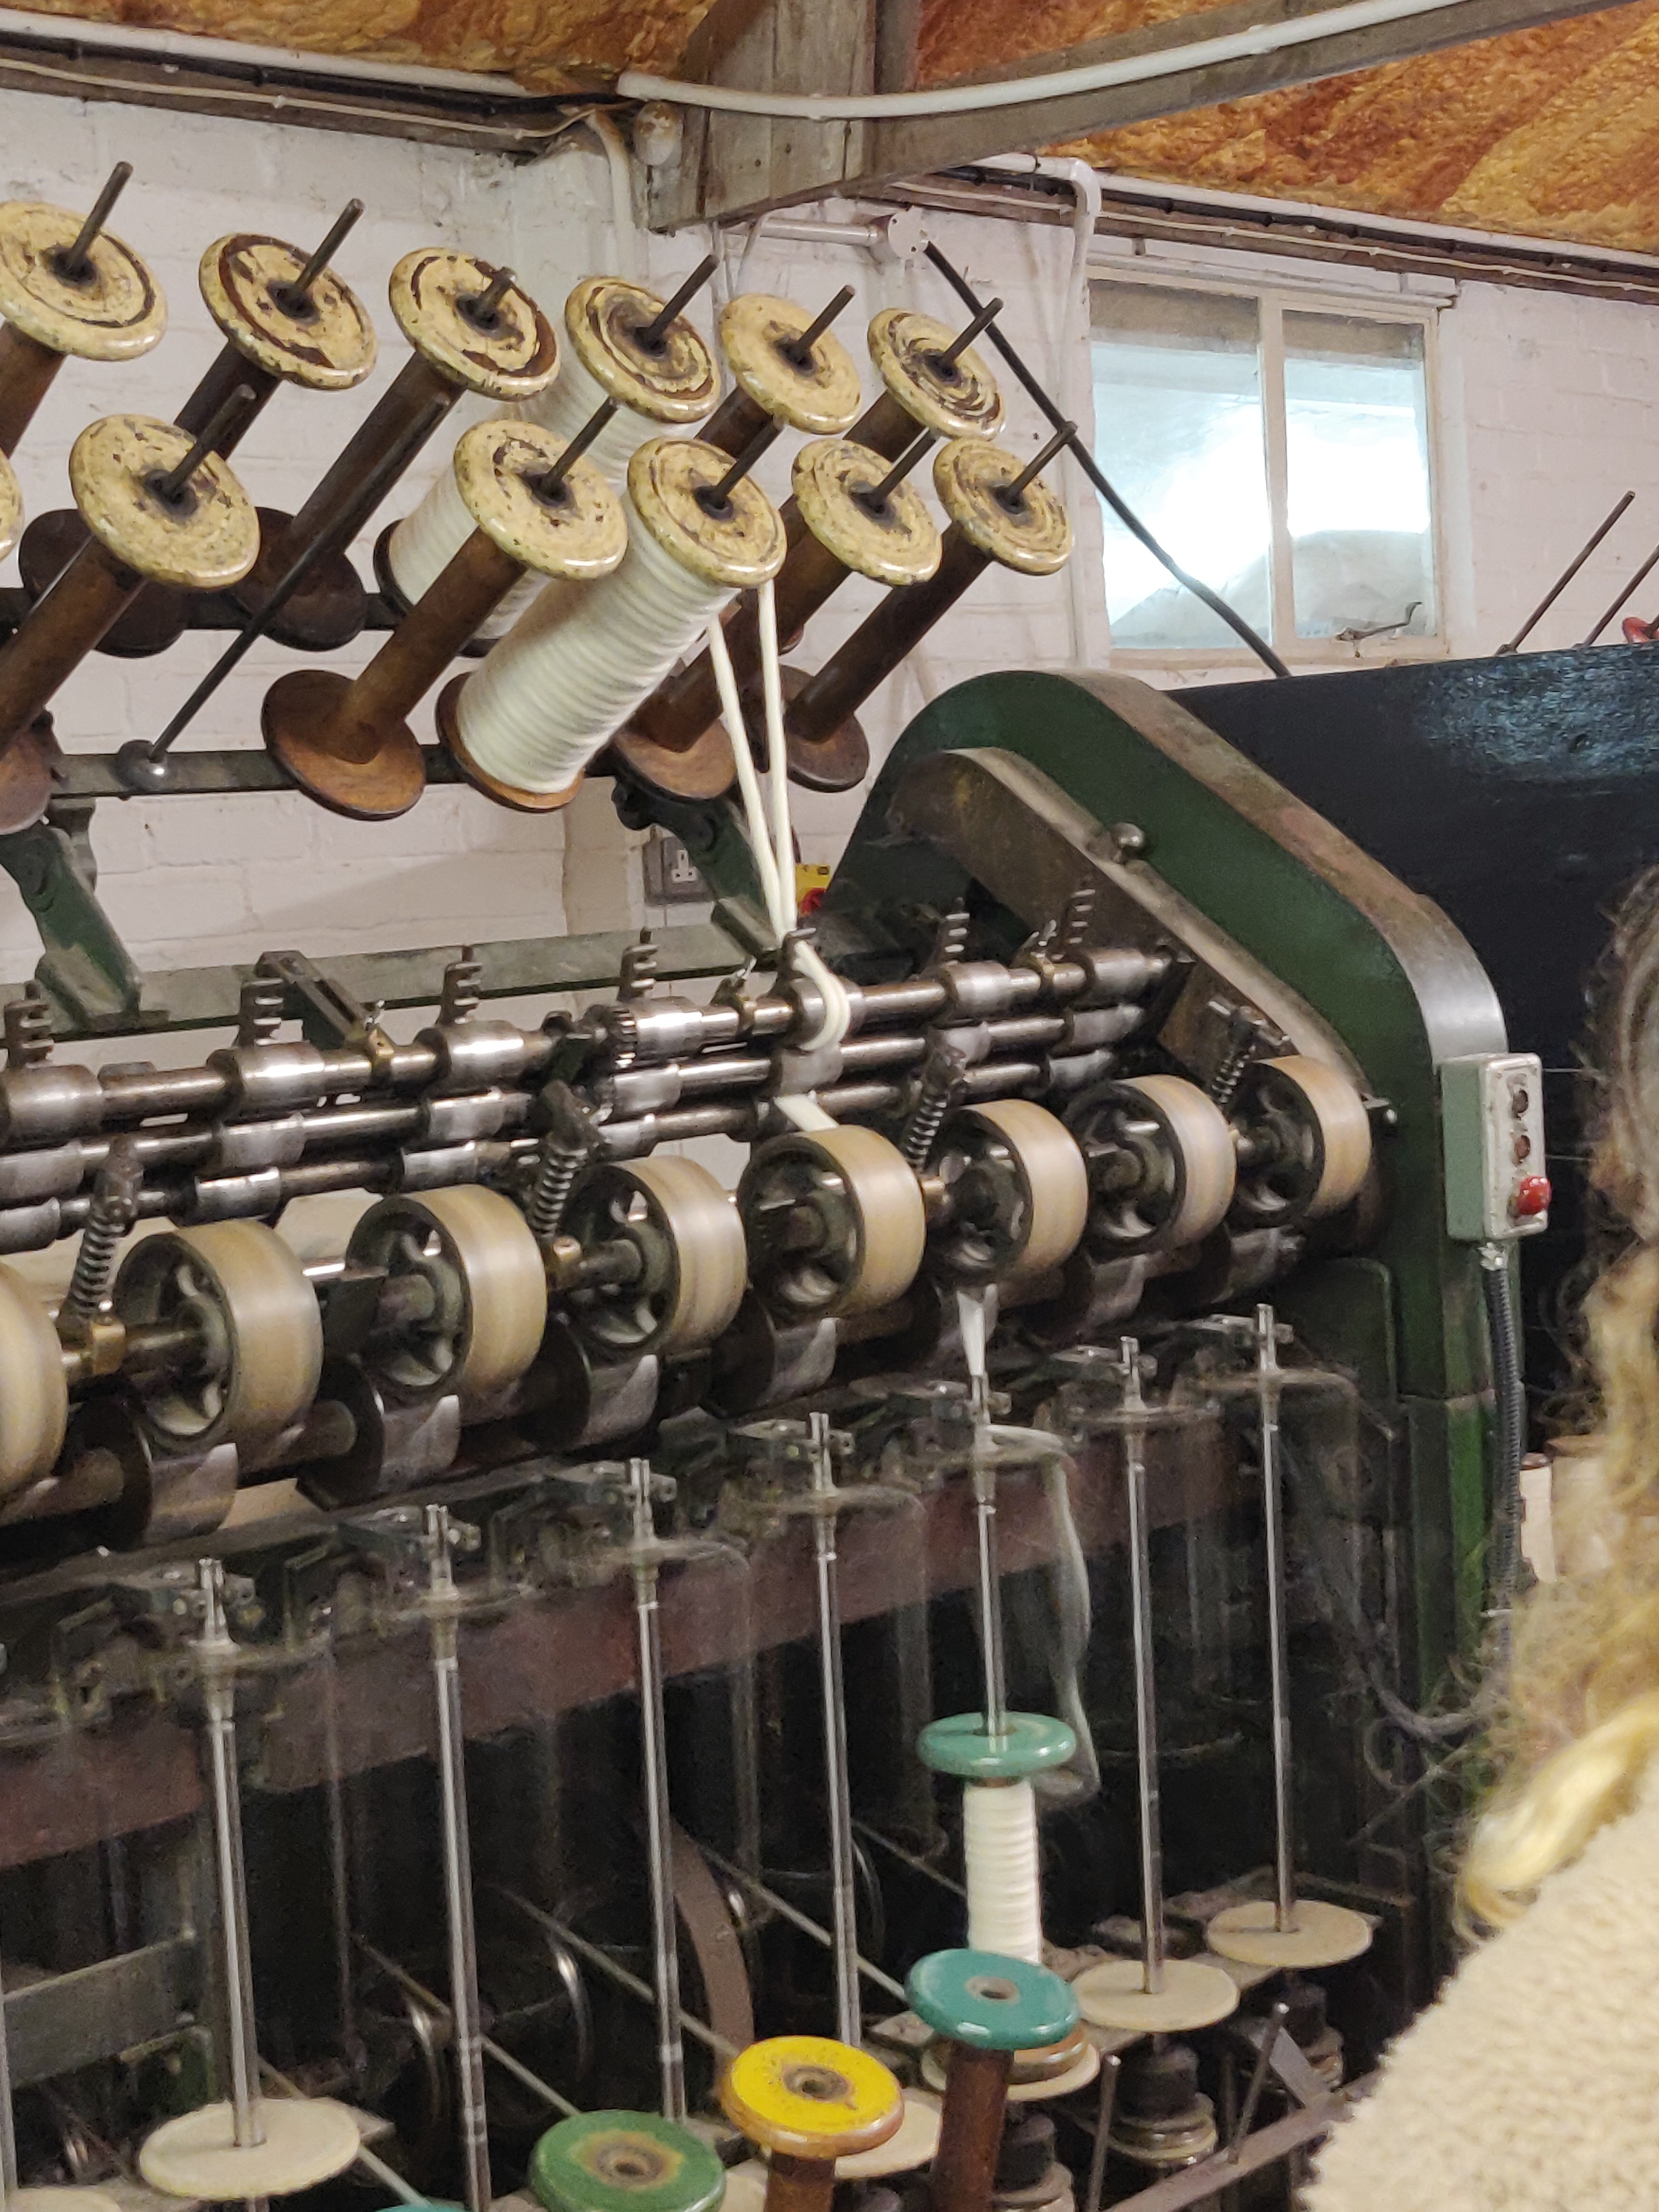
The singles can be plied into 2, 3, 4 etc ply yarns according to need. 2 ply tends to be flat, 3 ply rounded, and 4 ply has a square profile. To make a cable yarn, 2 x 2ply can be twisted together.

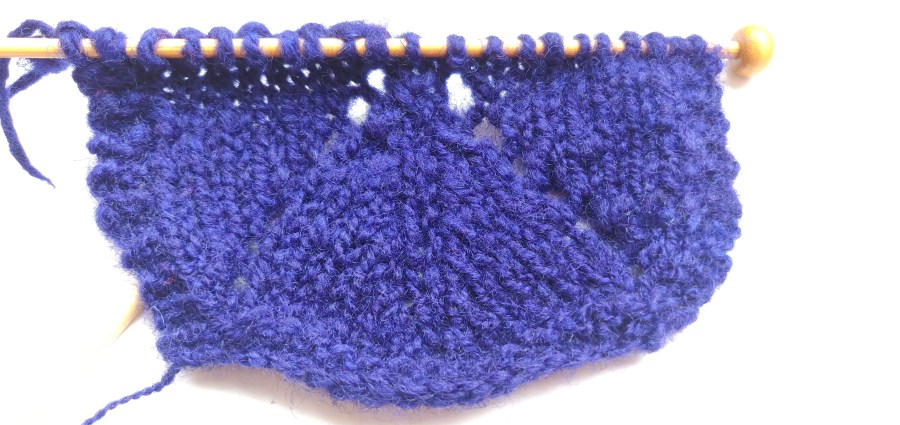
2ply yarn made from two of the 0.2g/metre singles would weigh approximately 0.4g per metre. This would yield something like 250 metres per 100g, which is within the DK category of yarn, and will be between 12-14 WPI.

Of course, as Roger pointed out, natural fibres do not conform as precisely as synthetics do, so there are highly likely to be variations in weight to length of a hank of yarn depending on humidity and other physical conditions when it is weighed. Oh the joy of natural fibres, thats why we love them!

I think the students now really appreciate how much work goes into making the yarns they pick off the yarn-store shelf. One even went so far as to say that they would never again complain about yarn being so expensive!

Don’t waste the demo yarn!

Whilst demonstrating as a member of a local textile group, Woolly Umbrella, at the Wild Chalk festival, I kept a drop-spindle of my own going with singles that I Andean plied at the end as part of the demo.

I don’t think repeatedly putting it down and restarting helped me get an even twist, or it may have been the plying, or a mixture of both, but the yarn isn’t balanced. I knitted a lace pattern with it, and the bias isn’t so pronounced as in stocking stitch, but I can see it.
For fun I added the knitted sample to a purple dye bath I had prepared to dye some other yarn, and here is the result.

Hand spun yarn dyed with purple acid dye.


Satisfaction is a bobbin of plied yarn

I love the final plying process when spinning yarn. This is Texel and Clun Forest wool fibre, processed from raw fleece. One single of each as an experiment.

I find it very difficult to get a smooth yarn from my own prepared raw fleece. It’s pretty easy from commercially prepared tops, but getting all those little nepps and second cuts out is pretty impossible for me.

I’ll wash this and see how it comes out.

Wild Chalk: a celebration of the natural world of the South Downs

The South Downs are home to the Southdown breed of of sheep, the wool from which can be used for hand spinning. So to support the local Shout Downs national park and sheep farmers I joined several other members of my local spinning group, Woolly Umbrella, and took my skills (basic as they are) along to Wild Chalk. This free event, organised by the South Down National Park Rangers, was held in East Brighton park. Our part was to demonstrate spinning wool and encouraged people to have a go. I took along several drop spindles and a sack of washed fleece. Others brought along a spinning wheel, drop spindles and needle felting to share, plus an exhibition with some beautiful examples of naturally dyed, handspun wool. Most people were spinning the local Southdown fibre but mine, to my shame, was Texel cross Southdown.

As you can see children and adults alike really loved to watch, and most of them tried spinning from fleece to some extent or other.

I practised with a newly acquired Turkish spindle and using the Andean Plying technique even produced some reasonable 2ply.

Brighton Textile Art Group meeting 11th May

Well I did it, I made it along to the meeting today and joined the group. Thank you to all the kind members who made me feel so welcomed. There was a natural dyeing workshop today, but of course I had not booked in advance. However, I had taken along my Spurtzleur with some fibre being spun into singles as work in progress, and had some other singles I had spun earlier in my bag. So I finished off the singles on my Spurtzleur and plied this using my hands in an Andean ply. Then I did the same with the singles in my bag (they were from different fleece). This meant I had two little hanks to dye in the onion skin and the daffodil dye baths.

Click on the photo to visit the brighton Textile Art Group website and see what other events and workshops are in the future.

There is a little more detail of the day on my Natural Dyeing page.

Spinning days

Last week I hosted a ‘learn to spin’ afternoon. We had drop spindles and two wheels. Because no-one had spun before I started with lengths of commercial my sun yarn – about 12 metres each. These were used to learn the basics of working the spindle and twist direction.

After everyone was feeling more confident, fibre was introduced. This was lightly scoured Jacobs fleece with a little oil left to make it easier to spin.

Strengthened by team and home made oat biscuits we progressed to the wheels.

The Ashford single drive, double treadle Traveller was the most popular. But even that took some easing into.

Everyone got some yarn made.

We plan another soon.

Notes on spinning and plying

Spinning 

Spinning is twisting fibres together to make a single spun yarn (singles). All sorts of fibres can be spun, but generally speaking, the longer each fibre is (it’s staple length), the easier it is to spin into a yarn. Singles yarn, especially those with more twist tangle back on themselves, and do not usually make good knitting yarns. They are weaker, and will produce a knitted fabric that lies crooked (bias).

When a yarn is spun, the twist of the fibres can only go in one direction, either ‘S’ or ‘Z’ . ‘S’ is is when the yarn wraps like the central diagonal of the ‘S’ and ‘Z’ is the opposite direction, when the wrap follows the central line of the ‘Z’ opposite. On a drop spindle, ‘S’ is created by the spindle being spun anticlockwise, and ‘Z’ is produced when the spindle is spun clockwise. On a spinning wheel the direction is controlled by the direction of the wheel itself.

Plying is twisting two or more yarns together so that they make one, thicker yarn. It is done for various reasons; it will balance single spun yarns and prevent bias twist, it creates a thicker yarn, it adds strength to delicate yarns, and it combines different colours and textures for aesthetic results and can be used to produce a combination of these results.

When yarns are plyed, they should be twisted together in the opposite direction from their original direction of spin, e.g. two ‘S’ spun yarns would be plyed in the ‘Z’ direction.

You can ply your own single spun yarn or make thicker and decorative yarn by plying commercial yarns together.

Decorative effects to try: threading beads/sequins onto one strand, using a fancy and plain yarn, twisting singles and then twisting them again with commercial yarns in the opposite direction to the first twist (cable plying).

Method 1: When plying the same yarn together. Wind a centre pull ball using a ball winder and taking the yarn from both centre and outside ball, ply them together on a spindle.

Method 2: When plying the same, or two different yarns together. Wind the two ends of singles (or commercial yarn) together into a double ended ball, tie the end to the spindle and off you go.

Method 3: Andean Plying. Can be used in either of the above situations.

 Step 1: Hold your left palm facing you with the fingers splayed.

Step 2: With your right hand, take the end of the yarn, and tuck it into your watch band, sleeve, or hold it under your thumb. Do not lose this end!

Step 3: Take the yarn left around the the back of your wrist.

*Step 4: Bring it across the back of your wrist to the right side of your wrist

Step 5: Then take it left across your palm and around your middle finger from left to right.

Step 6: Next take it back around your wrist from right to left.

Step 7: Take the yarn to the right across your palm, and around your middle finger from right to left, then back to the left side of your wrist *

Repeat from * to *

Step 8: When all the yarn is wrapped around your hand, and making sure you don’t lose either end, slip the ring of yarn off your middle finger and twist the whole bracelet of yarn around your wrist so that this ring is on the back of your wrist.

If you need to take a break now, slip the main bracelet onto something like a toilet roll centre, being very careful to keep the ends visible.

Put the bracket back on your wrist. Once it is on your wrist keep your fingers splayed to prevent it slipping off whilst plying. Tie the two ends to the spindle or leader and start the spindle off. Use your fingers to feed the yarn evenly and control the amount of twist travelling up the yarns as you do when spinning.


This slideshow requires JavaScript.

4 ends of commercial yarn being plied using the Andean method. Finally it is wound into a hank. It could just be wound onto ball for knitting, but if a bit lively it may need to be hanked, steamed and hung before making into a ball.
This is a downloadable pdf of this page. Please note that you are welcome to print this for personal use, but it must not be  reproduced or distributed. Plying