As mentioned in my previous post we have a lot of fruit in the garden, a large amount of which is from a prolific Mulberry tree. I’ve made jam, jelly, syrup, sauce, dried them and made fruit leathers. Plus Ross is making wine from three kilos of them.
One of the problems with mulberries is they have big pips and a stalk that is difficult to get out. Many of the things I’ve made have involved cooking the fruit up and then putting it through a Mouli or nylon sieve to get the pulp and juice and then working with that. As we have a lot of apples I use the windfalls to make pectin and sometimes add a few apples to give some body to the pulp.
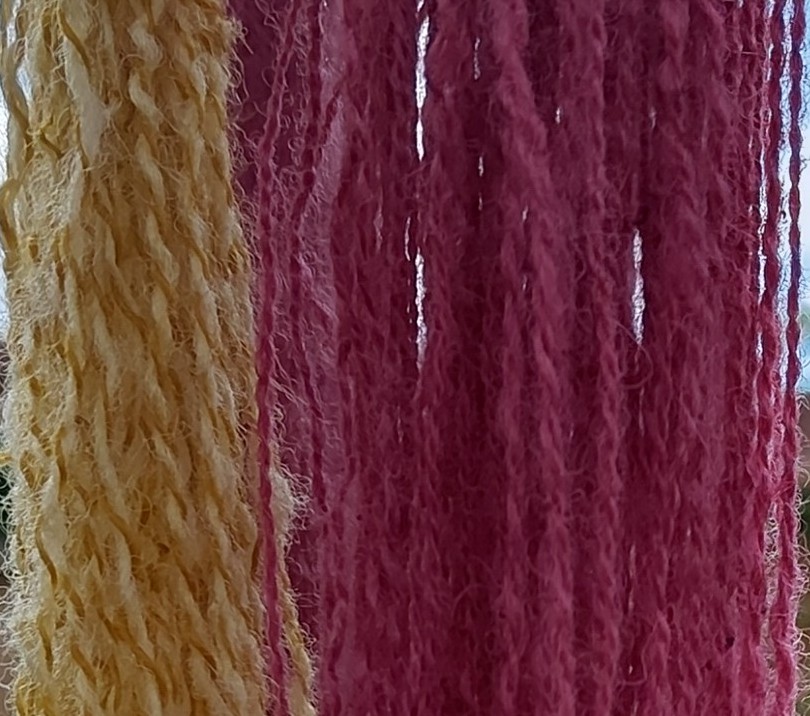
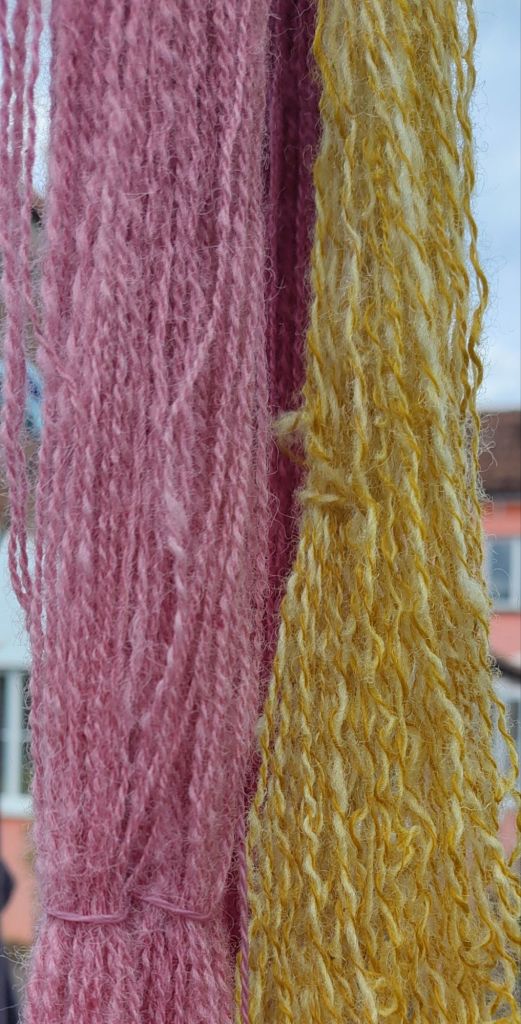
Of course you end up with a lot of mulberry mush with pips and stalks in it. However this still retains the really strong color, and staining ability, that the complete mulberries have. So I decided to do some dying with the pulp. Last year I solar dyed with raspberries, which gave me a gentle pink, so this year I worked with the mulberry pulp in a similar manner. I use my own handspun yarn and solar dying with the mulberry pulp, which gave a pretty, pale crimson. I boiled up the mulberry mush again with a bit more water and added any berries that hadn’t been good enough to go into the jam. When I thought I got as much color into the liquid that I was going to get I strained the liquid off through a fine sieve, being careful not to squash the pulp through as well. The liquid went into a big jar with 1% alum solution, some salt and a dash of white vinegar. After a good stir the dye jar was ready.
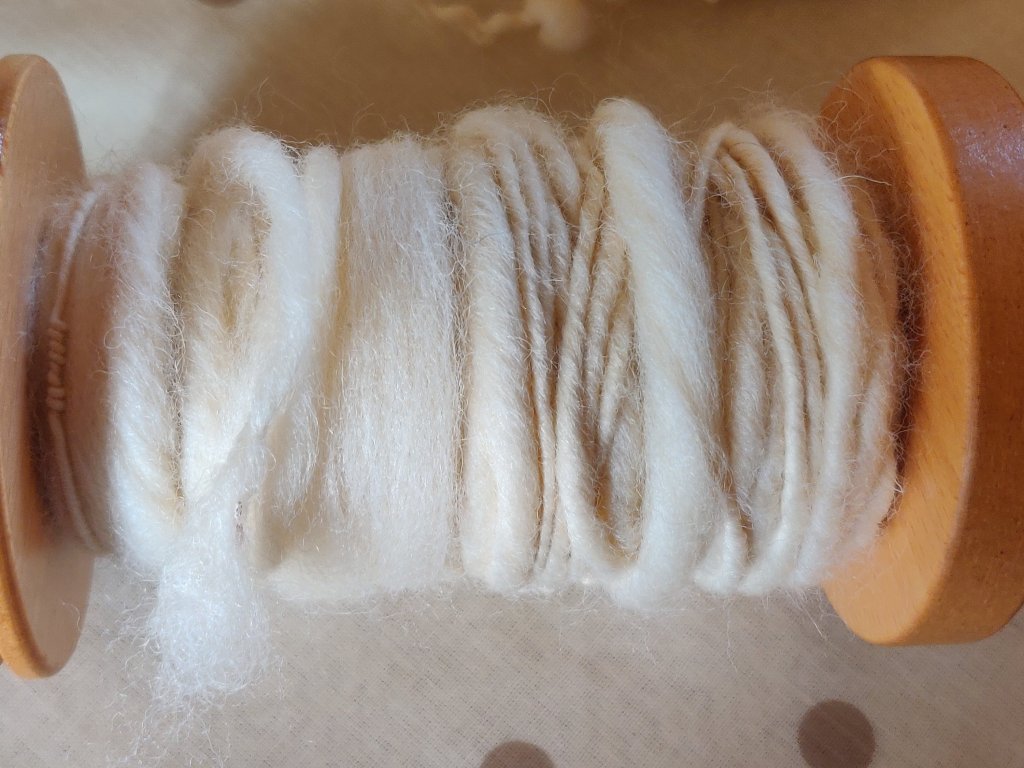
Before I started all this I had put a 100g hank of handspun wool yarn to soak in hot water with washing up liquid and a little bit of soda. Although the yarn had been washed already, this extra soak and the soda in particular, removed any remaining oil, ready for it to take the dye. The yarn had been spun and plied 2ply from a Lleyn fleece.
After rinsing and removing extra water from the yarn I put it damp into the dye jar, put the lid on and gave it a good shake to distribute the dye around you the yarn. My plan was to shake the jar every day whilst it sat in the sun for a week to ten days, but I forgot so the hank is a slightly lighter colour one end, which is pretty but not a solid color I had intended.
I follow the same process with marigold petals that I’d gathered when deadheading the marigolds I’d grown this summer. These had been left to dry and were cooked up and strained in the same way as the mulberries. After removing this yarn, which was only a small hank, from the dye jar I found that one of the singles had taken the color much better than the other. This is because the 2 ply yarn on the bank was plied from two different fleece singles that were on odd bobbins, and I don’t remember which forever either were from. So an interesting dye experiment, but lacking the control of knowing the fleece type.
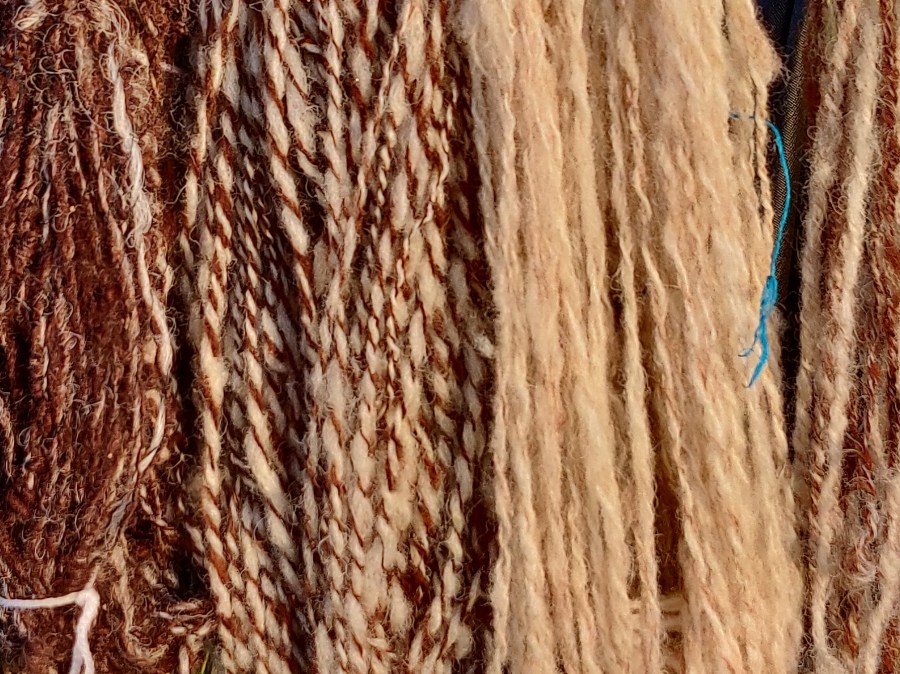
On the left is the mulberry and on the right is the marigold dyed yarn.
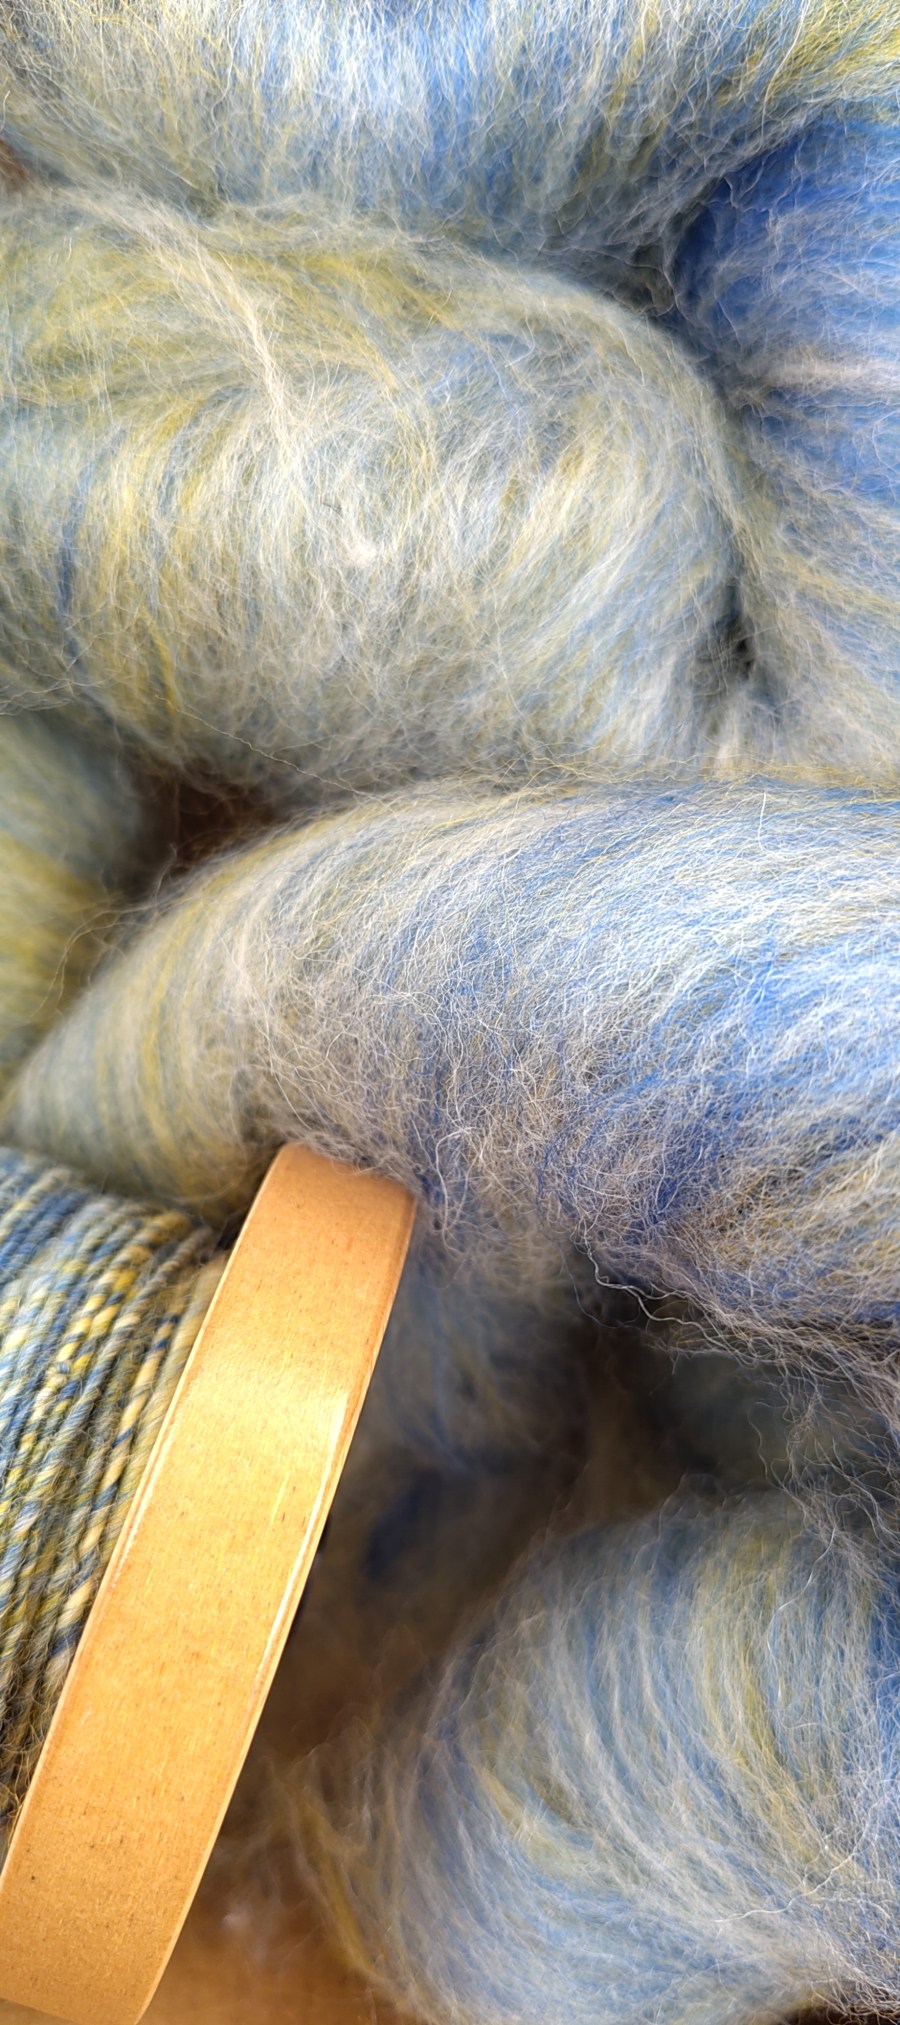
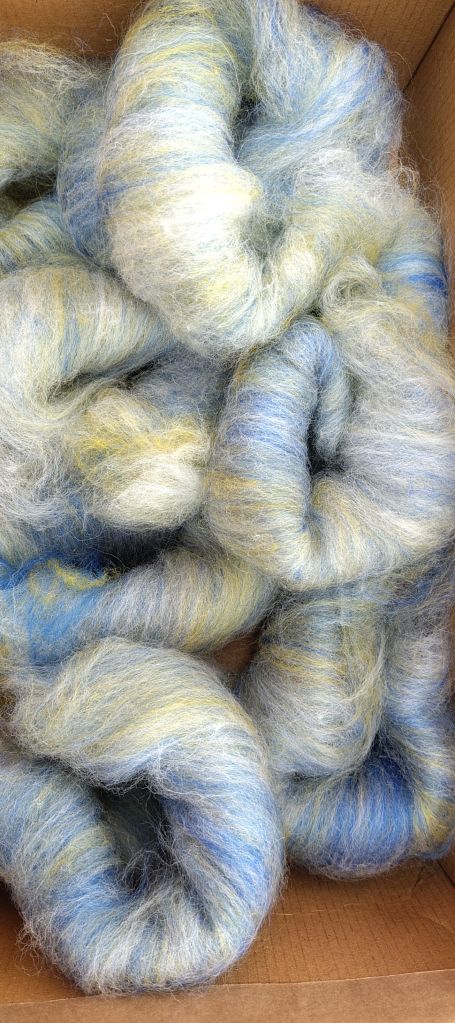
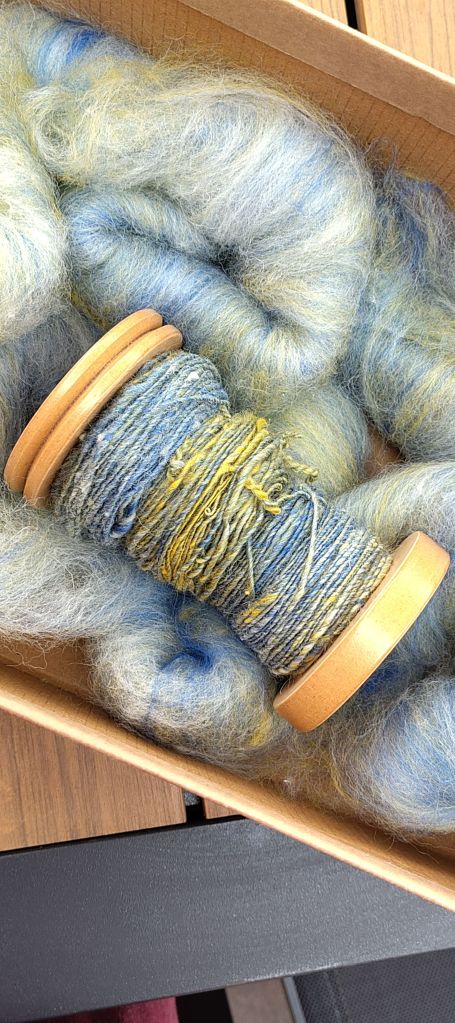
An hour spent blending on the drum carder has got me set for some serious spinning.
The yellow and natural are broken Merino tops that I picked up at the John arbon Open Day last year. I’ve blended these in equal parts with a very strong ultra marine blue which I won in my local Guild raffle.
I tested this first on hand carders and it produced a very nice yarn so now I’ve done it in bulk and taken rolags of a batt from the drumcard.
The singles so far.
I’m aiming for a 2 ply hand knit weight yarn, so spun the singles trying to let in a bit more fibre than I usually do. I read once that as you become more proficient at spinning you tend to spin finer, and that does seem to have been the case. Not that I’m claiming to be brilliant at it, just more practiced than I was.
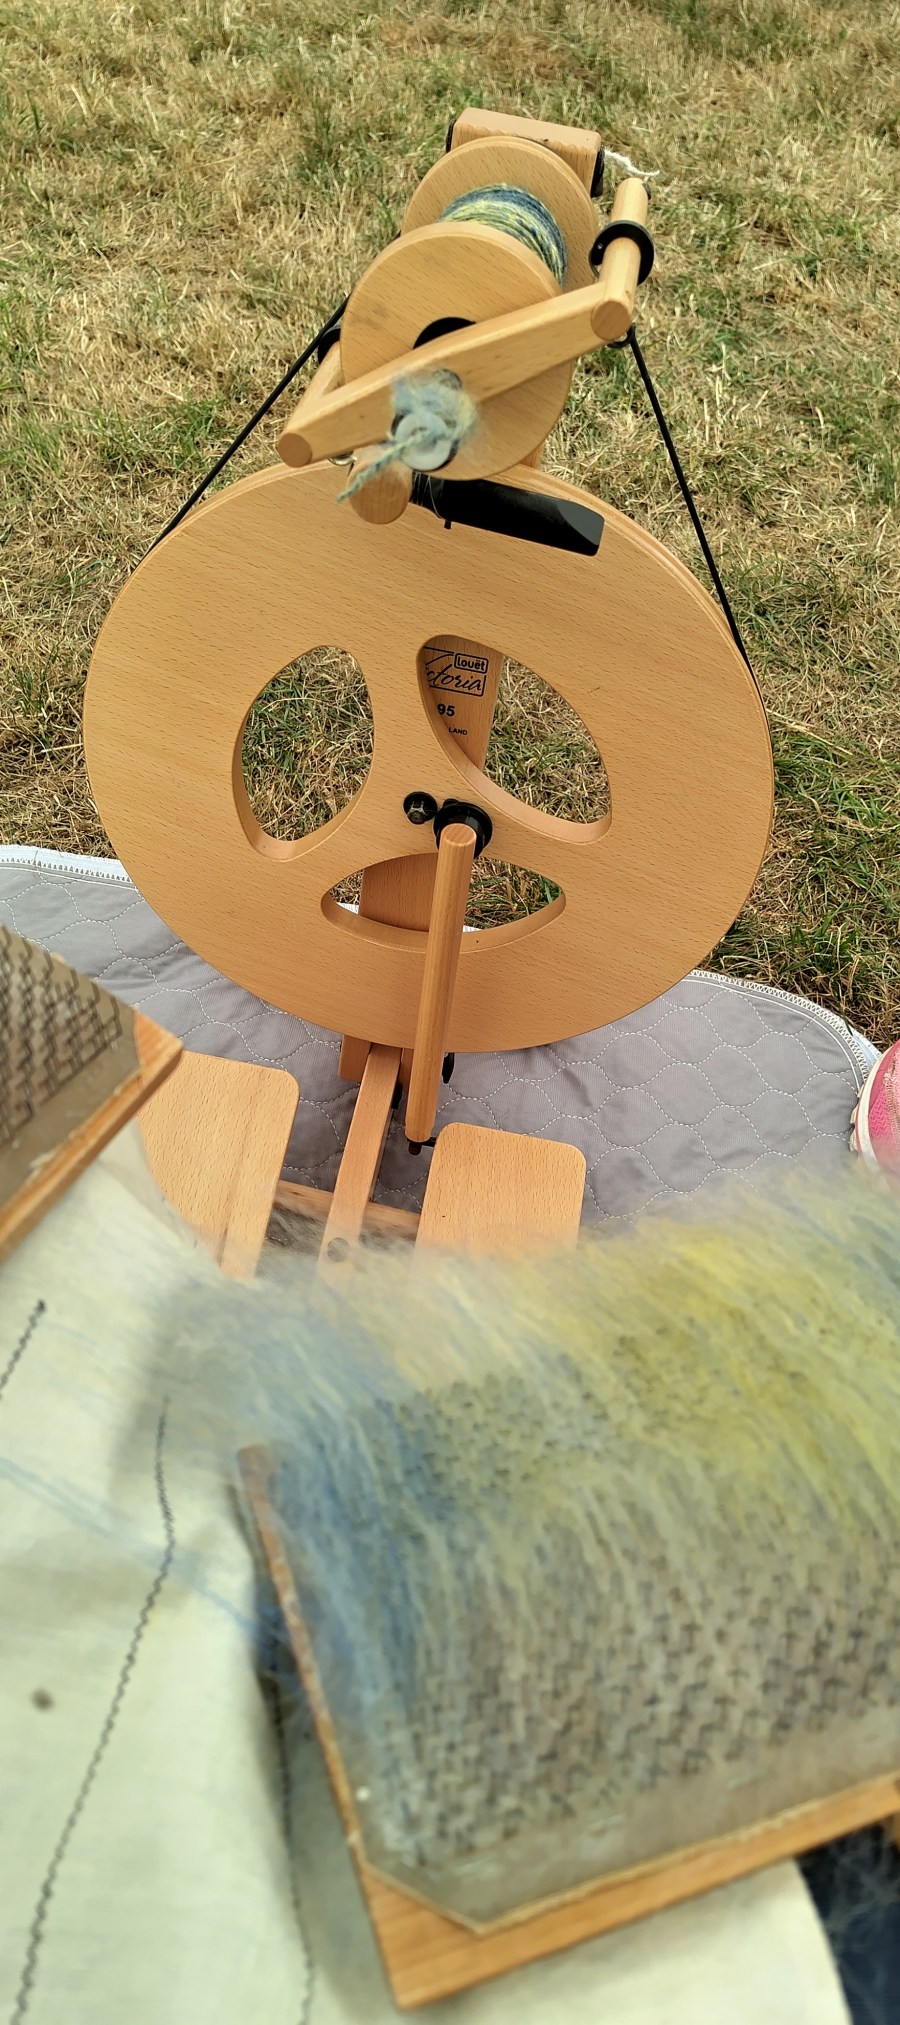
This was spun the 1:8 whorl on my Louet S95 ‘Victoria’, which is the little folding portable wheel I take out to demonstrations. I aim to ply at the same ratio although I know it will probably work out a bit less. I am looking forward to spinning and plying this.
Today I’m with the Somerset Guild of Weavers, Spinners and Dyers, demonstrating spinning at the WSRA Steam Rally in Norton Fitzwarren. I have brought my dinky Louet S95 Victoria with me and a trolley to take it all back across the showground.
Because plain colour fleece doesn’t always look so interesting to the public I am blending yellows, now and cream tops on hand carders make a heathery yarn.
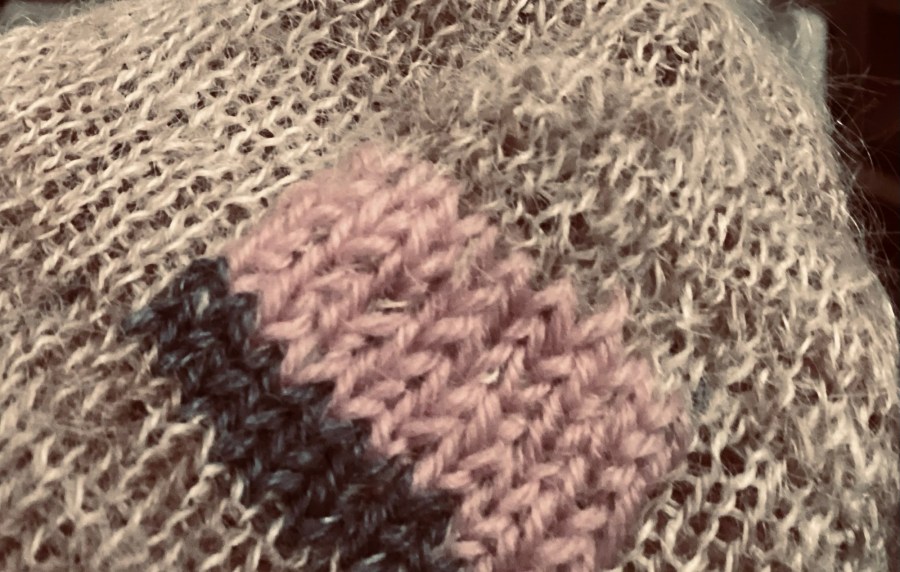
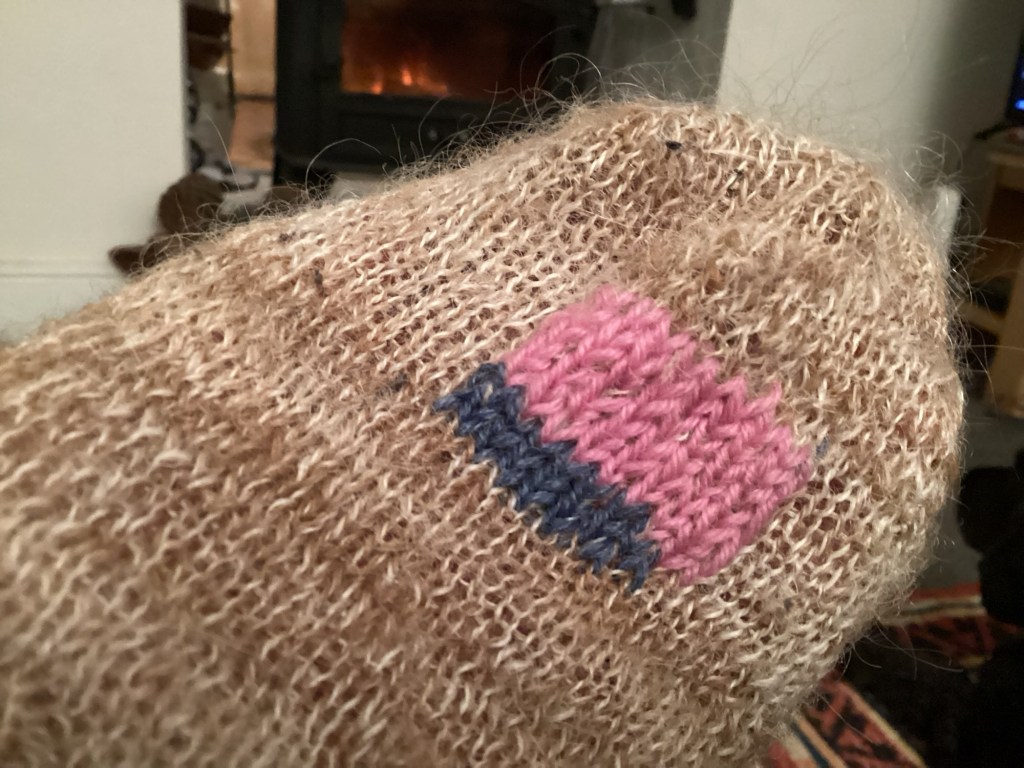
It’s a howling gale outside tonight, so the place to be is by the fire doing a bit of mending. The subject is a pair of socks machine knitted from my hand spun yarn. These sticks are like , ‘Trigger’s broom’ from Only Fools and Horses.
I plied the yarn from singles of Alpaca and Texel fibre, but did not include any nylon. Consequently, but after a reasonable amount of wear they have begun to thin and finally the stitches have burst. First of all the big toes went, and now the heels.
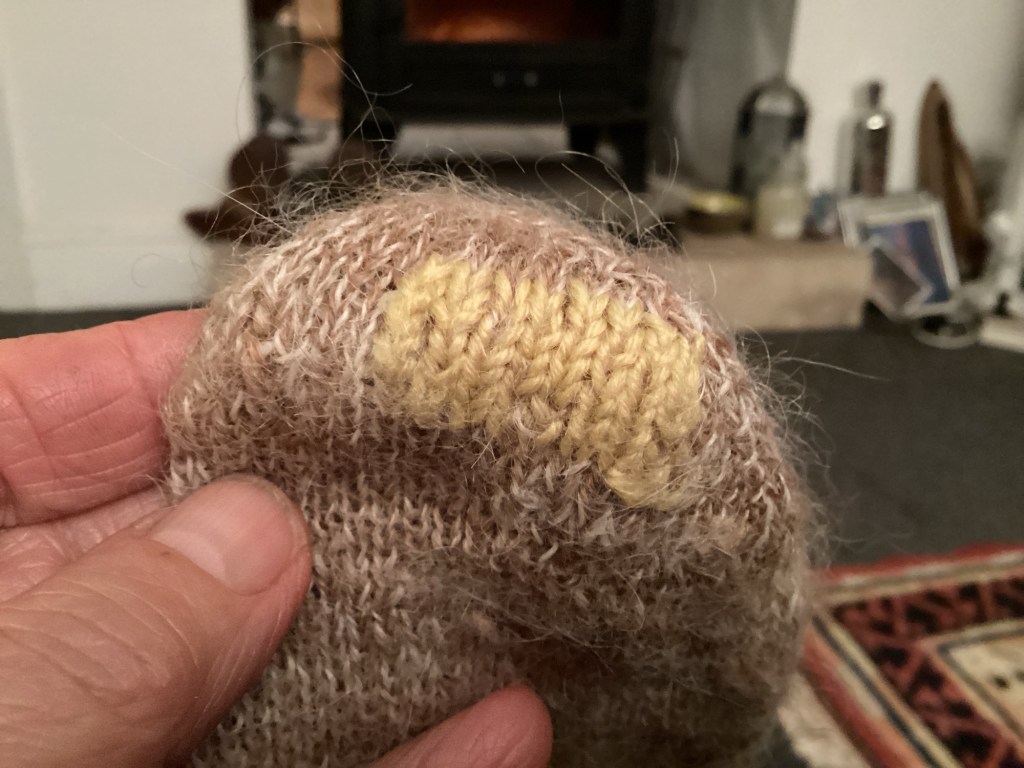
I had a little of the yarn left, but now it’s onto improvised and colourful mending…
The toes that were mended a while agoTodays heel mending
I used one of those little mending looms for the toe repair, but the heels have been done ‘freehand’ using a technique from a 1970s mending book. I bought this useful book secondhand when a penniless student in the 80s, well before ‘slow textiles’ and ‘visible mending’ became a thing. Since then, useful book has helped me extend the life of many items for reasons of economy and necessity rather than fashion. Now my mending is on trend and it’s good to see the skill encouraged by a plethora of modern books on the subject.
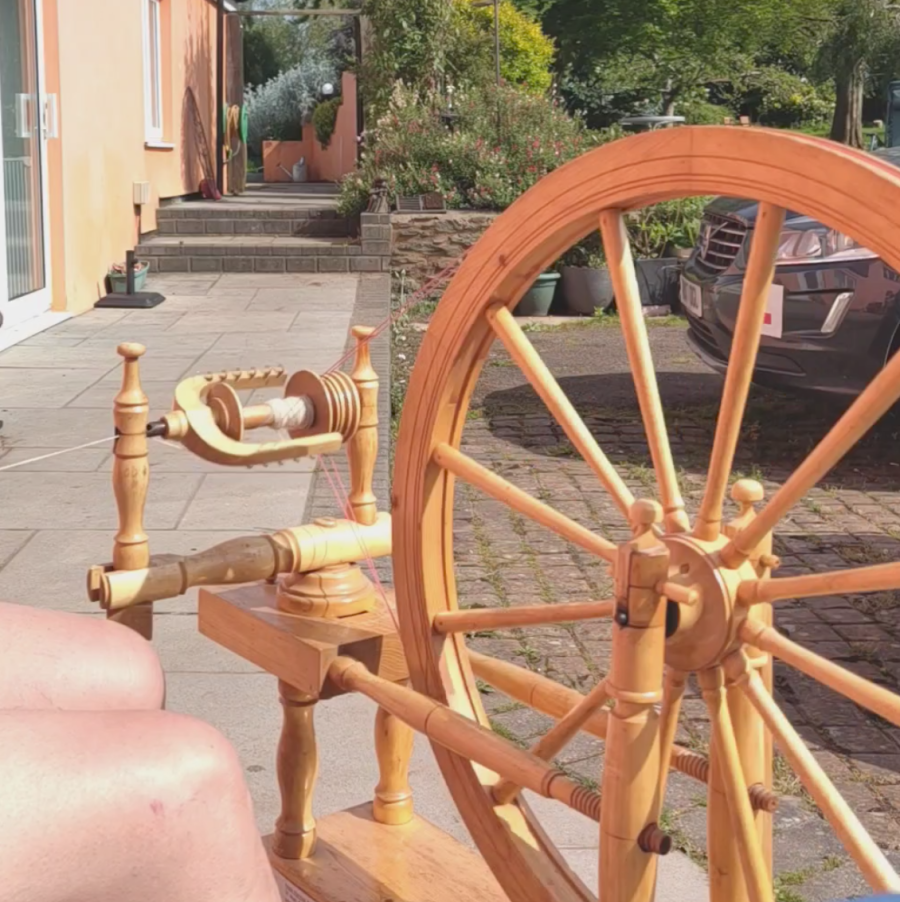
How often do we have such gorgeous weather in May in the UK?
So I decided to take advantage of it by having a swim and then sitting down with my spinning wheel to spin up some Jacob’s rolags I’d carded last night. What more perfect way of spending on Friday afternoon.
Ok the garden needs attention and I’ve got plants to plant out and I should be writing and all sorts of things, but sitting in the sun and spinning just seemed undeniable.
See more about machine and hand knitting and hand spinning on my ‘Vikkikit’ YouTube channel.
Yesterday, a friend who I think has more spinning wheels than even I have, brought an older Louet wheel along to the monthly meeting of the Brighton Textile Arts Group. She didn’t know the model, and I still haven’t found it online, but that’s sort of irrelevant as it’s the Irish tension that caught my eye.
I have learned from many texts and posts online that ‘Scotch’ and ‘Irish’ don’t really relate to geographical origins. I also understand that ‘Scotch’ and double drive are both flyer-led and ‘Irish’ is bobbin-led (literal and more accurate descriptors), but the terms Scotch and Irish tension are in common use so I will stick to them here. In flyer led systems the wheel drives the flyer around the bobbin, and the bobbin is braked by either the brake band or the second loop of the double drive band. In bobbin led systems the bobbin is driven by the wheel so spins constantly, but the flyer, which feeds the yarn onto the bobbin is braked by either a leather band at the front (as on the Louet) or by using a brake band. In both systems, the spinner restrains the yarn from being pulled through the hooks/flyer and onto bobbin as twist is introduced in to the fibres and then releases their hold to allow the yarn to be drawn onto the bobbin. Both systems rely on some slippage of the bands, which is something I have not fully understood as yet, and am not sure is really necessary, but fascinating all the same. So far I am not sure how the difference in circumference of bobbin and flyer whorl affect each other in Irish tension as they do in double and Scotch tension systems. Another interesting thing to spend time testing out.
I learned to spin on a Westbury wheel, which was a gem of a wheel. My Mother bought it in Glastonbury as a kit – she was so excited, and my Dad built it for her and stained it dark walnut – not a fashionable option today, but it did look charming. The Westbury has both double drive and Scotch tensions, but I only used the Scotch option as we really didn’t understand the double drive. After this there was a gap in my spinning and Mum didn’t carry on with it for long, so that wheel has long gone, (something I really regret).
My interest in yarn design endured, but was industrially focused, so it was quite a few years later that I resumed hand spinning. I now prefer double drive but have several wheel which are switchable and value the flexibility this gives me. So that I can share with you, these are a Wee Peggy and a Schacht Matchless and an Ashford Traddie that I have converted to double drive but which still retains the option of Scotch tension. Of these the Matchless is a recent purchase, chosen after trying lots of wheels over longish periods of time, (hence my collection of wheels) and is my absolute favourite. It is a dream to spin on and has double treadles and a central orifice which is super ergonomic; I find single treadles can make me twist and lead to back and hip ache nowadays so can’t spin for too long on these.
So let’s get back to yesterday and the Louet wheel. Which is a sweetie I have to say. I like Louet wheels, (and of course own one) because they are so thoughtfully designed and this was no exception; sturdy with a central orifice and an onboard Lazy Kate, all made in lovely wood – very nice apart from the rather high treadle position. I’ve not used the Irish tension system before and so was keen to try it. I didn’t actually shove her out of the way, but hovered and green-eyed it and eventually asked if I could have a go. Generously she gave me fibre, and left me with it, saying she found it quite a challenge to be able to control what she was spinning, although I thought her samples were soft and pretty even. However, she was right!
After a while I managed to set the leather band so that the fibre wasn’t ripped from my fingers, and could start to spin. I found that very little tension was needed, which I am not sure is normal. We inspected the tension band, orifice and brass bearing and whilst the band didn’t look worn at all, the orifice outer was a bit sticky and the brass bearing seemed a bit rough. We cleaned these as best we could with what we had to hand which helped a little, but probably a gentle swab of alcohol on the orifice outer and brass would be a good idea.
Once it was going I was really surprised how different the Irish tension felt to the two other systems, and can see why it is good for thicker yarns because of its pretty intense pull-in. Plus I imagine it is great for plying. However I managed a reasonably even singles that was indeed thicker than I usually spin double drive, so that sort of proved it to me.
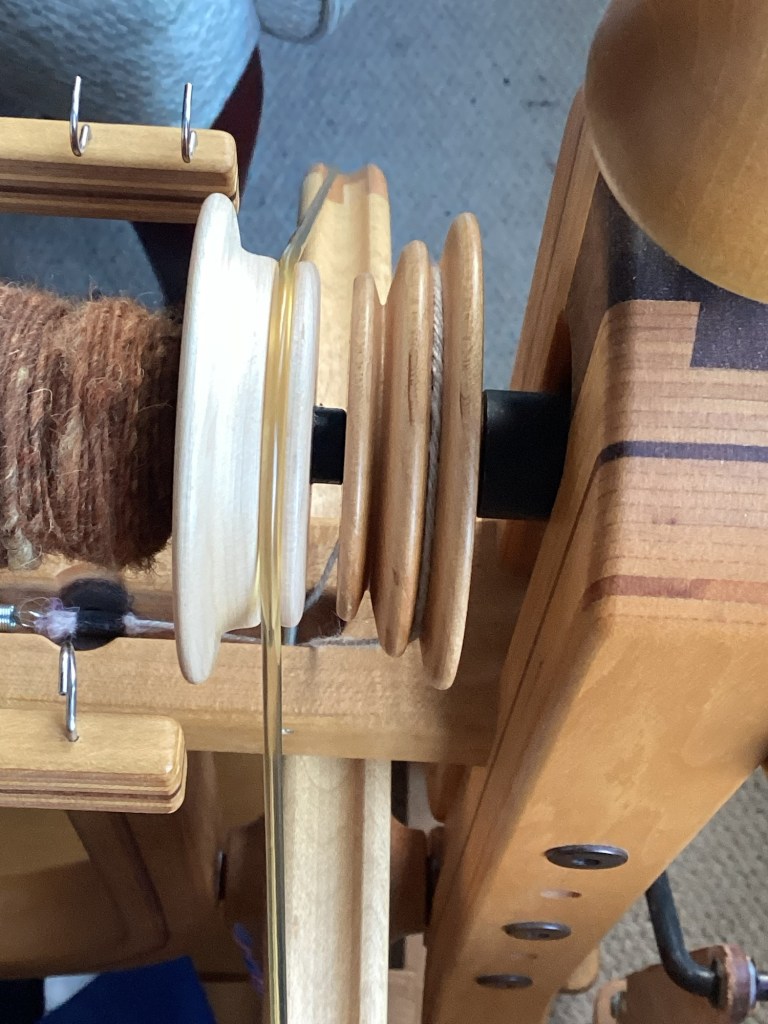
Being an equipment squirrel I immediately wanted an Irish tension wheel. So imagine my joy when I found that my Matchless would convert to Irish tension! In my excitement of first owning the Matchless I tried both double and Scotch tensions and have been using these both since then, but I clearly forgot that it has three tension modes. I’m not sure it tells you in the manual, but you simply swap the drive bands over. The wheel drive band goes on the bobbin, and the Scotch brake band on the flyer whorl. I have set mine with the larger bobbin whorl to the back with the medium flyer whorl, there may be better arrangements but I have yet to try these out.
The result felt very similar to the Louet, with the brake band needing hardly any tension, so maybe that is normal after all. I found starting needed care so that the fibre doesn’t pull away too rapidly, but once going it went well. It might be me, but most times after I moved hooks the pull-in became stronger, then settled down again. This must be because the smaller circumference of the bobbin to start with pulls the yarn in faster. Because of this I can see why a Woollee Winder type system might be useful with this tension system, but I am not tempted due to price. The hooks will do me just fine and I really don’t like the sliding hooks on any make so far.
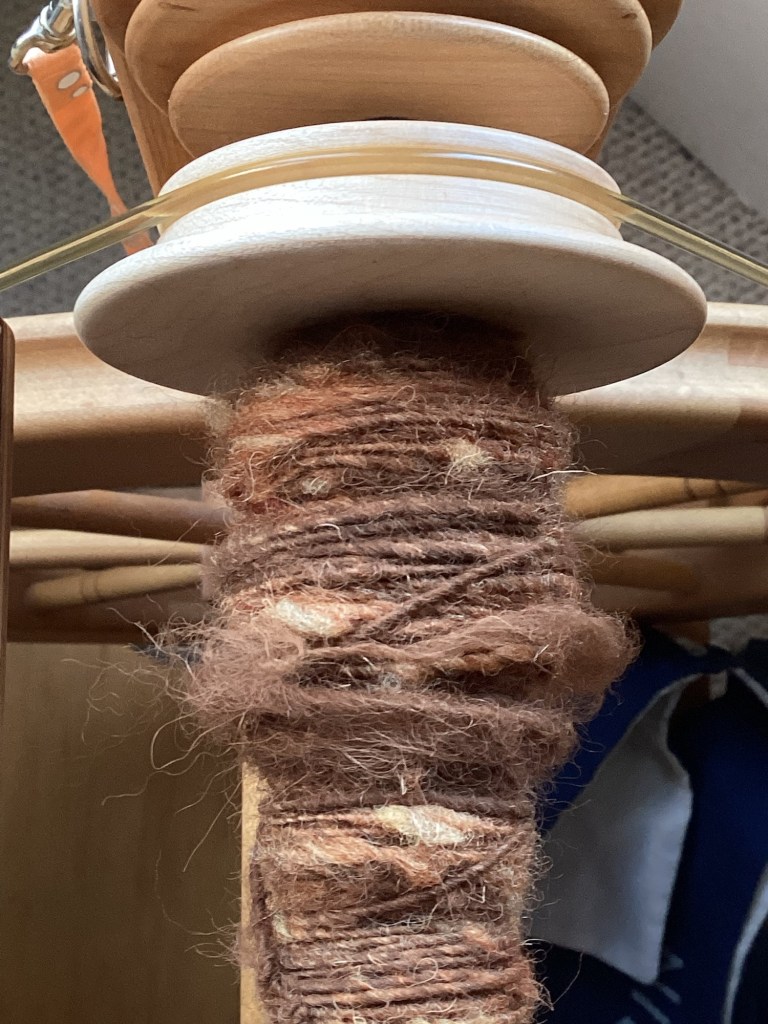
As you will see in the photos, the singles I spun are nothing to write home about, but its early days for the Irish tension set-up. The fibre is onion-skin dyed Lleyn blended, (rather poorly because I was in a hurry) with rust coloured Alpaca, then taken as tops off the drum-carder.
The Irish tension set up on my Matchless. The drive band is the one I use for Scotch tension – I have a cotton one for double drive. They both stay on the wheel tucked underneath. I am wondering what will happen if I put the brake band on the smaller flyer whorl? The Lleyn was deliberately left with nepps to create a textured fibre, and the way the onion-skin dye has taken differently on the nepps enhances the texture. Roughly blended with the Alpaca – ‘do what I say not what I do’ is the underlying message here! I think I will ply with a finer singles made from undyed Lleyn for a tweedy final yarn.
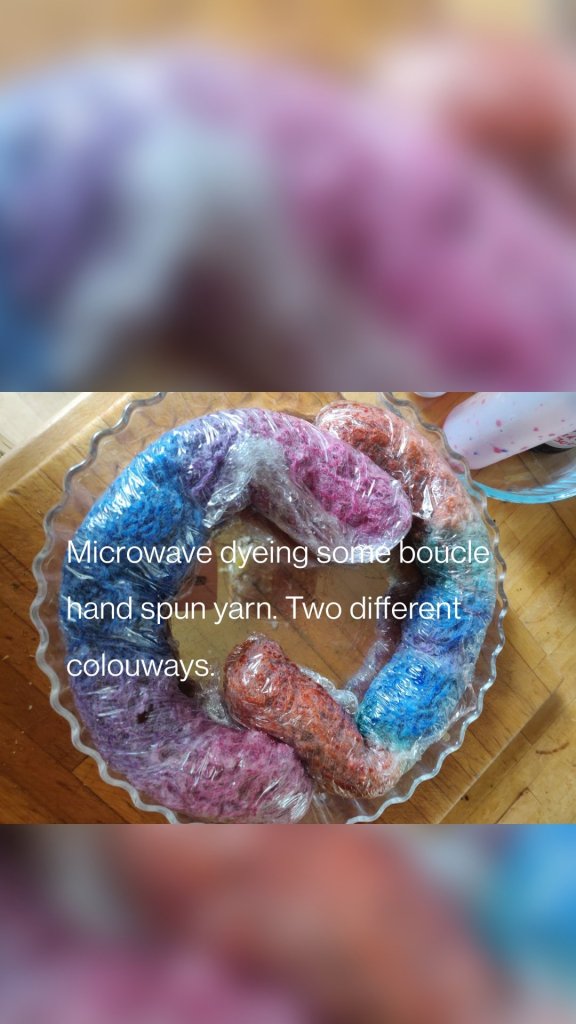
Yesterday I had a fab time at a workshop learning to spin fancy yarns. We only managed boucle and slub but that was so rewarding. The workshop was organised by the Brighton and Hove Textile Arts Group and hosted by Spring Farm Alpacas in Fletching West Sussex. Ann Dishman led the workshop and provided Blue Faced Leicester tops, still various and other threads for us to spin with.
Although I have spun both types of yarns before, I learned a lot and really enjoyed having four hours in which to practise the techniques. I also found out that Ann had been taught to spin by my spinning hero, Mabel Ross, which made me extremely envious.
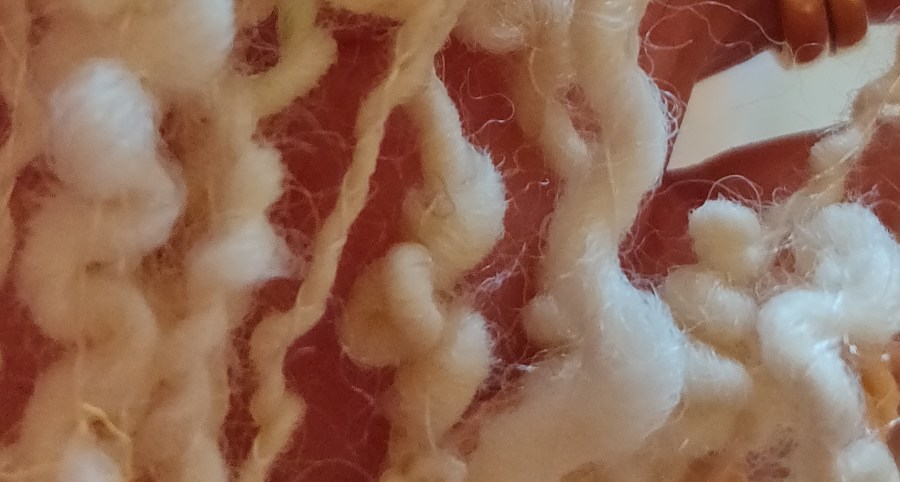
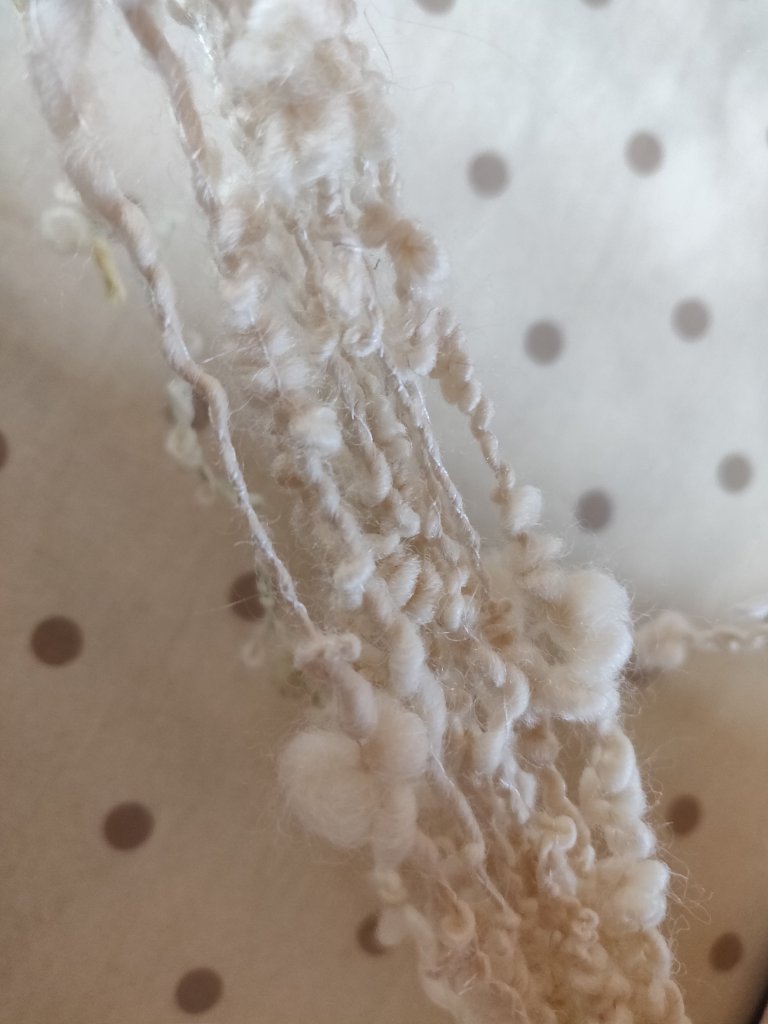
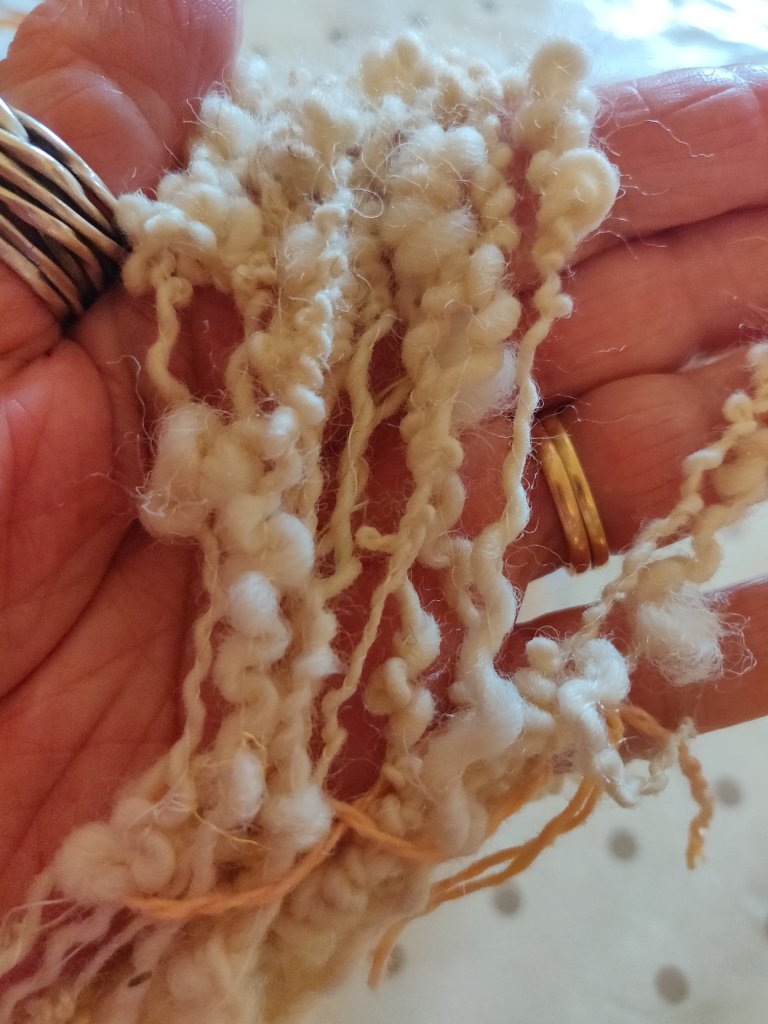
Unwashed boucle, Blue Faced Leicester singles and loops, cotton binder. Unwashed the boucle was a bit lively, but it balanced out nicely after a strenuous washing.
Unwashed soft slub; Blue Faced Leicester singles with a fine industrial wool binder.
I took my Louet Victoria travel wheel and at usual she spin well and reliably, it was the user who made the mistakes!
I recently read an article in SpinOff about distaffs and decided to try using one when spinning in a wheel, not just on a drop spindle. Luckily I had a handy drumstick lying around that I use to roll rolags off the blending board and it is just about the right length and weight. Its varnished surface also helps the wool slide off easily as I take it from the distaff.
At the moment I am spinning Ryeland fleece and have been preparing batts on the drum carder. I used to be able to take a roving off but since the carder was motorised its not so easy as it won’t rotate freely. So now I split the batts into narrower lengths to wind around the distaff. This seems to work OK and after a spray with spinning oil I find the fibre supply much easier to handle in this manner. Using my (new) large double drive wheel I get a good speed up and even doing short draft can spin a surprising amount, (for me anyway) at a sitting.
I will carry on with this and see how it works out. I may even get to attach the distaff to one of the wheel uprights which might be even more efficient.
Distaff held in my waistband, but sometimes under my arm or in my outside fingers.
The fleece I am working with is not brilliant, but I am using it to practise making a balanced, soft spun woollen yarn for knitting. To do this I read up on Mabel Ross’ method, and with a little tweaking to suit my preferred yarn handle, it worked!
Mabel Ross worked it out for us and it is quite logical really. You do need to know your wheel’s ratios, work consistently with your draft and count your treadling to start with, so if thats not your style, don’t go there.
I was aiming for around 2tpi in the finished yarn, but actually increased this a little after the first samples.
The equation is to do with spinning the singles at the tpi you want and then plying them to get the final tpi you want. Its really helpful to remember that if you spin your singles Z, when you ply them S you will be unwinding some of the single’s twist. (update- I have subsequently spun some yarn at a much higher tpi using a 1:10 whorl that has come out soft after a similarly balancing plying method. Maybe I’m getting it…)
I worked backwards from my 2tpi goal.
For example: I was working with a 1:6 whorl, therefore one revolution of my wheel would turn the bobbin 6 times. I was spinning ‘Z’ twist with a long draw of 12″.
First of all I needed to know how many treadles to the 12″ draft would give me the tpi I required. Yes I know I’ve muddled metric and imperial, but it still works.
Number of treadles = (required tpi x planned draft length)/ divided by wheel ratio (which i know will be 6)
tpi of my singles = tpi of my plied yarn divided by number of plies
II reckoned that if I want 2tpi in the plied yarn, I needed to spin the singles at around 4tpi.
The equation I worked with using MR method to find out how many treadles I needed to a set draft length was:
tpi = (wheel ratio x treadles)/divided by draft length.
Go back to the earlier question of how many treadles?
Number of treadles = (required tpi x planned draft length)/ divided by wheel ratio (which i know will be 6)
which came out as
tpi (4) x draft (12″) = 48/6 = 8.
So 8 treadles using the 1:6 whorl to a 12′ draft should give me 4tpi. in my singles…
Well I wrote this post a while ago, and since then have done some spinning. It was not successful, way to soft and loose spun for my taste, but a balanced yarn – no twisting and it knits without bias.
I upped singles tpi a little and also the ply by a smaller amount and the yarn improved. and stayed balanced! A lesson learned.