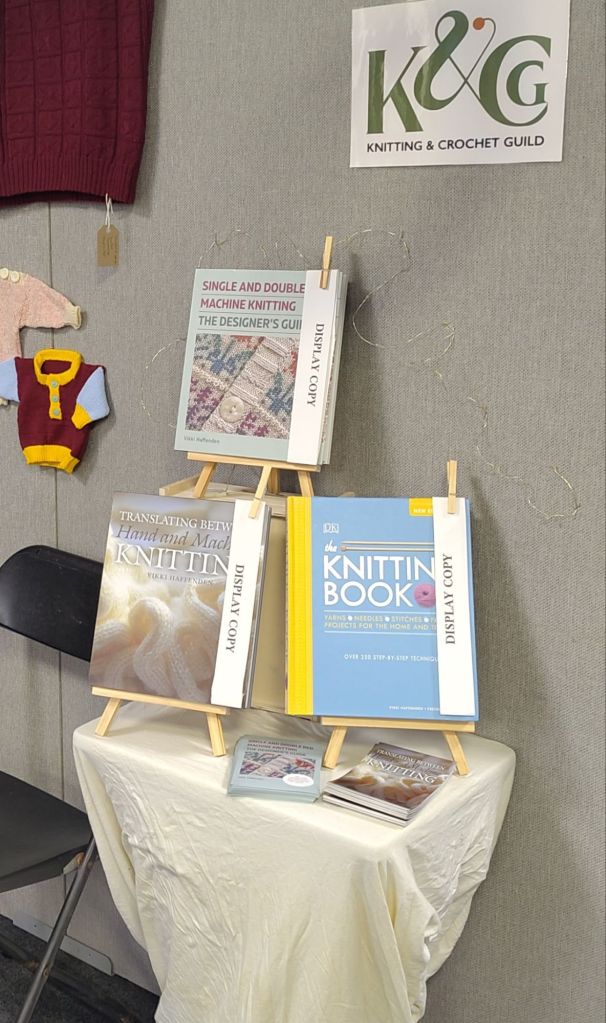
‘The Machine Knitter’s Guide to Partial Knitting: Seamless Pattern, Shape and Form’, is available to pre-order in the UK from Crowood Books, and online retailers. In the US it can be ordered from Blackwells.
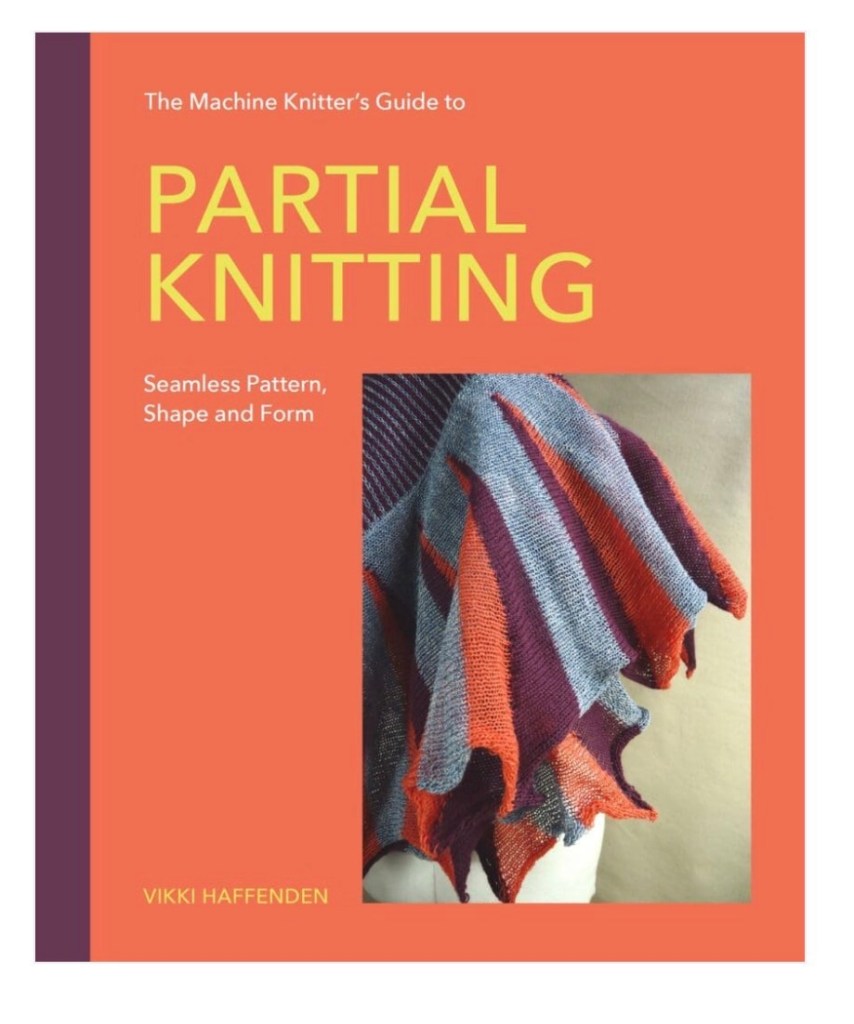
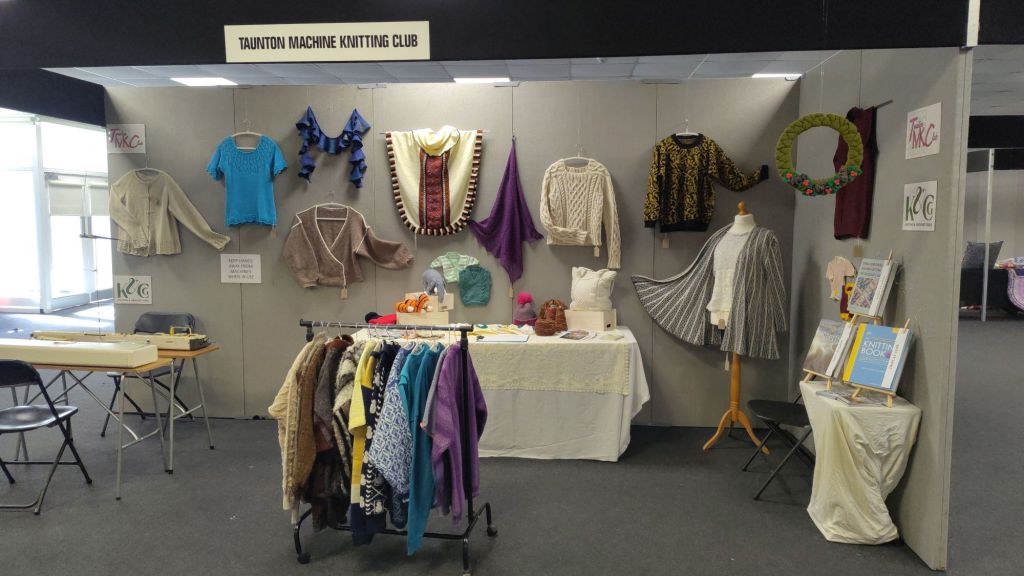
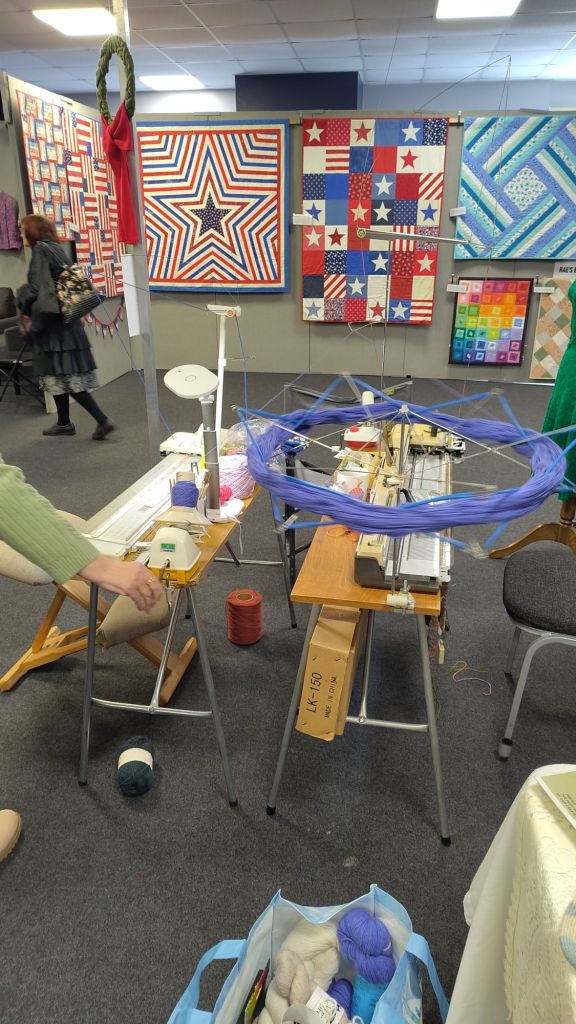
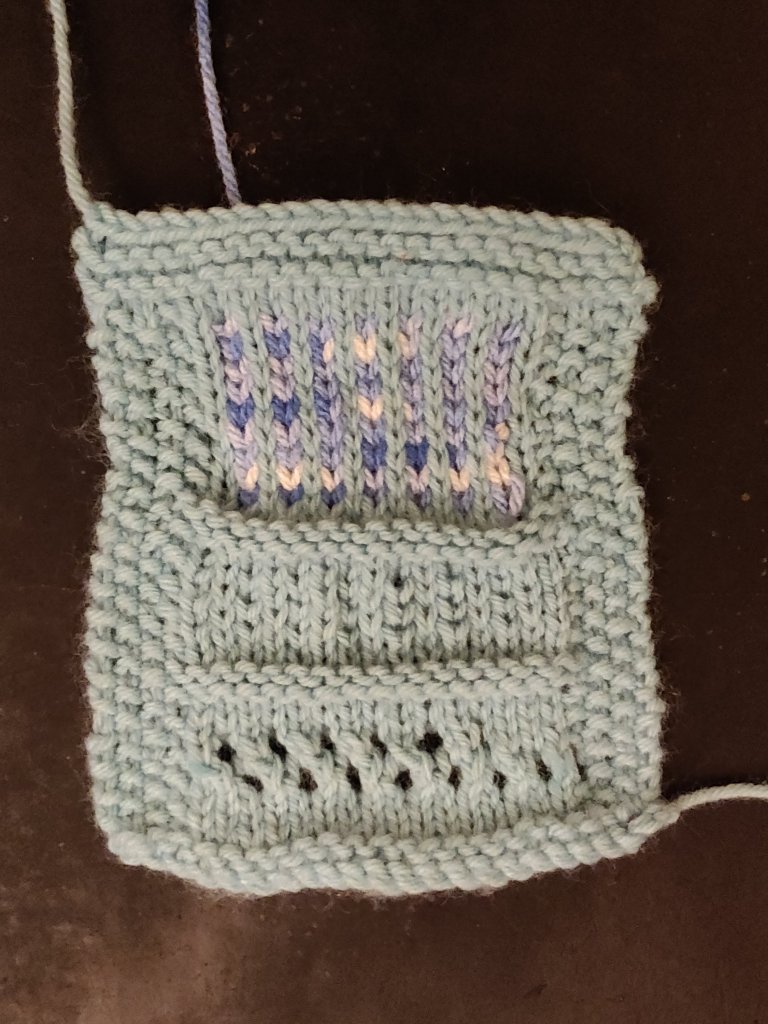
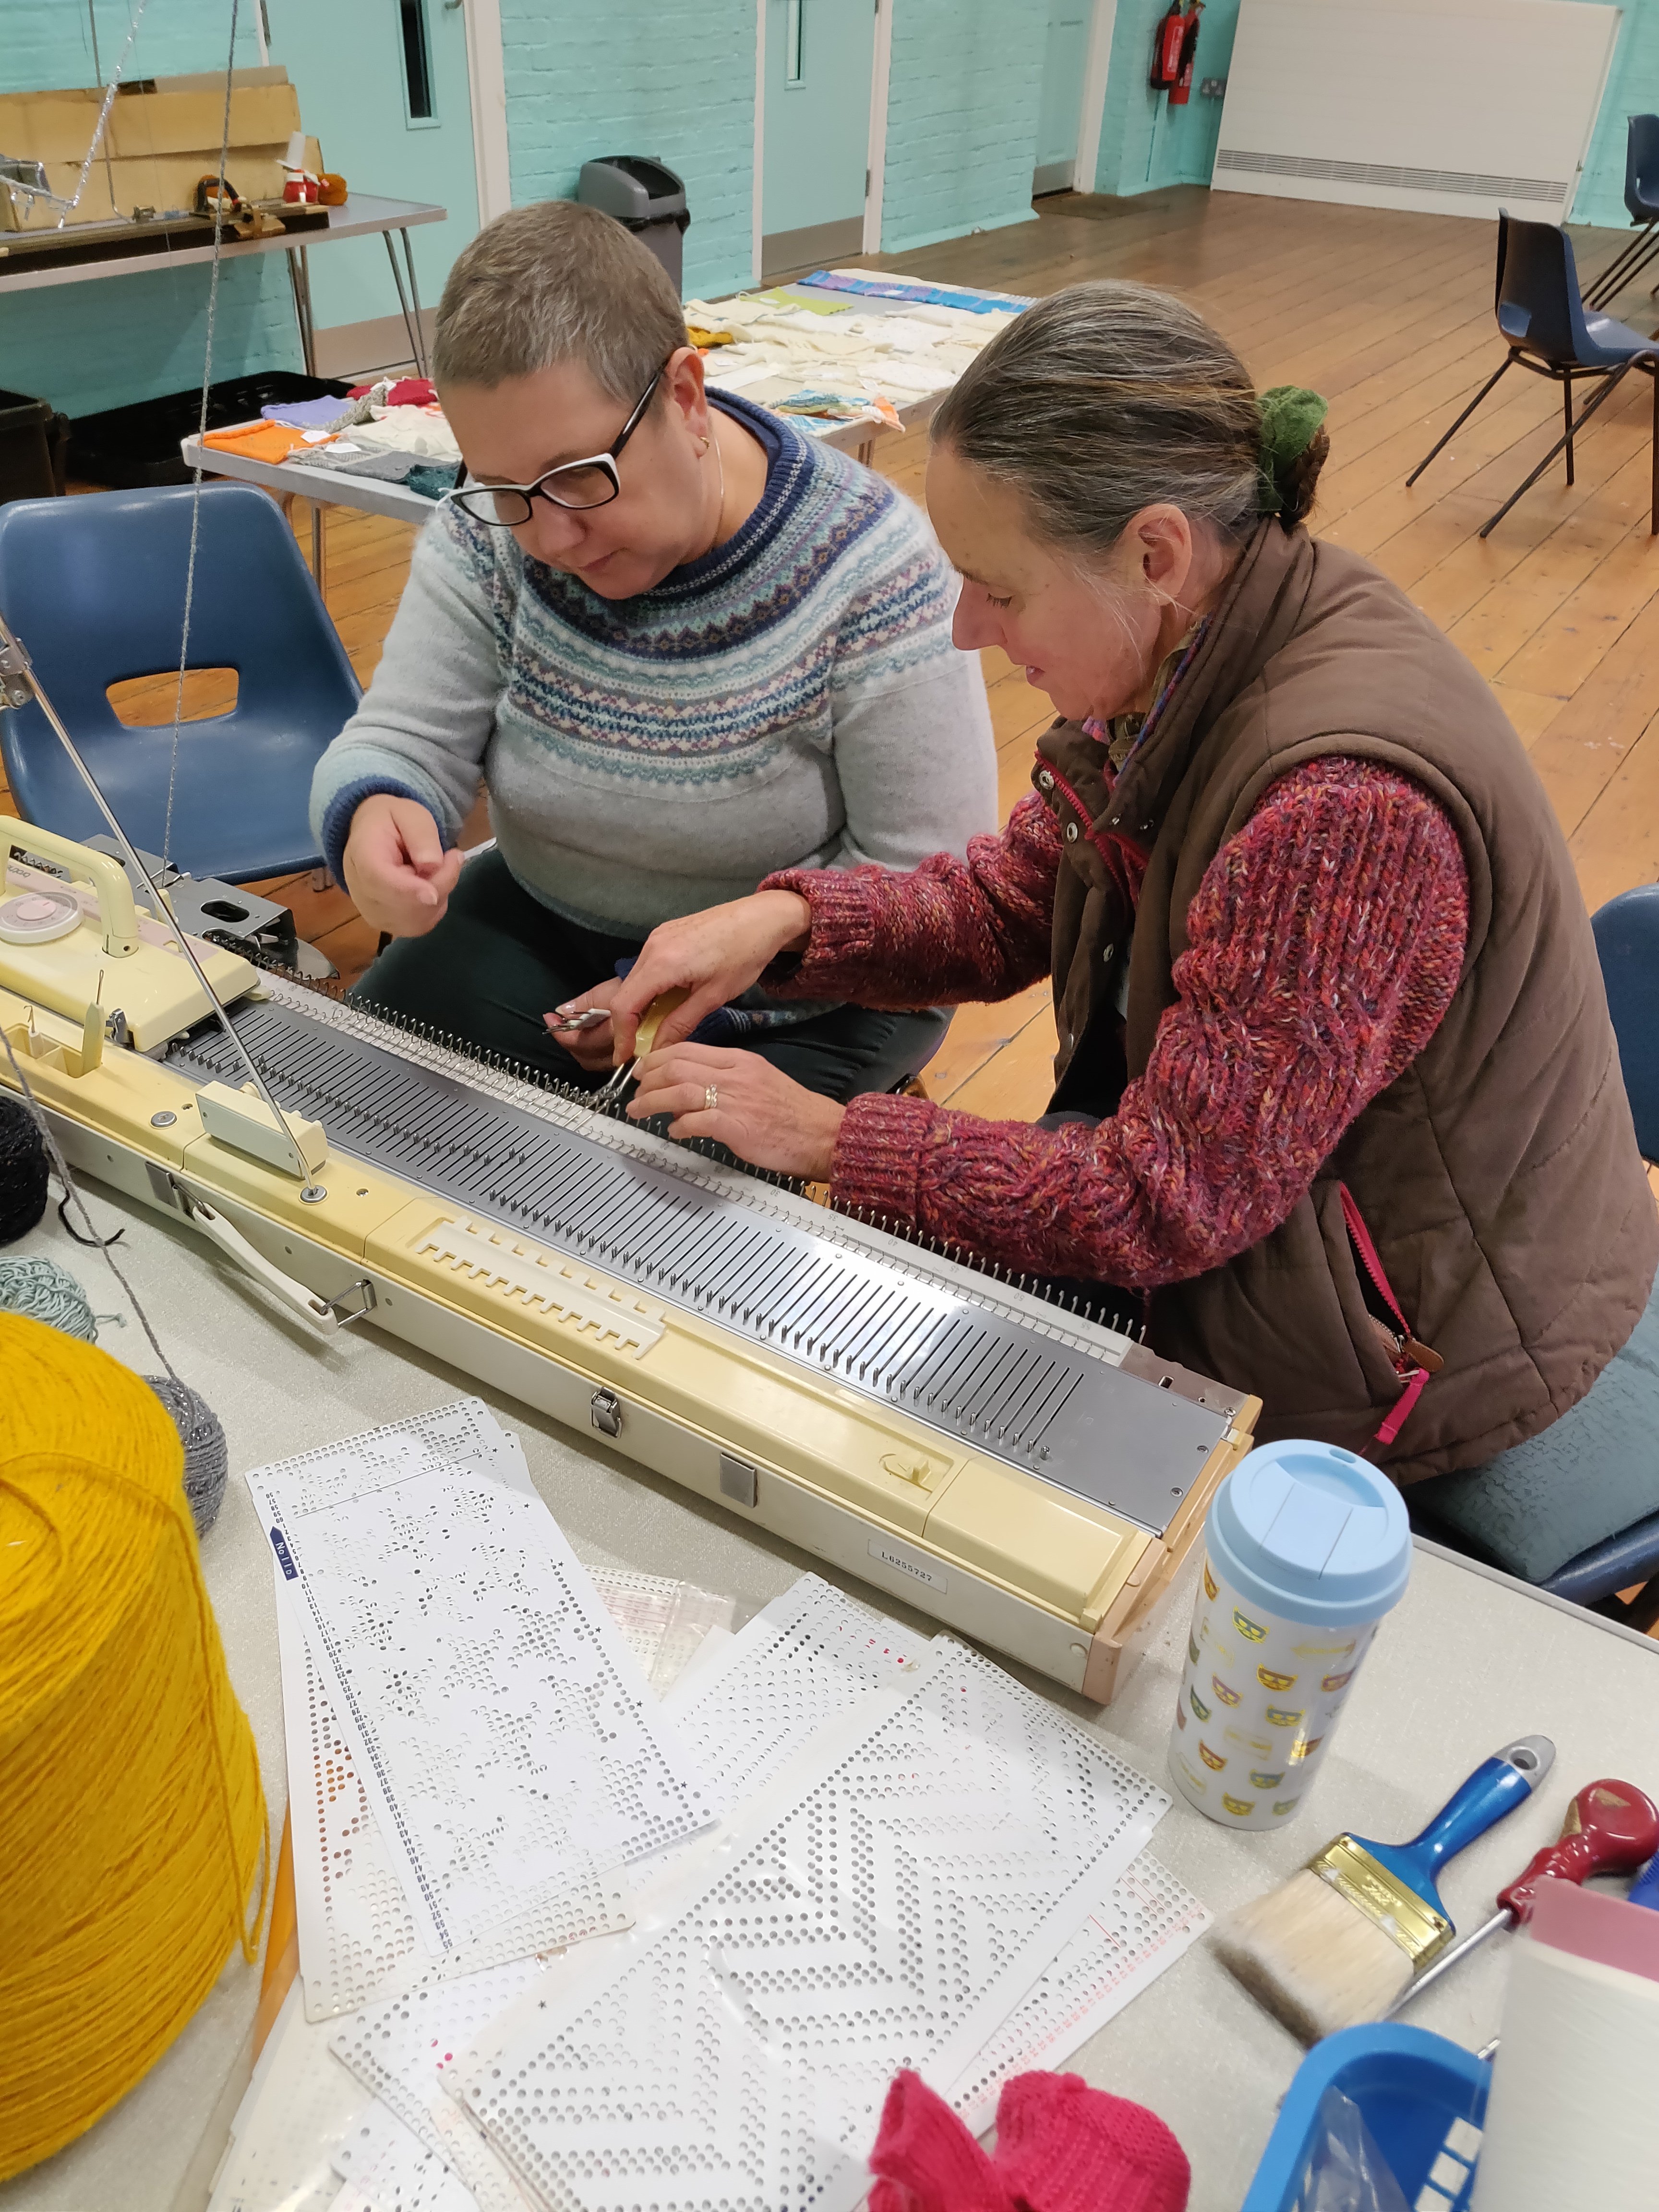
I’ve always been fascinated by short rows, or partial knitting as this technique is also called, so when the opportunity came to write a whole book about the technique I was super excited. The book opens with some interesting information about short rows to whet the appetite, the first chapter is about the absolute basics, so is ideal for people who have not worked with short rows before. The chapters progress through the different ways of using short rows; shown with examples, diagrams and written instructions. Some also have half scale sample patterns for practising the techniques which include more advanced uses, such as 3d shaping.. There are step-by-step instructions and each chapter builds on the knowledge of the previous chapter. The book ends with a chapter of patterns exemplifying the techniques covered throughout the book.
I so look forward to receiving my first copy!