Yes I know there is controversy about whether masks make any difference in this Covid-19 world, but I like to think they might. I certainly find one stops me touching my face, and makes me more aware of taking care. When on the bus for example – not that I’ve been on one for several weeks since moving to working from home.
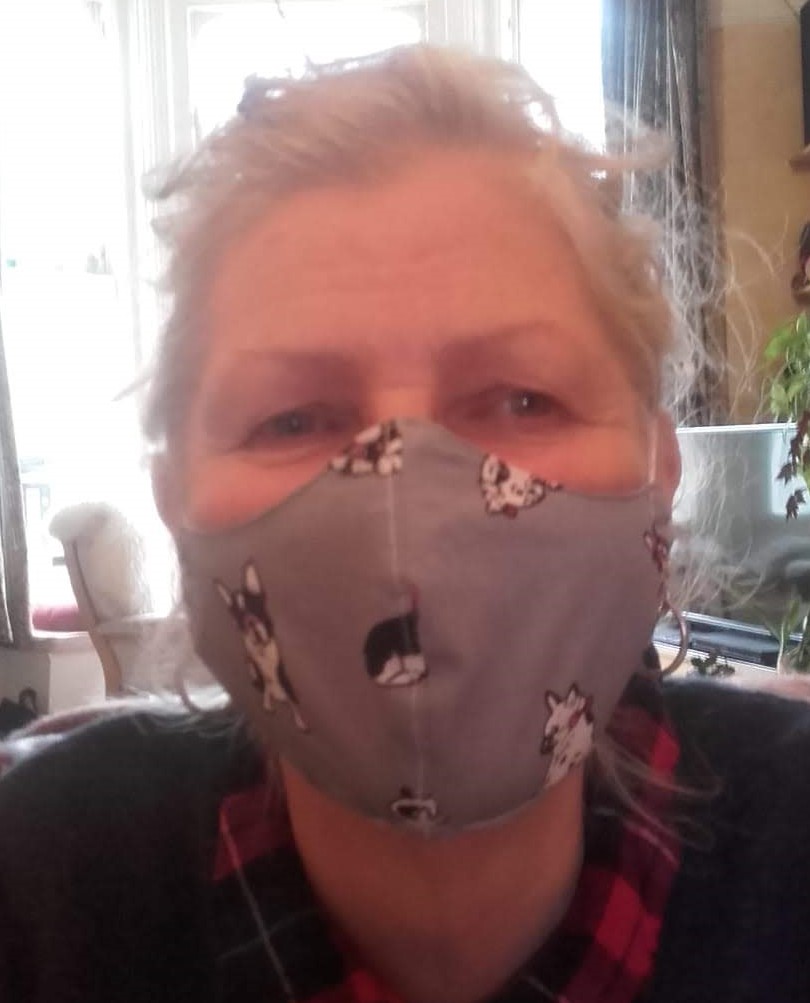
So I have been sewing them for my family. I had a stash of odd metres of several cotton prints which ideal to use up for this. Hunting around on the internet I found this site https://www.craftpassion.com/face-mask-sewing-pattern/. It has been updated and they have more pattern variations available now. These are all pdf files so will print out to size, and the ones with seam allowances added make it all very easy. Its one of the best I have found, and the masks fit well and look good, (well as good as they possibly can).
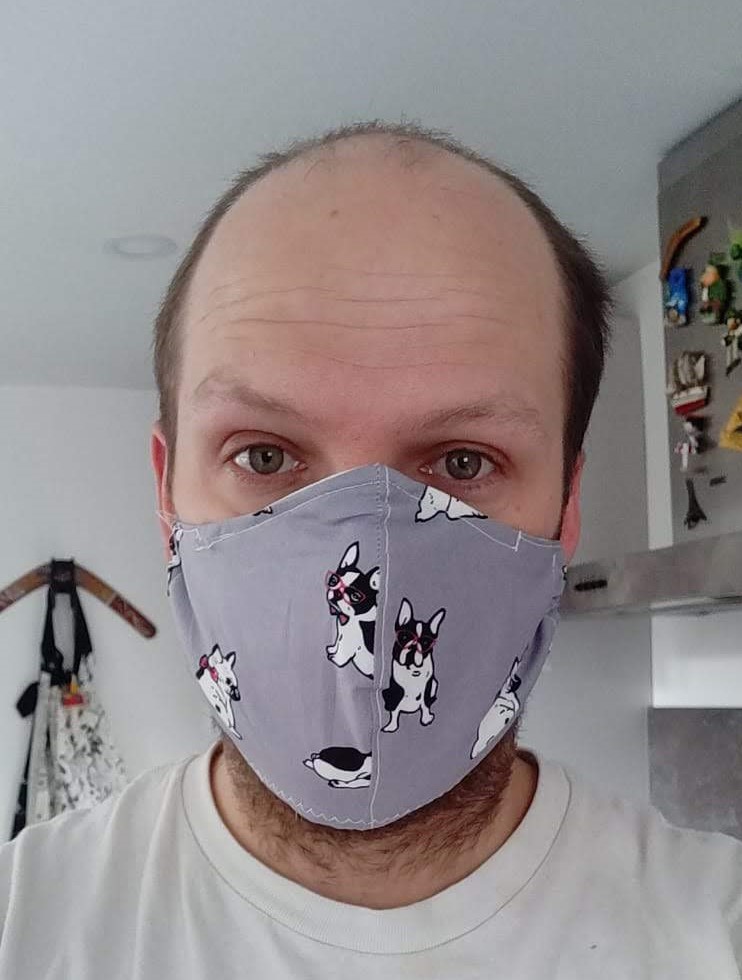
I made mine from the pattern No.1 (as that was all that was there at the time) , ‘Face Mask Sewing Pattern, WITHOUT seam allowance included’. I added 1cm seam allowances to the adult size. This fits OK, but for the second ones I added .5cm to the bottom front edge, tapering to the original line towards the sides. Along the top edge I added .5cm to the middle area of the cheek curve, tapering to the original line towards the nose and the sides, which he found more comfortable.
The version I developed from the Craftpassions design has a 9cm opening along the bottom edge to allow you to insert a tissue or nappy liner as an additional filter, and a wire inserted along the top edge that fits the mask closely over the nose. I now see that these features have been added to the Craftpassion website pattern as well. According to the comments on the website a US company has started to manufacture filter fabric to add to your own masks, but not sure this is available in the UK yet (if ever). http://Filti.com
I used a high count cotton for the lining, but a normal poplin-type print for the outer. Although microfleece is recommended I personally did not want to potentially breath in plastic fibres, so stuck with washed cotton.
Materials :
Patterned cotton fabric – between 1/4-1/2 metre per mask (depending on how the pattern runs and how you want this to fit on the face).
For the shaped mask I also used plain cotton for the lining fabric, but you would need less than 1/4 of this.
Sewing thread
78cm round hat elastic or similar (2mm feels secure)
10cm of plastic coated wire or pipecleaner
Finding a wire that grips your nose comfortably but effectively has been a bit difficult. I used wire ties from food bags in the end, and also some of the plastic coated wires that are used to wrap around the flex of new electical goods. That is great.
Wash the masks every day if possible, and change the filter if its not washable.
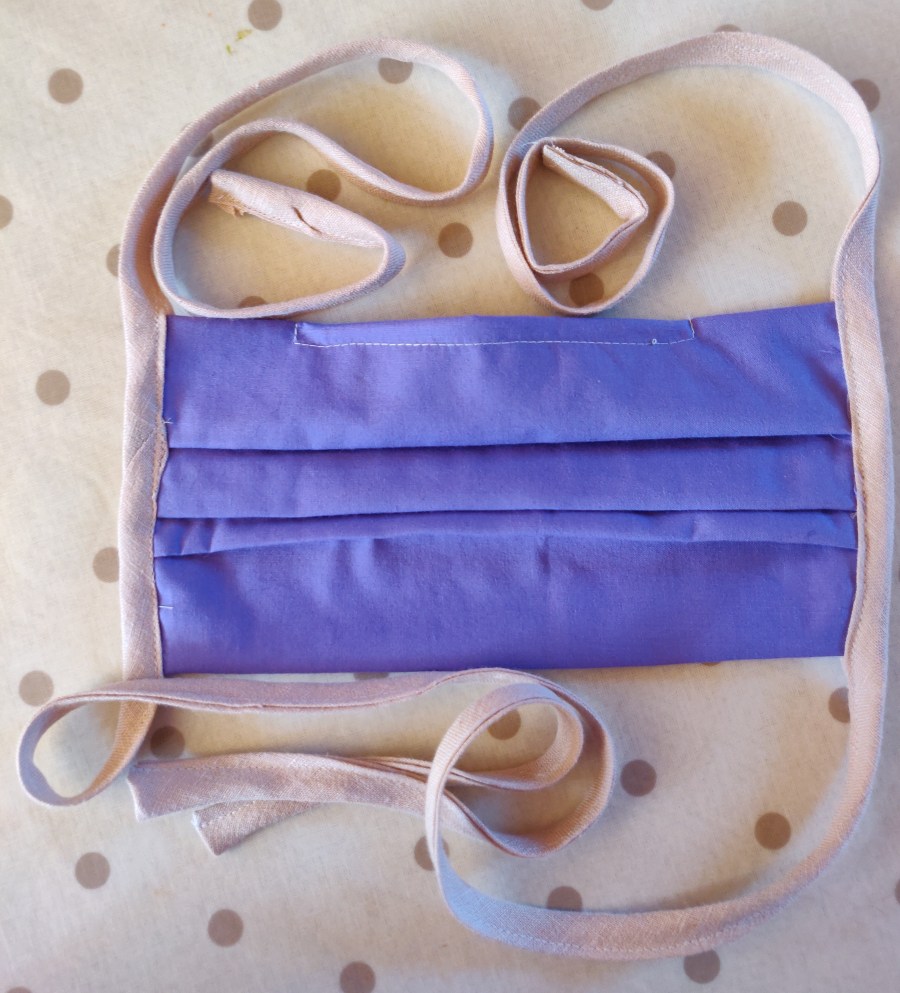
Another design I have made is the pleated rectangular design – these look more like the blue disposable ones. For this design I cut 1 rectangle of cotton 36cm x 20cm (includes a 1cm seam allowance), and 2 smaller 4cm x 11cm rectangles that will make the channels for the ties or elastic to hole the mask on .
- Fold the piece in half so that you have a piece 18cm x 20cm. Mark and press the fold line. One side is ‘front’ and the other ‘back’.
2. Turn up the bottom edges of front and back by .5cm and sew a the hem. I used a zig-zag stitch, but straight stitch will do fine.
3. Open the piece up and ‘front’ and ‘back’ create 3 pleats that fold away from the centre fold. Start the first pleat 4cm from the centre fold line. The aim is to shorten the 18cm length to 10cm, (this includes a 0.5cm hem allowance along the bottom and top edge) so you want to fold just over 1cm into each pleat. Leave a little gap between each pleat so that they don’t overlap. I found this really fiddly to do. Using an iron to press the pleats into place is the best method. After making a few masks I found that as long as I had the right length I wasn’t too fussy about getting the pleats perfect. If the length is a little long you can gather the extra in as you sew the channels on.
4. Sew along the sides to catch the pleats in place. Don’t make the mistake I did on some of sewing the front to the back at this point – that comes later on.
5. Take the small rectangles (channels) and fold 0.5 cm hem along both shorter ends, (making the pieces 10cm in length), and sew these hems in place.
6. Right sides out, fold the small rectangles in half along their length and press along the fold. These are the channels.
7. With wrong sides out, fold the bigger piece in half along the centre fold. Insert the folded channels (right side out) into the open ends of the bigger piece, folded edge first so that they are inbetween the front and back pieces. Line up the raw edges of all the pieces.
8. Sew a 1cm seam along the edges, through all four layers of fabric.
10. Turn the mask right side out. Press. Top stitch along one end, and along the bottom, joining front to back. Stop 5cm from the centre and repeatedly back stitch to secure the stitching. Top stitch along other edge and along bottom as before, leaving the same 5cm gap.
I added a wire across the nose which helps the fit. The quick and dirty way to do this is to insert a length of wire approximately 10cm long (plastic coated or a pipecleaner) into the mask so that it lies inside the centre fold. Then stitch the two ends and the long edge towards the bottom of the mask to secure it in place. If you want to be more delicate, before Step 7 you could sew a channel along the inside of the top edge in which to insert the wire. If you leave one end open you could then remove the wire before washing the mask.
Finally cut 78 cm of hat elastic (or whatever elastic you have to hand), and thread it through both channels and tie to make a complete a circle. The bottom loop goes around your neck and the top one over your head.
UPDATED VERSION 18th April 2020
I have revised the rectangular pattern described above somewhat, so that the pleats are not so fiddly to fold. This means that the mask has a different looking front and back, which might be good as it will prevent you inadvertently putting it on with the ‘dirty’ side inwards if you take it off mid-wear. Because in this new version the pleats are folded through the double layer of material, the side channels have to be attached slightly differently. You can download an illustrated pdf instruction sheet for making the new version of the mask below. Please use these resources to make masks for keyworkers.
A true to size pdf pattern for cutting out the mask pieces can be downloaded below. When printing, make sure to choose A4 paper, and Real Size in the print options. I have added a 5mm square box so that you can check that your chosen print size is accurate.
Please note both the that pattern and instruction sheet may be reproduced for personal use and distributed for charitable use, but it may not be used commercially for profit.
