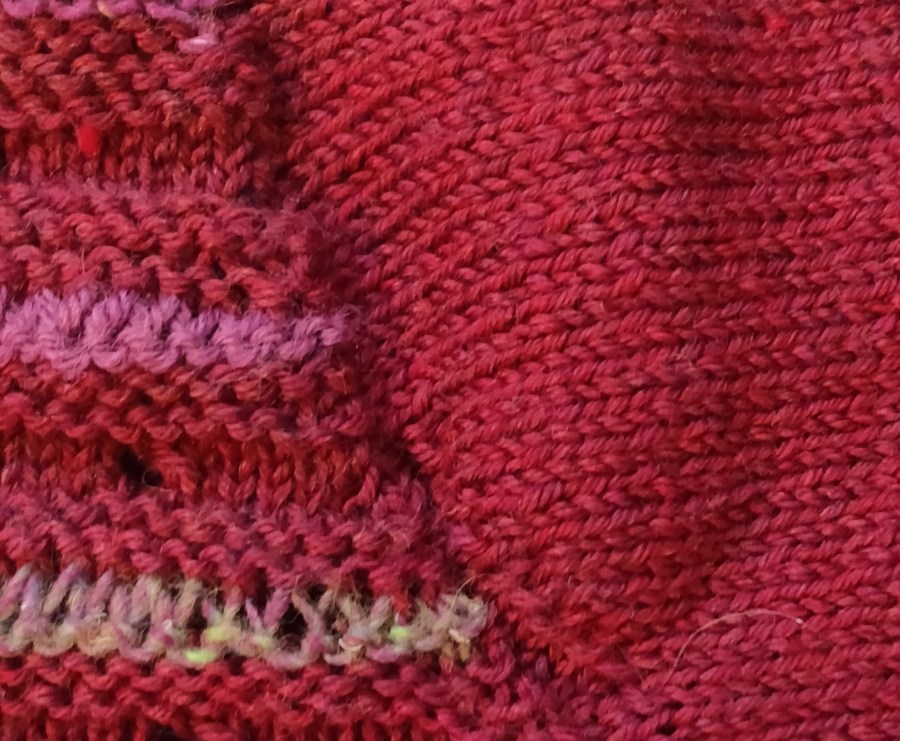
Today I finally completed a top-down jumper I started last December! I bought the main 100% wool yarn in Hereford, and the stripes are worked in two odd balls, one Noro and the other Icelandic. I’m looking forward to hearing it next winter.

Today I finally completed a top-down jumper I started last December! I bought the main 100% wool yarn in Hereford, and the stripes are worked in two odd balls, one Noro and the other Icelandic. I’m looking forward to hearing it next winter.
Whilst demonstrating as a member of a local textile group, Woolly Umbrella, at the Wild Chalk festival, I kept a drop-spindle of my own going with singles that I Andean plied at the end as part of the demo.
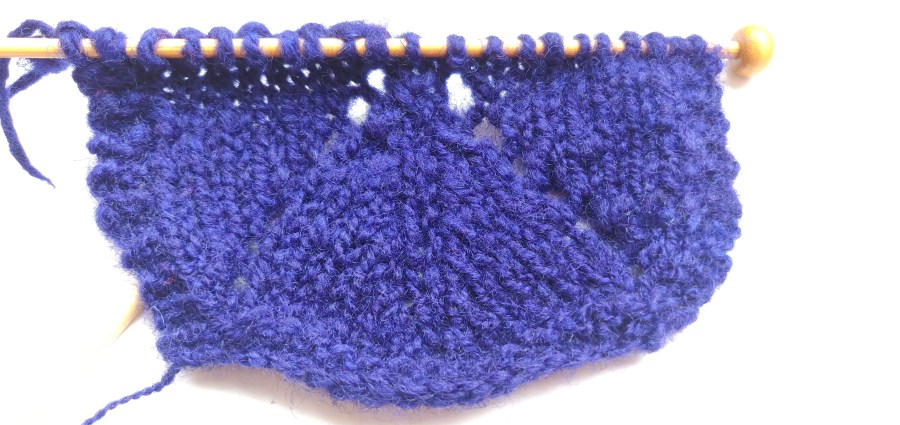
I don’t think repeatedly putting it down and restarting helped me get an even twist, or it may have been the plying, or a mixture of both, but the yarn isn’t balanced. I knitted a lace pattern with it, and the bias isn’t so pronounced as in stocking stitch, but I can see it.
For fun I added the knitted sample to a purple dye bath I had prepared to dye some other yarn, and here is the result.

Hand spun yarn dyed with purple acid dye.
Spinning wheel drive ratio is the number of times the bobbin revolves whilst the drive wheel makes one revolution. It is governed by the size of the whorl that drives the bobbin. There is of course the effect of any brake to be considered as well, but this has to be adjusted to get the yarn to wind onto the bobbin and is not the same as the drive ratio.
Most modern wheels offer different ratios by providing several different sized whorls on the bobbin or flyer. Probably because my upright double drive is an old wheel, and I mean old, wobbly and fragile – one that would be termed ‘vintage’ on eBay, it only has one ratio (it only has one whorl on the bobbin). I tend to over-spin when using this wheel, so I wanted to teach myself to make softer yarn and thought understanding drive ratio might help me. Being a bit techie and liking to understand how things work, I decided as a first step to check out what the drive ratio is on my upright double drive wheel.
Using advice from ‘Spinning Wool – beyond the basics’ by Anne Field, I started the process. Firstly I removed any yarn from the orifice and bobbin and slackened the tension screw to the lowest setting. Next I tied a tag of yarn on one arm of the flyer as a marker, and aligned this arm with the rear maiden. Now, using my hand I turned the wheel one complete revolution, counting how many times the tag of yarn passed the rear maiden. This figure is the drive ratio of the wheel as it is set up (remember that a different sized whorl will give a different ratio). In this example, the bobbin revolved 6 times during one revolution of the drive wheel, which means that my old double drive upright wheel has a 6:1 ratio.
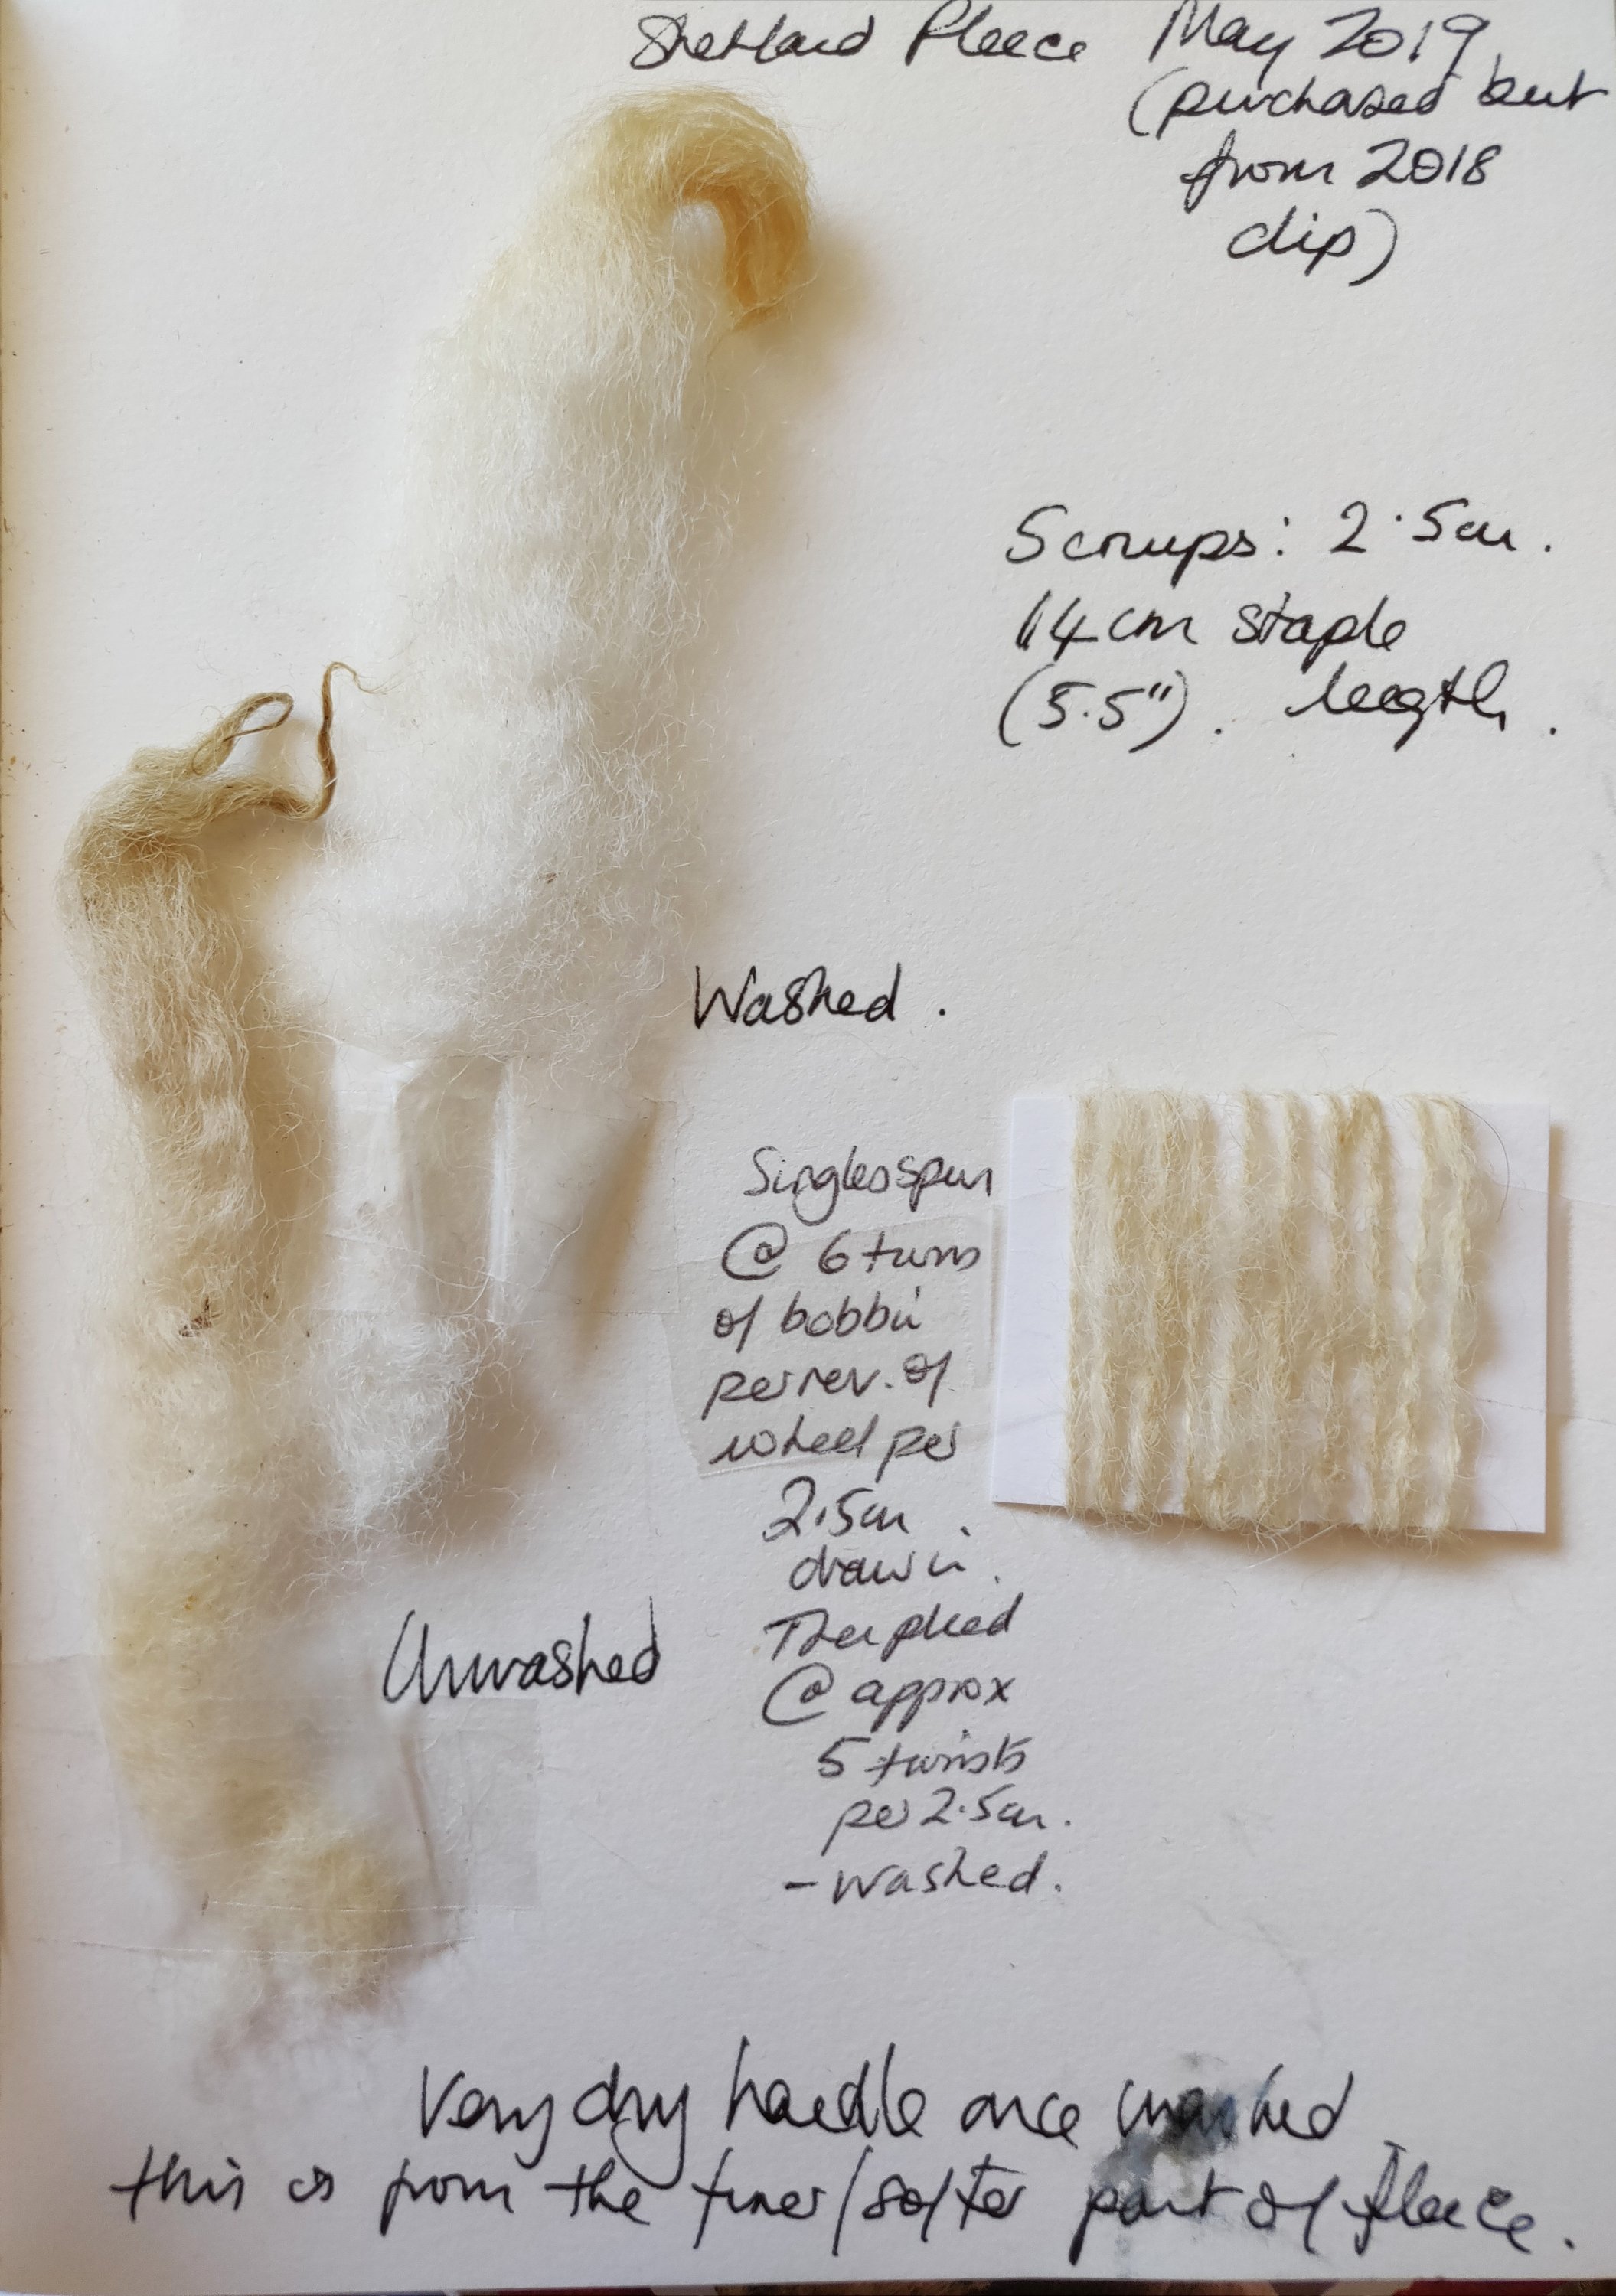
Next in my experiment to spin softer yarn I trawled further advice from Anne Field. She suggests that the fibre itself can give you information as to how to spin it, and that frequency of crimps along the staple length of fibre can give you a clue about how the twist frequency. In her opinion a fibre with 7 crimps in 2.5cm, for example, is best spun with 7 twists per 2.5cm of singles. OK, I thought, so I pulled a staple from the Shetland fleece I am working with, and counted the crimps per 2.5cm. I used a magnifying glass to help me, and came out with a figure of 5 crimps in 2.5cm, which meant that I needed to aim for 5 twists in every 2.5cm of singles as I spun the fibre.
Once again I referred to Field’s book, and from the suggested methods for establishing a visual reference for the distance in which the twists should lie, I chose to mark 2.5cm on a piece of paper. I then taped this my lap whilst spinning. Other methods included marking these lines in your spinning apron, or using points on your fingers, e.g. tip of thumb to knuckle. This last one is the one I plan to move to once I am a bit more confident.
To re-cap, my aim, based on the Shetland fibre’s crimp, was to have 5 twists in 2.5cm of yarn. This meant 2.5cm of twisted yarn had to be drawn onto the wheel during one revolution of the drive wheel (5 revolutions of the bobbin), thus 5 twists would be inserted into that set length of yarn.
Anne Field estimates that approximately 1 twist will be lost in each 2.5cm of singles once the yarn is plied (although I am a bit hazy about how that happens), and so it seemed to me that I could spin the yarn with 6 twists per 2.5cm and finish with the 5 twists I wanted. This fitted in really neatly with the wheel’s drive ratio of 6:1, (1 treadle, and therefore 1 revolution of the wheel, turns the bobbin 6 times). This made me wonder whether this wheel was designed and made for spinning this type of wool from the older British breeds.
So by treading SLOWLY, drafting 2.5cm of fibre and releasing 2.5cm of yarn into the bobbin for each revolution of the drive wheel (one pedal motion), I actually managed to make a start.
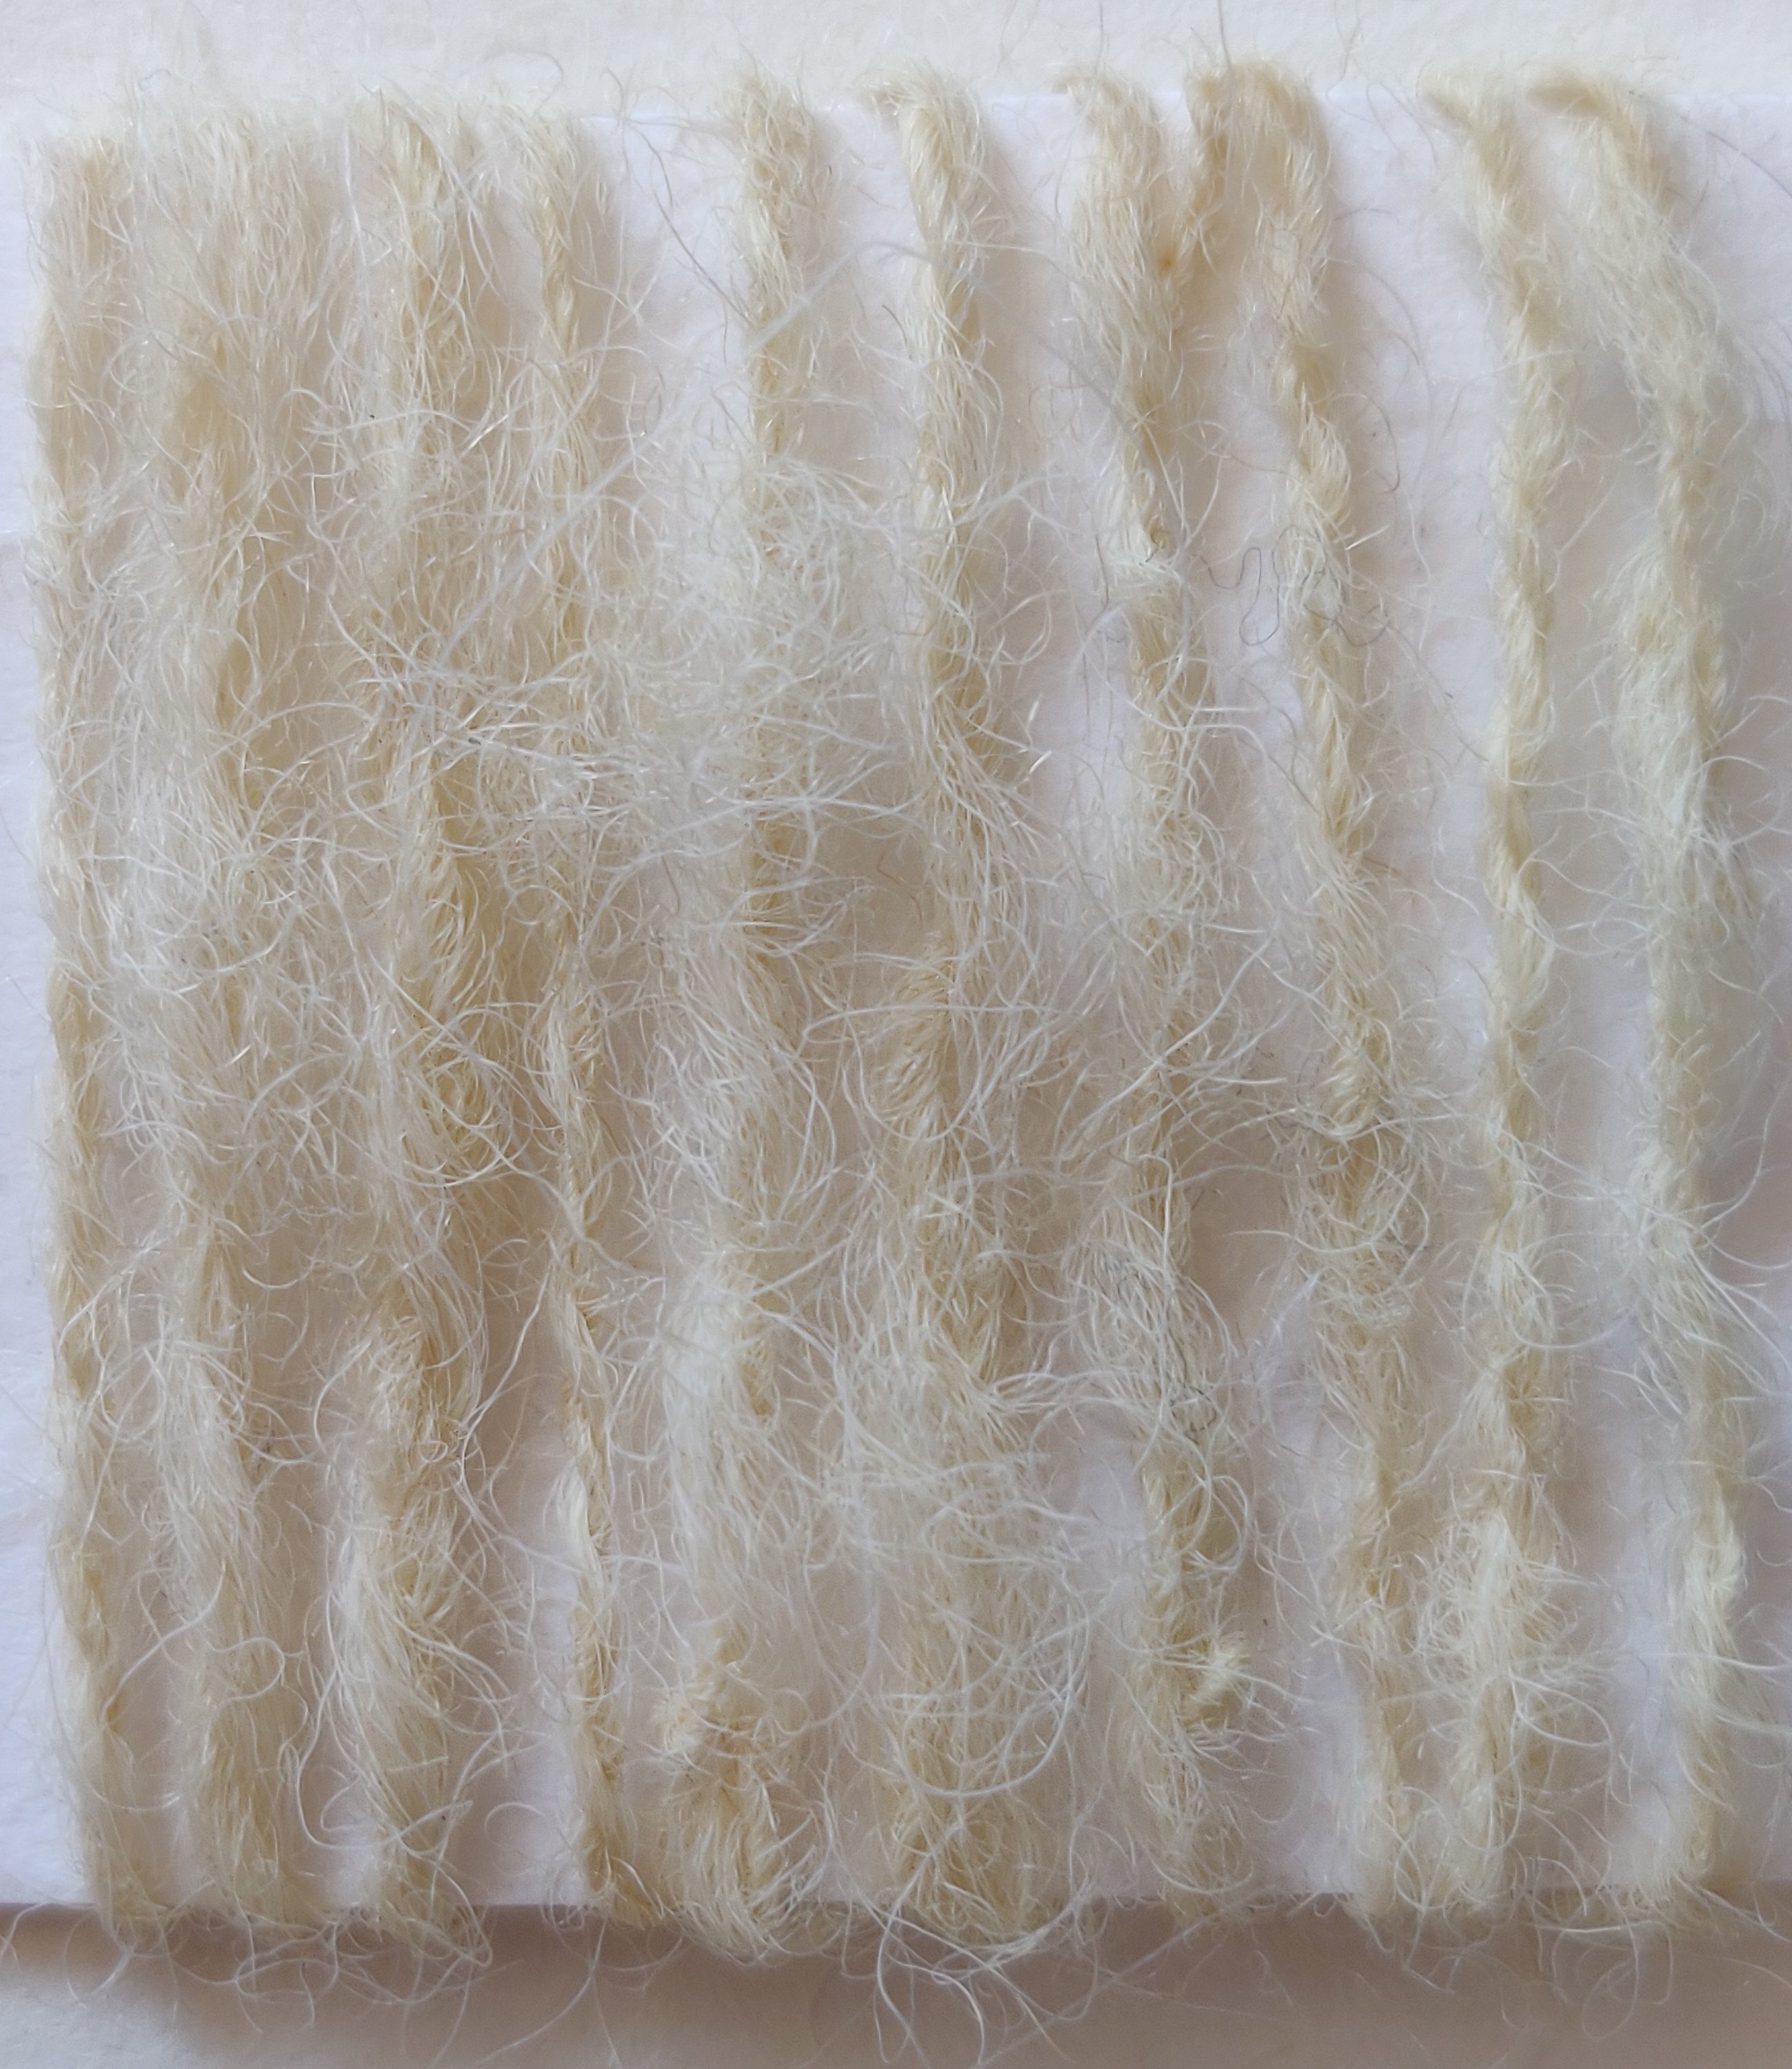
To check how I was doing I stopped after a few metres of singles, pulled some back off the bobbin and let the yarn twist back on itself to emulate the final plied yarn. After evaluating the twist, and adjusting my spinning accordingly, I eventually managed to achieve approximately 5 twists per 2.5cm! Yes….I was getting it – slowly.
The resulting yarn is so much softer and fuller than my normal attempts – and a small hank is now drying in the bathroom for me to evaluate tomorrow.
My next step is to lengthen the draft and feed 5cm of yarn onto the bobbin in 2 treadles (revolution s of the drive wheel). In theory I can increase the length of draft and feed depending on the length of fibre I am working with, providing it has 5 crimps per 2.5cm.
I’m not sure what happens if there is more or less crimp, and therefore more or less twist required in 2.5cm. That is my next learning curve.
I may I have made some mistakes and probably over generalised, so welcome comments and advice.
A pre-publication glimpse of my new book, Translating between Hand and Machine Knitting.
 To be published by Crowood Press in summer 2018, this book is lavishly illustrated with clear step-by-step instructions on knitting techniques, stitch structures and fabric constructions.
Unlike many other knitting books, this one explains why knit stitches behave in certain ways, and how to achieve effects using combinations of stitches. Each stitch construction is analysed and explained with diagrams and examples, for example tuck stitch (in hand knitting this is known as broiche stitch) is clearly illustrated so that the route of the yarn is tracked, and effects on vertically and horizontally adjoining stitches can be seen. Fabrics made with this stitch in both hand and machine knitting are illustrated, explained and compared and contrasted in both methods of knitting. The most suitable method is highlighted and pros and cons of methods discussed.
The constructions of textural and colour effects are explored and described by hand and machine knitting methods. There is a whole chapter explaining how to knit a hand knitting garment pattern on a machine, or vice versa, and how to subsitute yarns between both methods. Examples and illustrations support every step, and shortcuts and hints and tips are scattered strategically throughout the text.
I am proud to say that my book has been written with the primary aim to enable the reader to take control of their knitting and create exactly what they want in both knitted textiles and knitted garment shapes.
It will take pride of place on any knitter’s book shelf, sitting next to The Knitting Book and Knit Step-by-Step. Preorder on Amazon
