Yesterday was a busy day, and included a two hour workshop on very basic natural dyeing. Because I wanted to make it as accessible as possible, and keep costs low, it mainly featured ‘kitchen’ dyeing.
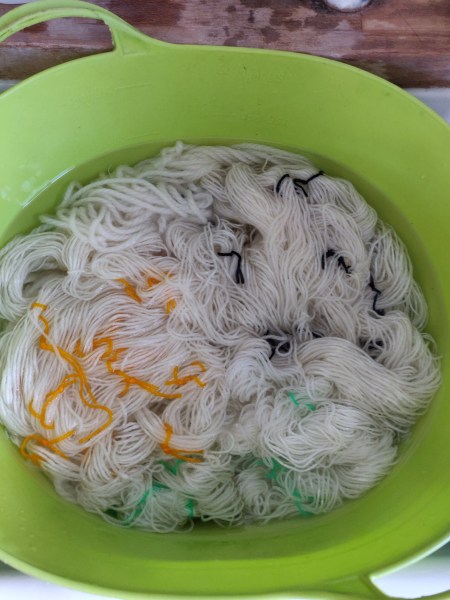
I’d asked people to provide thier own 100% DK wool yarn, (I even suggested a yarn brand to look for as I know this one dyes really well), and prepare it in hanks. I then mordanted it over the weekend, and took it into the workshop ready to go into the dye. Unfortunately there was some confusion (well isn’t there always), and so some brought Aran, others brought 4ply and they were all different spins and types of wool, (but luckily only wool blends, not with synthetics). I’d written out clear instructions on how to make balls into 10g hanks on the back of a chair – but even that went a bit wrong for some, so I then had to unwind and re-hank it all. At that point I began to wonder why I was doing this for free!
So now I had a kilogram of yarn soaking ready to go into an Alum mordant. Of course the more wool, the more water, and the more likelihood that you will soak the floor – which of course I did. So by the time I got it into the mordant I was not in love with the yarn!
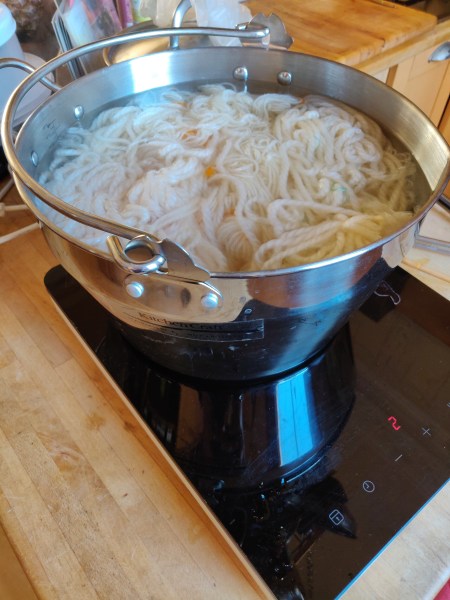
My BIG pan was not big enough, so two lots were necessary, and the room was a bit steamy by the end of it all. I use a portable induction hob for dyeing – I think it is pretty energy efficient – and love it’s responsiveness.
So on to the workshop. Our dye materials were:
- red cabbage
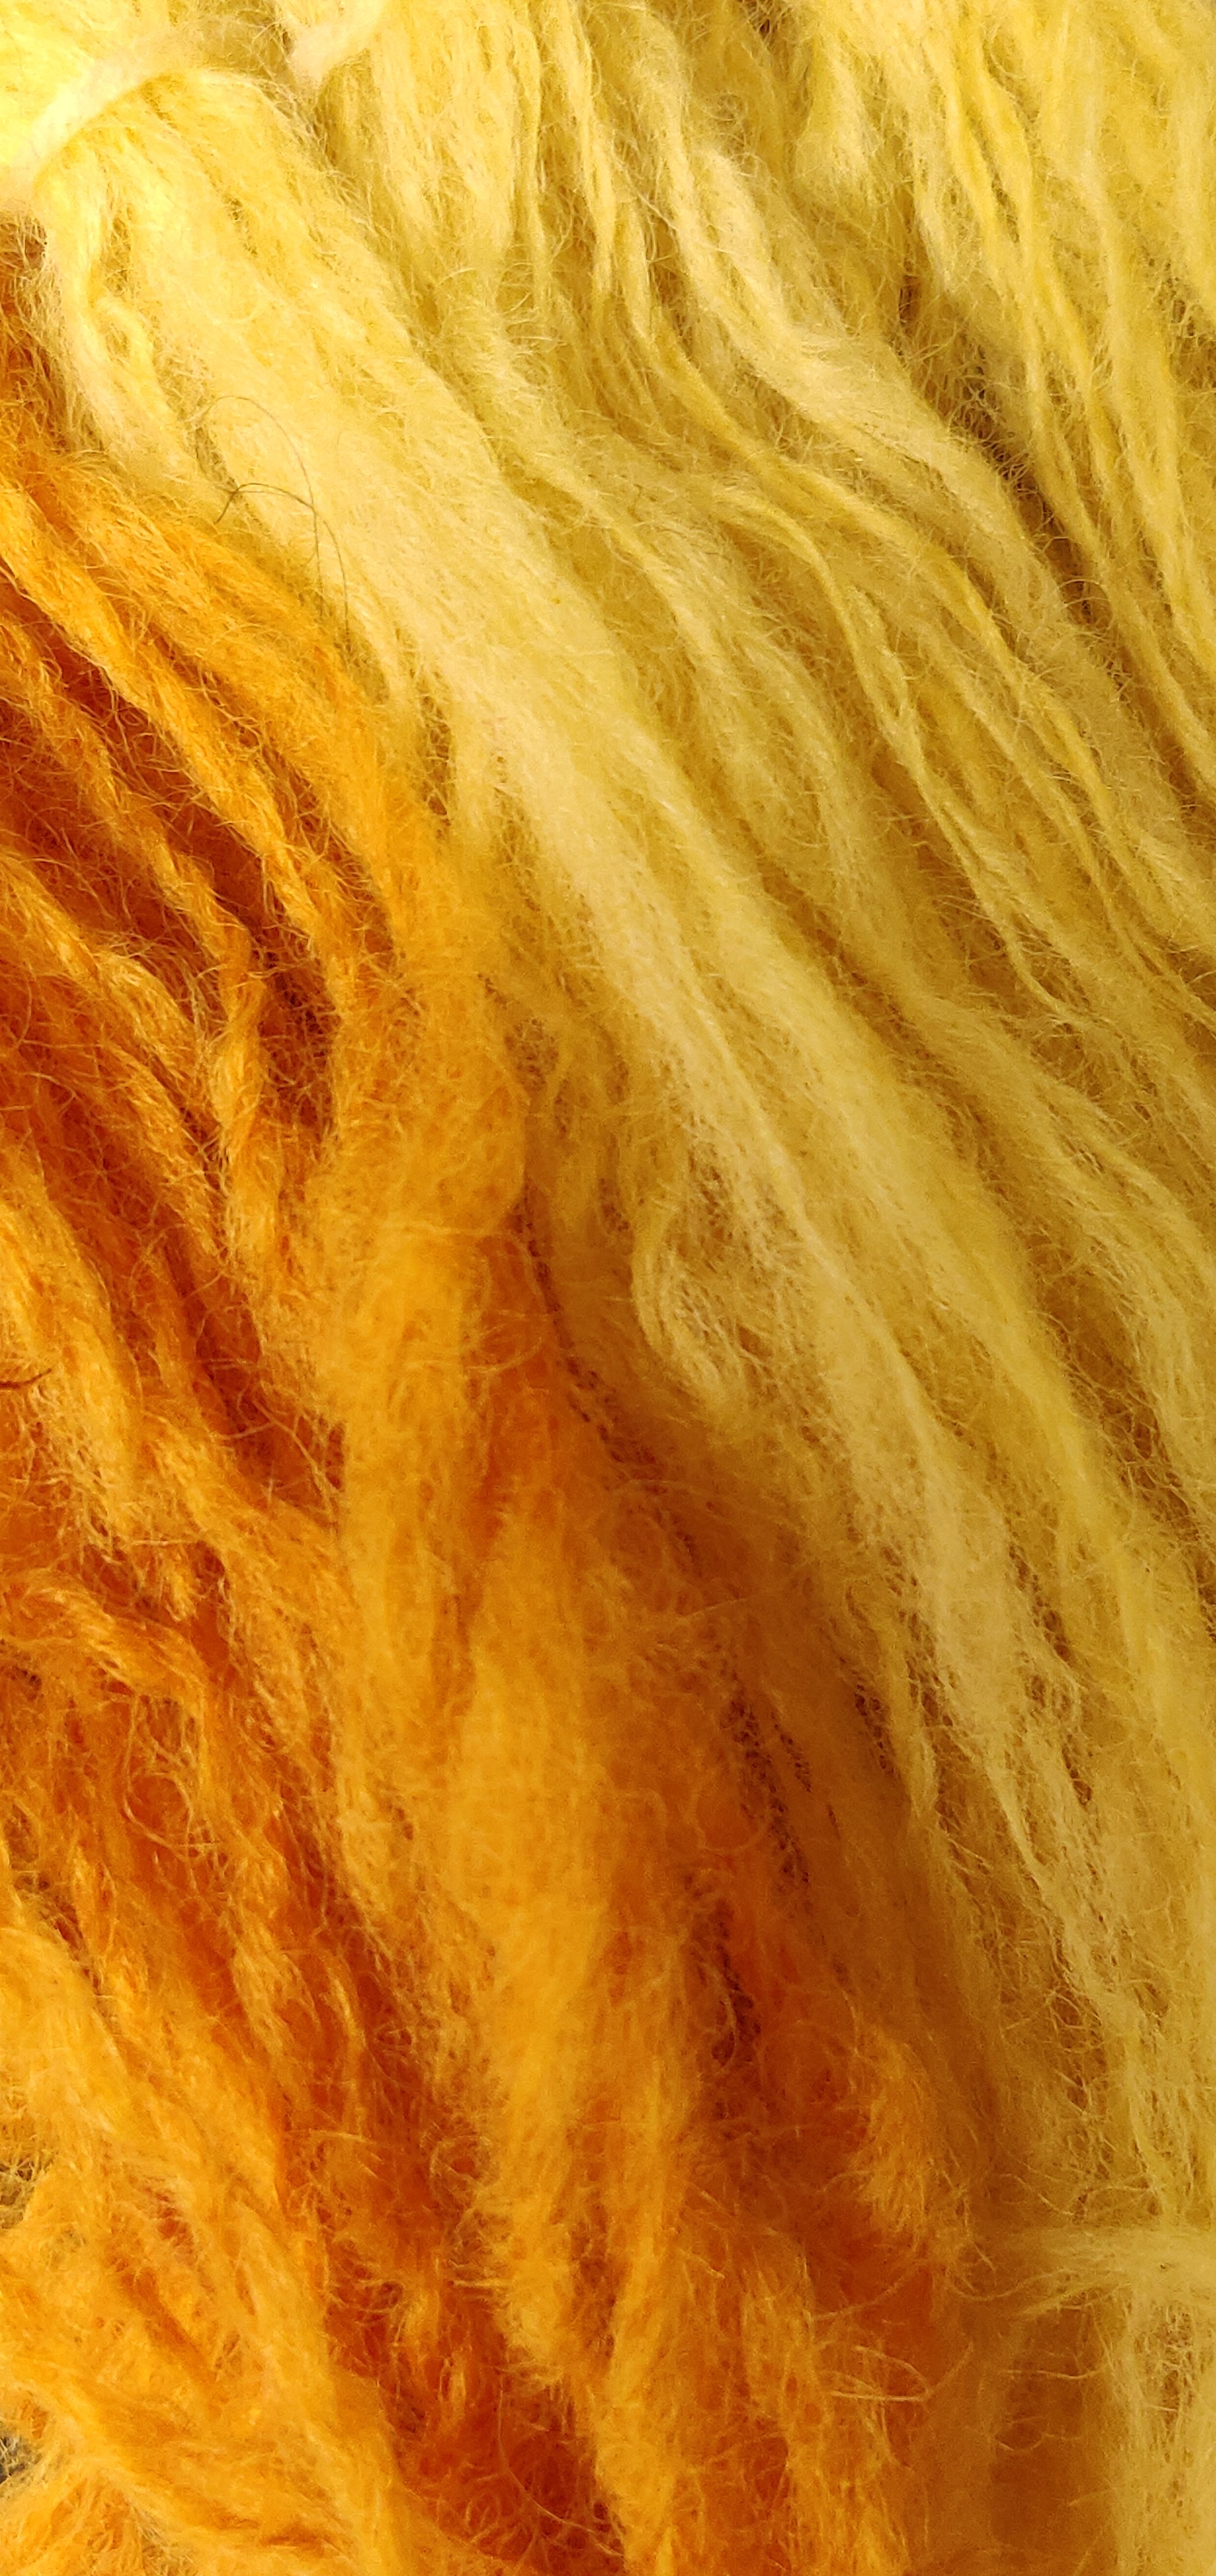
- turmeric
- spinach
- avocado stones (soaked in 1:6 ammonia/water solution for a week beforehand)
- avocado skins (half soaked in 1:6 ammonia solution for a week beforehand)
- used coffee grounds
- onion skins
Ammonia and vinegar were the only modifiers used to change the acidity of the dye baths, as I did not want to work with copper or iron in this situation.
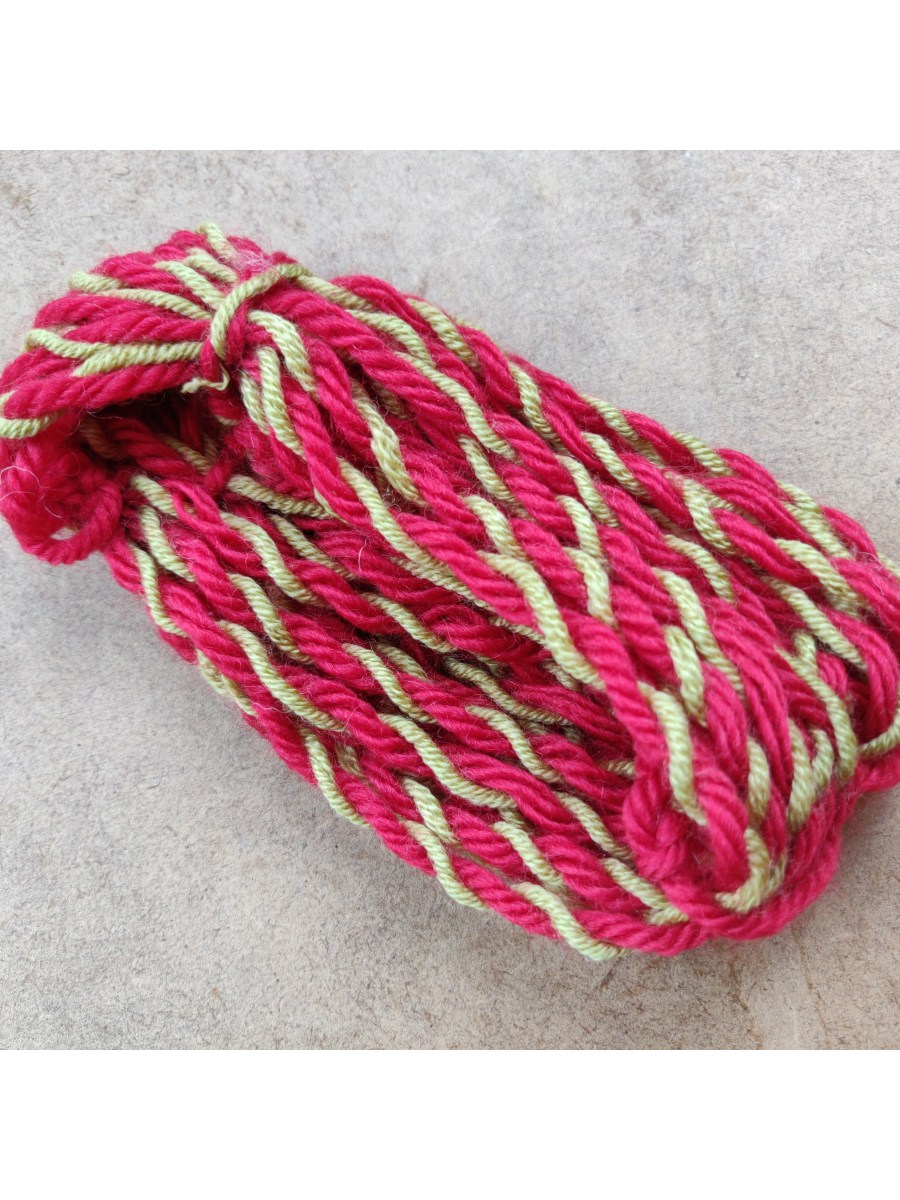
Firstly a concentrated dye was made by boiling up the chopped red cabbage, onion skins, and coffee grounds in enough water to cover them. The avocado baths were brought to a high heat, but not boiled as this helps keep the colour fresh and pinker. Once the colour was really released (this took between 30-60 minutes), these concentrates were strained into larger pots, cold water was added to make them lukewarm, and salt stirred in to help fix the colours. The red cabbage was divided into three baths: one left plain, one with ammonia added and one with vinegar added. The plain dye yields a purply-blue, ammonia encourages the dye to yield blue/green and the vinegar brings out a lilac colour. This was the fun part; the students introduced their hanks of yarn to different dye baths and they were brought back up to tempature. There were lots of ‘oohs’ and ‘ahhs’ at the lovely colours – even though I explained that they may change or wash out!
They experimented with tie-dying, dip-dyeing and rinsing and over-dye colours. Some more successful than others of course, and time (and hanks of yarn) were limited. One asked me, ‘Can I do this at home?’ , which seemed a strange question to me, but in retrospect it was a reasonable one, because it all seemed a bit to easy!

turmeric, red cabbage, onionskins, avocado skins, avocado stones