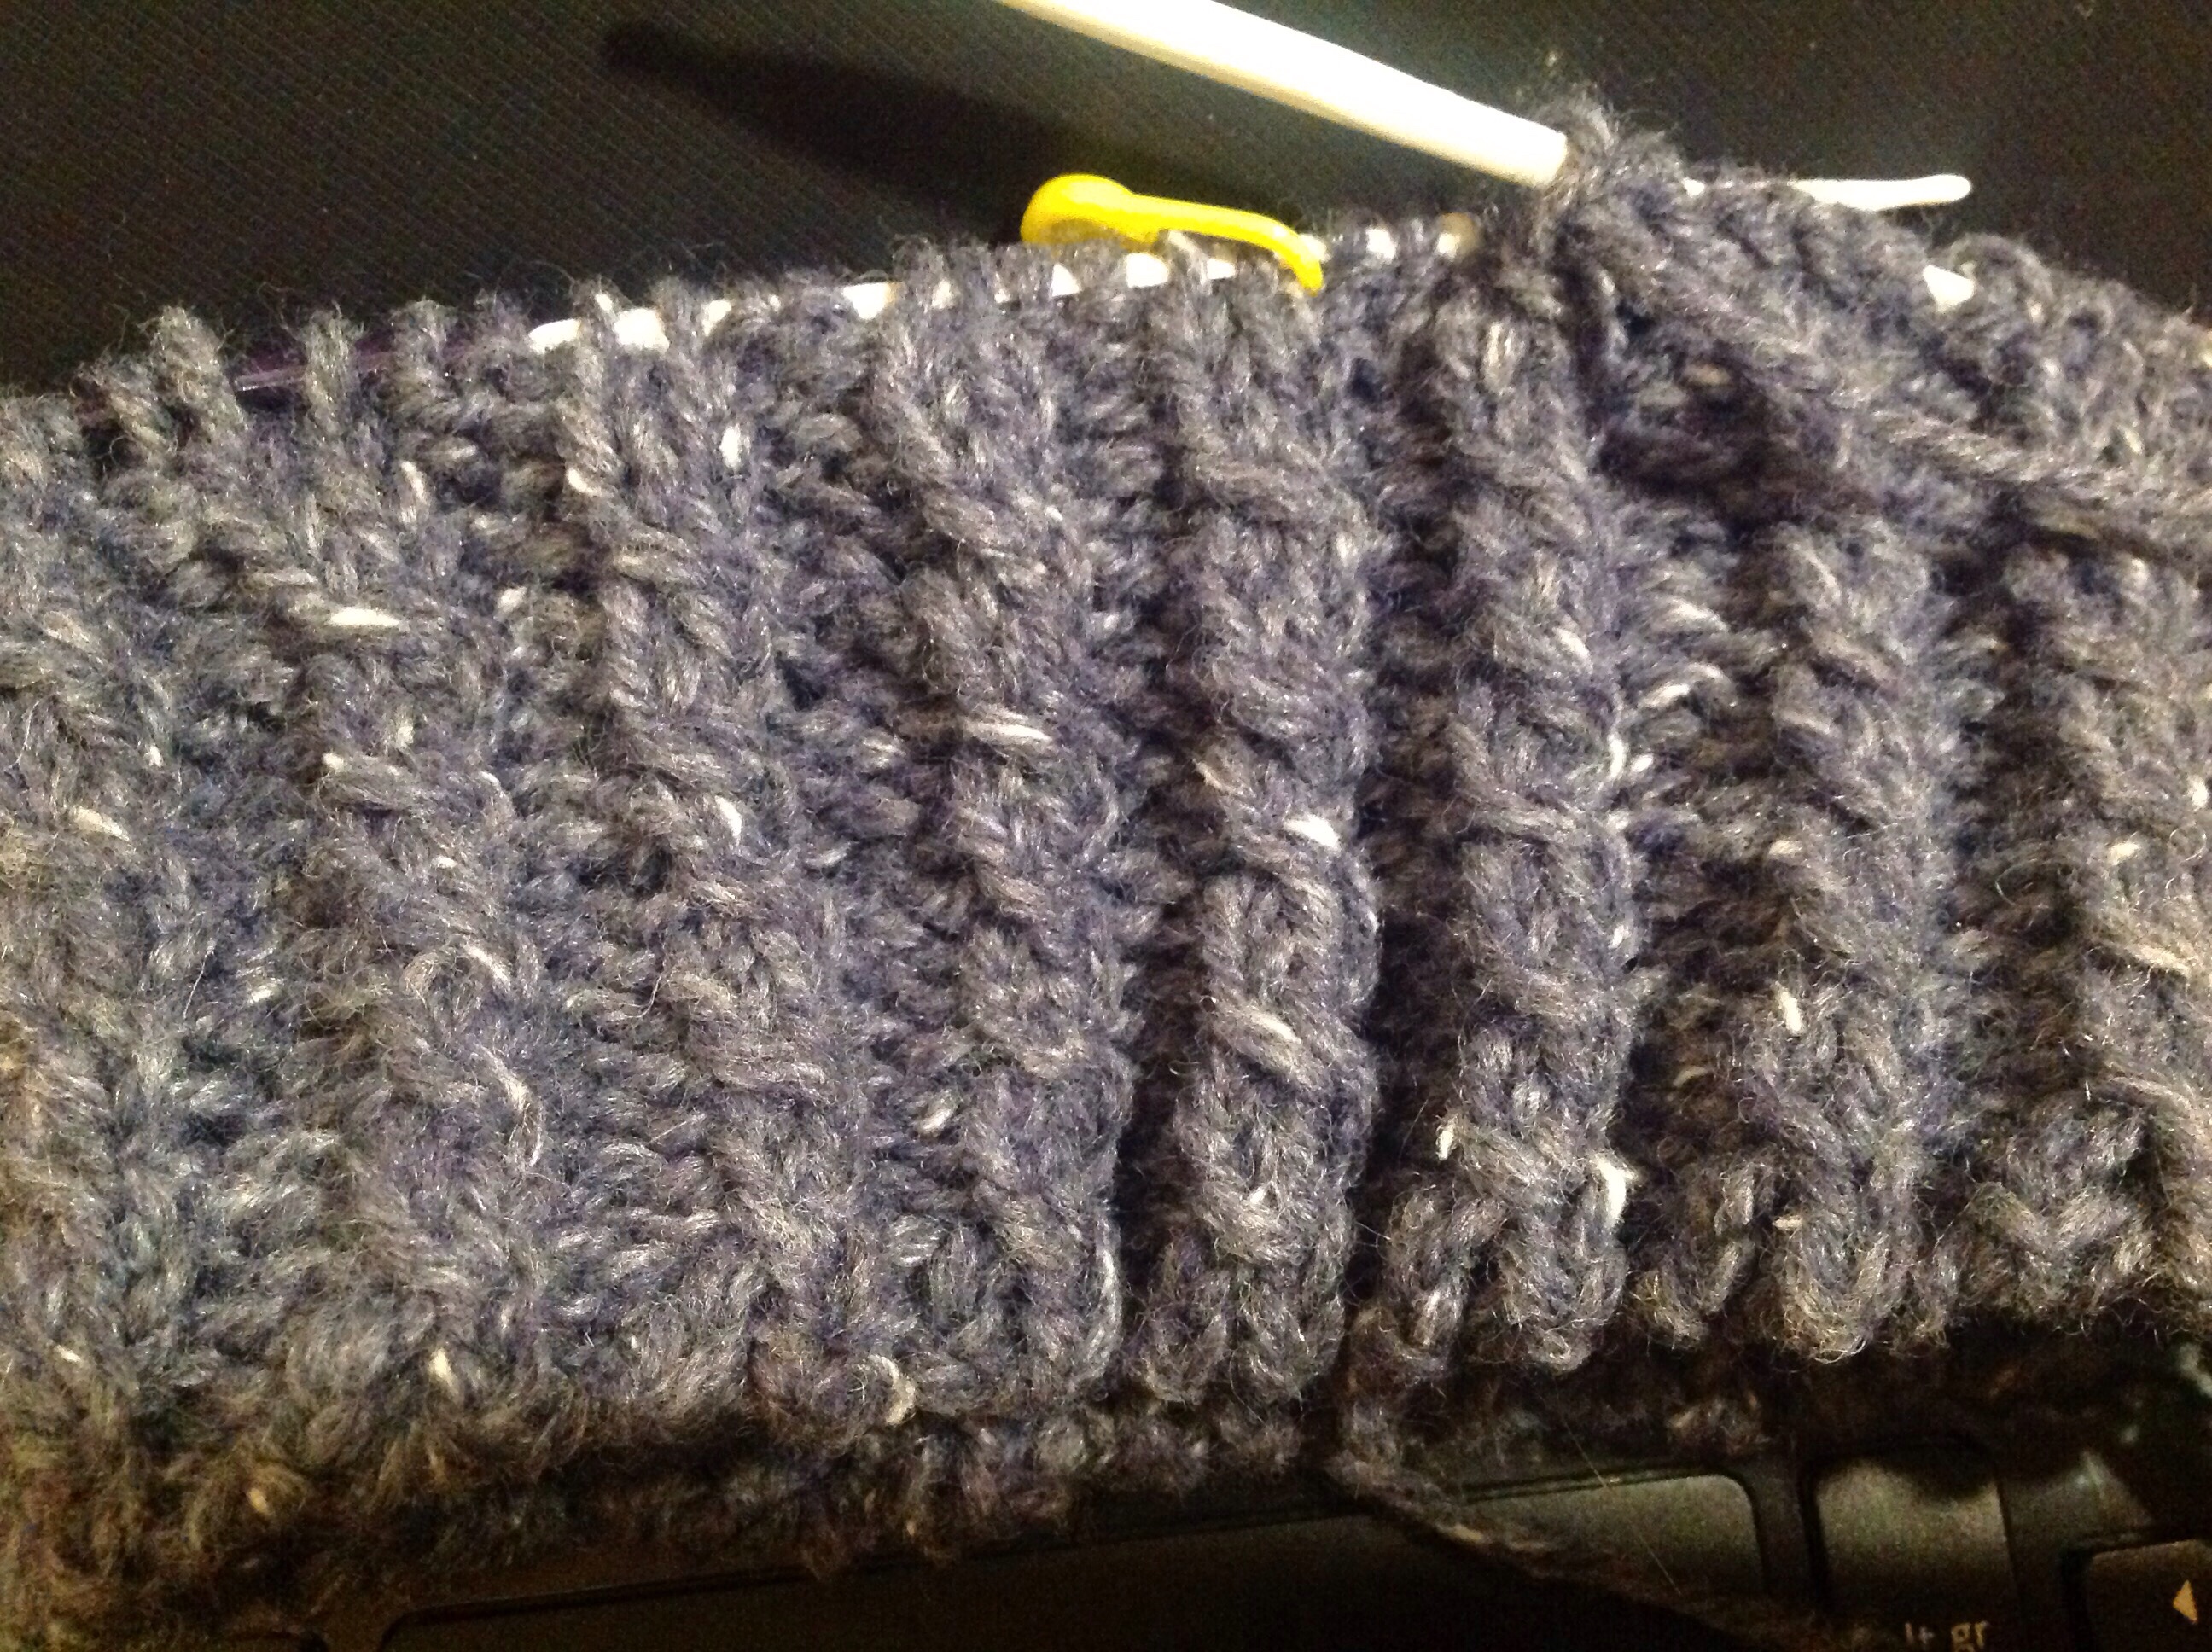
Hands up who doesn’t like icord? It’s an extremely versatile little tube that has many uses, amongst which is as a trimming or tie cord, or standalone as a thick yarn. Reach back to your childhood memories and you might have used a ‘Knitting Nancy’, or even a cotton reel with nails driven into the top to knit i-cord. You can hand knit i-cord with double pointed needles or even on two straights, with a bit of slipping and reverse knitting.
To my joy you can also knit it on a bed domestic knitting machine. On a double bed machine, or a single bed with a ribber attached, on each bed you cast on half the number of stitches that you wish to have around the i-cord, (for example, two needles on each bed will create a four stitch i-cord), then set one bed to slip and one bed to knit. This creates a tube of circular knitting. When using just a single bed, this is also an easy setting. Cast on four stitches, set your carriage to slip in one direction, and off you go. The slip pulls the yarn around from the last stitch directly back to the first needle and then you knit all four stitches again. After which the yarn goes back to the first needle again, and it makes a very nice little tube.
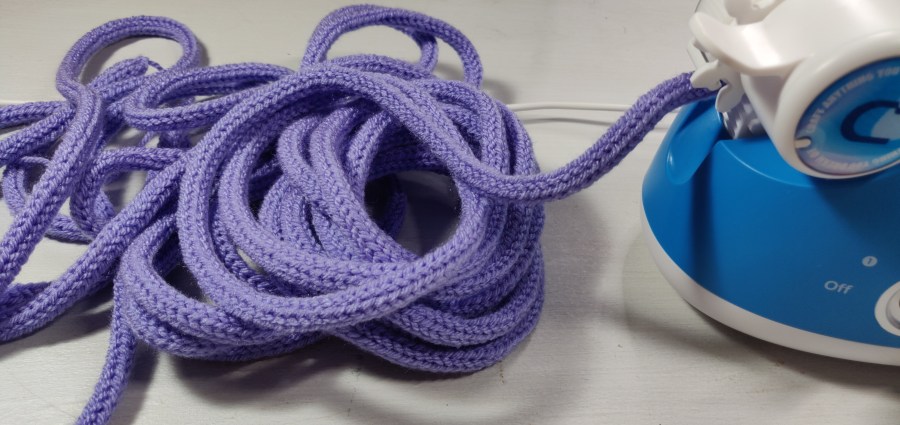
I have knitted i-cord by hand and on my knitting machine for many years, and at one point I purchased a hand-cranked, four needle circular i-cord machine, (I think it was a Prym?) which meant I could knit yardage very simply without blocking the use of my main knitting machine. I found the design to be quite awkward to use, so a bit later on I purchased another model, (it might have been Clover, but I think it was a French make). This is a much better designed piece of equipment, it fits well in the hand and is far more cheerful to look at because it is bright yellow and purple. The big plus is that any of these machines produce a consistently even i-cord. However, althouigh its faster than hand knitting, it still requires hand cranking.
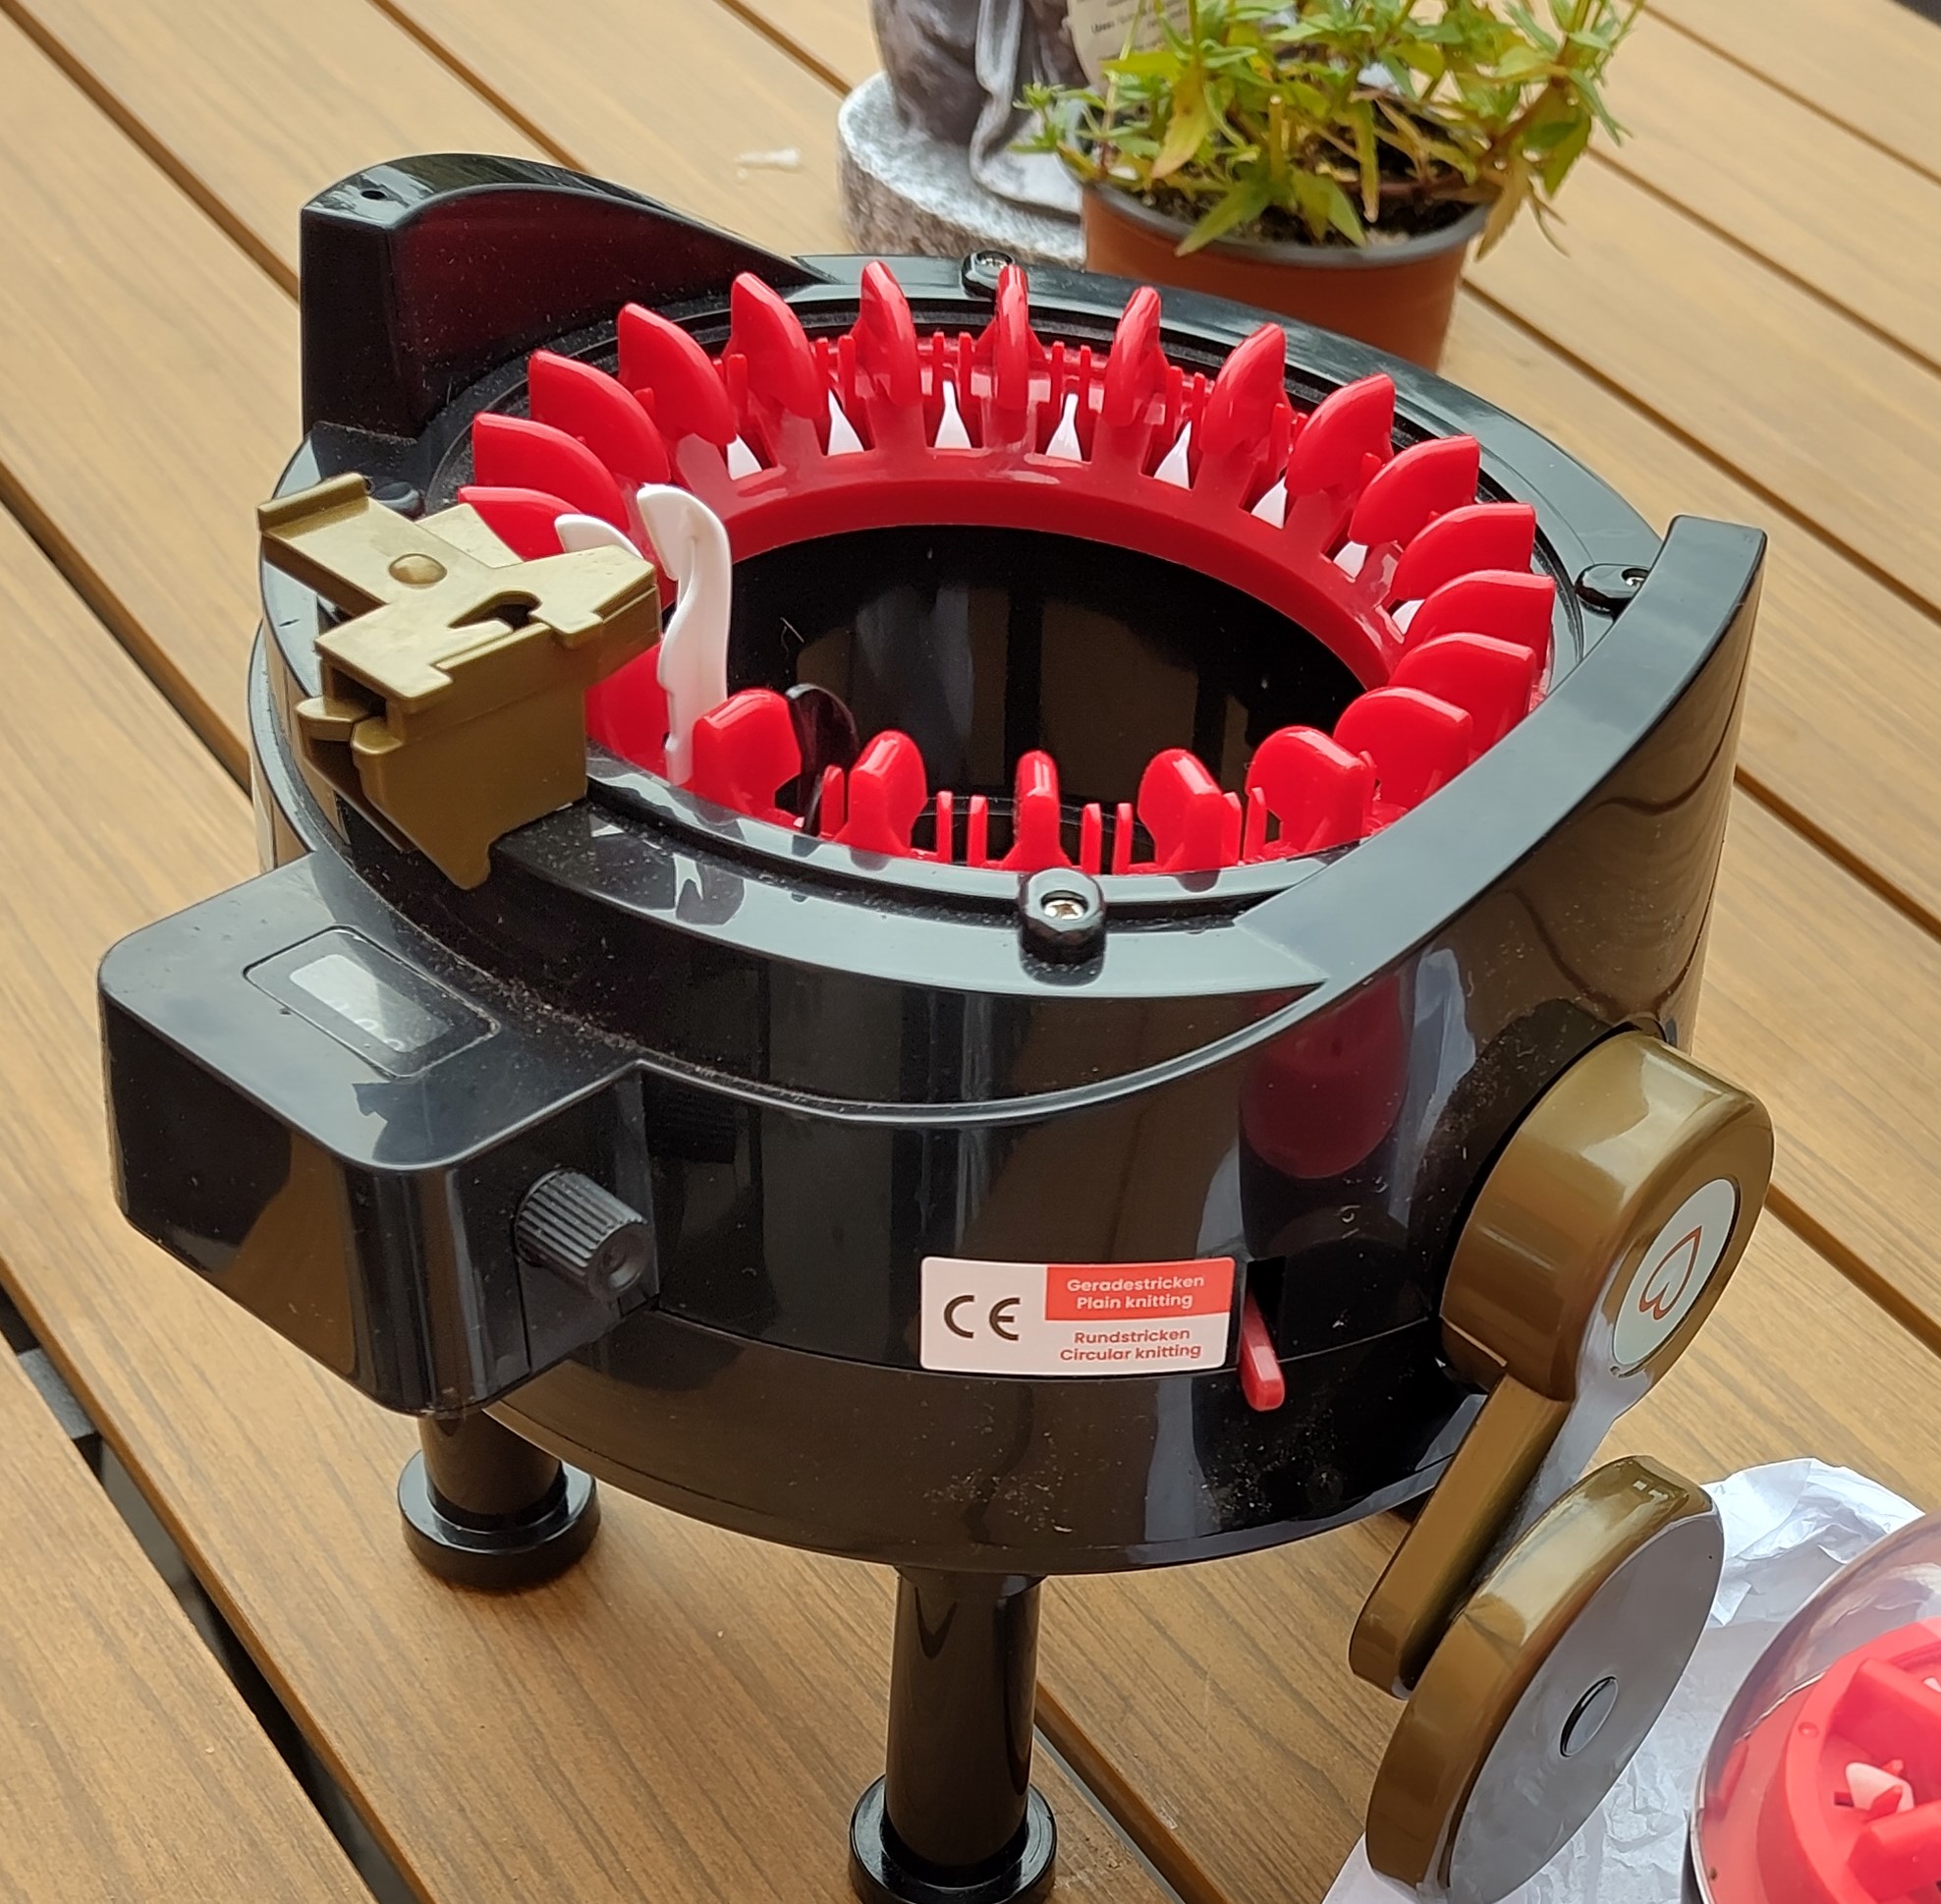
Apart from these little i-cord machines I also have a plastic, twenty-two needle Addi circular machine. The Addi clearly knits a bigger tube that the little four-needle machines, but it works on the same principle with a revolving cylinder of vertical needles into which the yarn is fed through a statioary feeder. This means that the knitting coming out of the bottom of the machine turns with the cylinder of needles and can (and will) tangle.
The drawback with all these circular knitting machines described so far is that the knitting hangs down in the center of the cylinder and requires considerable weighting to make sure the stitches clear off the needles. Once the weights reaches the floor they stopped doing their job and unless rehung further up towards the cylinder, the stitches will miss-knit. If the knitted tube is turning at the same time as the weights descend, there is clearly far more potential for disaster to happen as the weight swings and the knitting twists. That is why the four needle i-cord machines and the Addi are my least favorite to use.
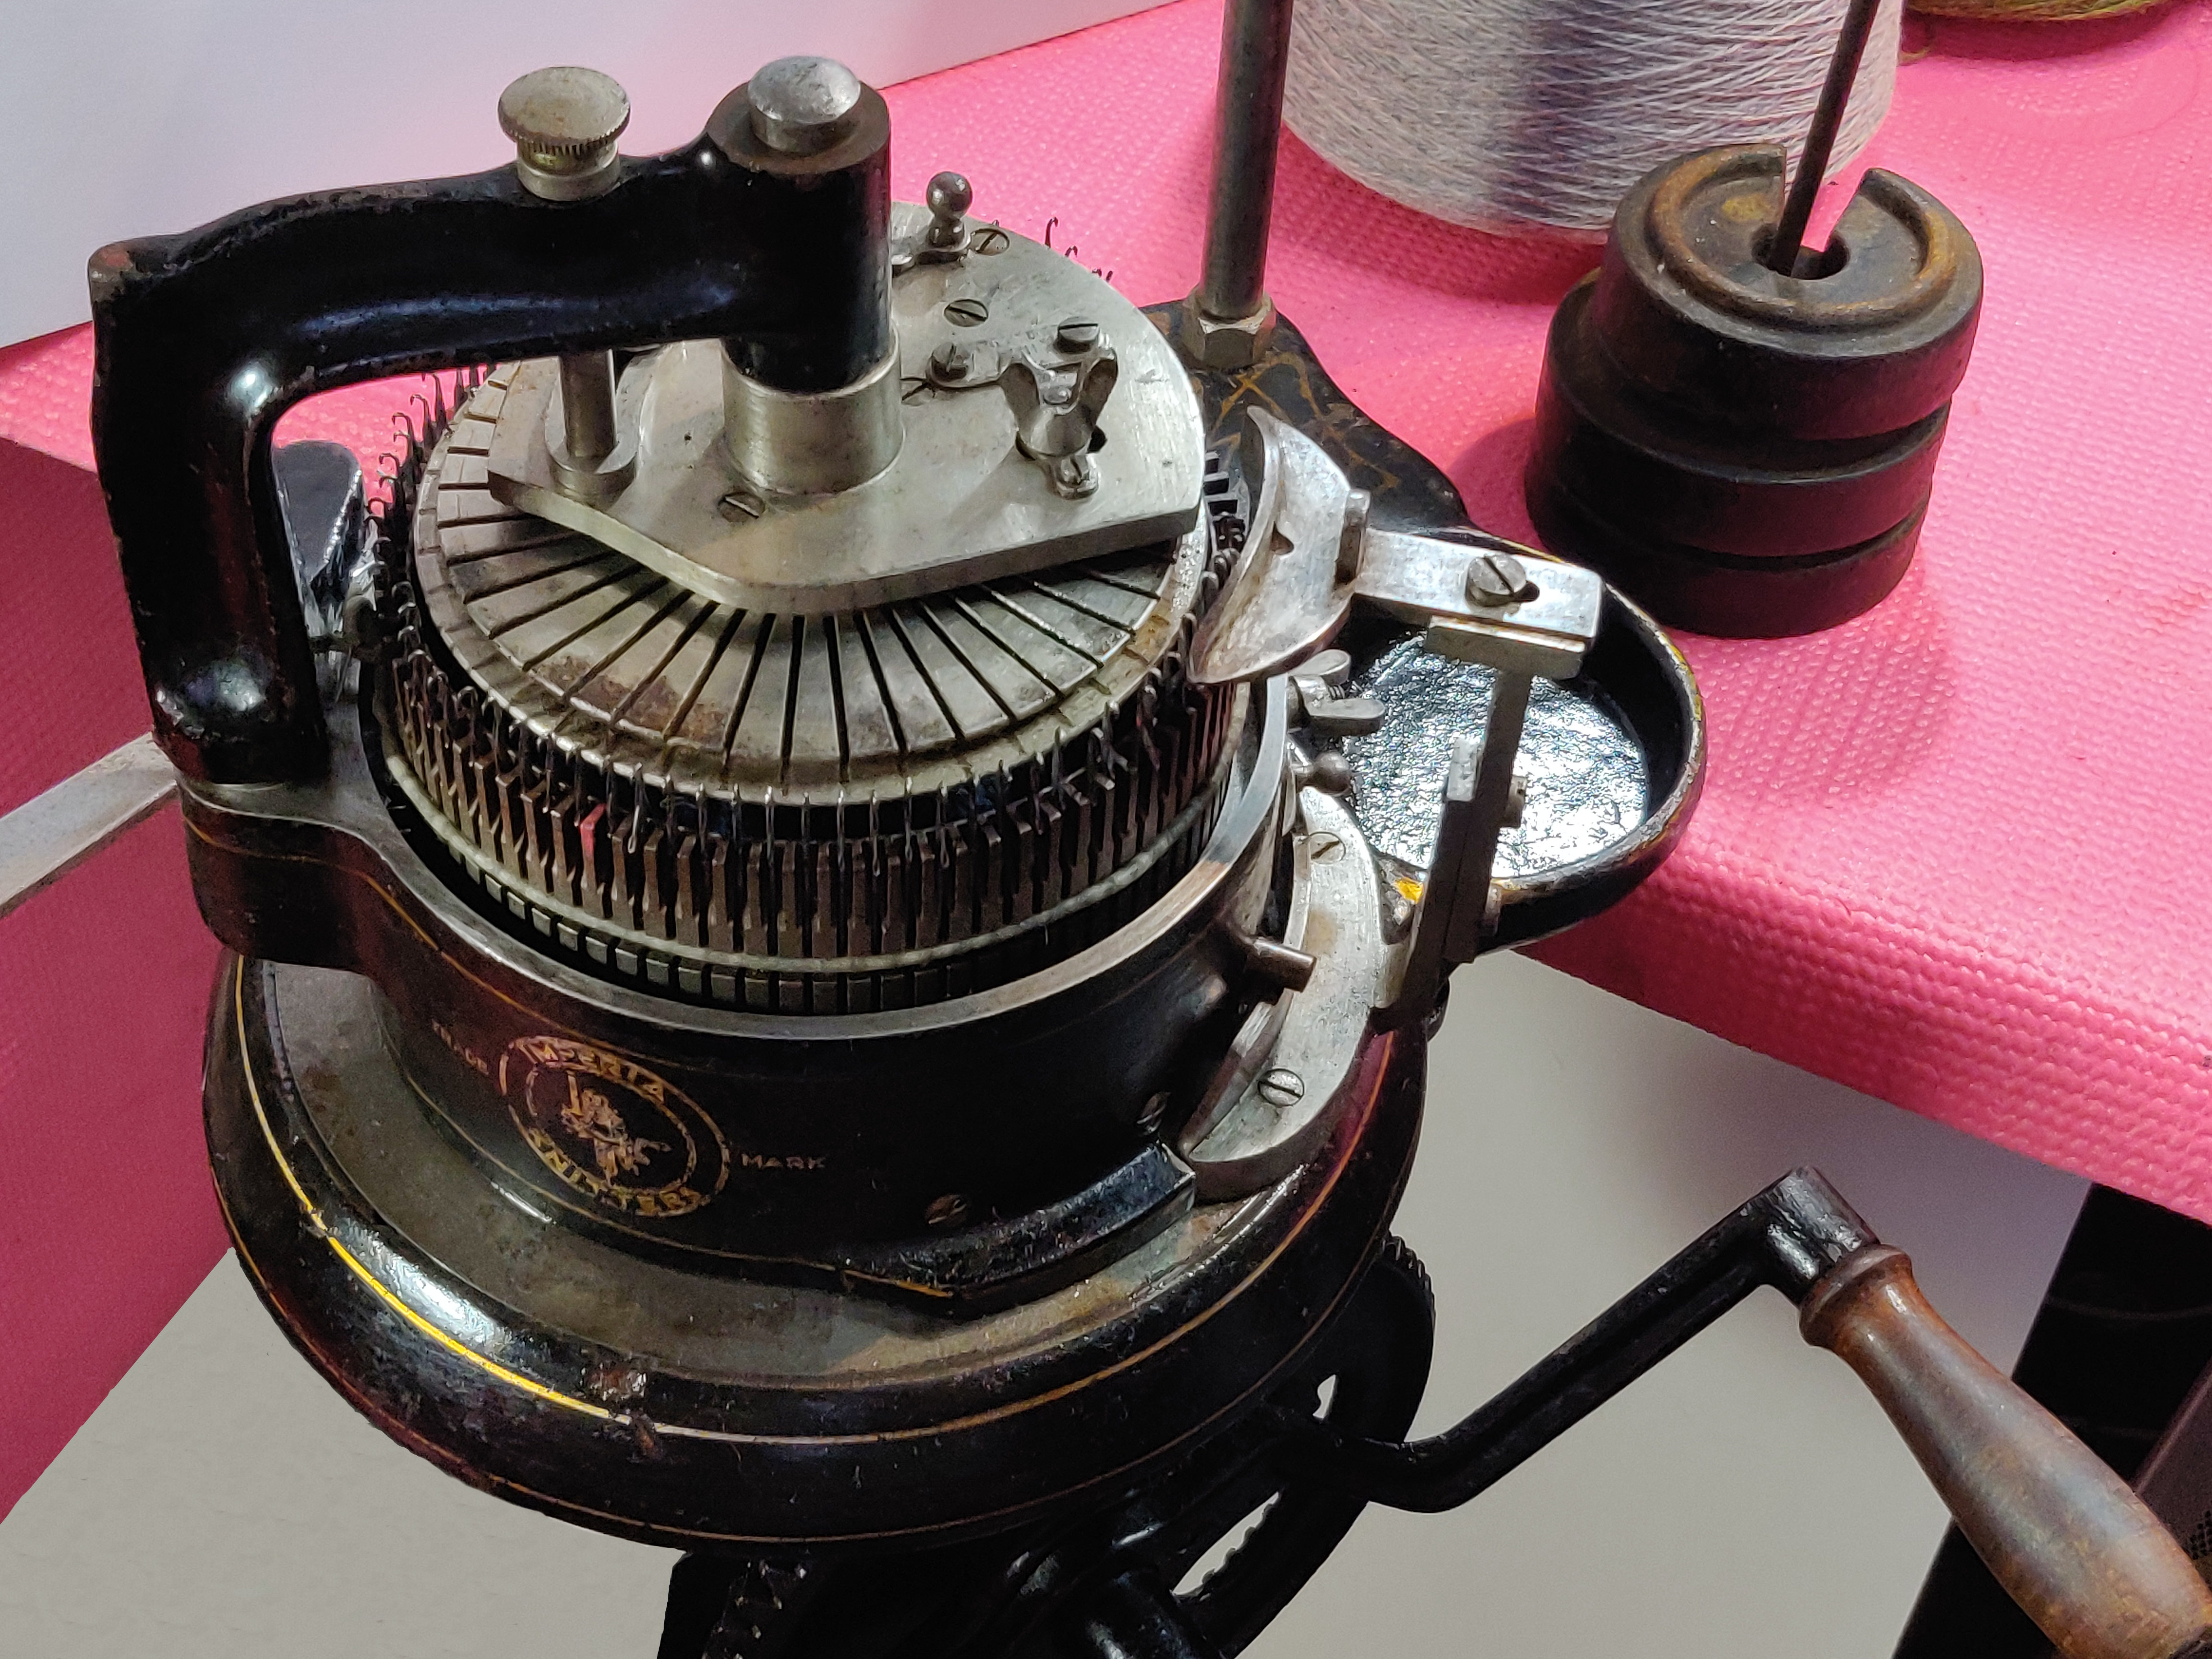
My pride and joy is a vintage, and very heavy, solid metal, circular sock machine. Although this still requires weights and they are very heavy weights, this knits in a slightly different way, with the feeder revolving around a stationary cylinder of vertical needles. This means that the knitting hangs straight down and does not twist as it is made. The advantage of this is that you only have to keep an eye on the weight, and do not have to untangle the knitted tube every so often.
Whilst working in industry, and at the University where I taught, I worked with what are called ‘strapping’ or ‘cording’ machines. The ones in use were small cylinder circular machines and fine gauge, so had tiny needle hooks and required thin yarns. These operated on the same principle as the CSM, but instead of weights, the cord winds onto a vertical frame which is synchronised to revolve at the pace necessary to keep tension on the cord as it descends towards the frame. This automates the process; the only human interaction is to change yarns and swap full frames out for empty ones. I suspect that the latest models will be almost totally automated with automatic yarn splicing.
Which brings me to the purpose of this post. At last! Because of the problems already discussed I was interested to try out the Caydo Automatic I-cord Machine. On close inspection, Caydo seemed to have addressed the problem of the knitting twisting by adopting the idea of a static needle cylinder and a revolving feeder, and overcome the weighting by laying the machine on its side and adding rotating cogs to tension the completed i-cord. I was intrigued as to whether this machine would prove to be as good as it looked in the adverts.
My verdict is that overall I really like this machine
I love gadgets, and this looked like a great gadget with thoughtful design which suggested to me an improved user experience and a positive practical outcome. Caydo kindly provided me with a machine to test and review, so that is where we are now. My video review is quite long, but I wanted to share the unpacking and assembly, (minimal) as well as explore the knitting process. My verdict is that overall I really like this machine.
It doesn’t like fancy yarns, but thats not uncommon
The machine won’t knit well with fancy yarns, and works with a limited range of yarn weights, but that is true of all domestic knitting machines. I met a lady the other day, and when chatting about the machine she was disappointed that it would not knit with chenille, but I am not sure that is a reasonable expectation as it clearly says in the manual what is and isn’t suitable.
I experimented a little, but as my aim was to review the machine as it stands, these were quite limited. I found that the harsher/firmer the yarn, the less the machine liked it. For example, I tried some crepe yarn and although it worked, the machine was not as happy as with less tightly spun yarn, until I helped by unwinding the yarn from the ball, the machine dropped the occasional stitch. I have had reports from other users that hand knit DK cotton works really well, but have not so far tested this out. The size of the hooks dictate the thickness of the yarn. Aran is listed as the thickest, but if not sure, lay the yarn in the hook and see if it sits there comfortably without being compressed.
Things I found that helped if the machine struggled:
- manually wind to begin with and start with slow speed until you are satisfied that all is well
- check that the yarn is in the tension disk correctly
- watch for the yarn ball flipping over, this will tug on the machine
- rewind the yarn onto balls that will pull-off easily, (if the machine has to tug at the yarn it stutters)
- waxing as you rewind can help smooth the yarn
- manually unwind the yarn before it gets to the machine if it is sticking to itself on the ball
- listen to the machine, you can detect problems early by a change in rythmn/note
Be thoughtful when choosing yarns
The machine has weight, so does not shift around in use, and the case seems pretty robust. I am a little concerned about the rather delicate design of on/off/speed lever, as that is your ’emergency stop’ and might need to be turned quite rapidly, but so far it feels strong enough in use. The ‘knit/purl’ dial rotates when the machine is working, and yarn might get caught on this, so keep your work space clear of odd bits of yarn. I obviously don’t know how long the machine is going to last, and my guess is that the mechanism inside is largely plastic, (but I’m not taking it apart to find out). In my experience plastic cogs, such as those in ball winders are susceptible to strain and if worn may start to slip. The needles are metal, unlike the Addi, so should give stalwart service, as long as the latches don’t get bent. The needle ‘tricks’ in which they slide in and out are also plastic, but once again, provided they do not get burred or dented, they should wear smoothly, much as those in the larger, flat, plastic bed machines. If they do get dented with a sharp edge on one side of the indentation, the needle may catch on them as it slides in and out and could cause jams, (that is the voice of experience speaking). Over-thick and fancy yarns will contribute to all these potential problems, so be thoughtful when choosing yarns.
I was provided with a machine so that I could write/film this review, but have tried to be unbiased in my opinion and when describing my experience whilst using it.