A couple of weeks ago I spent a weekend in Bath in the Somerset with some friends.
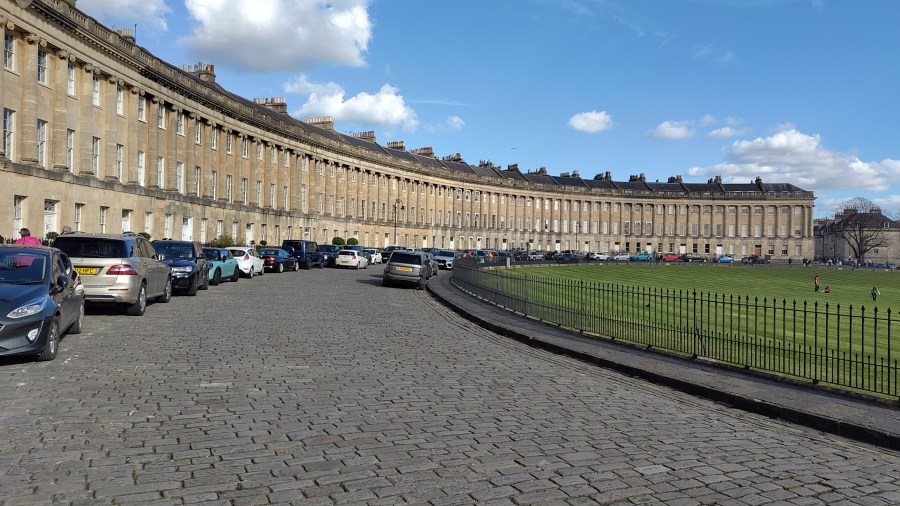
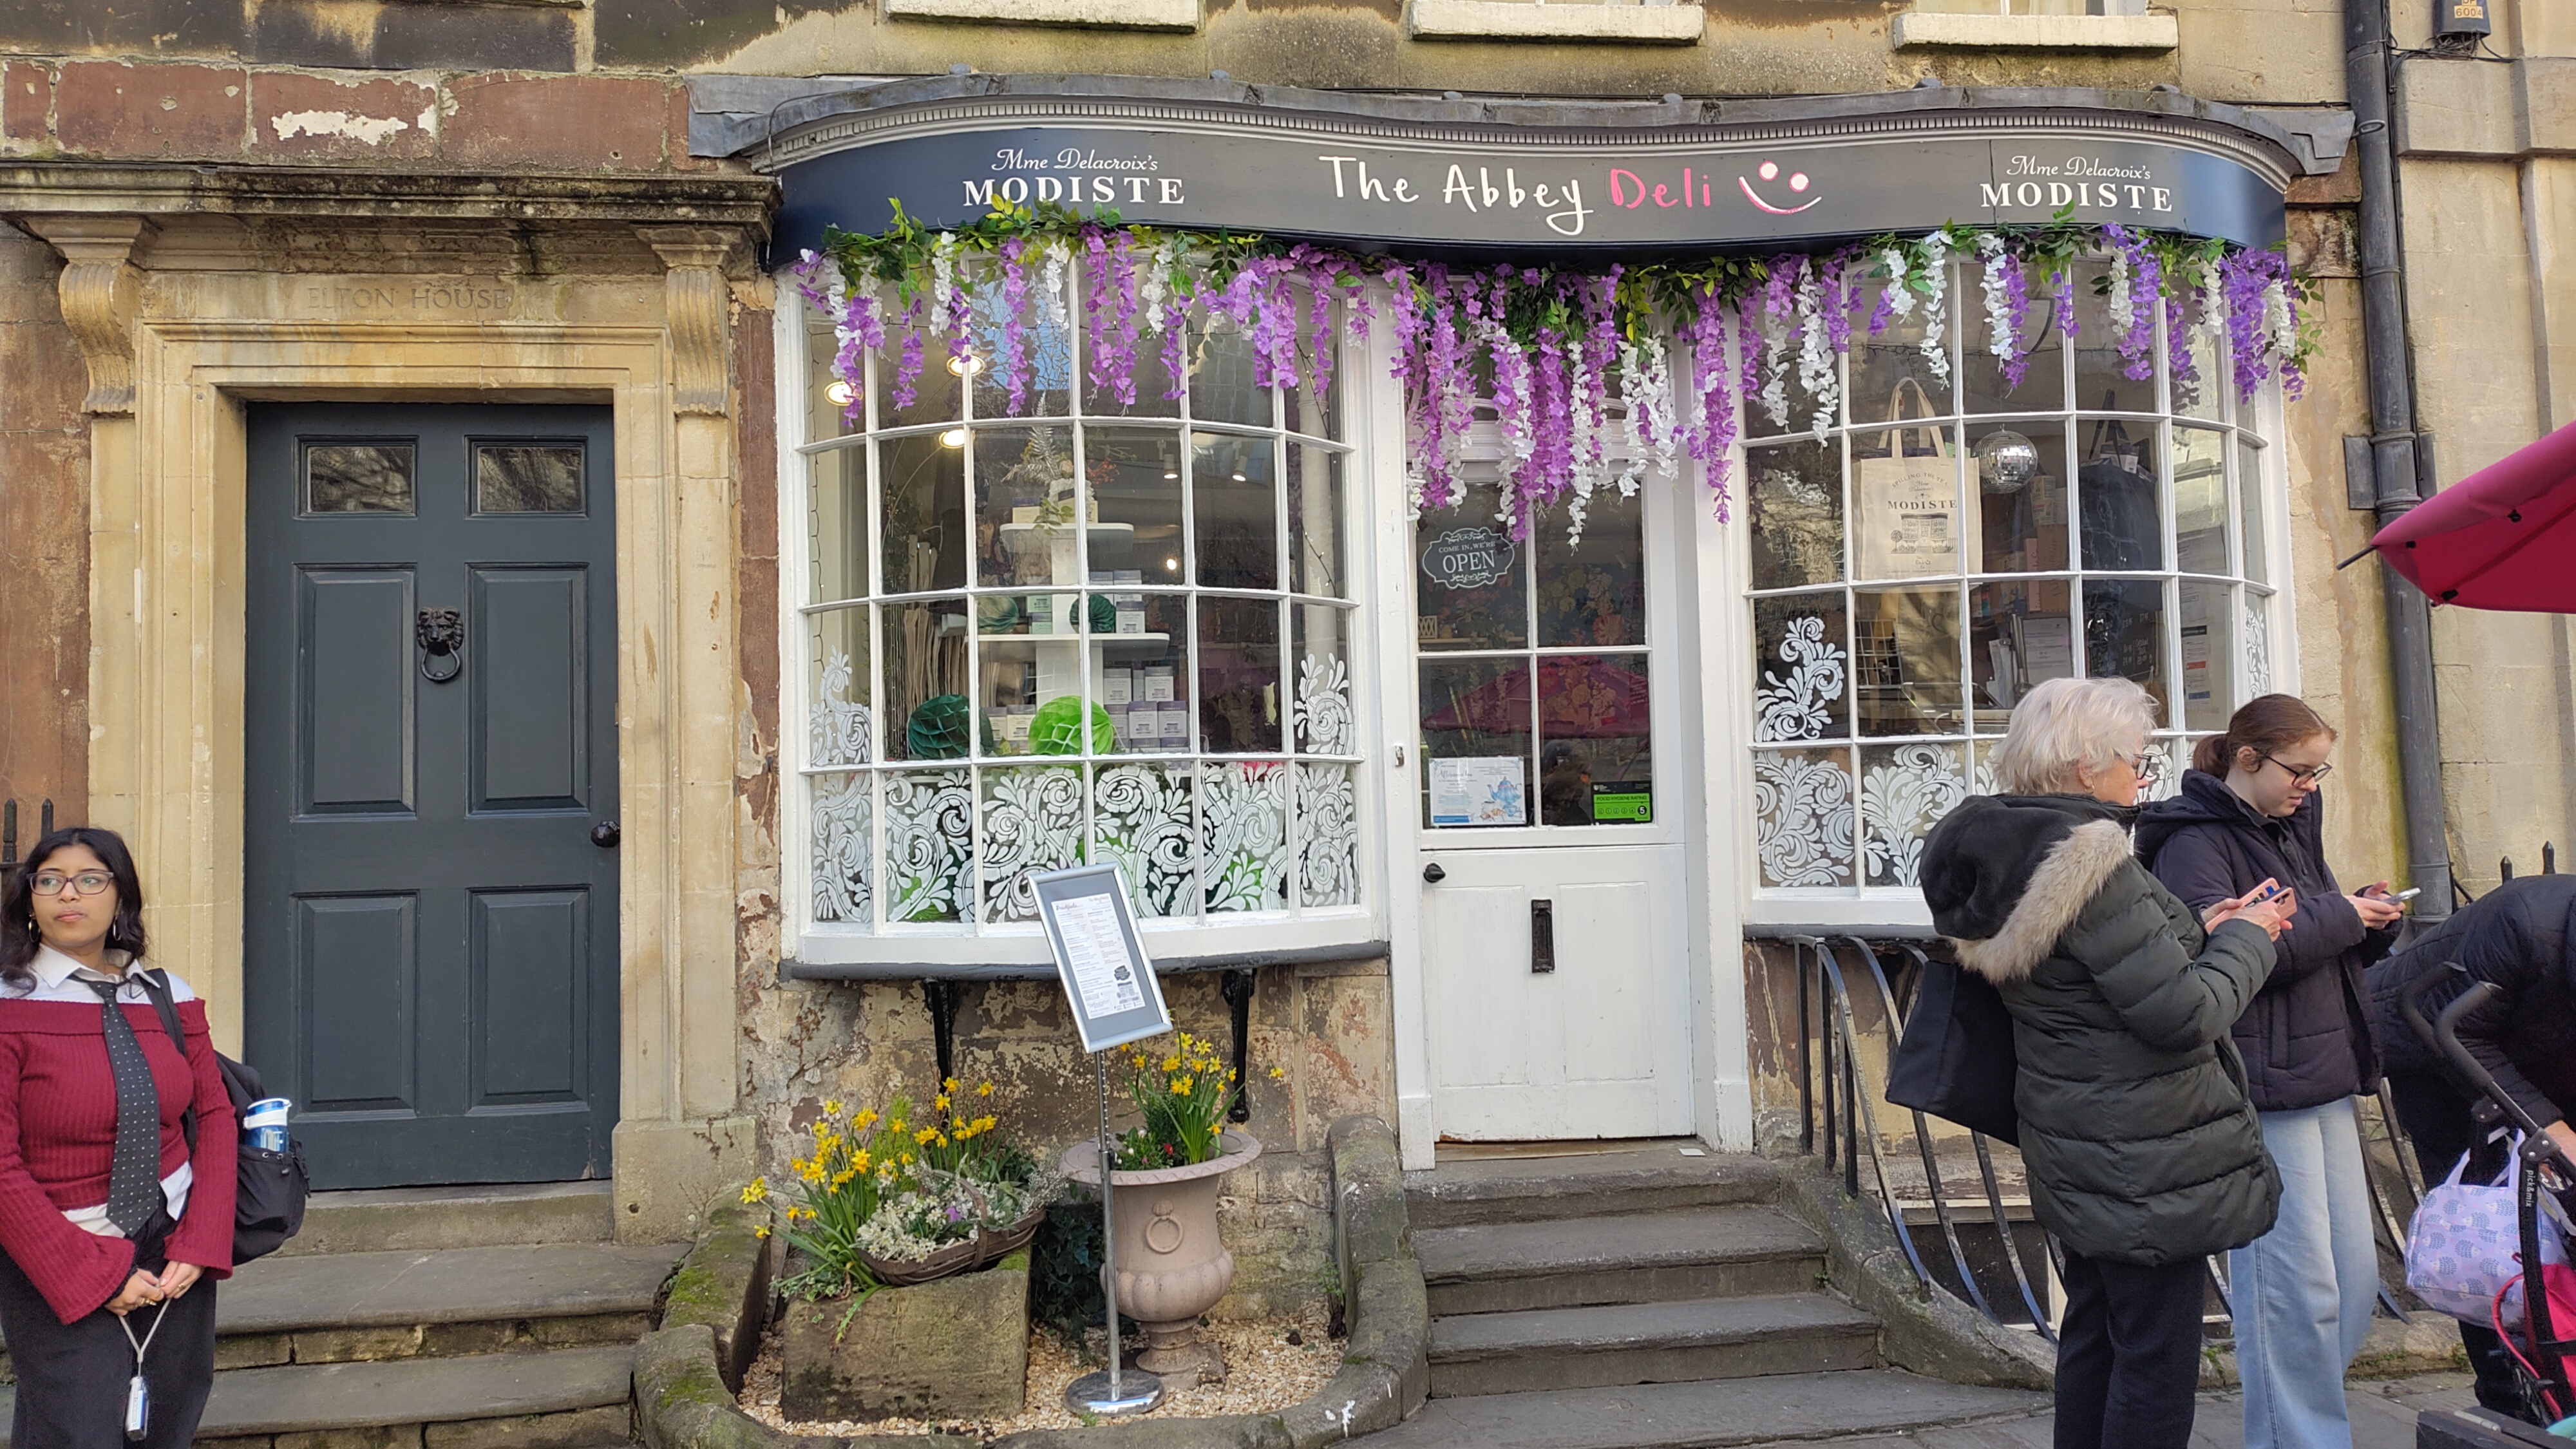
On our first day we did the touristy things like visiting the Circle and the beautiful Royal Crescent and had tea in one of the numerous teas shops. Quite by chance, the one we picked happened to have been featured in Bridgerton as the Modiste shop.
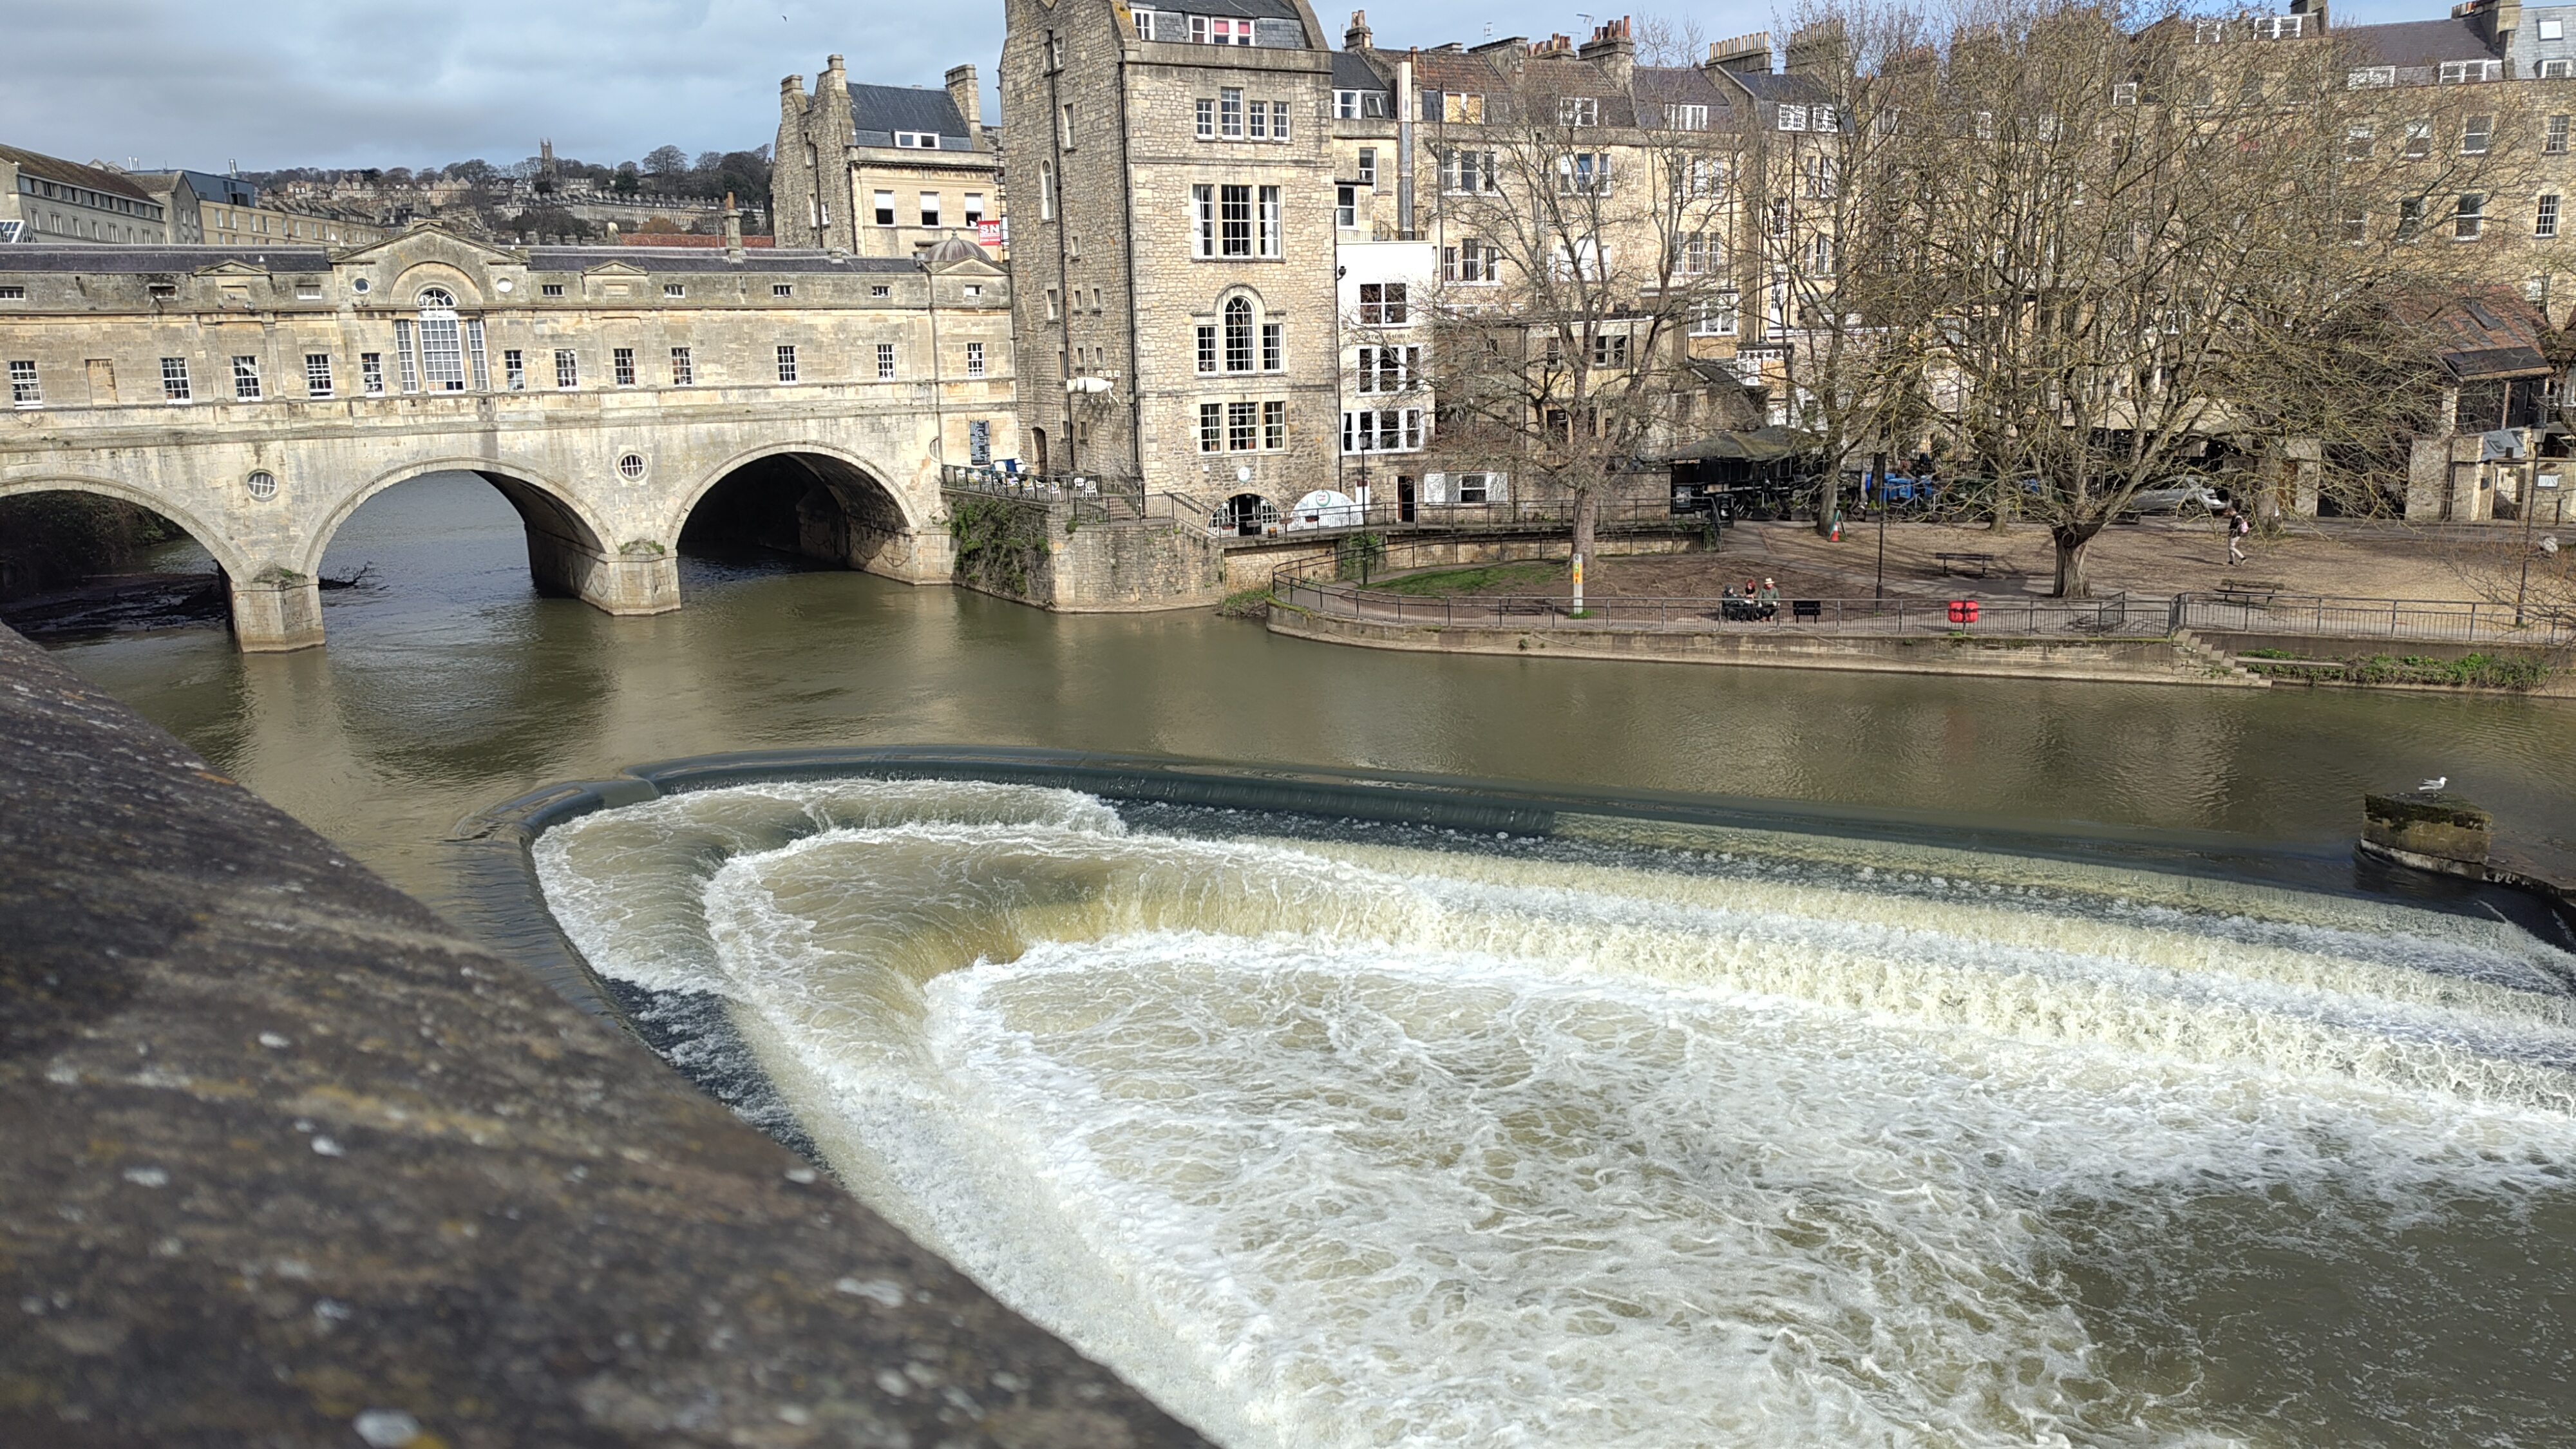
Food featured heavily in our weekend, cake being a particular favorite, so the next day we visited the historic Pulteney bridge and the tea shop which is situated on top of this bridge.
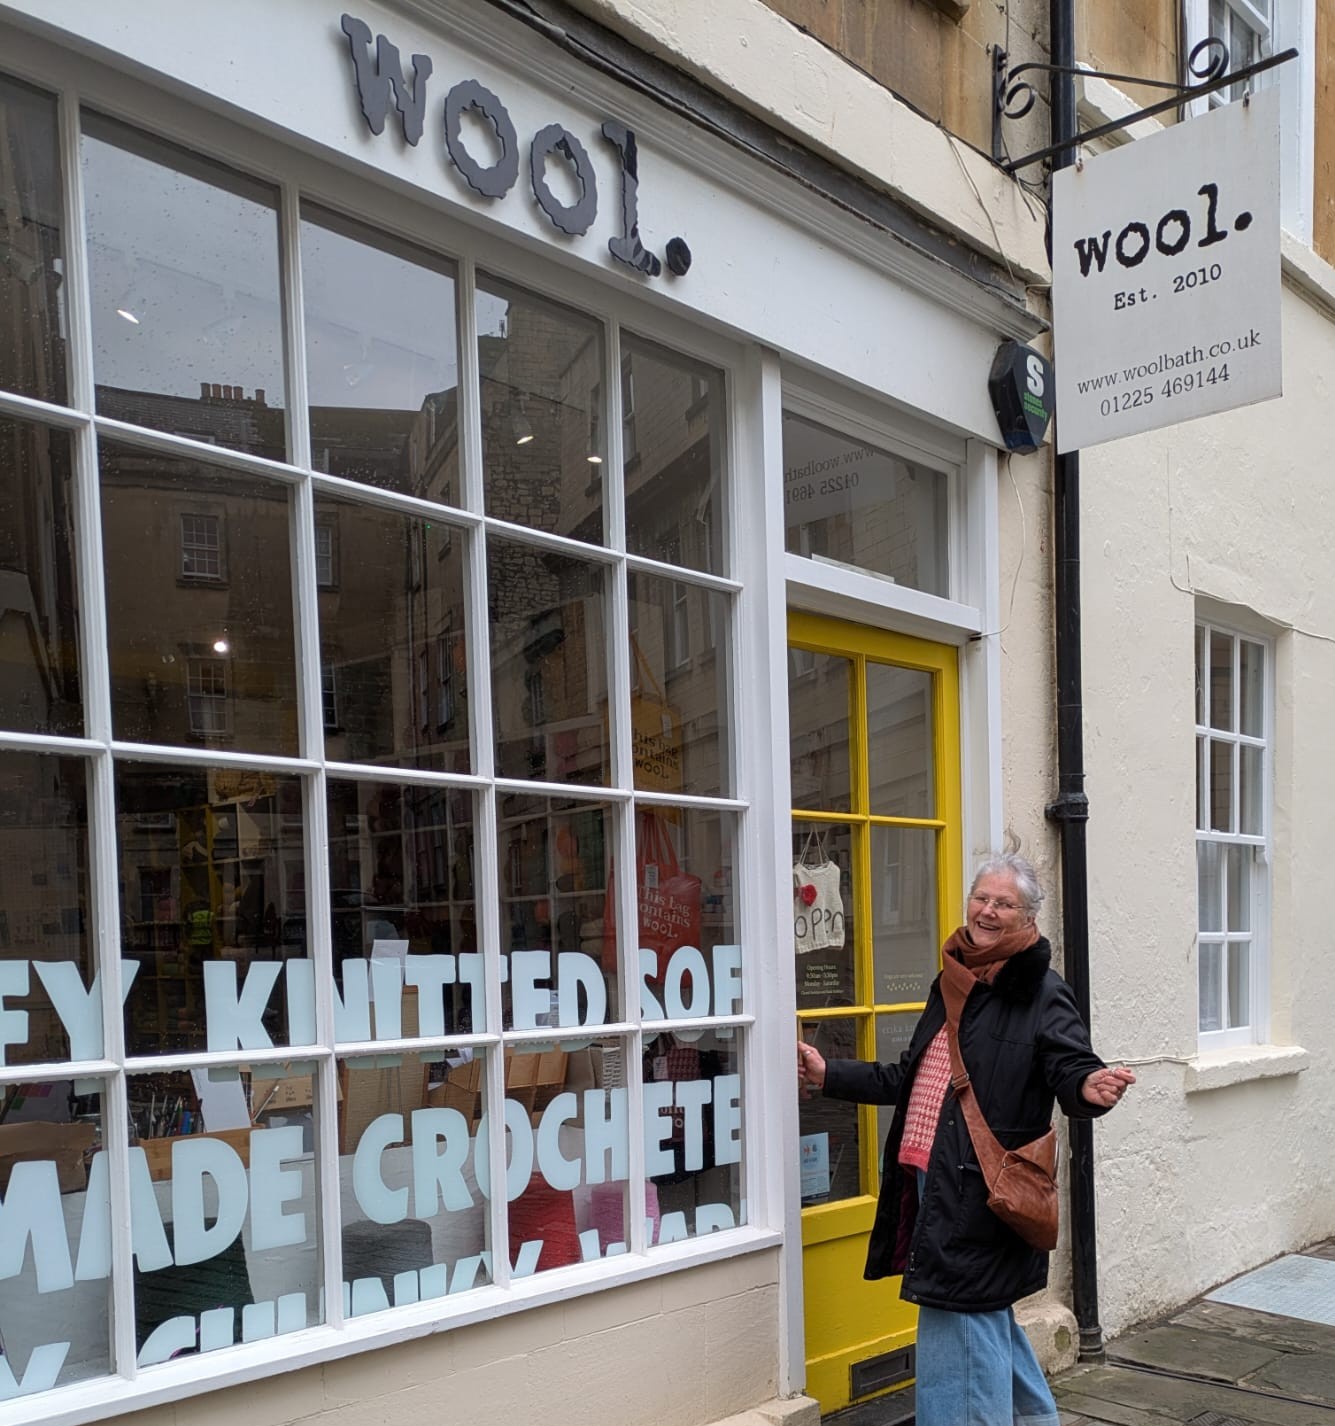
We are all knitters, so were pleased to discover there was a yarn shop close to where we were staying in the city centre. So, before leaving on our last day we paid a visit to ‘Wool’. There we found a wide selection of yarns to please all price points, that catered for all types of knitting or crochet work. Yarns included individual spun, Rowan Kid Silk and some very good value Tweedy Superwash Merino wool by King Cole. I am a bit of a sock yarn addict and bought a 100g ball of Lang sock yarn, which I have not tried before, and some 100% wool double knit in pretty pastel colours.
Someone else chose a DK pattern for a simple sweater shape which she intends to knit up in a wool and Alpaca blend yarn. The yarn is being reclaimed from a partially-knitted garment that her mother never completed, I think this is a lovely way to maintain a thread with the memory of her Mother, but to end up with a garment that she will want to wear.
The staff in the shop were particularly helpful over this explaining to my friend how to substitute a yarn in the pattern and helping her decide if she would have enough of the existing yarn. Although I could have helped her with this it would have felt a little like a busman’s holiday to do so ‘on the fly’. However I did of course tell her she could ask me later if she ran into problems.
I will certainly go back to ‘Wool’ next time I’m in Bath.