Through one of my fellow members of the Woolly Umbrella spinning group I was asked if I would help renovate a vintage sock machine. The machine is part of the Stanmer Preservation Society collection and they hoped it could be got working for their Heritage Week this week.
Sue sent me a photo of the manual, but with little info on the machine apart from. ‘It worked a few years ago’, I was in the dark.
So today I packed a range of tools, oil and cloths etc and set off for Stanmer not sure what I would find. The machine was in a sad state. Not really bad, and most of the parts seem to be there, but it was pretty rusty. It seems to have been left uncovered and un-oiled in a damp shed for the last few years so had a thick layer of dust along with the rust.
Luckily the instruction manual is with the machine, but there is no maintenance manual. Having used one of these before I know the general points about it, but not the precise specifics. A quick YouTube trawl found some useful videos and it was time to tackle the job.
The rib dial was not attached and I didn’t want to address that in this session. My aim was to get the machine working well single bed first. So the rib dial stayed in the somewhat dusty and rusty spares box for now.
A thorough dusting helped a bit, but there was no air hose or even a vacuum cleaner so it was down to cloths and some blowing and picking the dust out of cracks. I dismantled the top tension and removed the yarn feeder. That was a bit rusty so some gentle fine emery paper was needed to clean it up. Next came removing the spring to allow the needles to be taken out and the dial removed. Most needles were slightly rusty on the hook if not the shaft as well, so I gently emery papered the bad areas and then soaked them in surgical spirit and oil for a while. Two broken and two bent needles were rejected at this point as too far gone to salvage. Meanwhile the cams were now revealed and could now be inspected and cleaned.
Once all seemed OK, if not in perfect condition, I reassembled the machine. Some needles still felt sticky, so it was a matter of replacing them one by one in the jamming areas to eliminate bad ones.
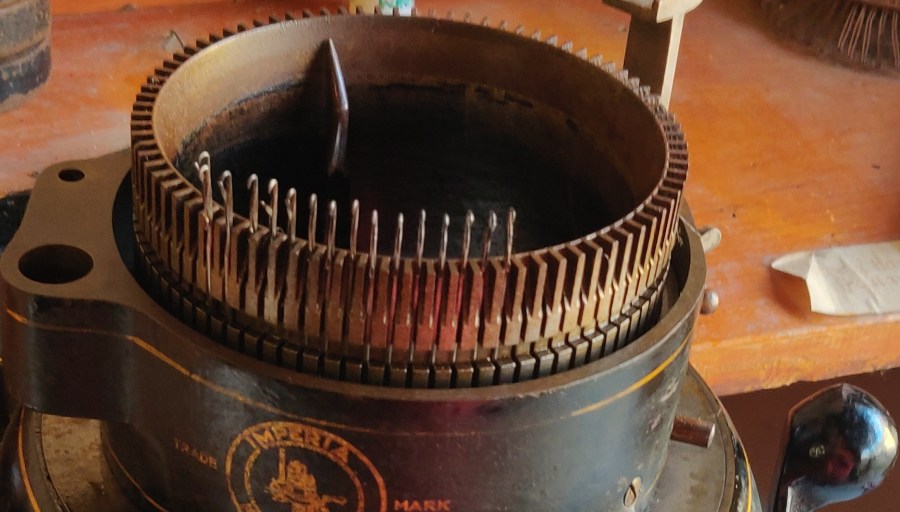
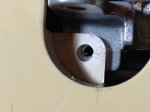
The Imperia sock machine being re-needled
Time to cast on with that horrible little ‘daisy’ claw tool. A job that I hate, but went OK in fact. Sticky latches caused several repeating ladders and miss stitching, but after some use, and easing the latches it began to knit properly. Only one needed to be replaced before the whole dial would work! So satisfying.
I want to get the machine knitting a reciprocating sock heel before I tackle the rib dial, but if that goes well next time, I hope to be able to tackle the rib dial after that. There seem to be some spare needles for the rib dial, but not sure if there are enough. We will see…
I’ve marked the dial into quarters; the half way mark was already filed of the needle truck. So far it’s working for a creating the heel, but returning the needles to work causes holes.
We took it to pieces again in better light, and found that the cam is a little with on one end, but I’m not sure that’s the problem.
Replacing the tension dial on the carriage of a Knitmaster 700, some tricks and tips to make this easier. Knitting socks and hand spinning yarn for machine knitting socks.
Follow my podcast on Spotify, Google Podcasts or iTunes.
Show Notes:
Although an older model, the Knitmaster 700 is a lovely machine. It is a punchcard machine and ball bearings so it slides very smoothly on the bed. One really nice feature is that it will knit intarsia without using a special carriage. Two white levers on the left and right of the carriage activate the intarsia setting.
Whilst knitting the sock, I found the tension dial was unreliable and replaced this with a secondhand assembly and this records doing this.
‘The Answerlady and Jack’ on YouTube are life-savers for machine repairs.
A trick for reassembling the carriage when it is difficult to get the tension assembly back into the carriage so that it will turn all the way round.
Never use metal things to poke inside your carriage unless you know what you are doing!
Mend the plastic carriage cover or any other plastic cracks, chips etc with epoxy resin glue. If you leave the cracks, particularly if they are around a metal screw head, they will quickly deteriorate and bits will break off.
Inside the carriage handle, around the screw hole
Inside the carriage, the mounting screws
Don’t use spirit on the plastic parts of the machine, use a slightly damp cloth to wipe these parts. Metal areas can be cleaned with surgical spirit (rubbing acohol) with a drop two of oil in it. This leaves a film of oil after cleaning. Make up a small jar and keep it with your maintenance tools so that it is always to hand. Use soft cloths and cotton buds to clean your machine.
Keep your machine oiled for the best performance, oil the bed every 100 or so rows. Invest in proper sewing machine oil or knitting machine oil.
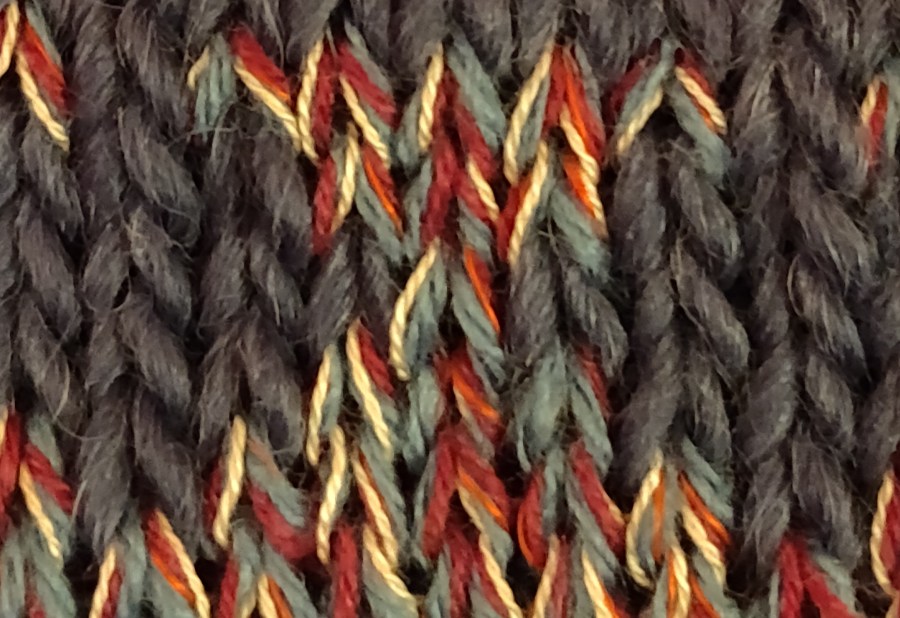
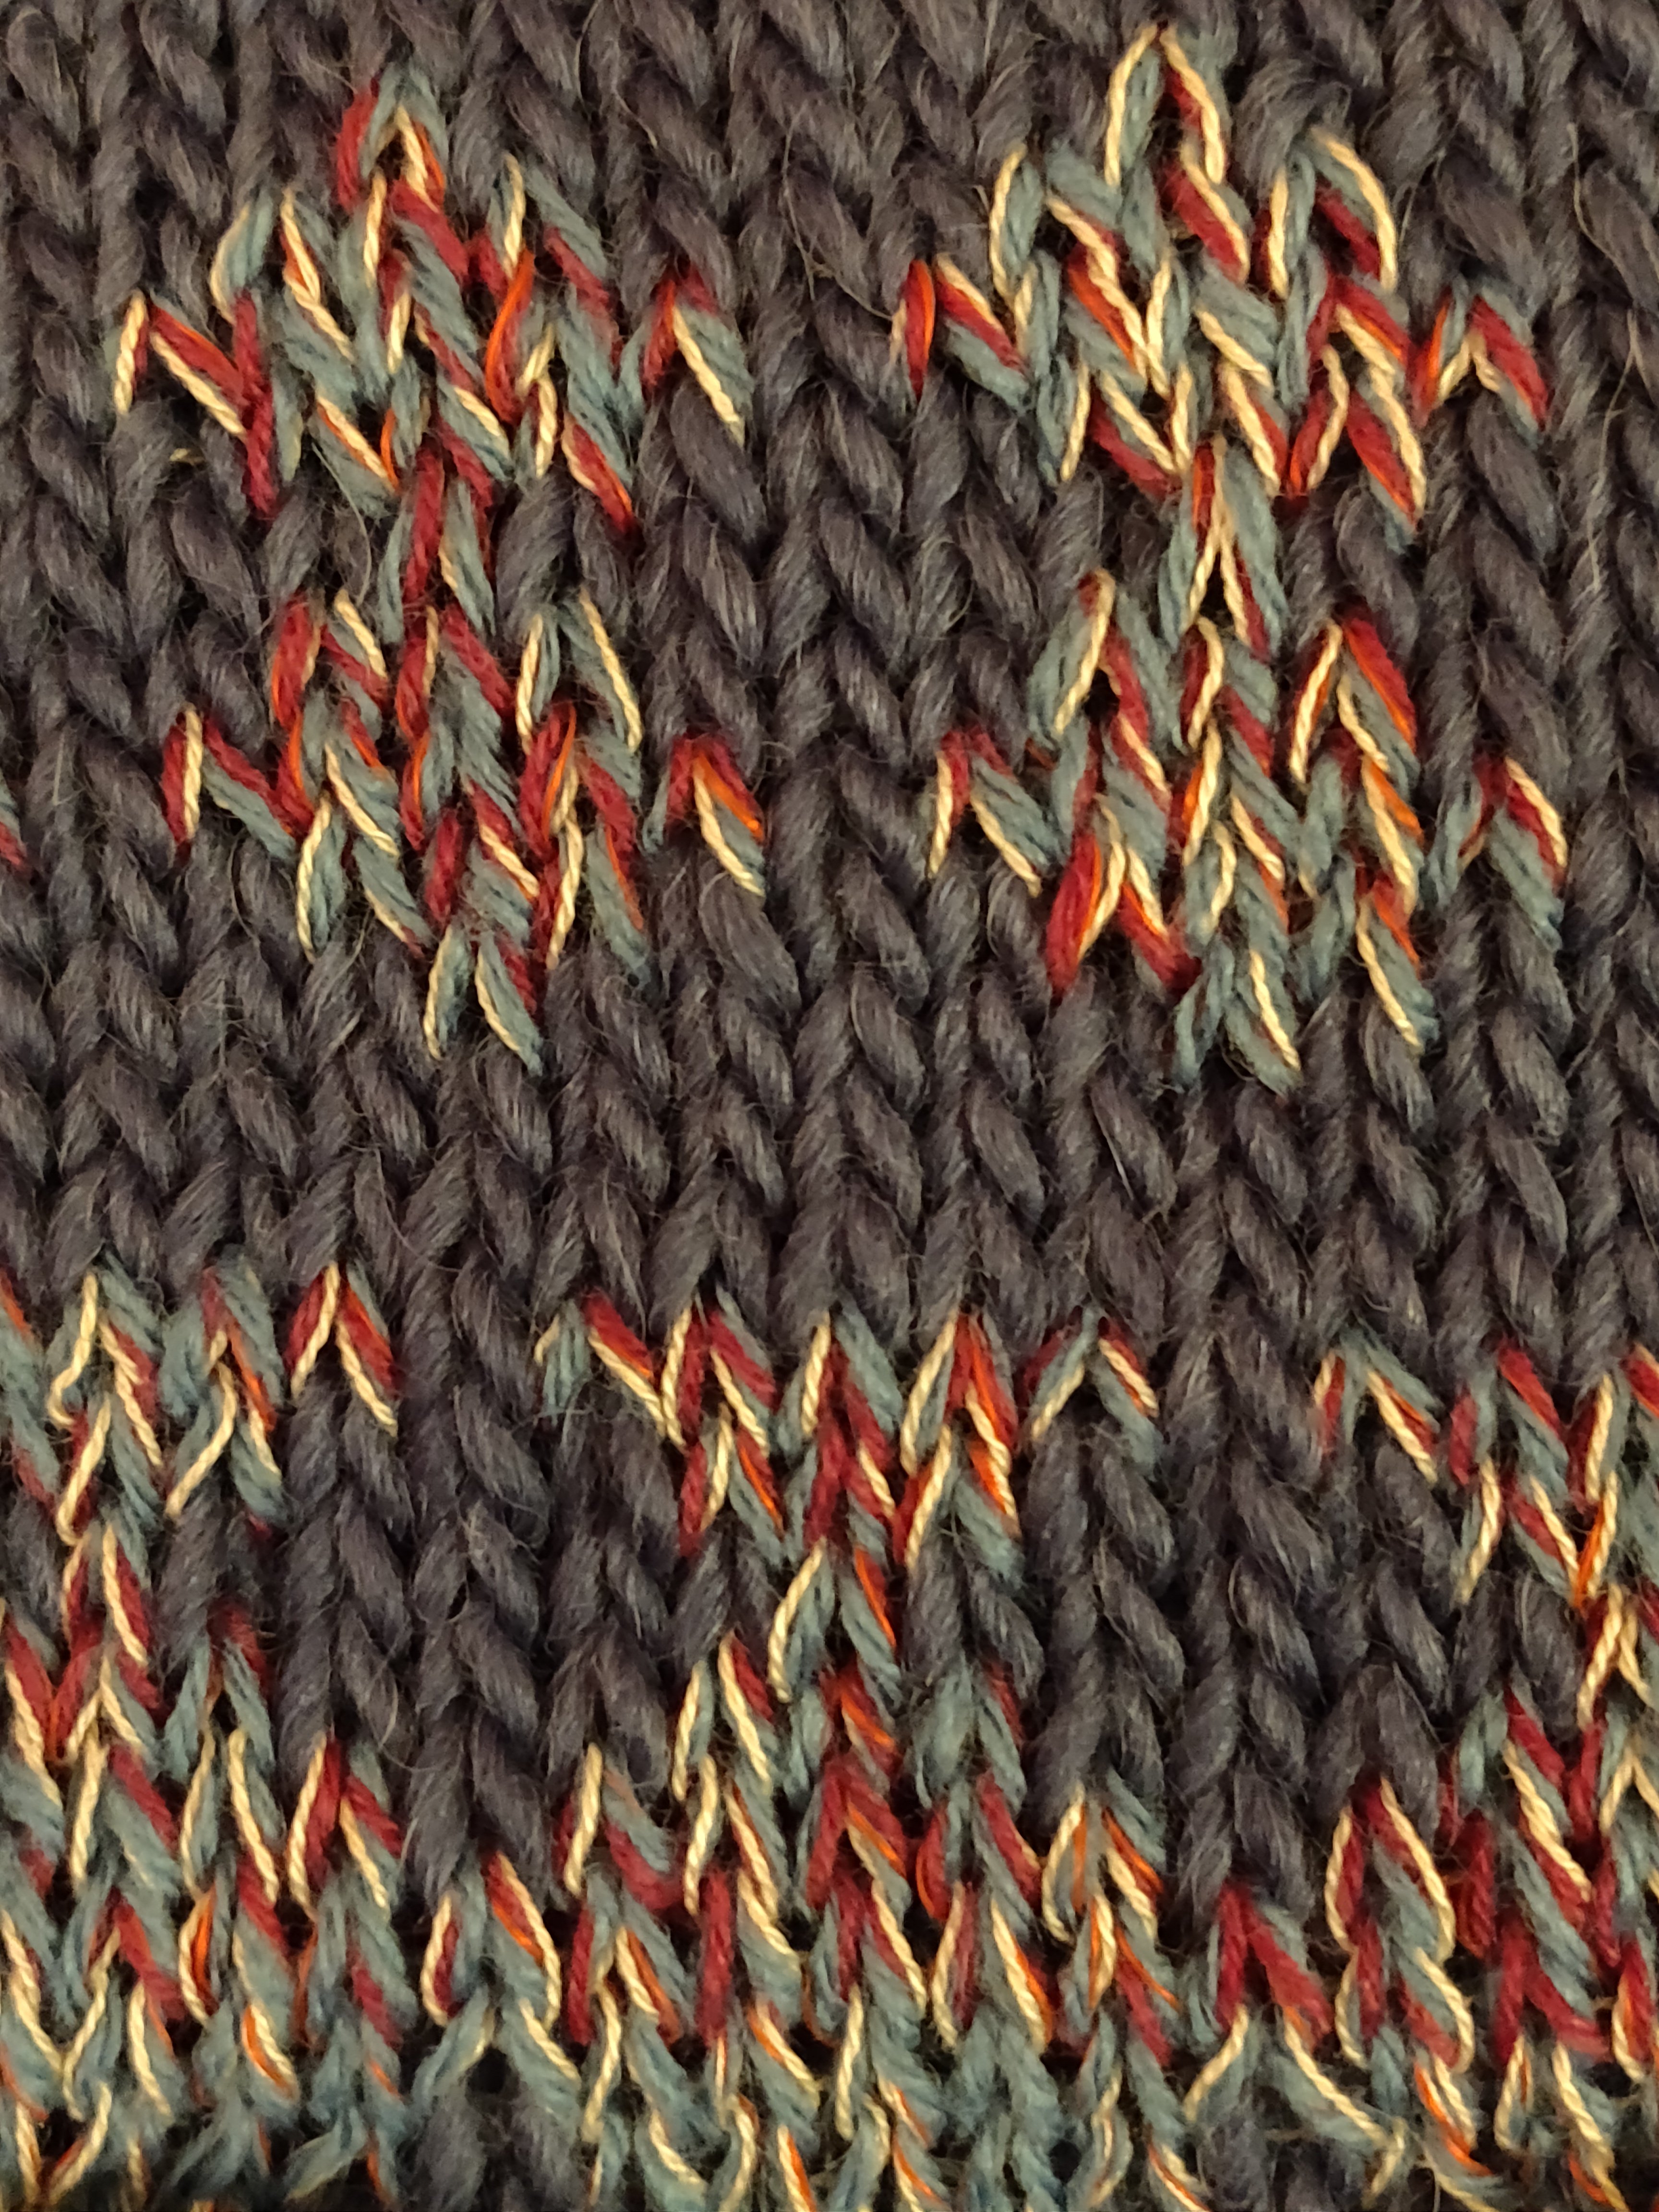
Sock knitting on the knitting machine. Not being a keen hand knitter of socks, I revisit machine knitted socks made from wool yarn. Short row heels, short row or decreased toes?
There is only one photo to go with this post as I was so covered in oil I didn’t feel secure holding a camera!
I am running a machine knitting workshop for my local Brighton and Hove Textile Art Group (TAG) in a few weeks, and most uncharacteristically I decided to plan in advance and check out the machines I will be taking along.
TAG is affiliated to the East Sussex Guild of Weavers, Spinners and Dyers, so most members spin in one way or another (drop spindle or wheel), so knitting hand spun yarn seems a pretty sensible thing to cover in the workshop. Because of this I intend to take my Brother KH260 chunky, single bed machine. I do love this machine, but haven’t used it in several years. Whilst I was working on ‘Translating Between Hand and Machine Knitting’ I used my two electronics, a Knitmaster mid-gauge HK160 and a Knitmaster punchcard, so there just wasn’t room for the 260 to be out. Since completing the book I have been diverted to spinning and dyeing for a refreshing change, hence the long storage of the KH260.
When I unpacked the machine it was frustrating to find that the timing belt seemed jammed. The carriage would knit fine in stocking stitch mode, but everything else refused to work. Luckily my long experience at machine maintenance stood me in good stead to sort out the sticking cams on the carriage which were preventing the KC dial from activating and connecting the carriage to the timing belt, taking the machine cover off to expose the workings at the back, and understanding the basics of the patterning mechanism. For a start, the carriage and pattern mechanism parts were all covered in yellow, thick gloopy oil that I know glues the workings of the machines when they are left unused, so I applied LPS1. After watching many of ‘TheAnswer Lady and Jack’ YouTube videos when working on various machines I had invested in a can of this spray cleaner/lubricant; it works really well and is to my mind well worth the rather high cost (in Europe, not sure about elsewhere). According the Jack, LPS1 does not damage the plastic parts of the machine like mineral oils do and is similar in chemical composition to the Bellador oil supplied with Passap machines.
Having replaced a broken Brother timing belt before I’ve found its quite a long and exacting job so I am wary of timing belts and did not want to stretch or break this one whilst sorting out the problem. The service manual (downloadable from the wonderful resource at machineknittingetc.com) is really useful, but I still couldn’t work out what was jamming the belt. So it was back to ‘The Answer Lady’ and Jack, who is a fount of all knowledge on knitting machines.
After watching two of their helpful videos about the Brother timing belt I was pretty sure that the problem was connected to the right hand end of the belt and the associated cog and cam. On the right of the card reader, there is a round cog with a spring on the top that the timing belt goes around and inside this there are cams that activate the patterning mechanism; this clog refused to move more than a third of the full revolution, and felt ‘sticky’. So I soaked it in LPS1, making sure to get the little tube over the holes so that the spray would penetrate fully into the enclosed middle. But 24 hours later it was still stuck, but the black roller rotated, and now the card roller knob popped up and down when the cog mechanism revolved the short distance it was able to, but this still jammed after a third of a revolution.
After a further trawl of YouTube I found another, slightly older video that discussed reasons why the pattern mechanism won’t advance in a bit more detail. In this video, Jack explains that a drive cam hidden underneath that right hand, cog mechanism rotates the lower of the two card mechanism rollers (the white plastic one), which I had already noticed was not revolving when the top (black) one did. I now knew that the problem was definitely under that right hand mechanism. More LPS1 went into it; the machine case was now awash with the stuff! After another hour or so soaking the time had arrived for another test run.
With a rag to help my grip I nudged the clogged mechanism into a place it didn’t want to go. I could feel the gunk fighting me, but it was slowly yielding, and most importantly, as I nudged it, the lower, white roller began to revolve. I was now certain that the hidden cam was stuck up with gunk, and needed to be helped to free itself. I connected the carriage to the timing belt by setting it to KC, and if I gently moved this in the right direction I could add a little more leverage – gentle was the word here, remember my fear of damaging the timing belt? More LPS1 went in, and a bit more nudging back and forth, and slowly it all began to free-up. At last the cam gave and the clogged mechanism moved fully, the lower roller rotated and the punchcard mechanism advanced!
Wooppee!
Next came a test with a punchcard, which seemed to select needles and rotate OK. It took several rags to mop the LPS1 out of the case; it was leaking a bit and I didn’t want it to run out on the floor when I put the machine back on its end for storage.
Before putting the case back on I tested the patterning by knitting a piece, which worked up no problem. I felt wonderful – its such a kick mending something.
Those oily rags then came in useful to wipe off all the yellow gloopy oil that was left on parts of the inner workings of the machine. After that the case went back on. I’d reserved an oily rag to wipe down the beds and other exposed metal parts to protect and lubricate the machine; we live near the sea so I am very conscious of the rust factor. My old Knitmaster 700 had a rather sad case of rust when I was bequeathed it, but LPS1 was a great help in restoring it to good health.
I now have a working KH260, shiney and ready for the workshop. On to the next machine…
The Answer Lady and Jack videos can be found on YouTube, and these were the ones I used to help me with this problem.
Several Reasons why a Brother card reader might not advance, The Answer Lady and Jack, on YouTube.