As mentioned in my previous post we have a lot of fruit in the garden, a large amount of which is from a prolific Mulberry tree. I’ve made jam, jelly, syrup, sauce, dried them and made fruit leathers. Plus Ross is making wine from three kilos of them.
One of the problems with mulberries is they have big pips and a stalk that is difficult to get out. Many of the things I’ve made have involved cooking the fruit up and then putting it through a Mouli or nylon sieve to get the pulp and juice and then working with that. As we have a lot of apples I use the windfalls to make pectin and sometimes add a few apples to give some body to the pulp.
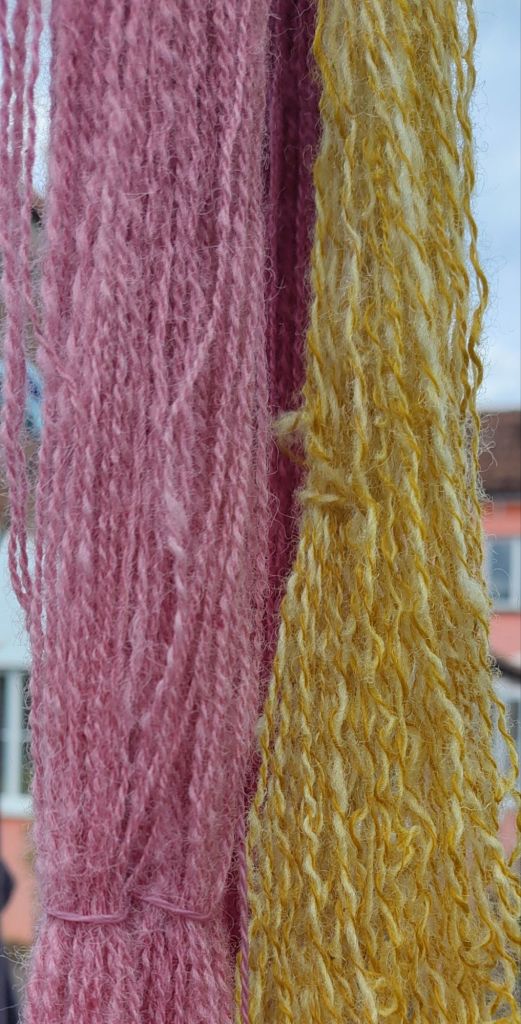
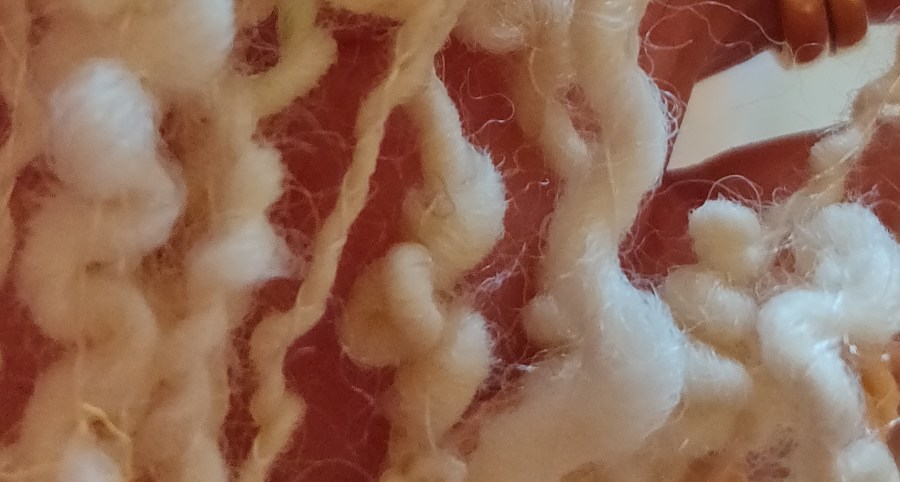
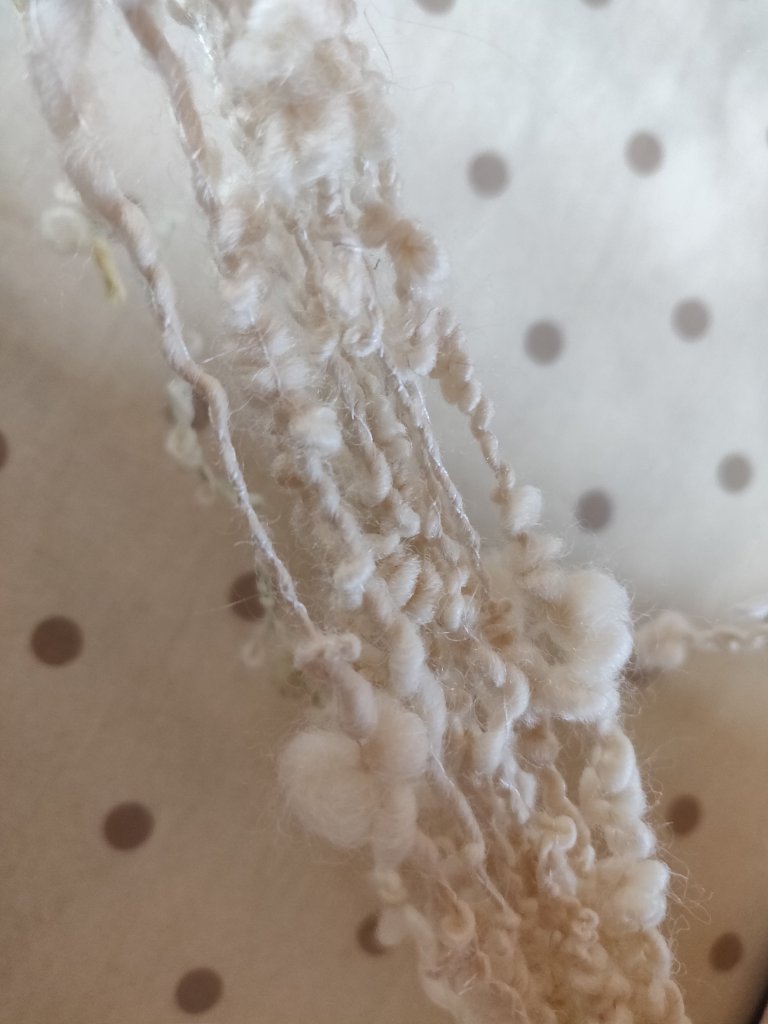
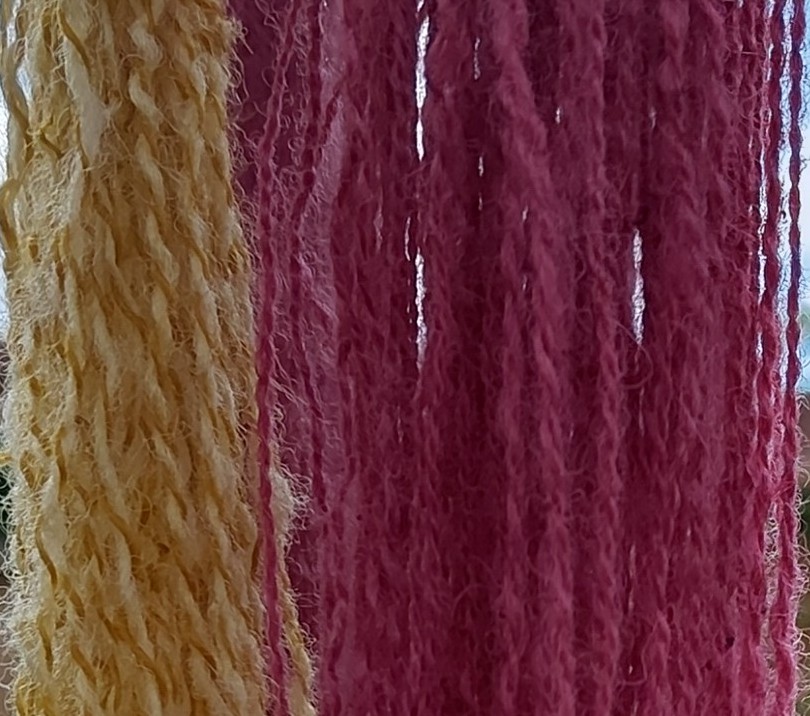
Of course you end up with a lot of mulberry mush with pips and stalks in it. However this still retains the really strong color, and staining ability, that the complete mulberries have. So I decided to do some dying with the pulp. Last year I solar dyed with raspberries, which gave me a gentle pink, so this year I worked with the mulberry pulp in a similar manner. I use my own handspun yarn and solar dying with the mulberry pulp, which gave a pretty, pale crimson. I boiled up the mulberry mush again with a bit more water and added any berries that hadn’t been good enough to go into the jam. When I thought I got as much color into the liquid that I was going to get I strained the liquid off through a fine sieve, being careful not to squash the pulp through as well. The liquid went into a big jar with 1% alum solution, some salt and a dash of white vinegar. After a good stir the dye jar was ready.
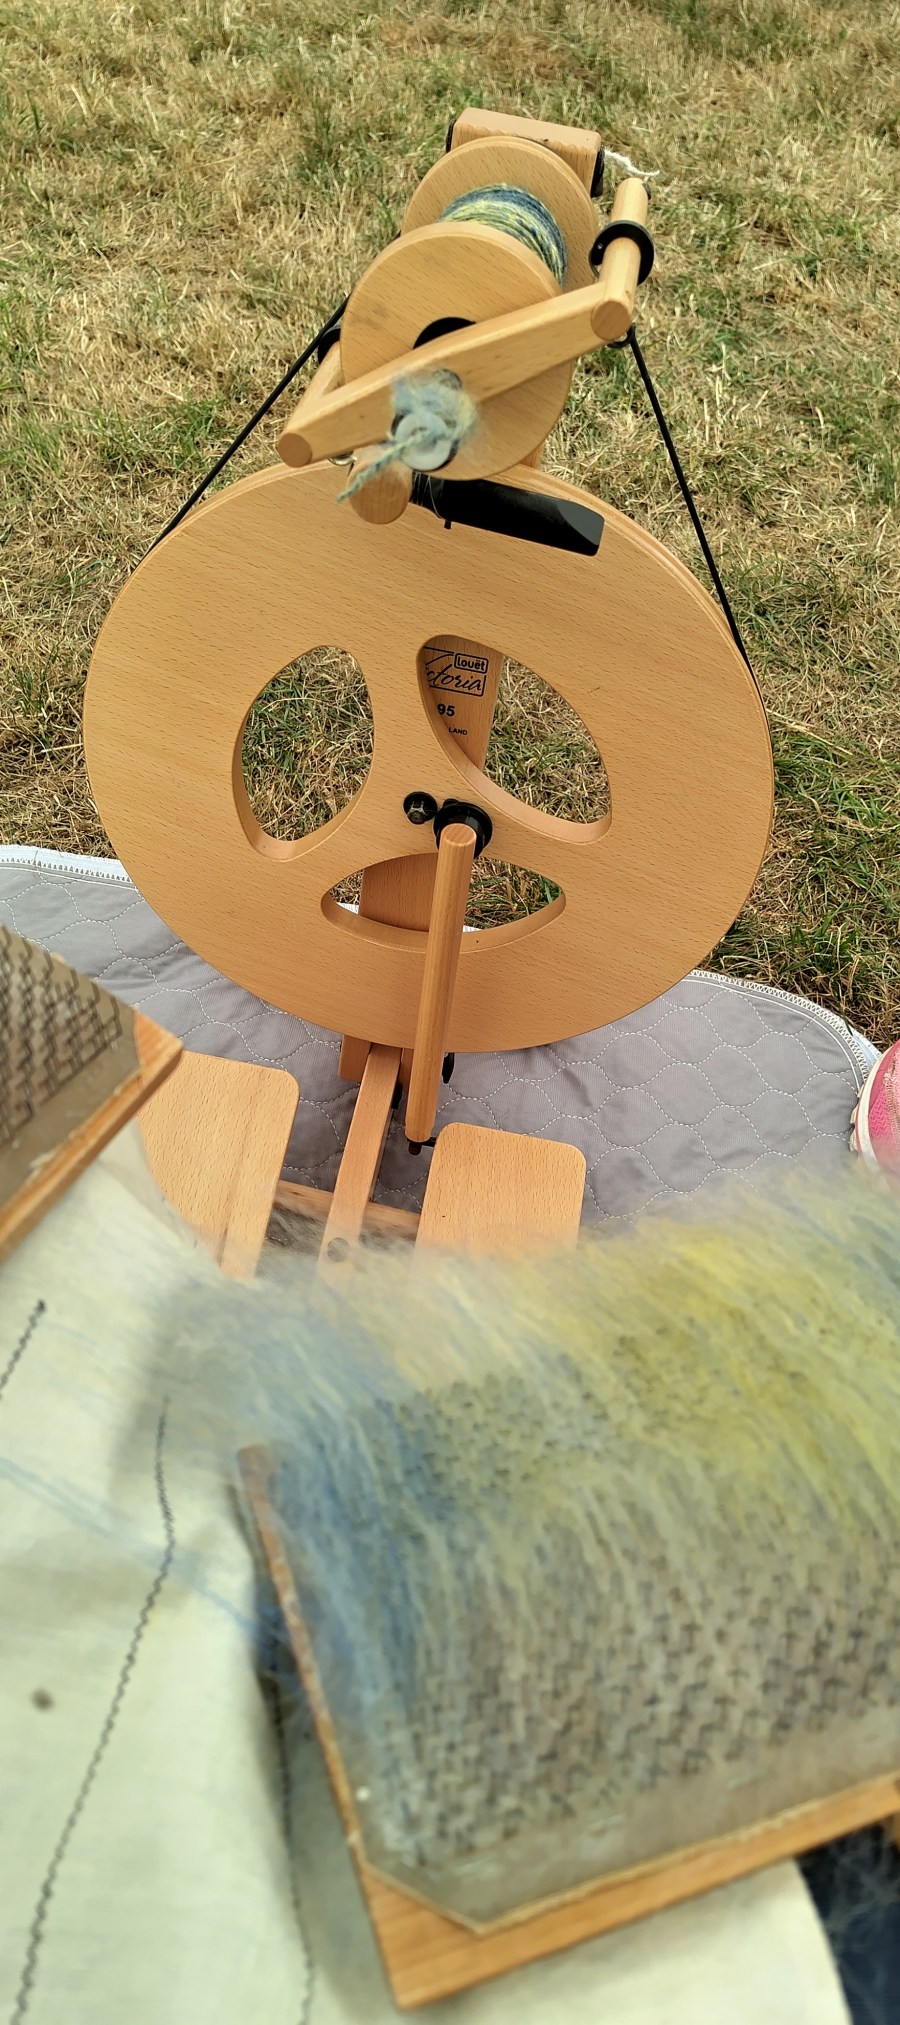
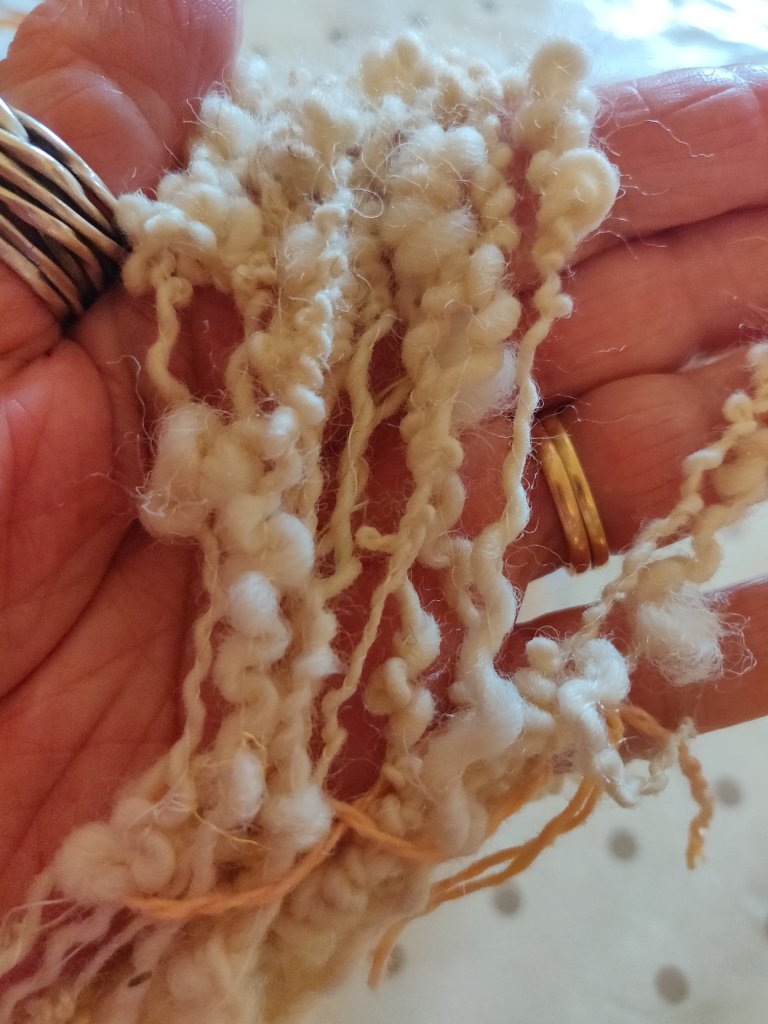
Before I started all this I had put a 100g hank of handspun wool yarn to soak in hot water with washing up liquid and a little bit of soda. Although the yarn had been washed already, this extra soak and the soda in particular, removed any remaining oil, ready for it to take the dye. The yarn had been spun and plied 2ply from a Lleyn fleece.
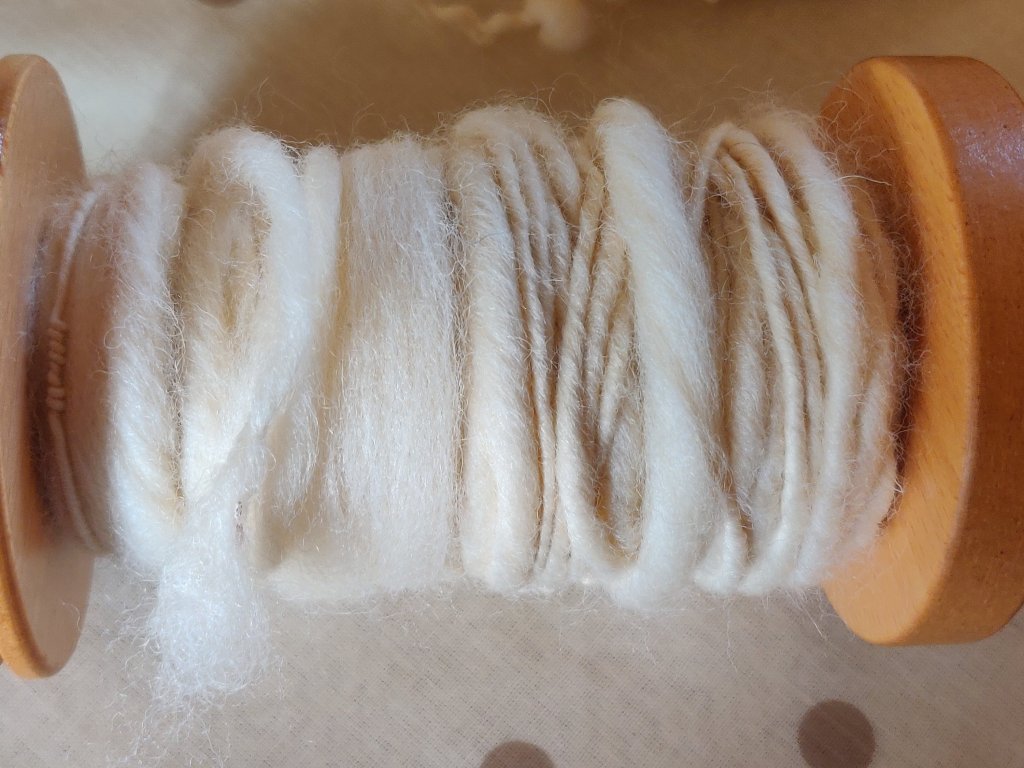
After rinsing and removing extra water from the yarn I put it damp into the dye jar, put the lid on and gave it a good shake to distribute the dye around you the yarn. My plan was to shake the jar every day whilst it sat in the sun for a week to ten days, but I forgot so the hank is a slightly lighter colour one end, which is pretty but not a solid color I had intended.
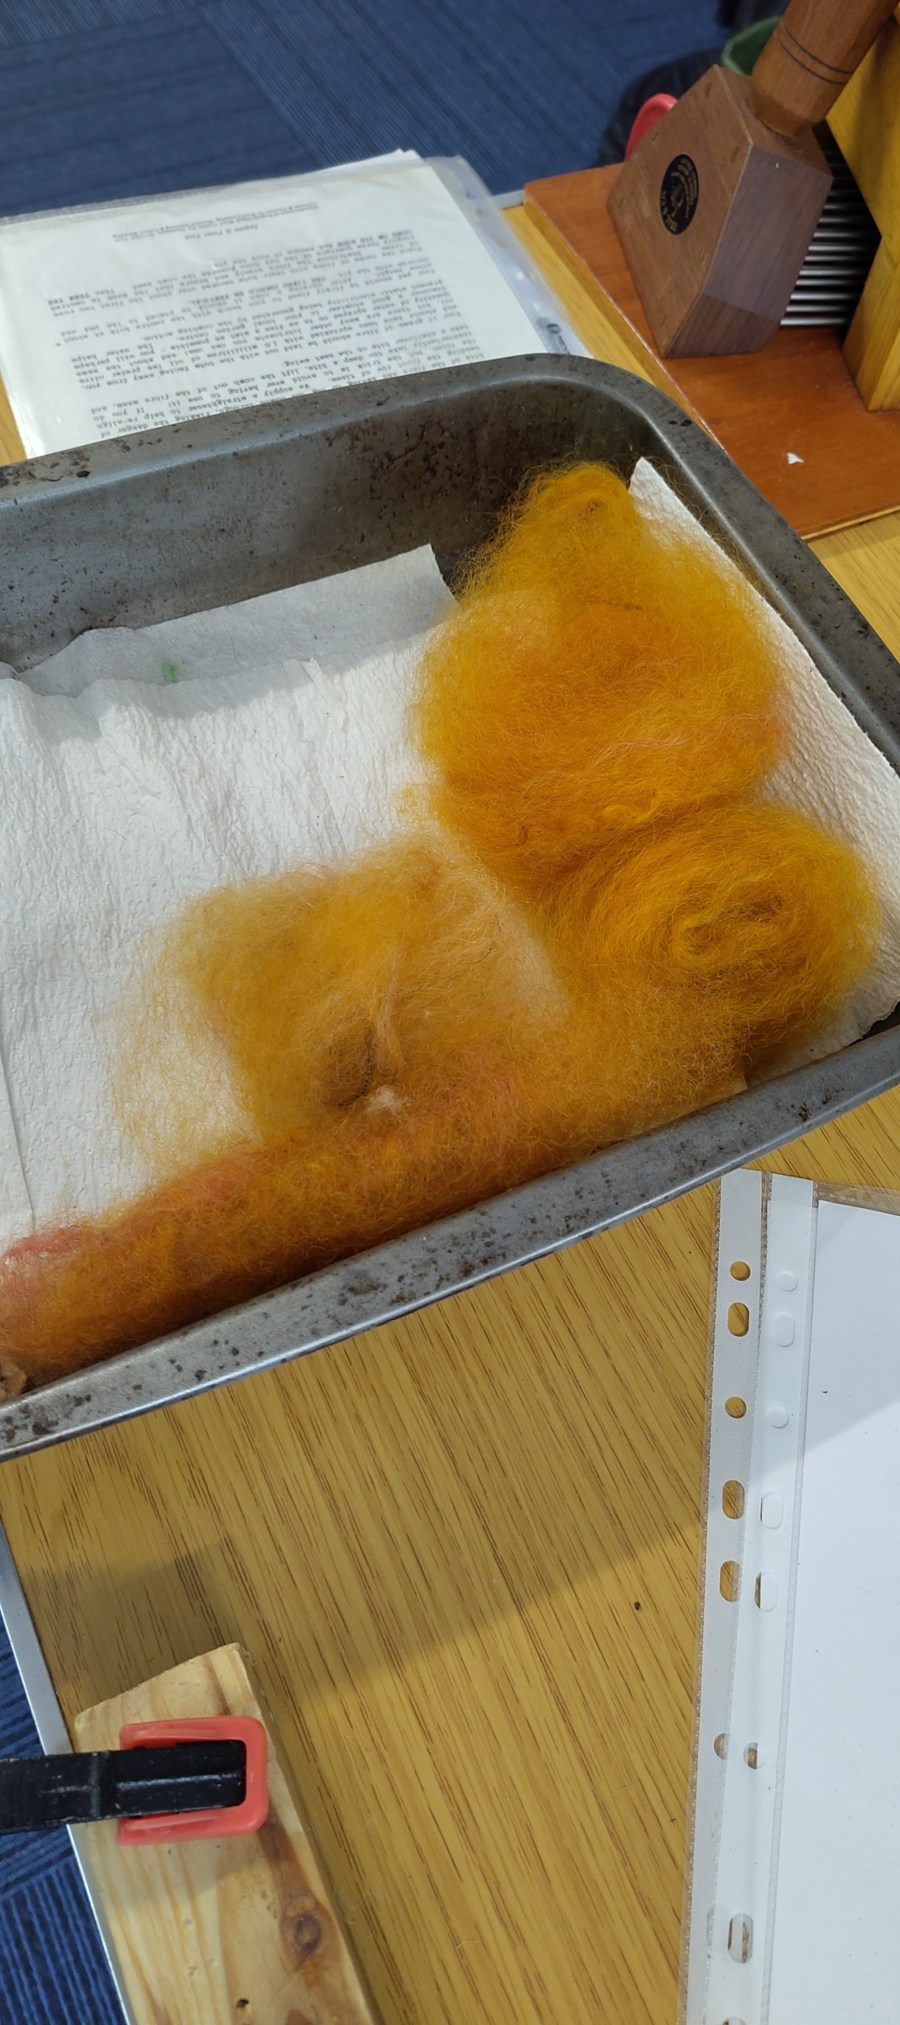
I follow the same process with marigold petals that I’d gathered when deadheading the marigolds I’d grown this summer. These had been left to dry and were cooked up and strained in the same way as the mulberries. After removing this yarn, which was only a small hank, from the dye jar I found that one of the singles had taken the color much better than the other. This is because the 2 ply yarn on the bank was plied from two different fleece singles that were on odd bobbins, and I don’t remember which forever either were from. So an interesting dye experiment, but lacking the control of knowing the fleece type.