
Of all the useful and memorable things I learned whilst at college studying textiles all those years ago, dyeing was not one of them! Oh yes, I spent quite a lot of time in the dye-lab, and created some wonderful colours – and also felted some lovely mohair yarn! I was taught how to prepare fibre and yarns for dyeing and how to dye these, but despite this teaching I can’t say I learned the sciencey bits about dyeing. By that I mean working with weights and percentages so that I could mix colours, and be able to replicate them.
I was way to impatient, and didn’t see the point in keeping records – or if I did keep a note, I pyromptly lost it. I was enamoured with the way I could take hank of natural yarn – my blank canvas, and turn it into any colour, or combination of colours I wanted. I didn’t need to replicate them, I was experimenting! Every episode in the dye-lab was an adventure to me, I didn’t want to be tied down by technical stuff!
So now here I am actually doing the learning I should have done then on a personal level. When I worked in the knitting industry I designed yarns, fibre mixes and developed colour pallettes, but I didn’t develop the dye recipes.
A while ago I bought the Colourcraft primary colour acid dyes from George Weil and I’ve these a few times before, along with a Kemtex chestnut brown. This was the first time using them in a more considered and planned manner.
For a gentle start, I dyed a straight golden yellow, no mixing needed and it came out fine. The Dorset fleece is pretty soft so some felting occurred, but it’s OK.
For help in during this dyeing session I turned to Gail Callahan’s, Hand Dyeing Yarn and Fleece. This book makes dyeing very accessible, with clear explanations and some really interesting ideas and techniques.
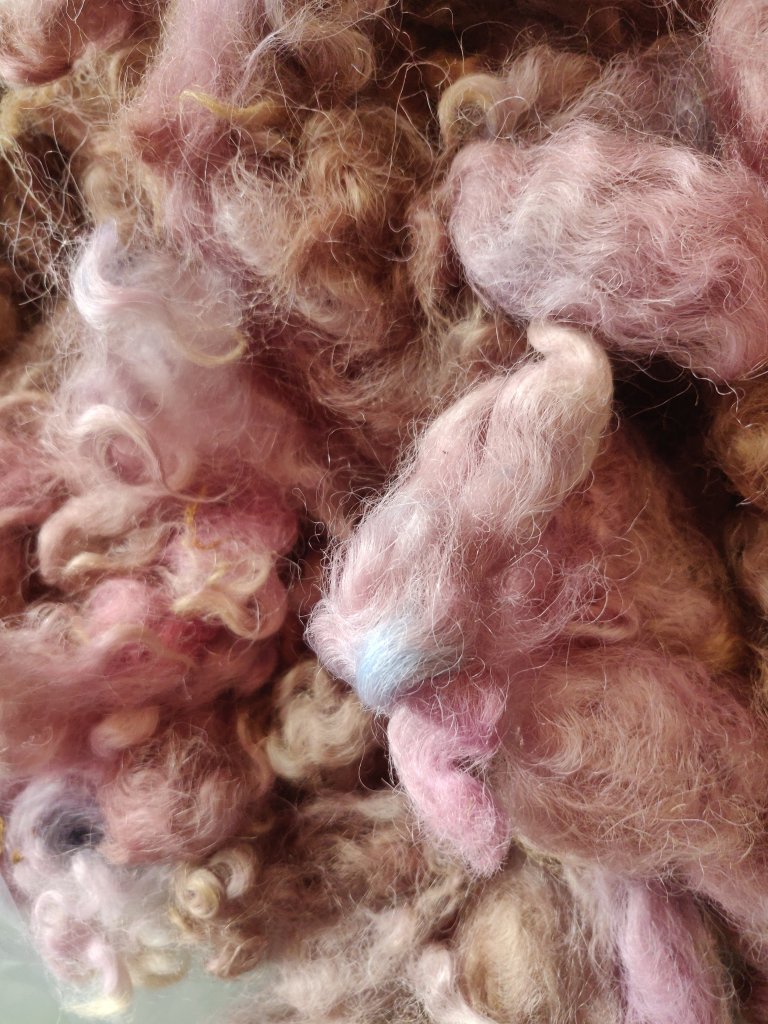
I’ll add some photos of the carded fleece.
After my first success it was time for an orange, and my mix came out perfectly as planned!
My next attempt came out flourescent lime green, not the subtle olive green that I had planned.
I now moved on to the dark red, but sadly this came out a corally candy pink not dark red.
To give myself a really difficult challenge I decided to mix Duck Egg Blue. My first attempt came out a grey/lilac colour. I still don’t know why, as the mix sounded, and looked OK. I think it was too do with when I added the vinegar.
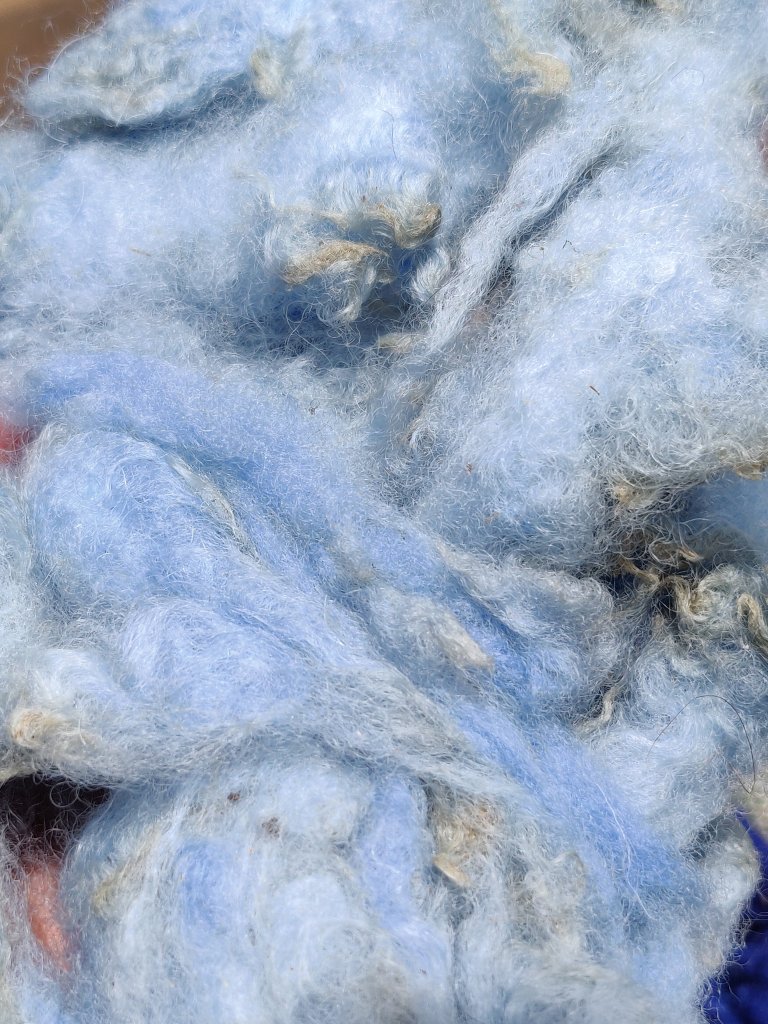
When the dye bath seemed almost exhausted I added some more blue and yellow and another 100g fibre. Whilst not a delicate Duck Egg Blue its a pretty green that I will definitely use.
So it was back to getting that dark slightly acid red I’f tried for earlier. This sits between a range of analogous colours that range from rich brown through the colour itself to dark maroon and plummy dark red. There was a lot more mixing involved in this but it was well worth it as the colour came out exactly as I wanted.

Finally I needed a blue, and went for Forget-me-not. It’s veered slight towards the Bluebell, but is acceptable. I added another 100g to the dye-bath and it totally exhausted all the colour. I’ve never seen this before, so here is a photo.
Rainbow dyeing raw fleece on the stove
This came about after I read an article on Ravelry – https://www.ravelry.com/projects/castlemilk/stove-top-rainbow-dyeing. Its quite an old article and I found it via another post about dyeing. Because I have a few bags of fleece sitting festering in the shed that I need to wash I was rather taken with the idea of washing and dyeing with acid dyes at the same time.
My family make a dreadful fuss about the smell, whether I’m dyeing or scouring, so I thought, lets do them together. Be warned though, it does stink! I am sitting here feeling a bit queasy.
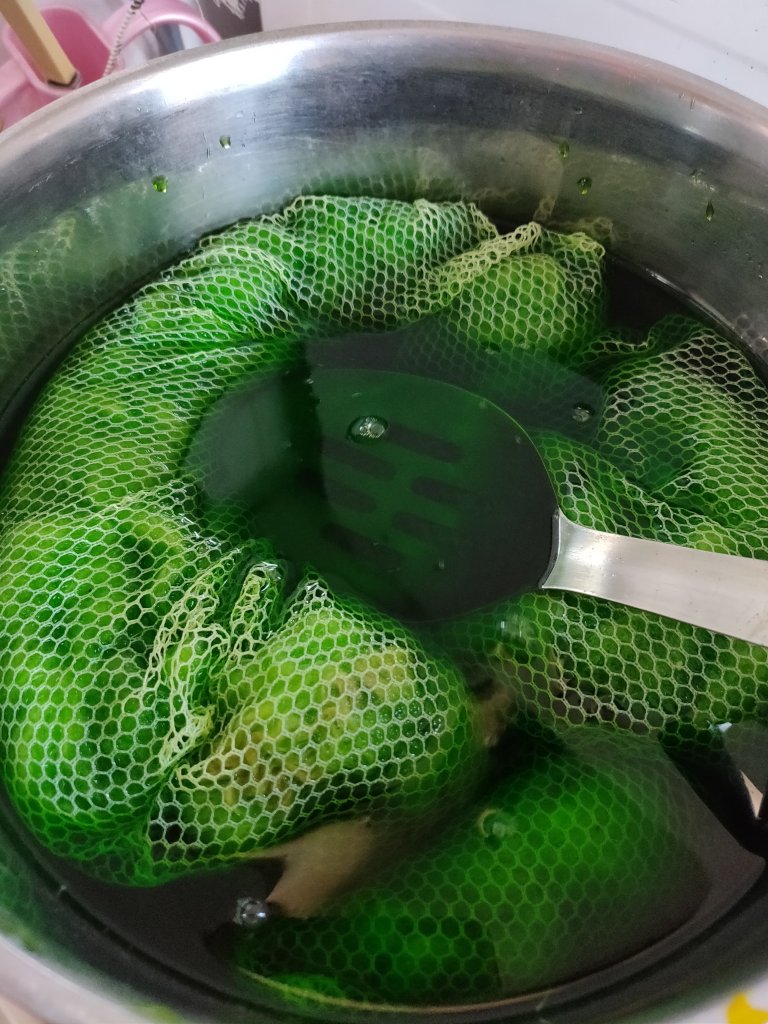
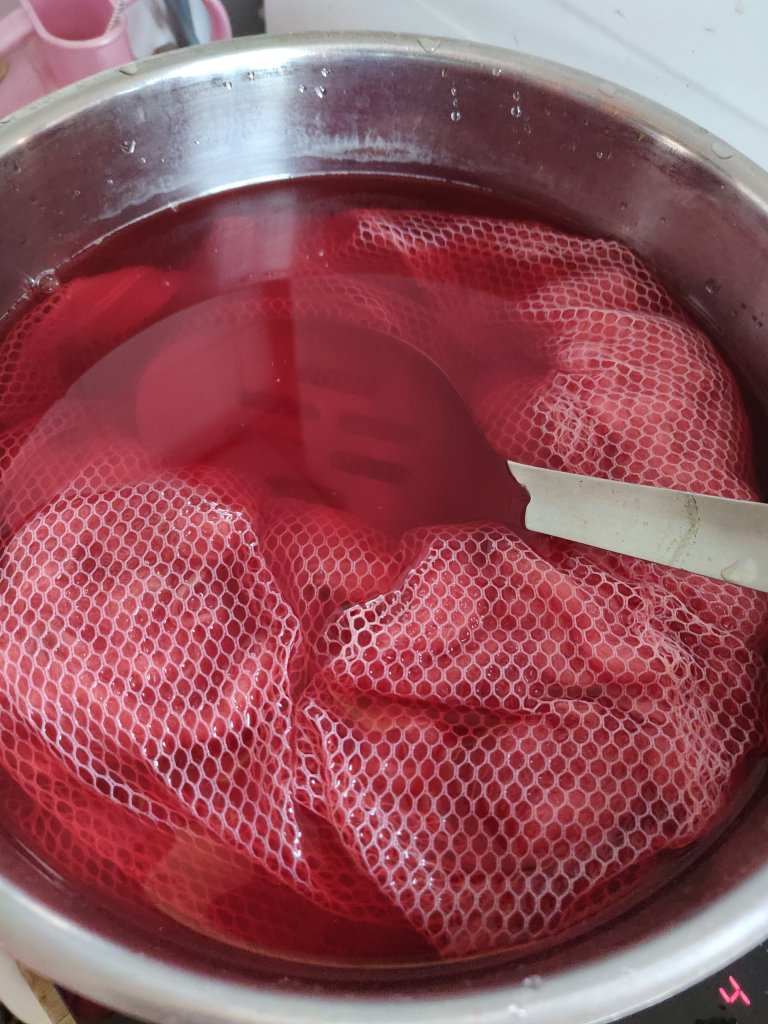
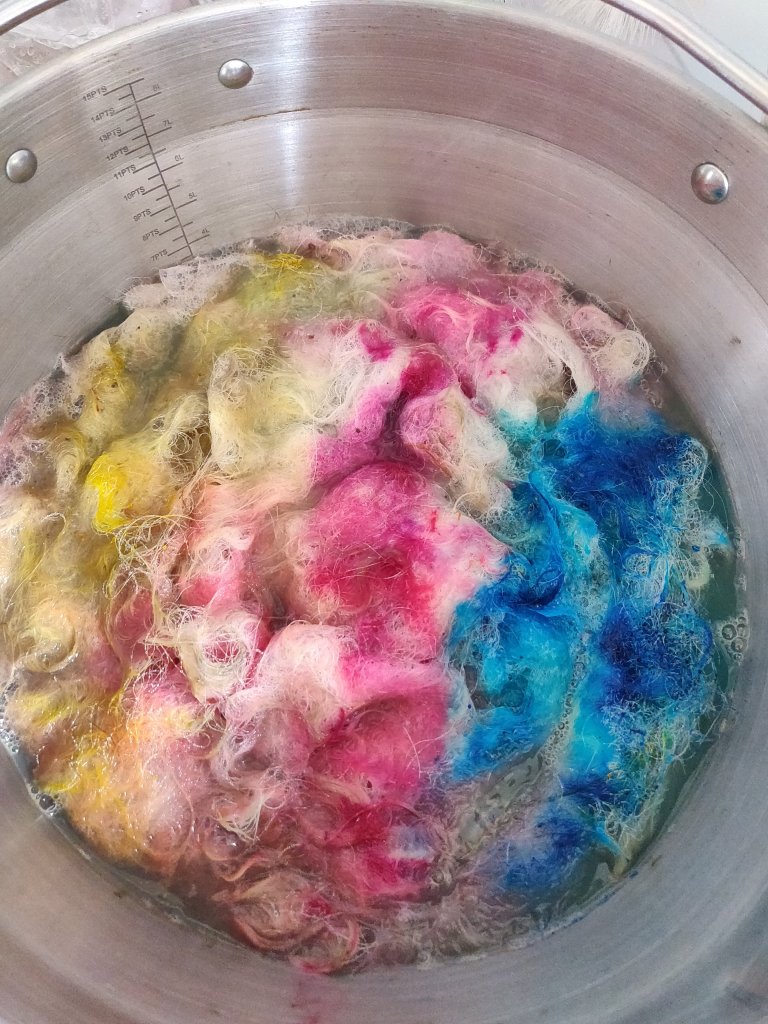
I’ve not been adventurous with my colours for the first attempt, rainbow it is – cyan, lemon and magenta dyes used.
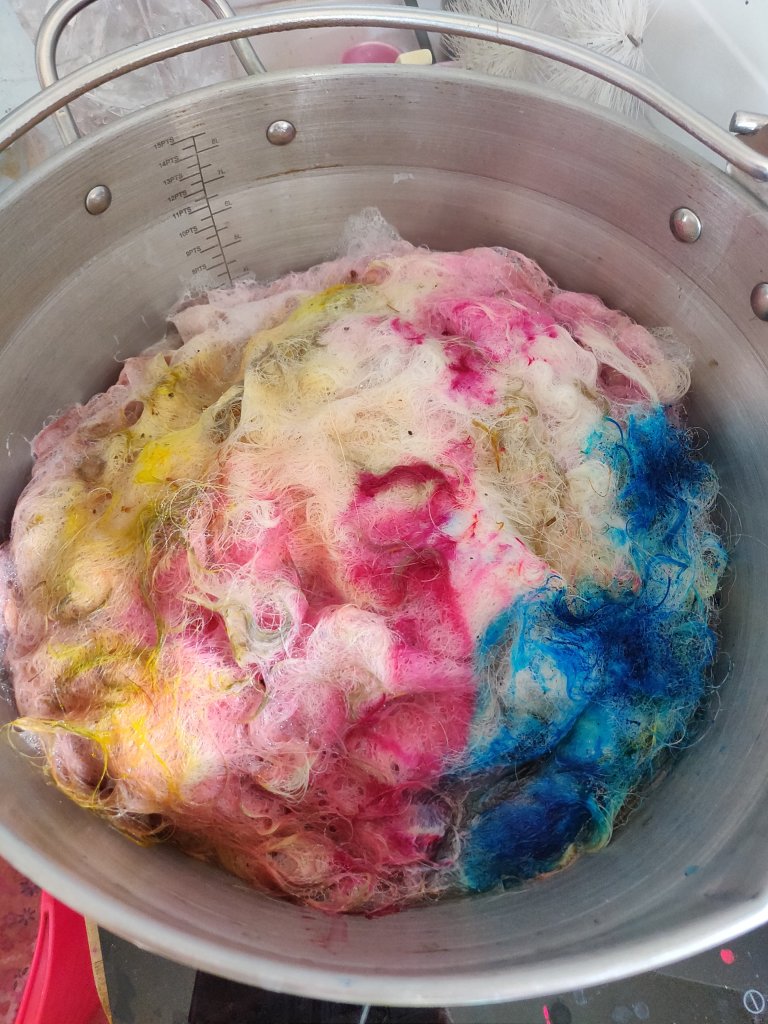
Basically you put a little water, a good 3 squirts of washing liquid and vinegar (for the dye) into the pot then pack in the fleece. After this you add water to just cover the fleece and sprinkle on the dye powder. Bring to the simmer and simmer for 40 minutes and DO NOT TOUCH IT – it is SO tempting, but don’t! The dye penetrates and mixes by itself, which is what makes such a random and pretty result. Leave it all to cool until you can handle it safely and then rinse well.
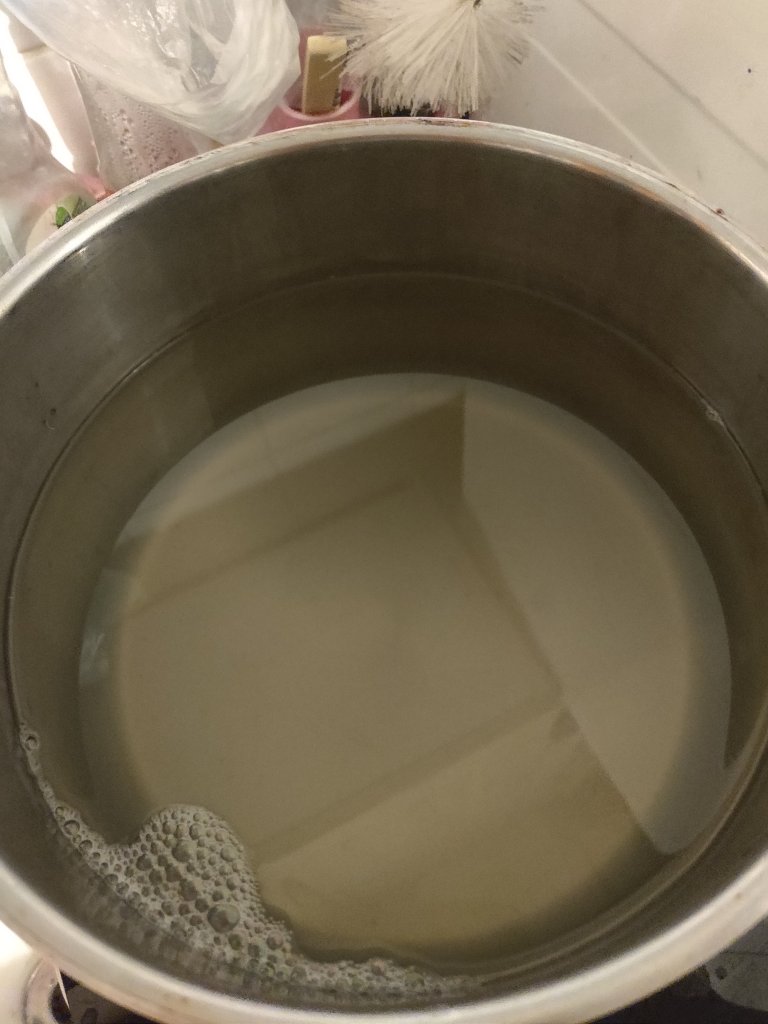
The dye bath was really yucky, so I threw it out, but the original article suggested that you could use this to do another exhaust bath with more fleece if you so wanted. My stomach was not strong enough I’m afraid, besides which the colour seemed sludgy grey and I didn’t want to dye anything that colour.
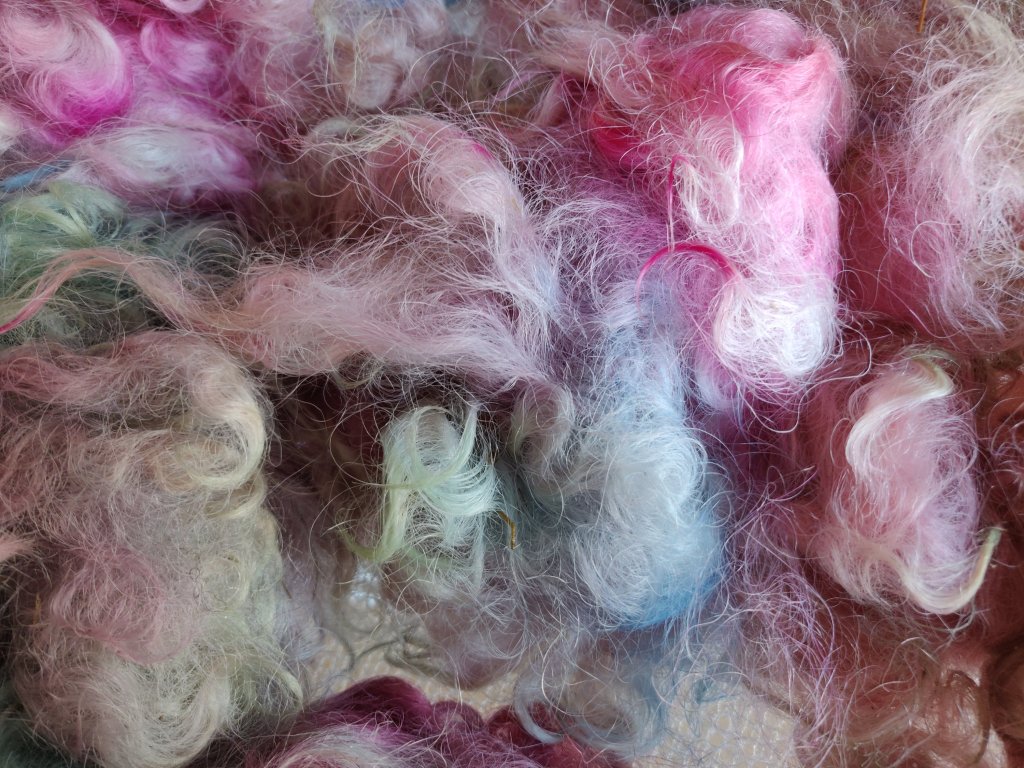
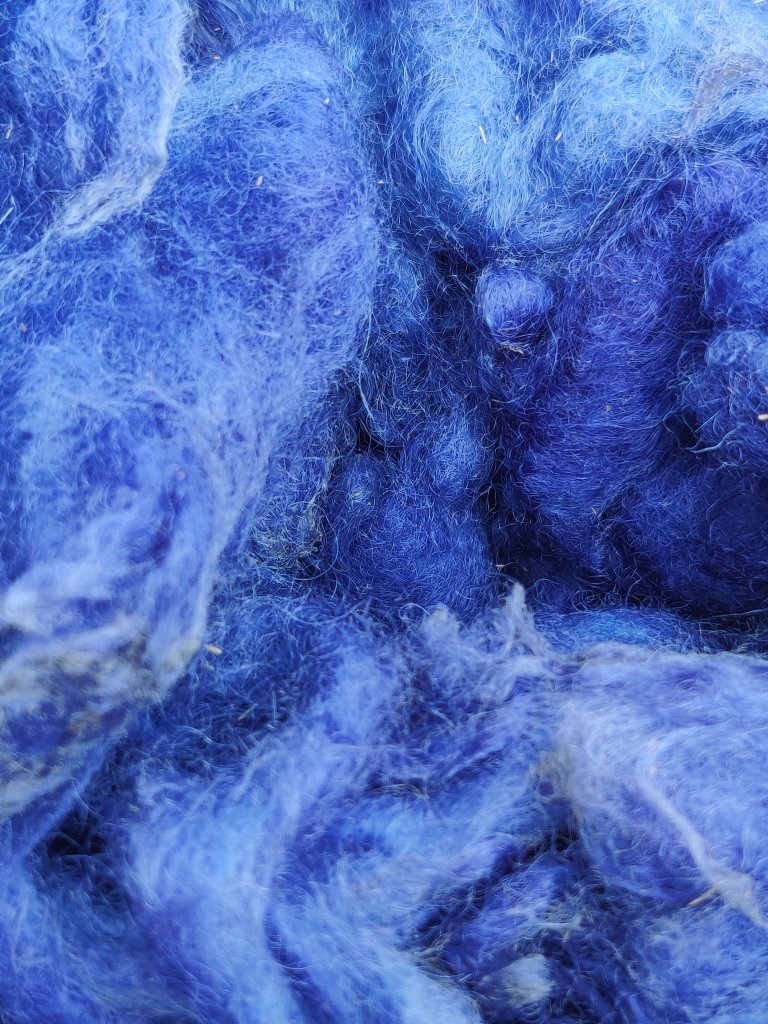
My first batch came out well, but the second batch went a bit murky. I hope this will spin up to be a heathery brown and purple with dashes of colour.l
I haven’t carded or spun any of this yet. I’m not actually sure what I will do, as carding will mix it up – so maybe I can spin from the lock. I’ll have a go.
Update is that it spins from the lock after the tips are opened with a flicker brush. This means I can retain the occasional highlights which carding would homogenise.
Solar dyeing with raspberries
With our new home we have inherited two raspberries patches. The later-fruiting patch is prolific and consequently some go a bit squidgy before we can get to use them. Rather than throw these into the compost I wanted to try dyeing hand spun wool yarn with these berries, but all my dye equipment is still in storage. 
However, I thought I could solar dye in a big pickle jar we had just emptied.
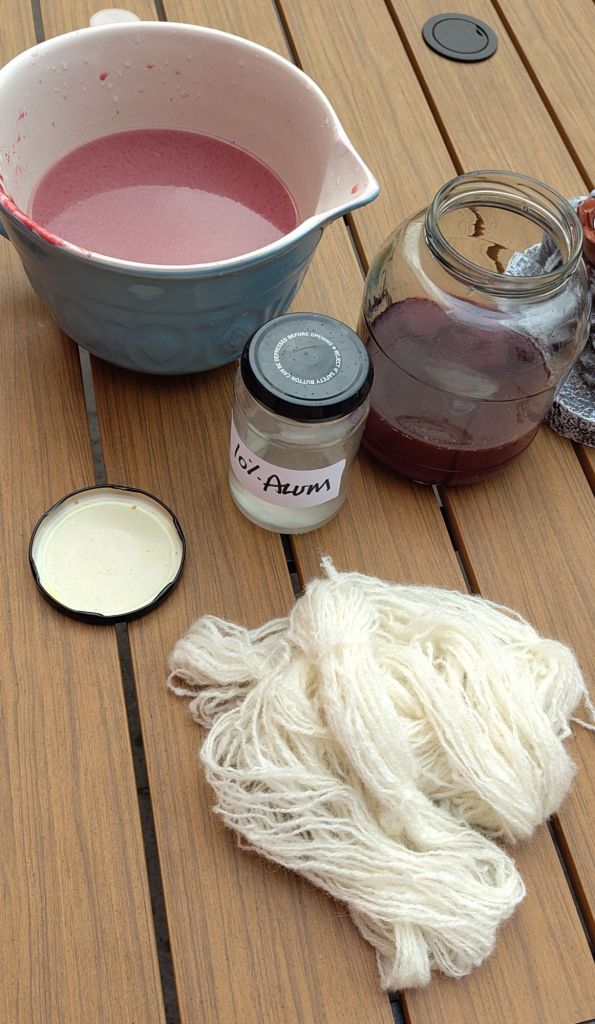
First of all, I plied up some hand spin singles of Dorset fleece that I’ve had lying around for quite a while, (and miraculously was now out of storage).

Because i was using fruit not chemicals I decided I could use a cooking pan to simmer the berries in a little water until the juices ran a rich red. I use natural alum as a deodorant, and had recently dropped and broken the bar, so took a piece of that and ground it to powder in a pestle and mortar, (OK, that was a kitchen implement, but as it was stone I decided I could wash it really thoroughly afterwards).
I had 13g of alum, which I mixed with 130 mls of boiling water to make a 10% solution. The hand spun yarn dry weight was 35 g. I guesstimated that if I used 25 mils, I should get approximately 8% alum to yarn weight.
Once the beers had released all their juice, I strained them through an organza bag, retaining the lovely red juice and pour this into the pickle jar.
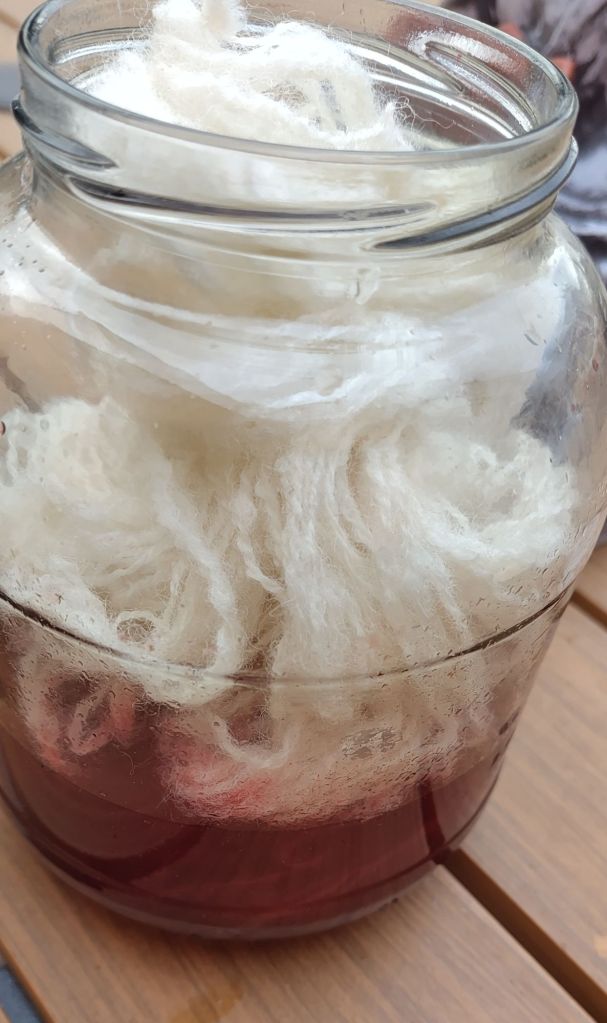
The yarn had been soaked overnight so was fully saturated to take the dye, but I hadn’t pre-mordanted the yarn as didn’t have a vessel to do this in. Instead I stirred the 25ml alum solution into the berry juice.
I managed to get a bit more red colour out of the berries by straining them a bit more into a fresh jug, and then diluted this with sufficient water to fill the jar after the yarn was added.
This is where I made a slight mistake. In my excitement I introduce the yarn into the stronger berry juice and alum solution and then poured the diluted colour on top of that, before all of it had had a chance to absorb the stronger colour, (and the alum).
OK, I decide, that’s not as accurate as I like to be but I’m sure it’s going to work!
So it’s now sitting on the conservatory windowsill in full sun. I will turn it a few times and hope that the colour will even out. If not let’s hope it will be very pretty ombré effect.
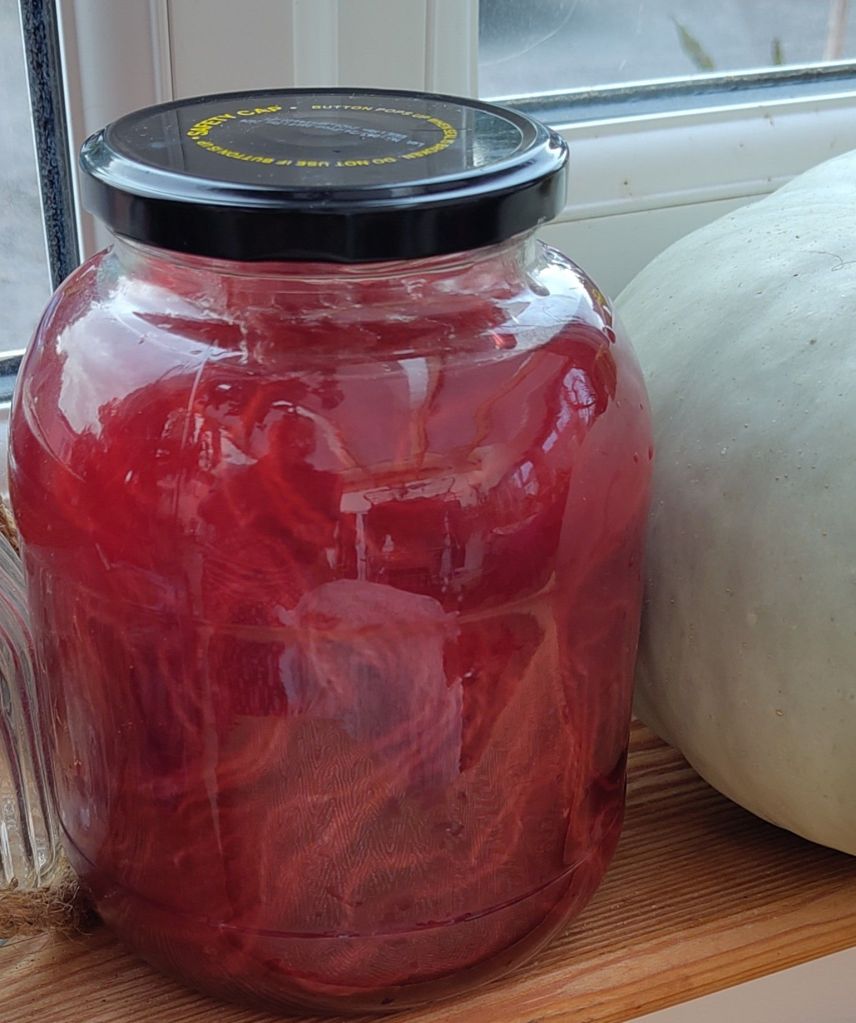
Several articles and books I have read suggest that raspberries are a stain rather than a dye. This means they will probably wash out and eventually fade to a brown rather than any sort of pink I might hope to get.
Keep watching and I will update when I eventually get the yarn out of the pickle jar!
