Click here see more about my upcoming participation in the Tour de Fleece 2026,


Click here see more about my upcoming participation in the Tour de Fleece 2026,
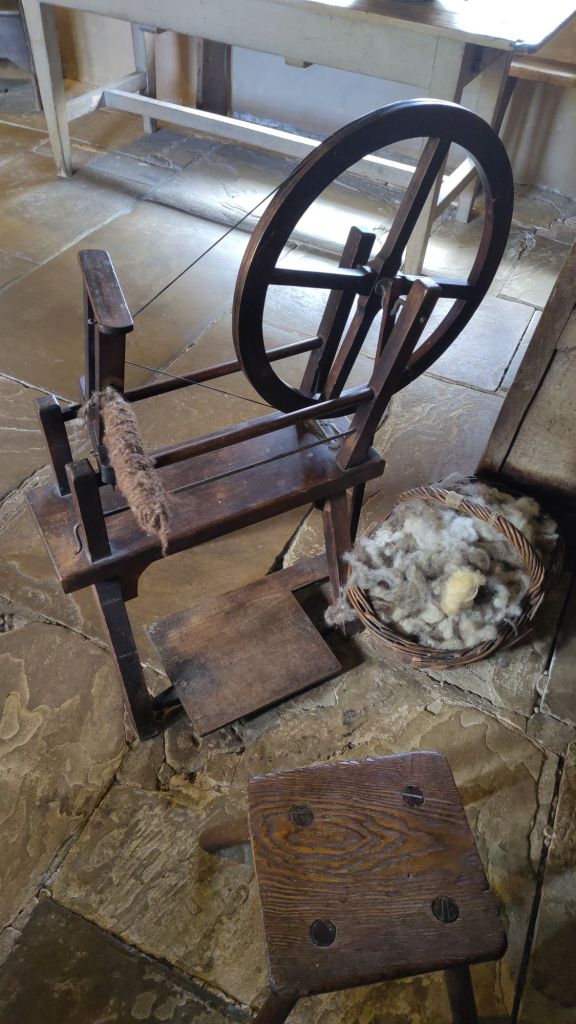
We are on holiday in Yorkshire and took the opportunity to visit the Ryedale Folk Museum in Hutton le Hole. The museum is a little gem, mostly outdoors it features original local buildings from different periods complete with information about those who lived in them. From the’ Witches Hovel’ to the Manor House, one can take a peak into the life of the people of Ryedale through the centuries.
Pre the Industrial Revolution the village subsisted on small scale farming and at one time a quarter of the population of Hutton le Hole were employed as weavers. It is not explained whether it was cause or effect, but flax was grown in the area in the 1700s and the women would have spun the flax into linen yarn on spinning wheels, examples of which are present in the houses. It is likely that wool was also spun as villagers grazed cattle and sheep on the common land and most households were largely self sufficient.
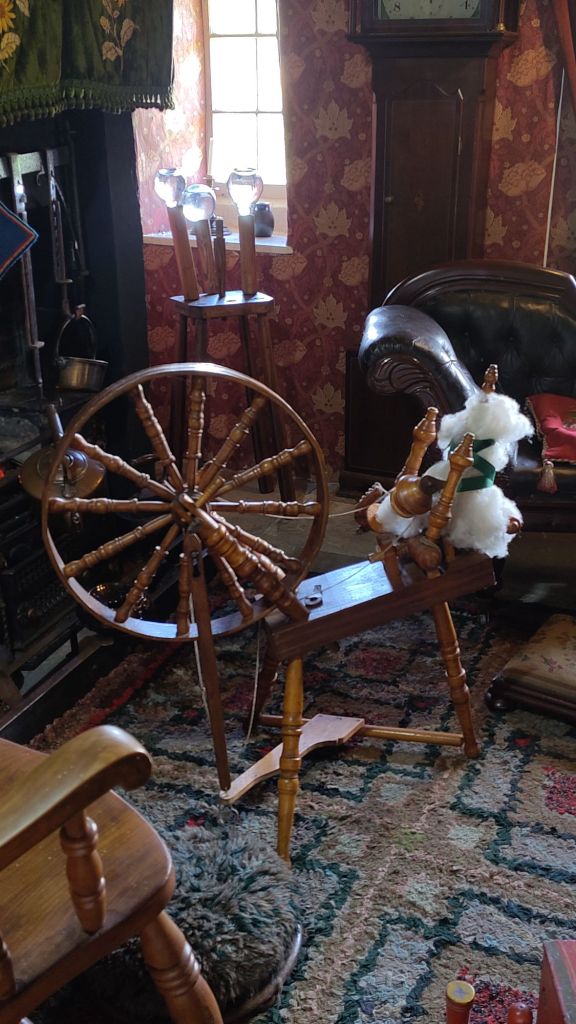
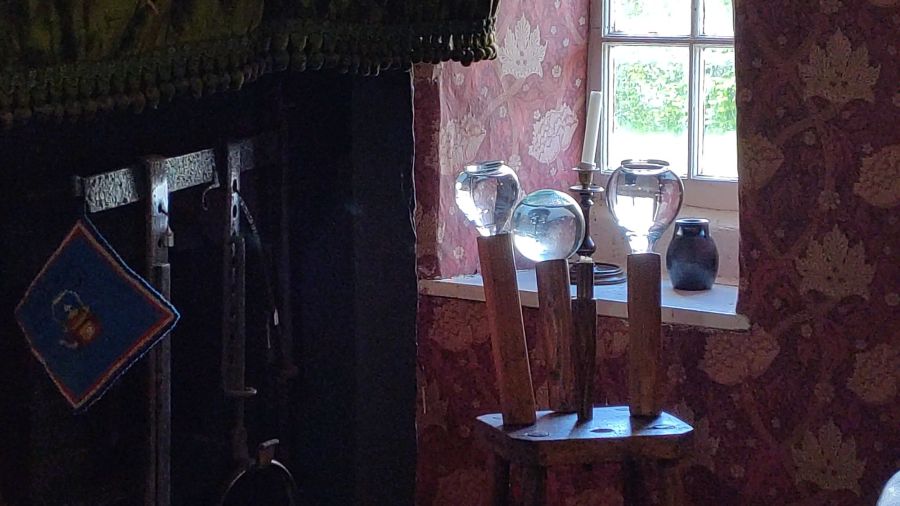
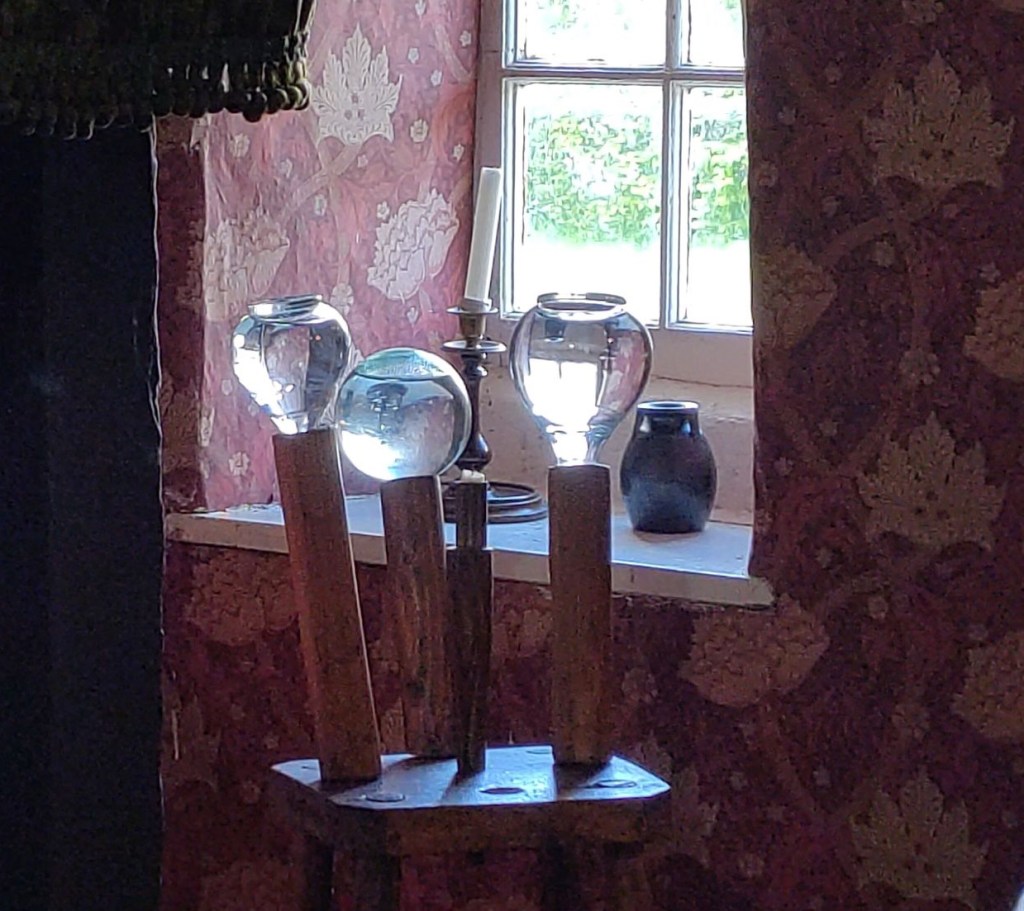
In the same room as the wheel shown above, there was a charming lace light. These glass globes amplified the light from the central candle and focused it onto the work of those sitting around the globes. I have not seen a triple globe stool version before, so that was a treat.
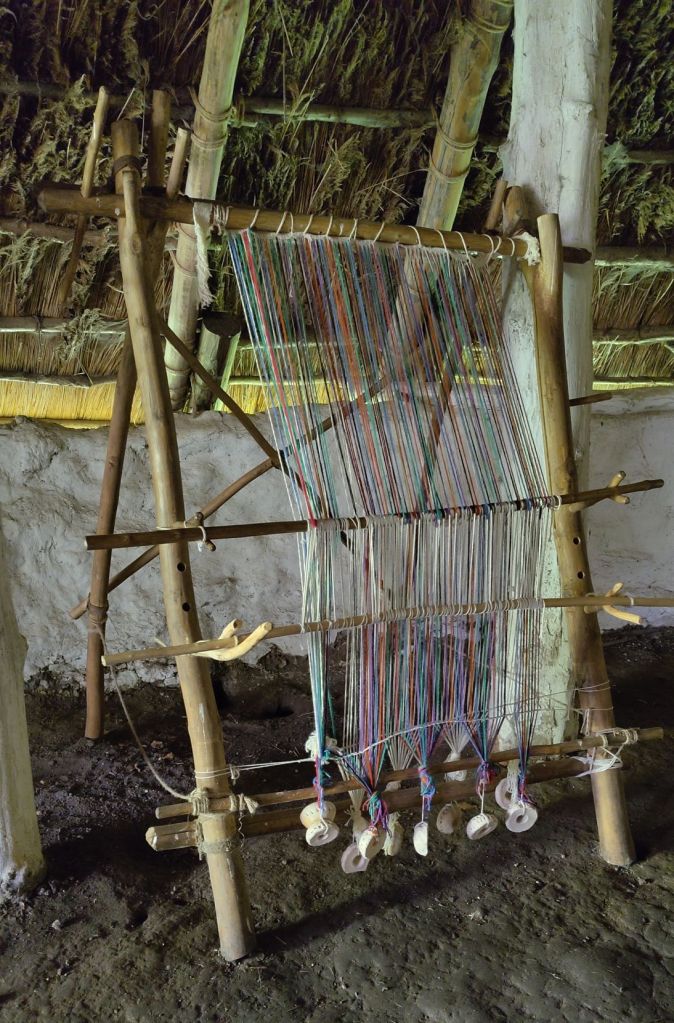
Towards the end of the path through the museum is an Iron Age roundhouse. Apparently the structure was built with wattle and daub, just as it would have been in the Iron Age. Inside there is an open fire and amongst other domestic artefacts there is a rough-built warp-weighted loom. Although there is a warp on it, there is no weaving in progress.
I am now itching to get home to do some weaving. Luckily I have my spinning wheel with me in the caravan where I am practising spinning flax in to linen yarn.
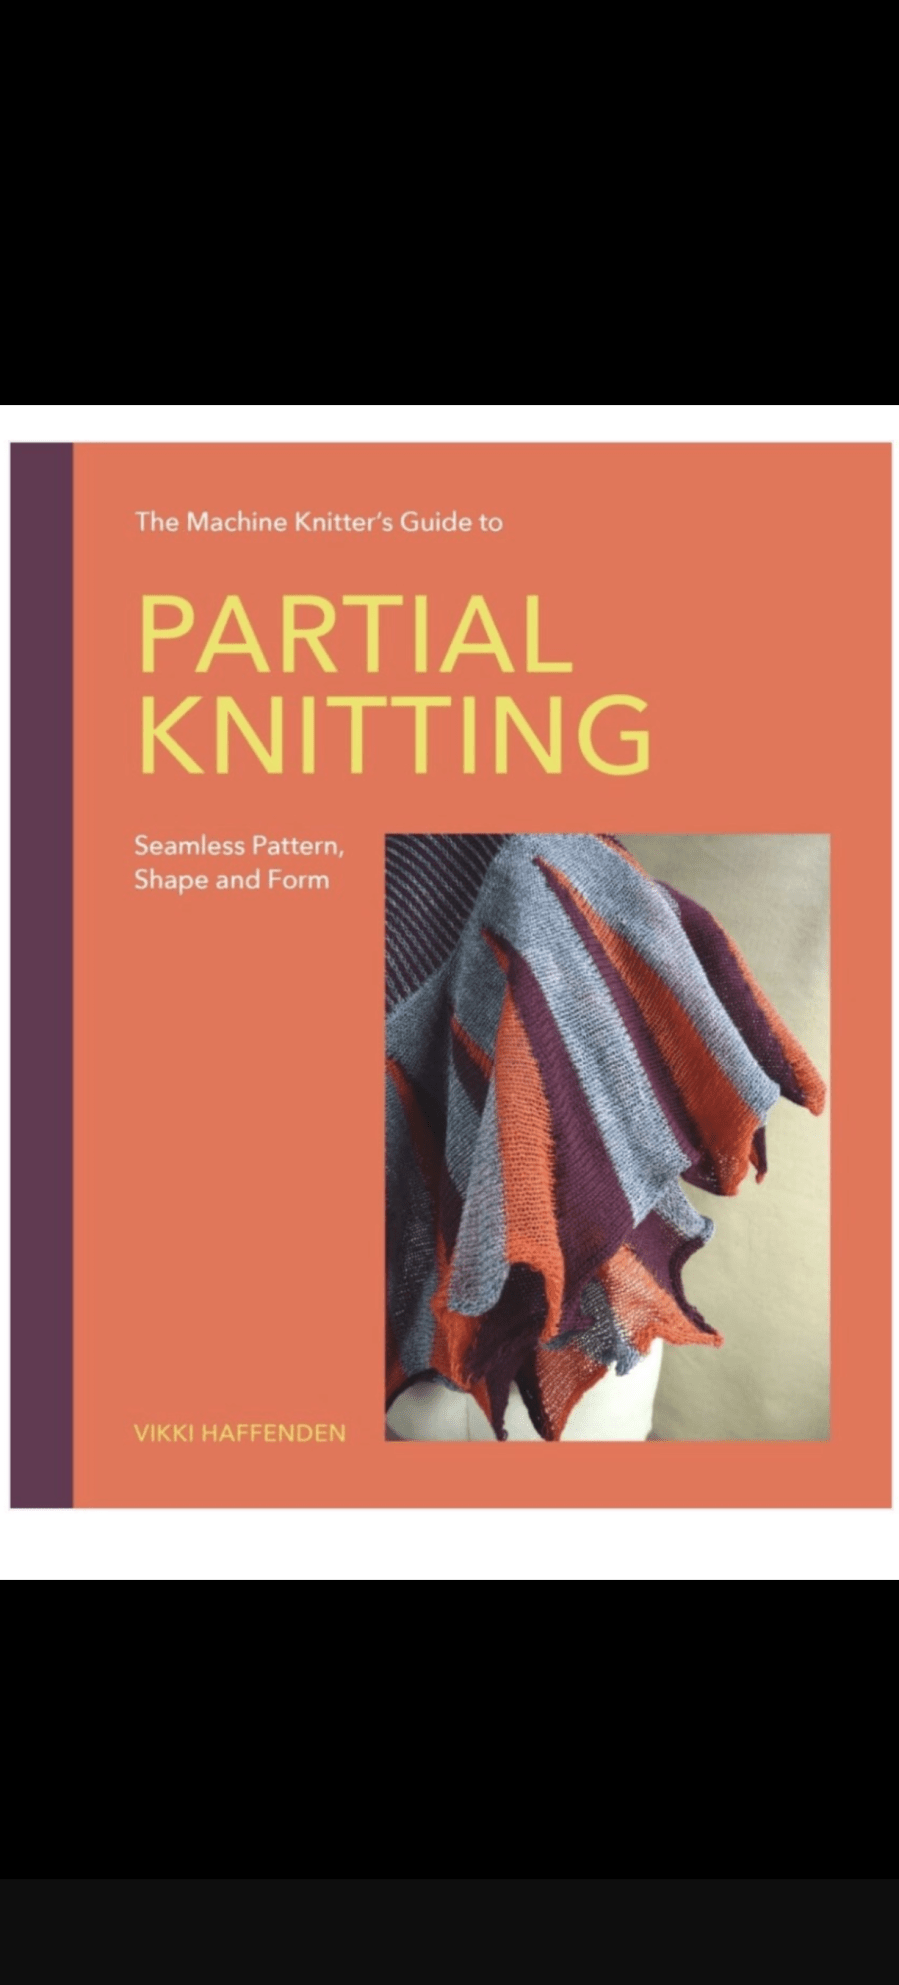
The Machine Knitter’s Guide to Partial Knitting; Seamless Pattern, Shape and Form
I wrote this post last July, and thought I would share it with you in retrospect, as the book has now gone to print.
July 2025
Finally, after a long and fraught 18 months it is done!
I signed the book contract only a few weeks before we moved house. After several false starts with the sale of the house we thought we would be staying for a while and would lose the property we wanted to purchase. However, the way it happened in the end meant that we had to rush into moving in a 3 week window.
Which meant of course that we had to pack what we hadn’t already packed in a hurry, and organize everything else and then move and organize this end when we arrived. Settling in took far longer than anticipated due to unanticipated building work through last summer. It wasn’t until late autumn that I was able to safely unpack a machine and start to knit and write in earnest. Then the arrival of our first grandchild interrupted my flow for a while, the sun shone and the garden needed work done. All in all, let’s say life got in the way!
The last month has been full-on working on the book, so it was wonderful to finally send it off. Of course they will be editorial suggestions and corrections to do, and then a final check once it is laid out for printing, so it’s not finished yet.
May 2026
If you have persevered and read to this point, you might like to know what the book is about. This book, my third about machine knitting focuses on short rows, or partial knitting. It is suitable for any machine with holding position, single bed, double bed, plastic or metal bed, and any gauge. I particularly wanted to include the popular plastic bed, mid-gauge machines like the LK150. Rather than struggle to emulate the punchcard machines with repeating patterns, short row pattern and shaping can be as easily done on either type of machine.
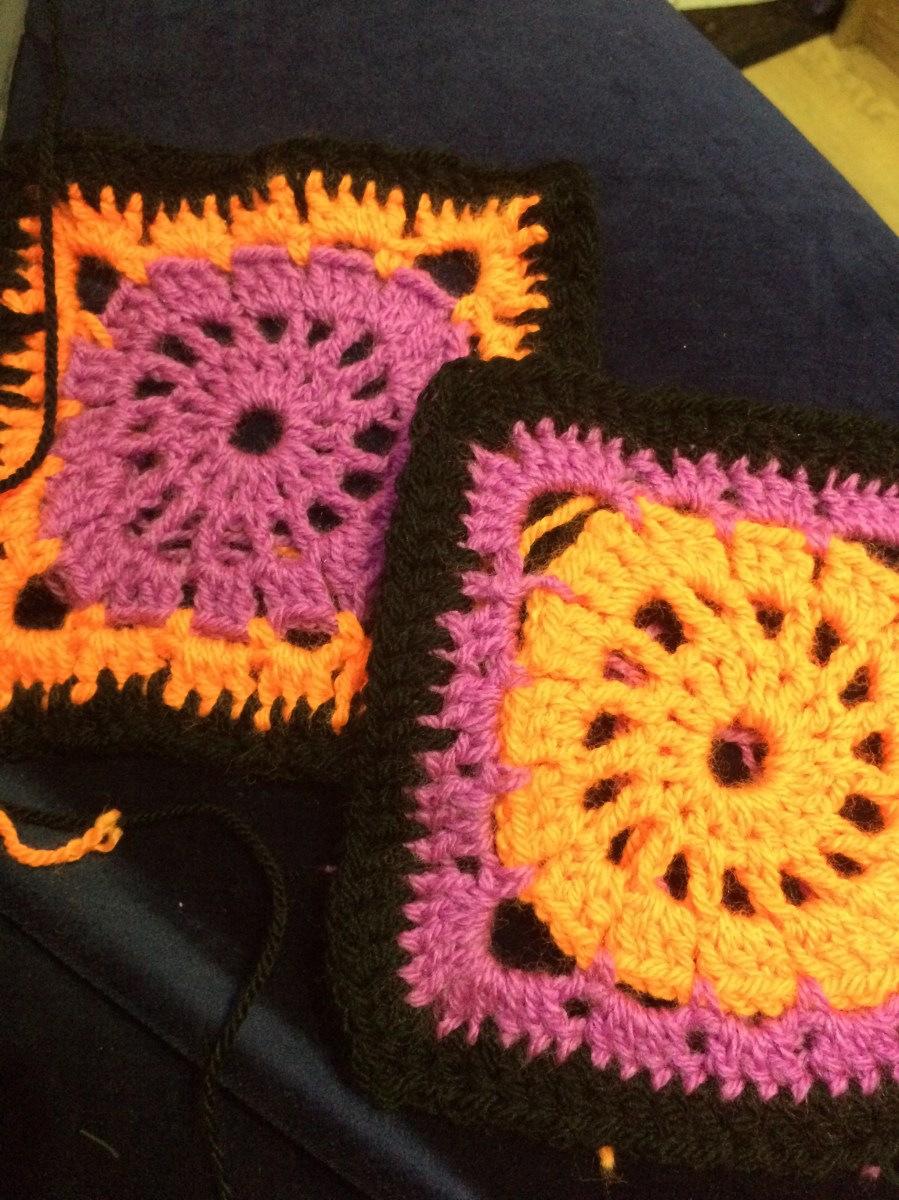
Last time we went out in our caravan, and it was several years ago, I decided to crochet a blanket for the dog to sleep on. For this reason I chose acrylic double knit yarns in bright colours on a black ground and a simple ‘wagon wheel’ pattern. Well, after a good start it languished in a bag whilst we moved house, and settled in. I discovered it in a box and decided to try to get it finished. Luckily the yarns were all with the squares, and the pattern was still in the bag. Its taken me a while to get back into the swing, and having a dodgy shoulder recently has not been helpful.
Now its time to assemble and fill in the edges. So all the squares needed to be blocked to the same size. Yes, they were made to the same size, but being in a bag and folded up they are a bit messy, and its much easier to join them if they are consistently sized.
As I was doing this, I made a video of the process in the hope someone might find it useful.
I am now assembling the blanket by working a double (UK)/single crochet (US) joining the edge stitches of two squares, and then two chains, and then another joining stitch, then another two chains etc… it is quite a quick and effective join.
Needless to say, after all the hours I have spent on the blanket, the dog will not be sleeping on it…
Cick to watch from the beginning.

‘The Machine Knitter’s Guide to Partial Knitting: Seamless Pattern, Shape and Form’, is available to pre-order in the UK from Crowood Books, and online retailers. In the US it can be ordered from Blackwells.
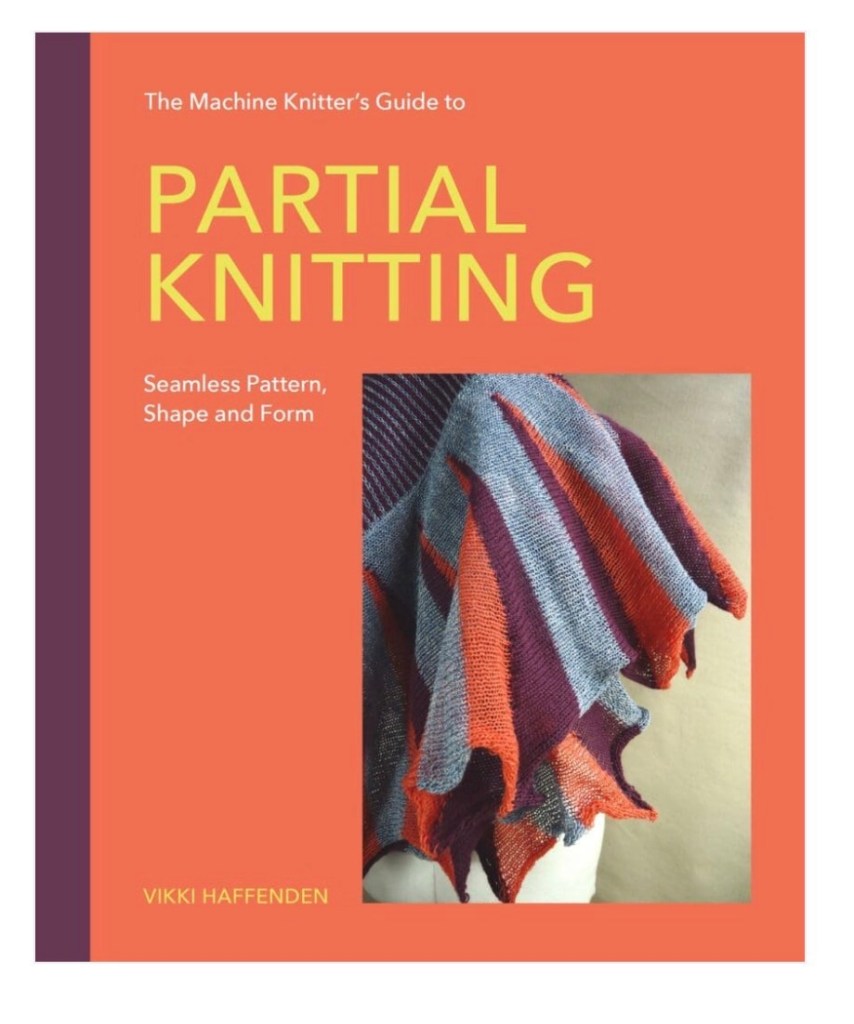
I’ve always been fascinated by short rows, or partial knitting as this technique is also called, so when the opportunity came to write a whole book about the technique I was super excited. The book opens with some interesting information about short rows to whet the appetite, the first chapter is about the absolute basics, so is ideal for people who have not worked with short rows before. The chapters progress through the different ways of using short rows; shown with examples, diagrams and written instructions. Some also have half scale sample patterns for practising the techniques which include more advanced uses, such as 3d shaping.. There are step-by-step instructions and each chapter builds on the knowledge of the previous chapter. The book ends with a chapter of patterns exemplifying the techniques covered throughout the book.
I so look forward to receiving my first copy!
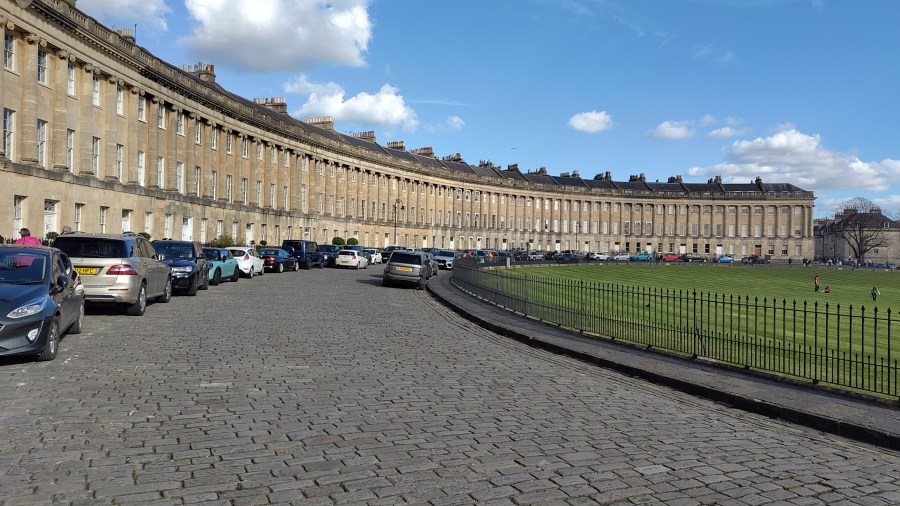
A couple of weeks ago I spent a weekend in Bath in the Somerset with some friends.
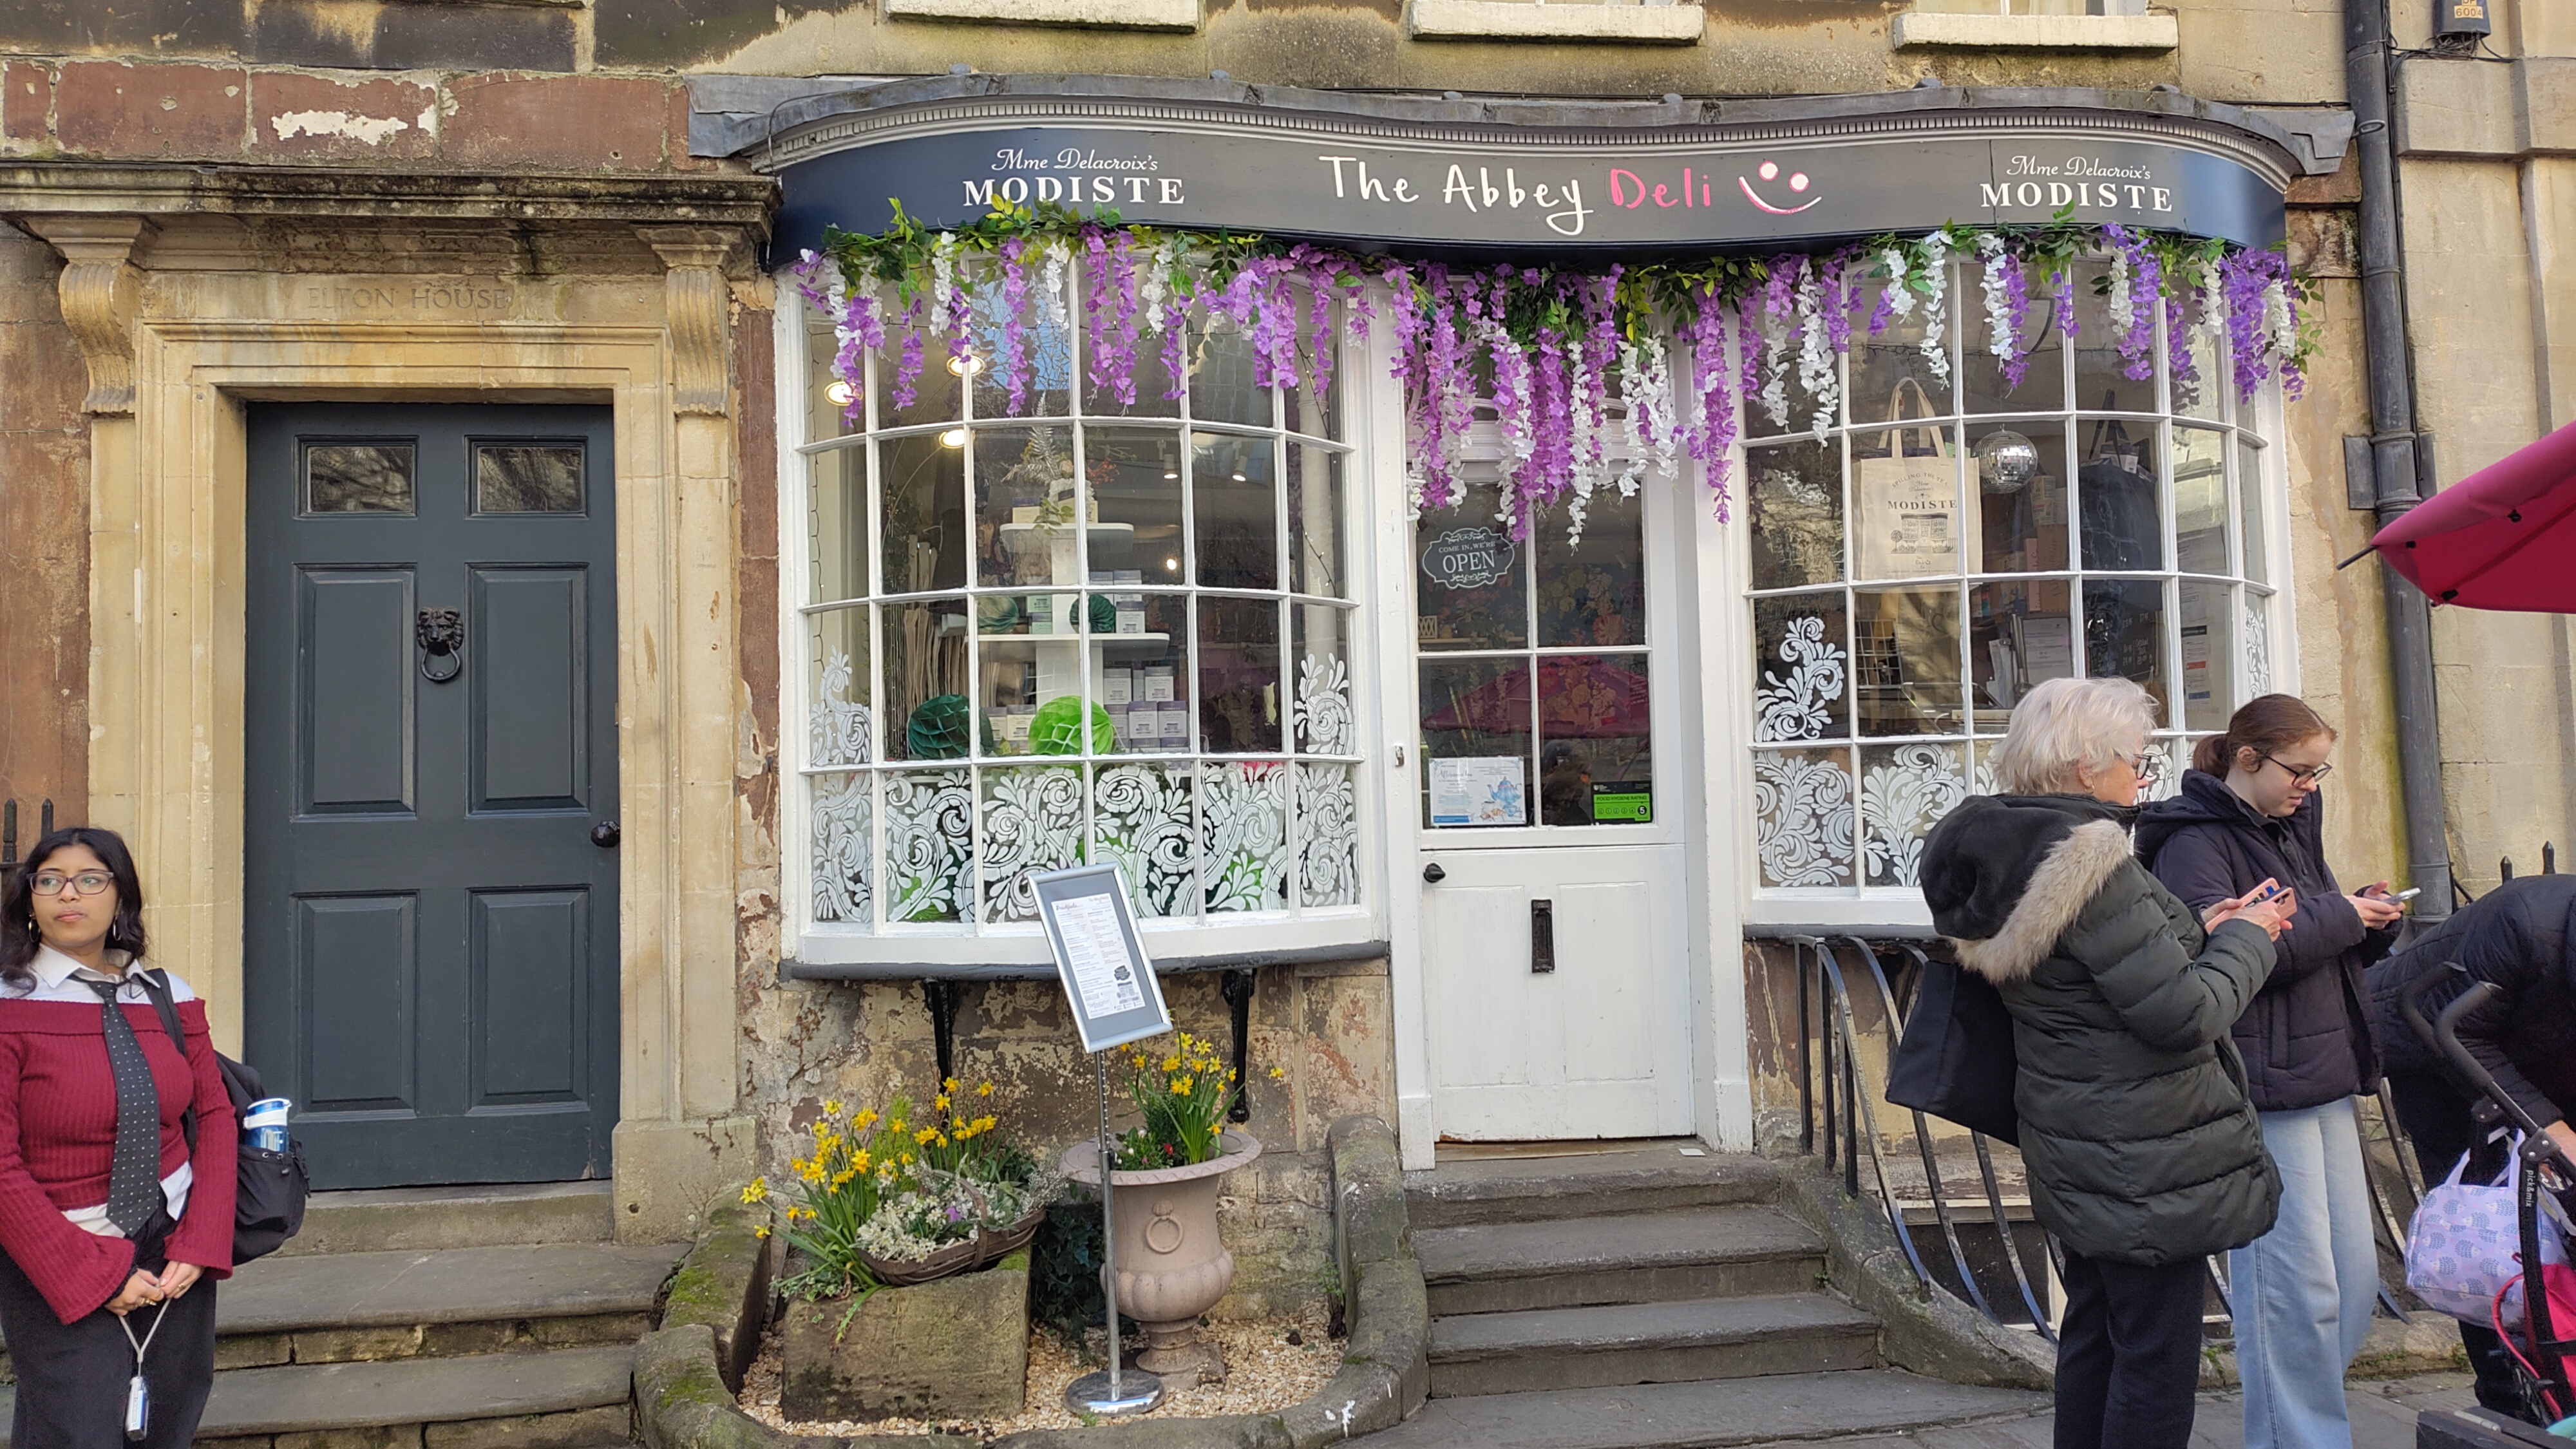
On our first day we did the touristy things like visiting the Circle and the beautiful Royal Crescent and had tea in one of the numerous teas shops. Quite by chance, the one we picked happened to have been featured in Bridgerton as the Modiste shop.
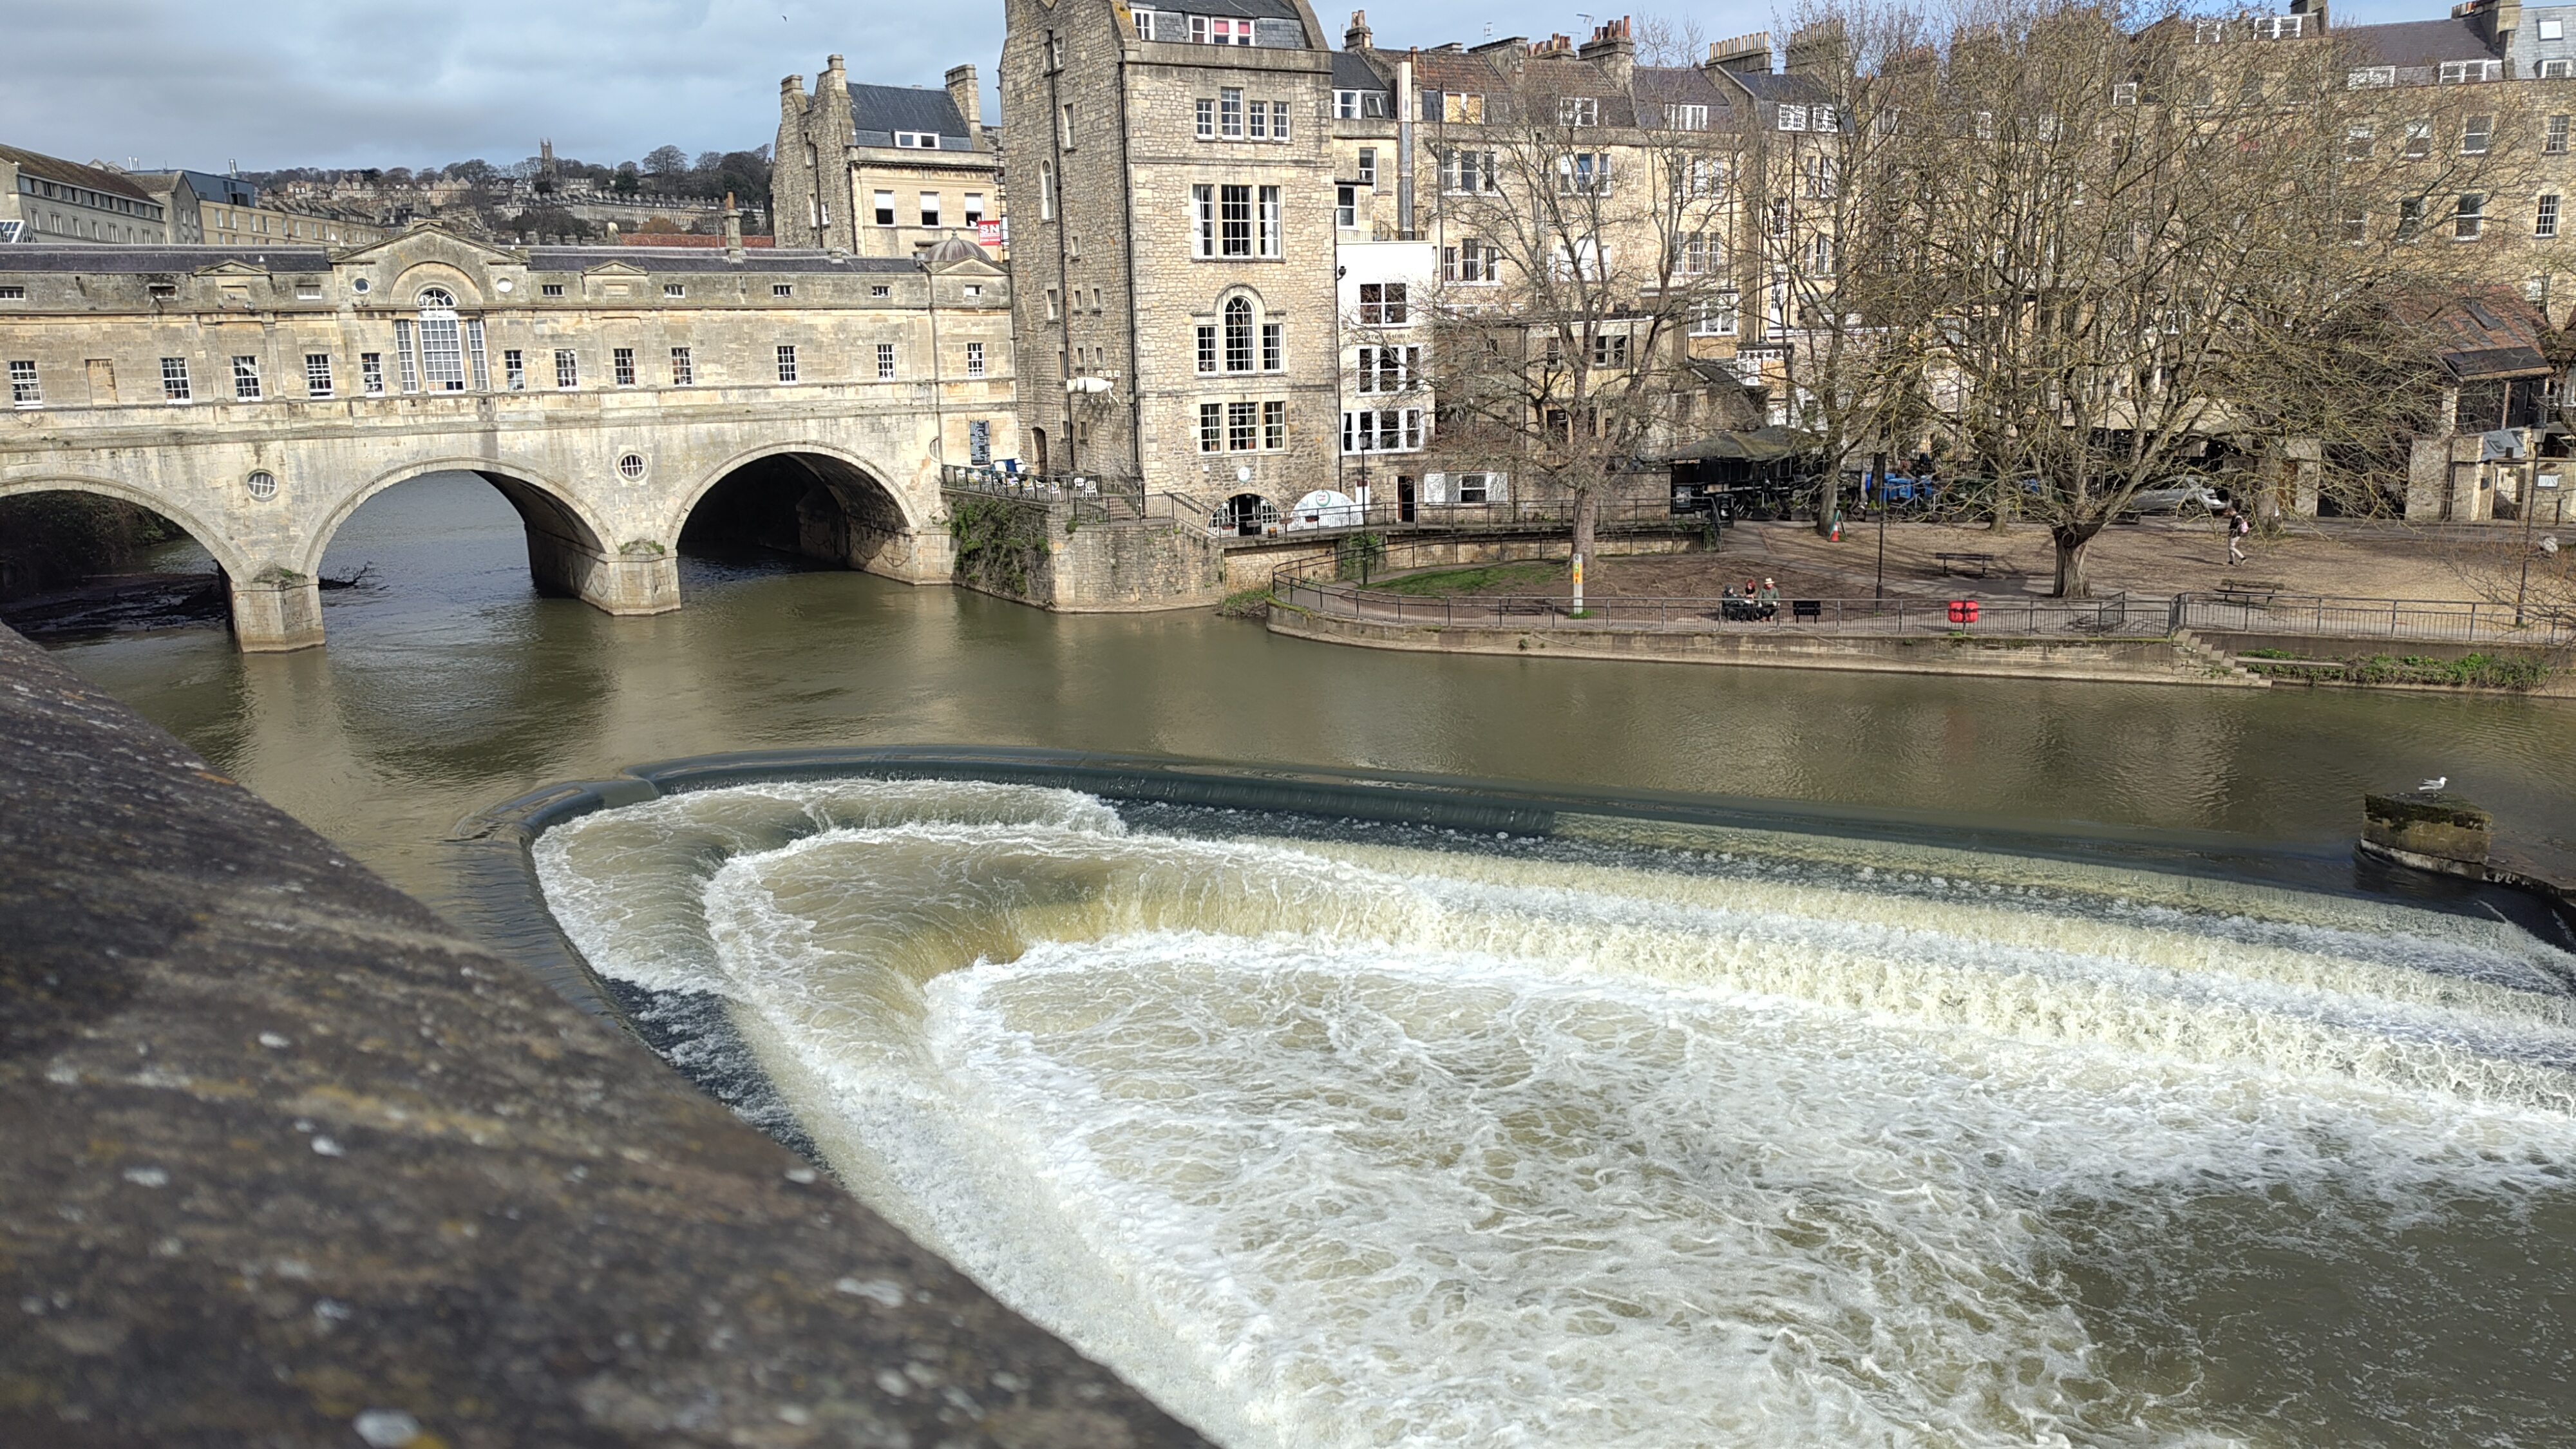
Food featured heavily in our weekend, cake being a particular favorite, so the next day we visited the historic Pulteney bridge and the tea shop which is situated on top of this bridge.
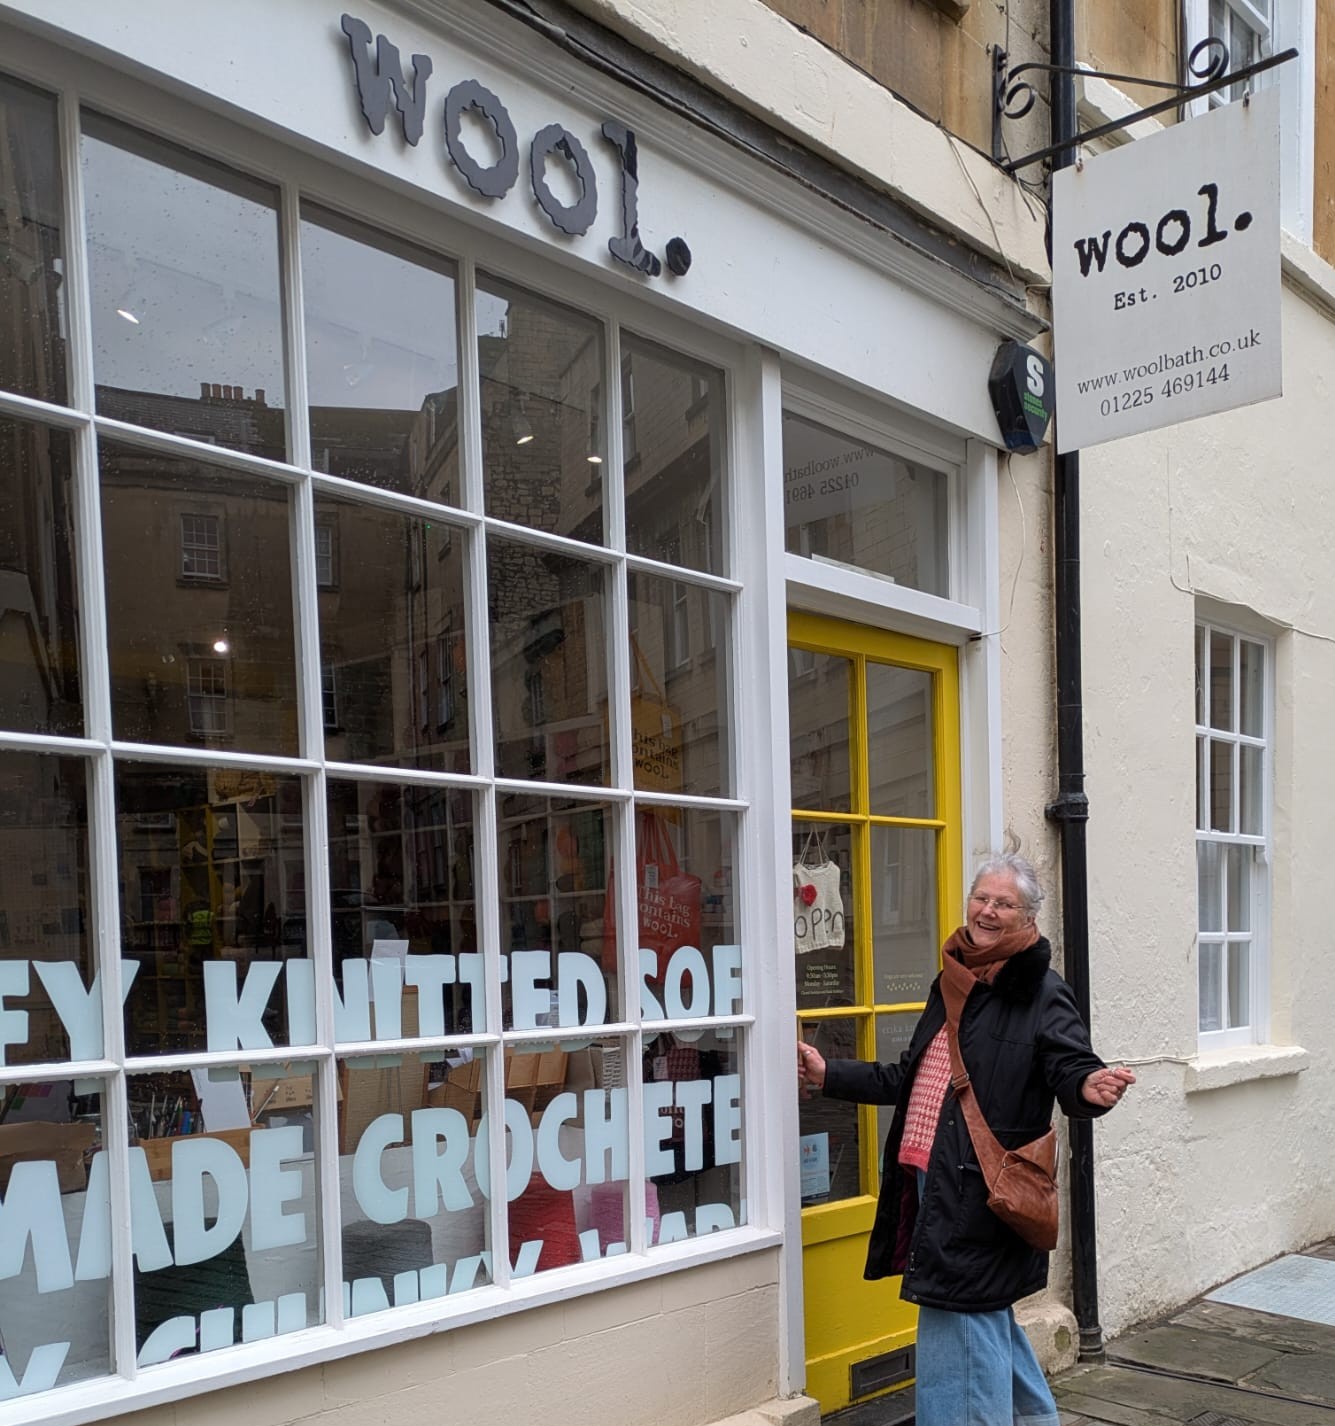
We are all knitters, so were pleased to discover there was a yarn shop close to where we were staying in the city centre. So, before leaving on our last day we paid a visit to ‘Wool’. There we found a wide selection of yarns to please all price points, that catered for all types of knitting or crochet work. Yarns included individual spun, Rowan Kid Silk and some very good value Tweedy Superwash Merino wool by King Cole. I am a bit of a sock yarn addict and bought a 100g ball of Lang sock yarn, which I have not tried before, and some 100% wool double knit in pretty pastel colours.
Someone else chose a DK pattern for a simple sweater shape which she intends to knit up in a wool and Alpaca blend yarn. The yarn is being reclaimed from a partially-knitted garment that her mother never completed, I think this is a lovely way to maintain a thread with the memory of her Mother, but to end up with a garment that she will want to wear.
The staff in the shop were particularly helpful over this explaining to my friend how to substitute a yarn in the pattern and helping her decide if she would have enough of the existing yarn. Although I could have helped her with this it would have felt a little like a busman’s holiday to do so ‘on the fly’. However I did of course tell her she could ask me later if she ran into problems.
I will certainly go back to ‘Wool’ next time I’m in Bath.
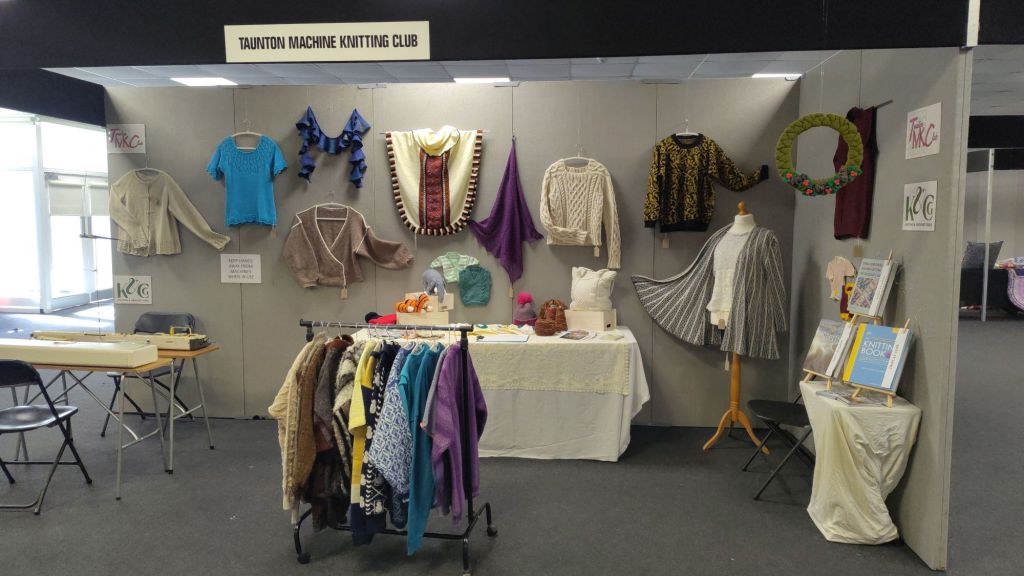
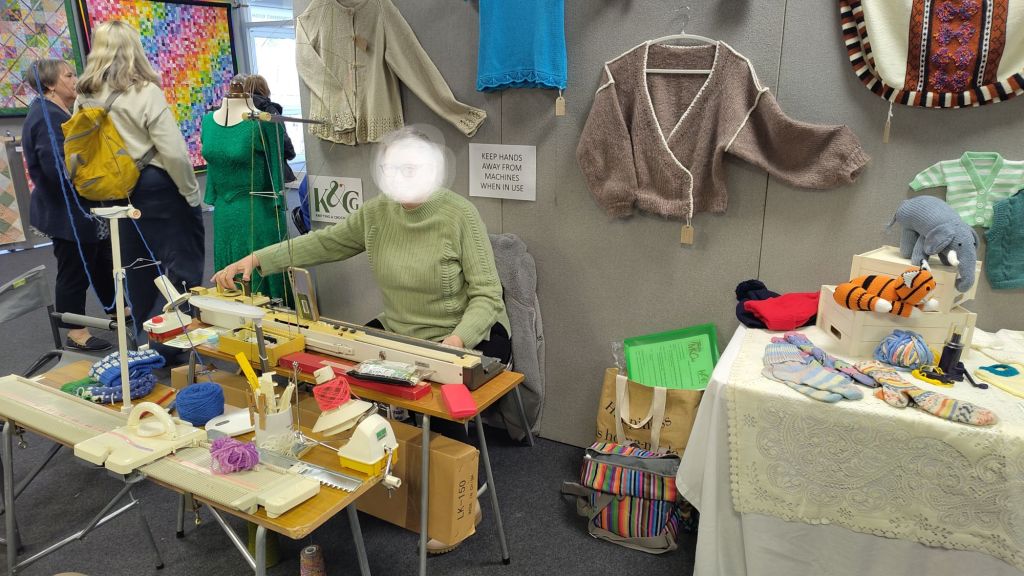
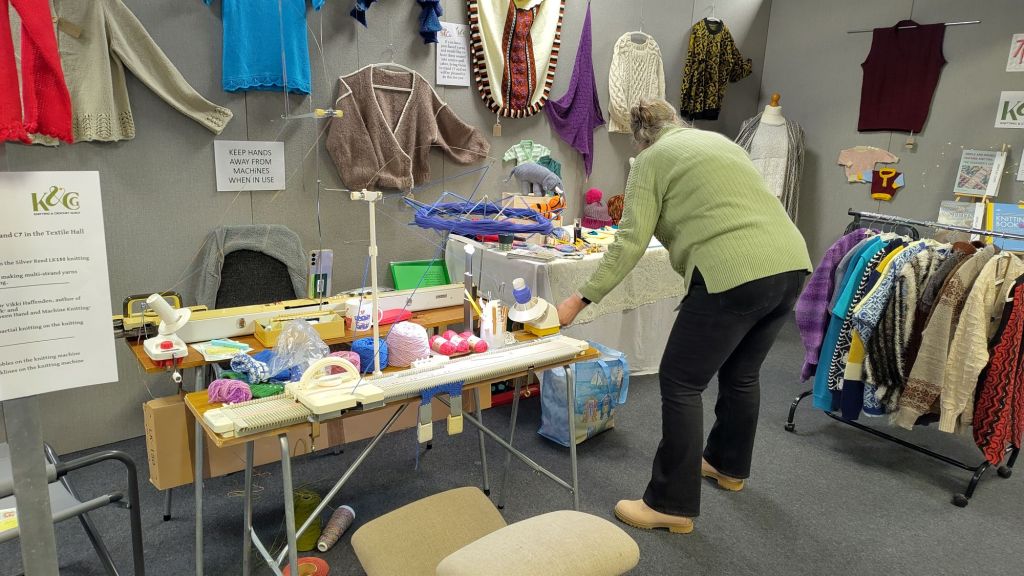
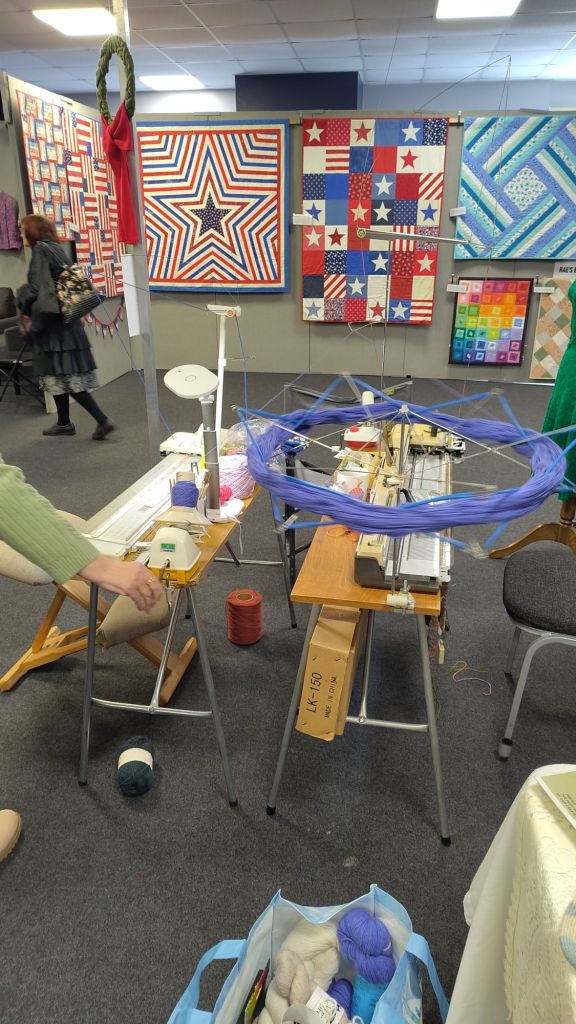
It’s been a busy day today setting up the Taunton Machine Knitting Club stand at Craft 4 Crafter’s exhibition in Exeter. The Club is pleased to have recently become a branch of The Knitting and Crochet Guild, making us part of the wider UK knitting community.
The display features work by most club members including lace, intarsia, knitweave and double jacquard. Throughout the three day exhibition members will be demonstrating different techniques such as cables, bobbles, shaping and short row knitting.
I will be giving a talk on Friday about my books, ‘The Knitting Book’, ‘Translating Between Hand and Machine Knitting’ and ‘Single and Double Bed Machine Knitting; the Designer’s Guide’.
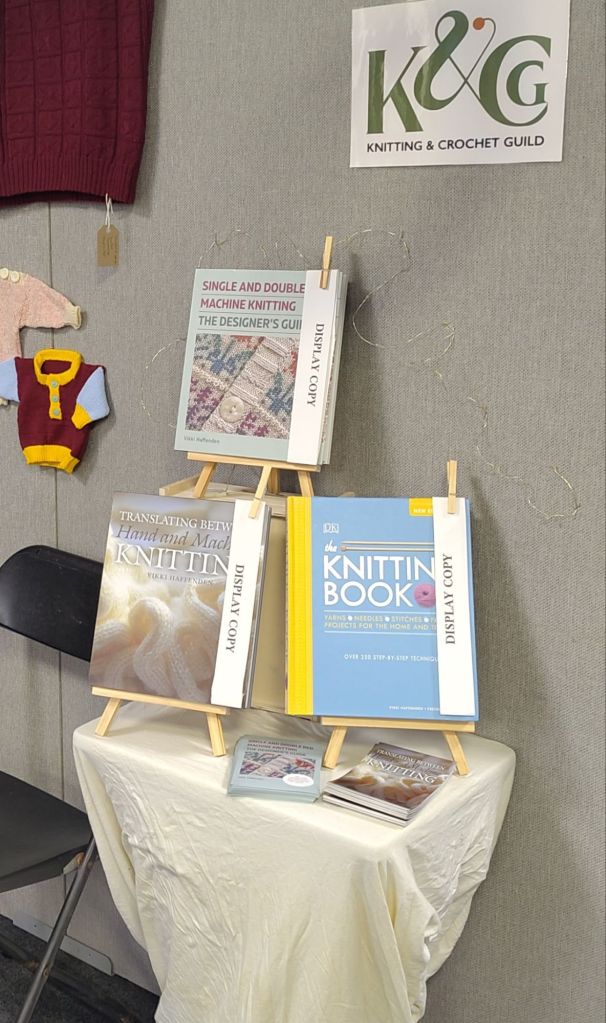
The table will have to be large enough to fit four copies once my latest book, ‘The Machine Knitter’s Guide to Partial Knitting’ is published later this year.
Update
The show went really well. There was lots of interest in the club, machine knitting in general and the Knitting and Crochet Guild.
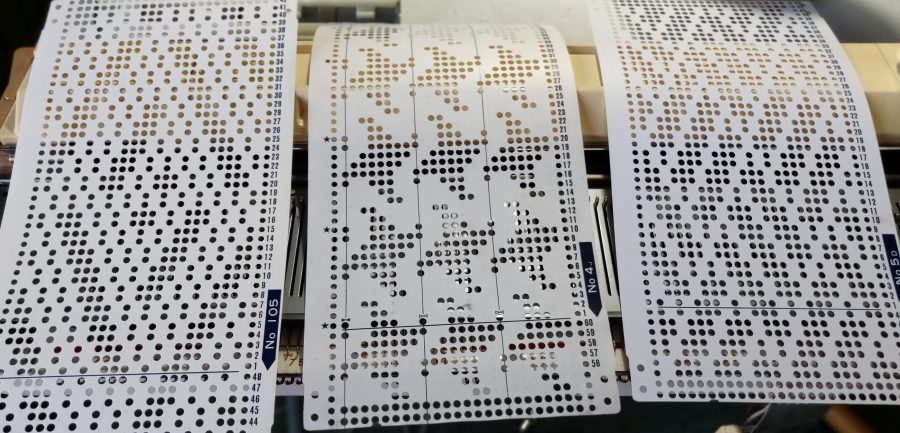
This is something I used to struggle with when first starting to machine knit, and to be honest, it still sometimes needs a bit of thinking before I get it right.
So I put some information together which I hope will be useful to others who find the holes and blanks a bit confusing. It also has some helpful ways to read what is actually being read by the card-reader, rather than what is visible above it.
Lets start with the fundamentals:
Knitmaster/Silver Reed (KM/SR) machines only knit pattern from the punchcard when the side levers are at the triangle and the pattern cam dial is set to the relevant stitch type; F, S, T etc.
Brother machines only knit pattern from the punchcard when the KC dial is set to KC, KCI or KCII, as appropriate to the machine, and when the relevant pattern cam buttons are pressed, MC, tuck, part etc…
However, on both makes the needle positions are the same
| Pattern cam setting | Punched holes | Needle position | Blanks | Needle position |
| 2-col-in-a-row | knit with 2nd colour | UWP | knit with MC | WP |
| tuck | knit | UWP | tuck | WP |
| slip/part | knit | UWP | slip | WP |
On both Brother and KM/SR machines, the punchard line being selected is hidden inside the machine. Seven lines below on a Brother, and five below on a KM/SR.
Brother machines, both punchcard and electronic, pre-select needles before knitting the row. Therefore, the pattern can be interrogated by looking at the needle selection in conjunction with the needle positions listed above.
KM/SR punchcard machines have a card reader with feelers. These are selected according to the punchcard pattern but the actual feeler action is hidden behind the carriage. The pattern line can be manually interrogated by locking the punchcard.
| KM/SR feelers | punched move up and in | blanks stay down and out |
Download a printable version here.
To read more about how a punchcards, read my post ‘Knitting Machine Punchcards, How do They Work?’
Its raining the proverbial cats and dogs here in Somerset, so it’s an afternoon indoors. I am threading up the warp for a baby blanket on my countermarche loom. Its only taken me 3 months to get this far!
With the last slice of Christmas cake and a cup of tea at my side it’s a pretty nice afternoon inside.

Of course that was then, and this is now. Somehow I have miscounted heddles and got in a right muddle. Its not such a lovely afternoon after all…
Update
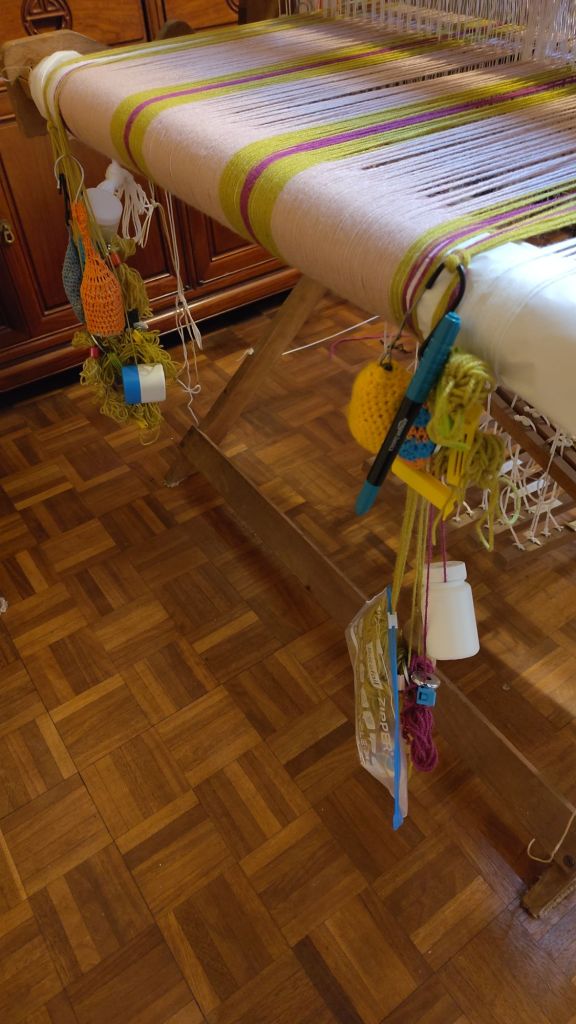
I am now 50cm into the blanket! How has it taken me this long you might ask. Well it took me ages to fine tune it, because I had some odd threads in my warp that I couldn’t get to tension right.
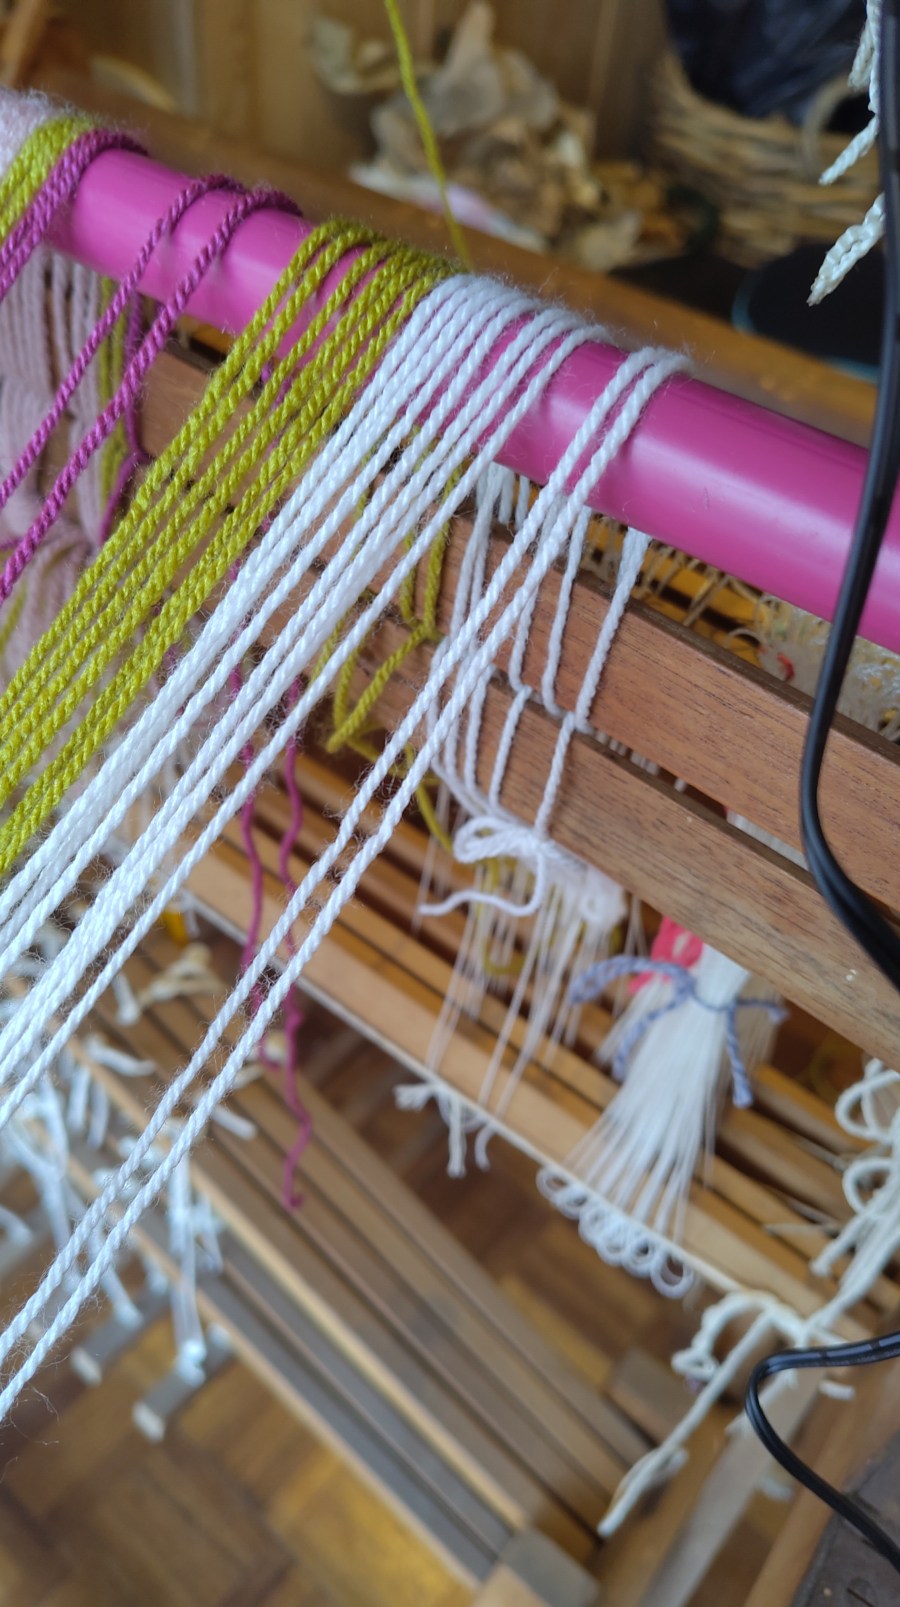
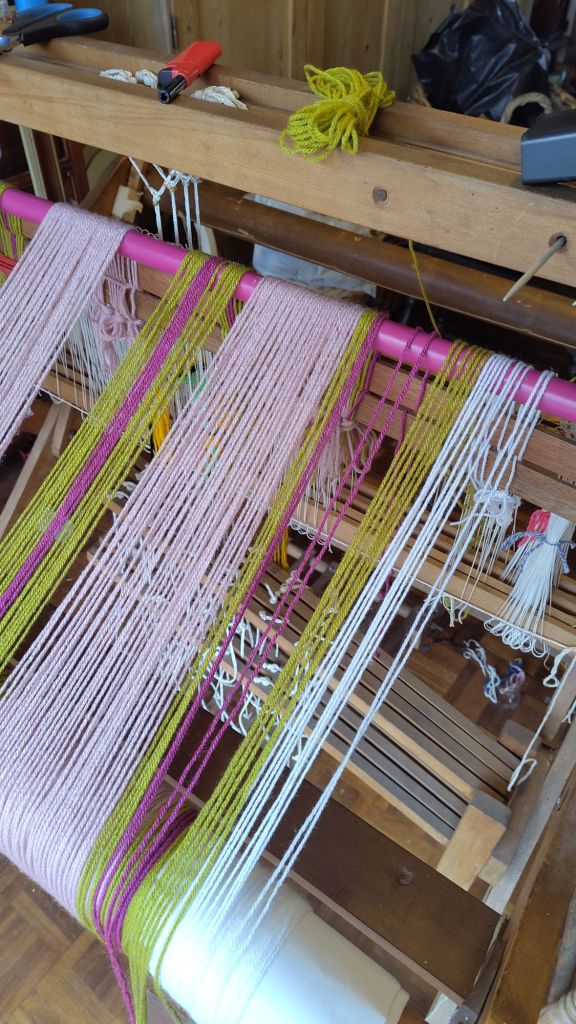
That’s sorted now I think at least for a while. The back of my loom looks like a right mess.
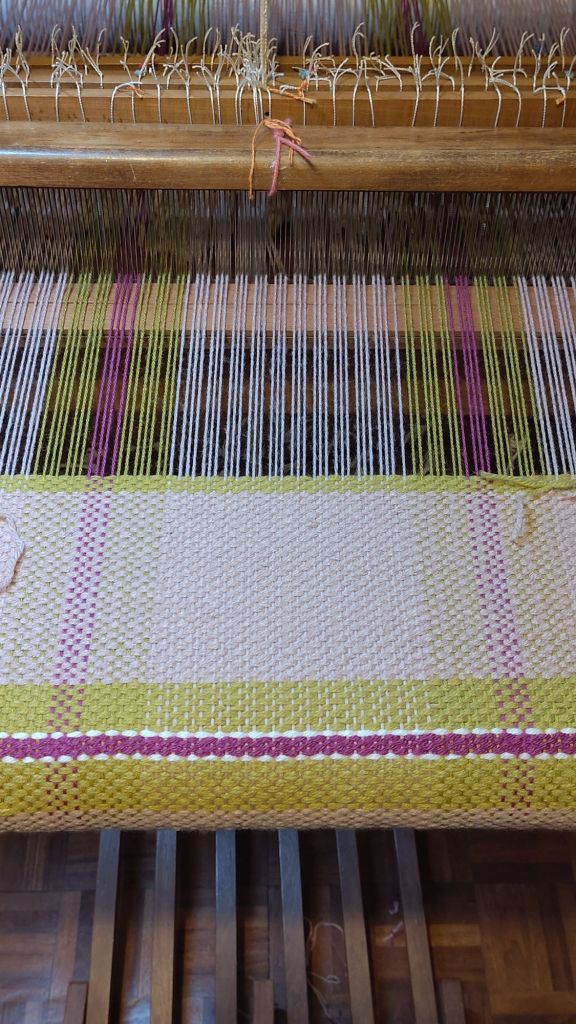
But seems to be holding now. I took the temple off to take the photograph, but it’s use is helping me keep my width, because one edge is still a bit wonky. My solution to that will probably be to bind it with ribbon as I did for my children’S blankets.
I’m using a double thread as the weft, not quite sure why after all this time since I started, but that was what I sampled with and it worked out OK. Part of the problem was I’ve got an 8 epi reed and I thought this double knitting weight yarn would work at 8 epi. However, I’ve had to space it out further to 6 epi, because it was too bulky, but then it looked a bit thin and weedy so I decided to use a double thread in the weft.
This double thread caused me problems because it was really fiddly to use two shuttles and I found putting two ends onto the bobbin of a boat shuttle meant I only got a tiny amount woven before the bobbin ran out. I have used stick shuttles for the contrast colours, but I really wanted to weave the main pink weft with a boat shuttle because it’s more efficient as I have a shuttle race on the reed.
I was gifted a Toika double shuttle for Christmas, and have not yet had the chance to practice with it but this seemed the obvious tool to use. As with everything it takes a bit of practice and I ended up with different lengths on the bobbins and the bobbins unwinding at different speeds. A tip I remembered was to twist the threads at the end so I began twisting the shuttle, and that helps. Also I learned to stop both bobbins with my fingers in an overhang catch after sending it across.
However, I was still finding that the bobbins ran out quickly and inconsistently. I was using homemade paper ones, but didn’t find I could get any more onto a cardboard quill , (and most of those I are too big for the double shuttle anyway and I don’t want to cut them down as they fit other shuttles.
Back to the drawing board. I unearthed my Louet Flying Dutchman shuttle and found some old wooden bobbins that I bought at a boot sale which have always been too long for any of my bobbins- but which I now find fit the Dutchman really well. This time I double wound the threads very carefully onto the wooden bobbins, running them through tensions to equalise them. This has become my happy place and I will probably weave the rest of the pink using the Flying Dutchman and twisting at each end.
I will add another picture after my next 50 centimeters.
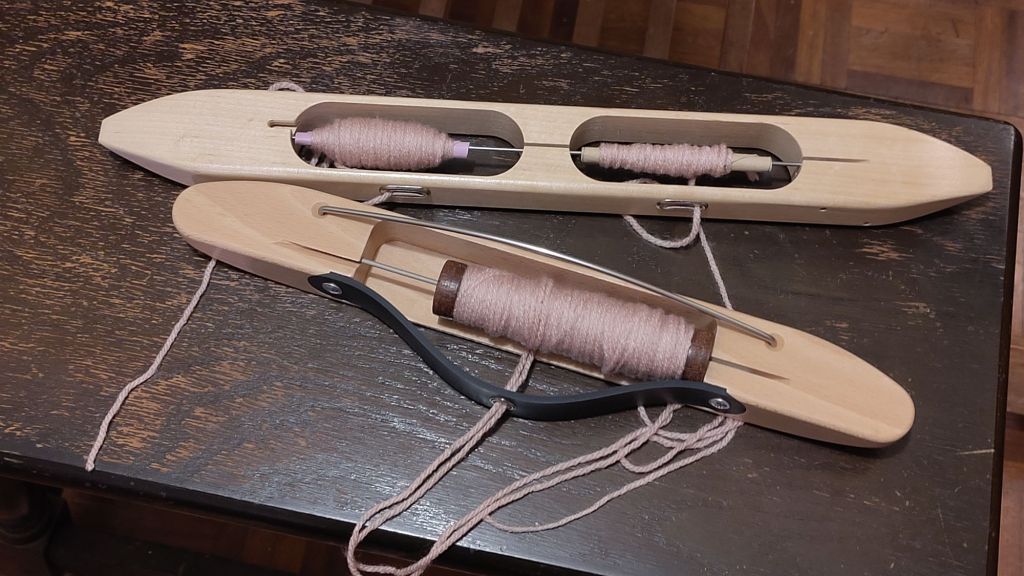
Toika double shuttle at the back and the Louet Flying Dutchman at the front
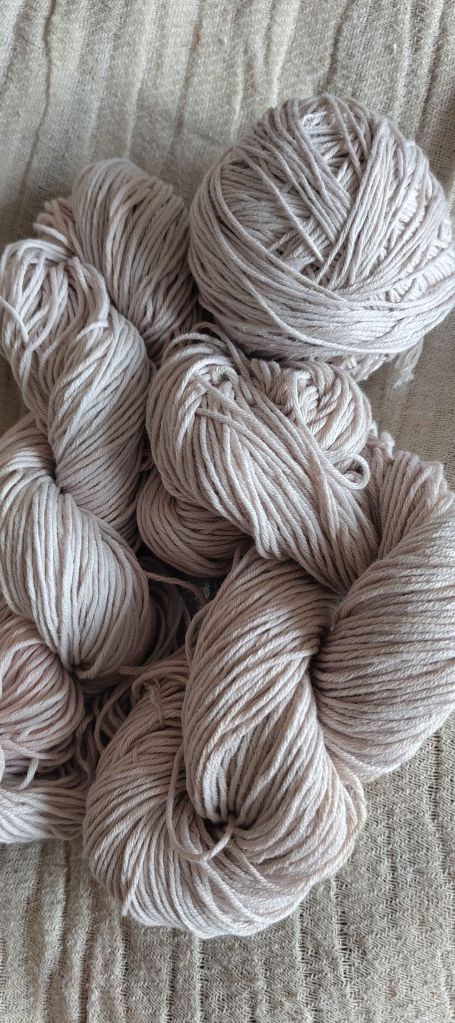
I posted recently about solar dying wool with mulberries and I thought I’d now have a go dying some commercially spun cotton that I have already, and conveniently, put up into hanks. There are six 50g hanks, so I am hoping for 300g of lovely coloured cotton to play with.
I don’t dye cotton often, but I do know that it requires tannin as a mordant. Well, being a bit disorganized, if I’ve got any commercial tannin mordant I can’t find, so it was a relief when after a quick look in Jenny Dean’s Colours from Nature, I found that bramble leaves and twigs contain tannin. A bit more research on the internet suggests that mulberry leaves also contain tannin. It looks like this is going to be a multi-day effort.
DAY 1
One thing we have in plenty in the garden and surrounding fields is brambles and of course we have a mulberry tree, so I went on a little foraging trip. I collected a basket full of mulberry leaves and brambles which I chopped up and boiled for an hour as instructed in the book.
DAY 2
I left these to soak overnight and have just strained the liquor off into a pan and slightly reheated this.
I’ve just submerged the damp cotton hanks in the tannin liquid, and will leave this for 24 hours for the cotton to absorb the tannin. According to Jenny Dean there is a likelihood this will stain my white cotton and is bleached white slightly yellow, so we will see.
Hopefully the mulberry dye will accommodate this and give me a nice color.
DAY 3
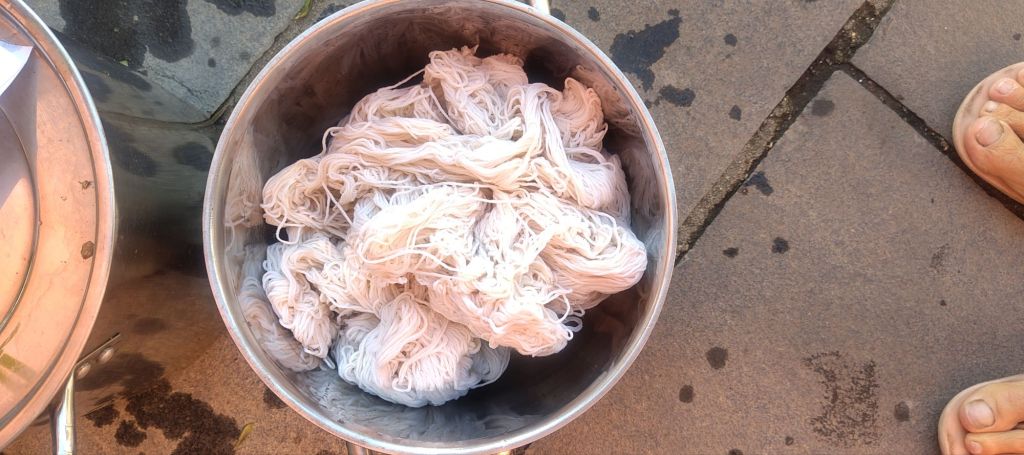
After the tannin soak the cotton had taken on a slight creamy colour, not too bad at all. Maybe it didn’t take the tannin?

I had prepared 1.5kg of mushy mulberries that weren’t really edible by cooking them up in some water and leaving them to soak and give up their colour overnight. I thought I was ready to get in with the dyeing, but luckily at this point I went back to Jenny’s book. Only then did I realised that the cotton needed to be soaked in an alum mordant after the tannin. How did I miss this before?
The recommended amount is 4 tsp alum and 1.5 tsp of washing soda per 100g of fibre. Dissolve the alum and soda in enough water to cover the fibre, and bring to a simmer. Then leave it to soak and cool for 12-24 hours.
DAY 4
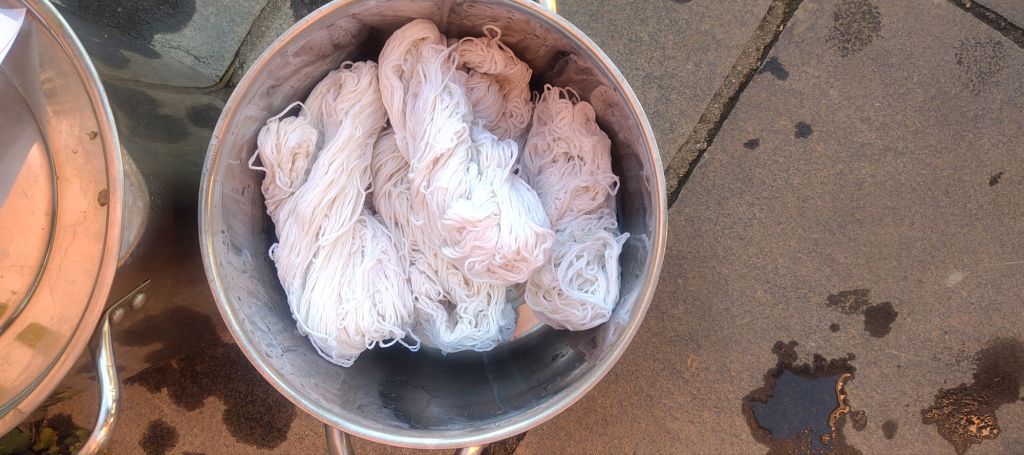
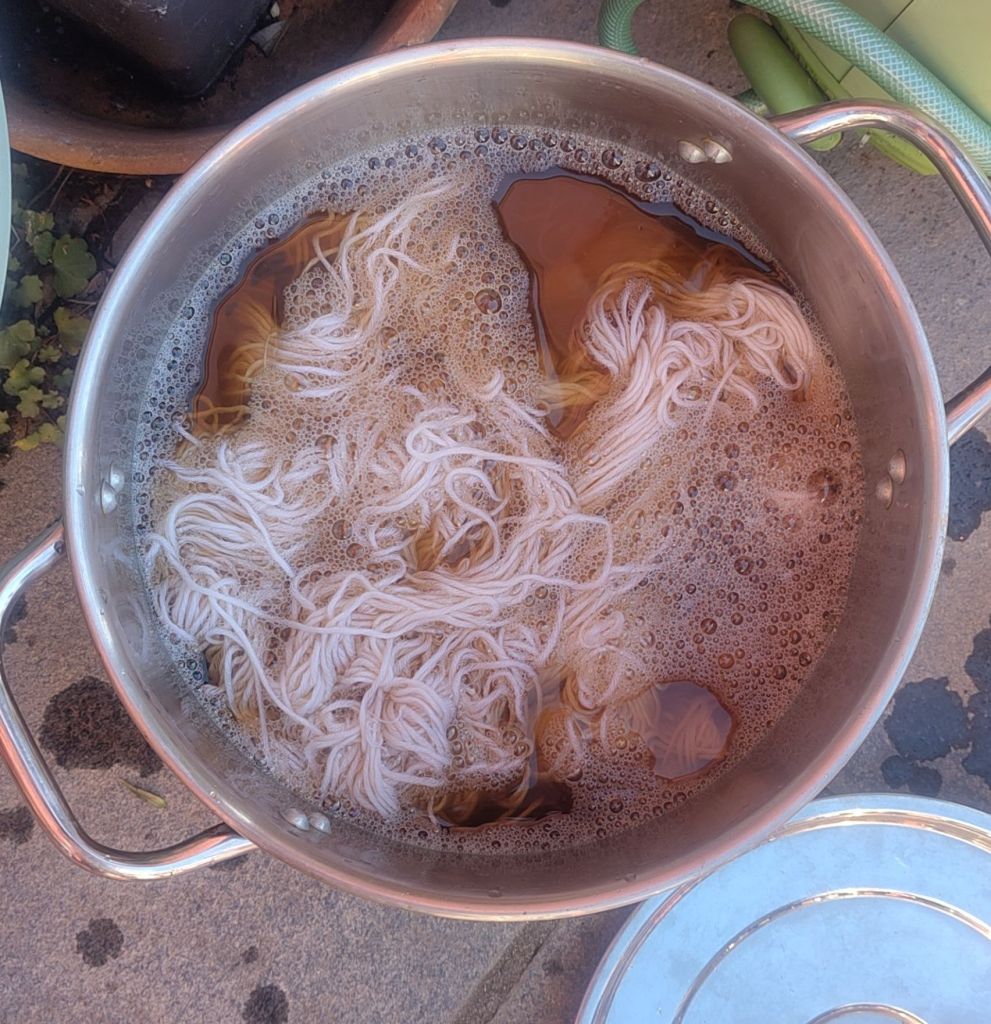
This afternoon I took the yarn out and rinsed it. Then strained the mulberry liqour and put it in the old slow cooker I use for dyeing. I added some salt (not sure why but seemed to remember it helps the dye take) and then added enough water so that the liquid would cover the fibre. After that I immersed the yarn in the dye.
Fingers crossed it will work.
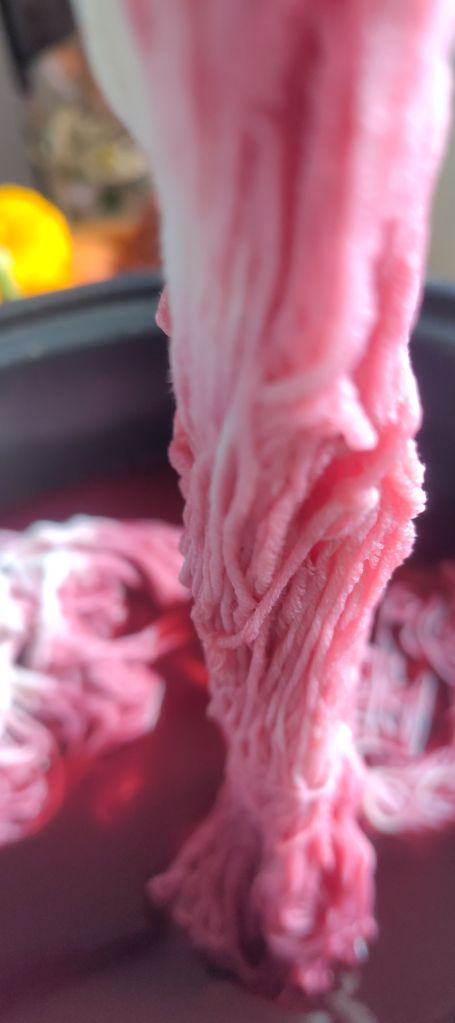
Well, the hanks came out looking lovely, but as predicted, the colour mostly washed out. It’s not a bad colour, it’s very a pale, lilacy grey, just not the pink I hoped for.