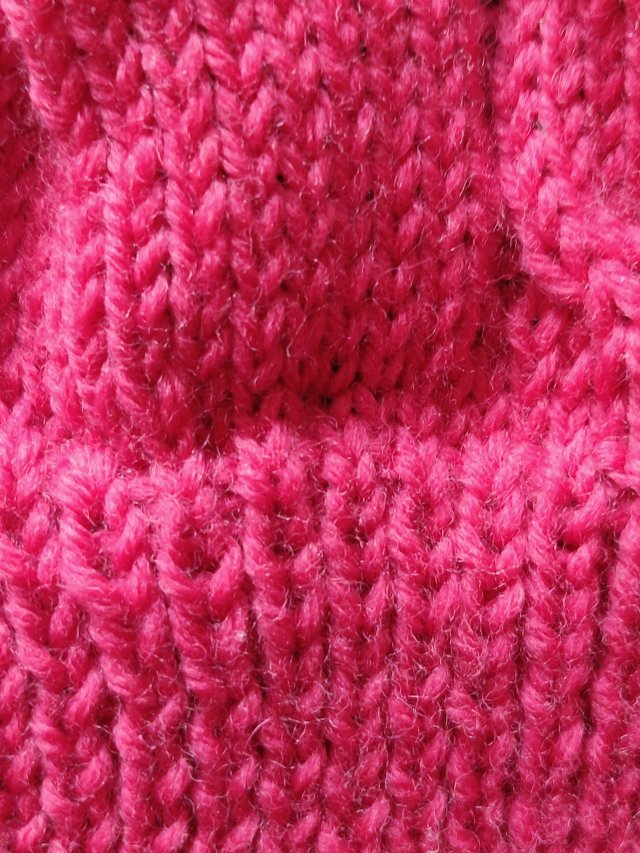
I needed to shorten a piece of finished knitting by 20 rows, but wanted to retain the rib on the bottom edge and the too section that was cable patterned. This meant removing the 20 rows in the middle of the piece. To do this I picked up the stitches along the row above the rib with a very thin hand knitting needle, making sure to do this so that the tip pointed right on the right side of the knit. Then I did the same along the row which is where I want to move the rib.
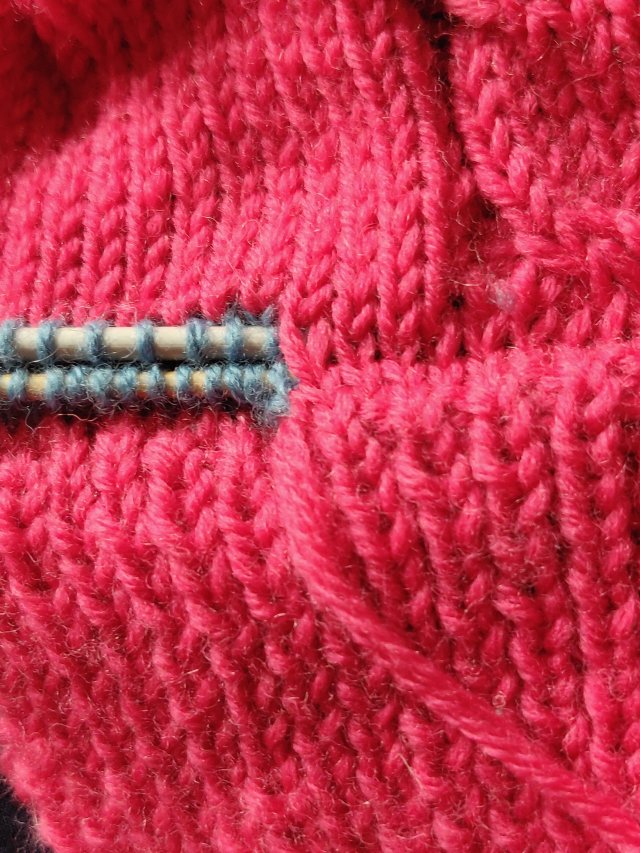
By snipping through a stitch half way along the row below the upper needle I was able to unravel that row, leaving a tail, and then unravel down to the lower needle.
So now I had two sets of open stitches on hand knit needles. With a spare needle and waste yarn I knitted two rows on each needle so that the stitches in main yarn were visible. I know some people can graft from needles, but I find this confusing and prefer spending a little extra time knitting these waste yarn rows.
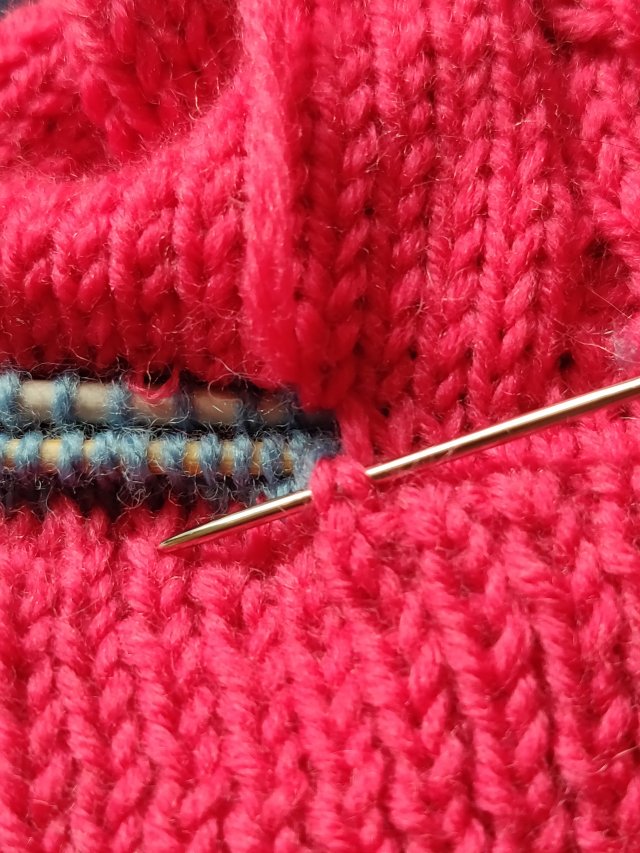
Now, I laid the knitting right side facing me with the needles side by side, tips pointing to the right, and the waste rows folded to the wrong side.
Threading main yarn into a large eyes blunt needle, I sewed from right to left tracing the stitch path to graft the open stitches together and emulate a knitted row of stitches. Its important when doing this to keep each new stitch the same size as the original ones – so don’t pull the yarn tight.
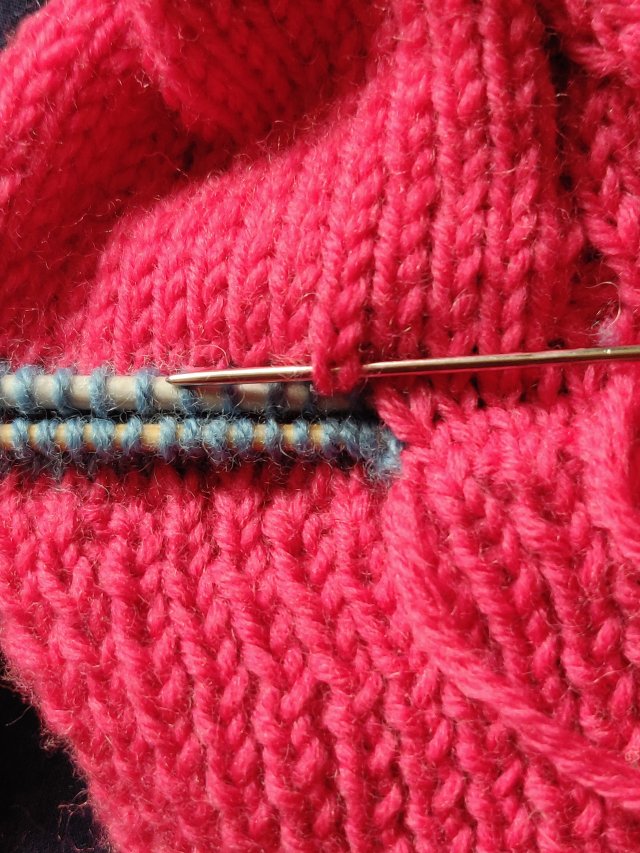
When finished the needles can slide out from the left, leaving a neat join.