Colour-changing yarn spun from a distaff

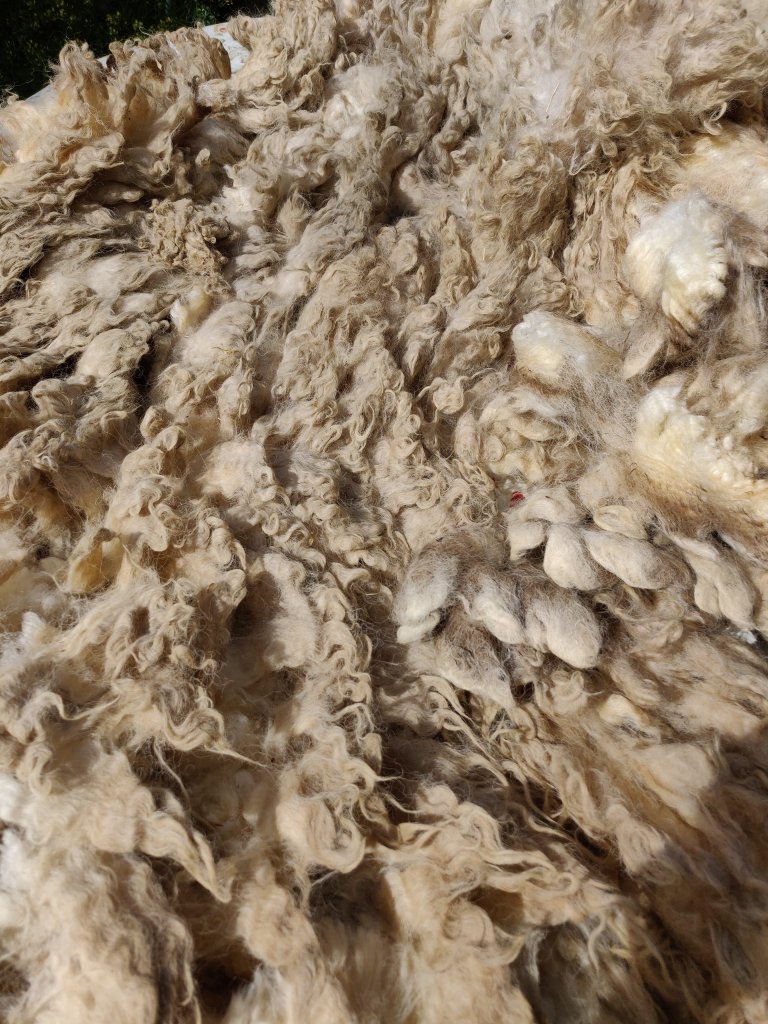
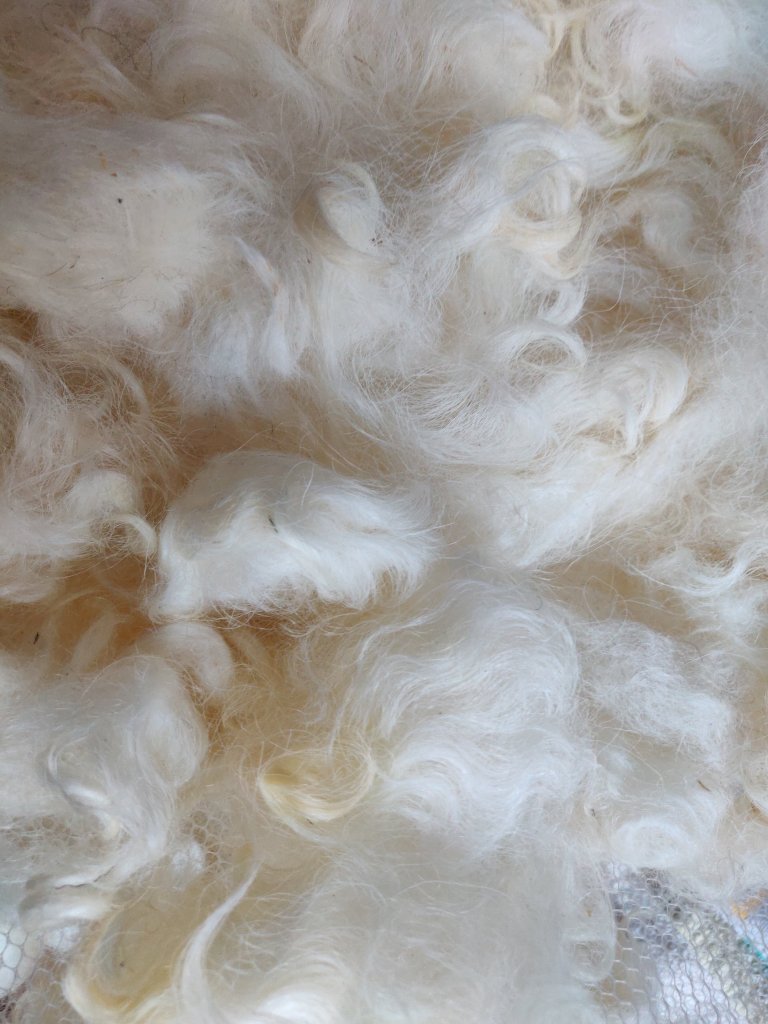
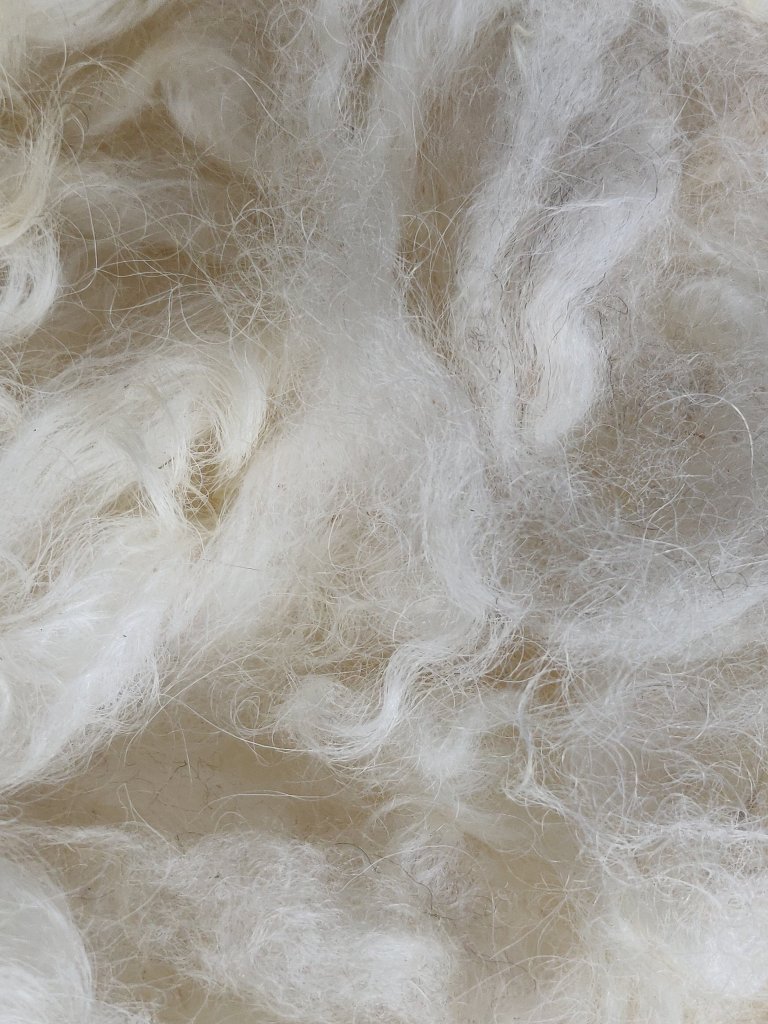
I’ve had a number of different colour hand dyed carded batts sitting waiting for me to find inspiration. They are all from fleece I have scored and carder myself, so are a mix of Shetland, Suffolk and Texel, with maybe a little Alpaca blended into some of them. Some are in 200g amounts, some less. I’d got a bit stuck about how to use them until I saw a useful tip by Anna from my spinning group that she has put on YouTube.

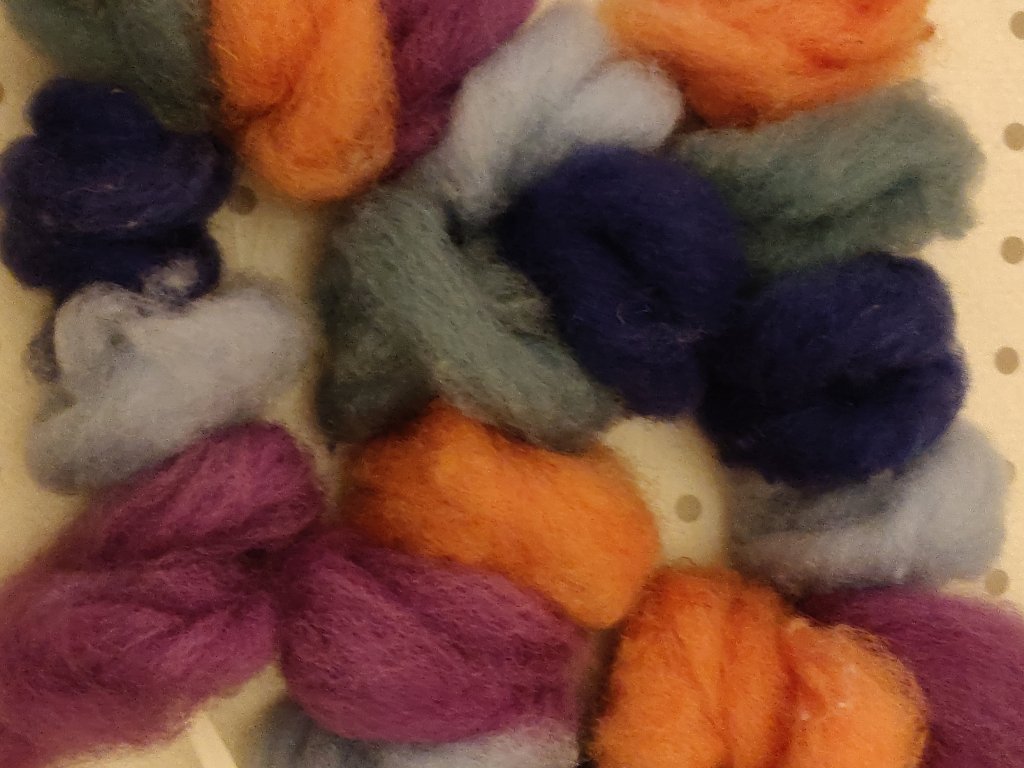
Before you start, select a group of colours that work together. After a designing session during which I wrapped different colours together, I chose five: orange, pale green, mid blue, pale blue and lilac.

Anna used a combination of hand dyed and commercial roving, but the principle is the same with your own carded batts.

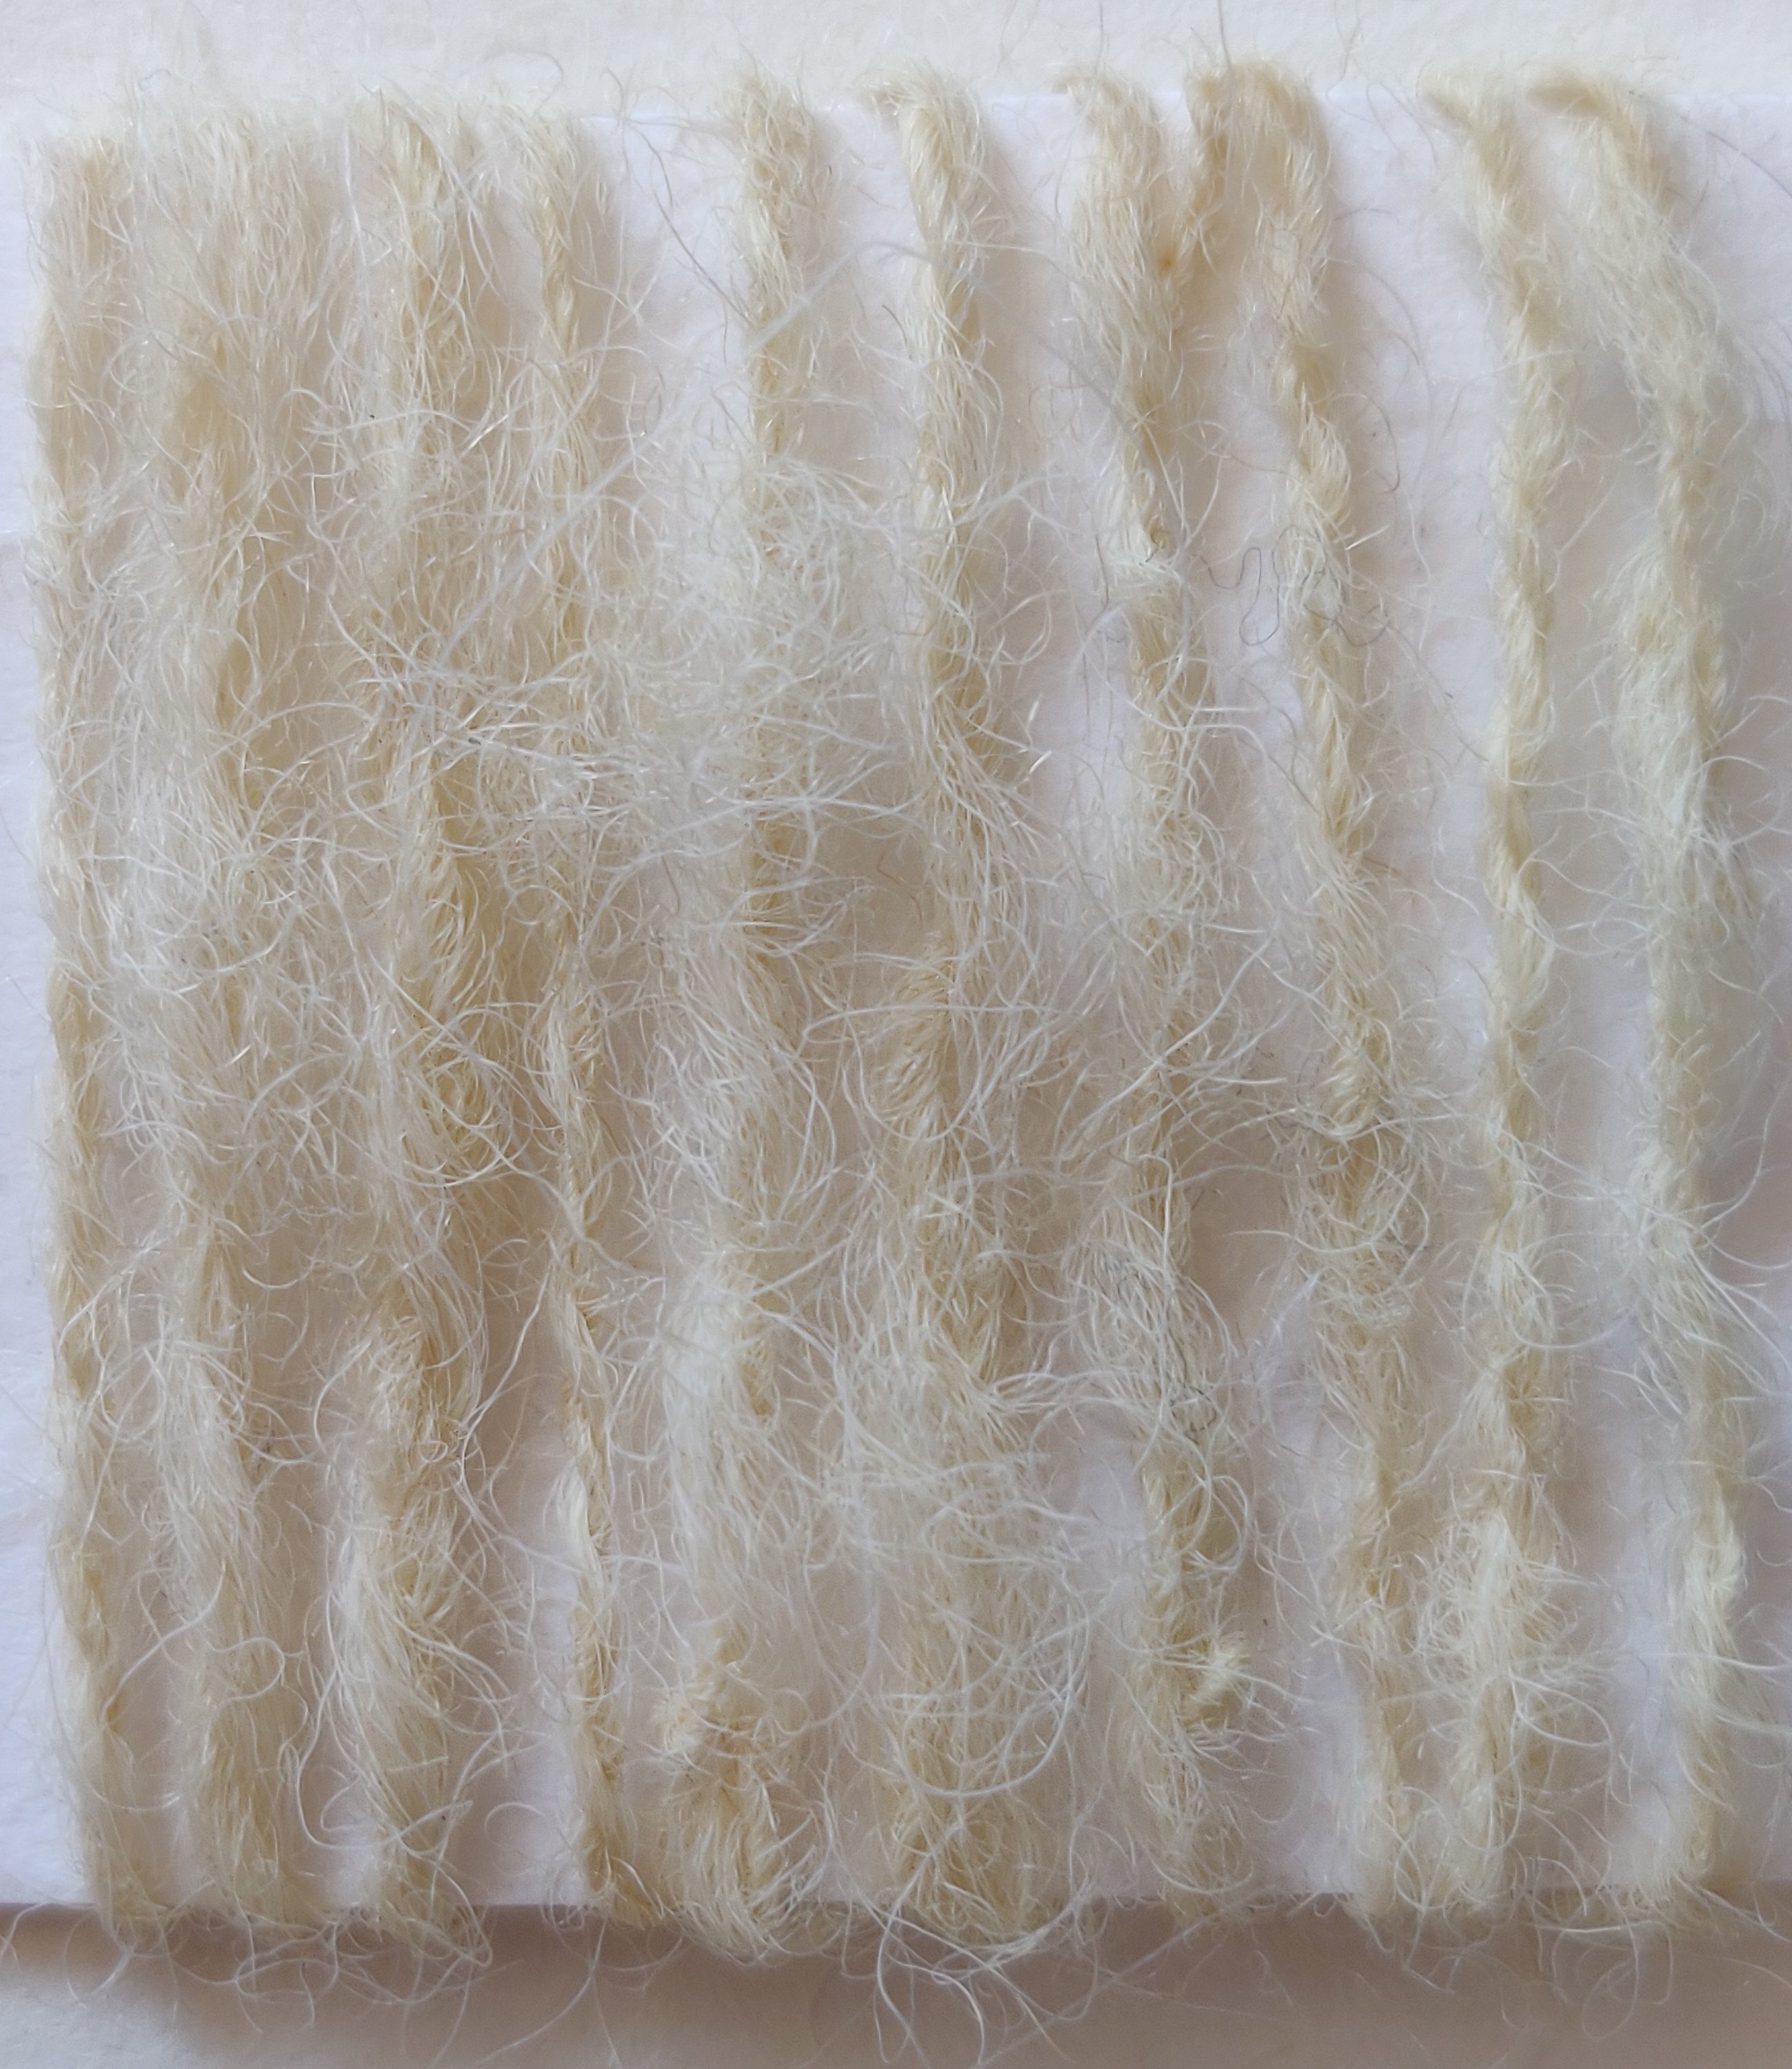
1. First of all split the roving/batt into the required lengths, (I just used the whole length of the batt of my drum carder).

2. Then split each length lengthwise into 4, (or more, depending on the thickness of the roving/batt).

3. Next, lay out the colours lengthwise, next to each other in the order you want to spin them into yarn. Test this beforehand to see how they mix throughout one repeat of a yarn, and if this works for your chosen outcome, such as knitting.

4. Repeat the colour sequence three more times so you have a table full of ‘stripes’ of fibre. If you have more than four lengths let colour, carry on until all are used up.

5. Now this is the clever part. I have hand spun colour changing yarns before and got the sequence wrong because I put it all away in a box between spinning sessions. To keep the sequence do the following.

6. Take a metre + long length off ribbon and tie a pencil or empty pen across one end. This is your fibre-stopper. Tie a hand-sized loop on the other end. This is your distaff.

7. Starting at one end of the ‘stripes’, wind each length off fibre into a loose roll and slip the looped end of the ribbon through the centre hole. Carry on doing this, working methodically through the fibre lengths, keeping the colour order as mapped out in your ‘stripes’.

8. You will end up with a ‘necklace’ of colour ordered fibre rolls on the ribbon. Tie the ends together to stop the fibre sliding off.

The dyed fibre arranged on the ribbon distaff before spinning

Now to can put them in a box and they won’t get muddled. To start spinning, simply lift the necklace out, untie the ends, and slip the loop over your hand. It acts as a distaff and will hold your fibre nicely as you spin each colour.

Spinning the lengths into singles

What a great tip!

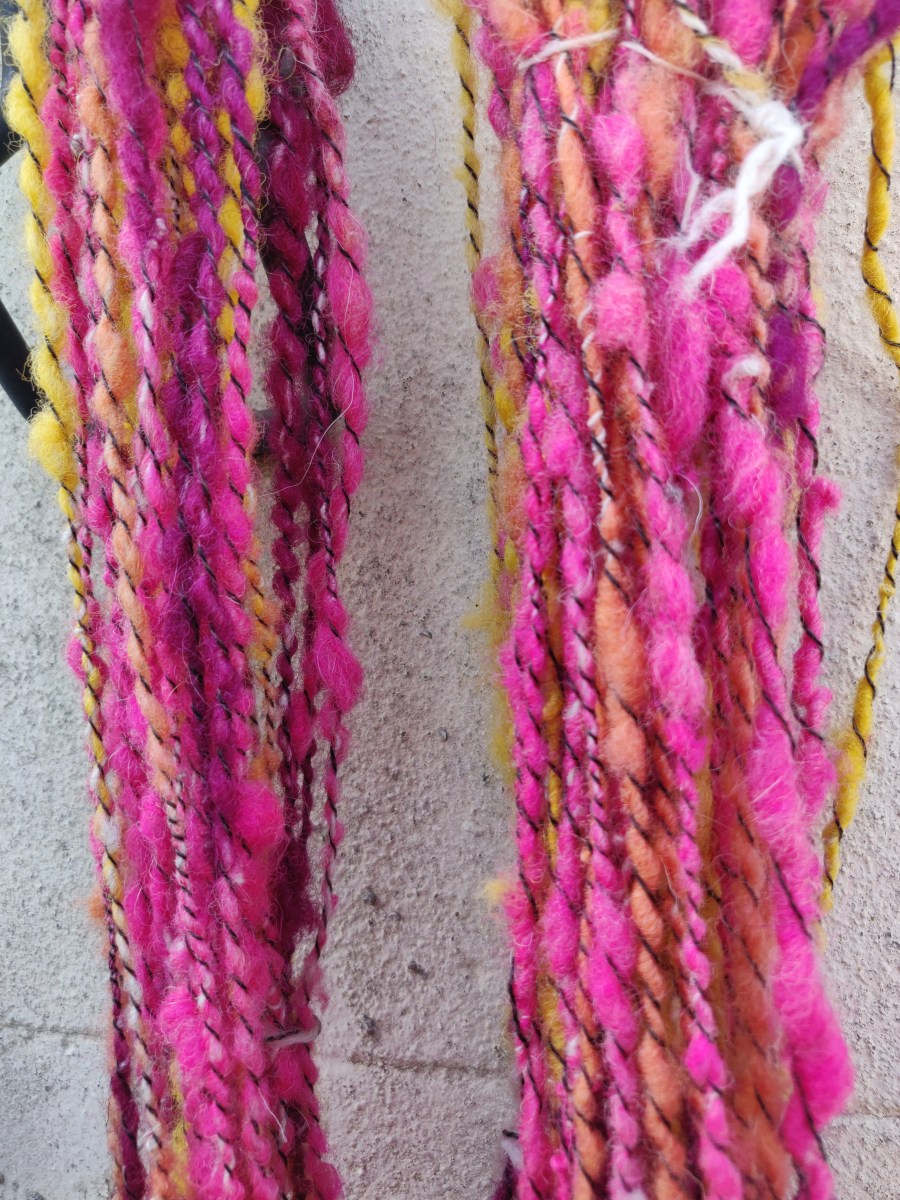
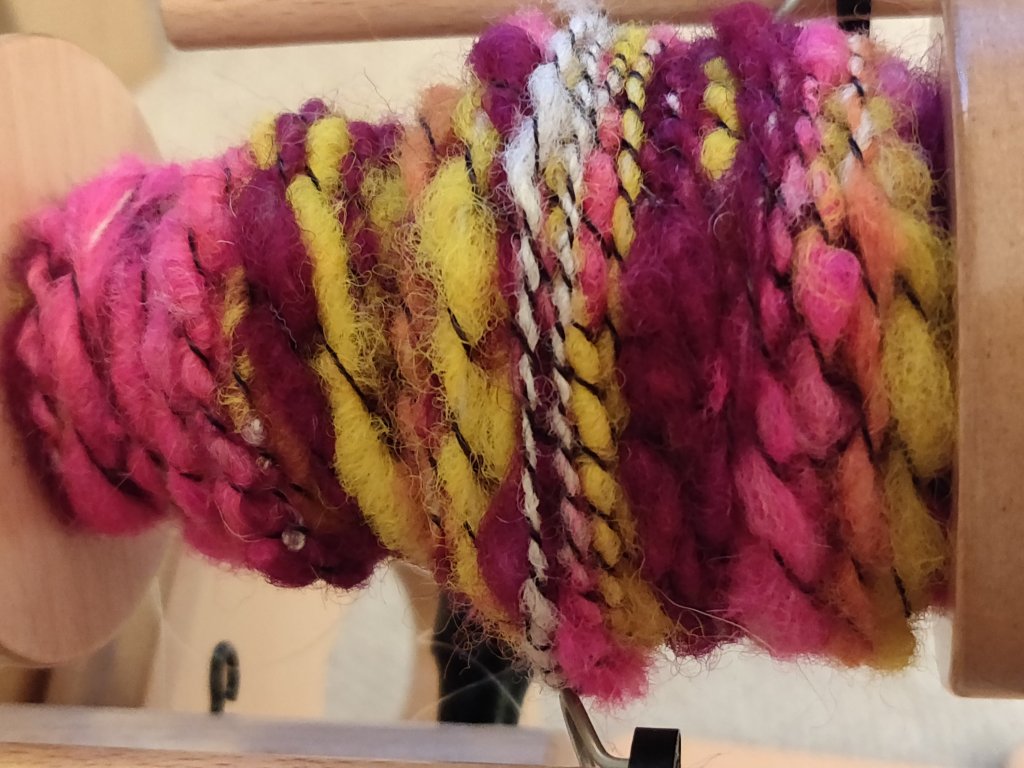
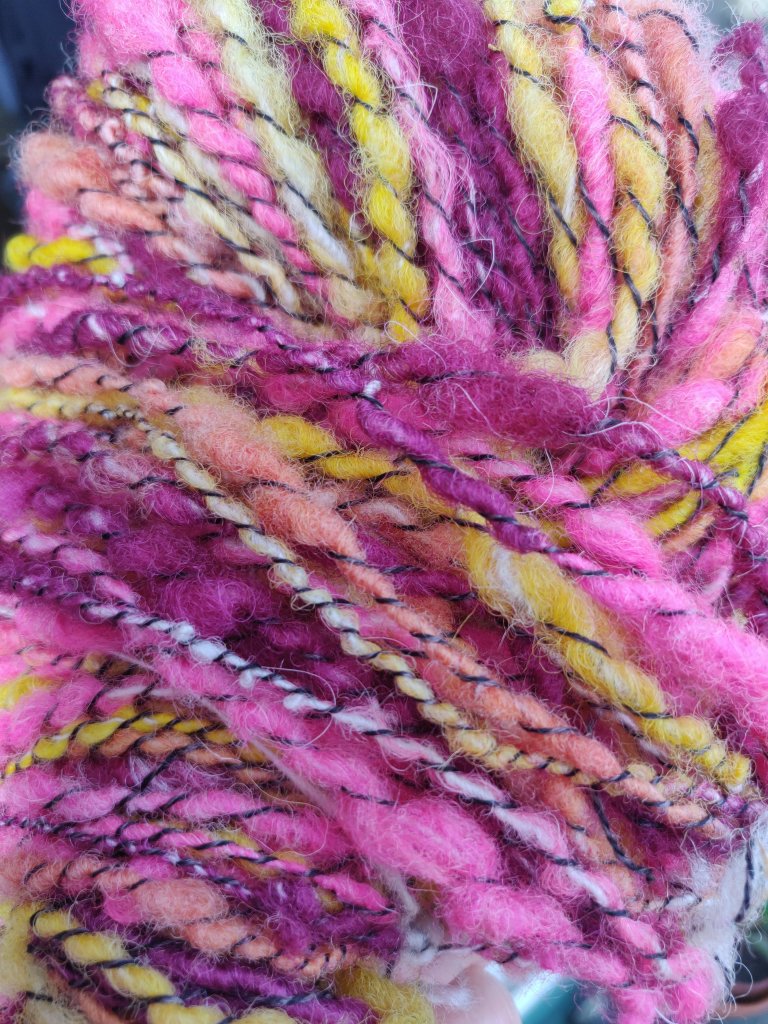
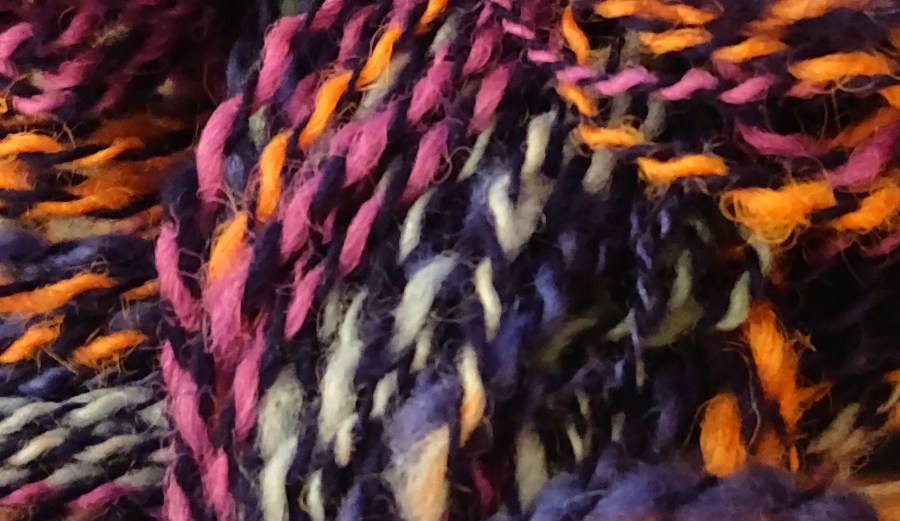
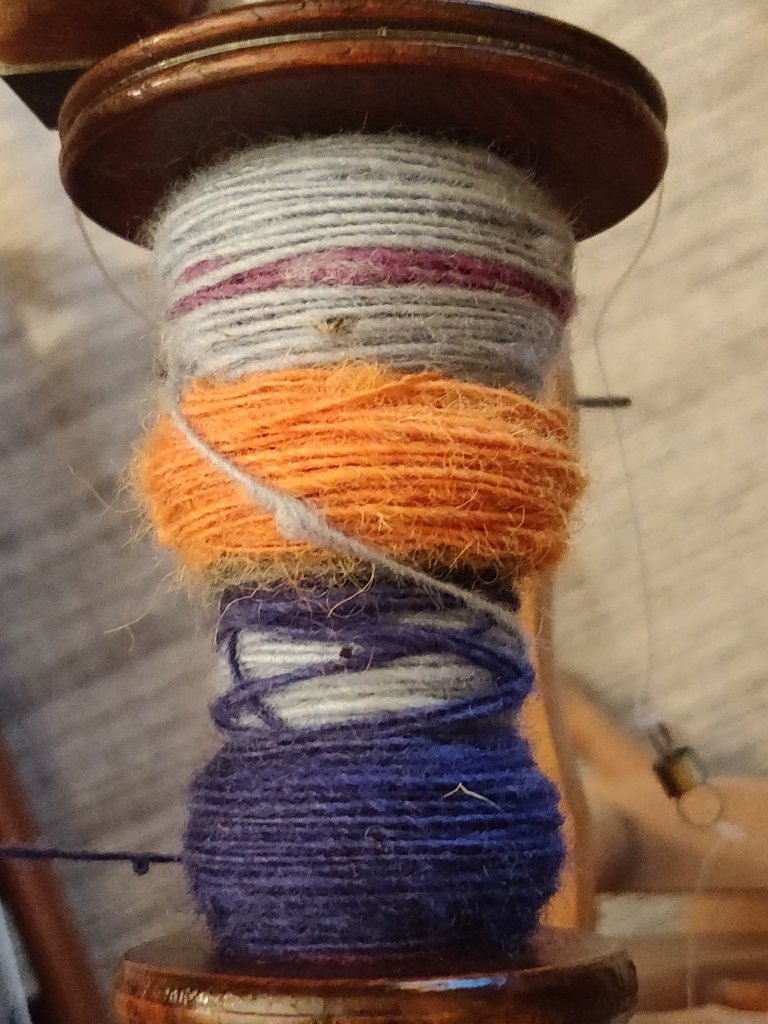
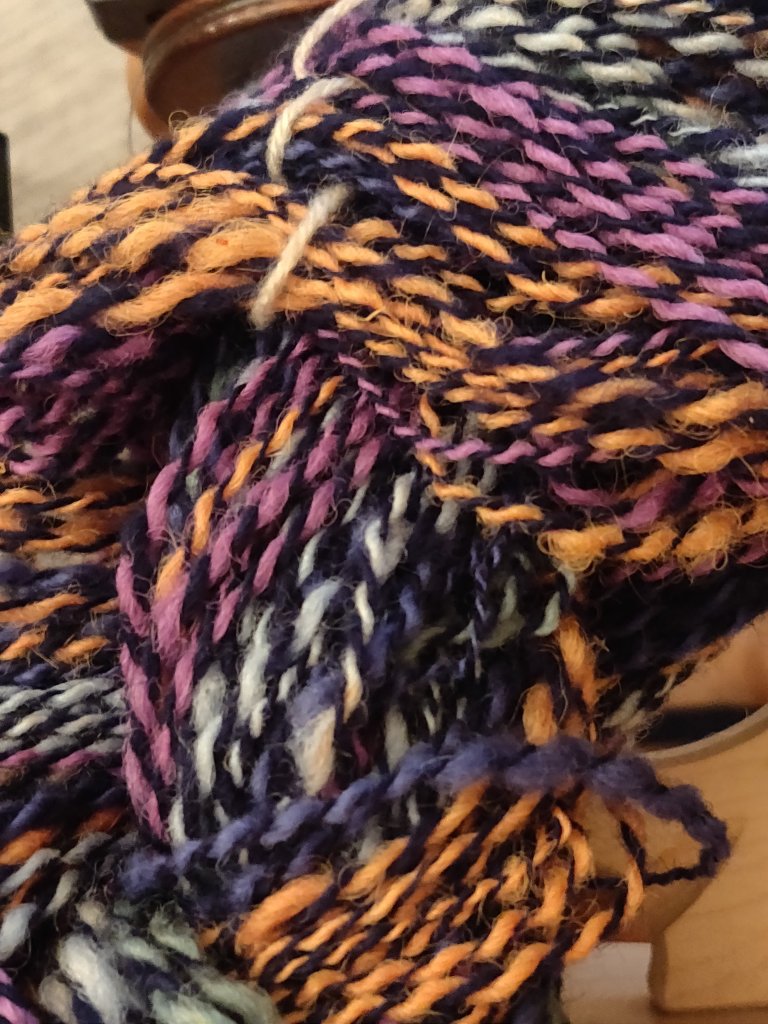
I plied the colour changing yarn with a single spun made from navy blue Corriedale. This made a lovely marl yarn that to me resembles stained glass windows. I can’t wait to see what it looks like knitted.

The plied yarn

Here is the link to Anna’s video

Spinning outdoors

Last week a few of us got together (safely distanced and masked), to take our textiles into the park. I enjoyed myself so much I forgot to take a photo!

The thought of spinning outside in the sunshine encouraged me to use bright colours. So I took along some Shetland fleece I dyed a while ago using acid dyes, (I have written more about dyeing fleece with acid dye here).

I’d spun up a bobbin of Suffolk fleece that is not very exciting, so I planned to use that as the core for a bright, irregular spun, core-spun yarn to which I would add a charcoal wrapping yarn. All 100%wool. I took my folding Louet Victoria S95 wheel which is a joy to use.

The core yarn was Z twisted quite tight. The wrapping colours were also put on Z twist, and the final charcoal, commercial yarn was S spun over the others.

Photo taken at might, so the colours are not accurate.

After washing and drying the twist the colours hardly muted and it’s come out as lovely yarn.

Taken outdoors, but the colours are a bit light.

Rub-a-dub-a-fleece

Washing (or scouring) raw fleece is not a quick job, I think that’s something all can agree on. It’s also surprisingly contentious. Everyone wants to tell to their method, and you gradually learn that different fleece require different scouring methods, so everyone is probably right!

So I’m going to write about my experience today.

I have been given a rather nice Shetland fleece. Rather nice that is, but filthy. The fleece is very greasy and every single lock is gummed together and dirty at the tip. Underneath however, you can see the gorgeous fibre hidden under the grease-trapped dust and poo.

It doesn’t look too bad here, but thankfully this is not smelly-vision
See what I mean about those yucky tips?

I gave some of it a good hot soak  yesterday with plenty of washing up liquid. The water was like oxtail soup (sorry if you like oxtail soup), but after a few rinses it seemed OK.

However, this morning’s inspection showed it to be still greasy and those dratted dirty and sticky tips were still gummed up.

Rather than transfer that gunk to my carder I reluctantly decided to re-wash the fleece. So more really hot water baths followed. The first was so hot I couldn’t put my hand in it, with loads of washing up liquid and a dose of washing soda to break the grease. I  always wash the fleece separated into small mesh lingerie washing bags. With this second wash, I opened each bag, one at a time under the water and teased the locks apart, concentrating on those dirty tips to loosen the greasy dirt.

Yes it was time consuming, bit surprisingly gratifying as the dirty came out quite easily with this method. I think because the fleece has just been sheared the dirt hasn’t had to much time to harden-off.

Now it’s drying out looks amazing and is so soft.

I’m itching to get spinning

Spinning wheel drive ratio – getting down to the nitty gritty, and learning to control my tendency to over-spin yarn

Spinning wheel drive ratio is the number of times the bobbin revolves whilst the drive wheel makes one revolution. It is governed by the size of the whorl that drives the bobbin. There is of course the effect of any brake to be considered as well, but this has to be adjusted to get the yarn to wind onto the bobbin and is not the same as the drive ratio.

Most modern wheels offer different ratios by providing several different sized whorls on the bobbin or flyer. Probably because my upright double drive is an old wheel, and I mean old, wobbly and fragile – one that would be termed ‘vintage’ on eBay, it only has one ratio (it only has one whorl on the bobbin). I tend to over-spin when using this wheel, so I wanted to teach myself to make softer yarn and thought understanding drive ratio might help me. Being a bit techie and liking to understand how things work, I decided as a first step to check out what the drive ratio is on my upright double drive wheel.

Using advice from ‘Spinning Wool – beyond the basics’ by Anne Field, I started the process. Firstly I removed any yarn from the orifice and bobbin and slackened the tension screw to the lowest setting. Next I tied a tag of yarn on one arm of the flyer as a marker, and aligned this arm with the rear maiden. Now, using my hand I turned the wheel one complete revolution, counting how many times the tag of yarn passed the rear maiden. This figure is the drive ratio of the wheel as it is set up (remember that a different sized whorl will give a different ratio). In this example, the bobbin revolved 6 times during one revolution of the drive wheel, which means that my old double drive upright wheel has a 6:1 ratio.

Next in my experiment to spin softer yarn I trawled further advice from Anne Field. She suggests that the fibre itself can give you information as to how to spin it, and that frequency of crimps along the staple length of fibre can give you a clue about how the twist frequency. In her opinion a fibre with 7 crimps in 2.5cm, for example, is best spun with 7 twists per 2.5cm of singles. OK, I thought, so I pulled a staple from the Shetland fleece I am working with, and counted the crimps per 2.5cm. I used a magnifying glass to help me, and came out with a figure of 5 crimps in 2.5cm, which meant that I needed to aim for 5 twists in every 2.5cm of singles as I spun the fibre.

Once again I referred to Field’s book, and from the suggested methods for establishing a visual reference for the distance in which the twists should lie, I chose to mark 2.5cm on a piece of paper. I then taped this my lap whilst spinning. Other methods included marking these lines in your spinning apron, or using points on your fingers, e.g. tip of thumb to knuckle. This last one is the one I plan to move to once I am a bit more confident.

To re-cap, my aim, based on the Shetland fibre’s crimp, was to have 5 twists in 2.5cm of yarn. This meant 2.5cm of twisted yarn had to be drawn onto the wheel during one revolution of the drive wheel (5 revolutions of the bobbin), thus 5 twists would be inserted into that set length of yarn.

Anne Field estimates that approximately 1 twist will be lost in each 2.5cm of singles once the yarn is plied (although I am a bit hazy about how that happens), and so it seemed to me that I could spin the yarn with 6 twists per 2.5cm and finish with the 5 twists I wanted. This fitted in really neatly with the wheel’s drive ratio of 6:1, (1 treadle, and therefore 1 revolution of the wheel, turns the bobbin 6 times). This made me wonder whether this wheel was designed and made for spinning this type of wool from the older British breeds.

So by treading SLOWLY, drafting 2.5cm of fibre and releasing 2.5cm of yarn into the bobbin for each revolution of the drive wheel (one pedal motion), I actually managed to make a start.

To check how I was doing I stopped after a few metres of singles, pulled some back off the bobbin and let the yarn twist back on itself to emulate the final plied yarn. After evaluating the twist, and adjusting my spinning accordingly, I eventually managed to achieve approximately 5 twists per 2.5cm! Yes….I was getting it – slowly.

The resulting yarn is so much softer and fuller than my normal attempts – and a small hank is now drying in the bathroom for me to evaluate tomorrow.

My next step is to lengthen the draft and feed 5cm of yarn onto the bobbin in 2 treadles (revolution s of the drive wheel). In theory I can increase the length of draft and feed depending on the length of fibre I am working with, providing it has 5 crimps per 2.5cm.

I’m not sure what happens if there is more or less crimp, and therefore more or less twist required in 2.5cm. That is my next learning curve.

I may I have made some mistakes and probably over generalised, so welcome comments and advice.


Communicating on FB rather than writing!

Managed to fill my morning with adding photos to FB and now wish I had worked…but there were some good things. I re-lived going to In the Loop 2 conference in Shetland in September which was a wonderful experience. There were such interesting things discussed, from images of knitwear in advertising to making a lace shawl from an old pattern from the photo library at the Shetland Museum via Ravelry. The shawl is no longer in existence and neither is the pattern.

That was inspirational, someone found the photo in the Shetland Museum online Photo Library, and asked around on Ravelry for help to write the pattern, and people from all over the world contributed. The pattern is now available via Ravelry as creative commons and there was an example of the shawl shown at the conference that was knitted by a disabled lady in a mid blue colour. I really liked the way in which the old (Shetland knitting) was taken by technological advancements (photography) and social network via the internet (the online photos and Ravelry) and re-invented into a tangible product from a virtual piece of evidence and put out into the world again.

Maybe I will list some of the other presentations as they come to mind, because I don’t believe it will be publilshed elsewhere

This is the link to the archive:
http://www.calmview.eu/ShetlandArchive/CalmView/

and the photograph library is here:
http://www.shetlandmuseumandarchives.org.uk/photoLibrary/

Here is a photo of the presentation

Shetland Shawl
Shetland shawl presentation at In the Loop 2