Spinning
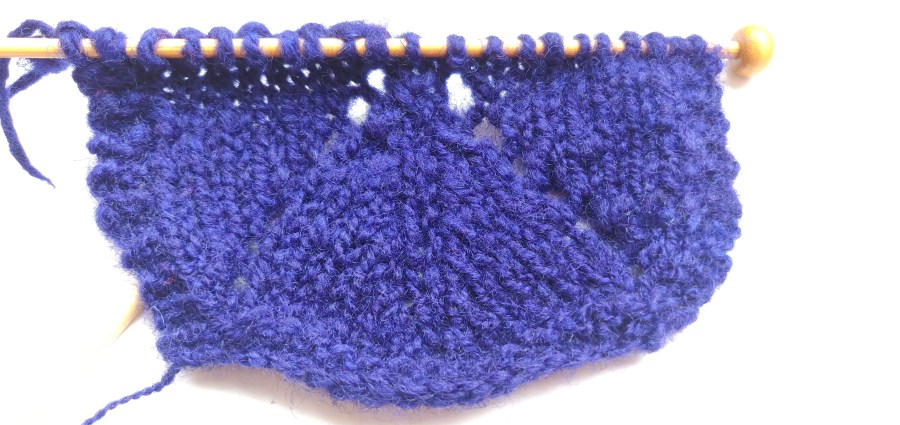
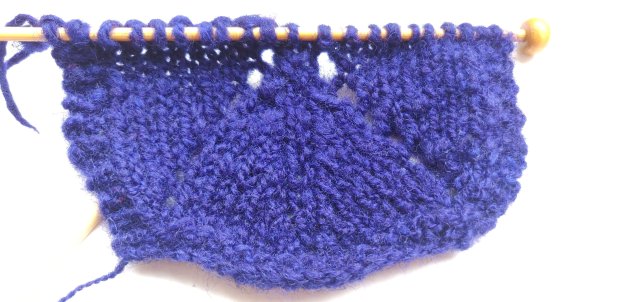
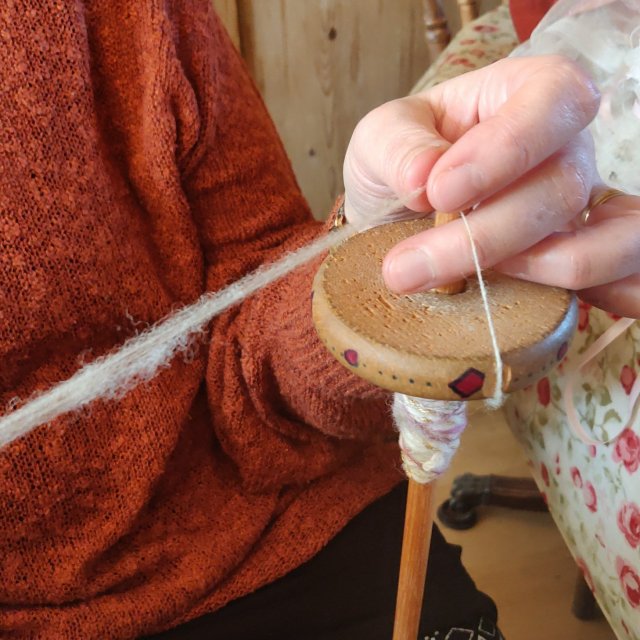
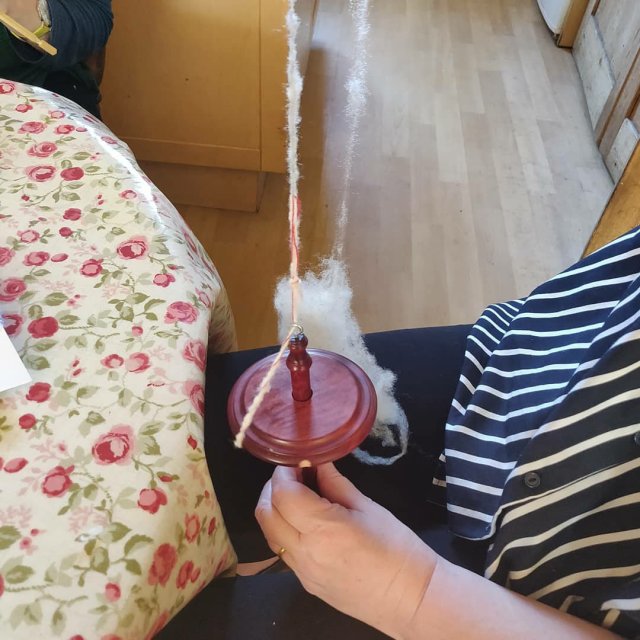
Spinning is twisting fibres together to make a single spun yarn (singles). All sorts of fibres can be spun, but generally speaking, the longer each fibre is (it’s staple length), the easier it is to spin into a yarn. Singles yarn, especially those with more twist tangle back on themselves, and do not usually make good knitting yarns. They are weaker, and will produce a knitted fabric that lies crooked (bias).
When a yarn is spun, the twist of the fibres can only go in one direction, either ‘S’ or ‘Z’ . ‘S’ is is when the yarn wraps like the central diagonal of the ‘S’ and ‘Z’ is the opposite direction, when the wrap follows the central line of the ‘Z’ opposite. On a drop spindle, ‘S’ is created by the spindle being spun anticlockwise, and ‘Z’ is produced when the spindle is spun clockwise. On a spinning wheel the direction is controlled by the direction of the wheel itself.
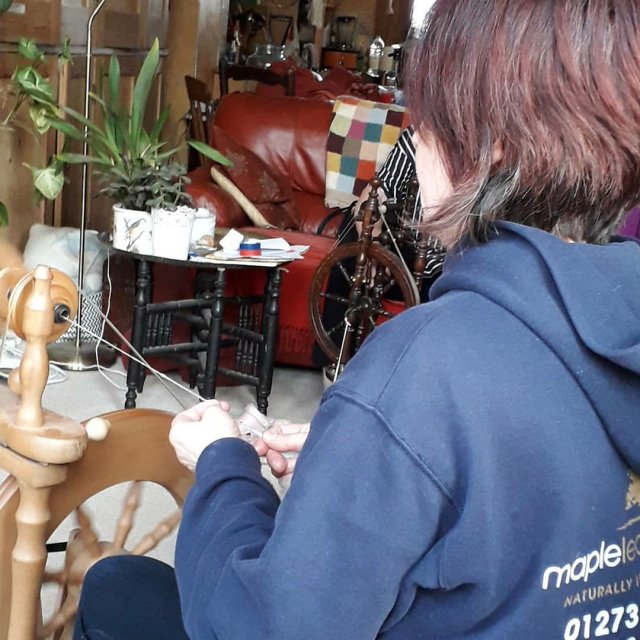
Plying is twisting two or more yarns together so that they make one, thicker yarn. It is done for various reasons; it will balance single spun yarns and prevent bias twist, it creates a thicker yarn, it adds strength to delicate yarns, and it combines different colours and textures for aesthetic results and can be used to produce a combination of these results.
When yarns are plyed, they should be twisted together in the opposite direction from their original direction of spin, e.g. two ‘S’ spun yarns would be plyed in the ‘Z’ direction.
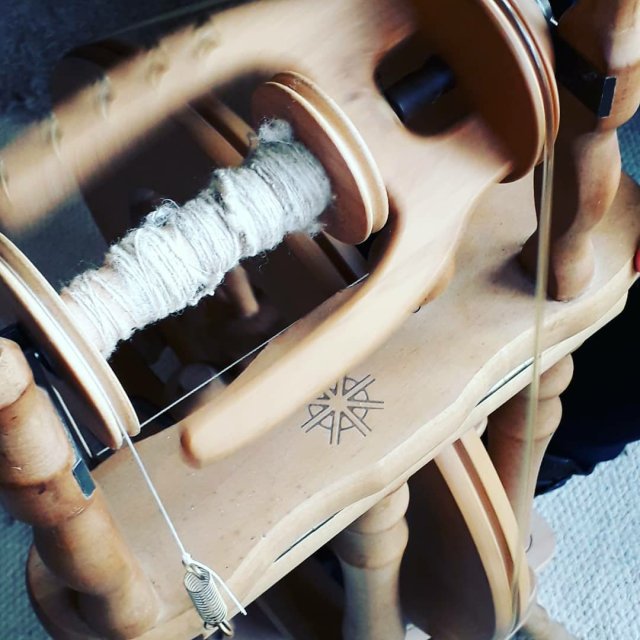
You can ply your own single spun yarn or make thicker and decorative yarn by plying commercial yarns together.
Decorative effects to try: threading beads/sequins onto one strand, using a fancy and plain yarn, twisting singles and then twisting them again with commercial yarns in the opposite direction to the first twist (cable plying).
Method 1: When plying the same yarn together. Wind a centre pull ball using a ball winder and taking the yarn from both centre and outside ball, ply them together on a spindle.
Method 2: When plying the same, or two different yarns together. Wind the two ends of singles (or commercial yarn) together into a double ended ball, tie the end to the spindle and off you go.
Method 3: Andean Plying. Can be used in either of the above situations.
Step 1: Hold your left palm facing you with the fingers splayed.
Step 2: With your right hand, take the end of the yarn, and tuck it into your watch band, sleeve, or hold it under your thumb. Do not lose this end!
Step 3: Take the yarn left around the the back of your wrist.
*Step 4: Bring it across the back of your wrist to the right side of your wrist
Step 5: Then take it left across your palm and around your middle finger from left to right.
Step 6: Next take it back around your wrist from right to left.
Step 7: Take the yarn to the right across your palm, and around your middle finger from right to left, then back to the left side of your wrist *
Repeat from * to *
Step 8: When all the yarn is wrapped around your hand, and making sure you don’t lose either end, slip the ring of yarn off your middle finger and twist the whole bracelet of yarn around your wrist so that this ring is on the back of your wrist.
If you need to take a break now, slip the main bracelet onto something like a toilet roll centre, being very careful to keep the ends visible.
Put the bracket back on your wrist. Once it is on your wrist keep your fingers splayed to prevent it slipping off whilst plying. Tie the two ends to the spindle or leader and start the spindle off. Use your fingers to feed the yarn evenly and control the amount of twist travelling up the yarns as you do when spinning.
This slideshow requires JavaScript.
| 4 ends of commercial yarn being plied using the Andean method. Finally it is wound into a hank. It could just be wound onto ball for knitting, but if a bit lively it may need to be hanked, steamed and hung before making into a ball. |
| This is a downloadable pdf of this page. Please note that you are welcome to print this for personal use, but it must not be reproduced or distributed. Plying |
|