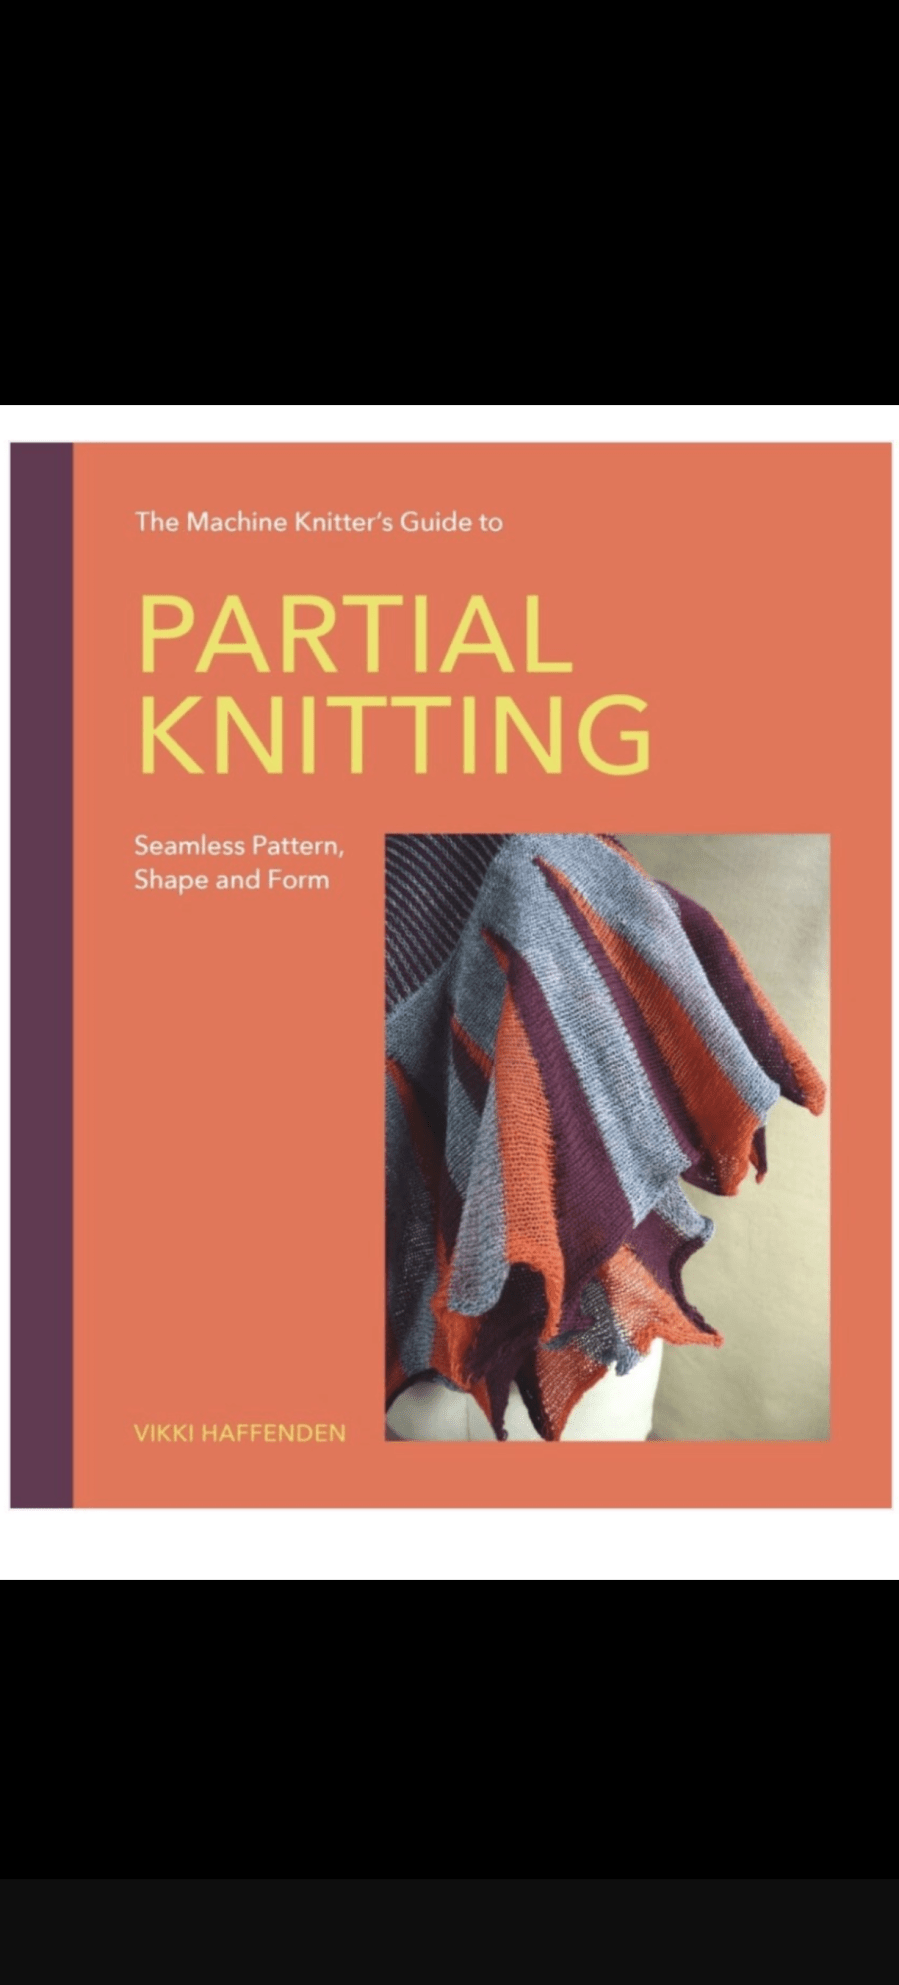
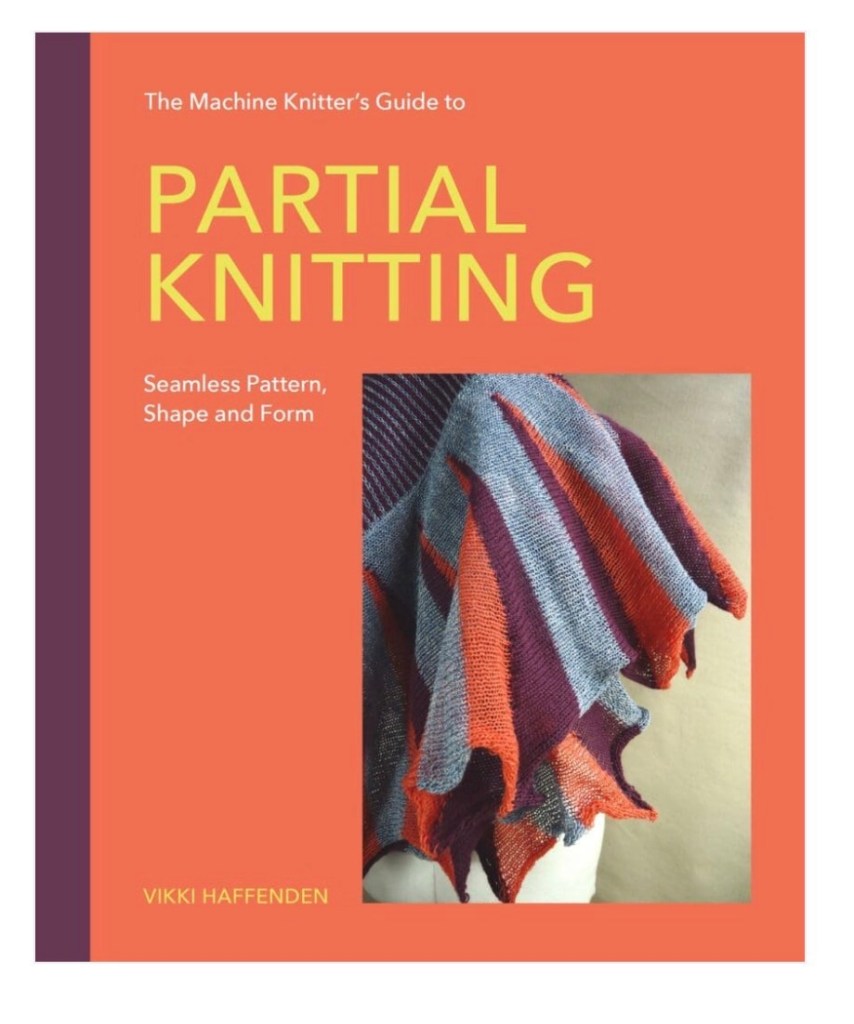
The Machine Knitter’s Guide to Partial Knitting; Seamless Pattern, Shape and Form
I wrote this post last July, and thought I would share it with you in retrospect, as the book has now gone to print.
July 2025
Finally, after a long and fraught 18 months it is done!
I signed the book contract only a few weeks before we moved house. After several false starts with the sale of the house we thought we would be staying for a while and would lose the property we wanted to purchase. However, the way it happened in the end meant that we had to rush into moving in a 3 week window.
Which meant of course that we had to pack what we hadn’t already packed in a hurry, and organize everything else and then move and organize this end when we arrived. Settling in took far longer than anticipated due to unanticipated building work through last summer. It wasn’t until late autumn that I was able to safely unpack a machine and start to knit and write in earnest. Then the arrival of our first grandchild interrupted my flow for a while, the sun shone and the garden needed work done. All in all, let’s say life got in the way!
The last month has been full-on working on the book, so it was wonderful to finally send it off. Of course they will be editorial suggestions and corrections to do, and then a final check once it is laid out for printing, so it’s not finished yet.
May 2026
If you have persevered and read to this point, you might like to know what the book is about. This book, my third about machine knitting focuses on short rows, or partial knitting. It is suitable for any machine with holding position, single bed, double bed, plastic or metal bed, and any gauge. I particularly wanted to include the popular plastic bed, mid-gauge machines like the LK150. Rather than struggle to emulate the punchcard machines with repeating patterns, short row pattern and shaping can be as easily done on either type of machine.
‘The Machine Knitter’s Guide to Partial Knitting: Seamless Pattern, Shape and Form’, is available to pre-order in the UK from Crowood Books, and online retailers. In the US it can be ordered from Blackwells.
Learn how to control short rows and create fab effects with this fascinating technique.
I’ve always been fascinated by short rows, or partial knitting as this technique is also called, so when the opportunity came to write a whole book about the technique I was super excited. The book opens with some interesting information about short rows to whet the appetite, the first chapter is about the absolute basics, so is ideal for people who have not worked with short rows before. The chapters progress through the different ways of using short rows; shown with examples, diagrams and written instructions. Some also have half scale sample patterns for practising the techniques which include more advanced uses, such as 3d shaping.. There are step-by-step instructions and each chapter builds on the knowledge of the previous chapter. The book ends with a chapter of patterns exemplifying the techniques covered throughout the book.
This is something I used to struggle with when first starting to machine knit, and to be honest, it still sometimes needs a bit of thinking before I get it right.
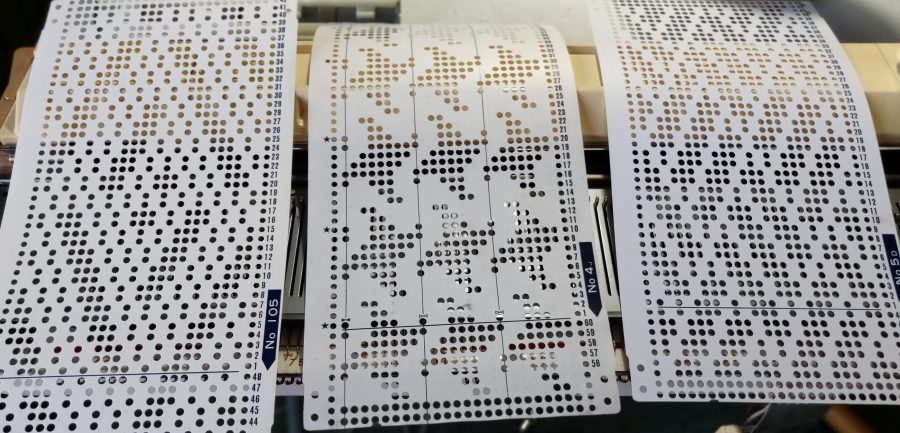
So I put some information together which I hope will be useful to others who find the holes and blanks a bit confusing. It also has some helpful ways to read what is actually being read by the card-reader, rather than what is visible above it.
Lets start with the fundamentals:
Knitmaster/Silver Reed (KM/SR) machines only knit pattern from the punchcard when the side levers are at the triangle and the pattern cam dial is set to the relevant stitch type; F, S, T etc.
Brother machines only knit pattern from the punchcard when the KC dial is set to KC, KCI or KCII, as appropriate to the machine, and when the relevant pattern cam buttons are pressed, MC, tuck, part etc…
However, on both makes the needle positions are the same
Pattern cam setting
Punched holes
Needle position
Blanks
Needle position
2-col-in-a-row
knit with 2nd colour
UWP
knit with MC
WP
tuck
knit
UWP
tuck
WP
slip/part
knit
UWP
slip
WP
On both Brother and KM/SR machines, the punchard line being selected is hidden inside the machine. Seven lines below on a Brother, and five below on a KM/SR.
Brother machines, both punchcard and electronic, pre-select needles before knitting the row. Therefore, the pattern can be interrogated by looking at the needle selection in conjunction with the needle positions listed above.
KM/SRpunchcard machines have a card reader with feelers. These are selected according to the punchcard pattern but the actual feeler action is hidden behind the carriage. The pattern line can be manually interrogated by locking the punchcard.
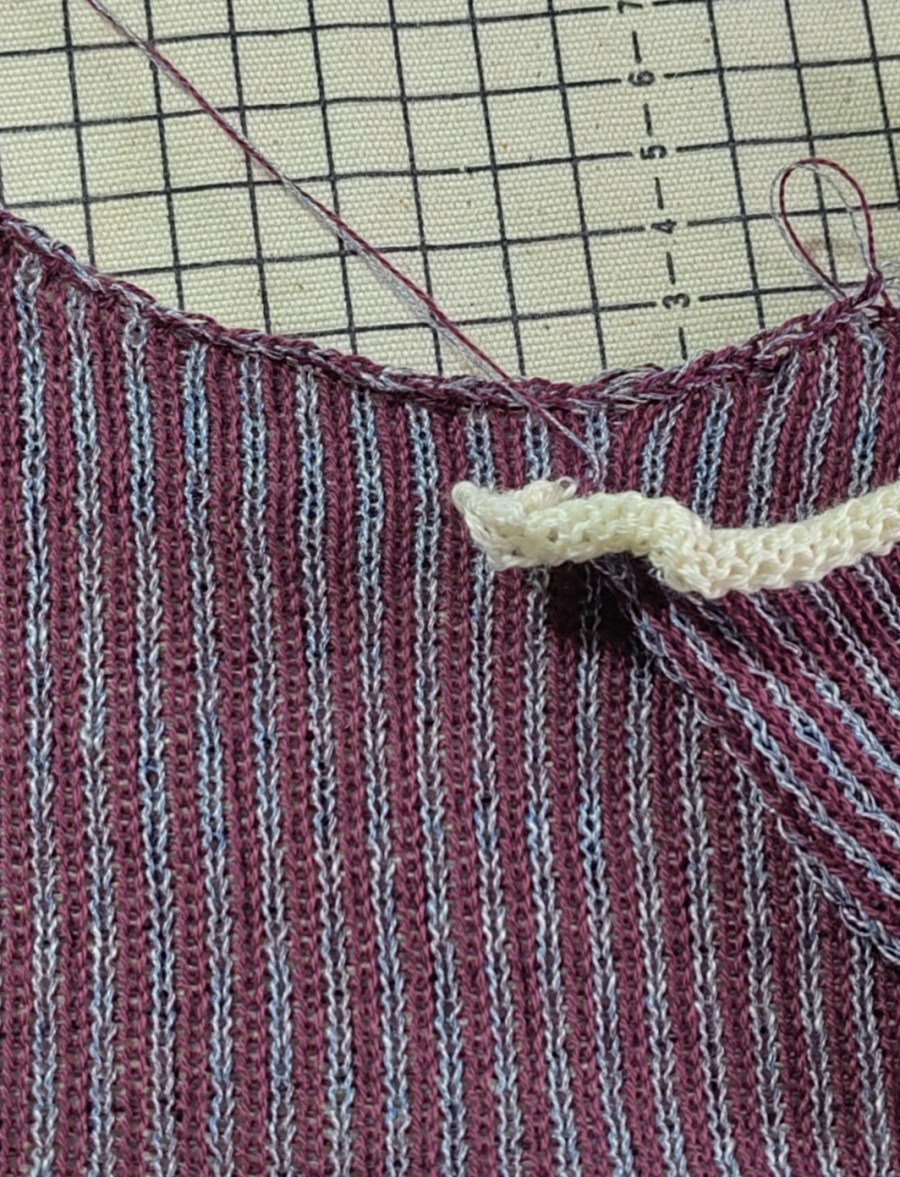
I think this might be the final sample for my latest book. The manuscript went into the publishers a week or so ago and I’m just working in a few outstanding samples and photos.
Of course machine knitters, well knitters in general, will know that ‘sorting out a sample’ is a shorthand for:
knitting several design swatches
knitting a tension swatch (or three)
working out the garment pattern
knitting it
finding you’ve made a mistake
knitting it again
steaming it
sewing it together
washing it
blocking it
etcetera, etcetera….
So I am just at the first steaming stage and getting ready to assemble the garment. And of course I’ve had to re-knit one piece because the dratted yarn got caught by the brushes irrevocably and it was easier to restart than try and sort that out. More haste, less speed is so very true in machine knitting. Nice and steady is always the best way.
I’m hoping this garment will be nice enough to go on the cover, but we will see.
Meanwhile let me tell you a little bit about the book. The title is still to be finalised, but it is all about short rows and partial knitting on a machine. There is a lot in there for beginners, for example the first chapter is all about the principles of short rows and how you knit them and there is a whole basic techniques appendix at the back for additional support. Chapters 2 to 5 offer loads of information, samples, examples and exercises for more experienced knitters to really come to grips for short rows, and to understand how and when to use them for different results.
Chapter 6 has patterns that use short rows as they’ve been described in the earlier chapters, but applied to an item. So from these patterns you actually get to use short rows purposefully to create shape and form combined with colour and surface pattern.
So once it’s published I will obviously be shouting about it, but keep an eye out and do pop back here for updates.
Back problems have meant I need to avoid computers and knitting machines for a while, so I wanted a hand knit project to work on. Digging around on shelves, ( I can’t get at my stash boxes at the moment) I found a bag of knitting I had forgotten about. Inside was the first few rows of a top-down sweater. I remembered how long it took to work out the pattern, (yes I did it myself) and how carefully I chose the yarn. The notes with the pattern are dated 2013, which says volumes about my engagement with larger hand knit projects!
Luckily the moth had stayed away, thanks to ziploc bags, and I haven’t used the balance of the yarn for something else. This seemed a perfect opportunity to get on with my long-lost dream jumper.
I knitted a top-down jumper last winter with good results. Although it has dropped quite considerably due to the stitch I used, do is more a dress than a number. I like the method because you can check the shoulder fit, which is so important, and adjust it before embarking on the larger areas. Monte Stanley wrote about top-down knitting and as I am interested in integral knitting, I find the technique intriguing
I had obviously found fault with the stored knitting because there is an separate neck and shoulder be sample threaded into waste yarn in the bag. On reflection I seem to remember it was discarded because of the shaping finish rather than size. I will unravel it if I need the yarn later on, but at the moment it is useful for reference.
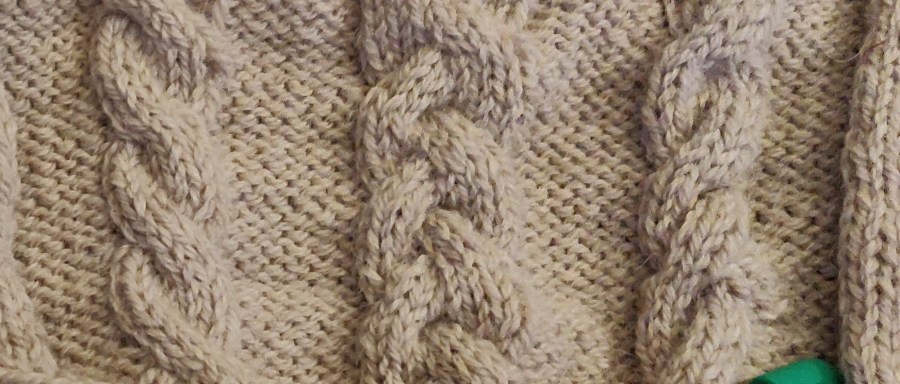
It’s knitted in DK alpaca/wool/silk blend yarn on a very pretty warm stone colour.
I’m using a 4mm circular needle from the KnitPro convertible system. These are very versatile so am using these for this project where they are separate ‘tubes’ to work on. Being able to change the length of the cable means it’s easy to work narrower sleeves as well as the larger circumference of the body.
The design is a raglan sleeve, generous fit jumper with cable panels running up front and back. Shaping is worked fully fashioned along the raglan ‘seam’ lines using lifted left and right increases. My initial sample was not fully fashioned, and clearly the fully fashioning makes a much nicer finish.
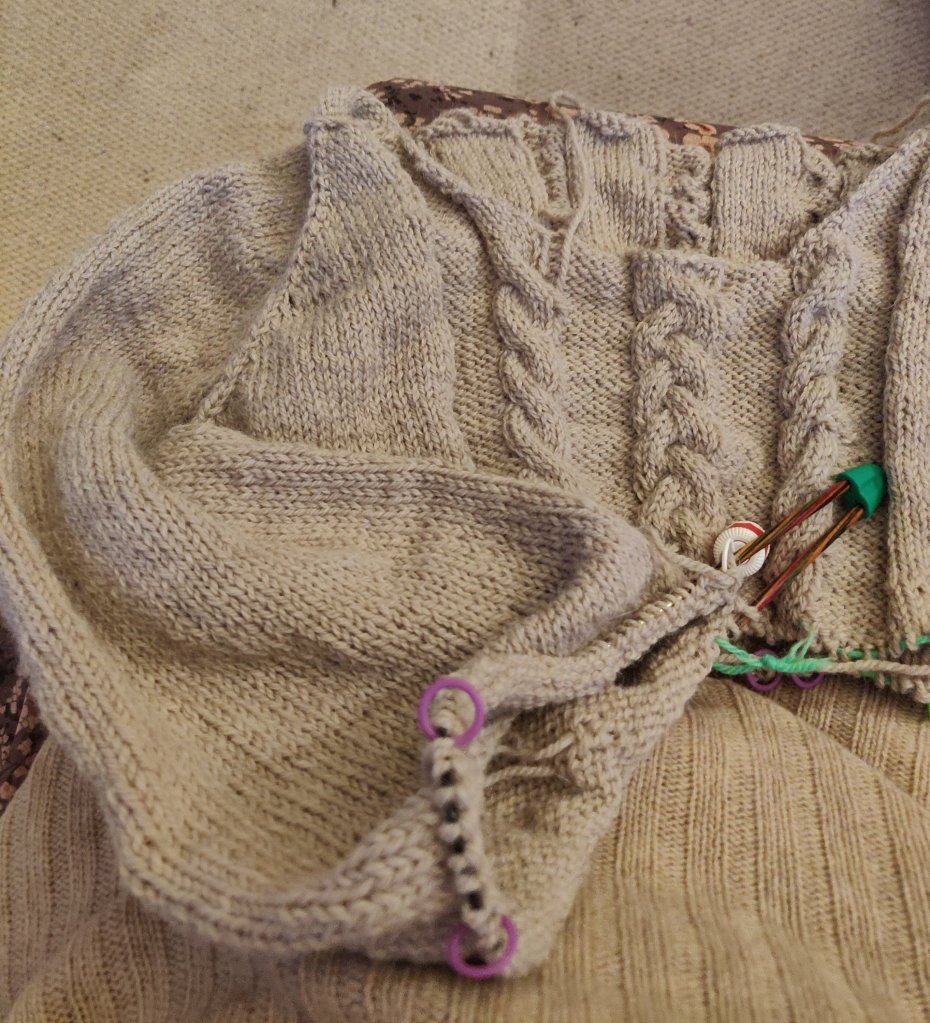
I’ve just finished one sleeve, (stocking stitch) with fully fashioned decreases along the underarm ‘seam’, and the fit seems good so far.
Part way down the first sleeve. As you can see, I love stitch markers!
Working out the pattern was quite complicated even though I used Designaknit for the basic silhouette. It was easy enough to invert the shapes, but then I had to combine them in-the-round. Some maths later I had a picture in my head, and the numbers to match it on paper. I worked out the positioning of the cable panels manually because it was important to have plain stocking stitch for the raglan shaping.
If I get the next sleeve done I might even got to finish the cable front and back before 2025!
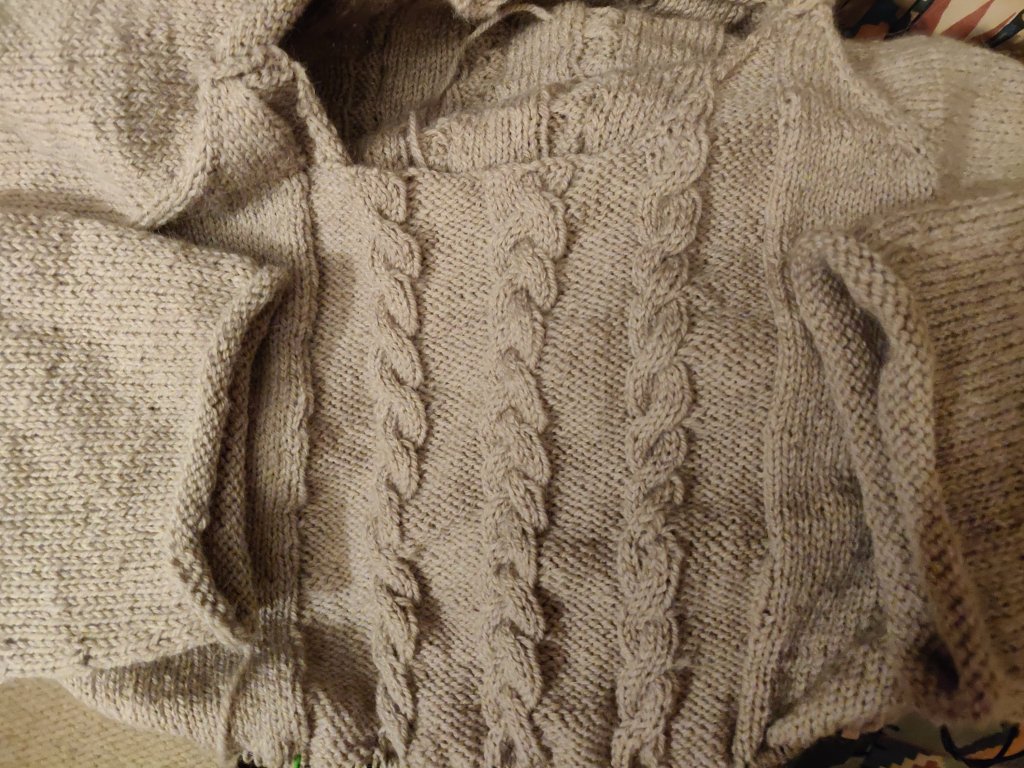
Update : OK, it’s now the end of December and I have completed both sleeves and am part way down the body. So far I’ve used one bag of yarn, (500g) and anticipate using another 200g, making the jumper quite heavy!
The body is slightly flared, just enough so that it’s not a straight tube shape. The increases are worked down where the side seam would be, and at the outer edge of the outer cables every 11th row.
The sleeves folded towards the front cables. The cuffs are knitted as rolled edges on 3.5mm needles for 8 rows.
Update January 2022
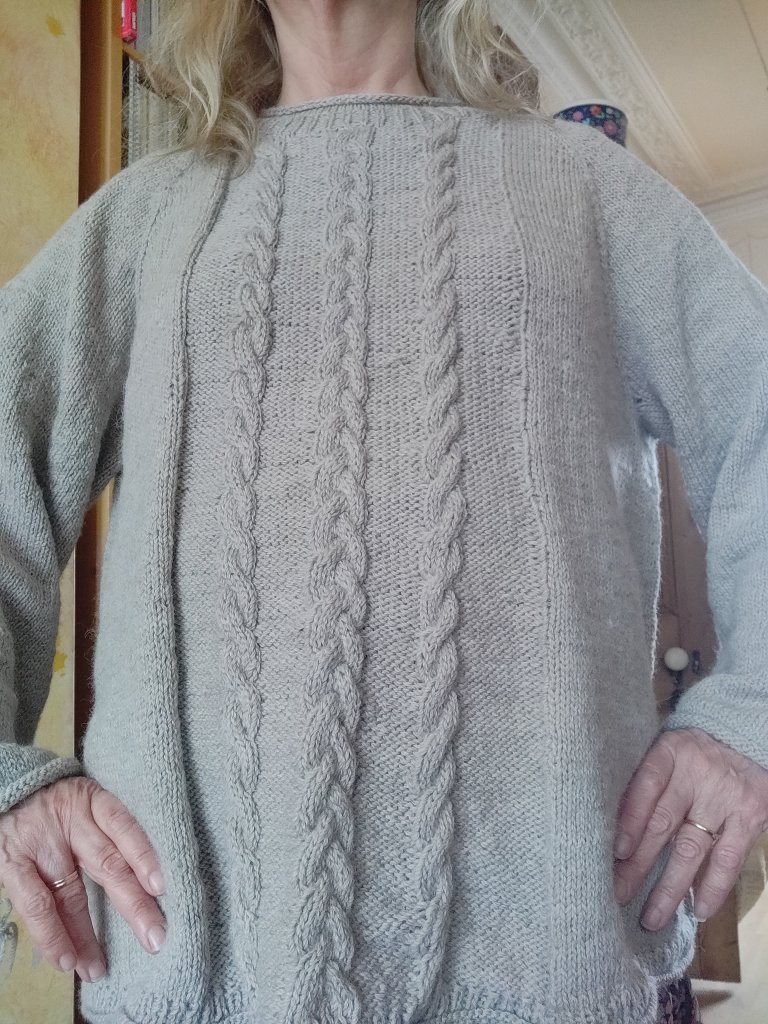
The jumper is now complete! First blocking fine, now test-wearing before sewing in the ends. Then I shall wash so that it matches the revision swatch and the stitches even out a bit more. Something I noticed whilst knitting was that although this is a lovely yarn it has a tendency to leave fine fibres on the needle so the stitches catch. At first I unpicked and reknitted some stitches, thinking I had miss-knitted the stitches and it took me a while to realise what was happening. Gentle tugging releases the fibres and opened the stitches, but from the tension swatch I can see that washing will even the knit out.
The neckband is a single rib with a rolled edge. The neck band was picked it up into the neckline so is integrally knitted which has a tendency to stretch on top-down sweaters. In the past I have sewn take along the back neck to stabilise the neckline, but Roxanne Richardson on her YouTube channel suggests making a line of crochet slip stitch along the back neck instead. She also suggests using this solution along raglan seams.
Because it’s knitted top down, seamless I’m going to watch the raglan ‘seams’ to make sure they doesn’t drop. If the jumper does start to drop I will also work a crochet slip stitch in the back of the seams to stabilise them.
I’m just hoping the weather stays cool so I can continue to wear my new jumper.
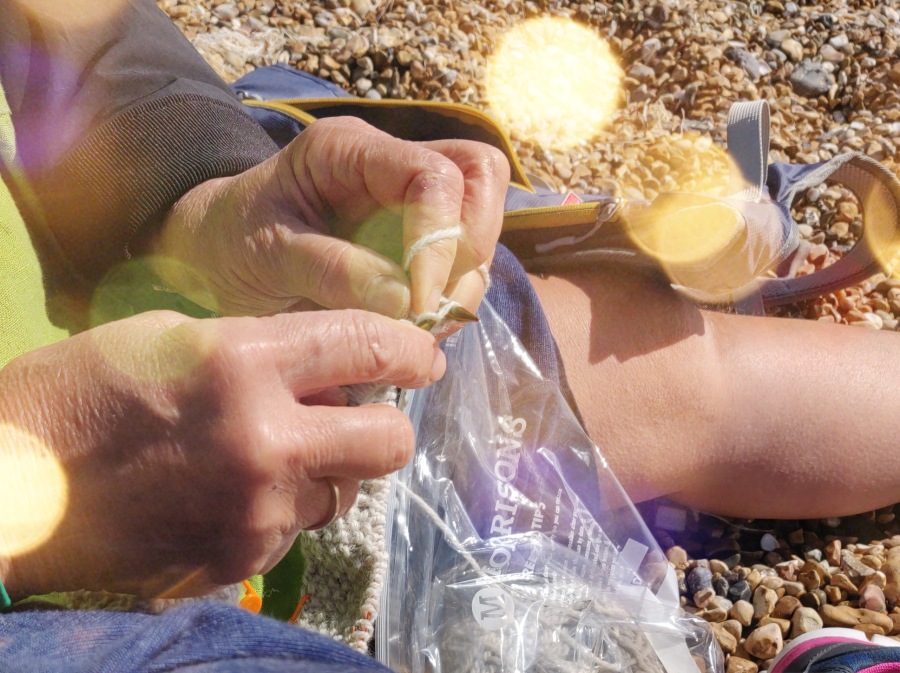
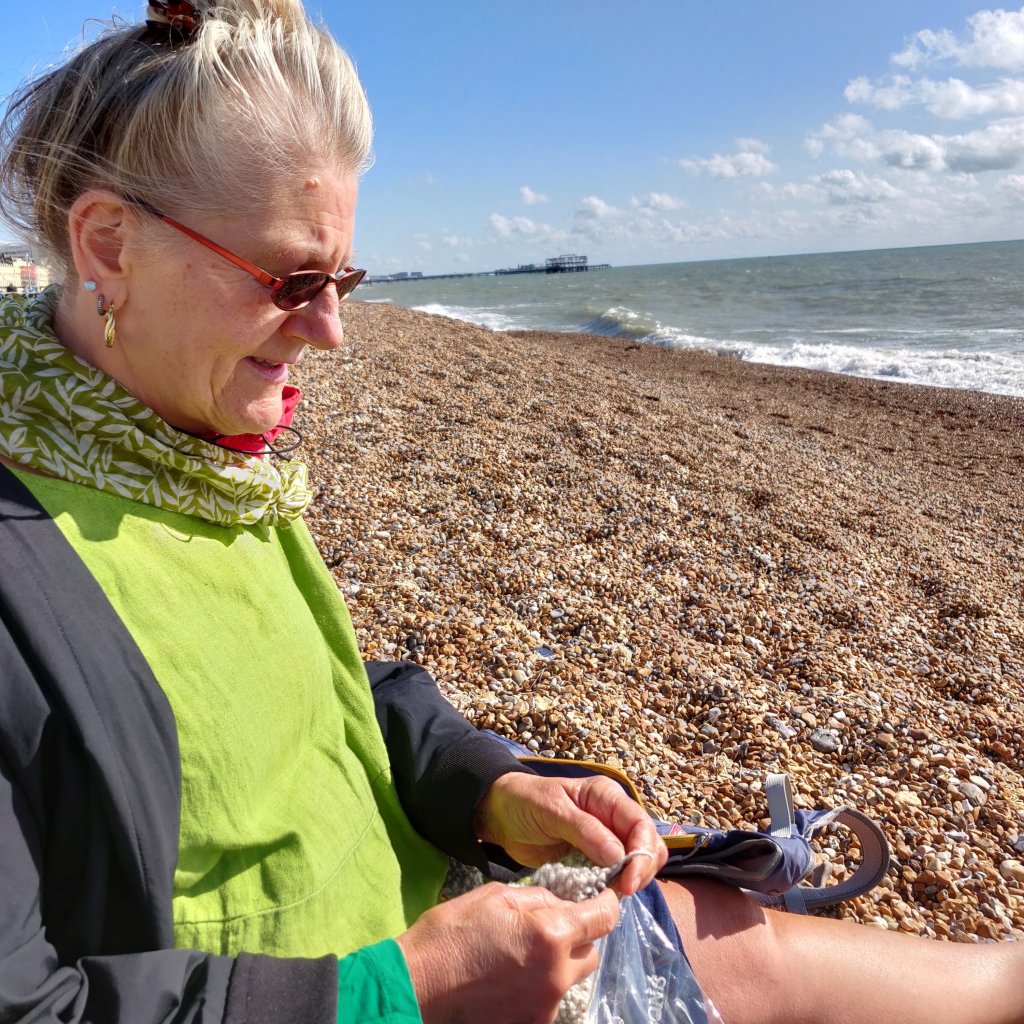
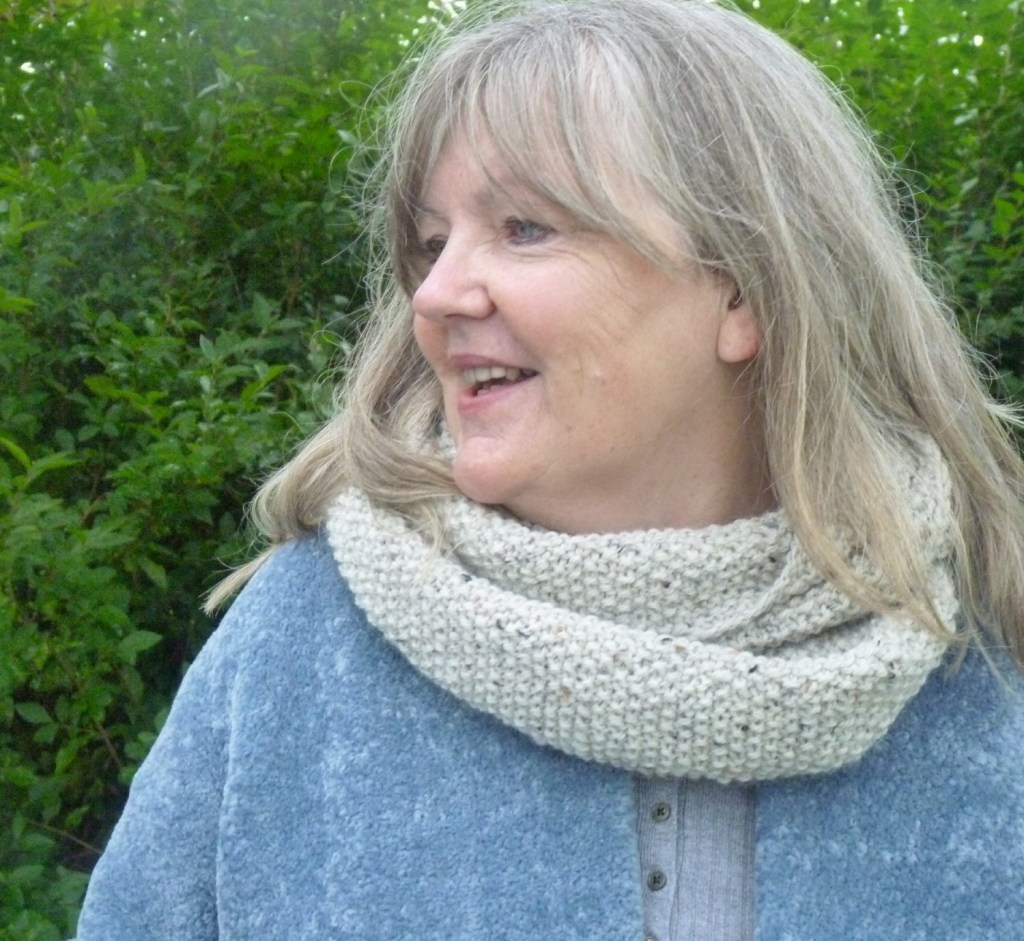
Today was the deadline for an Infinity Scarf pattern that I had been commissoned to write at short notice, you know the sort of thing that happens!
Anyway, as I’d only finished knitting it last night we had to do the photoshoot today, even though it was raining and grey. So we set off with a collection of coloured umberellas, plastic bags for camera stuff and my nifty, home made, shower-cap camera raincover! Luckily I had been clearing out the bathroom cupboard yesterday and unearthed a bundle of those freebie ones from hotels. I knew they would be useful some day. The other thing they are great for is proving bread, but I digress…
Finding a model at short notice was not easy, but my lovely friend Jo came up trumps, and offered to stand in the rain before shooting off to see her Mum.
It was fun anyway, because I love photoshoots; seeing your knit design come to life on a person is so rewarding.
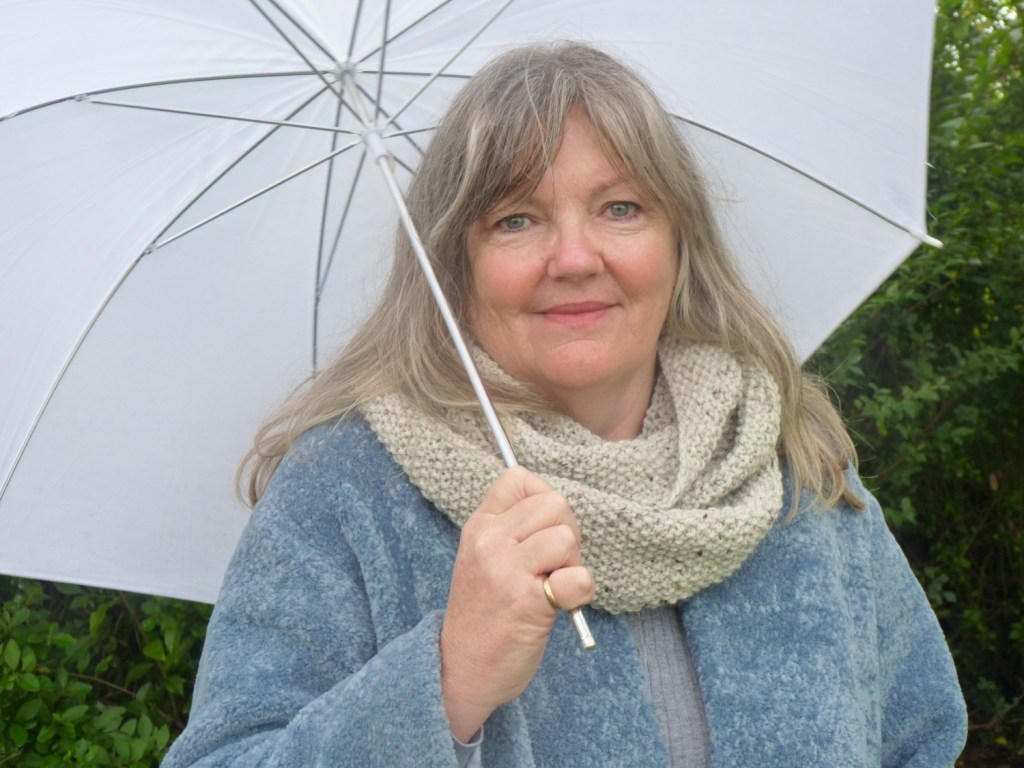
As always there were loads and loads of shots to sift through, but it was well worth braving the rain for such a nice photo.
you can never have enough umbrellas
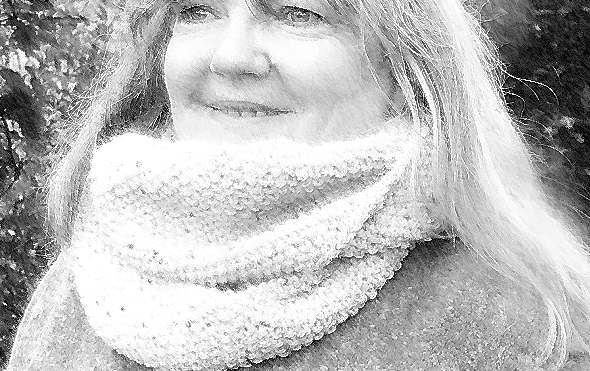
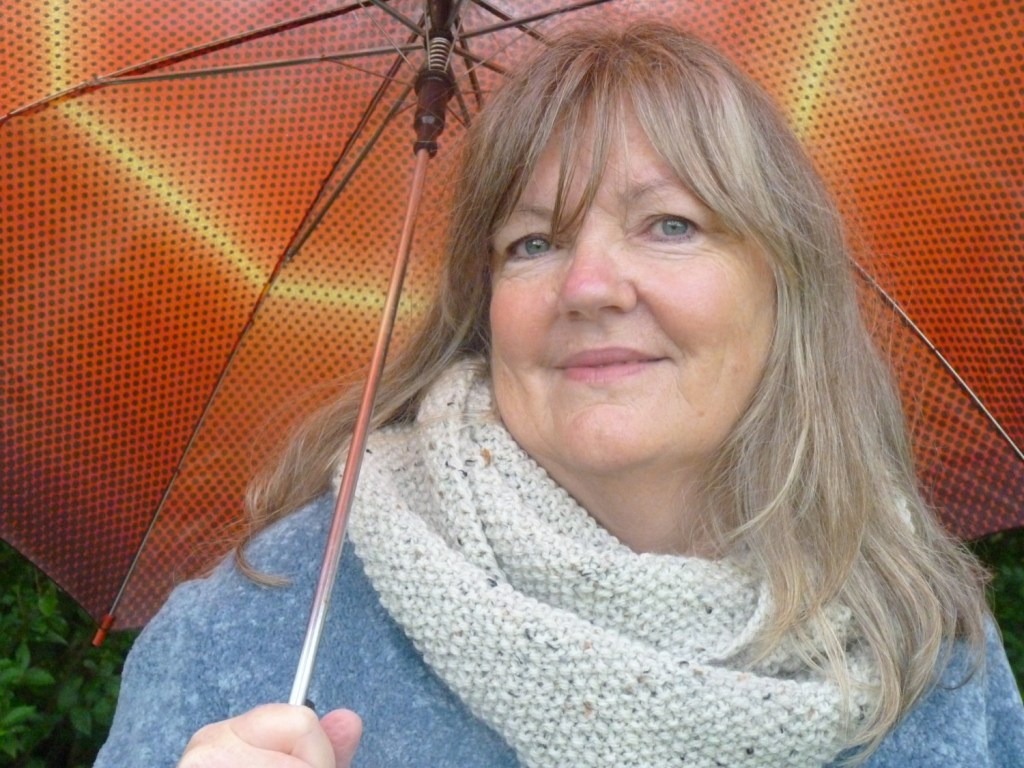
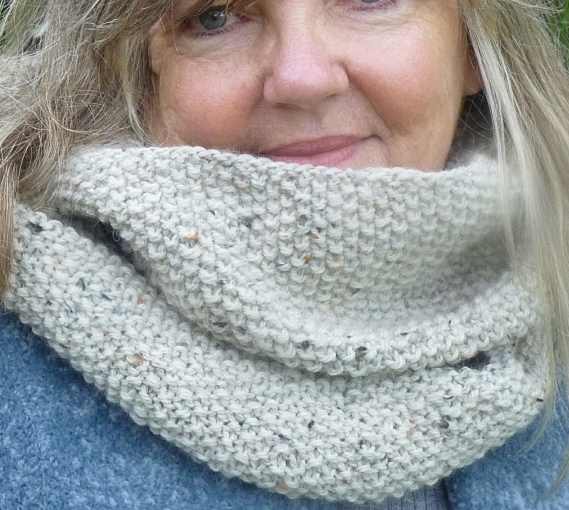
I will be releasing the pattern on this website once it has been published later on in the Autumn so do drop back if you would like to knit the scarf. There will be a page for the Infinity Scarf with the pattern, hints and tips on working the pattern, and tutorials for the various knitting techniques used. Techniques used in the pattern, including a great stretchy cast on, are also featured in my popular knitting ‘bible’, The Knitting Book.
…and here is the final image I selected, and I’m pretty pleased with the result!
Thanks once again to Jo for her stoicism and humour.
I came across this review of my book, ‘Translating Between Hand and Machine Knitting’, and would like to share some of it with you.
“This book needs to be on every machine knitter’s manuals shelf, in pride of place, no matter if you use Silver Reed or Brother!”
“Where was this book when I was desperately trying to learn how to design lace/translate lace cards between Brother and Silver Reed?!?!”
This book is absolutely essential equipment as far as I am concerned!
The pictures will blow you away and they only get better.
The details are absolutely in depth and extremely easy to understand with stupendously clear focused pin-pointed and highlighted photography and exemplary diagrams that compare every aspect of stitches, fabric, mechanics, of hand and machine knitting.
It isn’t a how-to… it compares them and shows some GREAT visuals of them on and off the needles. Refer to your manual for specifics on how-to cast-on and cast-off. Basically, this book compiled most of the answers to questions I have asked in the past, questions I have hunted down answers to, and questions that I hadn’t even thought to ask. It is utterly fantastic.
Buy it! Buy it NOW!
I can not say enough how much you need this book! How much I needed this book… now if I can just convince her to write one on Passap…
No! I have no affiliation with the author… I wish I could say I know her.’
About ‘Translating Between Hand and Machine Knitting’.
‘An outstanding read’
‘Here’s a new hardback book that’s packed with all the information a machine or hand knitter would wish to find.’
‘You’ll have no regrets, as this will be your best ever buy as a machine or hand knitter.’(Guild of Machine Knitters newsletter February 2019)
‘Vikki Haffenden outlines the necessary knowledge, especially of stitch construction – the basic necessity for knitting by all methods’.
‘Throughout the book the author uses very clear diagrams and photographs to explain stitch patterns, techniques and equipment’. (Annec Cartwright in Slipknot, newsletter of the Knitting and Crochet Guild, June 2019)
‘I cannot tell you how much I adore this book’
‘Thanks to your work my eyes are open to the possibiliites of working on fresh and modern projects without having a background in fashion or textiles’ (Turtlemelon crafts, via Instagram)


 About ‘Translating Between Hand and Machine Knitting’.