
Before dyeing yarn in any way you will need to put it up into hanks.

Dyeing yarn in a hank, (rather than a ball) ensures that the colour can reach every strand, and inserting ‘leases’ in the hank prevents tangling and makes unwinding it a far more pleasant experience. The finer the yarn, or bigger the hank, the more leases I add. That’s because I have horrible memories of trying to untangle hanks of very fine yarn that had been dyed without adding enough separating leases. The only option in some cases is to cut into the threads, or to throw away what you can’t salvage. Which is pretty heart-breaking after spending so much time and energy prepping and dyeing the yarn. Not to mention the cost of the yarn.
I thought it might be useful to go through the steps required for making a hank.
I’m going to discuss two alternative tools which make the process easy, but a straight chair back, or a willing pair of arms can also be used.
Using a Niddy-Noddy
The first tool is a ‘Niddy Noddy’; mine is a sample size and makes hanks of about a half a metre length. Bigger versions are available for working with larger quantities of yarn. With a hack saw and a tape measure you can make your own using plastic 20mm piping from B&Q. Take a look online, there are several tutorials for this.

Start by loosely tying the end of the yarn around the centre pole of the Niddy-Noddy. Hold the Niddy-Noddy with the central pole upright. Then take the yarn under one of the end bars and up to bar on the other end. Take it over this bar, and down and under the opposite end of the first bar to where you started. Continue to make the same circuit until either the hank is thick enough, or you run out yarn.
Undo the loose knot from the central pole. Holding both ends of the yarn wrap them around each other, take one end around the hank, bring it back to the front and keeping the loop around the yarn loose, tie the ends together with a firm knot.
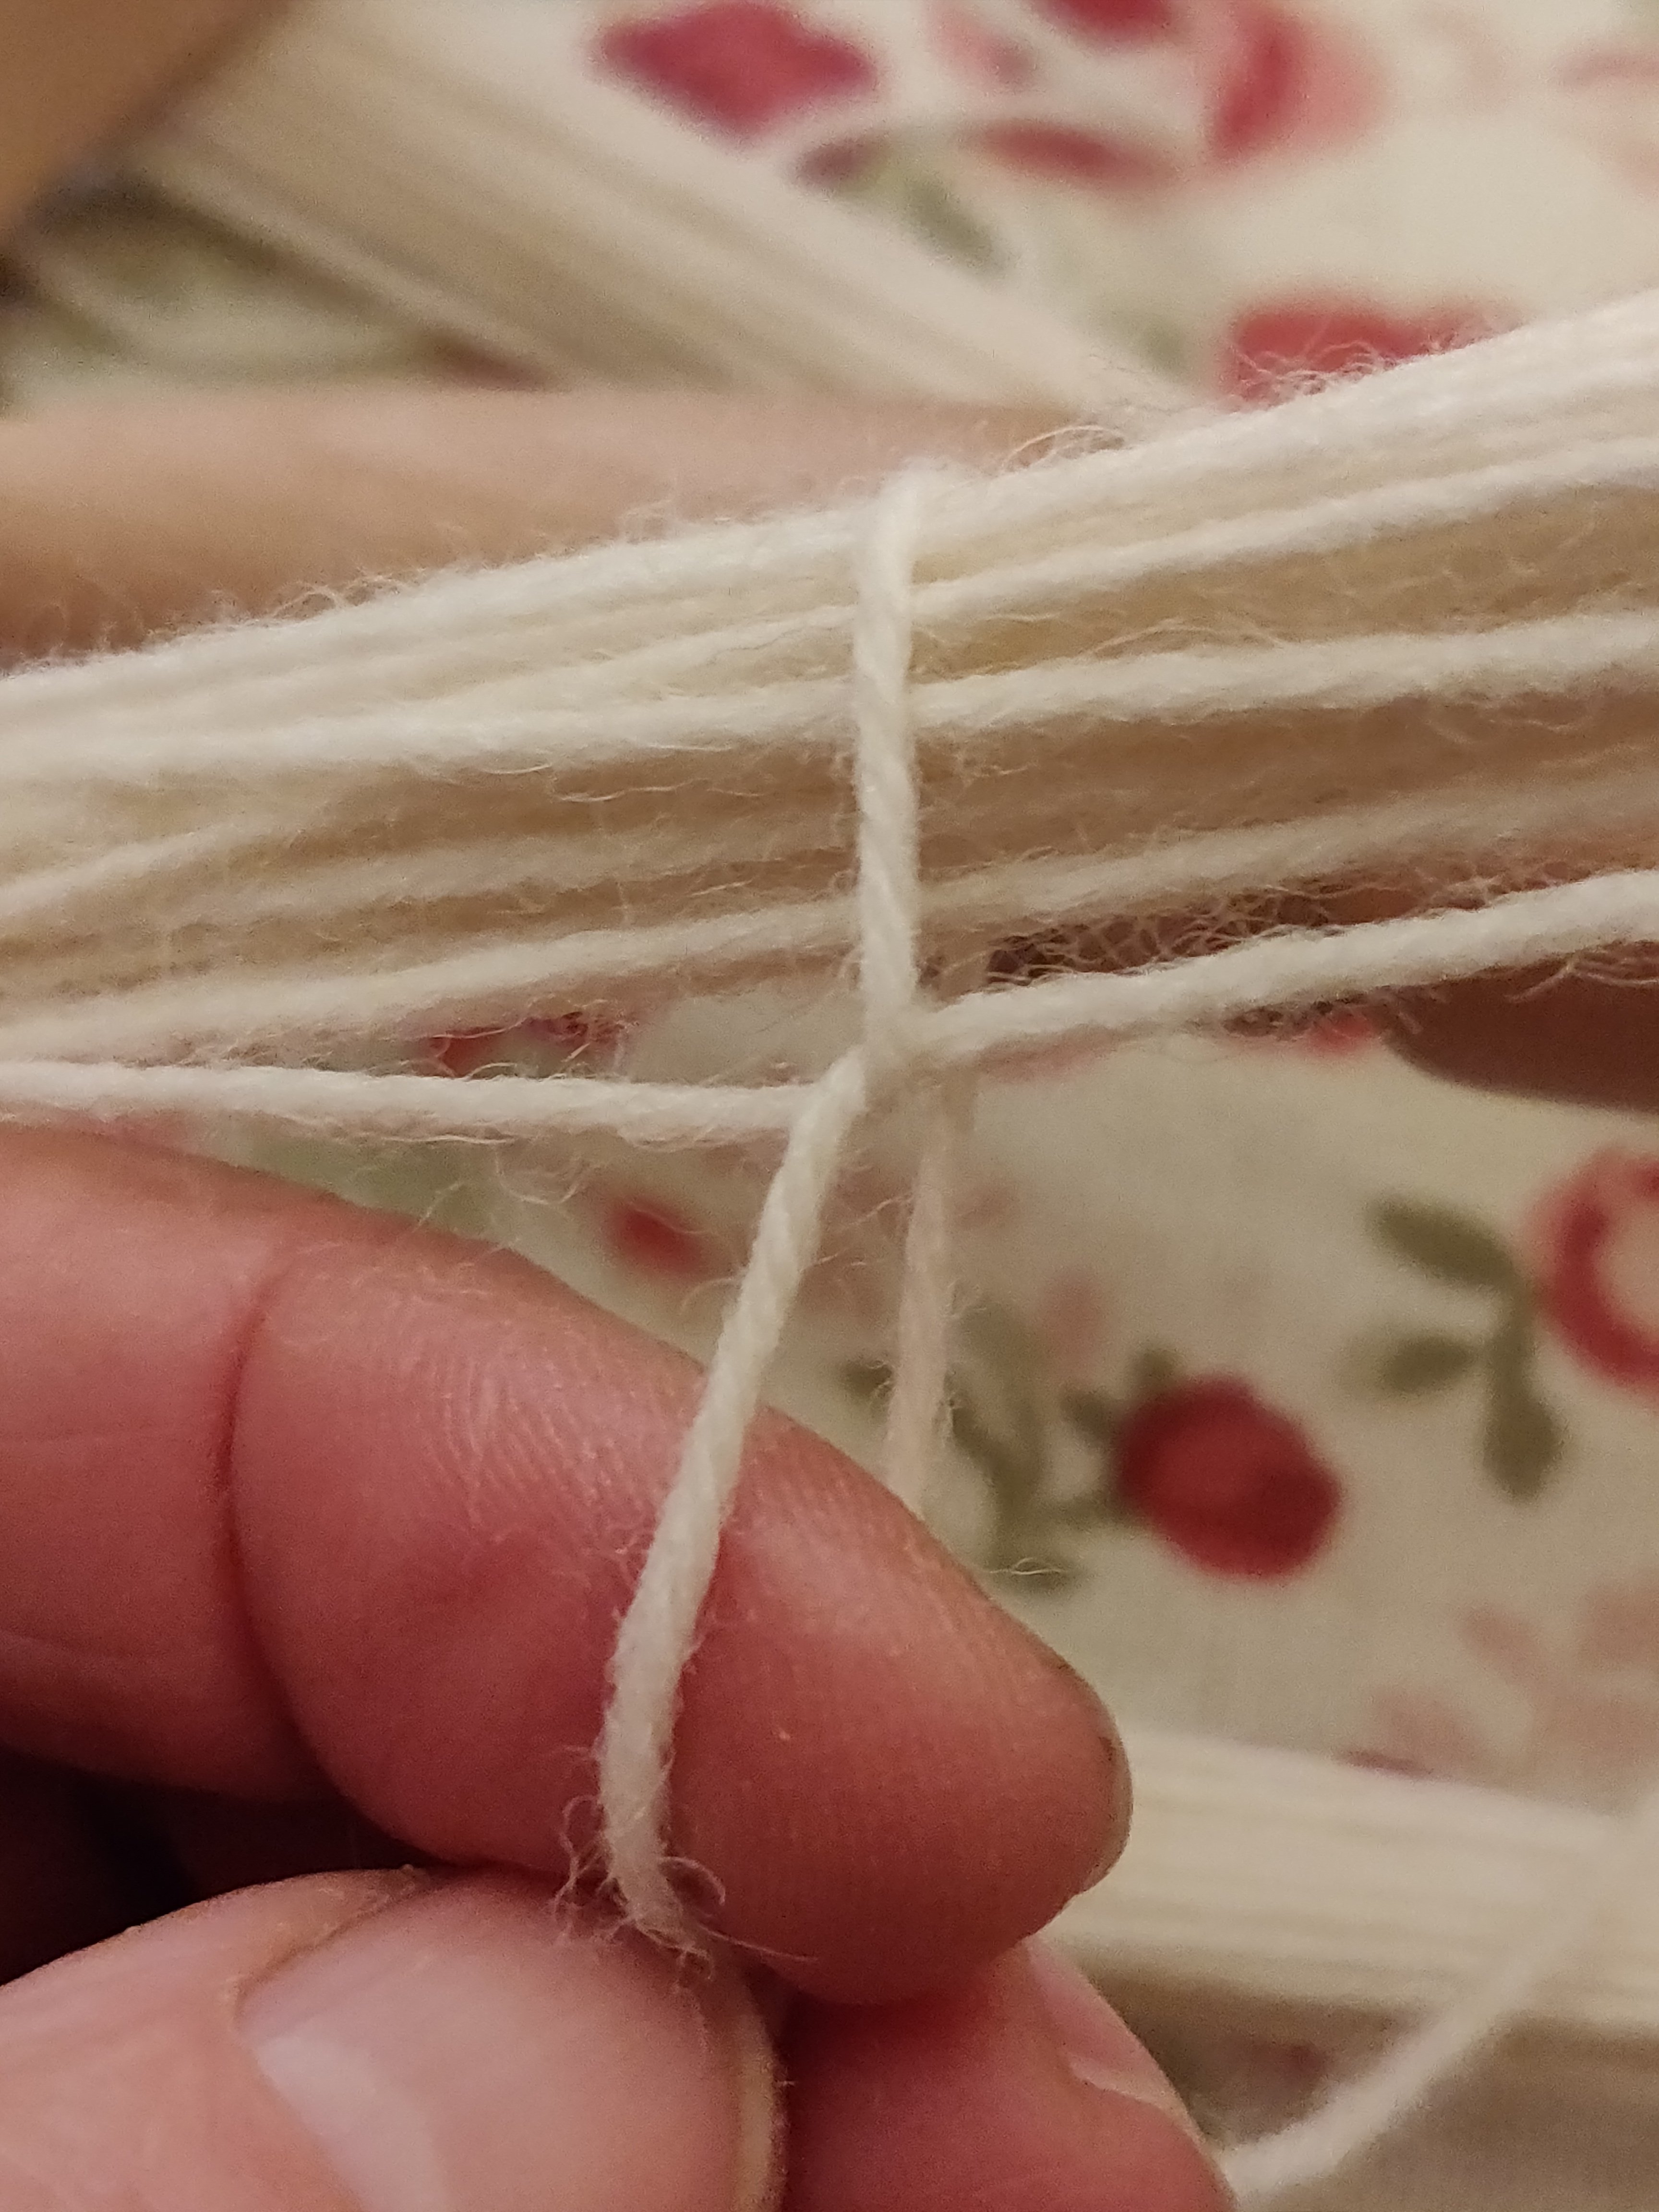
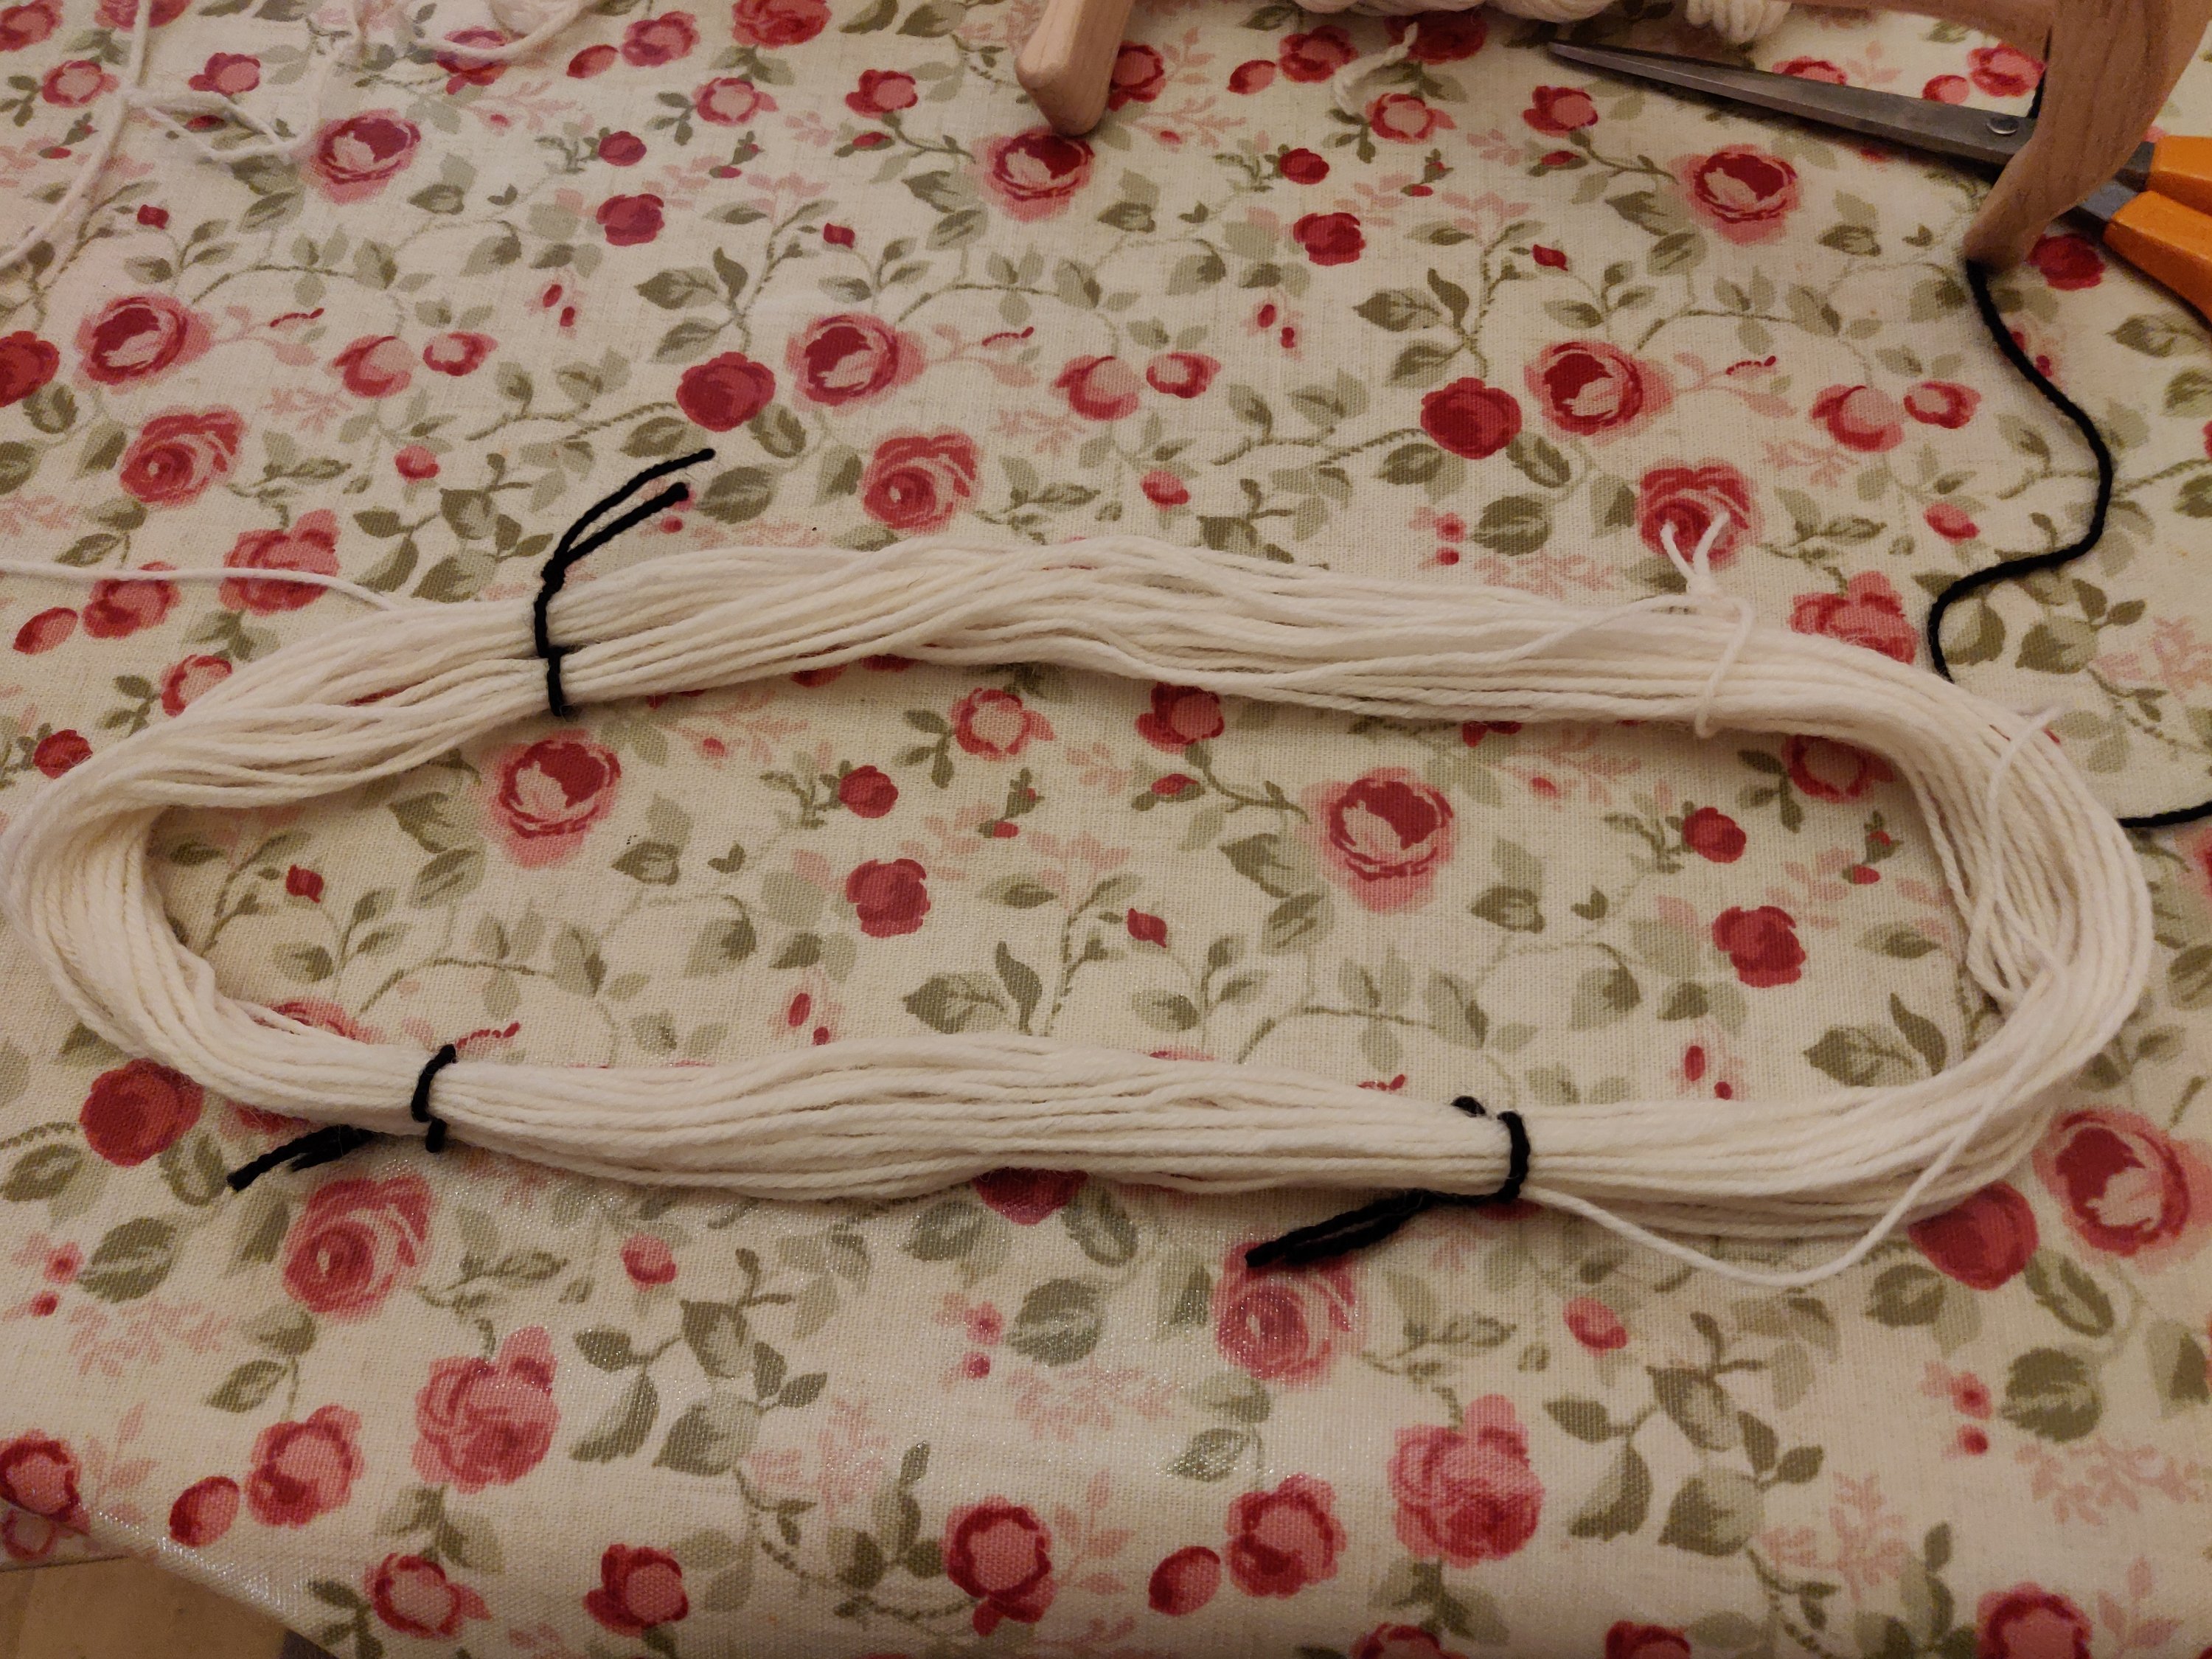
For sample hanks I usually add three leases, as follows. Cut three lengths of spare yarn. These should each be long enough to wrap about four times around the strands of yarn in the hank. Mine were approximately 15cm. Choose a white or ecru yarn for this, or one that you know is colour fast. Even if you’re not going to dye the hanks, be careful as coloured yarns may transfer fibres and colour onto pale yarns.
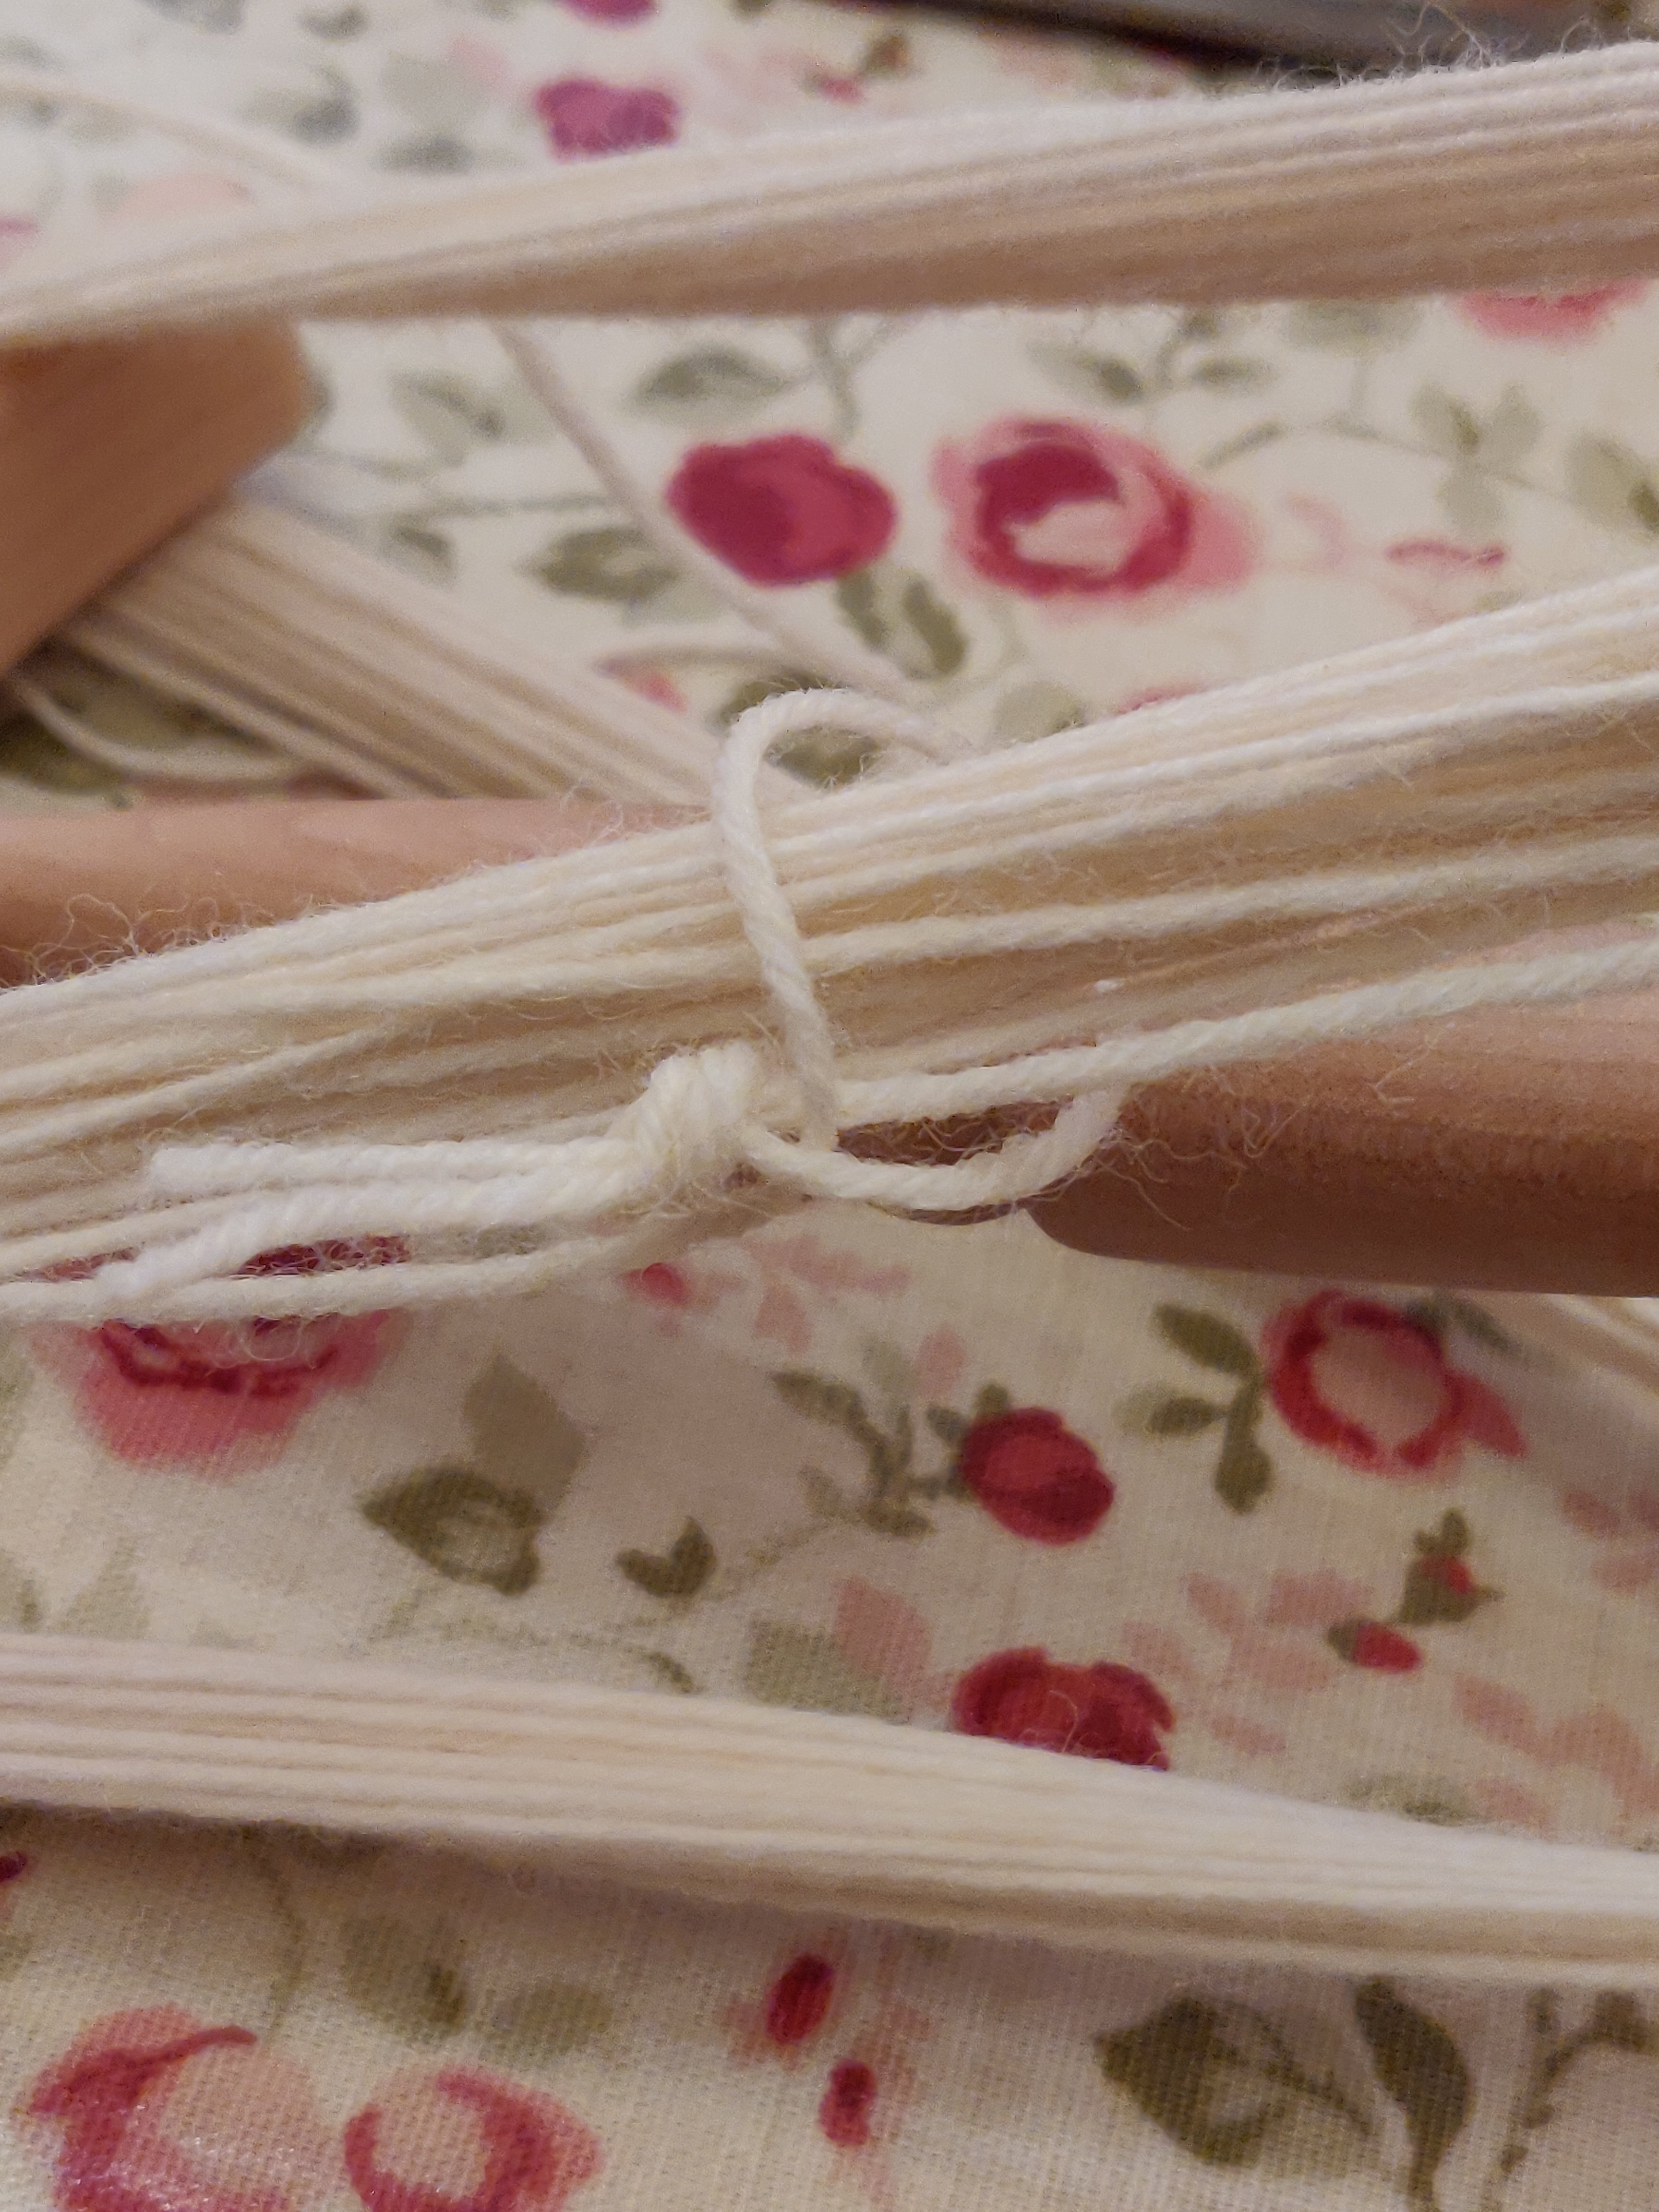
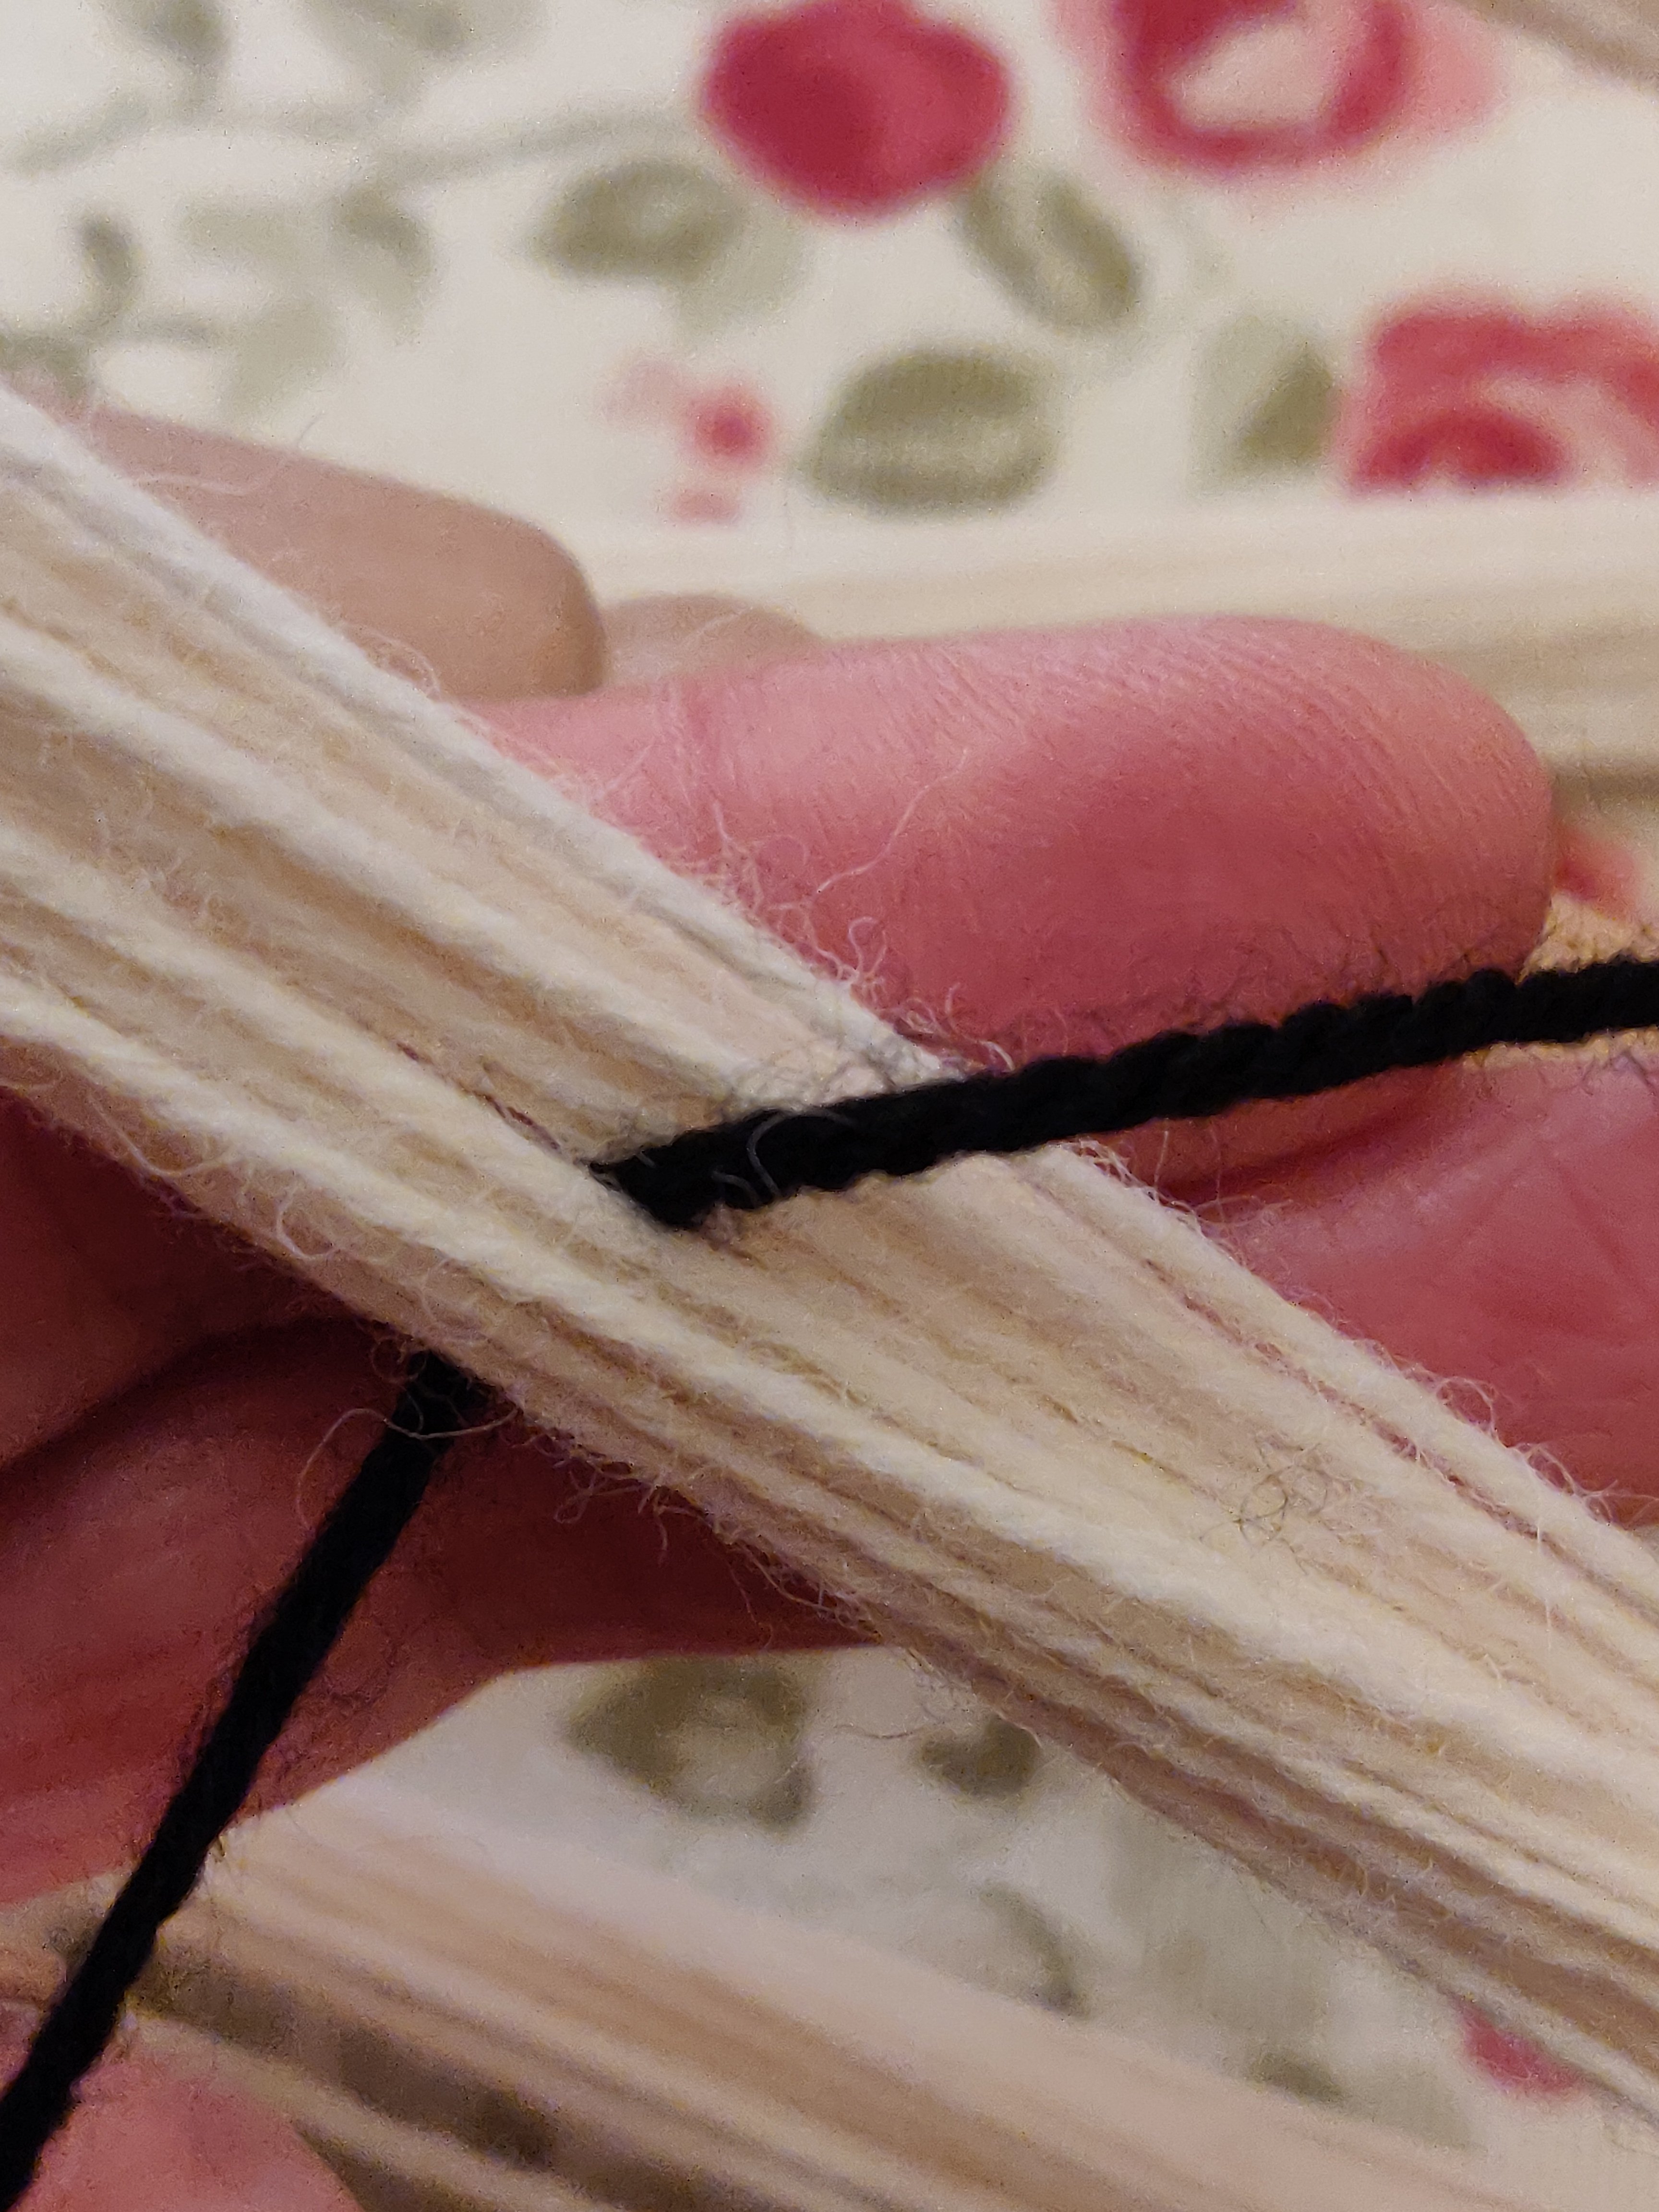
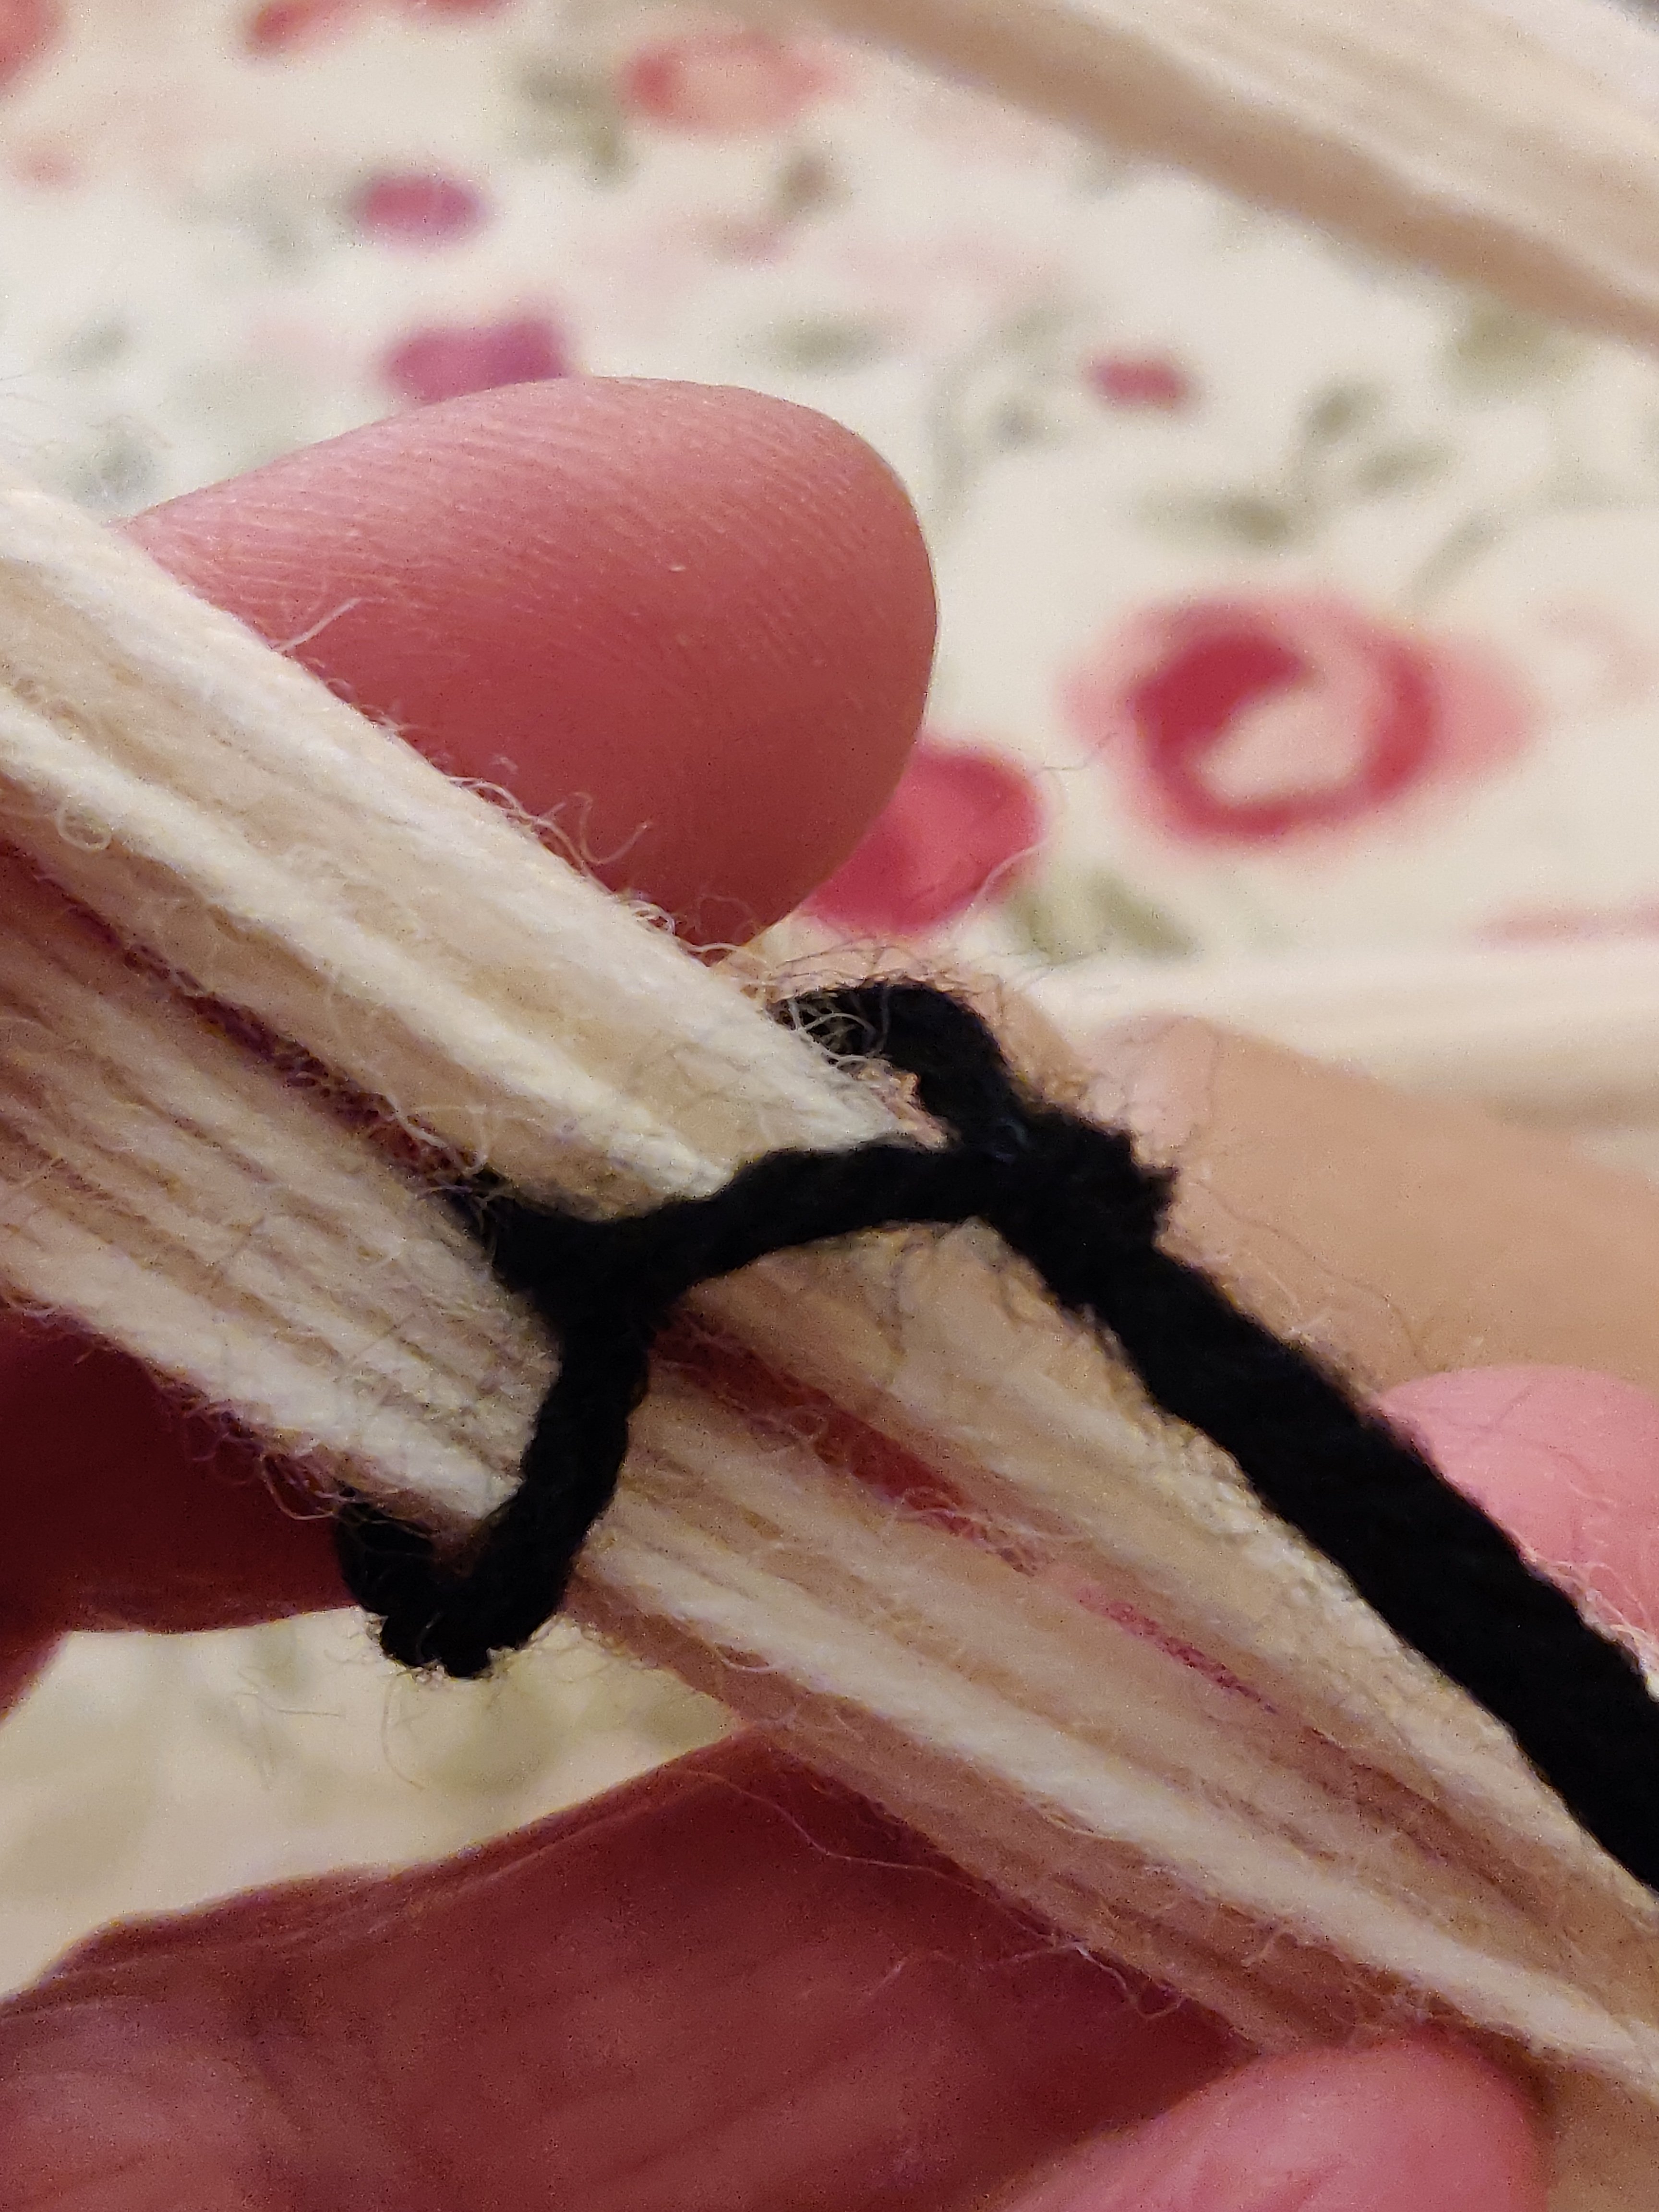
Working on the long stretches of the hank divide the hank threads in half. Thread the short length of yarn around the hank yarns in a figure of eight and then tie the ends together making sure the figure of eight is only loosely holding the yarns together. If you pull the figure of eight too tightly around the hanked yarns it will prevent them taking up the colour fully.
Repeat this twice more, spacing the leases evenly around the hank. Once all three leases are in place you can remove the hank from the Niddy-Noddy and twist it for storage.
Using a swift
Making a hank is pretty much the same on a swift as on a Niddy-Noddy, but the advantage of swifts is that they are usually adjustable so short or long hanks can all be wound on one swift.
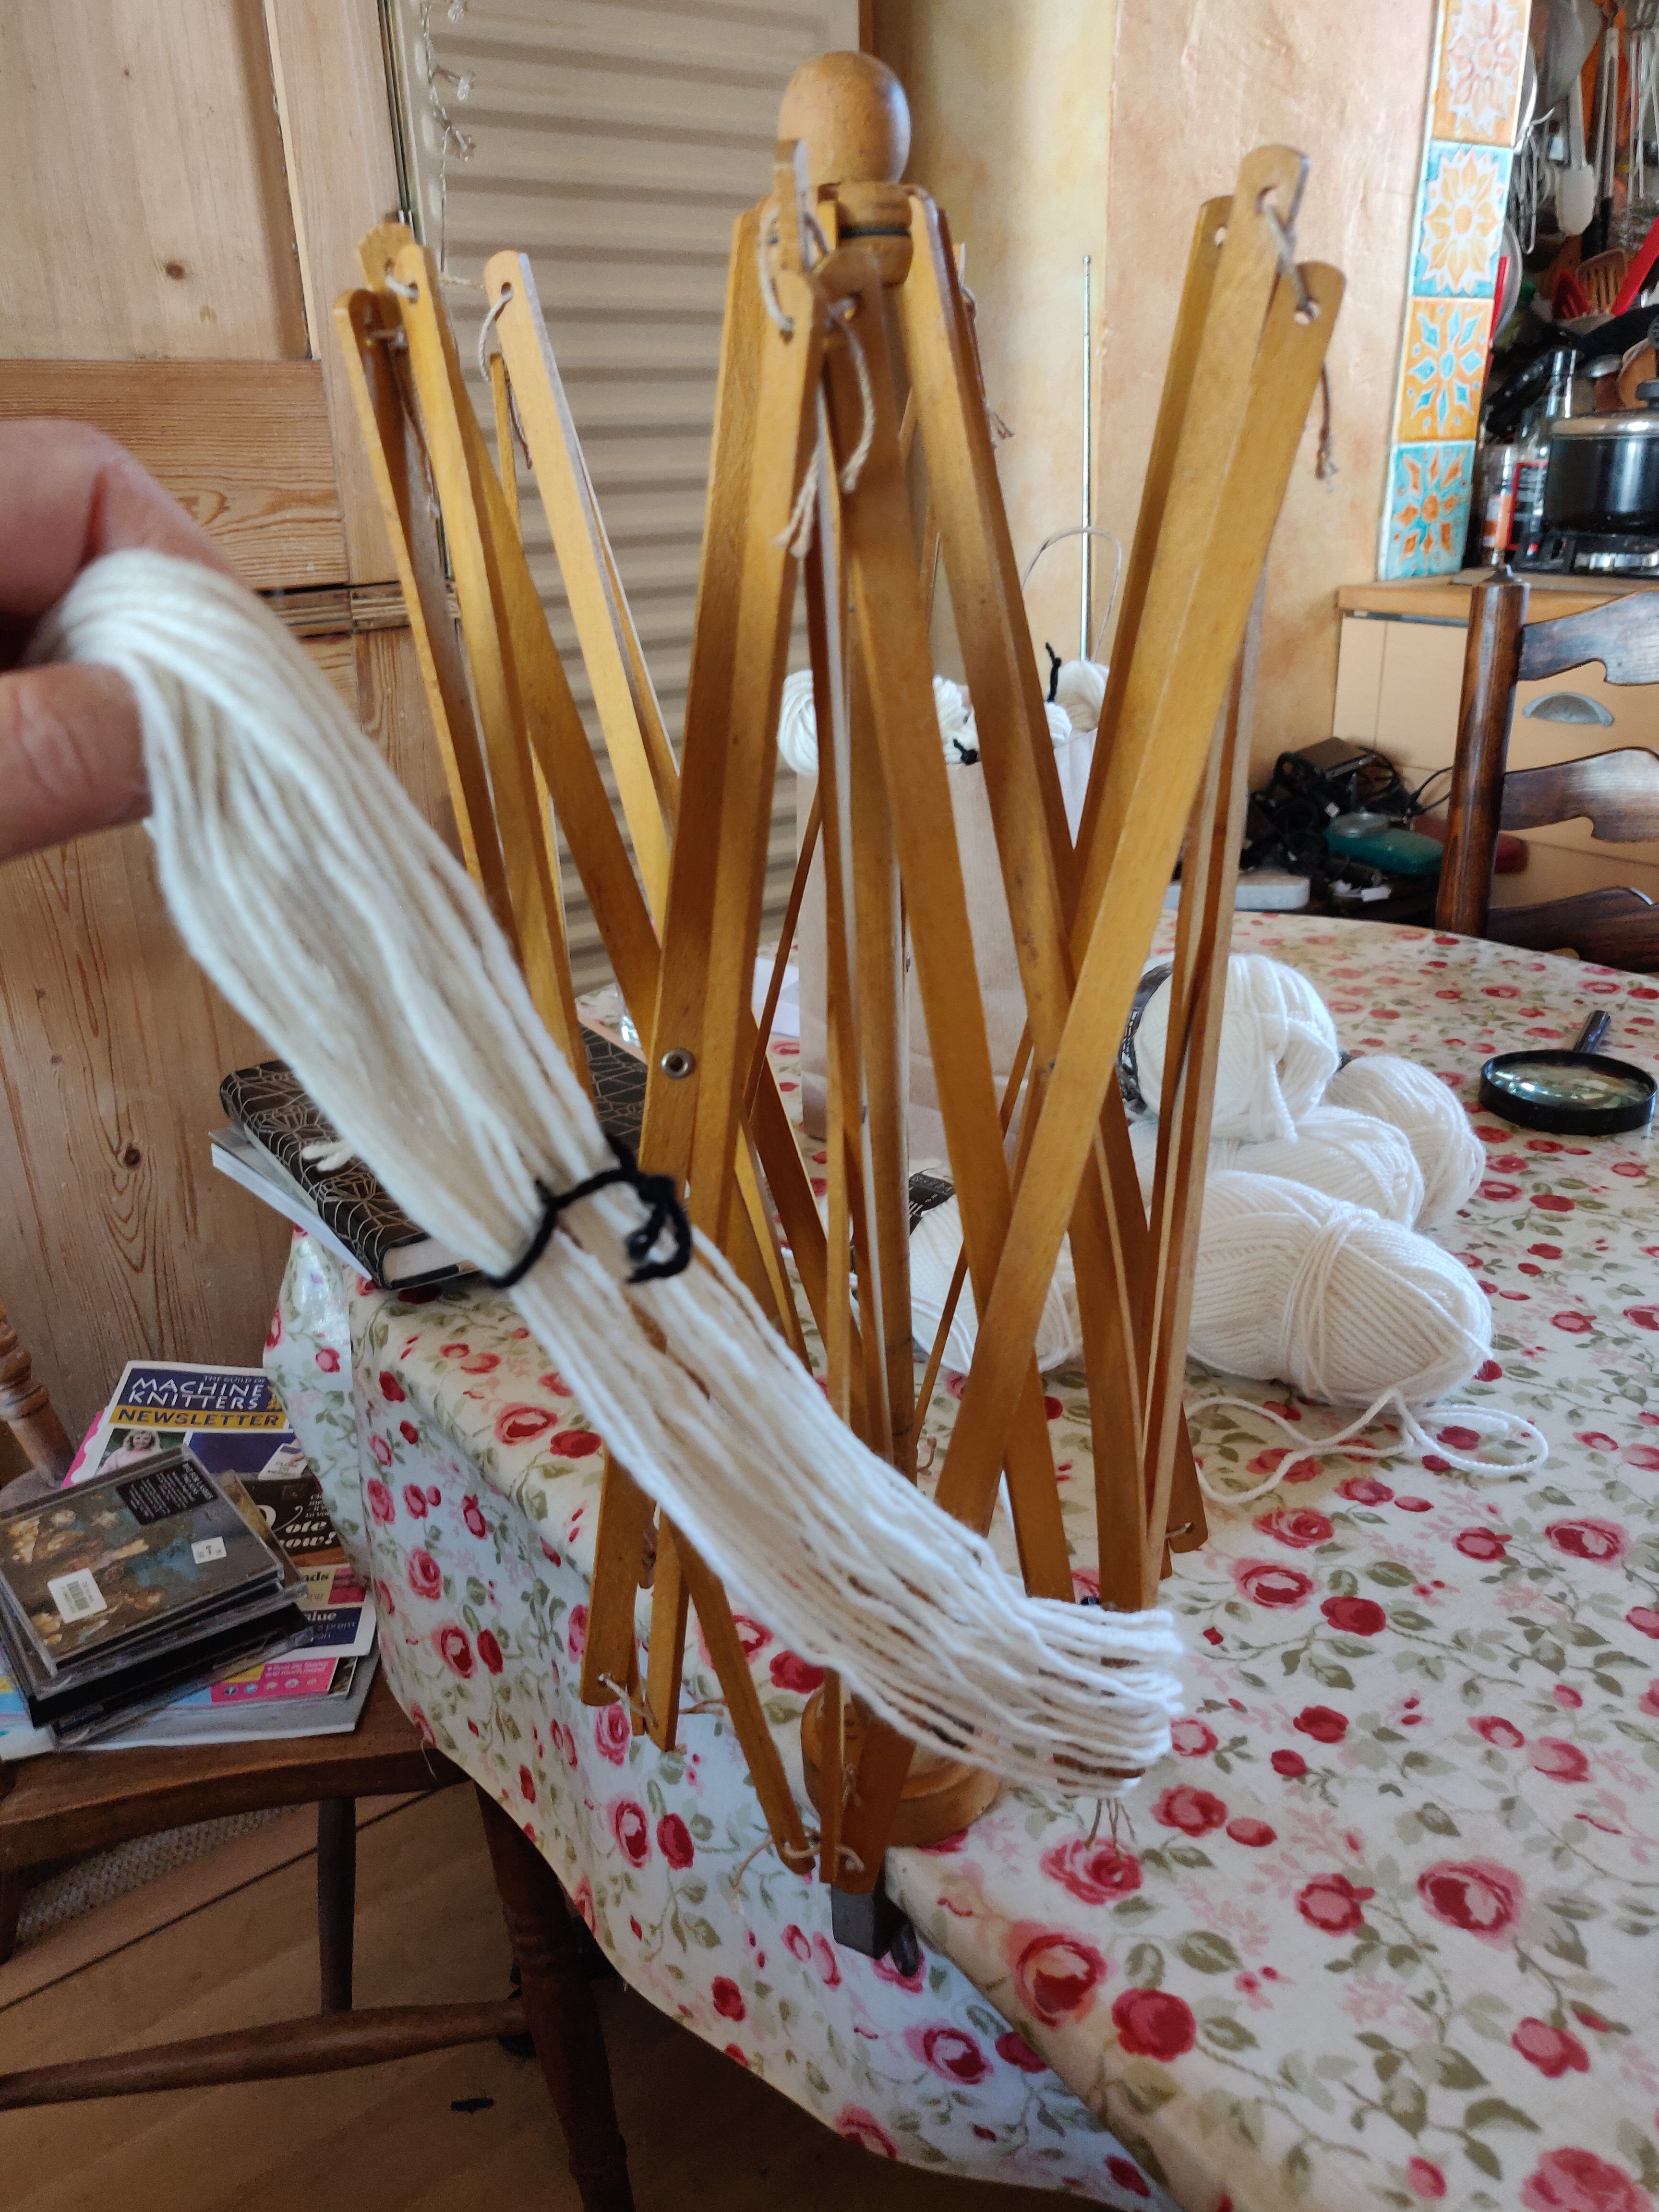
A swift is particularly useful for unwinding the hanks into workable balls after dyeing the yarn.
Swifts can be made of plastic, wood or metal or combinations of these materials and the ‘umbrella’ type are usually collapsible, but need to be attached to a table with a clamp. Some have a handle on the top to wind the arms around, whilst others are propelled by your hand pushing on the arms. I have a ‘squirrel cage’ swift, which is free-standing and has three drums mounted between uprights. You put the hank over two drums, stretching it out so that the strands are taut, and cut the leases. When you pull the yarn end this rolls the drums around and the yarn unwinds under its own momentum as you wind the ball.
The following steps are shown using an umbrella swift.
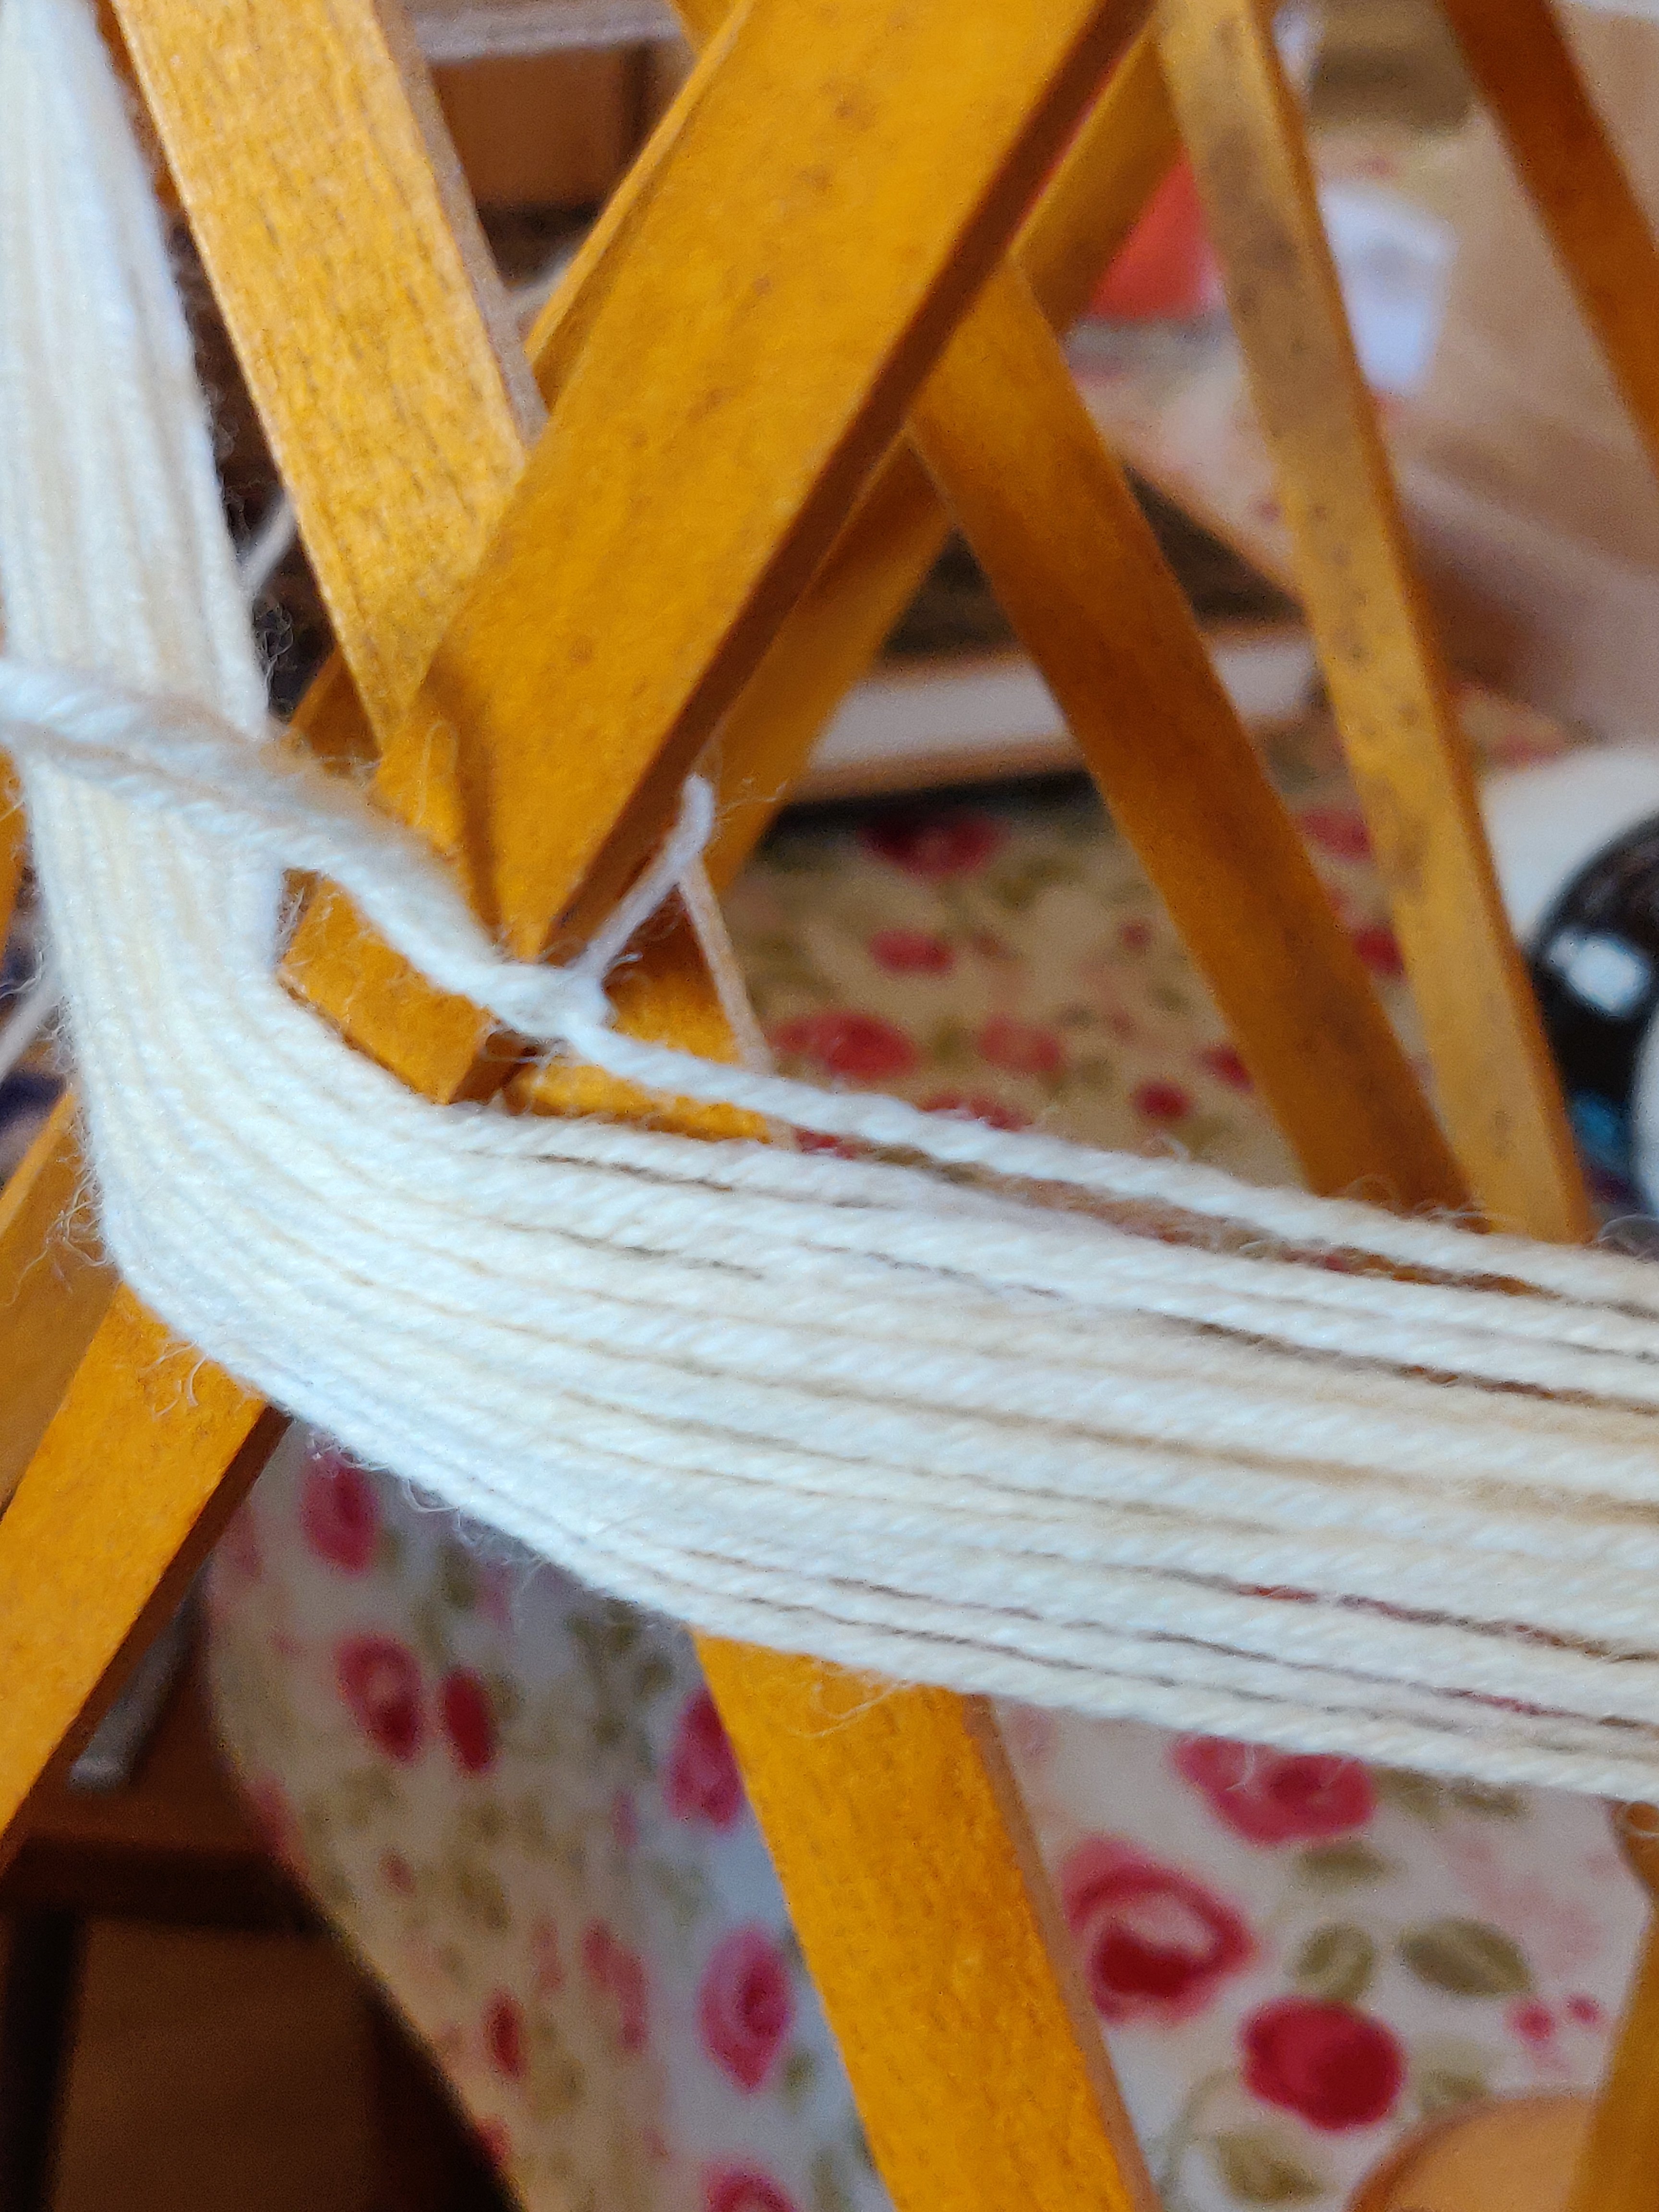
Adjust the swift to provide the circumference equal to the hank length you want. Secure the yarn to one of the arms before you start, and then swing the swift around to quickly wind the yarn into a hank. Tie at least three leases as described in the Niddy-Noddy method above.
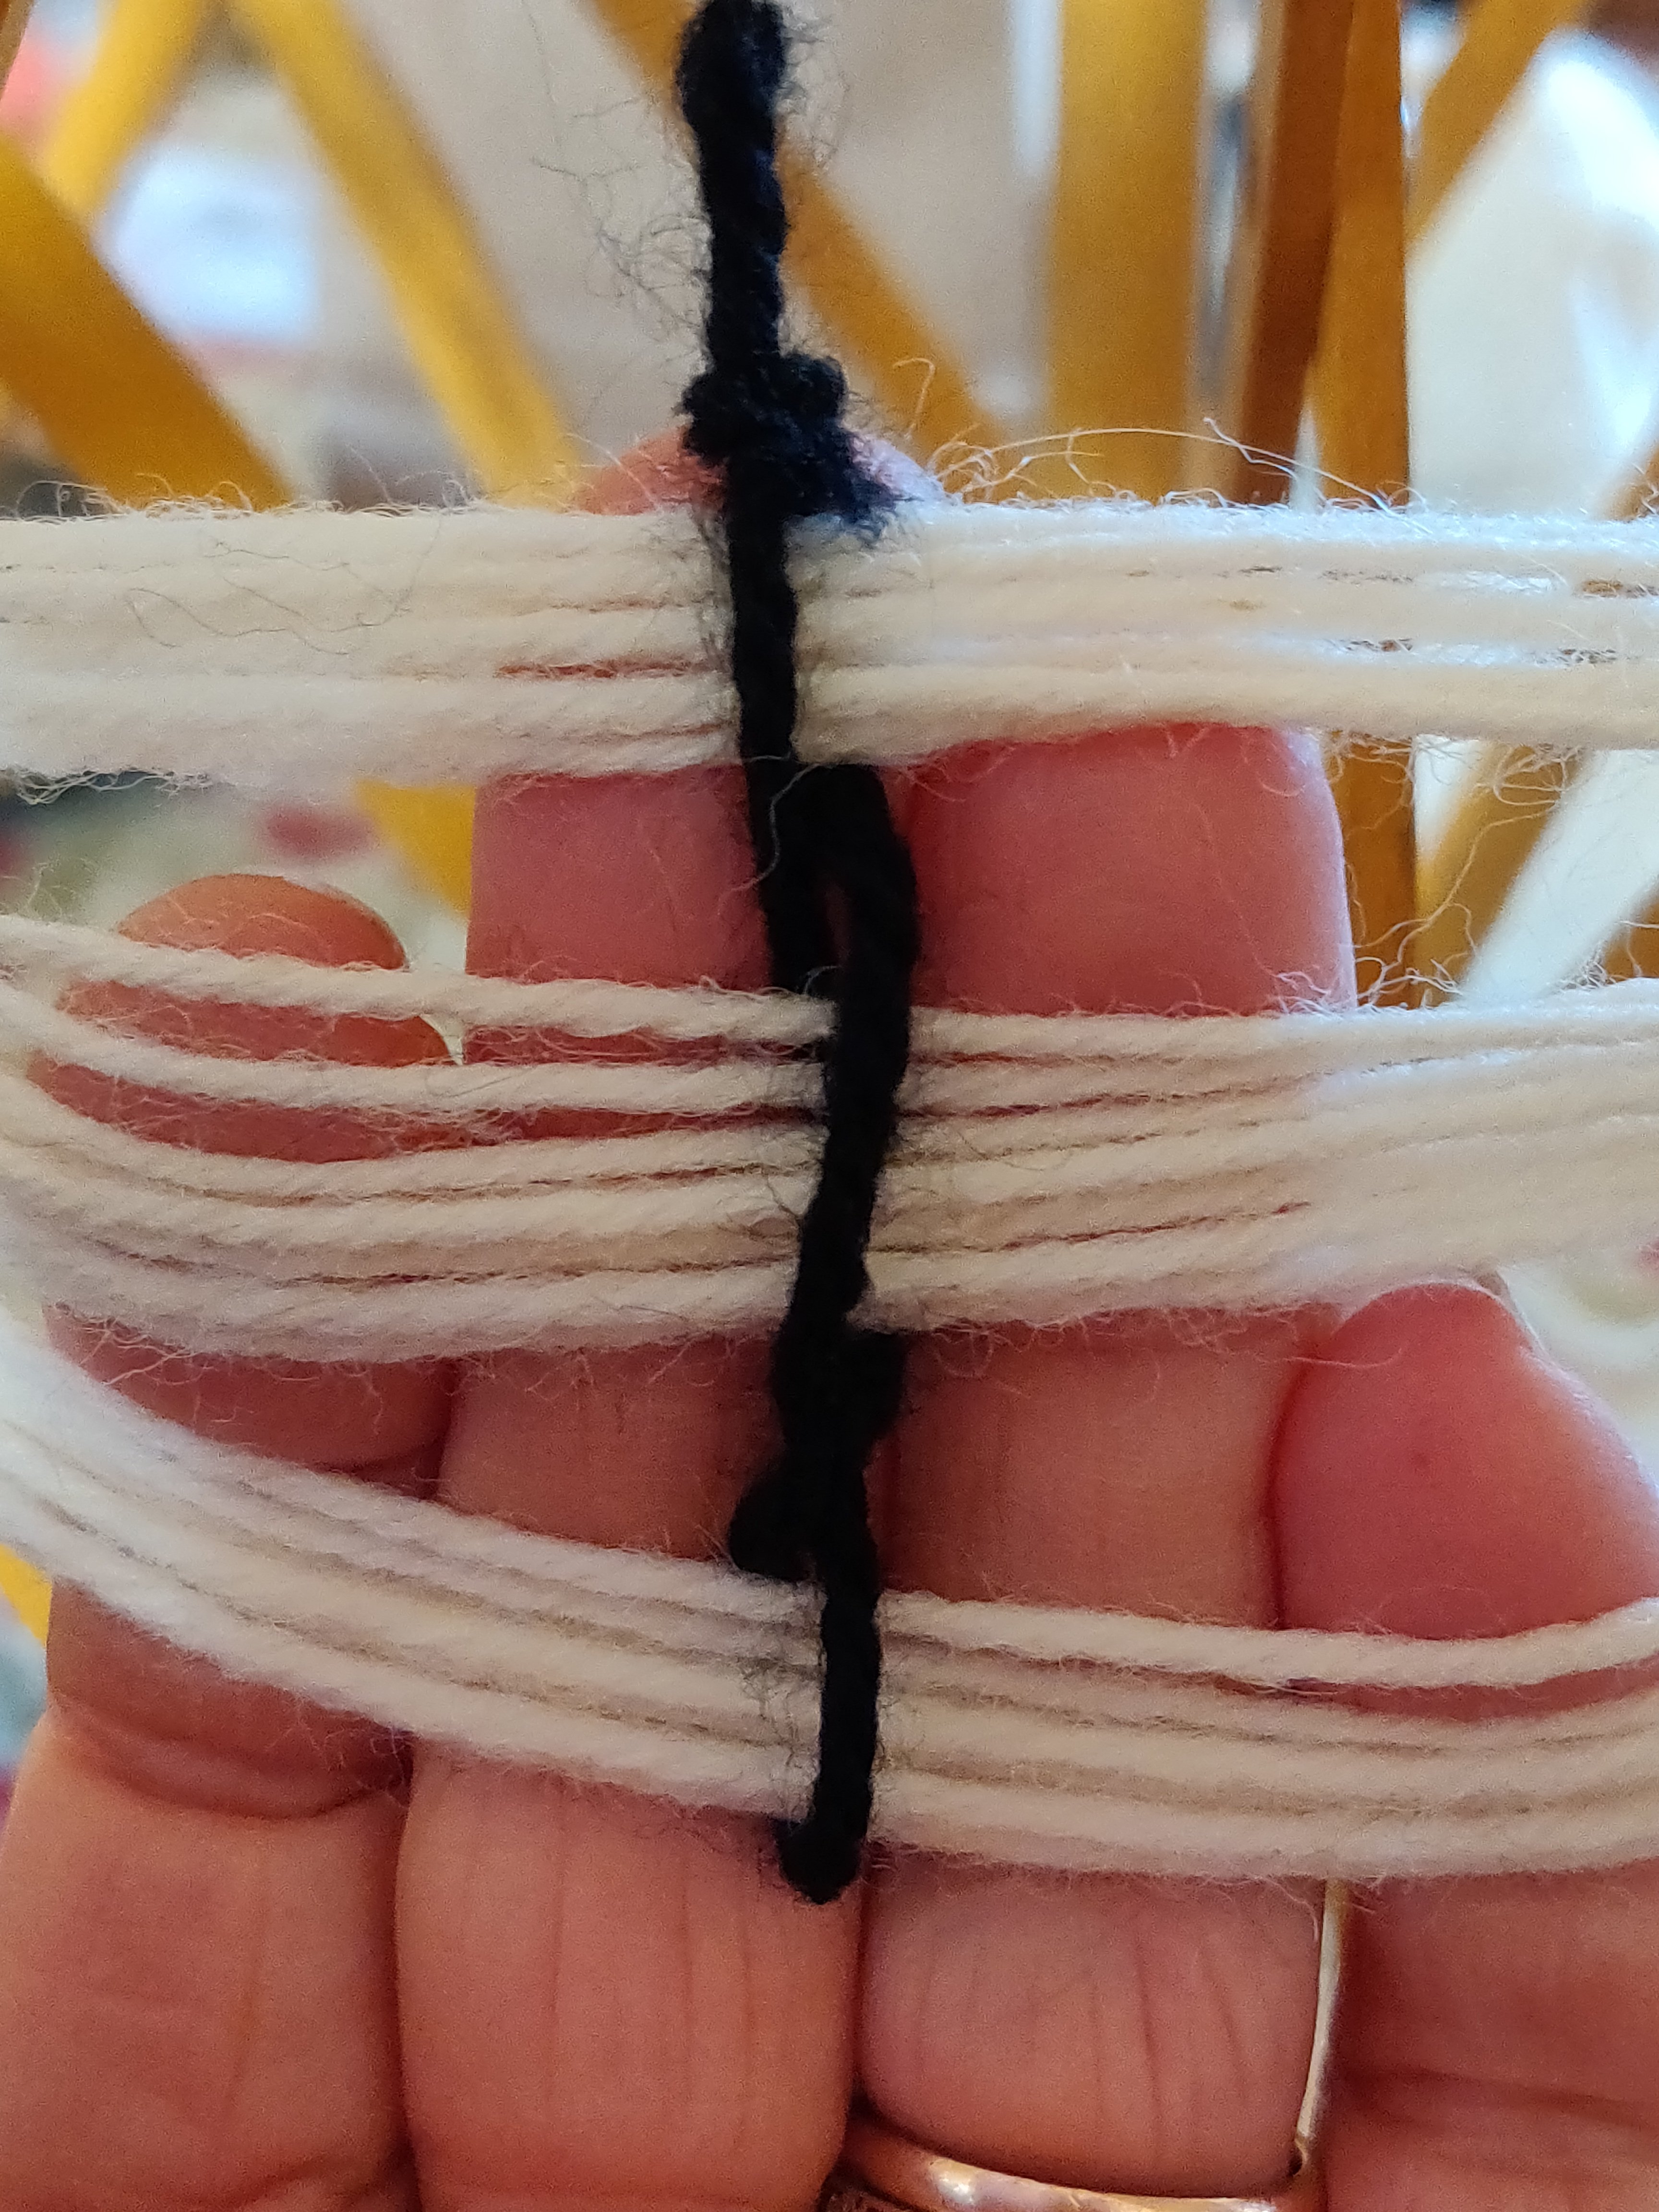
One last thing. If you are making thick hanks, or using very fine yarns, add additional loops to the figure of eight leases, so that they pass through the the threads three, or even four times.
Having said all that, you don’t need any of these contraptions to wind a hank. A straight backed chair can be put to use by winding the hank around the back and sample hanks can be wound around a ‘coffee table’ sized book. If nothing else is to hand (or you’ve left the tool upstairs and its a lazy moment) you can even wind a small hank by taking the yarn between thumb and index finger and under your elbow.
Unwinding is a little more complicated as the hank must be stretched open, which is where a swift wins hands-down. However, the most sociable way of doing unwinding a hank is by parking it over a friend’s outstretched hands and chatting whilst you wind the ball of yarn.
I do hope my instructions are clear, and that this has taken some of the mystery out of winding yarns.
