Onion skins and Eco-Dyeing

Jacob’s fleece spun into a marl yarn and mordanted ready for dyeing

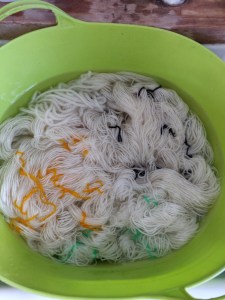
I’ve got a pot of onion skin dye ready to tie-dye a silk scarf and a skein of hand spun Jacobs marl yarn.

The yarn changed colour during the mordanting, and the cream ply has taken on a pale golden yellow tone. I think I will dip dye it to preserve this rather pleasant effect. Let’s hope the pale yellow doesn’t wash out at the end!

The scarf is already dyed in an ombre effect from grey to white, but cool greys don’t suit me; I want a warmer golden colour. The underlying ombre effect will be interesting, and I’ve tried marbles in in a pattern. I may add some eco prints on too, I’ll see what happens with the tie dye.

Rinsing the silk and wool after mordanting the fibres

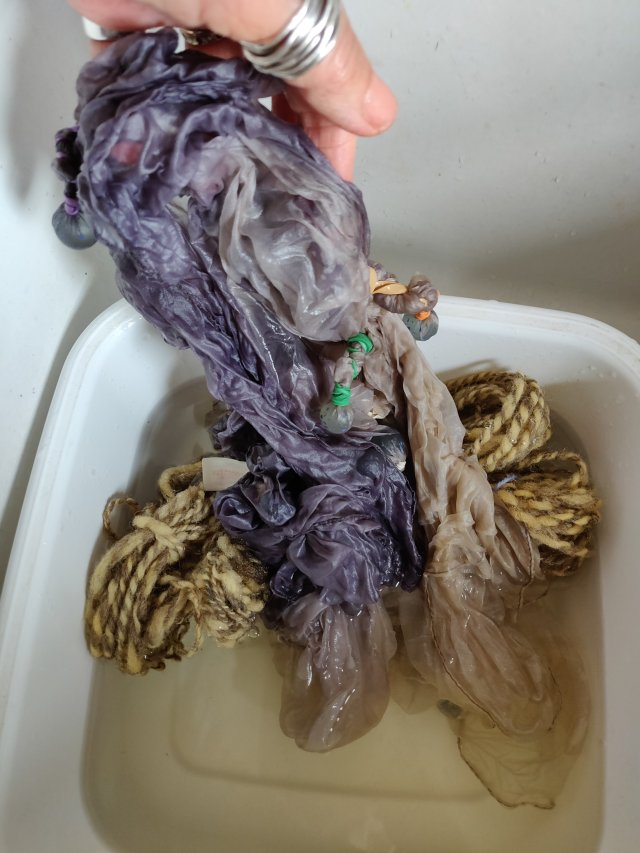
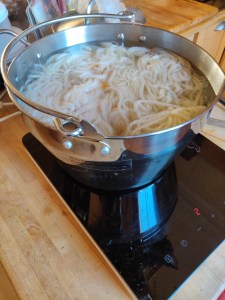
I’ve rigged up a spoon and bowl into a frame to hold the hank of yarn whilst being dip-dyed.

I use a neat little induction hob from Ikea for dyeing to save energy as we have solar panels.

A steamy view of the dyeing process

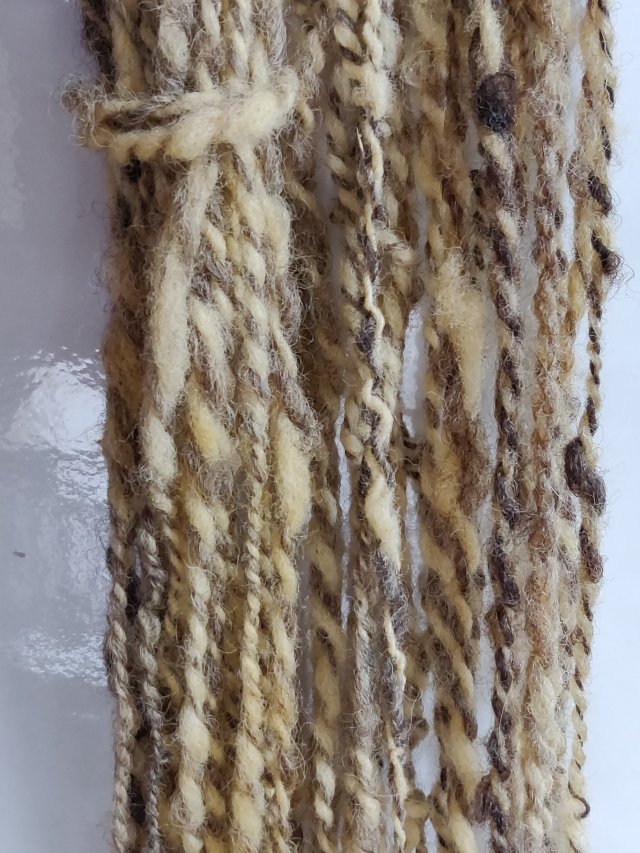
The yarn was a little disappointing. I think I didn’t have enough dye material in the bath, and the silk took it up faster than the wool. However I dunked it into an iron mordant and it’s slightly saddened it into a softer yellow that blends better with the darker ply.

The scarf was ok, tie-dyed but wishy-washy and unexciting. So plan B, to eco print on it, came into action. During my dog-walk I collected a variety of leaves, luckily there is a small cluster of sumac and lots of Oak varieties in our local park.

My trawl of leaves, including Sumac, Oak, Maples and others

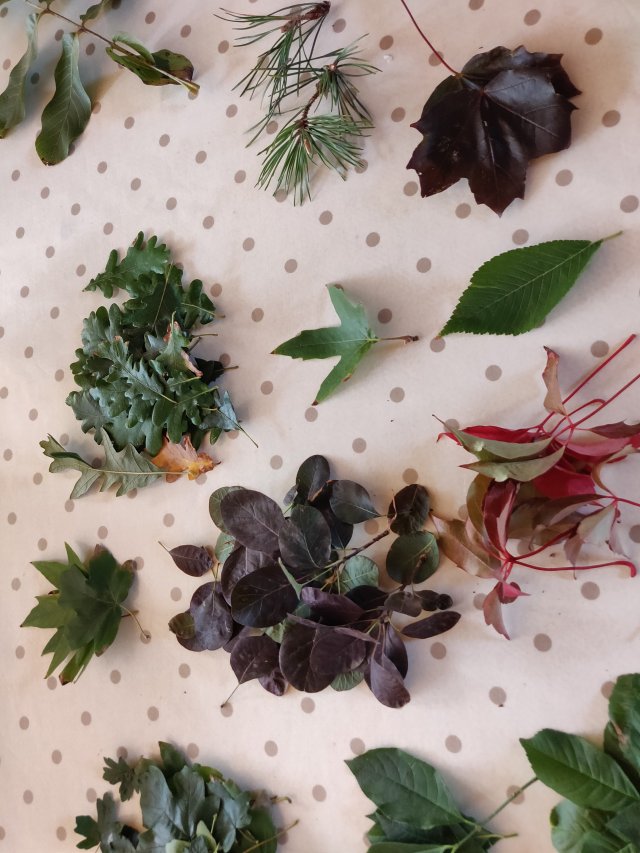
I also collected a few bunches of Rowan berries, beech and other leaves.

In my excitement I forgot to take a picture of the tie-dyed silk, or of laying out the leaves. I did that lengthwise along half of the width of the scarf, then folded it in half to sandwich the leaves between two layers. I’m not sure if this would have worked better if I had waited until the scarf had dried; I added the leaves directly after rinsing it after tie-dying.

Not having a spray bottle handy that I wanted to use for iron mordant solution, I’d already decided to soak the whole thing in the iron solution. Before doing that I folded the scarf widthwise once again and then tightly wound the folded scarf around a short length of plastic pipe, securing the ends with elastic bands. After giving the rolled packages a good soak in iron I used load of string to bind the fabric really tightly to the pipe all along its length.

Then it went into an improvised steamer for an hour. Unfortunately, because the steamer set-up only allowed a shallow water bath, I managed to boil it dry! This has mildly effected the outer layer on the underside of the pipe. It’s a bit darker.

For good measure I dribbled a bit of copper mordant on it as well. The effect was so strong that the white plastic pipe has now got leaf prints on it as well!

After unwrapping the scarf from the pipe, and following thorough wash it has come out rather well I think. Miles away from the boring grey one anyway!

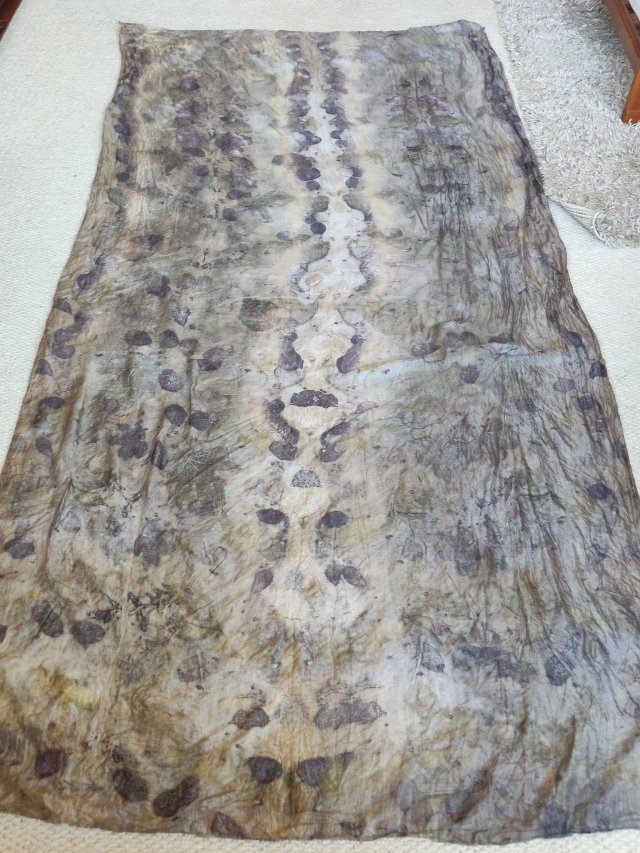
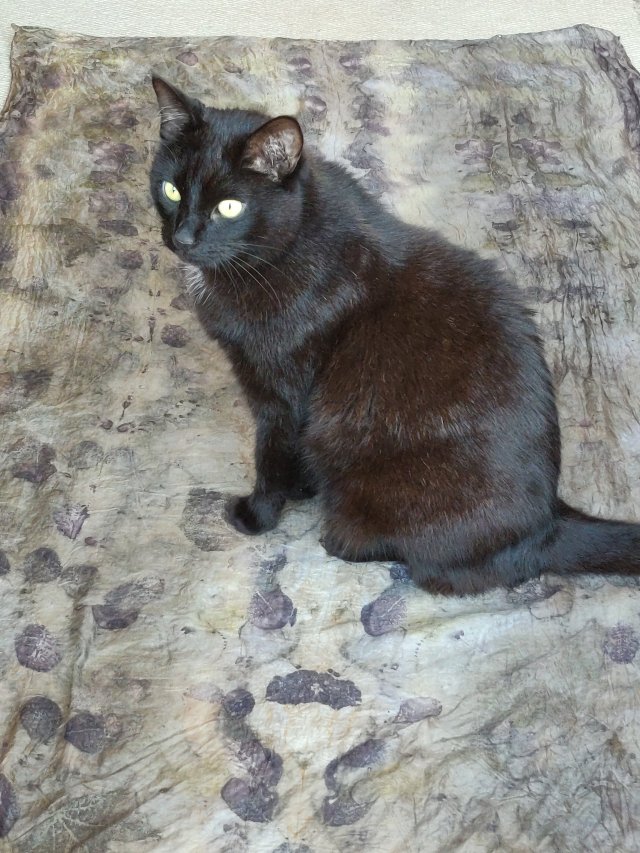
George the cat approves of it as well!

George gives the finished scarf the seal of approval.

Brighton Textile Art Group meeting 11th May

Well I did it, I made it along to the meeting today and joined the group. Thank you to all the kind members who made me feel so welcomed. There was a natural dyeing workshop today, but of course I had not booked in advance. However, I had taken along my Spurtzleur with some fibre being spun into singles as work in progress, and had some other singles I had spun earlier in my bag. So I finished off the singles on my Spurtzleur and plied this using my hands in an Andean ply. Then I did the same with the singles in my bag (they were from different fleece). This meant I had two little hanks to dye in the onion skin and the daffodil dye baths.

Click on the photo to visit the brighton Textile Art Group website and see what other events and workshops are in the future.

There is a little more detail of the day on my Natural Dyeing page.

Natural Dyeing workshop

Yesterday was a busy day, and included a two hour workshop on very basic natural dyeing. Because I wanted to make it as accessible as possible, and keep costs low, it mainly featured ‘kitchen’ dyeing.

I’d asked people to provide thier own 100% DK wool yarn, (I even suggested a yarn brand to look for as I know this one dyes really well), and prepare it in hanks. I then mordanted it over the weekend, and took it into the workshop ready to go into the dye. Unfortunately there was some confusion (well isn’t there always), and so some brought Aran, others brought 4ply and they were all different spins and types of wool, (but luckily only wool blends, not with synthetics).  I’d written out clear instructions on how to make balls into 10g hanks on the back of a chair – but even that went a bit wrong for some, so I then had to unwind and re-hank it all. At that point I began to wonder why I was doing this for free!

So now I had a kilogram of yarn soaking ready to go into an Alum mordant. Of course the more wool, the more water, and the more likelihood that you will soak the floor – which of course I did. So by the time I got it into the mordant I was not in love with the yarn!

IMG_20190324_115817


My BIG pan was not big enough, so two lots were necessary, and the room was a bit steamy by the end of it all. I use a portable induction hob for dyeing – I think it is pretty energy efficient – and love it’s responsiveness.

IMG_20190325_142206


So on to the workshop. Our dye materials were:

  • red cabbage
  • turmeric
  • spinach
  • avocado stones (soaked in 1:6 ammonia/water solution for a week beforehand)
  • avocado skins (half soaked in 1:6 ammonia solution for a week beforehand)
  • used coffee grounds
  • onion skins

Ammonia and vinegar were the only modifiers used to change the acidity of the dye baths, as I did not want to work with copper or iron in this situation.

Firstly a concentrated dye was made by boiling up  the chopped red cabbage, onion skins, and coffee grounds in enough water to cover them. The avocado baths were brought to a high heat, but not boiled as this helps keep the colour fresh and pinker. Once the colour was really released (this took between 30-60 minutes), these concentrates were strained into larger pots, cold water was added to make them lukewarm, and salt stirred in to help fix the colours. The red cabbage was divided into three baths: one left plain, one with ammonia added and one with vinegar added. The plain dye yields a purply-blue, ammonia encourages the dye to yield blue/green and the vinegar brings out a lilac colour. This was the fun part; the students introduced their hanks of yarn to different dye baths and they were brought back up to tempature. There were lots of ‘oohs’ and ‘ahhs’ at the lovely colours – even though I explained that they may change or wash out!

They experimented with tie-dying, dip-dyeing and rinsing and over-dye colours. Some more successful than others of course, and time (and hanks of yarn) were limited. One asked me, ‘Can I do this at home?’ , which seemed a strange question to me, but in retrospect it was a reasonable one, because it all seemed a bit to easy!