Top-down knitting resumed

Back problems have meant I need to avoid computers and knitting machines for a while, so I wanted a hand knit project to work on. Digging around on shelves, ( I can’t get at my stash boxes at the moment) I found a bag of knitting I had forgotten about. Inside was the first few rows of a top-down sweater. I remembered how long it took to work out the pattern, (yes I did it myself) and how carefully I chose the yarn. The notes with the pattern are dated 2013, which says volumes about my engagement with larger hand knit projects!

Luckily the moth had stayed away, thanks to ziploc bags, and I haven’t used the balance of the yarn for something else. This seemed a perfect opportunity to get on with my long-lost dream jumper.

I knitted a top-down jumper last winter with good results. Although it has dropped quite considerably due to the stitch I used, do is more a dress than a number. I like the method because you can check the shoulder fit, which is so important, and adjust it before embarking on the larger areas. Monte Stanley wrote about top-down knitting and as I am interested in integral knitting, I find the technique intriguing

I had obviously found fault with the stored knitting because there is an separate neck and shoulder be sample threaded into waste yarn in the bag. On reflection I seem to remember it was discarded because of the shaping finish rather than size. I will unravel it if I need the yarn later on, but at the moment it is useful for reference.

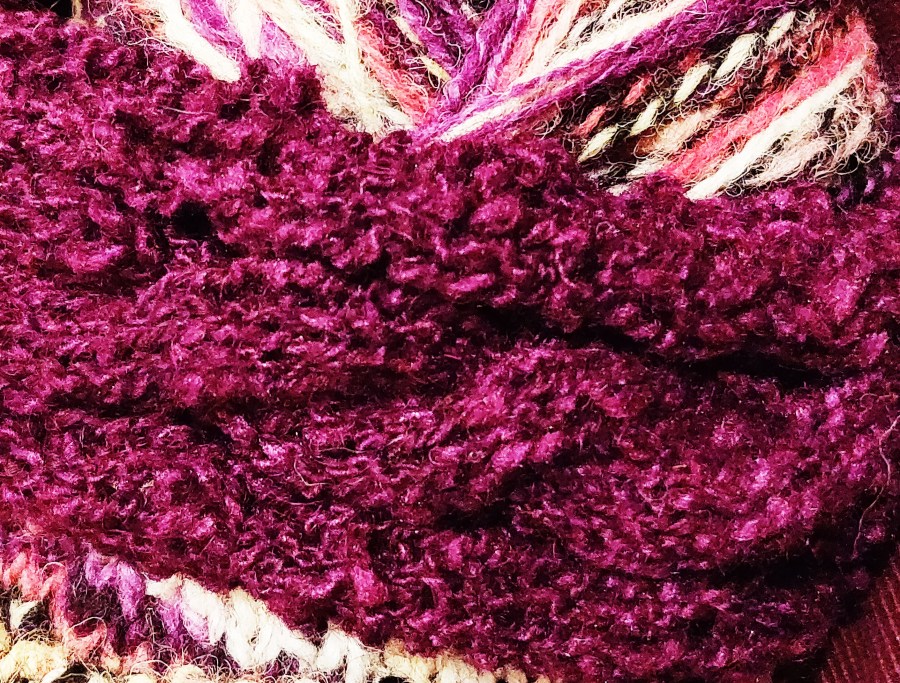
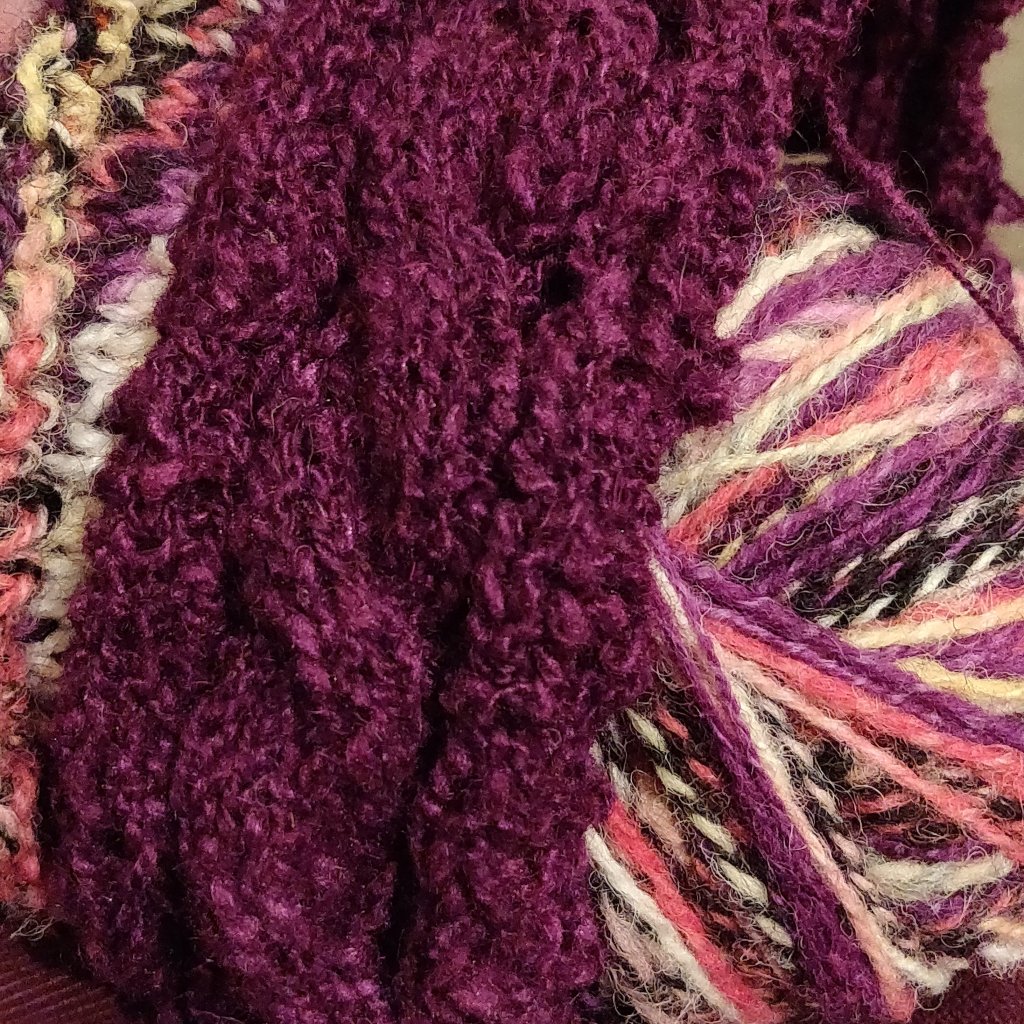
It’s knitted in DK alpaca/wool/silk blend yarn on a very pretty warm stone colour.

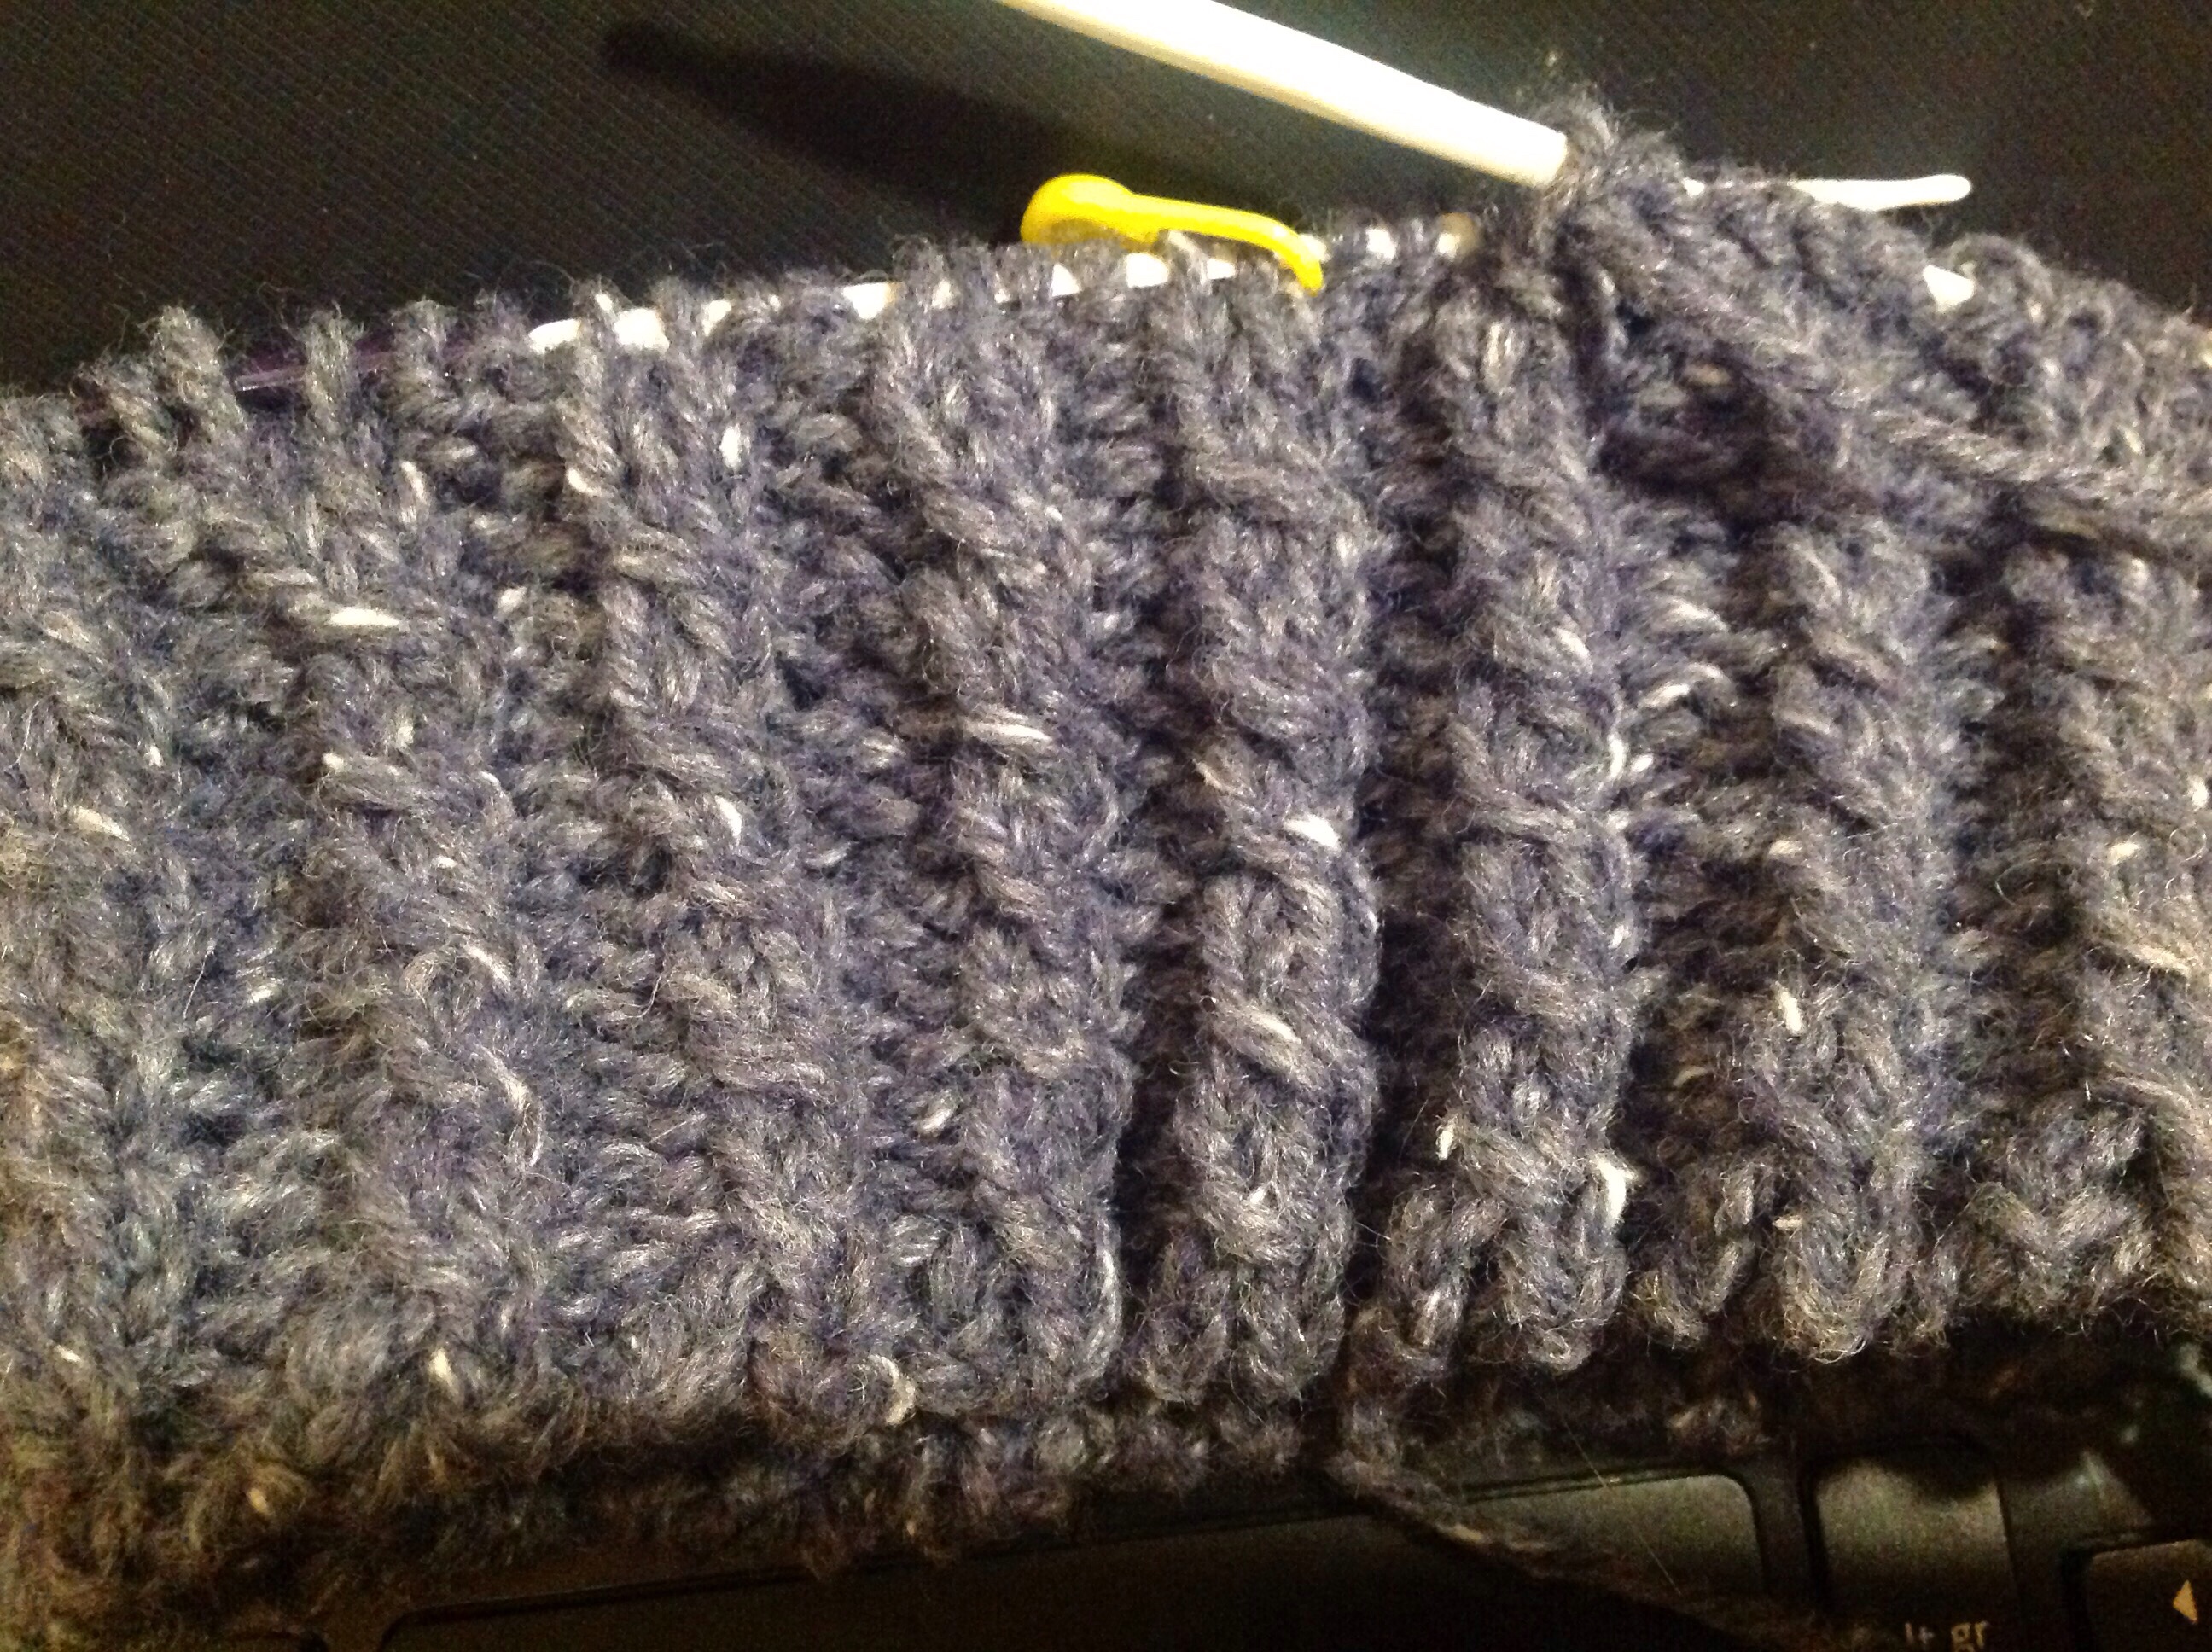
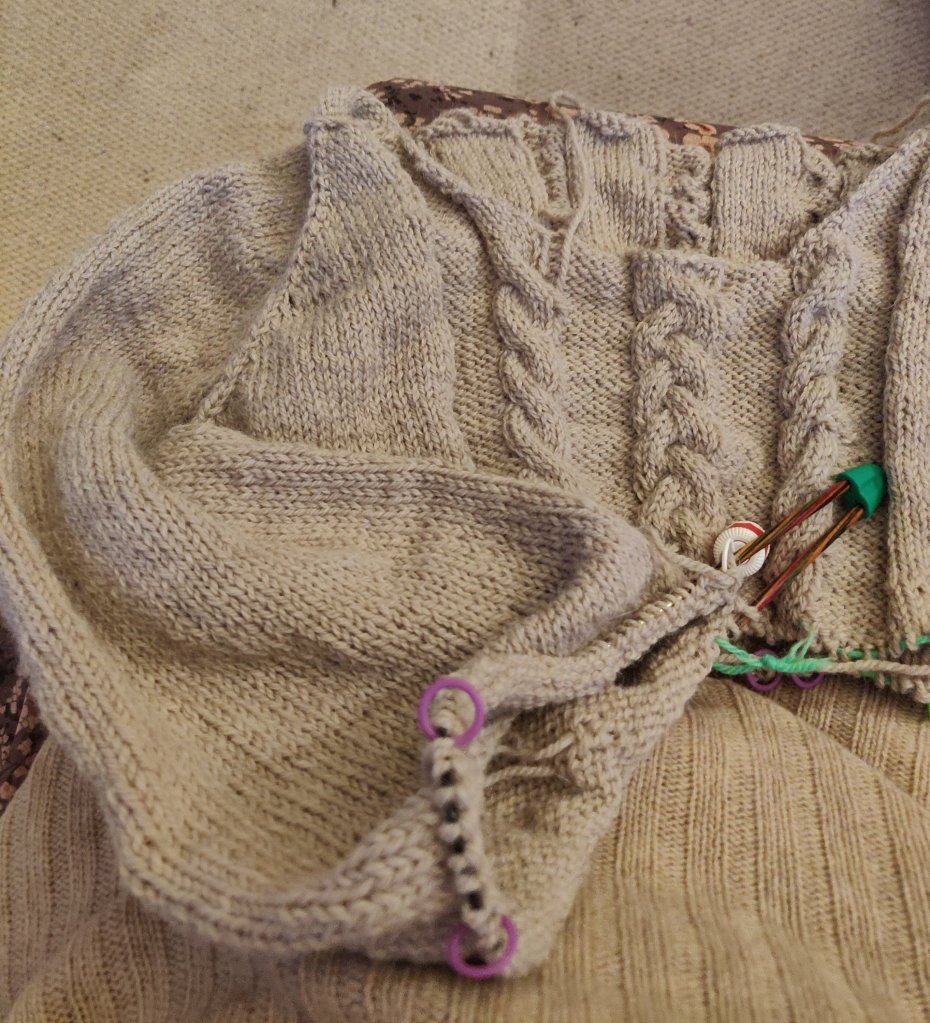
I’m using a 4mm circular needle from the KnitPro convertible system. These are very versatile so am using these for this project where they are separate ‘tubes’ to work on. Being able to change the length of the cable means it’s easy to work narrower sleeves as well as the larger circumference of the body.

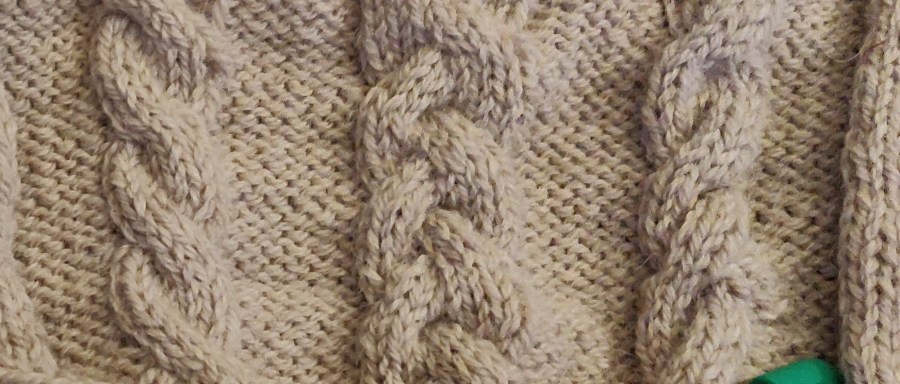
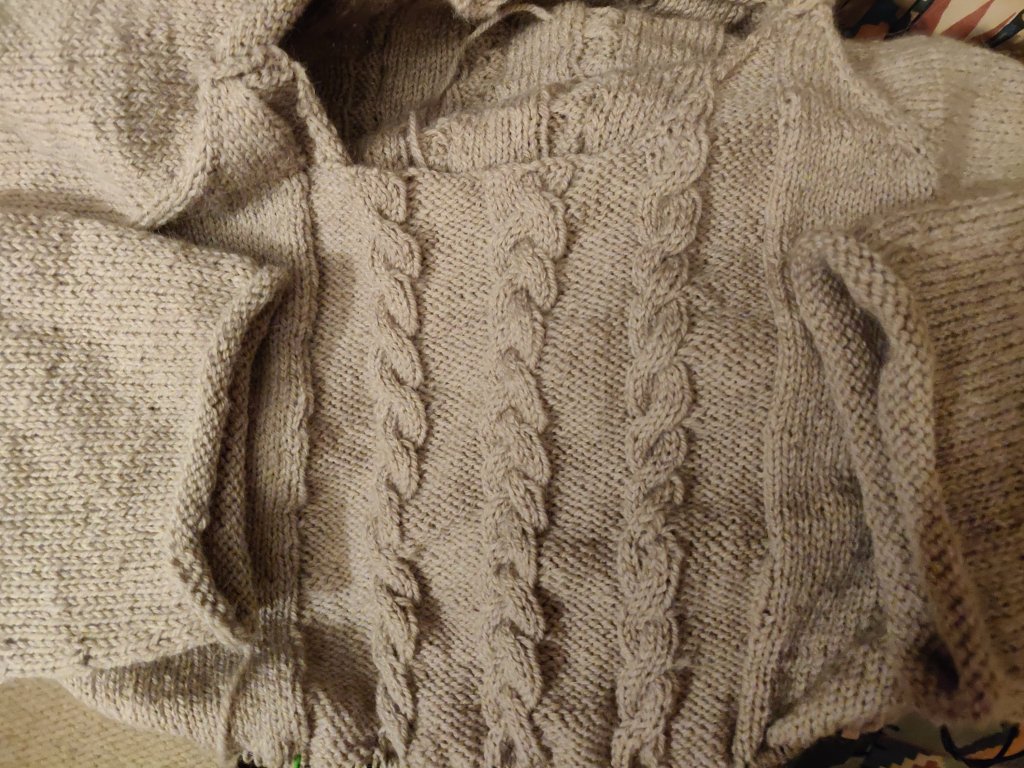
The design is a raglan sleeve, generous fit jumper with cable panels running up front and back. Shaping is worked fully fashioned along the raglan ‘seam’ lines using lifted left and right increases. My initial sample was not fully fashioned, and clearly the fully fashioning makes a much nicer finish.

I’ve just finished one sleeve, (stocking stitch) with fully fashioned decreases along the underarm ‘seam’, and the fit seems good so far.

Part way down the first sleeve. As you can see, I love stitch markers!

Working out the pattern was quite complicated even though I used Designaknit for the basic silhouette. It was easy enough to invert the shapes, but then I had to combine them in-the-round. Some maths later I had a picture in my head, and the numbers to match it on paper. I worked out the positioning of the cable panels manually because it was important to have plain stocking stitch for the raglan shaping.

If I get the next sleeve done I might even got to finish the cable front and back before 2025!

Update : OK, it’s now the end of December and I have completed both sleeves and am part way down the body. So far I’ve used one bag of yarn, (500g) and anticipate using another 200g, making the jumper quite heavy!

The body is slightly flared, just enough so that it’s not a straight tube shape. The increases are worked down where the side seam would be, and at the outer edge of the outer cables every 11th row.

The sleeves folded towards the front cables. The cuffs are knitted as rolled edges on 3.5mm needles for 8 rows.

Update January 2022

The jumper is now complete! First blocking fine, now test-wearing before sewing in the ends. Then I shall wash so that it matches the revision swatch and the stitches even out a bit more. Something I noticed whilst knitting was that although this is a lovely yarn it has a tendency to leave fine fibres on the needle so the stitches catch. At first I unpicked and reknitted some stitches, thinking I had miss-knitted the stitches and it took me a while to realise what was happening. Gentle tugging releases the fibres and opened the stitches, but from the tension swatch I can see that washing will even the knit out.

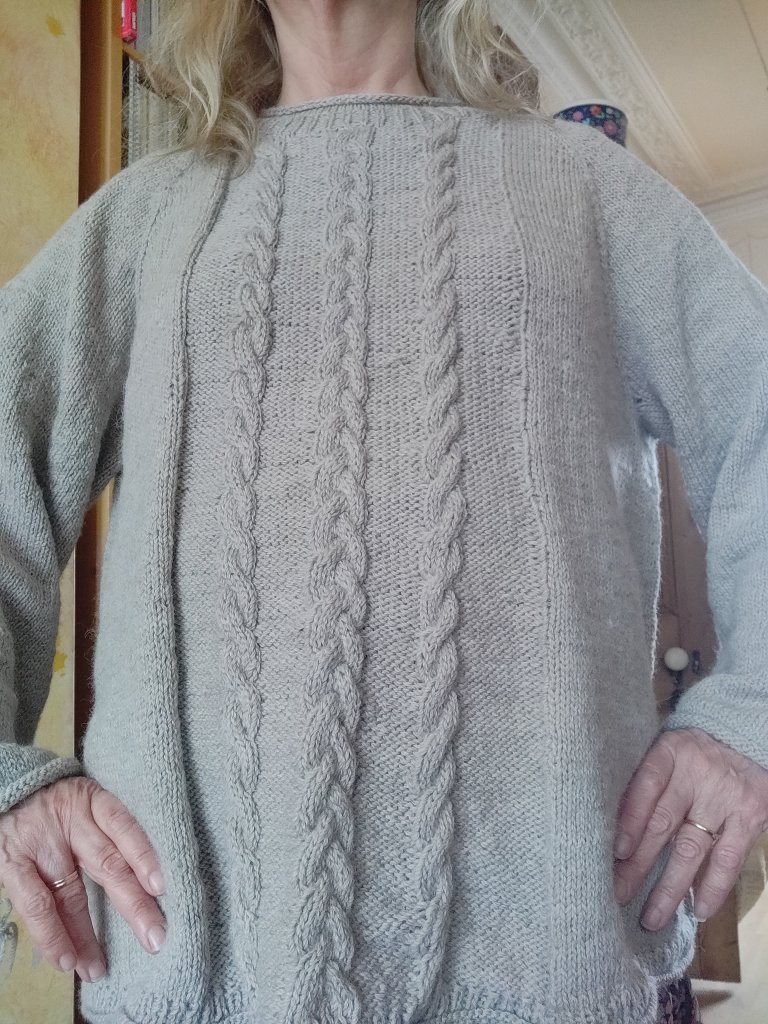
The neckband is a single rib with a rolled edge. The neck band was picked it up into the neckline so is integrally knitted which has a tendency to stretch on top-down sweaters. In the past I have sewn take along the back neck to stabilise the neckline, but Roxanne Richardson on her YouTube channel suggests making a line of crochet slip stitch along the back neck instead. She also suggests using this solution along raglan seams.

Because it’s knitted top down, seamless I’m going to watch the raglan ‘seams’ to make sure they doesn’t drop. If the jumper does start to drop I will also work a crochet slip stitch in the back of the seams to stabilise them.

I’m just hoping the weather stays cool so I can continue to wear my new jumper.

Half way through knitting a hat with hand spun yarns

Having a few smallish quantities of hand spun yarn I decided to dye them.

The first was about 30g of blended tussah silk/wool singles that I’d then plied with itself. This is a slightly textured yarn with an interesting matte surface owing to the silk content. It took the deep purple dye beautifully, although the different fibres had varying take up of colour, so it isn’t quite even.

The second was a black and cream space spun yarn, plied with a solid cream. The solid is made from 50g of cream Suffolk fibre, woollen spun into singles. The second singles, with which this is plied, was prepared on a drum carder in alternating stripes of the same cream yarn and stripes of black Belwin fibre. This 25g batt was then woollen spun into singles, after which the two yarns were plied together into a 50g hank. This combination created a pretty spaced marl effect along a yarn which is reasonably even in thickness throughout.

The completed yarn was dip dyed in the same dye pot as the silk/wool yarn, plus another pink dye I had on the go. It was dipped a little into some yellow as well. Over-dyeing this black and cream marl yarn gives the impression of many more colours than there really are.

I’ve used the silk/wool as a band for a hat and the over dyed marl as the crown.

The band is knitted around the head, and has a cable along its length. The stitches for the crown are picked up along the edge and knitted in the round. The ball of yarn is on the right in the photo.

Today is beanie day …

OK, I know it’s now mid January and this is a post about a Christmas gift but I’ve only just got around to finishing it off and getting it online. This is the story of knitting the hat worn in this photo.

December 2018…

I’ve started a beanie hat as a Christmas gift. Its in yarn from my stash, a rather nice airforce blue tweed 90% wool 10% acrylic blend Aran weight yarn. I dithered about the acrylic content I have to say, as I believe one’s toil is best rewarded by natural fibres, but the the colour (and having the yarn to hand), won the day.

The brim should work out to be around 7cm (3″) deep, and I’m going to knit it in a 3 row 2×2 cabled rib, with the shaped crown in stocking stitch. The pattern has been designed for a 61cm (24′) head circumference.

Gosh that doesn’t look very blue, more grey, must be the light. The rib shows though.

The cabled rib is worked on a 3.5mm circular needle, and the crown on a 4.5mm circular needle.

I have a set of those lovely interchangeable KnitPro needles, which means the world is my oyster when using circulars, but because the yarn is quite dark I have decided to use a white Prym triangular pointed circular so its easy to see the stitches. These are also comfortable to work with, and have a strange knob on the point that I quite like.

So far I have cast on 80sts (has to be divisible by 4 for the 4 stitch rib repeat) worked 2 rows rib and 6 repeats of the cable, and then 6 rows straight rib. I used the 2×2 alternate rib cast on recommended by Woolly Wormhead. Its not as stretchy as I had hoped, but looks good. Any stretchy one will do though, don’t beat yourself up about it.

How to work the c2b cable on the rib: Either use a cable needle, or work them as follows: slip the two knit stitches one-by-one knitwise, then insert the left needle from the right into the front of these stitches and slip them back to the left needle. This twists the stitches. Knit them one by one.

How I knitted the hat:

Cast on 80sts, using a stretchy cast on.

Join the round securely in your favourite way; for example work the first stitch, and pull the yarn to tighten the join before working the next stitch, or before working the first round slip the first stitch of the cast-on onto the point of the right needle so that it will be knitted at the end of the first round.

Mark the end of the round with a stitch marker.

Round 1 and 2: (k2, p2) to end.

Round 3: (c2b, p2) to end.

Repeat round 1-3, 5 times.

Round 16-20: (k2, p2) to end.

Round 21: purl.

Move the marker up to the current row.

Now you have the option to work all the stocking stitch in purl, and replace the knit decreases with purl versions, or if like me you find knit faster than purl, this is what I did.

Slip the last stitch to the left needle, and take the yarn to the back between the stitches then slip the stitch back so that the yarn is caught around the stitch. Invert the knitting and working in the opposite direction to former rounds, work the rest of the crown as knit stitches.

Round 22: knit

Continue working as Round 22 until the work measures 20.5cm from edge of rib.

Now to do the shaping.

I worked the first and every fourth round as a decrease round as follows.

First round,: k7, k2tog (70)

Second and third round: k all.

Fourth round: k6, k2tog (60)

Fifth and sixth round: k all.

Continue in this sequence, knitting one less stitch between decreases until 50 stitches on needle. Then work decreases on every second round until 20 stitches remain, finishing with a knit round.

Break yarn leaving a 40cm tail. Thread yarn onto a darning needle and slip the open stitches onto the darning needle. Draw the stitches in and secure the yarn end.