Spinning flax into linen yarn

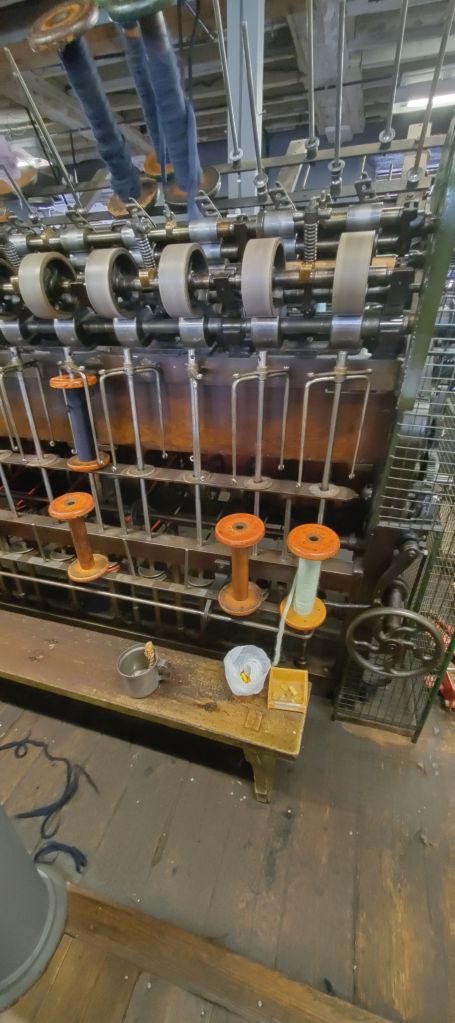
The Somerset Guild will be taking our spinning and weaving to Dawes Twine Works in West Coker in August and in preparation for that I decided to meet a challenge I have been meaning to take for several years.

That challenge is spinning flax into linen yarn. Now I know lots of people do this but it’s not something I have done much of. The only experience I have is at a two hour Flaxland workshop, which was great, where we spun line flax from a distaff with a drop spindle. I’m not great on the drop spindle but I did manage to get a little bit of flax turned into singles, which when I got home I plied and then wove on a pin loom.

I believe I have posted about this on the website already so I won’t repeat this story.

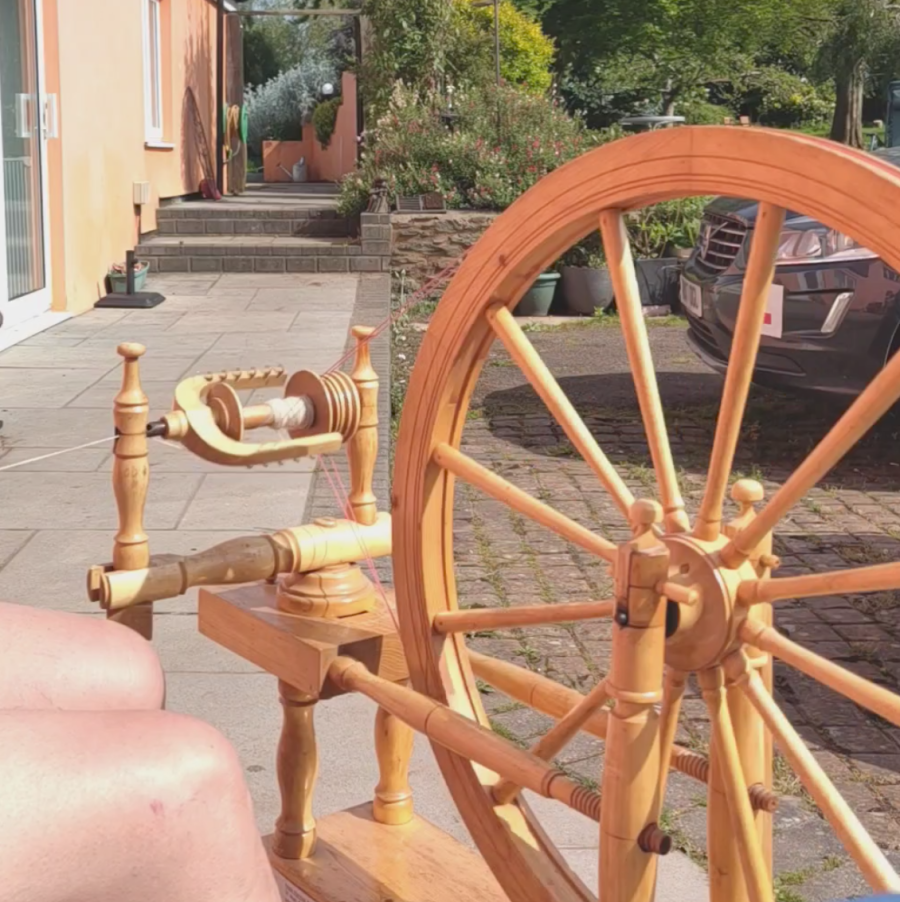
In preparation for spinning at Dawes I acquired some line flax and whilst we were on holiday I set up my Ashford e-spinner in the caravan and set about spinning some linen. Stupidly I hadn’t taken any spinning books with me and there was no signal there so I was working blind.  Firstly I made it too thick and this was partly because I forgot it was best to wet it as you spin so I spun it dry. Secondly, I went it in the Z (clockwise) direction which I now realize should have been S (anticlockwise) for singles as flax seems to prefer this direction.

Still I spun about 120 meters of this which I was quite pleased with as a first, (well to be honest second) effort despite its rather chunky nature. When I got home I forgot about it and left it on the wheel.

A week ago I prepared some Leaf Green Dylon dye to over-dye a linen vest.  As the dye bath was not exhausted I thought, ‘oh I could dye that linen yarn in this’. To test this out I used the little bit of yarn left over from my first attempt at drop spindling.  I wet it thoroughly using some washing up liquid in the water as a wetting agent, rinsed it and then popped this into the Dylon for 45 minutes or so, and it came out very pretty, leafy green.

Unbleached linen, light leafy green after dyeing

Well now I was hooked so I dug out my e-spinner and plied the singles that were sitting on the bobbin using my Wee Peggy wheel. Luckily I remembered I had spun Z the first time so I plied them S. This gave me 60 m of 2 ply linen, Yippee.

I had access to my books now so I went to Patricia Baines’ book Hand Spinning and Weaving with Linen to make sure I cleaned it sufficiently before trying to dye this second lot. The dry hank weighs 28g, not a lot, but enough for an experiment.

Pre-wetting the linen yarn, the water is quite dirty

At the moment having thoroughly wet the hank it’s now sitting in boiling water with 50% of its weight in soap and 3% of its weight in washing soda per-dissolved in the hot water. I’m going to boil this for 45 minutes take it out and give it one or two hot rinses followed by a cold rinse and if the water is still dirty I’ll do it again.

If the water looks clean I probably won’t give another wash even though Baines suggests doing this. But I may bleach it according to instructions to see if I can lighten it a bit before I put it in the green dye.

Well,  the water was still sludgy so I did give it a second scour using 25% soap and 1% soda and the yarn came out much cleaner but still grey.

So in all I ended up doing 2 x 45 minute boil washes which were progressively less filthy. Then I bleached the yarn with Sodium Percarbonate (green bleach) in warm water using 3 grams of the bleach granules pre-dissolved in the hot water.  That was left to soak for about an hour. After rinsing the yarn was a lovely light creamy colour. Unfortunately I forgot to take a photograph of this, so you’ll have to take my word for it.

After another rinse it went into the warm dye bath where it sat for 45 minutes with no heat, just the occasional stir. I added more salt to the dye as well.

Ok, so now I have some quite attractive, green linen yarn!

The two hanks of linen yarn once dry. Right is the 28g,  bleached h.ank.

Even after all this washing and soaking the fibre still felt quite crisp. So again following Patricia Baines’ suggestions I damped it and beat it with a rolling pin,  which seems to have helped a bit. Scrunching it between my fingers has softened it further. My next move is to wind it off the hank through a  slightly damp sponge onto another bank to smooth down the fibers and hopefully restore the lustre. Then I’ll wind it into a ball.  I don’t know what I’ll do with it I might knit with it I might pin weave with it. Sadly I don’t think there is enough to  weave anything meaningful on even a small warped loom.

‘Wool’, a lovely yarn shop in Bath

A couple of weeks ago I spent a weekend in Bath in the Somerset with some friends.

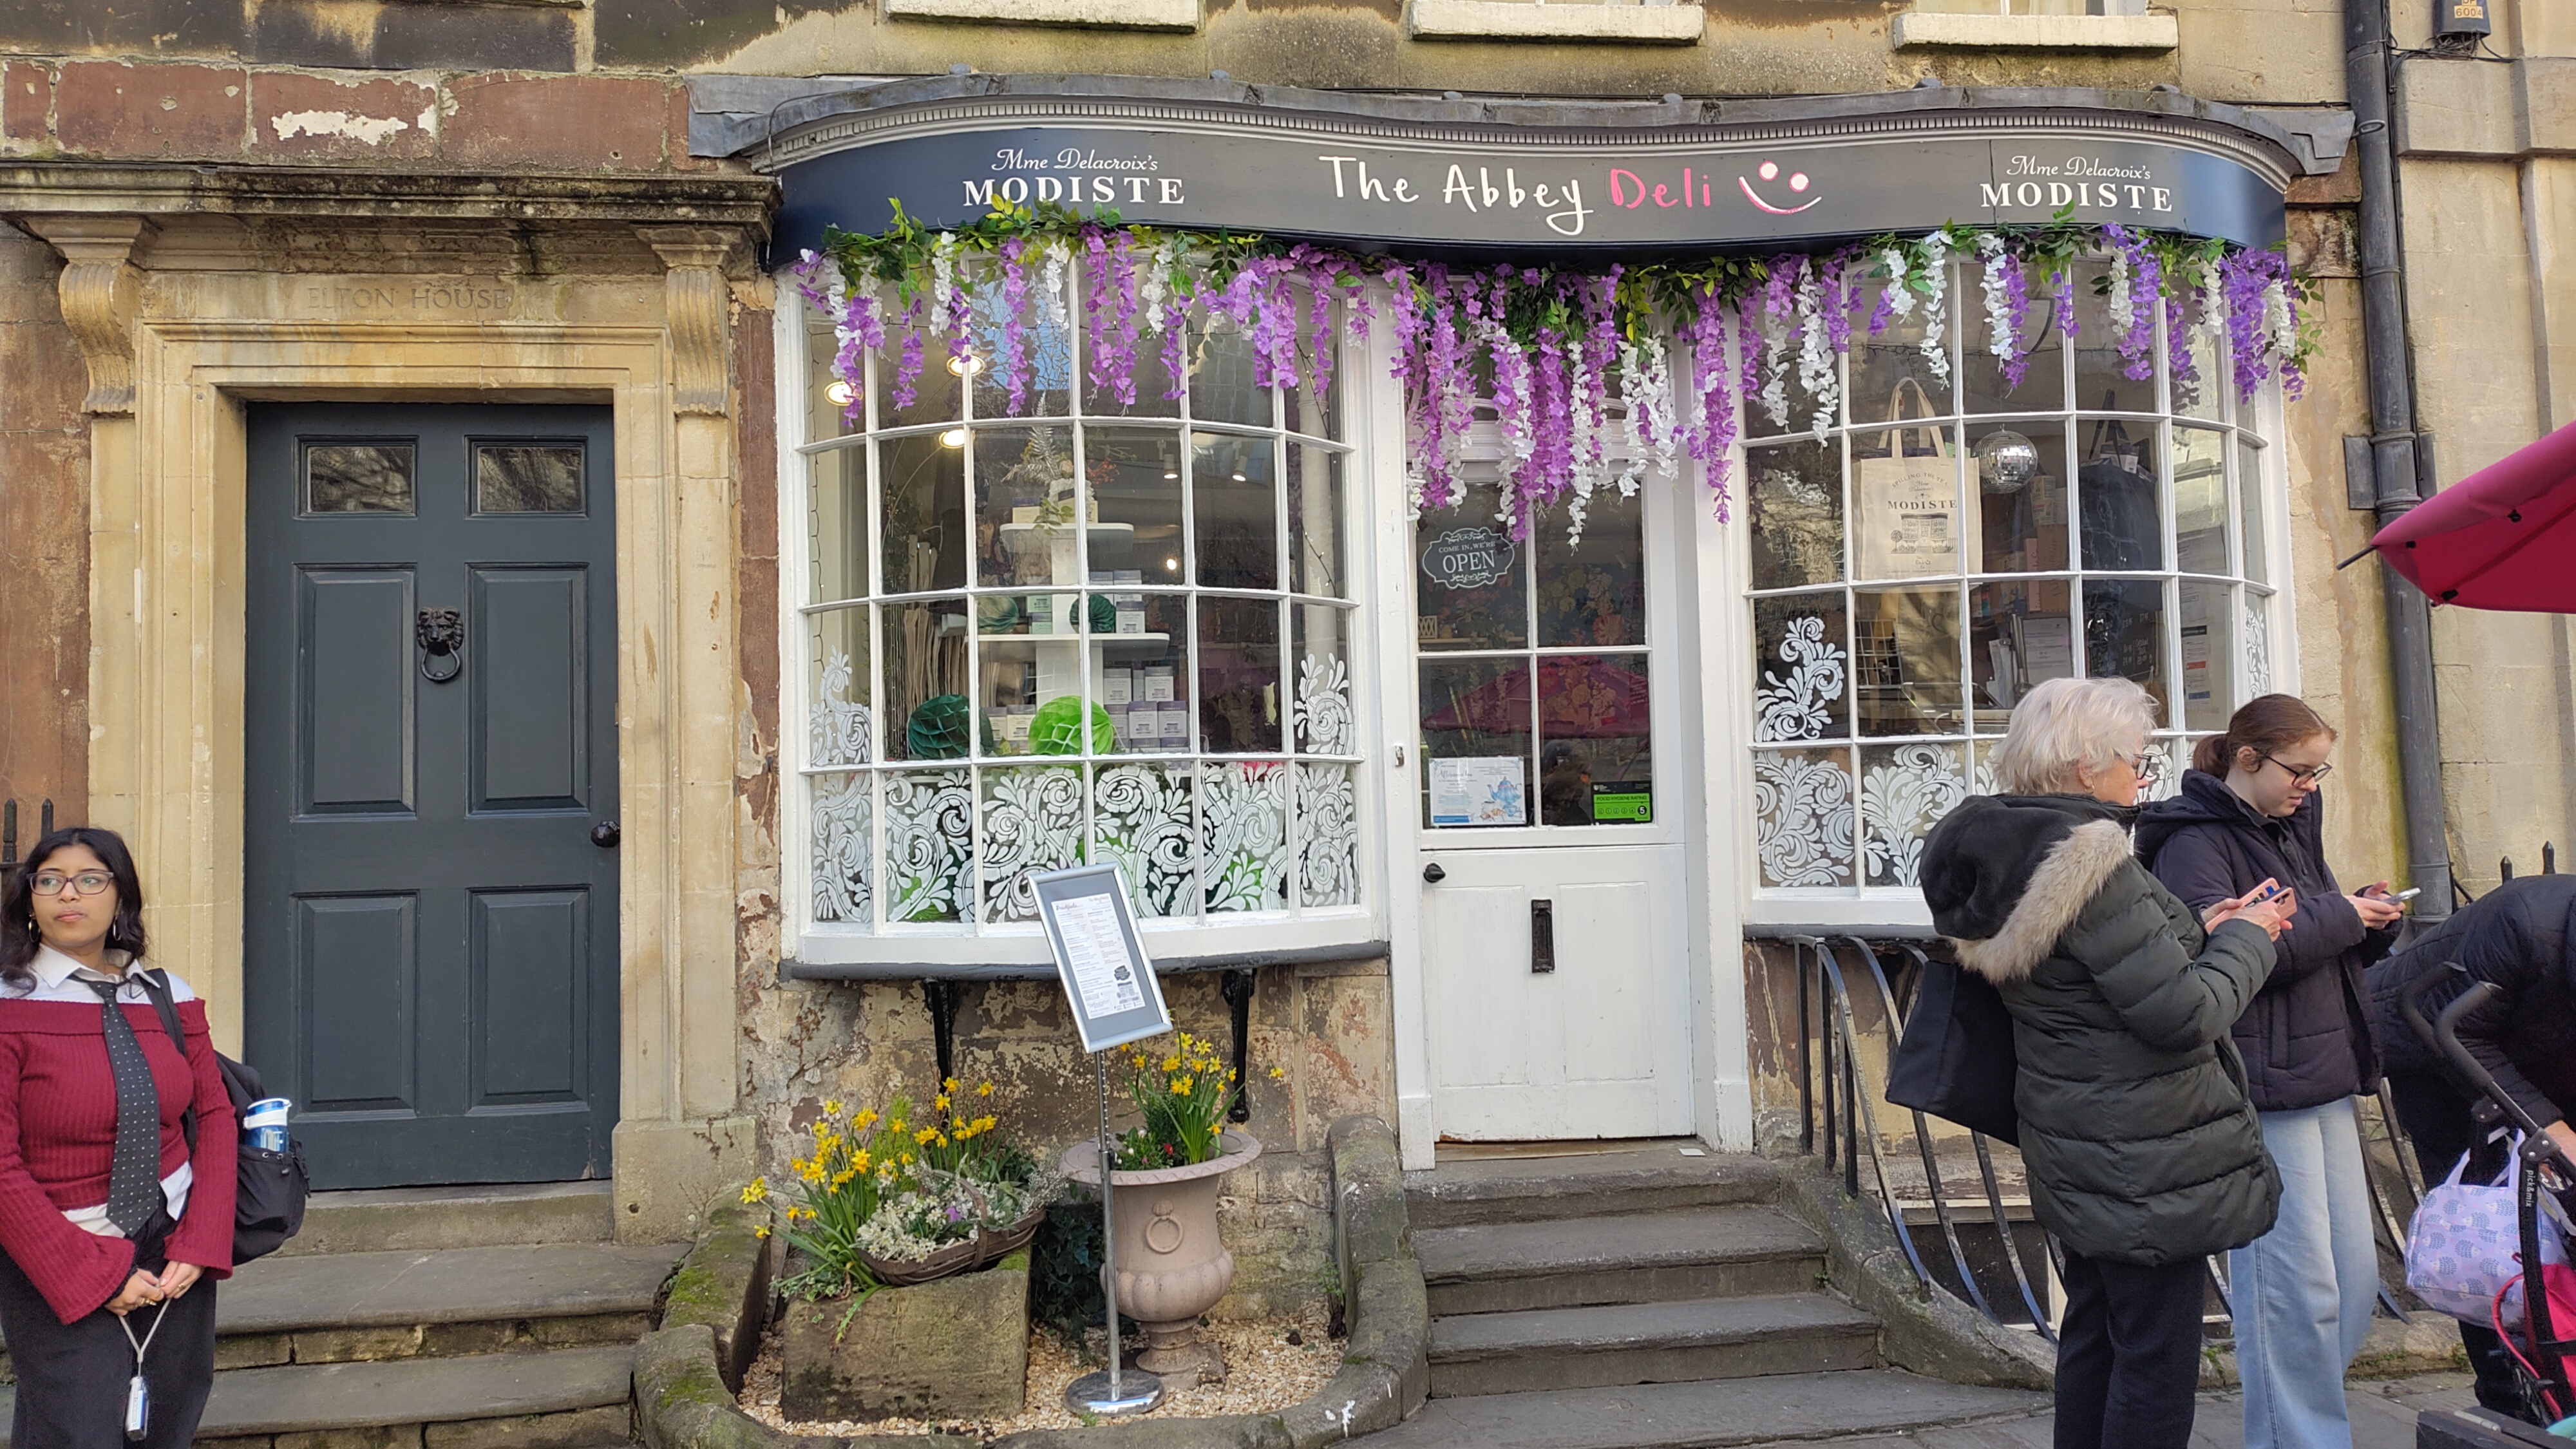
On our first day we did the touristy things like visiting the Circle and the beautiful Royal Crescent and had tea in one of the numerous teas shops. Quite by chance, the one we picked happened to have been featured in Bridgerton as the Modiste shop.

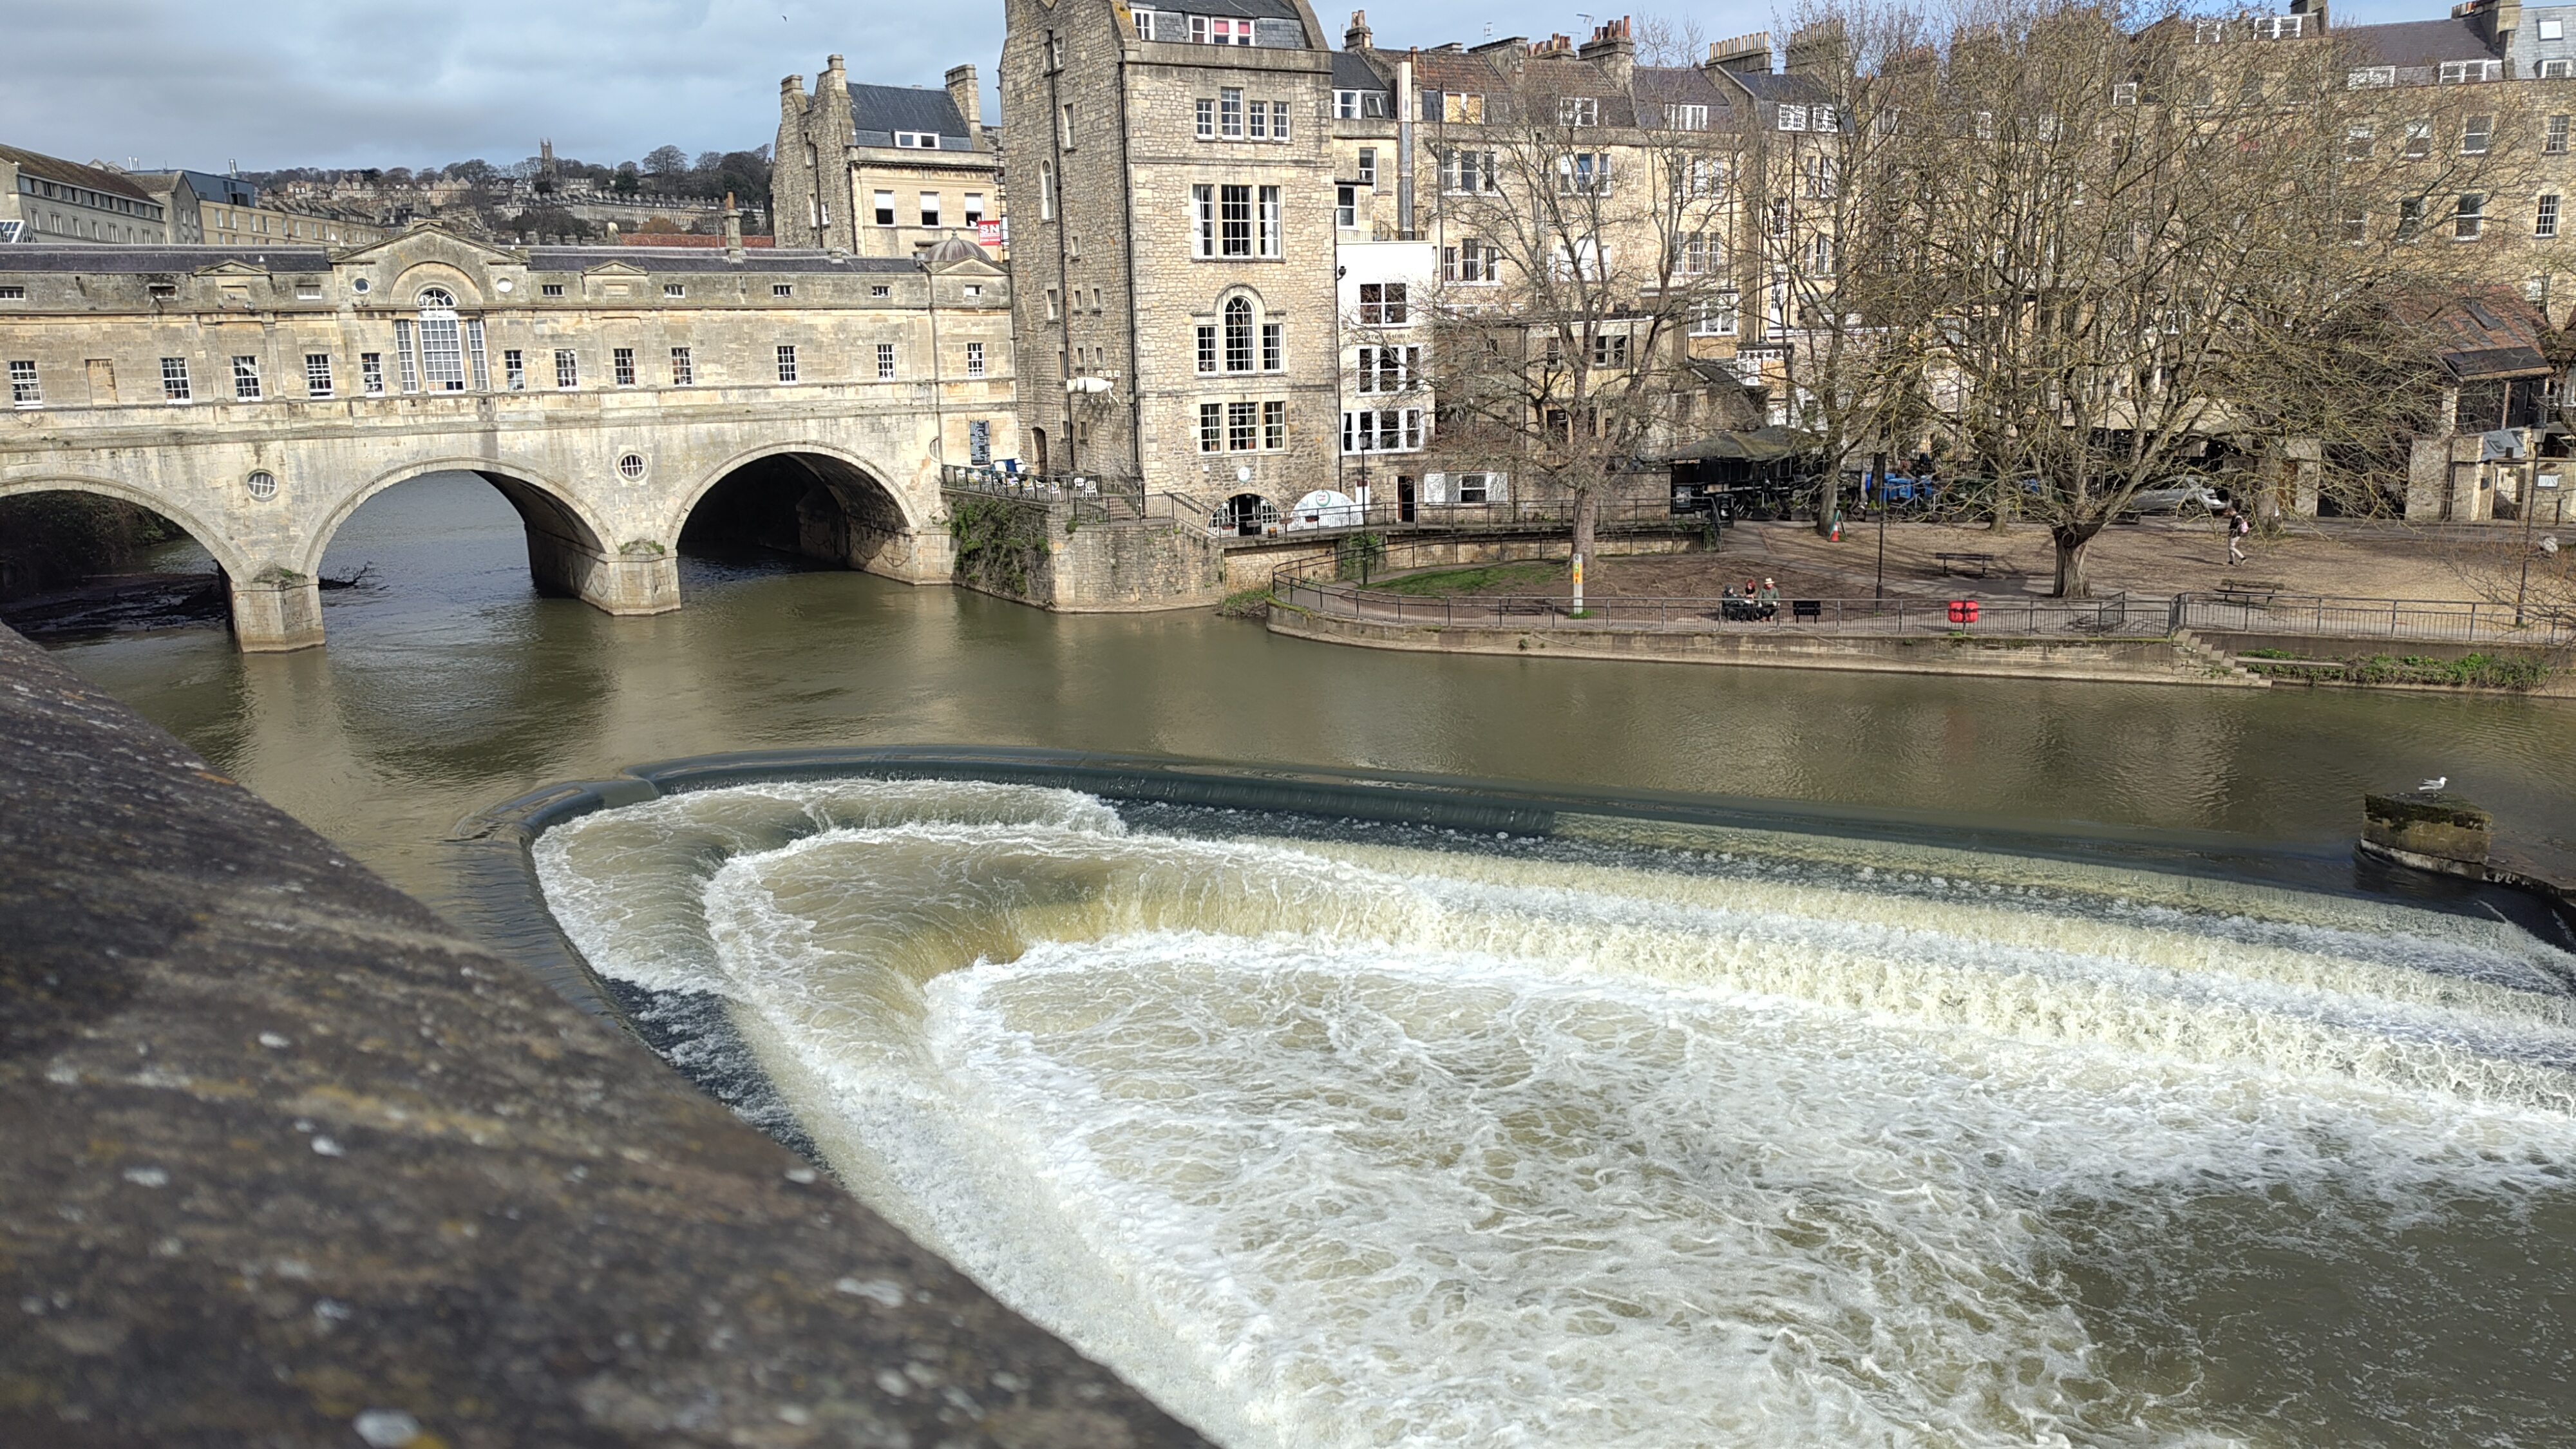
Food featured heavily in our weekend, cake being a particular favorite, so the next day we visited the historic Pulteney bridge and the tea shop which is situated on top of this bridge.

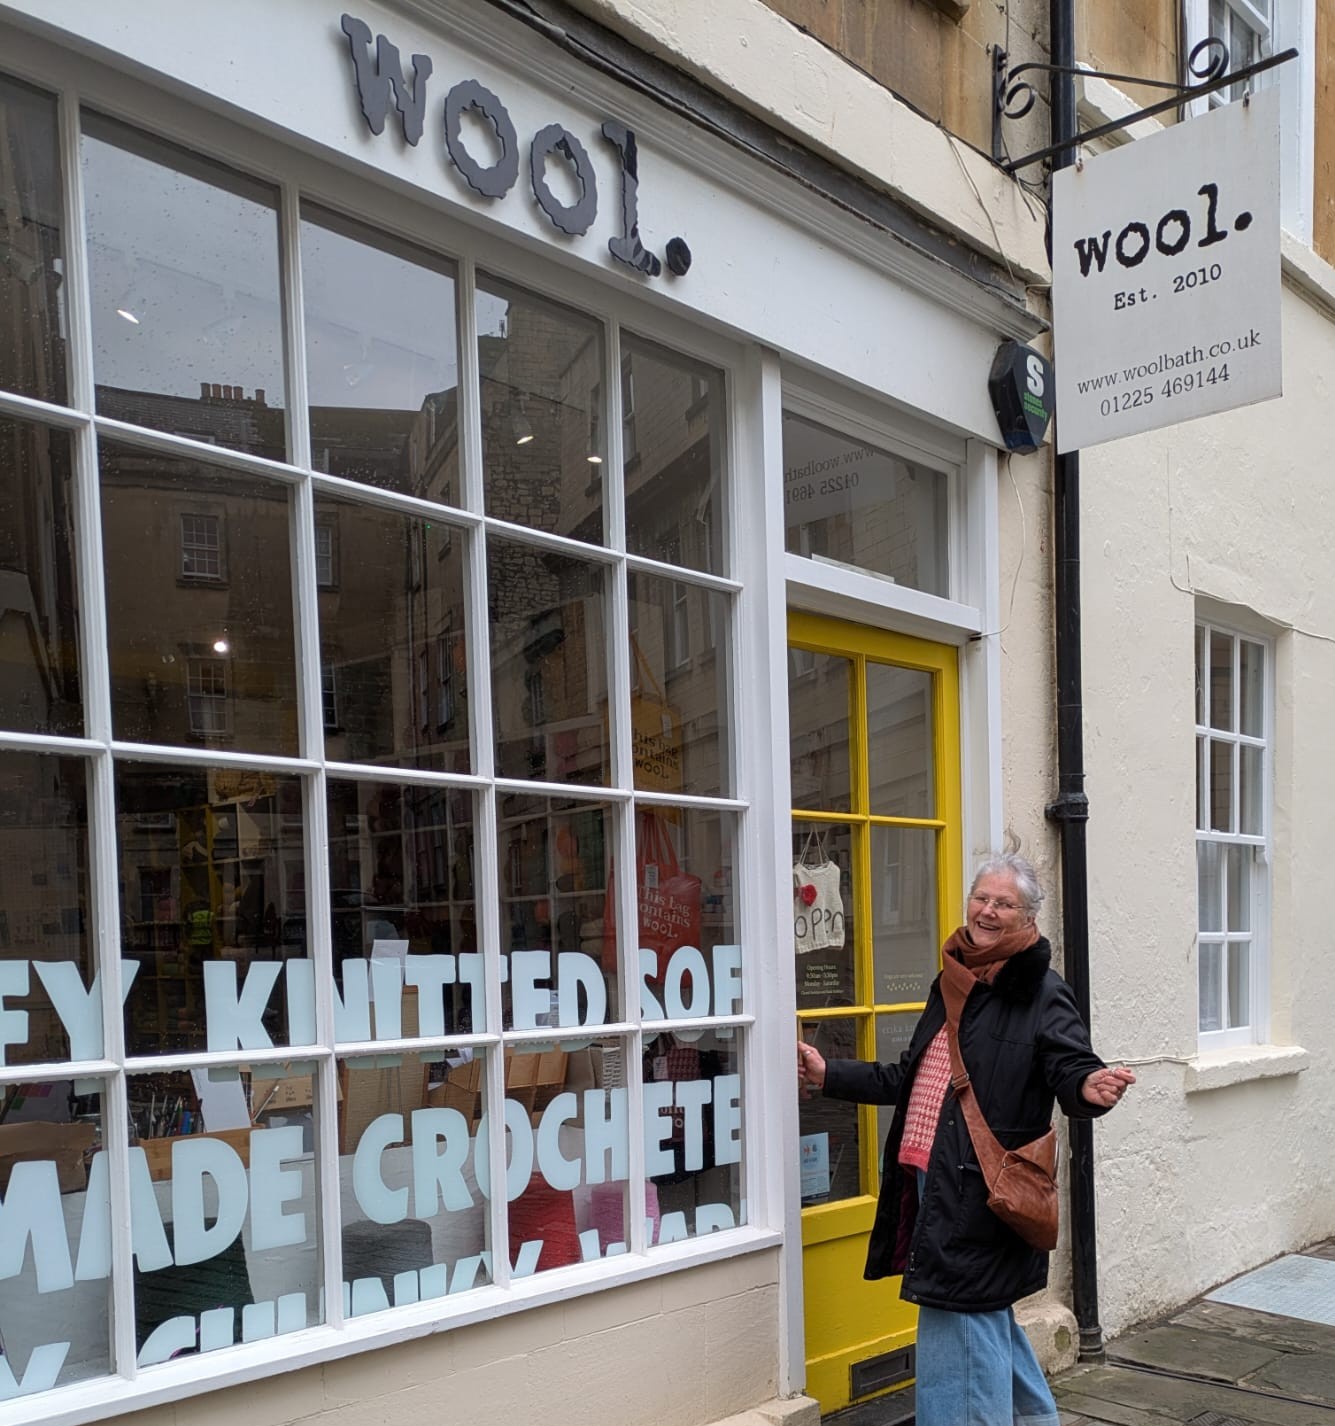
We are all knitters, so were pleased to discover there was a yarn shop close to where we were staying in the city centre. So, before leaving on our last day we paid a visit to ‘Wool’. There we found a wide selection of yarns to please all price points, that catered for all types of knitting or crochet work. Yarns included individual spun, Rowan Kid Silk and some very good value Tweedy Superwash Merino wool by King Cole. I am a bit of a sock yarn addict and bought a 100g ball of Lang sock yarn, which I have not tried before, and some 100% wool double knit in pretty pastel colours.

Someone else chose a DK pattern for a simple sweater shape which she intends to knit up in a wool and Alpaca blend yarn. The yarn is being reclaimed from a partially-knitted garment that her mother never completed, I think this is a lovely way to maintain a thread with the memory of her Mother, but to end up with a garment that she will want to wear.

The staff in the shop were particularly helpful over this explaining to my friend how to substitute a yarn in the pattern and helping her decide if she would have enough of the existing yarn. Although I could have helped her with this it would have felt a little like a busman’s holiday to do so ‘on the fly’. However I did of course tell her she could ask me later if she ran into problems.

I will certainly go back to ‘Wool’ next time I’m in Bath.

After a year’s wait I have finally completed the fleece-drying rack

I planned this project of a collapsible fleece-drying rack over a year ago. Setting is always difficult as it requires a lot of space and works best if air can circulate to as much of the fibre as possible. I toyed with the idea of folding herb drying racks, but the ones I found were small, flimsy and expensive. I’ve seen others use those plastic crates with open mesh sides, but couldn’t find any of those locally, plus they take up space when not in use. 

So I decided to design and make my own. My brief was:

freestanding

reasonably lightweight and portable

widely spaced shelves

a large surface area so that the fleece could be opened up to speed drying

collapsible so could be folded down and packed into a bag when not in use

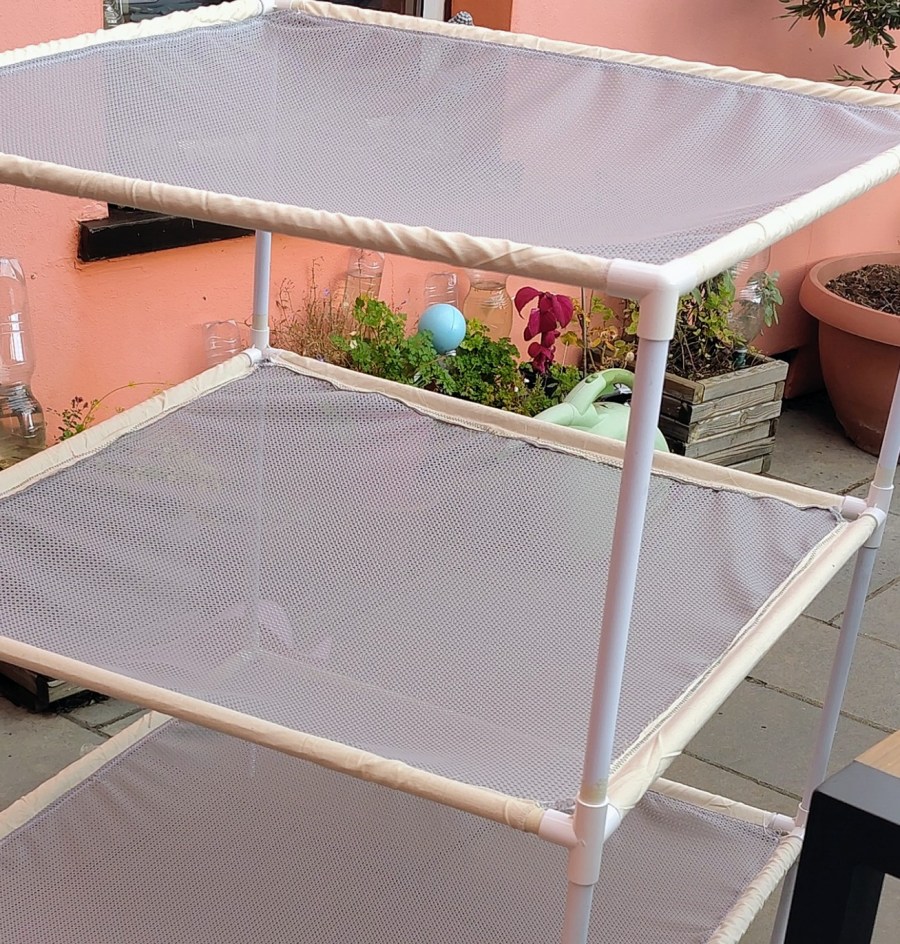
Designing the rack and working out the specs took some thought. I ended up with a plan for a three shelf rack, each shelf being approximately 80cm square. I intended to use plastic pipe and elbow joints for the frame and mesh fabric for the shelves. Mesh fabric would allow air to circulate, and if made from synthetic fibre, would dry fast itself and hopefully reduce the likelihood of mould whilst packed away.  Each of the mesh shelves would have sleeves sewn along all four sides through which the pipes of the frame would be inserted. Then the pipes would be connected via the 3 and 4-way joints, putting the shelf under tension. In this way the shelves would stabilise the whole structure.

I already had some plastic piping left over from making a collapsible niddy-noddy, but bought the rest from Wickes, then cut it all into the correct lengths. I borrowed a plastic pipe cutter to do this, which gave nice neat and smooth cuts which would facilitate threading the pipe into the shelf pockets. The 3 and 4-way joints came from ebay, as I couldn’t find them locally. However, if you decided to make one of the racks, do try a local plumbing store if you have one first, before going online.

So I had the frame and it fitted together, but then winter came so fleece washing ceased and access to my sewing machine was limited by building work. But I went ahead and ordered 3m of fine mesh fabric for the shelves in anticipation of getting started when I could.

Sadly, when I finally got to sewing the shelves, the mesh proved to be too fine, overstretchy and delicate, so it was back to the drawing board. This time around I sourced a much sturdier, low-stretch mesh fabric on eBay. It was pricier, but fitted the bill really well. Luckily I found some seconds of the danger fabric, which helped keep the cost down. I also decided to use Calico I already had to sew smooth, non- stretchy sleeves for the pipes so that it would make it much easier to slide the shelves on and off the pipes. The sleeves would also make a stable attachment to the between shelf and pipe, and hopefully reduce stretching and drooping of the central, mesh shelf. As usual, cutting out and sewing took some time because I was doing it around other things.

Finally it all came together. Probably too late to test on a fleece this year, but it might work in the greenhouse if necessary. I hope the shelves will not droop under a layer of damp fleece. I spin it after washing, so hopefully it will support the weight.

I guess it would also work for herb drying.

If you would like the instructions for making this fleece drying rack I will add them in a few weeks time.  Please pop back to this page to download the instructions.

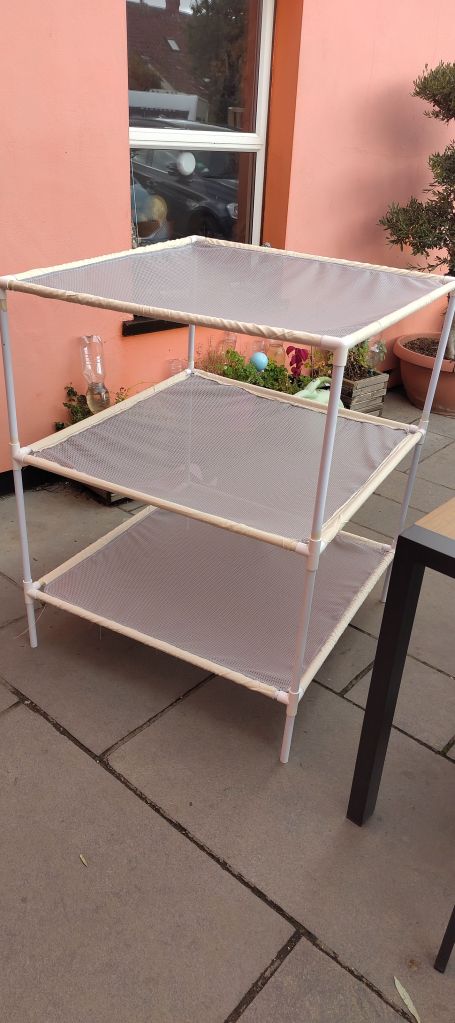
The finished rack
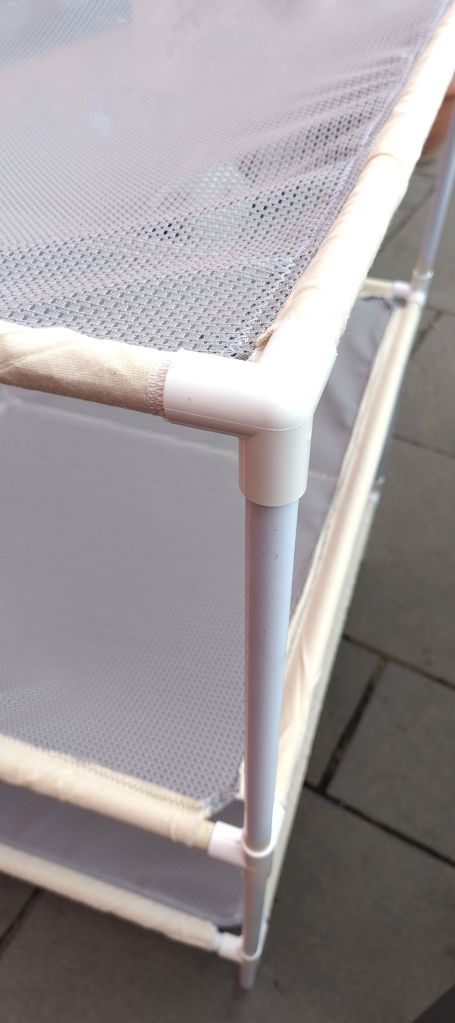
The top, 3-way joints
Middle 4-way joints
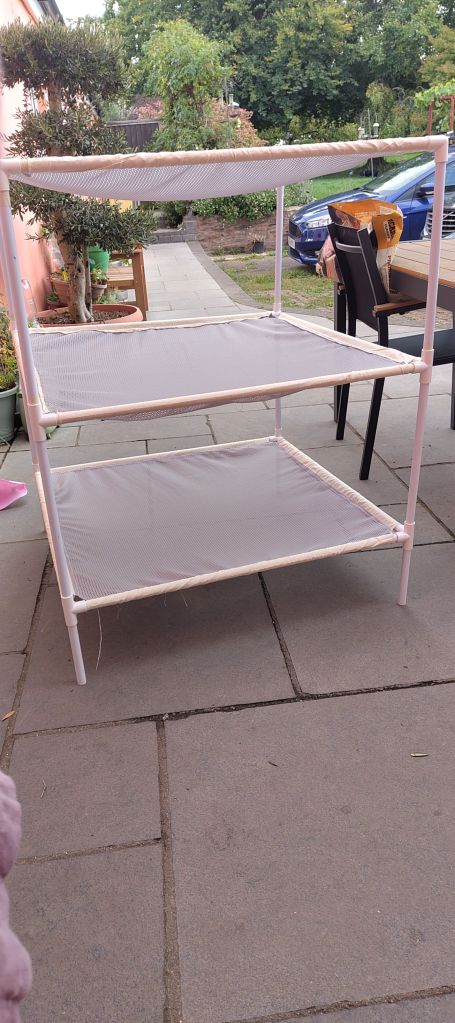
Legs are interchangeable, so the shorter ones could go in the middle if desired

Solar dyeing from the garden waste

As mentioned in my previous post we have a lot of fruit in the garden, a large amount of which is from a prolific Mulberry tree. I’ve made jam,  jelly, syrup, sauce, dried them and made fruit leathers. Plus Ross is making wine from three kilos of them.

One of the problems with mulberries is they have big pips and a stalk that is difficult to get out. Many of the things I’ve made have involved cooking the fruit up and then putting it through a Mouli or nylon sieve to get the pulp and juice and then working with that. As we have a lot of apples I use the windfalls to make pectin and sometimes add a few apples to give some body to the pulp.

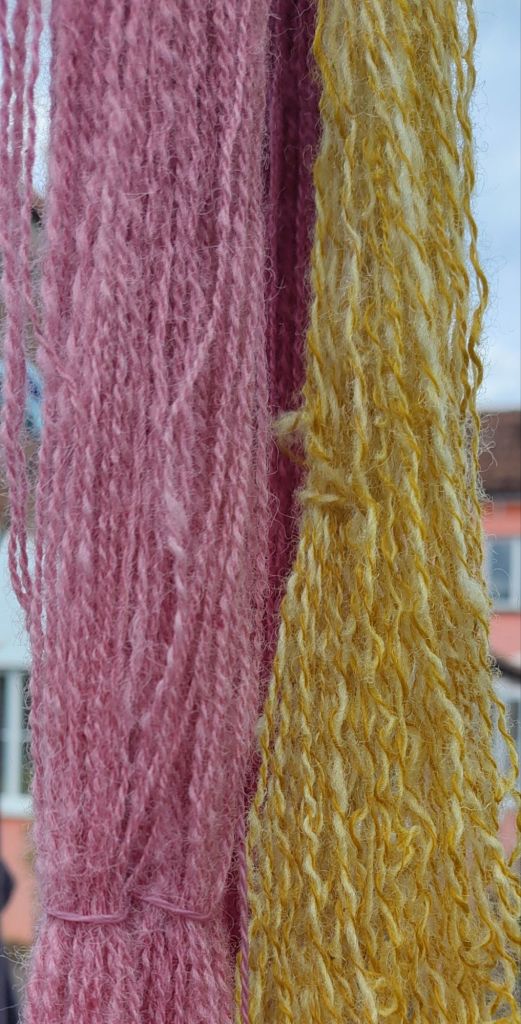
Of course you end up with a lot of mulberry mush with pips and stalks in it. However this still retains the really strong color, and staining ability, that the complete mulberries have. So I decided to do some dying with the pulp. Last year I solar dyed with raspberries, which gave me a gentle pink, so this year I worked with the mulberry pulp in a similar manner. I use my own handspun yarn and solar dying with the mulberry pulp, which gave a pretty, pale crimson. I boiled up the mulberry mush again with a bit more water and added any berries that hadn’t been good enough to go into the jam. When I thought I got as much color into the liquid that I was going to get I strained the liquid off through a fine sieve, being careful not to squash the pulp through as well. The liquid went into a big jar with 1% alum solution, some salt and a dash of white vinegar. After a good stir  the dye jar was ready. 

Before I started all this I had put a 100g hank of handspun wool  yarn to soak in hot water with washing up liquid and a little bit of soda. Although the yarn had been washed already, this extra soak and the soda in particular, removed any remaining oil, ready for it to take the dye. The yarn had been spun and plied 2ply from a Lleyn fleece.

After rinsing and removing extra water from the yarn I put it damp into the dye jar, put the lid on and gave it a good shake to distribute the dye around you the yarn. My plan was to shake the jar every day whilst it sat in the sun for a week to ten days, but I forgot so the hank is a slightly lighter colour one end, which is pretty but not a solid color I had intended.

I follow the same process with marigold petals that I’d gathered  when deadheading the marigolds I’d grown this summer. These had been left to dry and were cooked up and strained in the same way as the mulberries. After removing this yarn, which was only a small hank, from the dye jar I found that one of the singles had taken the color much better than the other. This is because the 2 ply yarn on the bank was plied from two different fleece singles that were on odd bobbins, and I don’t remember which  forever either were from. So an interesting dye experiment, but lacking the control of knowing the fleece type.

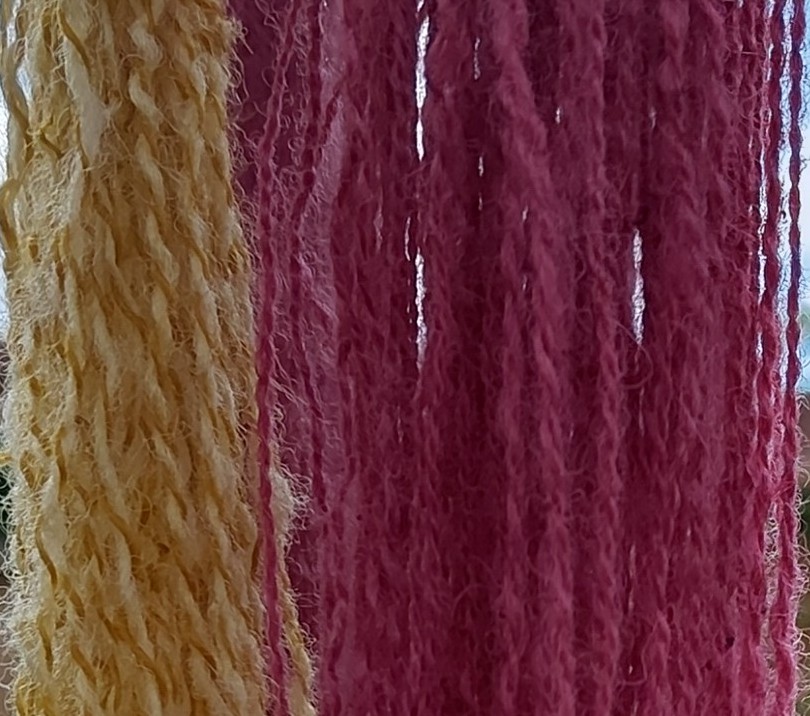
On the left is the mulberry and on the right is the marigold dyed yarn.

Ready to spin

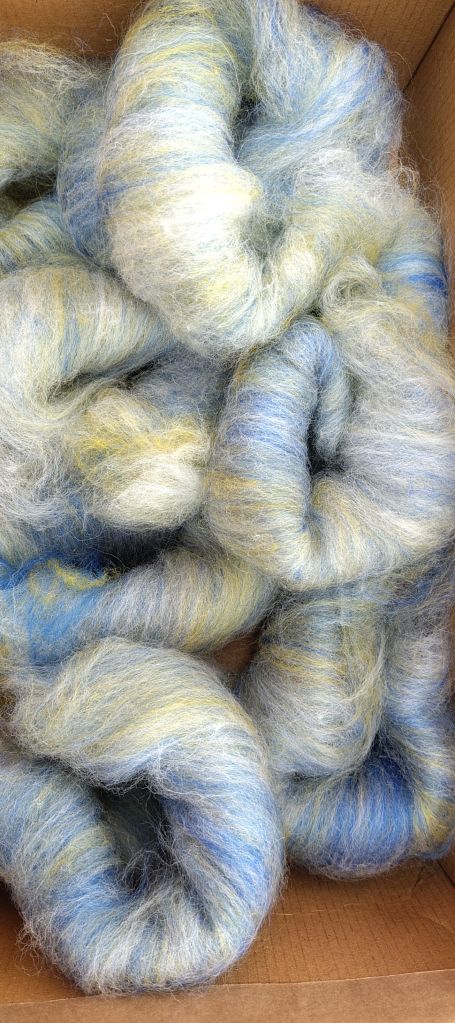
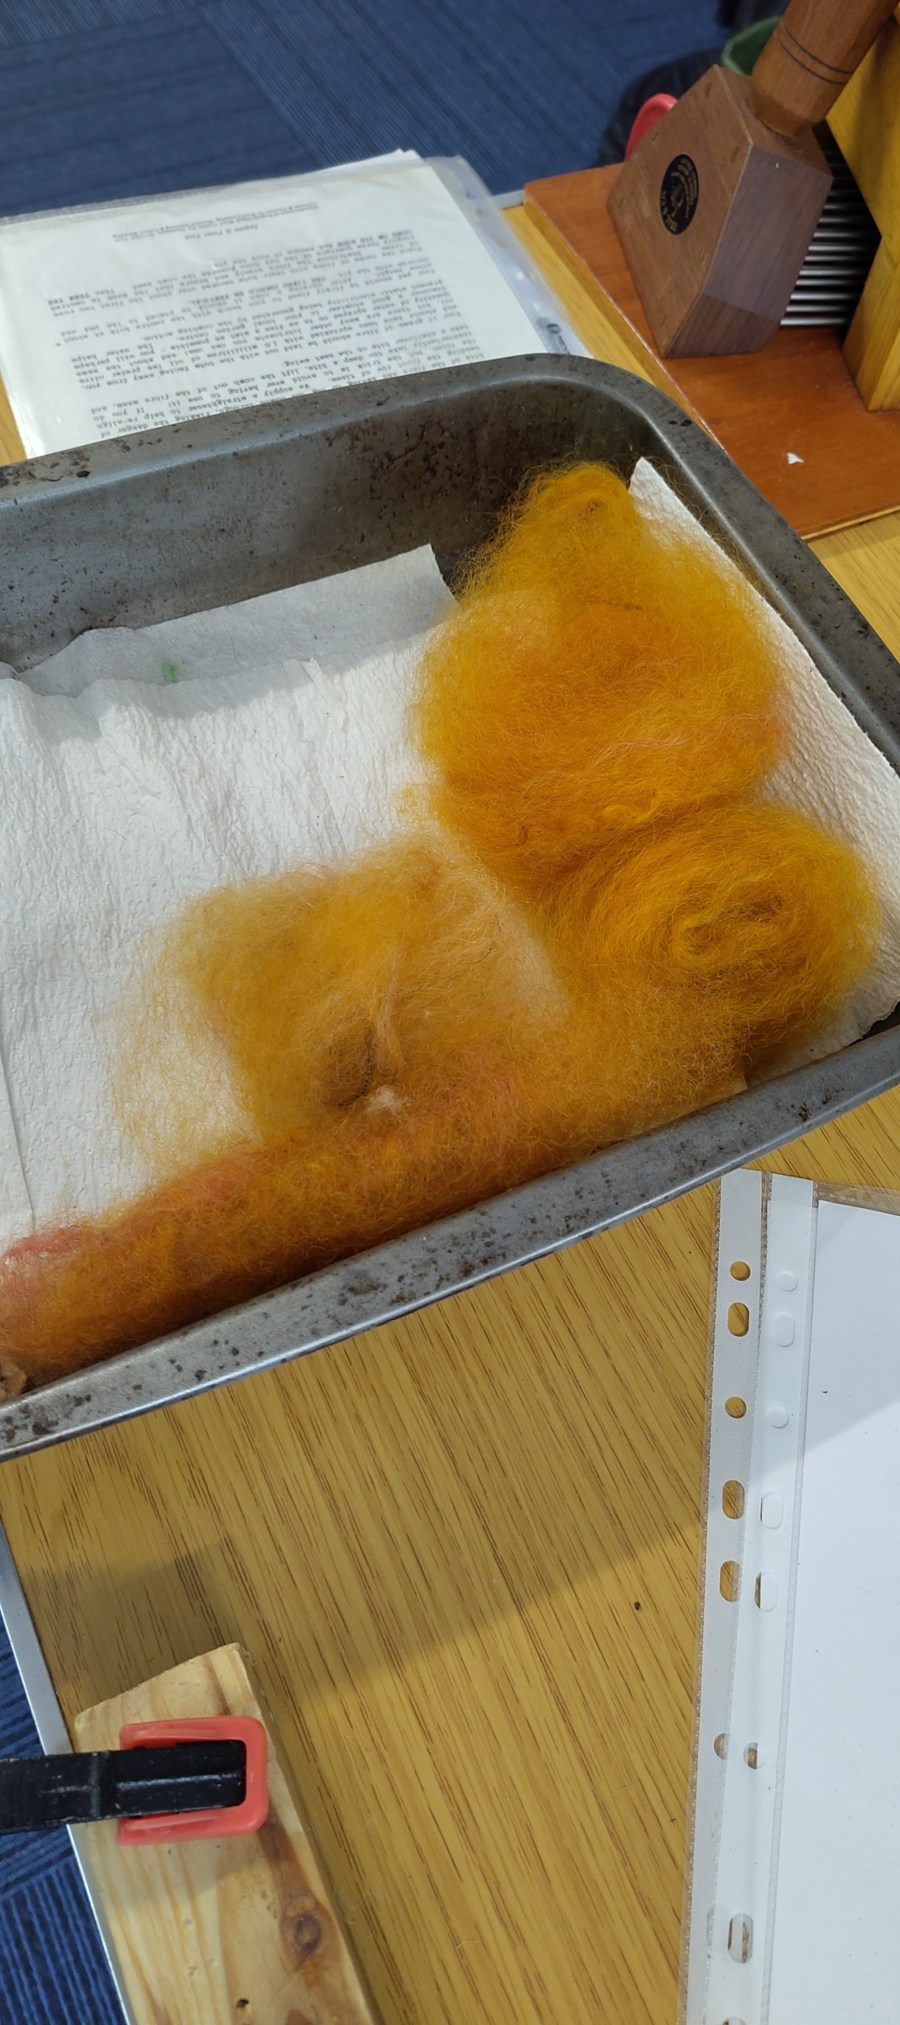
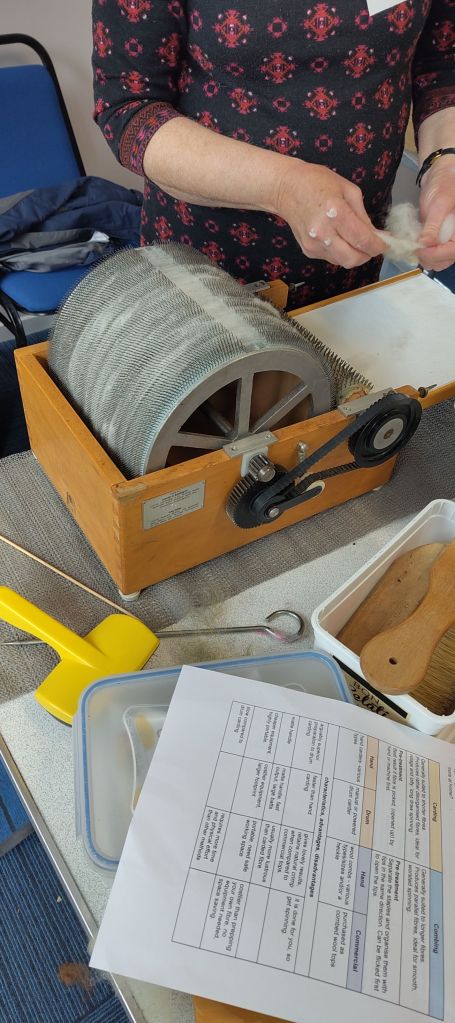
An hour spent blending on the drum carder has got me set for some serious spinning.

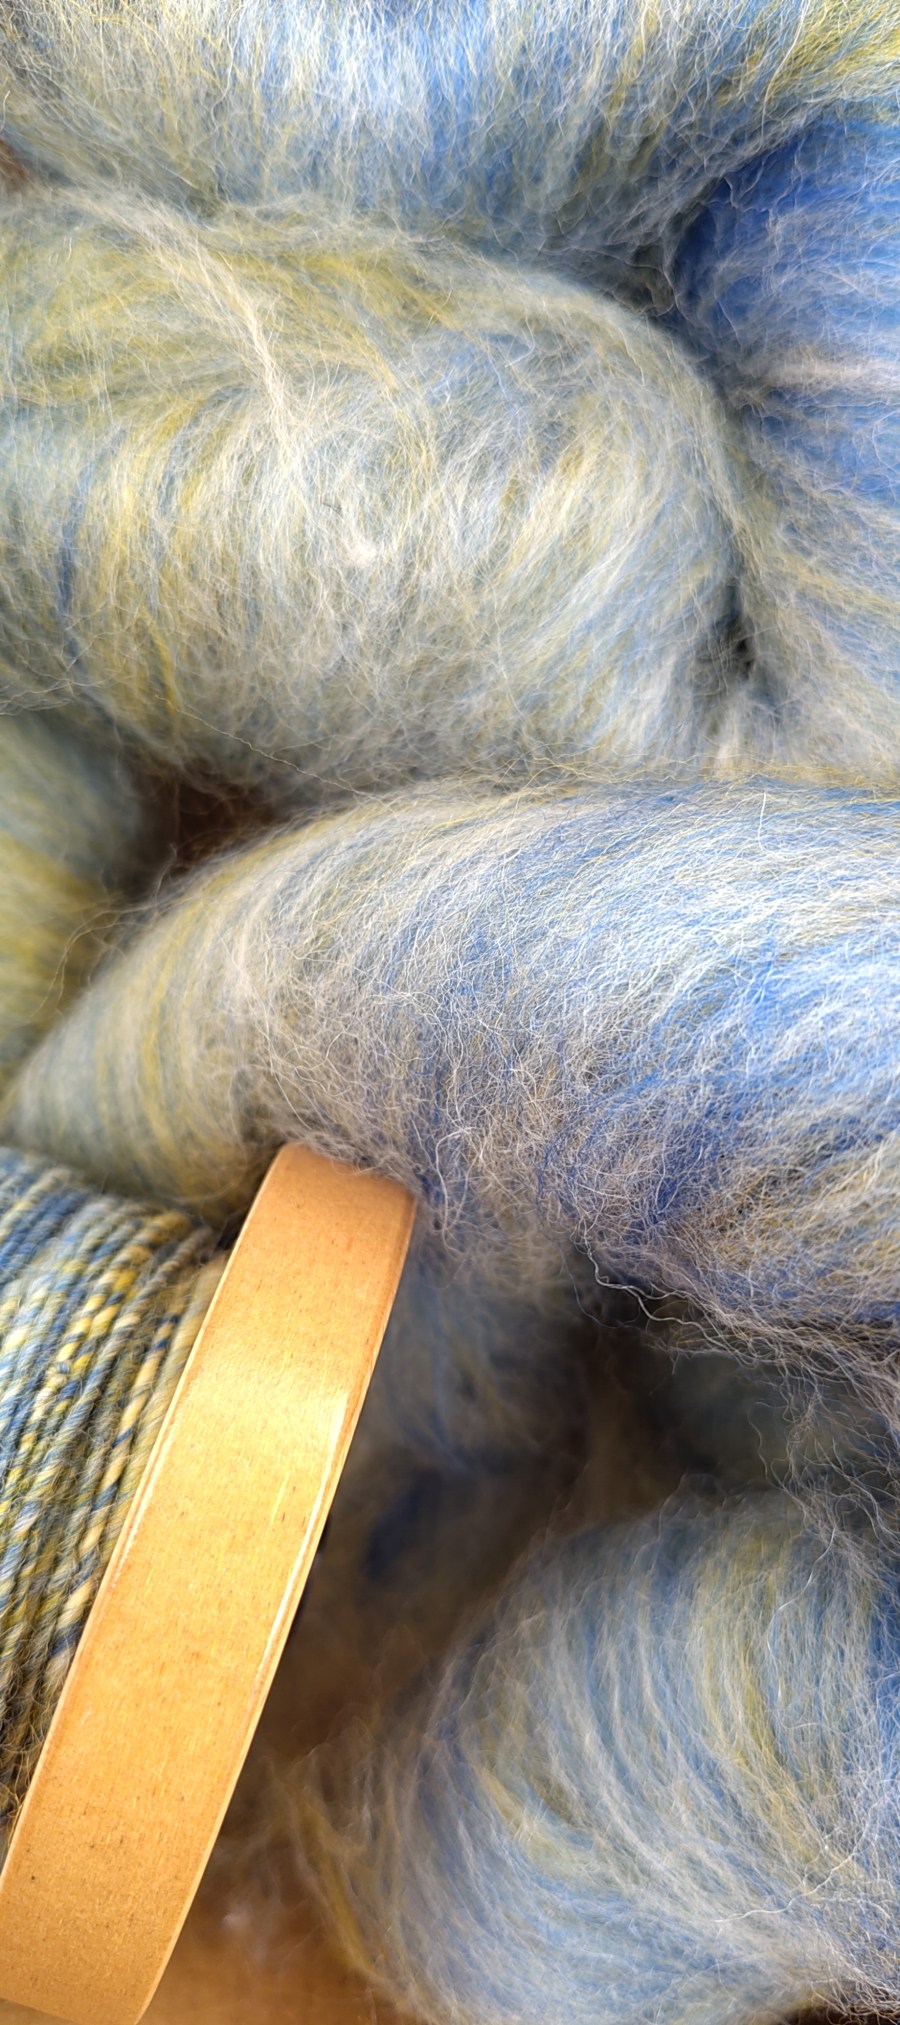
The yellow and natural are broken Merino tops that I picked up at the John arbon Open Day last year.  I’ve blended these in equal parts with a very strong ultra marine blue which I won in my local Guild raffle.

I tested this first on hand carders and it produced a very nice yarn so now I’ve done it in bulk and taken rolags of a batt from the drumcard.

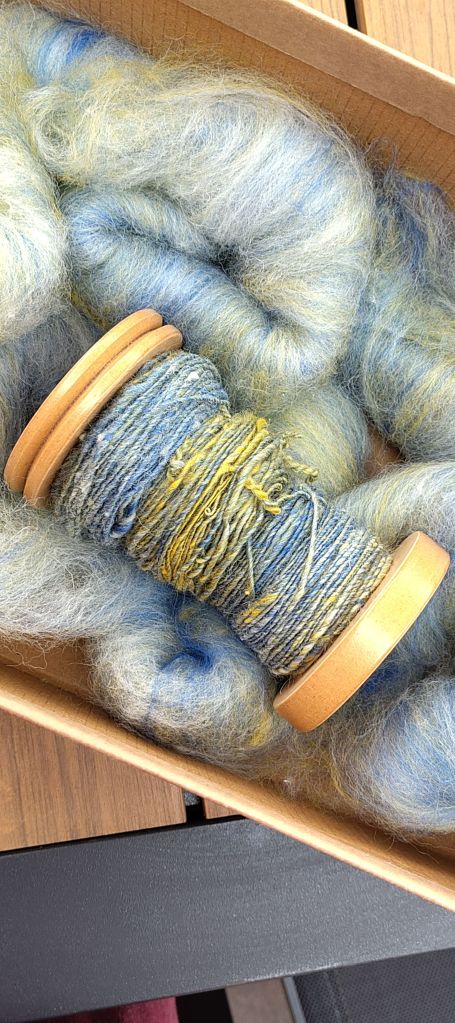
The singles so far.

I’m aiming for a 2 ply hand knit weight yarn, so spun the singles trying to let in a bit more fibre than I usually do. I read once that as you become more proficient at spinning you tend to spin finer, and that does seem to have been the case. Not that I’m claiming to be brilliant at it, just more practiced than I was.

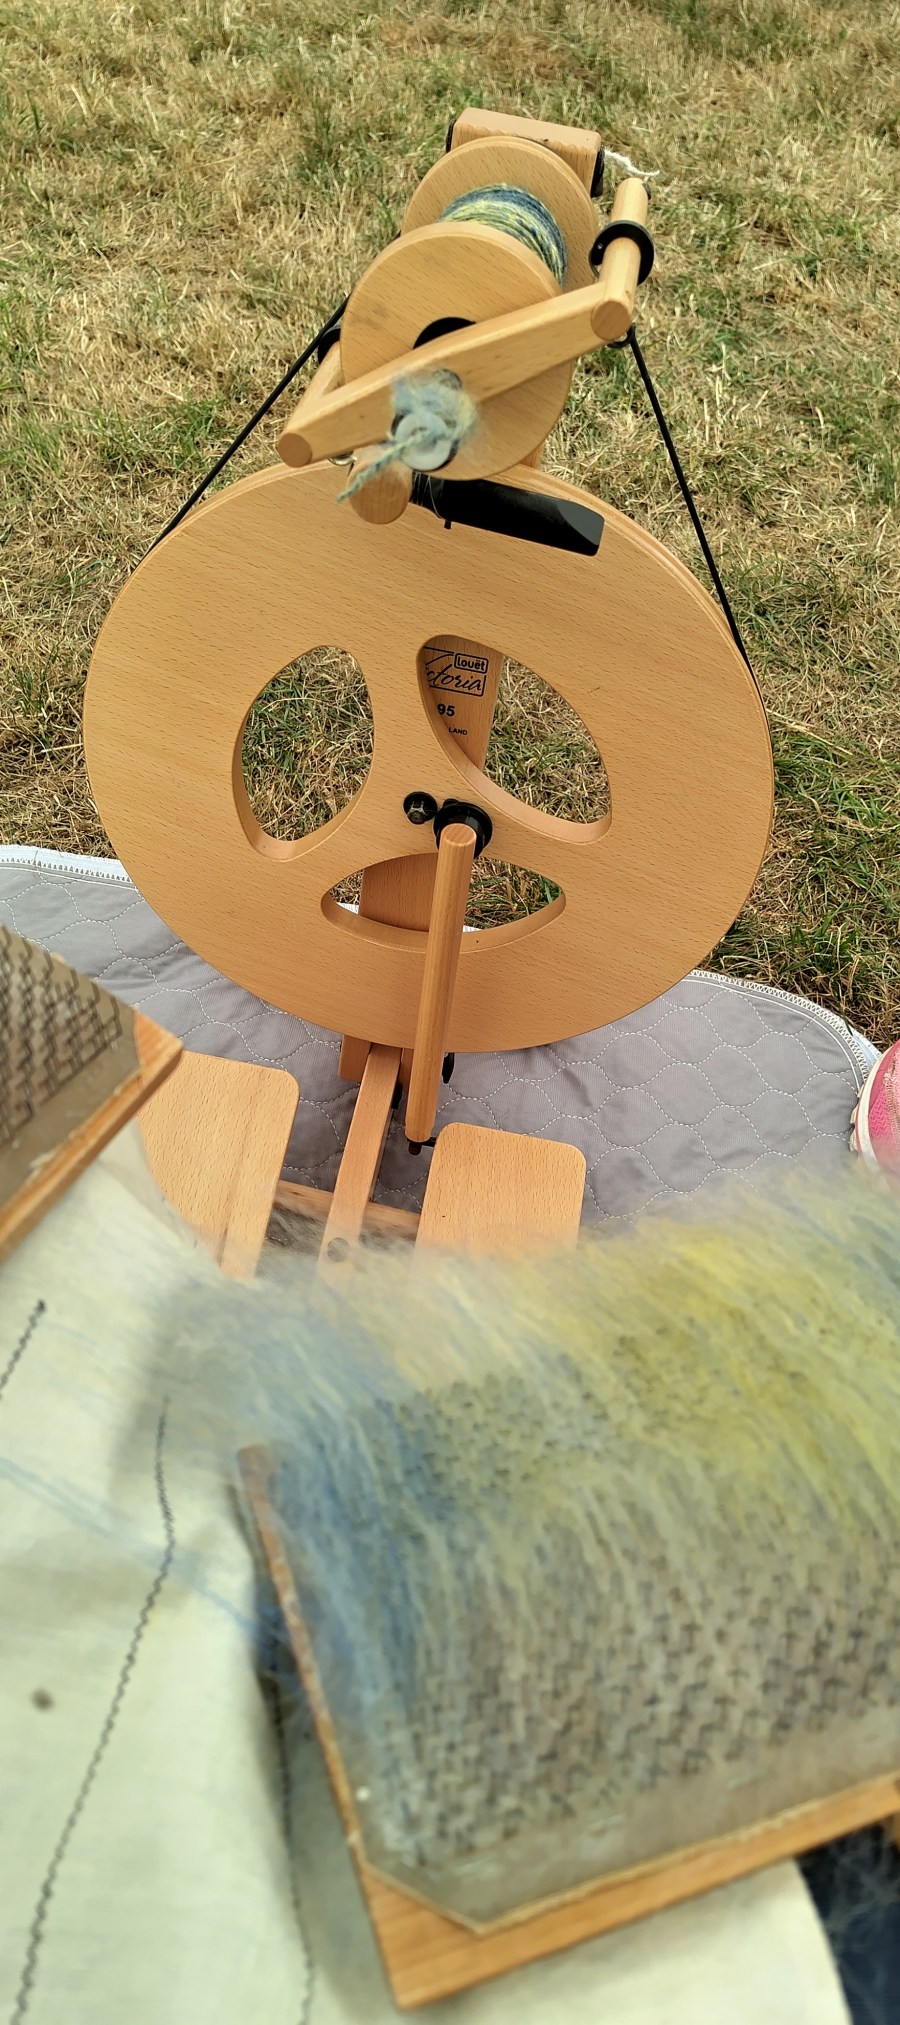
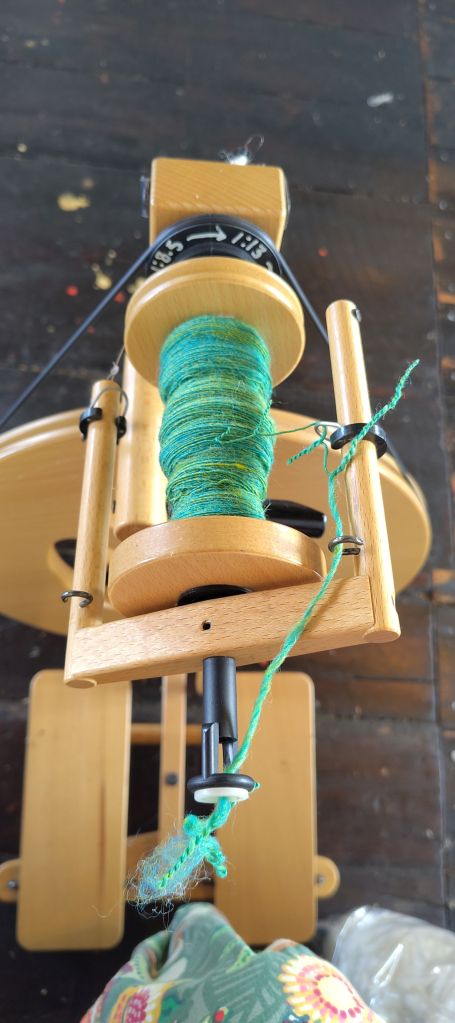
This was spun the 1:8 whorl on my Louet S95 ‘Victoria’, which is the little folding portable wheel I take out to demonstrations. I aim to ply at the same ratio although I know it will probably work out a bit less. I am looking forward to spinning and plying this.

Spinning at the WSRA Steam Rally

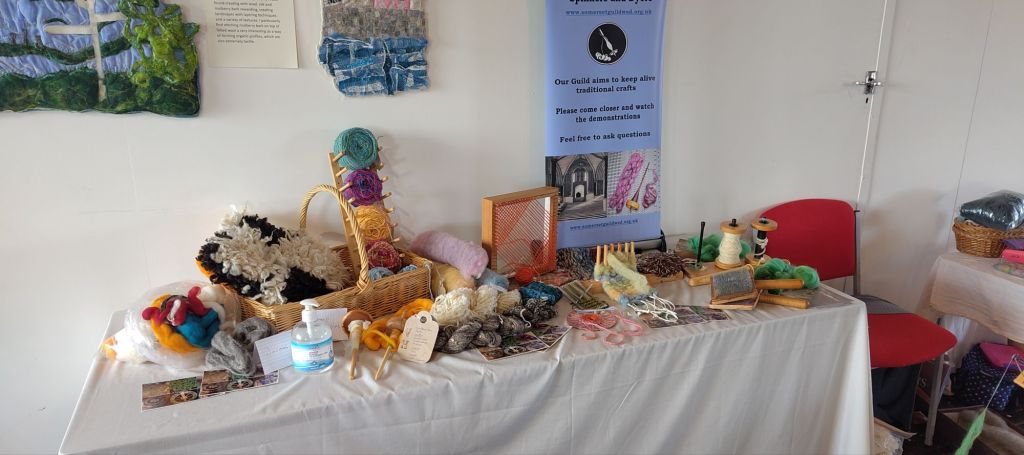
Today I’m with the Somerset Guild of Weavers, Spinners and Dyers,  demonstrating spinning at the WSRA Steam Rally in Norton Fitzwarren. I have brought my dinky Louet S95 Victoria with me and a trolley to take it all back across the showground.

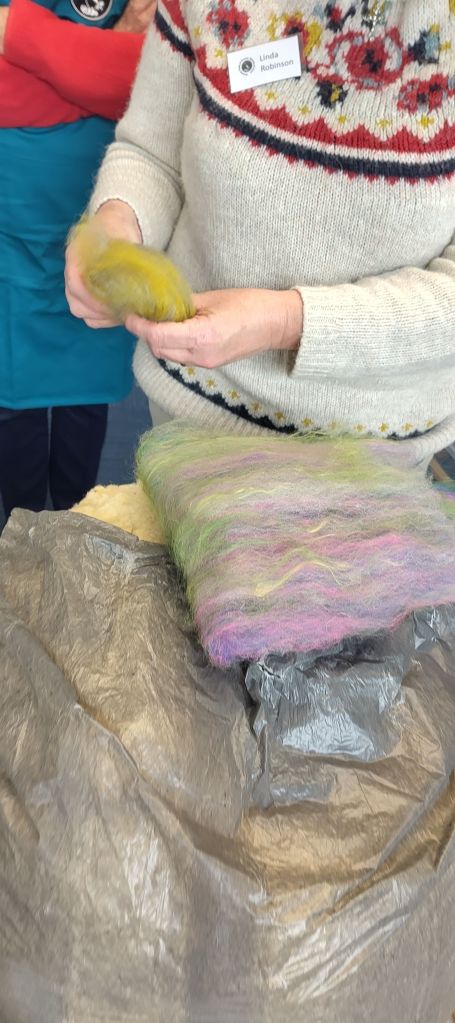
 Because plain colour fleece doesn’t always look so interesting to the public I am blending yellows, now and cream tops on hand carders make a heathery yarn. 

https://www.somersetguildwsd.org.uk/

https://steamrally.org.uk/

Blending coloured tops on hand carders

Somerset Guild of Weavers, Spinners and Dyers Skill Share day

Yesterday, Easter Saturday was the Guild Skill Share. There were many generous members who shared their knowledge and skills in weaving, knitting and spinning related sessions.

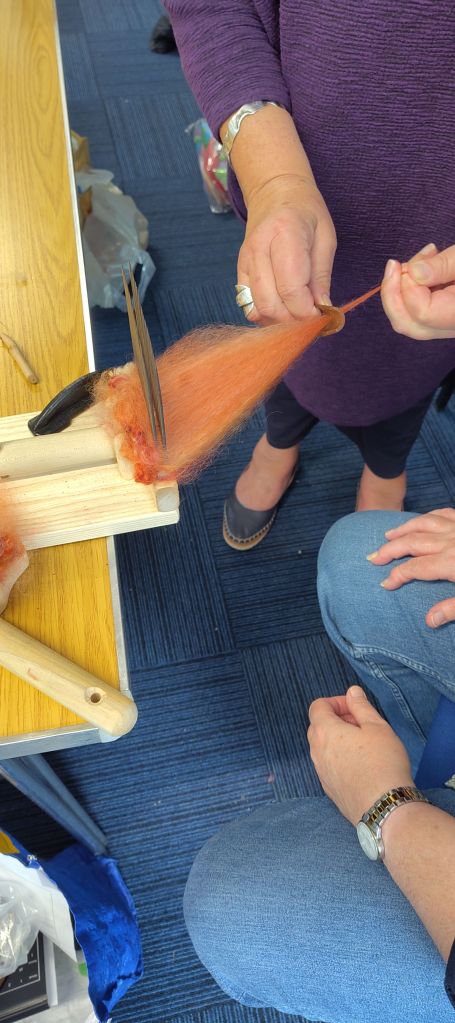
Kathy and I offered a Wool Fibre Preparation day so that members could have an induction on the Guild equipment or bring their own carders and combs etc. along to learn how to use them or just pick up some tips.

The morning was all about using swing or box pickers and hand and drum carders plus how to use these for blending. After lunch we tackled wool combing using a  pair of English Combs and smaller Valkyrie ones plus blending in a heckle.

We enjoyed running the session and everyone seemed happy. After my initial H&S talk it was me that pricked my finger on the combs!

Sock mending this evening

It’s a howling gale outside tonight, so the place to be is by the fire doing a bit of mending. The subject is a pair of socks machine knitted from my hand spun yarn. These sticks are like , ‘Trigger’s broom’ from Only Fools and Horses.

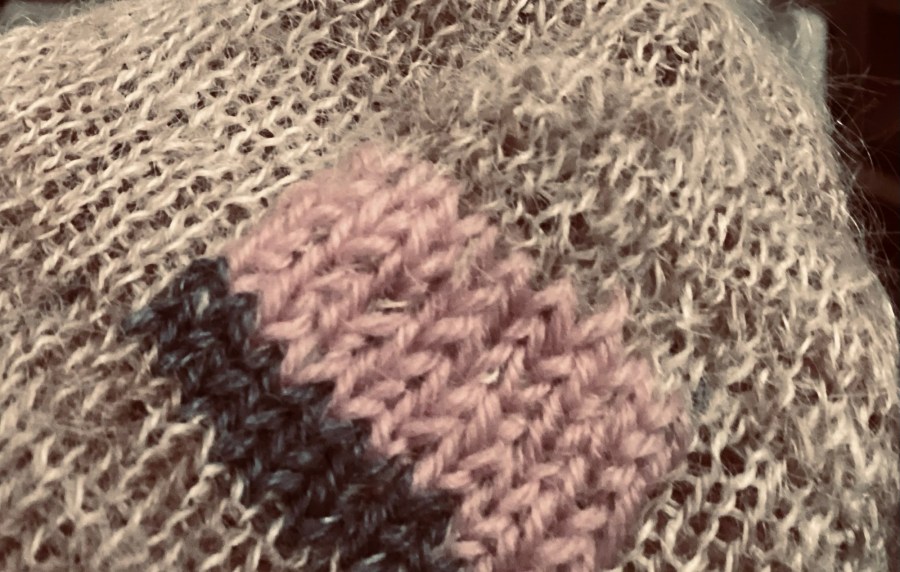
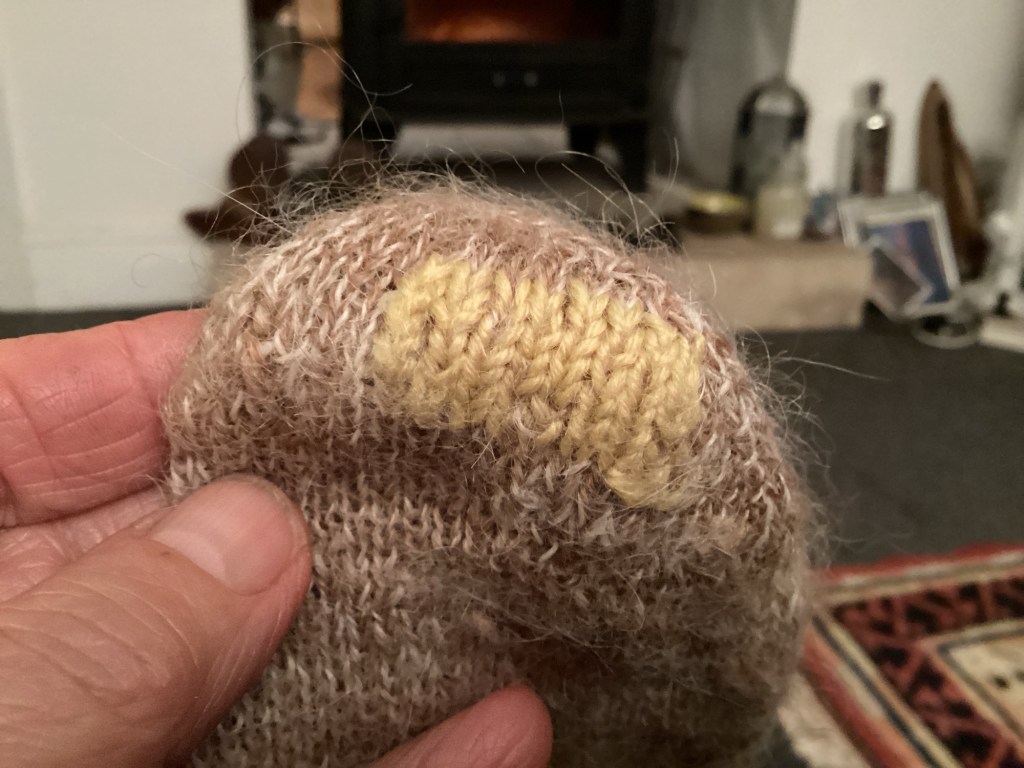
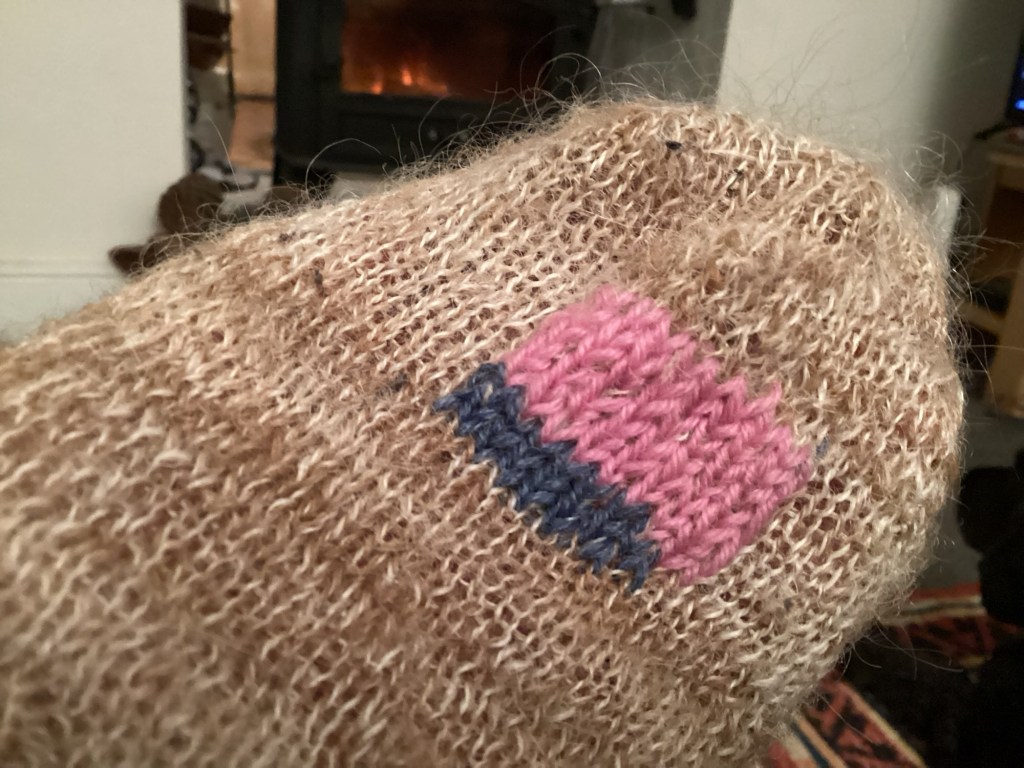
I plied the yarn from singles of Alpaca and Texel fibre, but did not include any nylon. Consequently, but after a reasonable amount of wear they have begun to thin and finally the stitches have burst. First of all the big toes went, and now the heels.

I had a little of the yarn left, but now it’s onto improvised and colourful mending…

The toes that were mended a while ago
Todays heel mending

I used one of those little mending looms for the toe repair, but the heels have been done ‘freehand’ using a technique from a 1970s mending book. I bought this useful book secondhand when a penniless student in the 80s, well before ‘slow textiles’ and ‘visible mending’ became a thing. Since then, useful book has helped me extend the life of many items for reasons of economy and necessity rather than fashion. Now my mending is on trend and it’s good to see the skill encouraged by a plethora of modern books on the subject.

Making the most of the sunshine

How often do we have such gorgeous weather in May in the UK?

So I decided to take advantage of it by having a swim and then sitting down with my spinning wheel to spin up some Jacob’s rolags I’d carded last night. What more perfect way of spending on Friday afternoon.

Ok the garden needs attention and I’ve got plants to plant out and I should be writing and all sorts of things, but sitting in the sun and spinning just seemed undeniable.

See more about machine and hand knitting and hand spinning on my ‘Vikkikit’ YouTube channel.