Punchcard patterning is one of the joys of machine knitting. Yes, they have been superceded by electronic patterning machines and designs can be drawn on a computer and downloaded, but the punchcard endures because it is such a simple idea.
Well, the principle may be simple, but the punchcards don’t always show what you will get when you knit them. I used to be very confused by what the holes did compared to the blanks, and I still do sometimes, but there are some pretty basic rules that will help remember what they do.
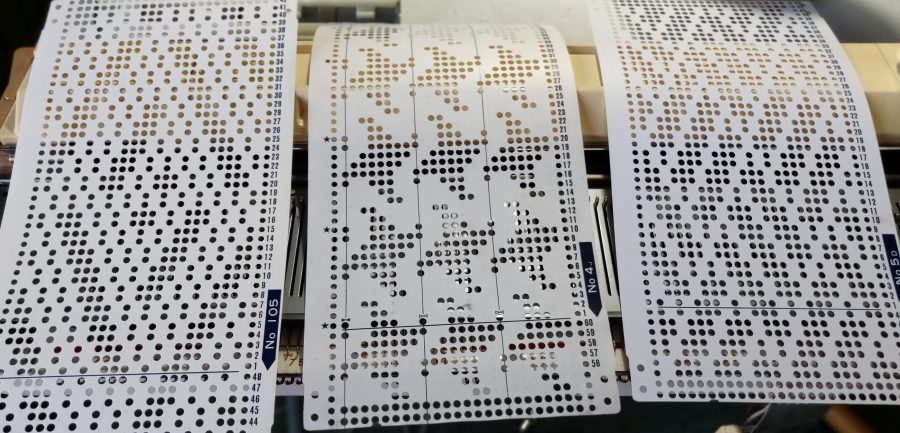
2-col-in-a-row, aka, ‘fair isle’ patterning is straightforward. The holes that are punched will knit the pattern/image you can see punched out in a second colour, on a background colour knitted where there are blanks. Hold the punchcard up to the light, or put it onto a dark, solid colour surface and you can see the pattern clearly.
Of course, what you do with that understanding is the exciting bit. When and where do you change the colours, in both pattern and background to make the design your own?
Or why not punch your own card on the basis of this understanding? Always remember that the float from a stitch made in a colour, should not ‘float’ across more than five stitches before it is knitted into a needle again. This is on a standard gauge machine, but can be a little further on a chunky, less on a fine gauge. Yarn, tension etc will also influence the floats. Fortunatley there are ways of catching these into the back which are explained in detail in my books, ‘Translating Between Hand and Machine Knitting’ and ‘Single and Double Bed Machine Knitting; the Designer’s Guide’.
Tuck and slip are a bit more tricky, because there isn’t a straightfoward image from which to work it out. Although some 2-col-in-a-row cards will work, these are the more geometric, allover patterns.
The base rules are:
Along a row, where one needle/stitch is tucking, it must be bracketed by needles/stitches that are knitting.
Moving upwards, no more than four stitches/needles should be tucked above one another, after which the stitch should be knitted-off with a knit stitch in the following row.
Tuck stitch lays the yarn into the hook of the needle instead of forming a completely new stitch. It is the diagonal ‘legs’ of these laid-in loops that create the pretty ‘star stitch’ effect of tuck. However, if these loops build up over too many rows they will fill the hook, pop off and drop the original stitch or tangle into the knitting.
Slip works in much the same way. Although a slip stitch merely lies across the non-knitting stitch, these will still build up until they flip the elongated stitch, non-knittng stitch off the needle, or snap the yarn.
Knowing how many stitches and rows can be comfortably tucked or slipped helps to ‘read’ whether a punchcard is suitable for the stitch-type, but only if you know whether holes of blanks tuck/slip or knit.
As a quick glance, rule-of-thumb type starting point, tuck or slip punchcards often have more holes than blanks.
