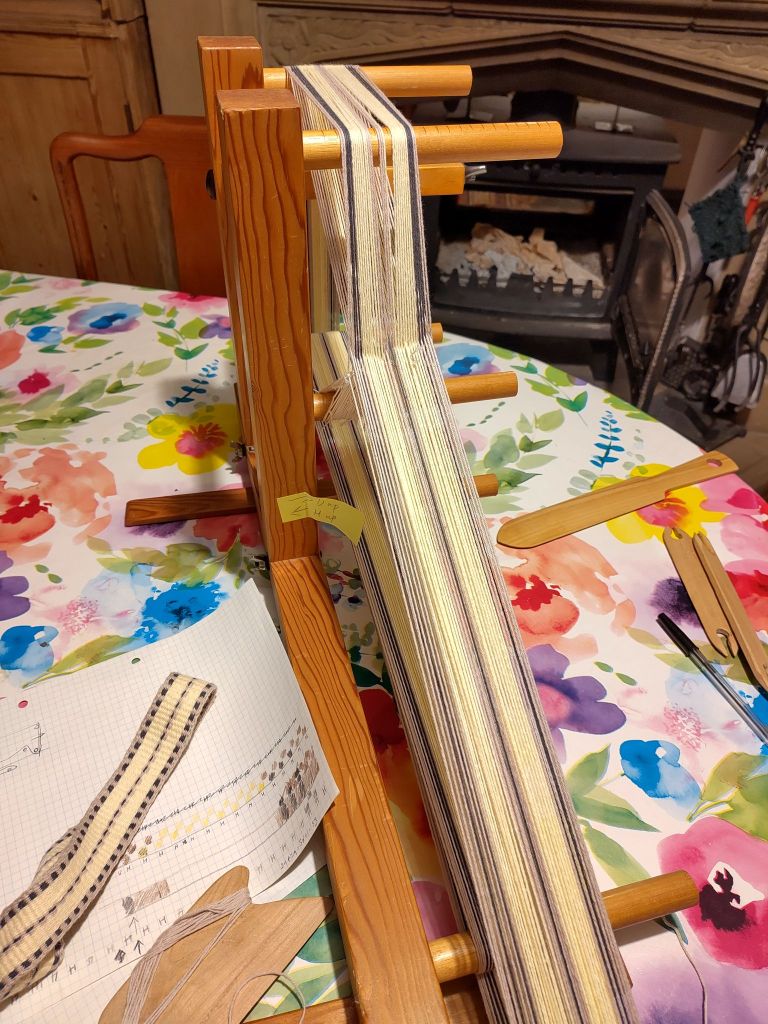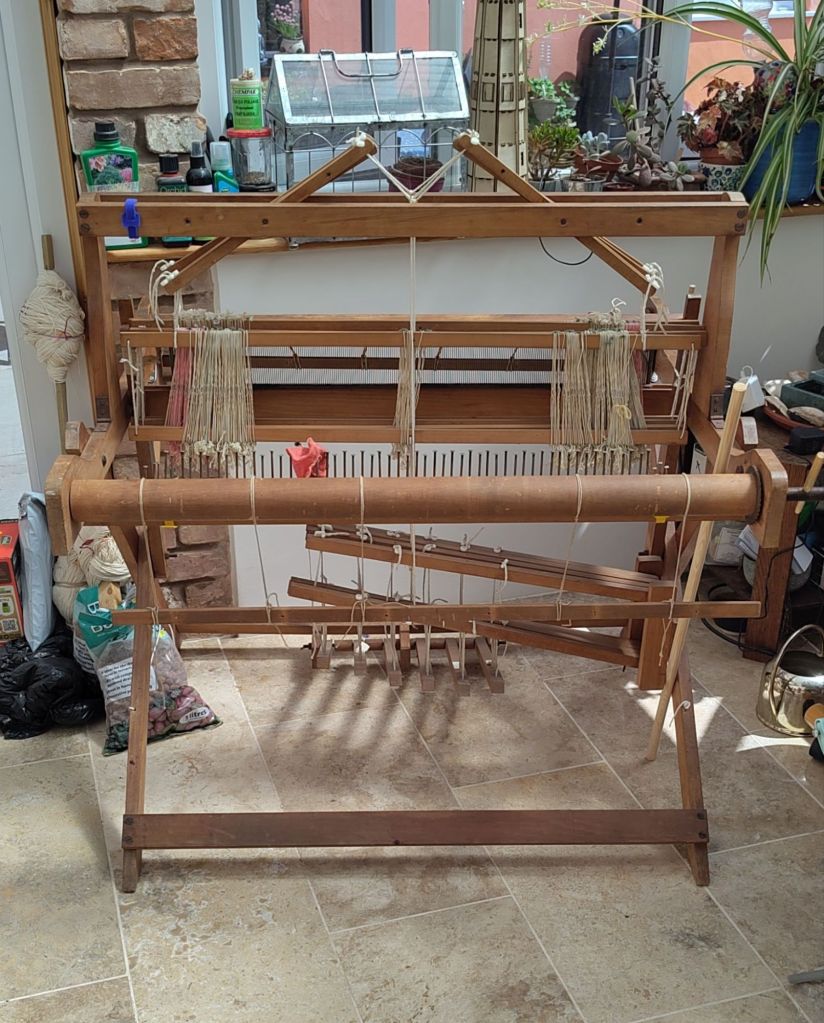
Its raining the proverbial cats and dogs here in Somerset, so it’s an afternoon indoors. I am threading up the warp for a baby blanket on my countermarche loom. Its only taken me 3 months to get this far!
With the last slice of Christmas cake and a cup of tea at my side it’s a pretty nice afternoon inside.

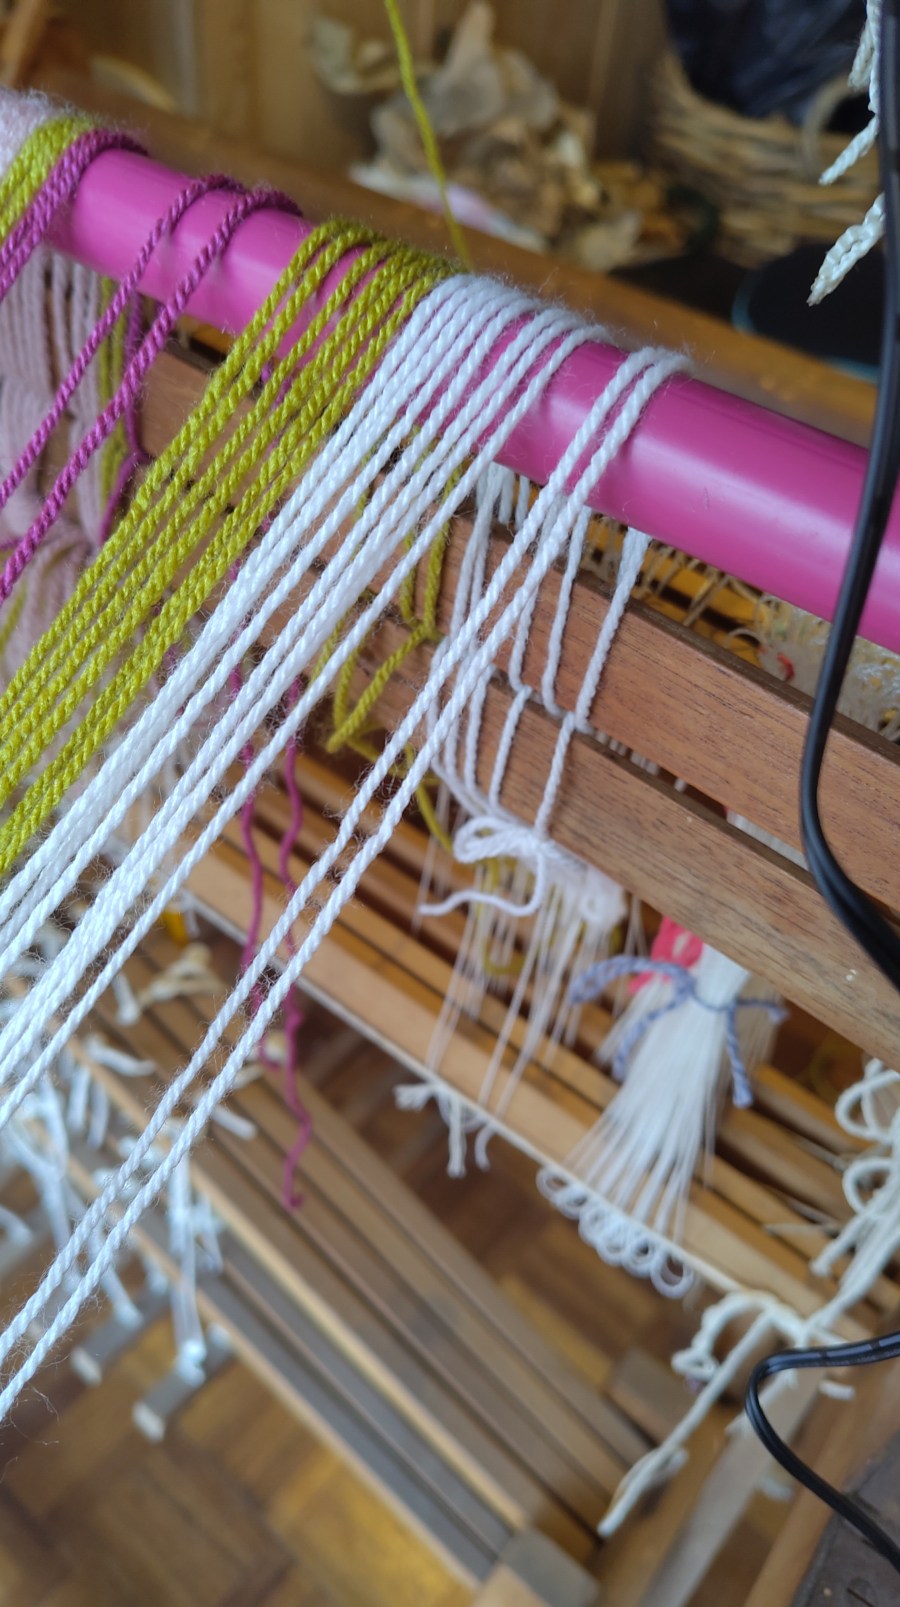
Of course that was then, and this is now. Somehow I have miscounted heddles and got in a right muddle. Its not such a lovely afternoon after all…
Update
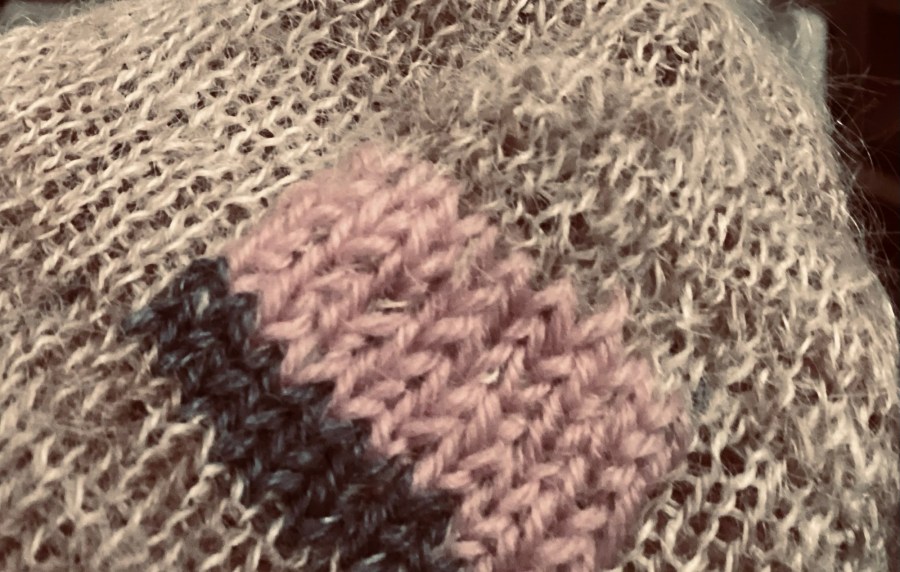
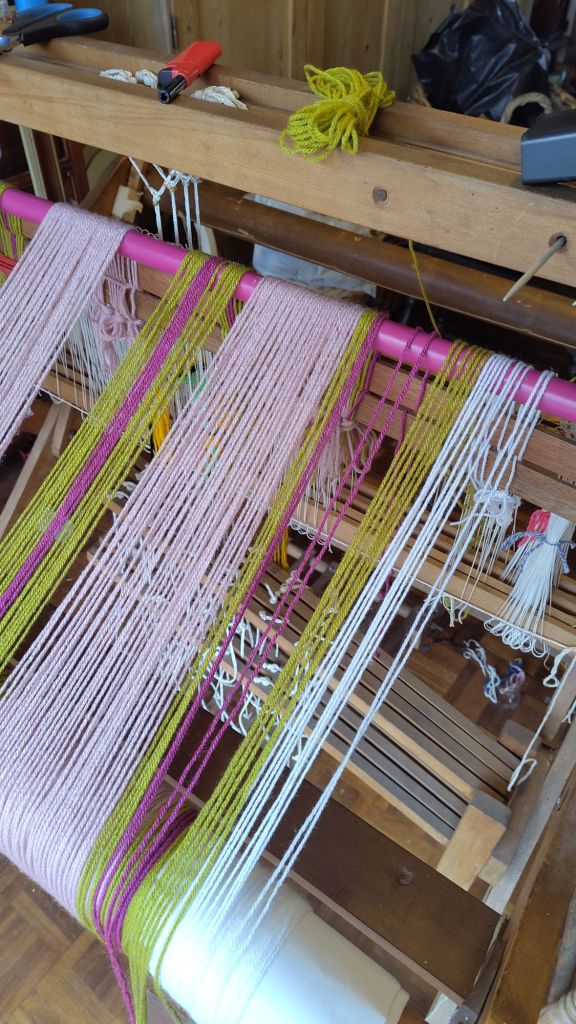
I am now 50cm into the blanket! How has it taken me this long you might ask. Well it took me ages to fine tune it, because I had some odd threads in my warp that I couldn’t get to tension right.
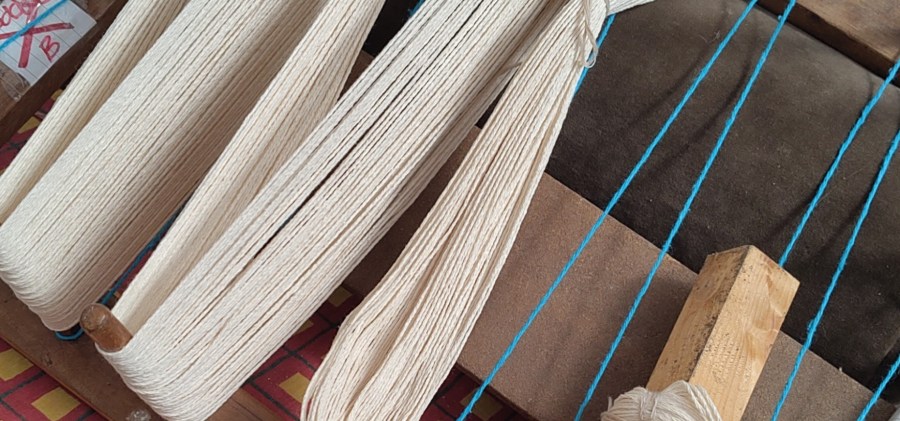
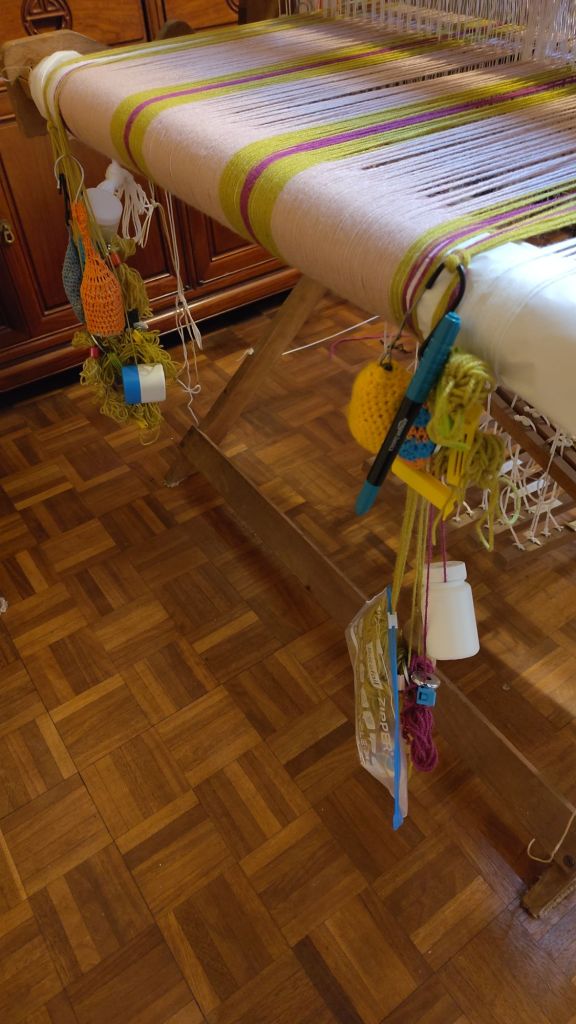
That’s sorted now I think at least for a while. The back of my loom looks like a right mess.
But seems to be holding now. I took the temple off to take the photograph, but it’s use is helping me keep my width, because one edge is still a bit wonky. My solution to that will probably be to bind it with ribbon as I did for my children’S blankets.
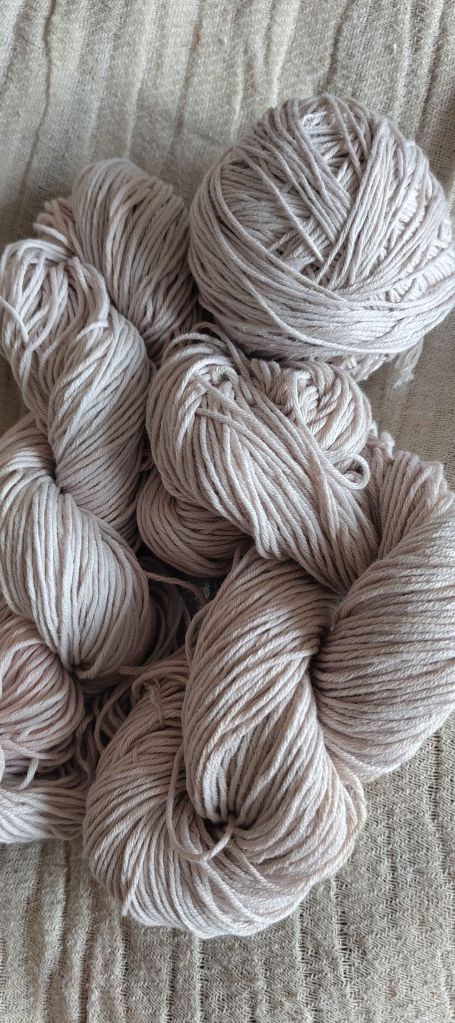
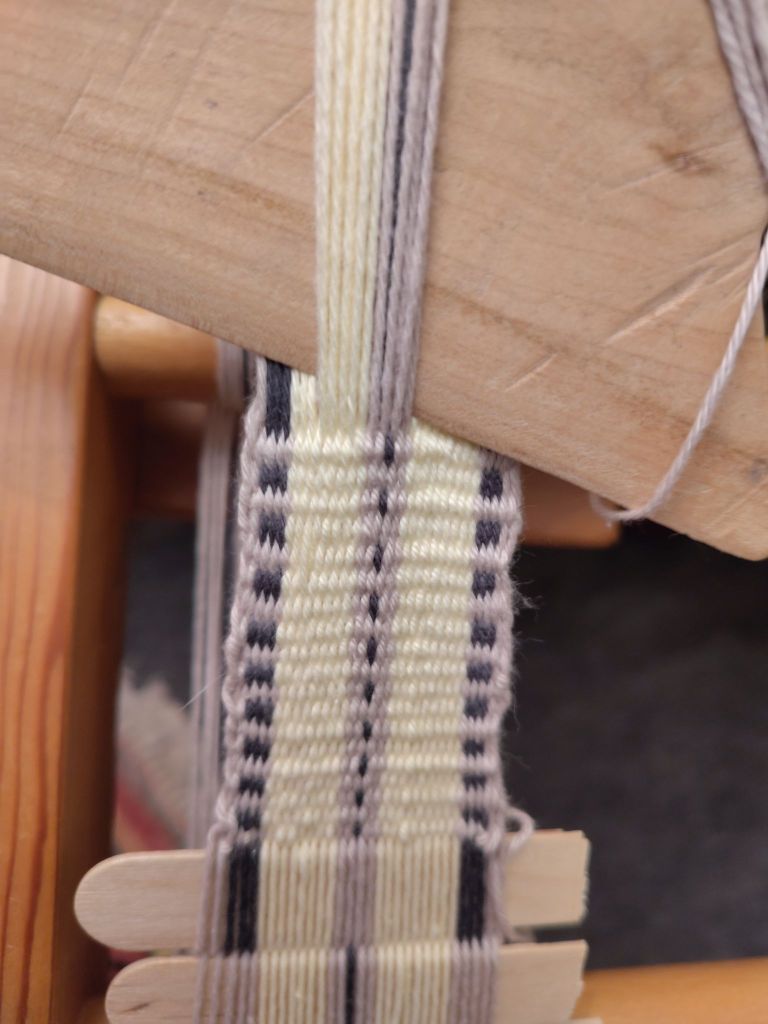
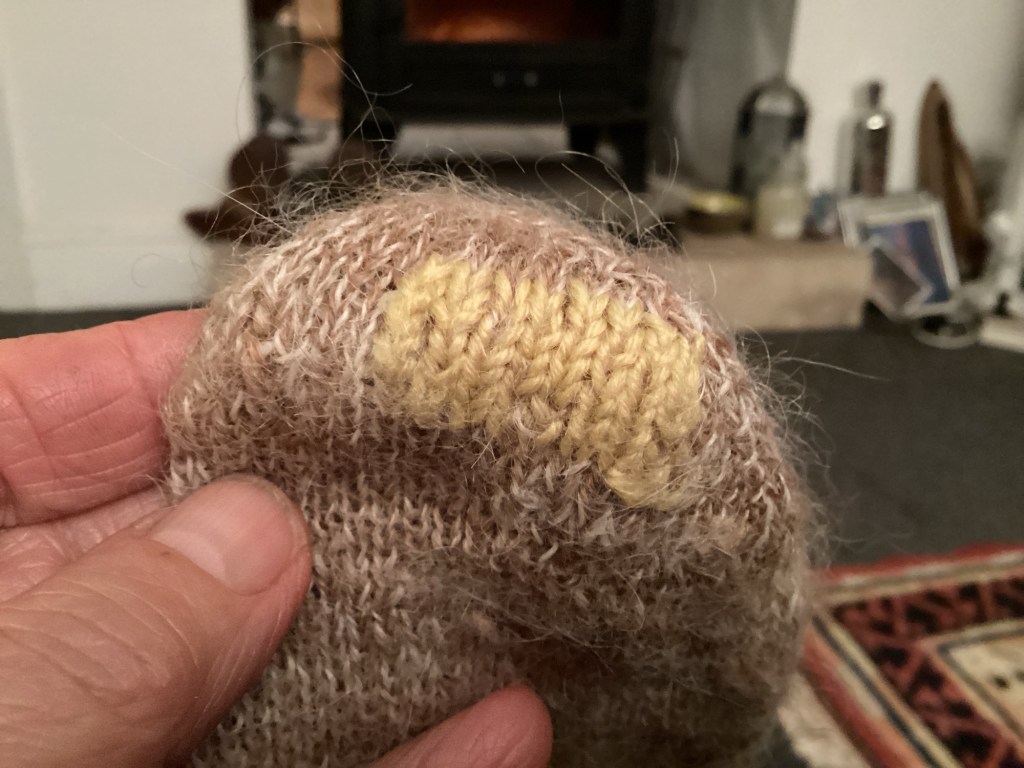
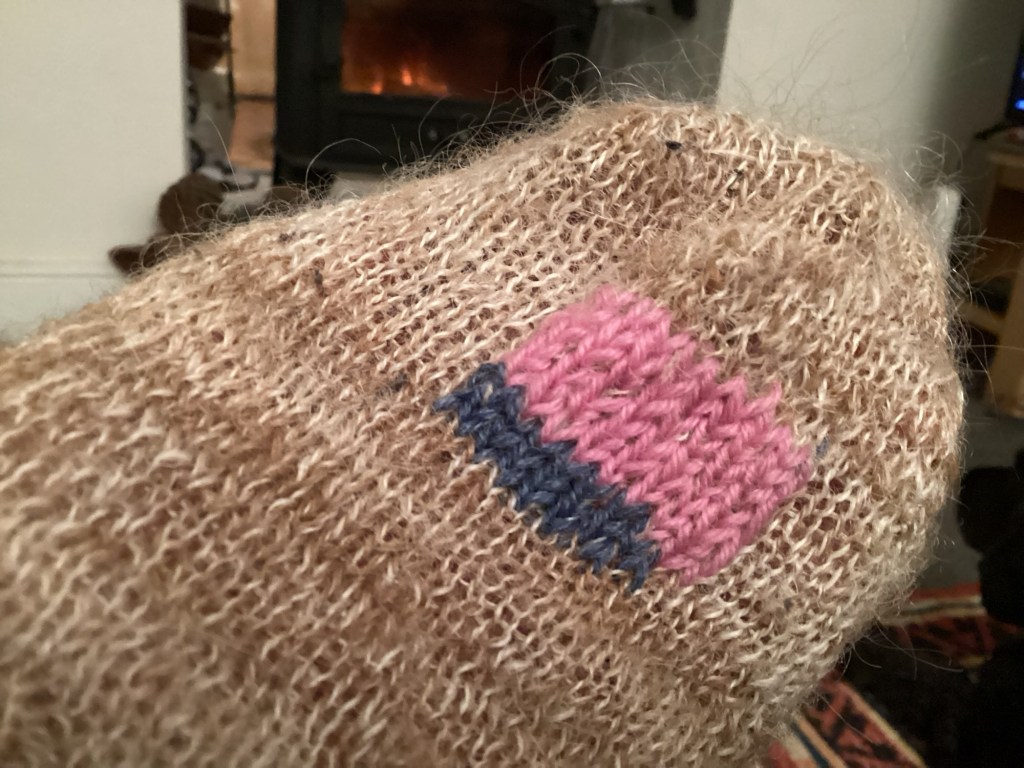
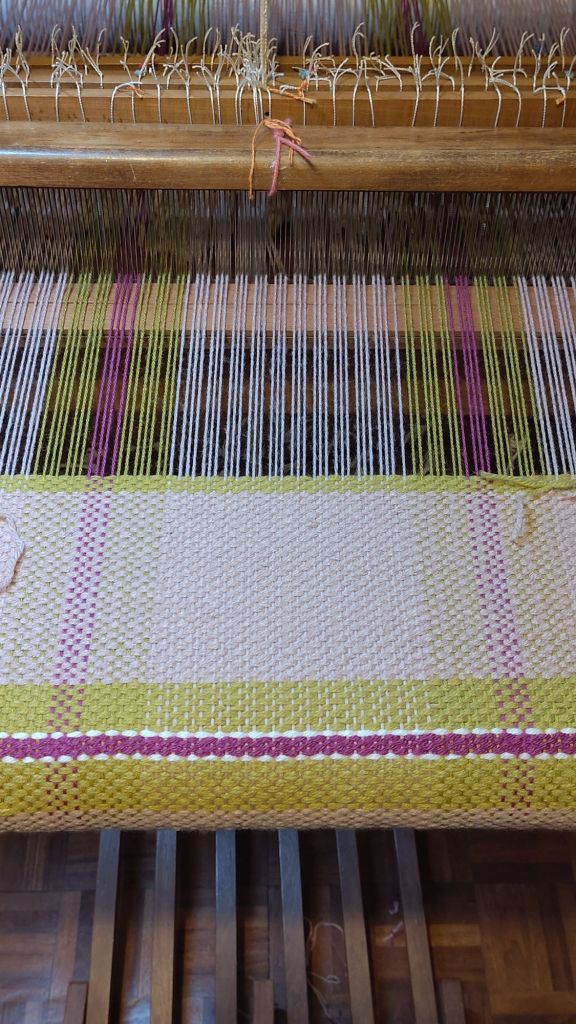
I’m using a double thread as the weft, not quite sure why after all this time since I started, but that was what I sampled with and it worked out OK. Part of the problem was I’ve got an 8 epi reed and I thought this double knitting weight yarn would work at 8 epi. However, I’ve had to space it out further to 6 epi, because it was too bulky, but then it looked a bit thin and weedy so I decided to use a double thread in the weft.
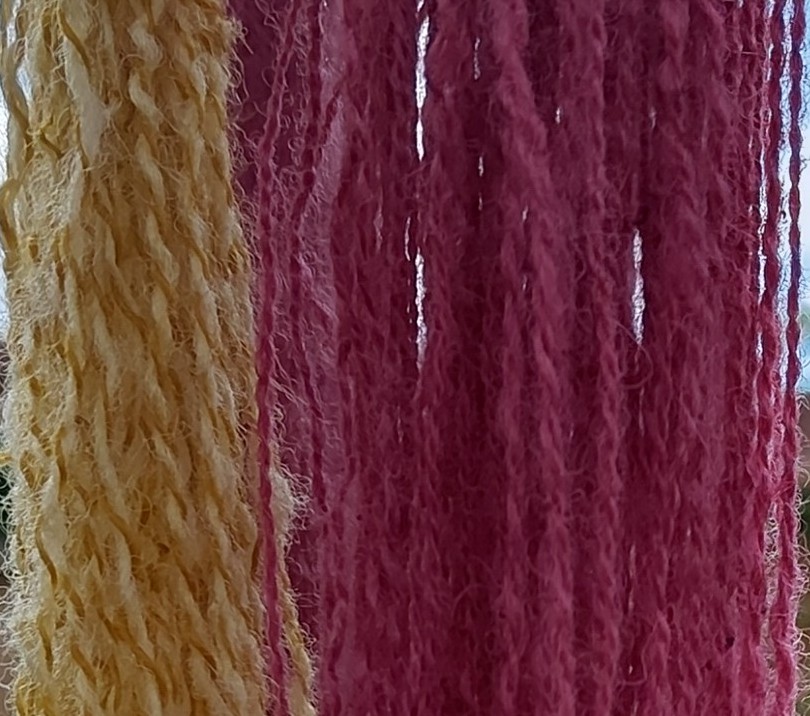
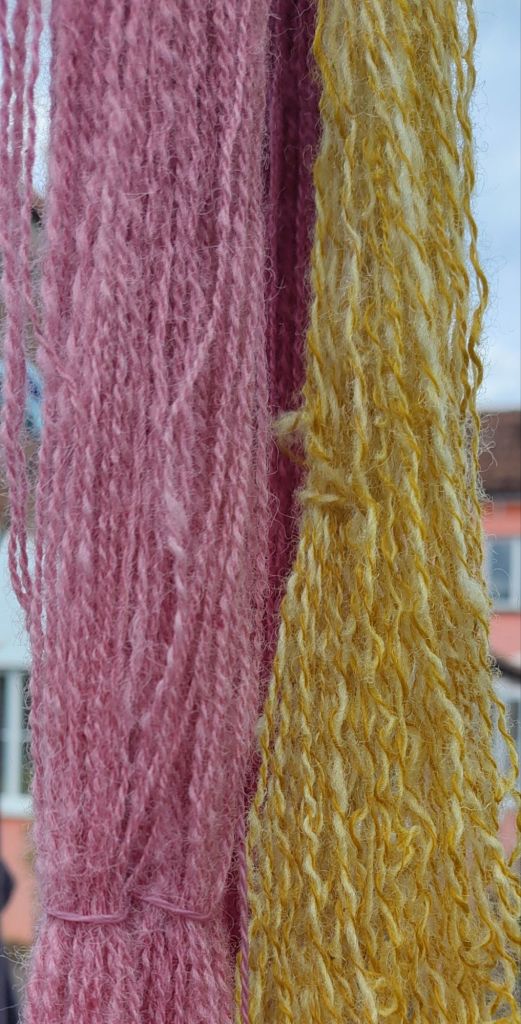
This double thread caused me problems because it was really fiddly to use two shuttles and I found putting two ends onto the bobbin of a boat shuttle meant I only got a tiny amount woven before the bobbin ran out. I have used stick shuttles for the contrast colours, but I really wanted to weave the main pink weft with a boat shuttle because it’s more efficient as I have a shuttle race on the reed.
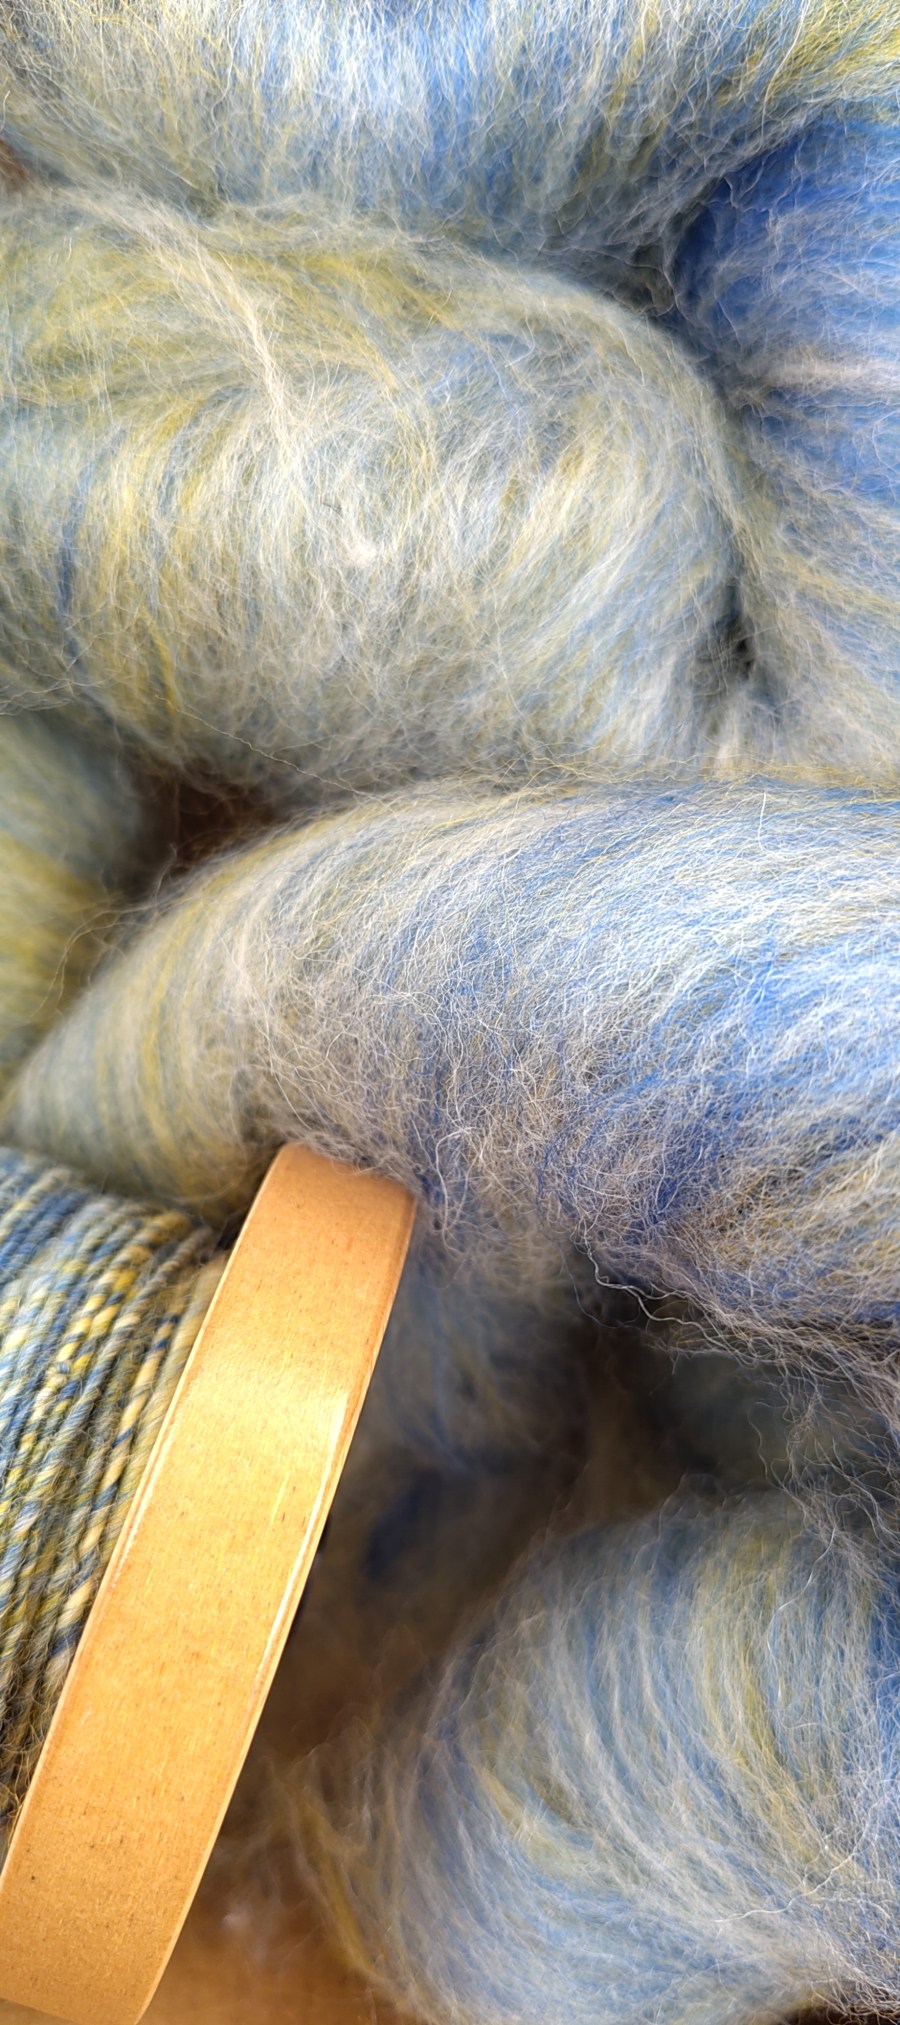
I was gifted a Toika double shuttle for Christmas, and have not yet had the chance to practice with it but this seemed the obvious tool to use. As with everything it takes a bit of practice and I ended up with different lengths on the bobbins and the bobbins unwinding at different speeds. A tip I remembered was to twist the threads at the end so I began twisting the shuttle, and that helps. Also I learned to stop both bobbins with my fingers in an overhang catch after sending it across.
However, I was still finding that the bobbins ran out quickly and inconsistently. I was using homemade paper ones, but didn’t find I could get any more onto a cardboard quill , (and most of those I are too big for the double shuttle anyway and I don’t want to cut them down as they fit other shuttles.
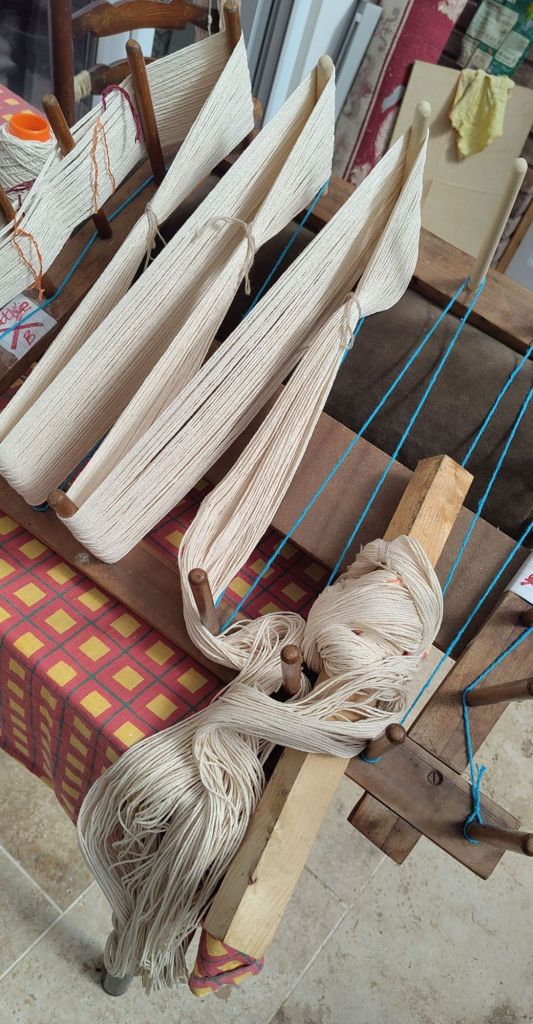
Back to the drawing board. I unearthed my Louet Flying Dutchman shuttle and found some old wooden bobbins that I bought at a boot sale which have always been too long for any of my bobbins- but which I now find fit the Dutchman really well. This time I double wound the threads very carefully onto the wooden bobbins, running them through tensions to equalise them. This has become my happy place and I will probably weave the rest of the pink using the Flying Dutchman and twisting at each end.
I will add another picture after my next 50 centimeters.
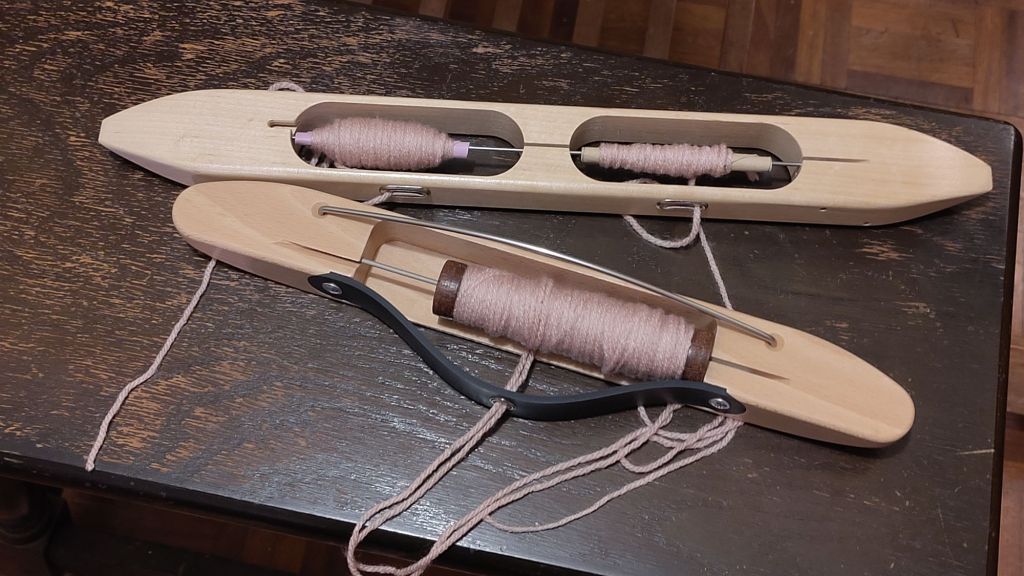
Toika double shuttle at the back and the Louet Flying Dutchman at the front