Following on from yesterday’s post. The dough rose well, and I knocked out back and shaped it at about 11pm. For the first time with this sourdough I shaped it onto buns in a round silicone cake tray. Then it went, under a wet cloth and plastic, into the fridge overnight.
This morning the buns hadn’t proved quite enough, so I put the tray on too of the heating oven for 30 minutes to encourage the rise.
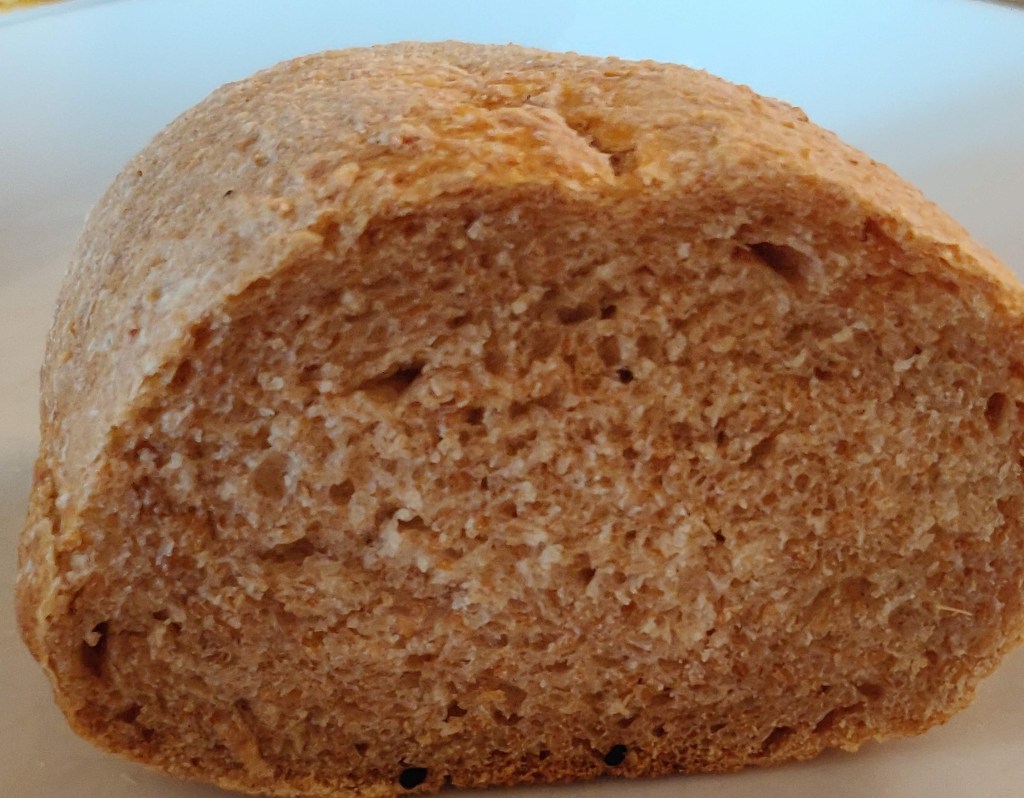
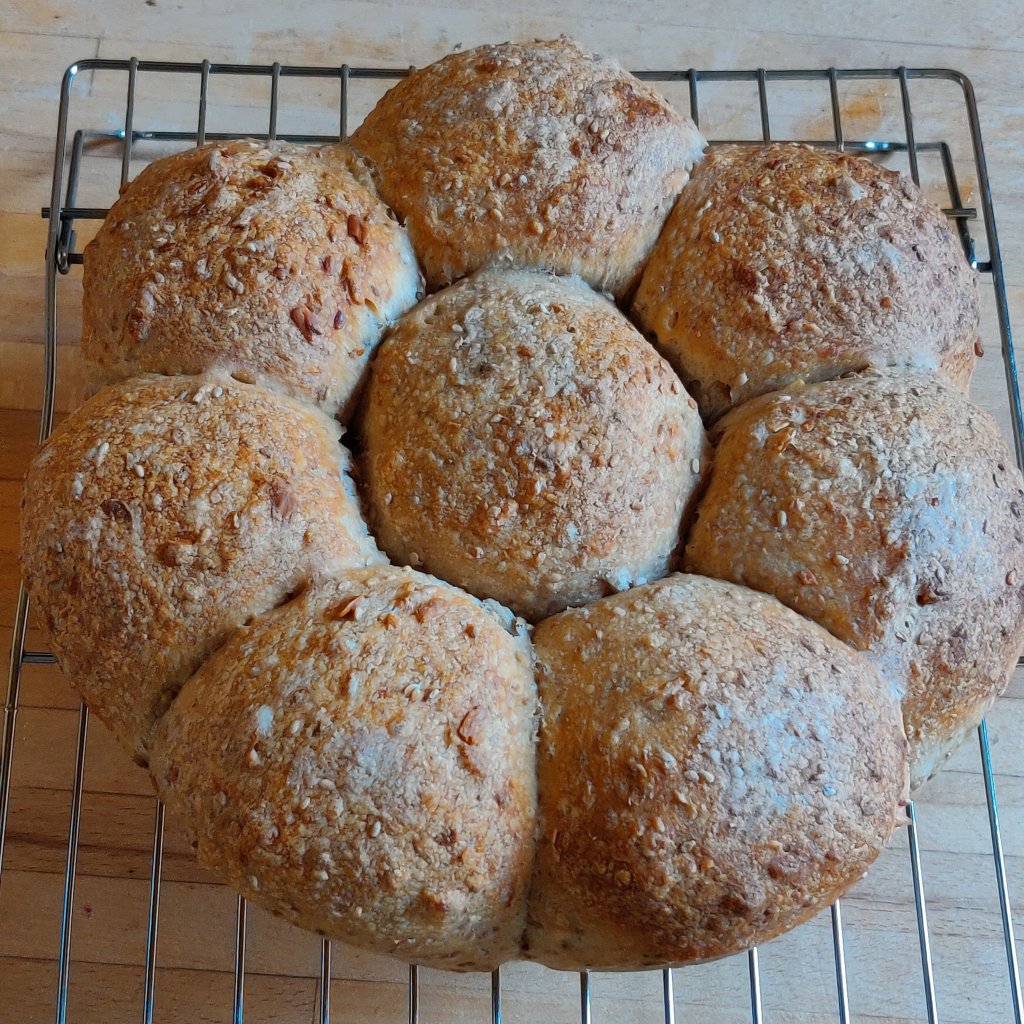
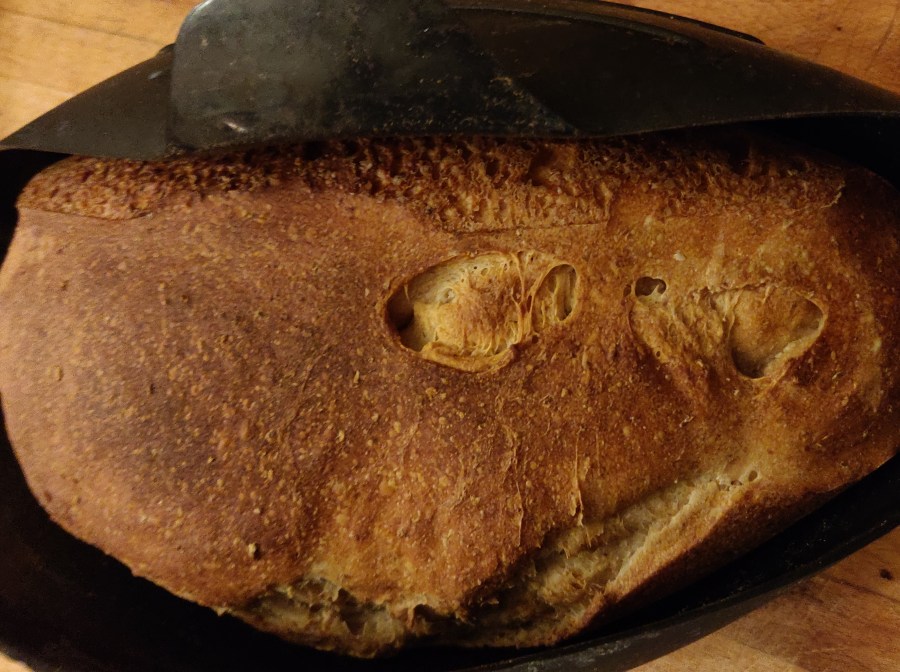
After baking the bin round looked amazing.
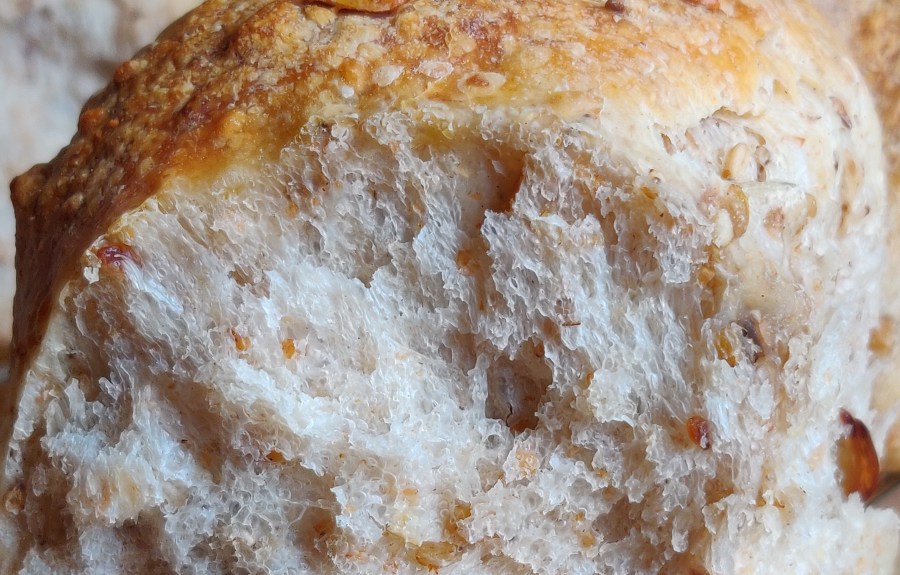
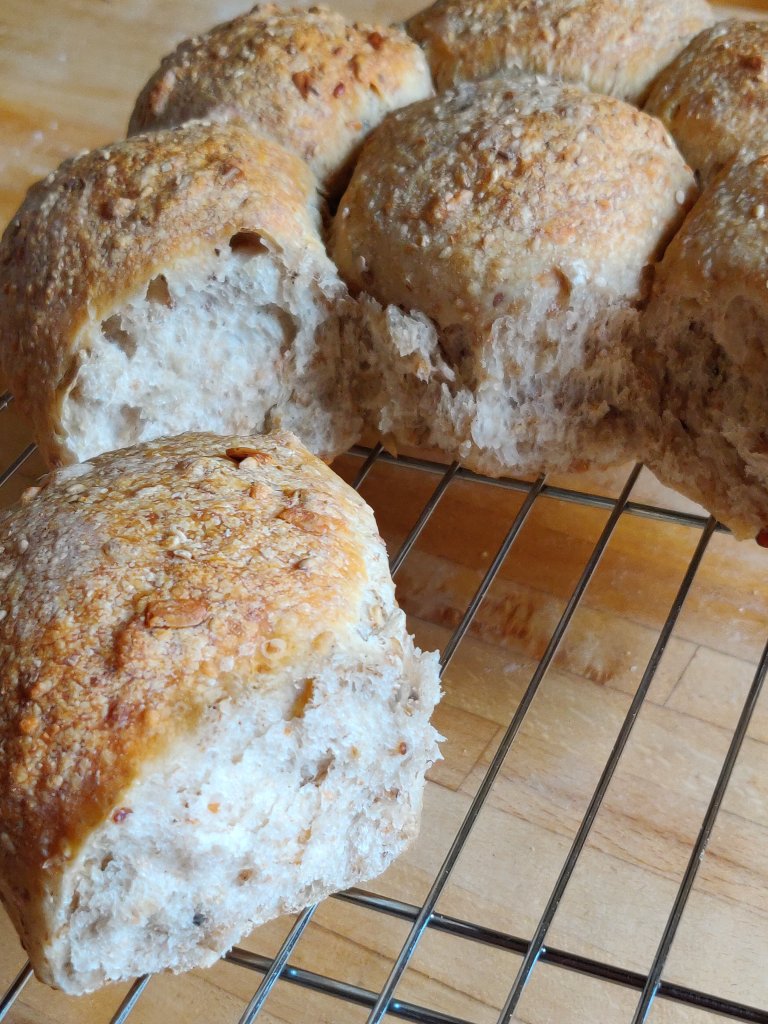
Once cooled I planned to make the tools up for a picnic, and splitting the round revealed a scrumptious centre.
The picnic rolls had pastrami and salad inside, but I opted for raspberry jam on mine!
The family say, “you can make this bread again!”, and I agree.
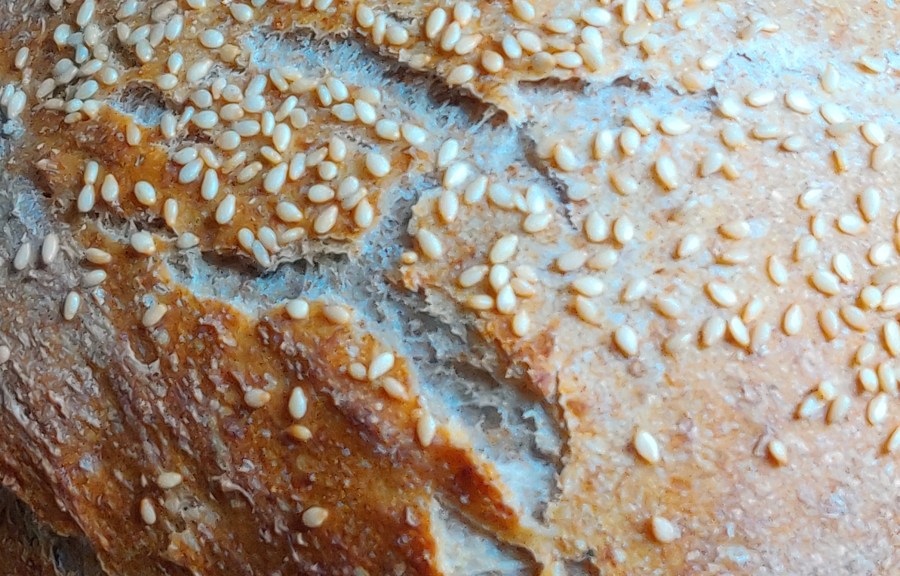
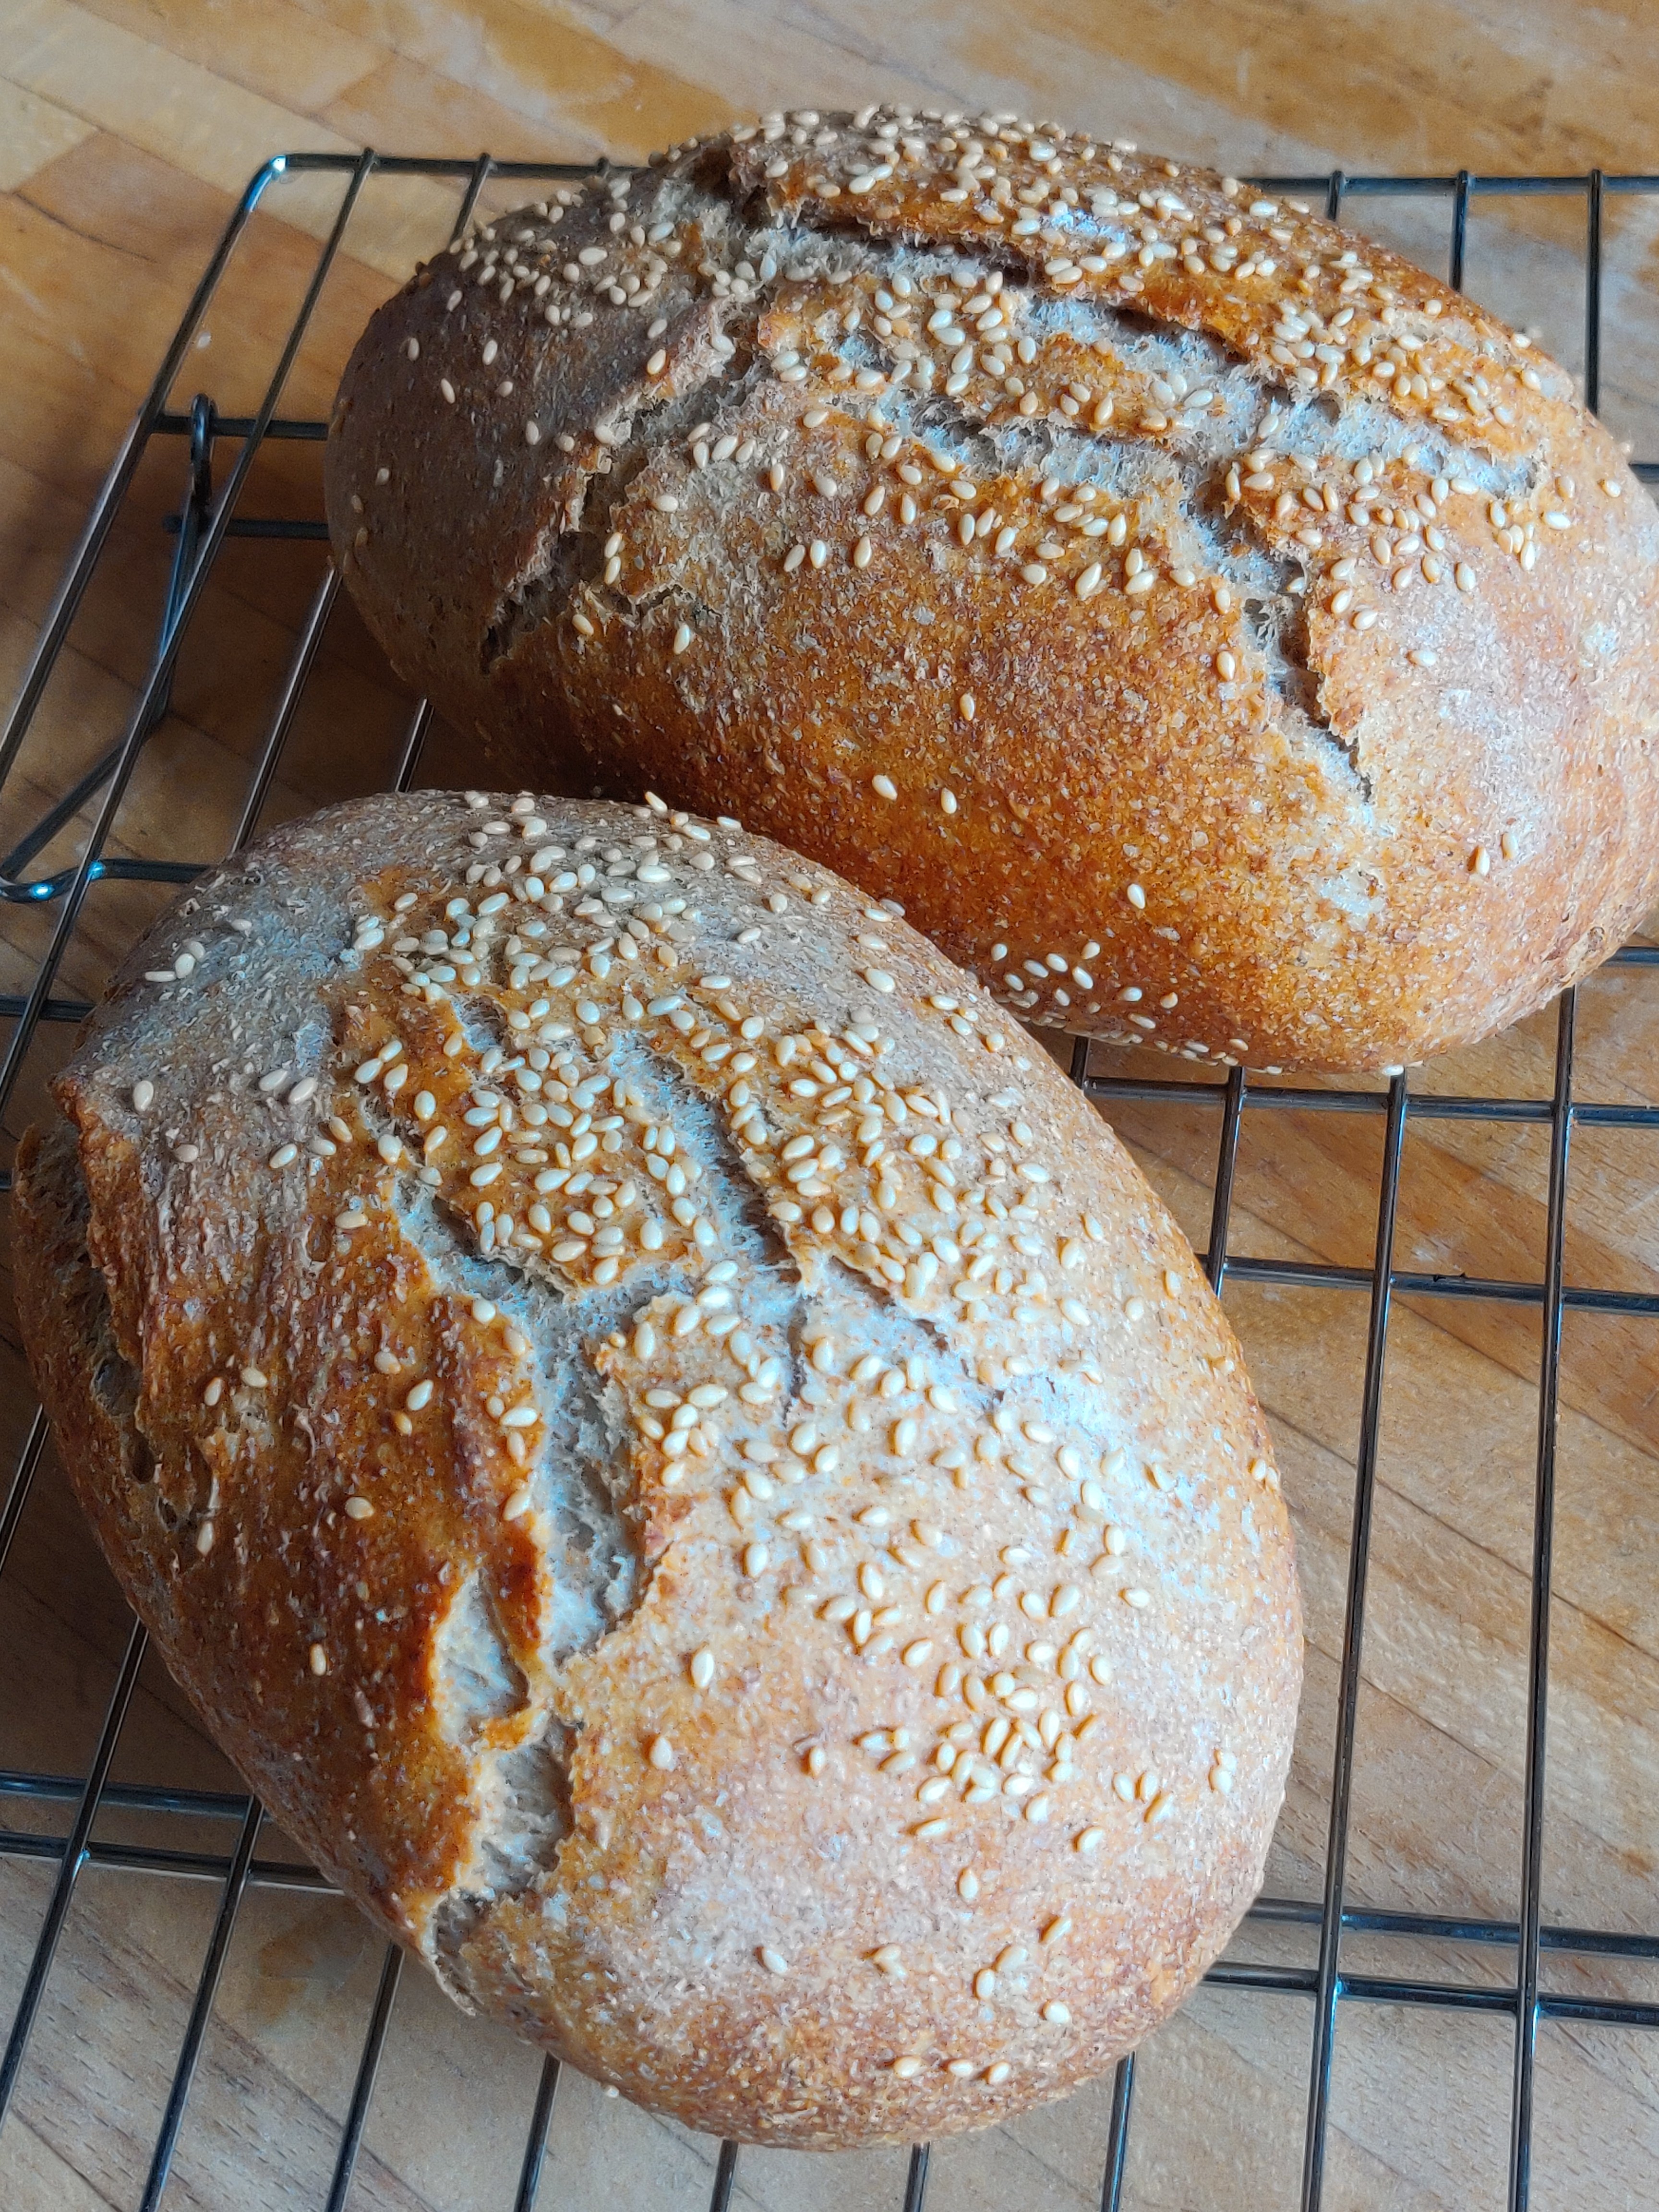
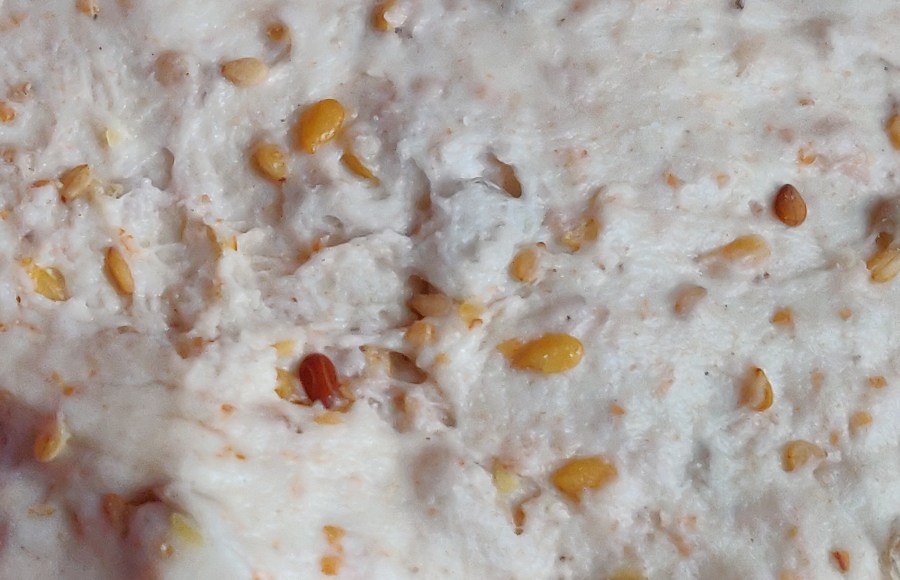
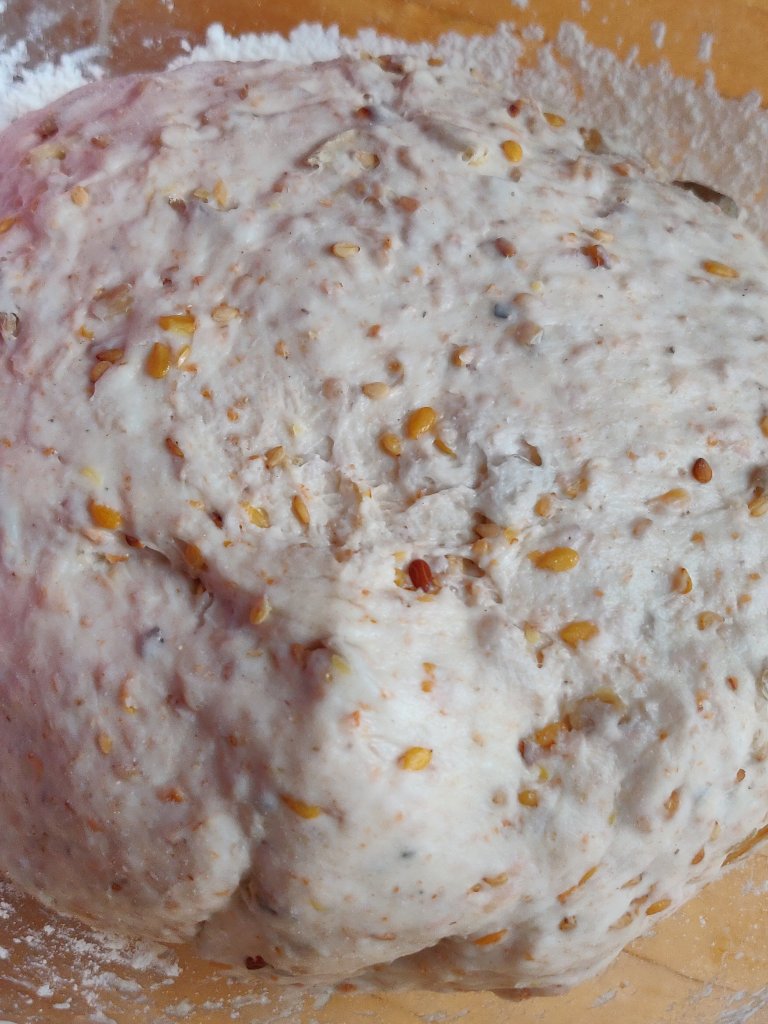
Today’s bread has seeds in it. As a family we love seeded bread, and I’ve made it with commercial yeast, but not with my sourdough starter yet.
It’s kitchen cupboards yield a variety of seeds; I like to toast them for topping salads and cooked dishes. After a quick glance at a recipe on The Perfect Loaf, over confidence got the better of me. After a quick calculation I opted for 4% flax, 4% sesame and 5% sunflower seeds to add to my normal dough weight. I soaked the flax for about 30 minutes and toasted both sesame and sunflower seeds. After draining the flax I added both to the dough before kneading.
So far, so good. I’m now waiting to see how it proves.
If you are sewing face masks you have probably worked out your own method of sewing them, but I thought I’d share how I batch sew to streamline the process.
Scroll down to the bottom of the page in the link below for the video.
The sourdough starter I made from raisin yeast liquid is still going strong. I started the yeast off at the start of lockdown, so mid March-ish and then made the starter in April.I keep the starter in a large clip-top Kilner jar and have not cleaned it out yet; it smells wonderful when you open it. Many loaves later it is bubbling away madly still. The raisin yeast liquid is now in the fridge and has been used twice to add some zing to the starter. I refresh it with sugar and warm water and a day or two on the worktop as a reward.I make bread about every 5-6 days and keep the starter in the fridge in between times. I’ve also (somewhat unsuccessfully) made apple sourdough cake. It was a bit stodgy, but tasty.Over the weeks I have established a couple of methods that are pretty foolproof for me. One is long, slow and satisfying one is fast, easy and satisfying.Long and slow:I take the starter out of the fridge in the morning, and feed it with 50g plain flour and 50g warm water and leave it on the work top for an hour or so – or until I remember, and this can be 3pm sometimes. 30 minutes before I want to knead the bread I mix 400g of white bread flour (or 100g whole meal and 300g white) with 180g water. This can is lumpy and not pretty, but is called ‘autolysing’ the dough, and I find it helps with the process.Covering the bowl with a damp tea towel prevents crusty flour forming.When its time to knead, I give the starter a light stir and tip 200g into the bowl of flour and water and mix it all together. Feed the starter again and pop it back in the fridge for next timeI hand knead it on a floured worktop for 10-15 minutes which is incredibly therapeutic for arthritic hands, and also for edgy tempers. After about 10 minutes I sprinkle 10g of salt on the dough and knead that in. If there is a lot of wholemeal flour in the dough I might also add a 1/2 tsp of vitamin C powder to help it rise.Once its smooth and soft I return the dough to the (floured) bowl, and cover it with a wet cloth and a plastic shower cap, then put it on the worktop (or somewhere warm if the weather is chilly), and forget about it for hours on end.Sometime later, in today’s case 8pm, I knocked back the dough, shaped it into two loaves and popped them into the Lekue bread moulds I use. The wet cloth and shower cap go back over the loaves and I tonight I ended up baking the bread at 10:30pm. On other nights I might put the shaped loaves in the fridge (wet cloth and shower cap in place), and cook the loaves the next morning.Quite fast and easy:Feed the starter, leave it for an hour to bubble up. Put 400g bread flour, or a combination as described above, into a Kenwood chef, (or similar mixer), add 180 g warm water and pour in 200g of starter.Feed starter again and return to fridge.Mix with the dough hook for 10 minutes, adding 10g salt half way through. Remove the hook and put the bowl (covered with wet cloth and shower cap) somewhere warm to rise. Once doubled in size, knock back and shape, leave to rise again for 30-40 minutes and then bake. I use the Lekue moulds for this as well – always covering with wet cloth and shower cap as before.Easy- Peasyusing a bread machine:Feed the starter, leave it for an hour to bubble up. Put 400g bread flour, or a combination as described above, into a bread machine pan, add 180 g warm water and pour in 200g of starter. Set machine to the longest dough programme (this is wholemeal on my Panasonic machine). Add 10g salt towards the end of the first knead (I set a timer to remind me otherwise I forget and have to reset the machine for an extra knead to incorporate this).Feed starter again and return to fridge.Once the machine finishes the dough programme, tip out the dough and shape, leave to rise again for 30-40 minutes and then bake, or put the shaped loaves in the fridge overnight and bake in the morning. I use the Lekue moulds for these loaves as well – always covering with wet cloth and shower cap as before.The Lekue silicone loaf moulds are great, they hold the shape of the loaf well, making a nice rustic looking loaf, and keep the dough moist during risking and baking.I’ve even made this loaf with only one rise and shaping into the moulds with an overnight rise, not quite as light bread, but very edible.
I’m doing quite a lot of sewing at the moment, so to supplement my Bernina 1030 I bought an old machine on eBay – not a modern one, an old second-hand 1980s model (my guess), very cheap and local pick up only. It’s a Jones, (later these were rebranded Brother), built like a tank and weighs a ton as the machine itself is all metal.
Its a Jones model number 125 with TUR 2 written on the motor at the back. I can’t find any info online about this machine, so if anyone has a manual or other info that would be helpful if be most grateful if you’d contact me.
The main problem was that the plastic case is degraded so the bed machine has dropped below the top edge of the case which means you couldn’t open the bobbin case, so that needed a bit of attention.
The Jones 125 machine
I have it several hours of TLC; opening the machine top, checking, cleaning and oiling everything. The bobbin and shuttle hook had all sorts of thread wrapped around it but that was easy enough to take out, clear and oil. Then I had to sort out the bobbin tension that was wildly awry. the light bulb had blown, and I will replace it with an LED version.
There was no manual with the machine just a foot pedal, a plastic need extension and some spare bobbins – which for the price I really didn’t mind. However someone had put the needle in with the hole from front to back, like my Bernina, when actually it should have been in so that you thread it left to right. Its been a while since I’ve used a machine which threads like that, so it took me a minute or two to work out why the bobbin thread was not being picked up. Once I put in a new needle that faced left or right it picked up the bobbin thread no problem.
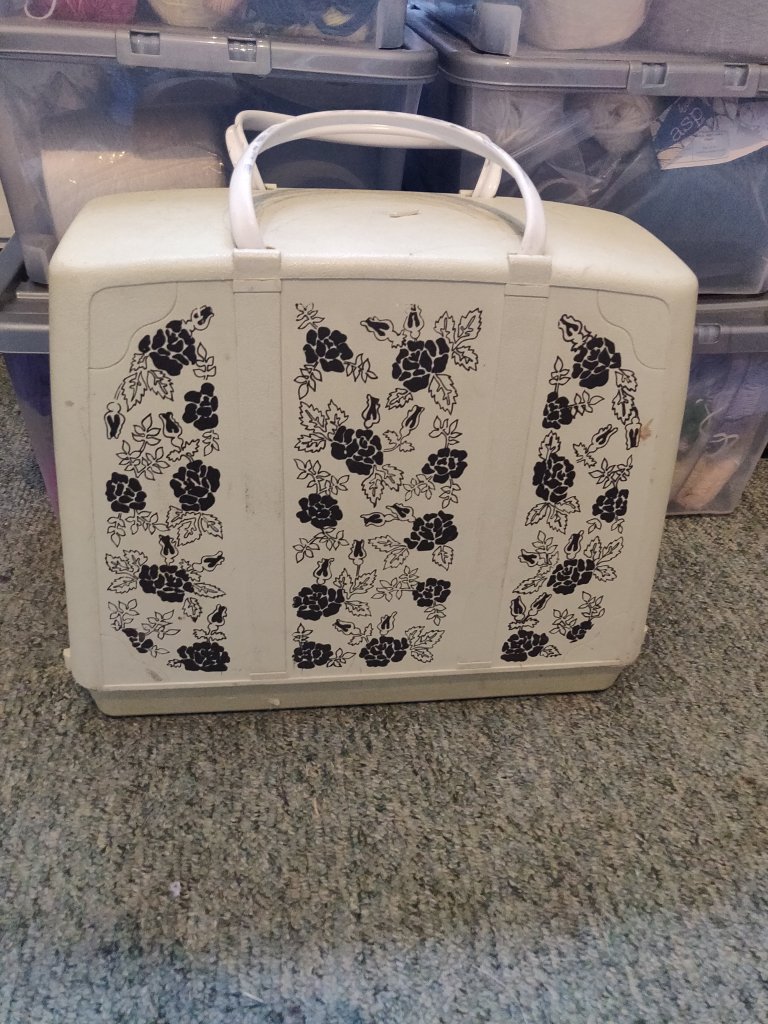
Going back to the bobbin and case. The machine has a side facing bobbin in a vertical shuttle that is accessed from the top, so it’s not as easy to get to as a front loading one. Because the bottom case in which the machine suits is degraded and the plastic hinges have broken, the machine has dropped below the level of the case-edge, making it hard to reach the bobbin. I’ve stuck some shims in the sides of the bottom case which have raised the machine bed so that the bobbin plate will now side open. This also means the bed extension will now for correctly. The machine is in one of those classic Jones and Brother flowery carry-cases and although the bottom case plastic is a bit fragile, this seems reasonably sound.
Unlike the Bernina the Jones has adjustable pressure on its presser foot which takes a bit of getting used to. Now I’ve got it sewing it’s working fine.
What’s nice is that the feed dogs will drop for free embroidery if needed. It has good stitch length and a nice wide zigzag, so does the face mask job perfectly.
Having got it sorted out I prefer to keep the Jones threaded for the masks and my Bernina for my personal sewing. OK, I’ll admit it, I’m a machine nerd!
I think the Jones is also a bit of a consolation prize to myself; I’ve bought myself a vintage Singer slant shank machine which I’m really looking forward to getting, but I can’t collect it because of Covid.
The Jones is a great everyday all-purpose robust machine. I do get fed up with those people on eBay who are selling old machines as ‘heavy-duty’ and ‘semi industrial’. There are industrial or domestic sewing machines, but none that I know of were ever sold originally as ‘semi-industrial’. I agree that some modern machines are a load of rubbish, plastic and not really got for purpose, not that only a few – believe me I have seen some in the course of helping people with their machines.
I’ve always preferred older machines, having owned a hand cracked Singer and a treadle one (I am filled with regret that I didn’t have the storage to keeping these), an Elna Supermatic (why oh why did I get rid of that?), a Singer Touch and Sew, and then a Bernina 730 (still got that one) and an Elna TS (had to go for lack of storage again).
Even the Touch and Sew would sew through loads of fabric, and I did like the pattern cams of that and the Supermatic. I think the slant needle slant shank machine I have just acquired probably won’t go through that many layers of fabric because the needle may possibly deflect? I will have to wait and see!
So now it’s back to my sewing.
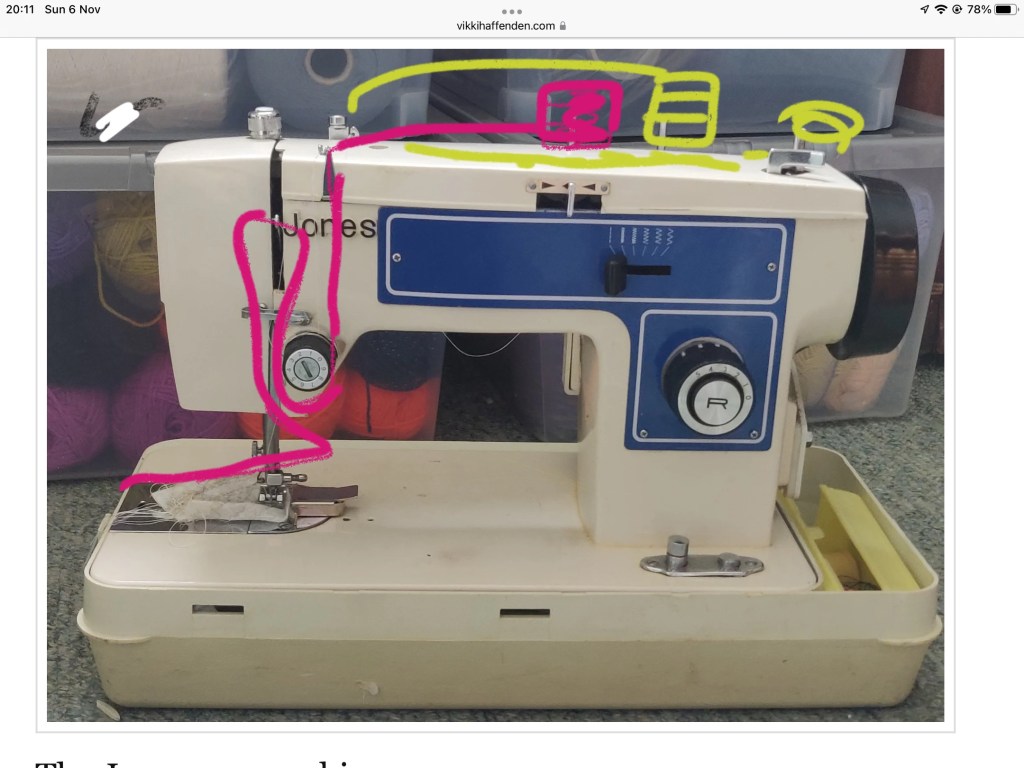
Someone has asked how to thread the machine, but as I no longer have the machine I have drawn onto the photo. Also see my post about adjusting the presser foot pressure. Search ‘Jones’ at the top of the page to find the post. I do hope this is helpful.
How to thread the machine . Pink is the top needle thread. Needle threads sideways. Yellow is the bobbin.
I organised an online face-mask-making workshop yesterday, and the links below are to the instructions and pattern for the mask we made. You can read more about making different types of masks on my DIY mask making page. If you just want to get stuck in, please use the links below to download the pattern and instructions and make cotton face masks for your family and to donate to key workers. The pattern has an opening to allow a filter to be inserted.
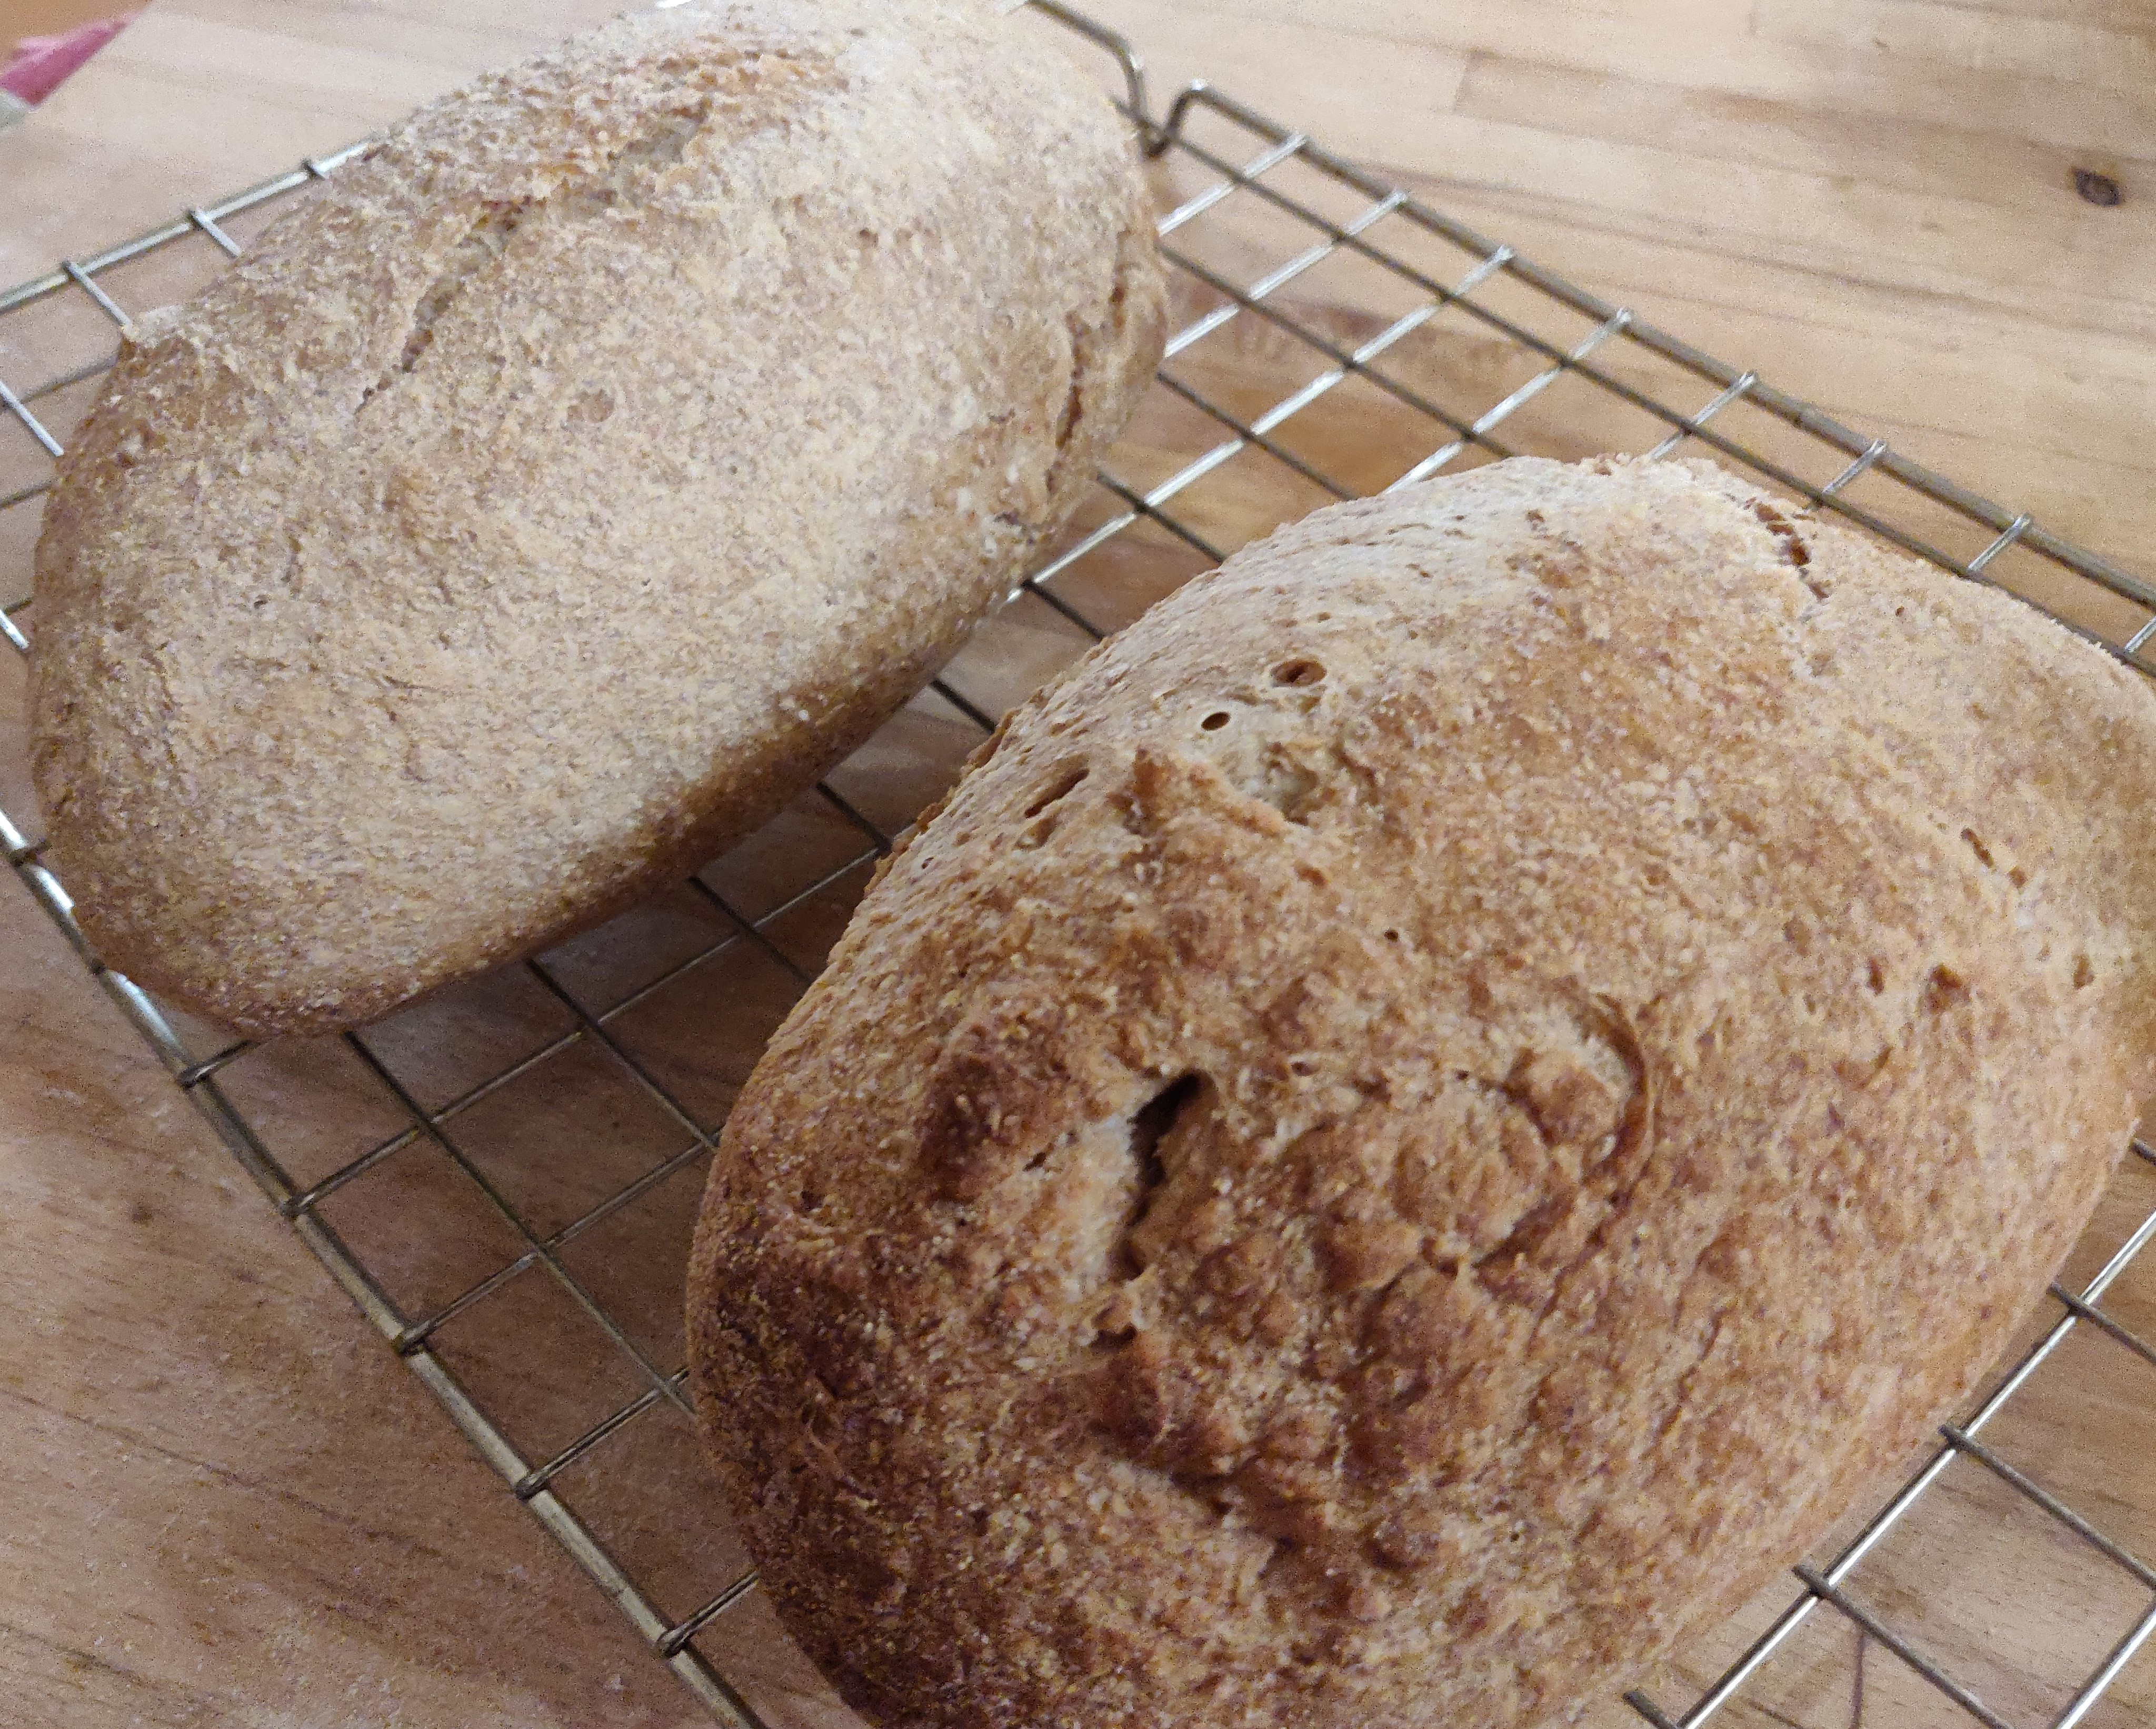
I’ve been experimenting with sourdough bread using my own yeast starter. Today I baked the fourth lot of loaves from my starter dough, and they look yummy.
I’ve written up my experiments and hints and tips I’ve learned from others and through my own experiences in more detail here and here.
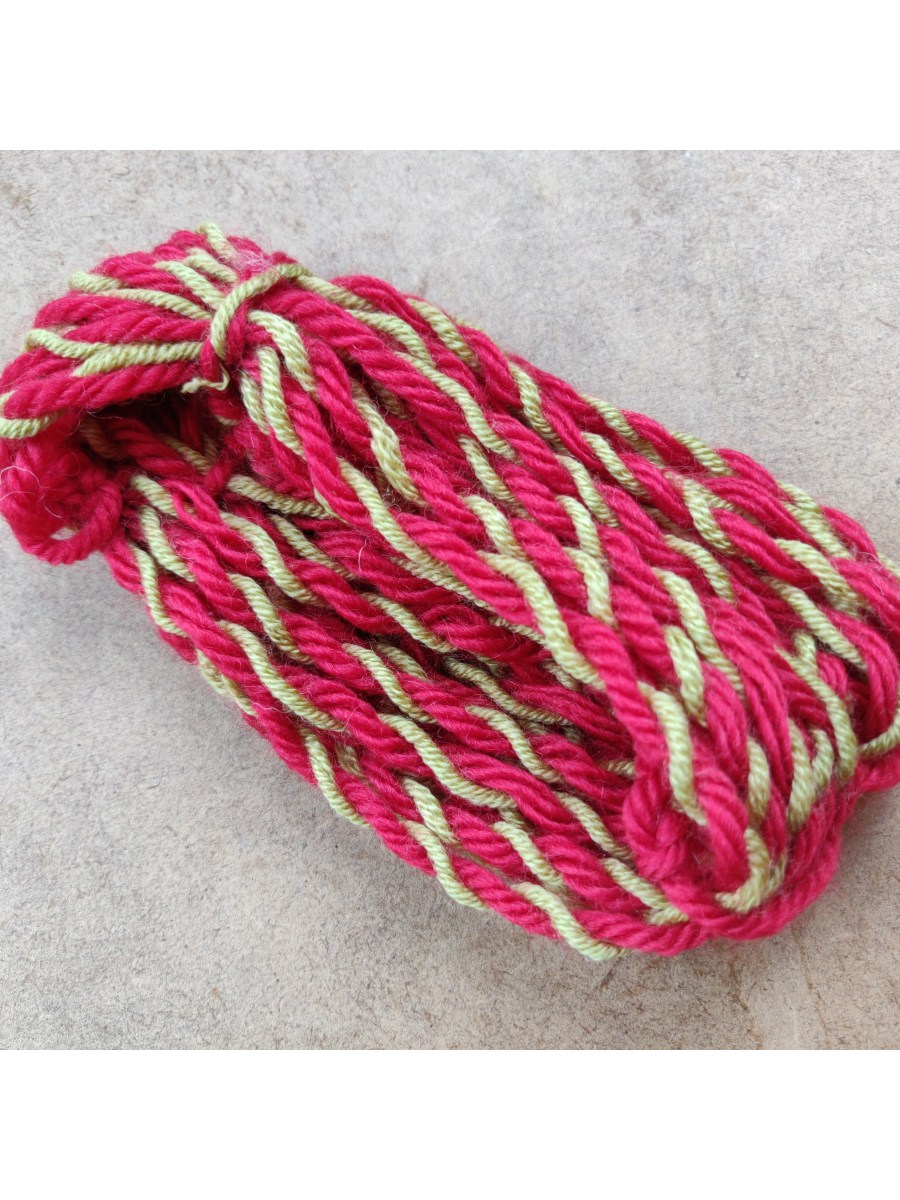
Last night I blended some rather lumpy Southdown fleece I was trying to use up with some dyed Shetland. It was just for fun – no plan involved, just testing out my DIY blending board. When I sat at my wheel – watching ‘Hidden’, I couldn’t think what to do with it. Then I remembered seeing Lexi Boeger’s method of coreless- core-spinning in her book ‘Hand Spun’. I thought the strong colours would work well against the natural if spun in this way, so I had a go.
According to Lexi the principle is to only work with a small amount of fibre at a time, and to spread the fibres wide into a trianglular web. You spin the core with the fibres at one edge of the triangle, whilst simultaneously holding the other part of the web at right angles to this so that it can wrap around the core between your drafting hand and the orifice. Its bit like patting your head and rubbing you tummy at the same time – but once I got going I enjoyed it. There were a few messy bits, which I attribute to the lumpy Southdown myself!
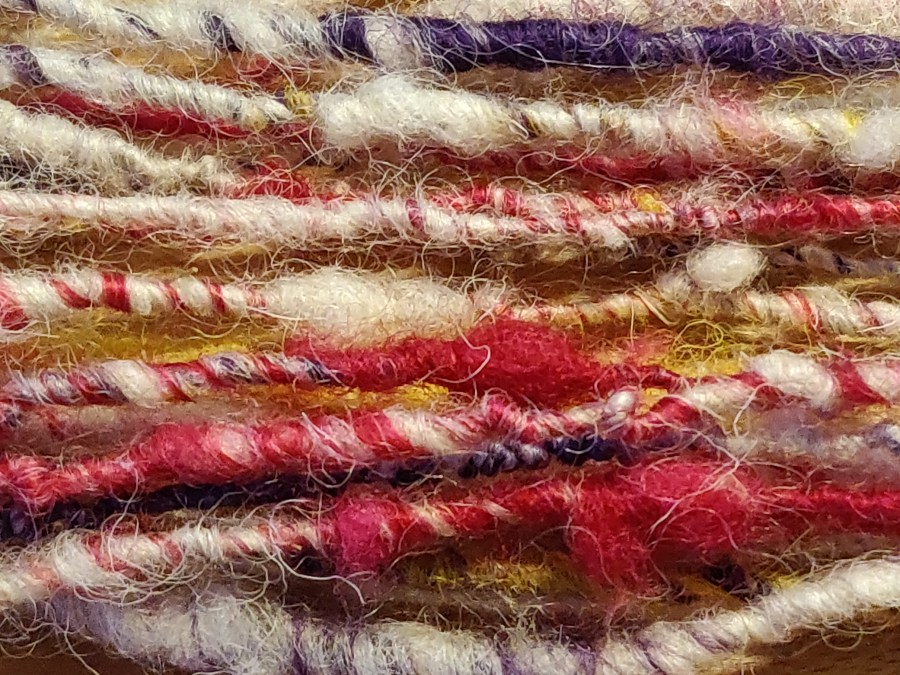
I love the way the colours wrap around the natural core
I’m not sure its truly core spinning, but its on the way there and I do like the effect. The yarn was very over-twisted, but after a good soak in hot water and hanging with a light weight to dry naturally it is fine now.
Due to the virus situation the workshops have been closed at the University where I work, and we are ‘remote teaching’ from now on. That is quite a challenge for a practical subject like knitted textiles.
One thing I have enjoyed over the years of teaching first year knit design students is their excitement and enthusiasm when they realise that they can make their own yarns. Normally I would be running a hand spinning workshop for them next week, but obviously not anymore. We have two spinning wheels and I take in a box of drop spindles. Cartons of fibre are pulled out of cupboards and spill all over the floor, its a lovely day with some wild yarn developments taking place. I think its a great way to encourage them to explore the raw materials of textiles, and also to introduce them to yarn design.
But sadly this year its not to be! So I decided that before they left I would demonstrate ‘pencil spinning’ using two commercial yarns. Even this simple method was received with excitement, so I have made two short videos for the students, but have shared them on YouTube for everyone and put them on here as well. Bear in mind they were made for the students, following a demonstration so I refer to this, and the focus is on making small amounts of marl yarn for hand knit design sampling.
They have taken yarns away with them, so I hope to see that they have applied their wonderful creativity to making new and colourful yarns.
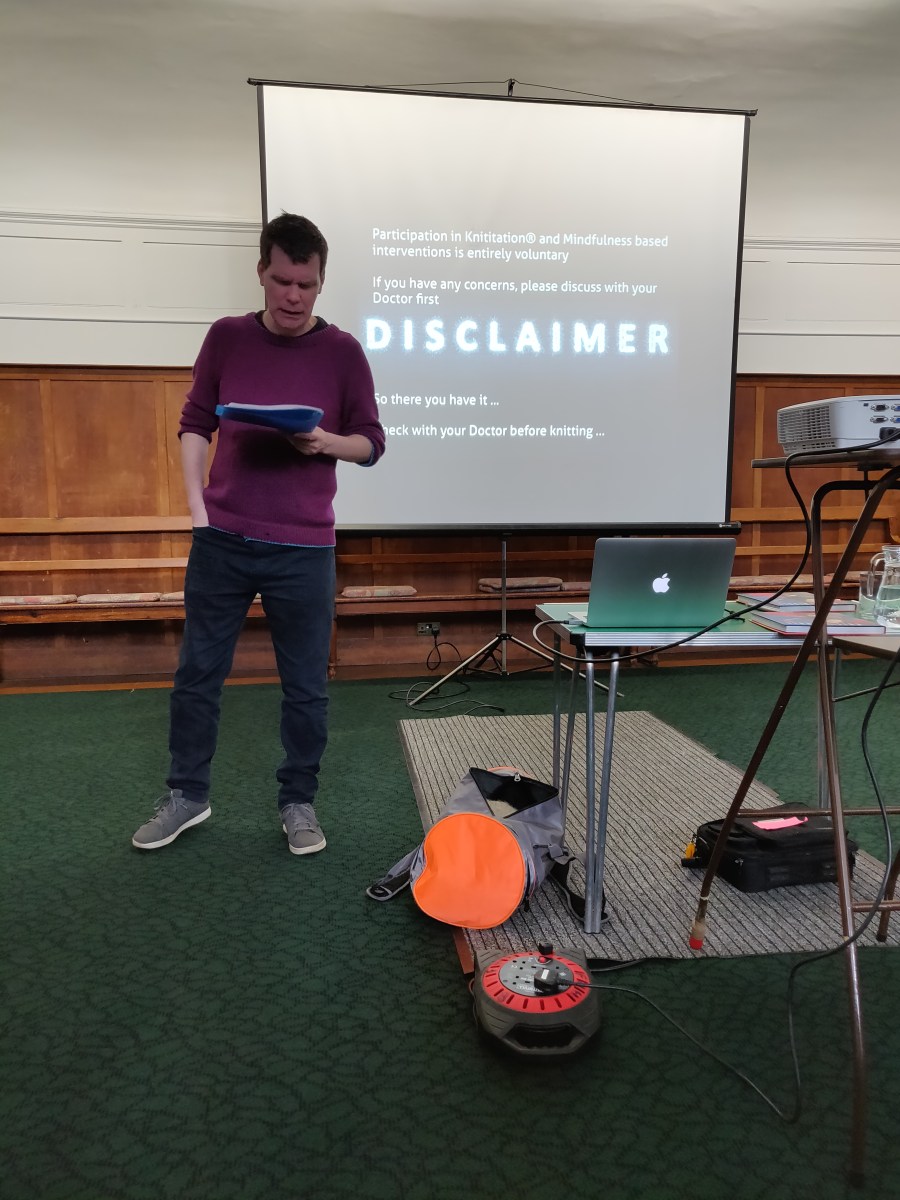
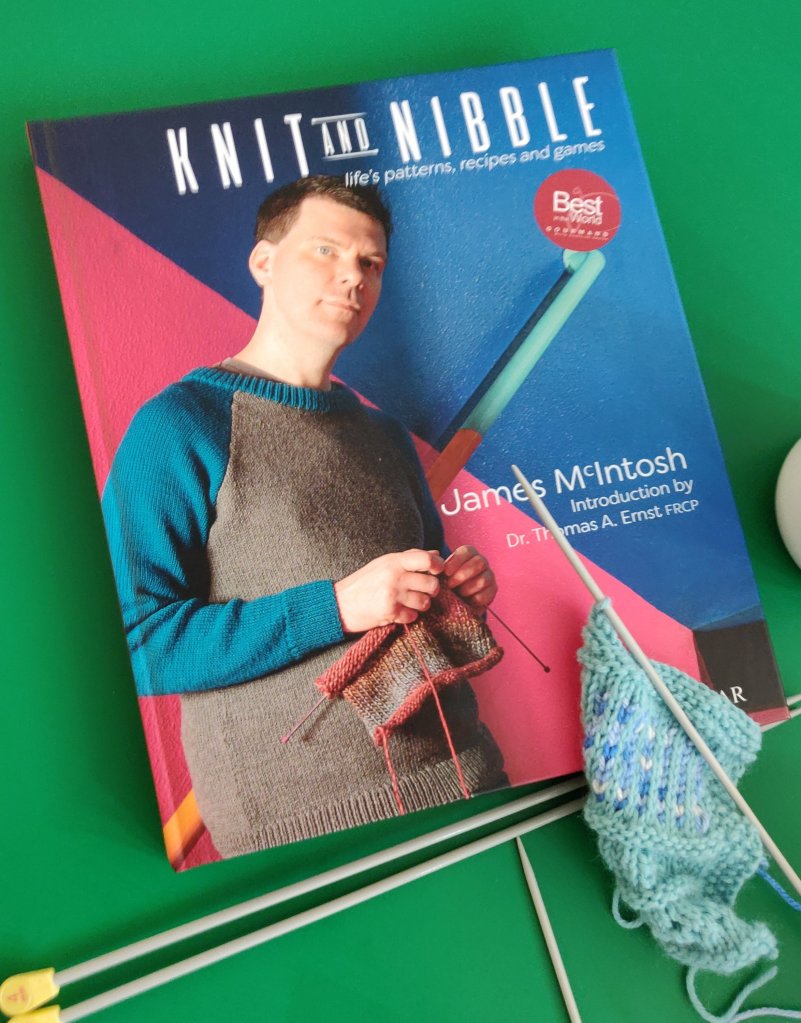
Today met James McIntosh and Dr Thomas Ernst, inventors of the term ‘knititation’ and authors of Knit and Nibble. They had been invited to speak at the University of Brighton School of Art’s Centre for Arts and Wellbeing event, Knitting and Wellness.
When we first met, James told me that he had found The Knitting Book really helpful when he was teaching himself to knit – which was truly gratifying feedback. It’s nice to find out how people use and value my contribution to sharing knowledge.
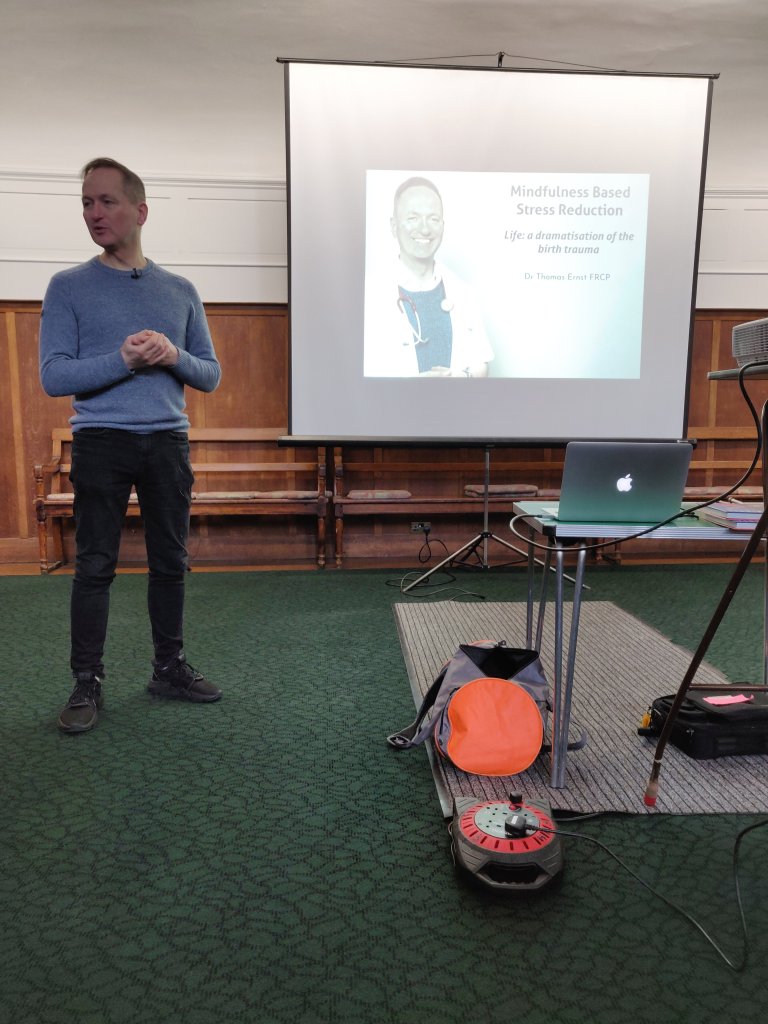
James was first to speak, and he described his personal journey through depression and how knitting mindfully enabled his recovery and brought colour back into his life. Thomas discussed the science behind mindfulness and it’s aptness to knitting.
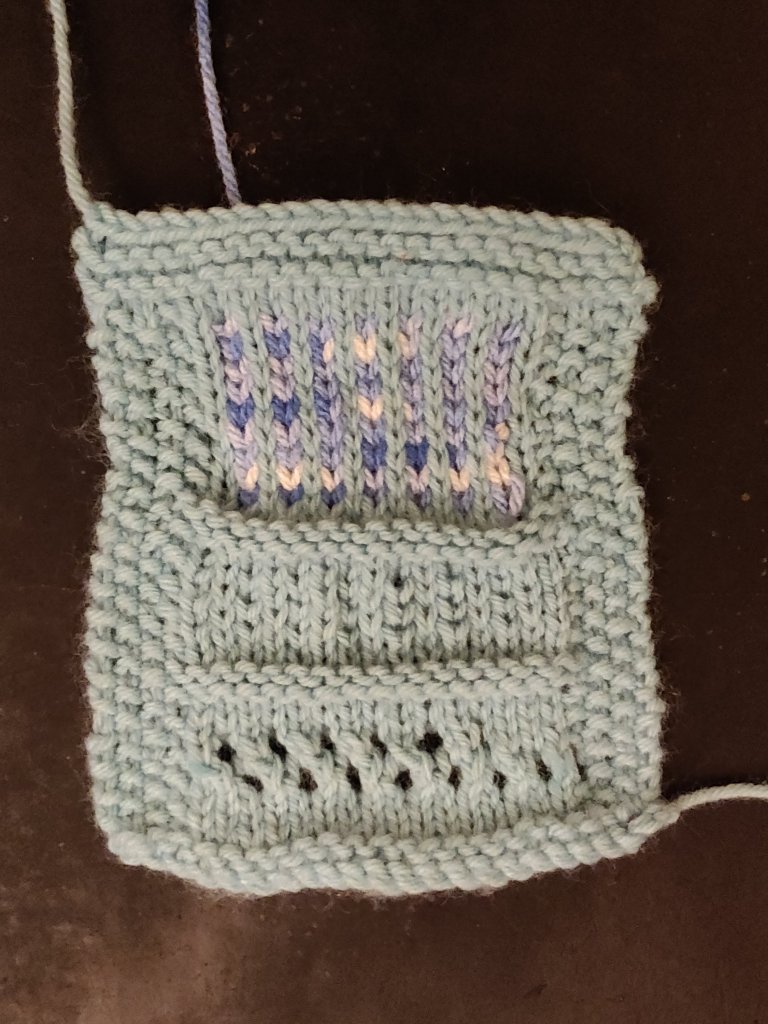
Nina Dodds, author of Invisible Jumpers, and I provided yarn and needles so that everyone who wanted to could knit during the event. We were gratified that everyone took up the opportunity!
This was my piece of knitting.
It was a great talk, entertaining and interesting. James and Thomas kindly gave me a copy of their book which I am reading this weekend.
At the end Thomas led a short mindfulness session, which was a new expressive for some of the audience. Hopefully we all left feeling refreshed.
Like James, and so many others, I find hand knitting keeps me calm; it’s repetitive movements bringing my attention back in a rythmic cycle. So now I’ve written this it’s time to take up my needles for a soothing session.


 I make bread about every 5-6 days and keep the starter in the fridge in between times. I’ve also (somewhat unsuccessfully) made apple sourdough cake. It was a bit stodgy, but tasty.Over the weeks I have established a couple of methods that are pretty foolproof for me. One is long, slow and satisfying one is fast, easy and satisfying.Long and slow:I take the starter out of the fridge in the morning, and feed it with 50g plain flour and 50g warm water and leave it on the work top for an hour or so – or until I remember, and this can be 3pm sometimes. 30 minutes before I want to knead the bread I mix 400g of white bread flour (or 100g whole meal and 300g white) with 180g water. This can is lumpy and not pretty, but is called ‘autolysing’ the dough, and I find it helps with the process.
 Covering the bowl with a damp tea towel prevents crusty flour forming.When its time to knead, I give the starter a light stir and tip 200g into the bowl of flour and water and mix it all together. Feed the starter again and pop it back in the fridge for next timeI hand knead it on a floured worktop for 10-15 minutes which is incredibly therapeutic for arthritic hands, and also for edgy tempers. After about 10 minutes I sprinkle 10g of salt on the dough and knead that in. If there is a lot of wholemeal flour in the dough I might also add a 1/2 tsp of vitamin C powder to help it rise.Once its smooth and soft I return the dough to the (floured) bowl, and cover it with a wet cloth and a plastic shower cap, then put it on the worktop (or somewhere warm if the weather is chilly), and forget about it for hours on end.Sometime later, in today’s case 8pm, I knocked back the dough, shaped it into two loaves and popped them into the Lekue bread moulds I use. The wet cloth and shower cap go back over the loaves and I tonight I ended up baking the bread at 10:30pm. On other nights I might put the shaped loaves in the fridge (wet cloth and shower cap in place), and cook the loaves the next morning.
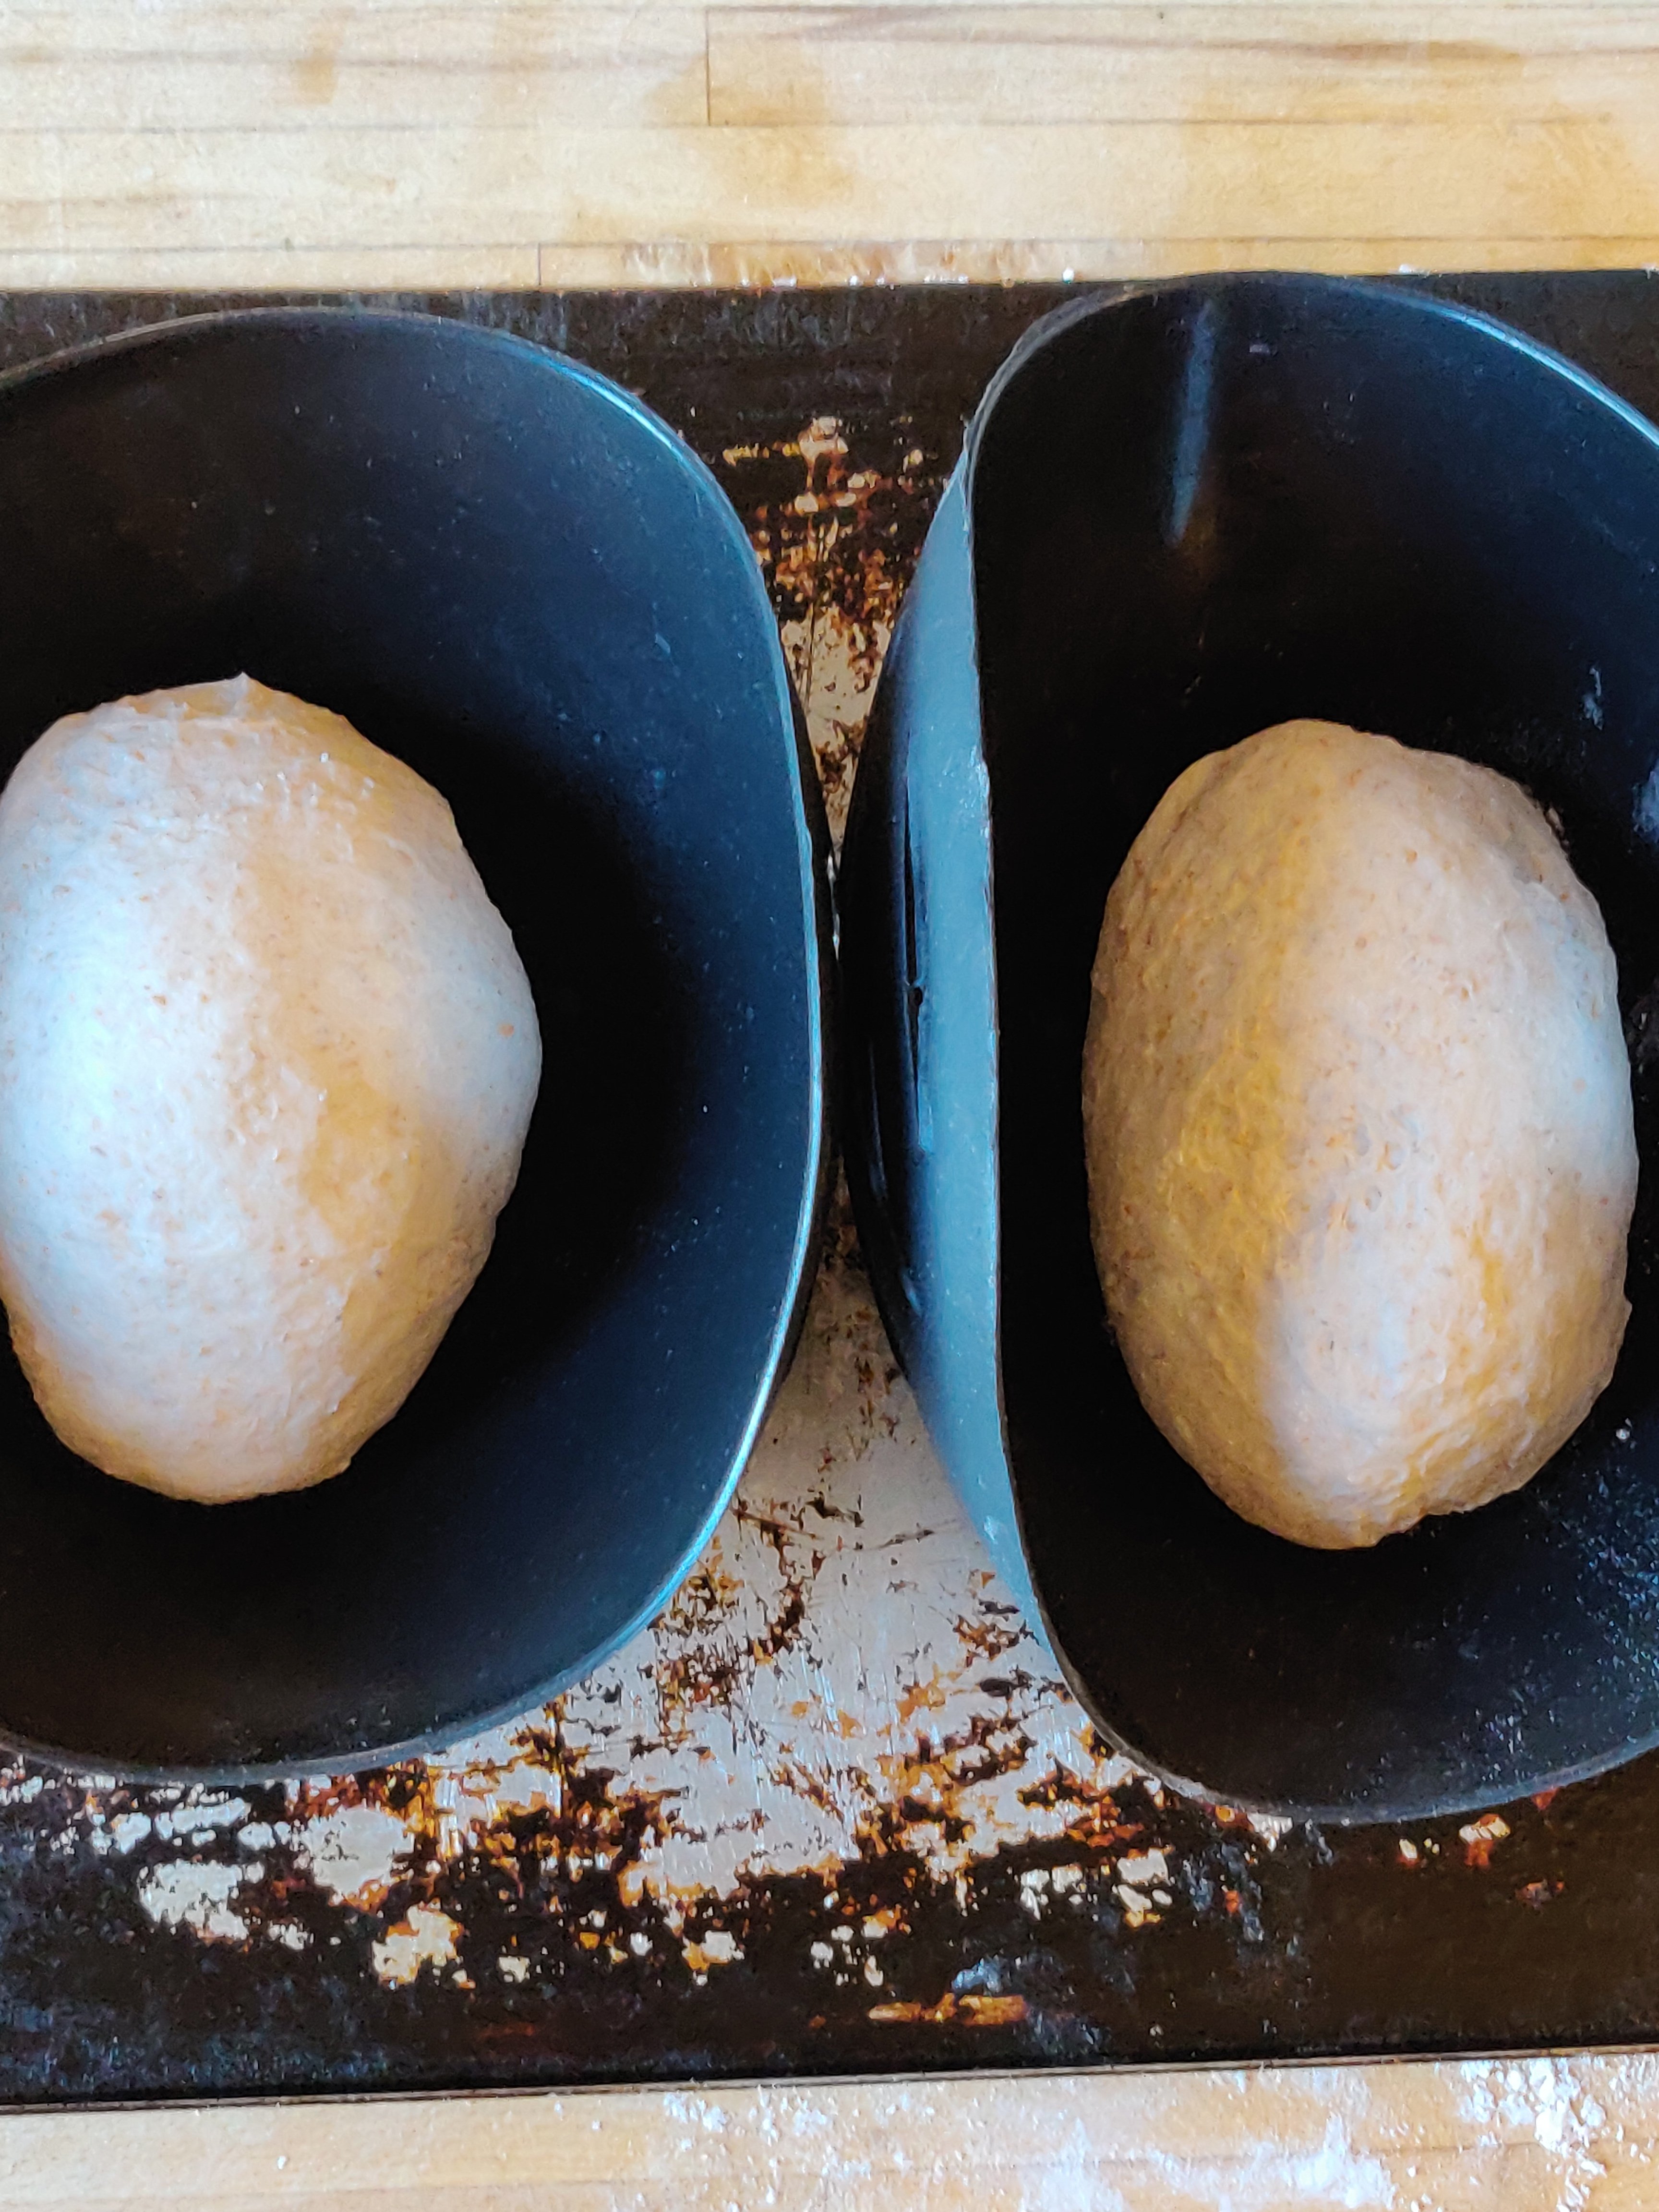
 Quite fast and easy:Feed the starter, leave it for an hour to bubble up. Put 400g bread flour, or a combination as described above, into a Kenwood chef, (or similar mixer), add 180 g warm water and pour in 200g of starter.Feed starter again and return to fridge.Mix with the dough hook for 10 minutes, adding 10g salt half way through. Remove the hook and put the bowl (covered with wet cloth and shower cap) somewhere warm to rise. Once doubled in size, knock back and shape, leave to rise again for 30-40 minutes and then bake. I use the Lekue moulds for this as well – always covering with wet cloth and shower cap as before.Easy- Peasy using a bread machine:Feed the starter, leave it for an hour to bubble up. Put 400g bread flour, or a combination as described above, into a bread machine pan, add 180 g warm water and pour in 200g of starter. Set machine to the longest dough programme (this is wholemeal on my Panasonic machine). Add 10g salt towards the end of the first knead (I set a timer to remind me otherwise I forget and have to reset the machine for an extra knead to incorporate this).Feed starter again and return to fridge.Once the machine finishes the dough programme, tip out the dough and shape, leave to rise again for 30-40 minutes and then bake, or put the shaped loaves in the fridge overnight and bake in the morning. I use the Lekue moulds for these loaves as well – always covering with wet cloth and shower cap as before.The Lekue silicone loaf moulds are great, they hold the shape of the loaf well, making a nice rustic looking loaf, and keep the dough moist during risking and baking.
 I’ve even made this loaf with only one rise and shaping into the moulds with an overnight rise, not quite as light bread, but very edible.