
Category: craft
A ‘wow’ review of ‘Translating Between Hand and Machine Knitting’
I found this review on Facebook ‘Machine Knitting’ group, and have to share it. I was so thrilled that this reviewer ‘got’ the book so thoroughly.
Book Review:
Translating Between Hand and Machine Knitting by Vikki Haffenden
☆☆☆☆☆☆☆☆☆☆ 10:10
“This book ought to be mandatory reading for every new machine knitter!” -me
“This book needs to be on every machine knitter’s manuals shelf, in pride of place, no matter if you use Silver Reed or Brother!” -me
“Where was this book when I was desperately trying to learn how to design lace/translate lace cards between Brother and Silver Reed?!?!” -me
This book is absolutely essential equipment as far as I am concerned! It starts out covering and comparing materials and equipment for knitting, both hand and machine versions. The pictures will blow you away and they only get better. Please, at this point, re-read the title. It does not state ‘pattern’ in the title.
Next it goes into stitch construction and compares hand and machine and final product of each. This book give equal time to both! It goes into yarn fiber types, yarn construction(spinning), yarn types (boucle vrs worsted). The details are absolutely in depth and extremely easy to understand with stupendously clear focused pin-pointed and highlighted photography and exemplary diagrams that compare every aspect of stitches, fabric, mechanics, of hand and machine knitting. It breaks down differences between brands when there are differences, and does not favor either. There are some references to Toyota and Passap, but the main info concerns Silver Reed and Brother. This covers every type of cast-on and cast-off that I could remember!! It isn’t a how-to… it compares them and shows some GREAT visuals of them on and off the needles. Refer to your manual for specifics on how-to cast-on and cast-off. Basically, this book compiled most of the answers to questions I have asked in the past, questions I have hunted down answers to, and questions that I hadn’t even thought to ask. It is utterly fantastic. Only the very last chapter goes into translating PATTERNS between hand and machine…
Buy it! Buy it NOW!
I can not say enough how much you need this book! How much I needed this book… now if I can just convince her to write one on Passap…
No! I have no affiliation with the author… I wish I could say I know her.
Since reading it I have replied, so let’s hope we can converse about knitting I the future.
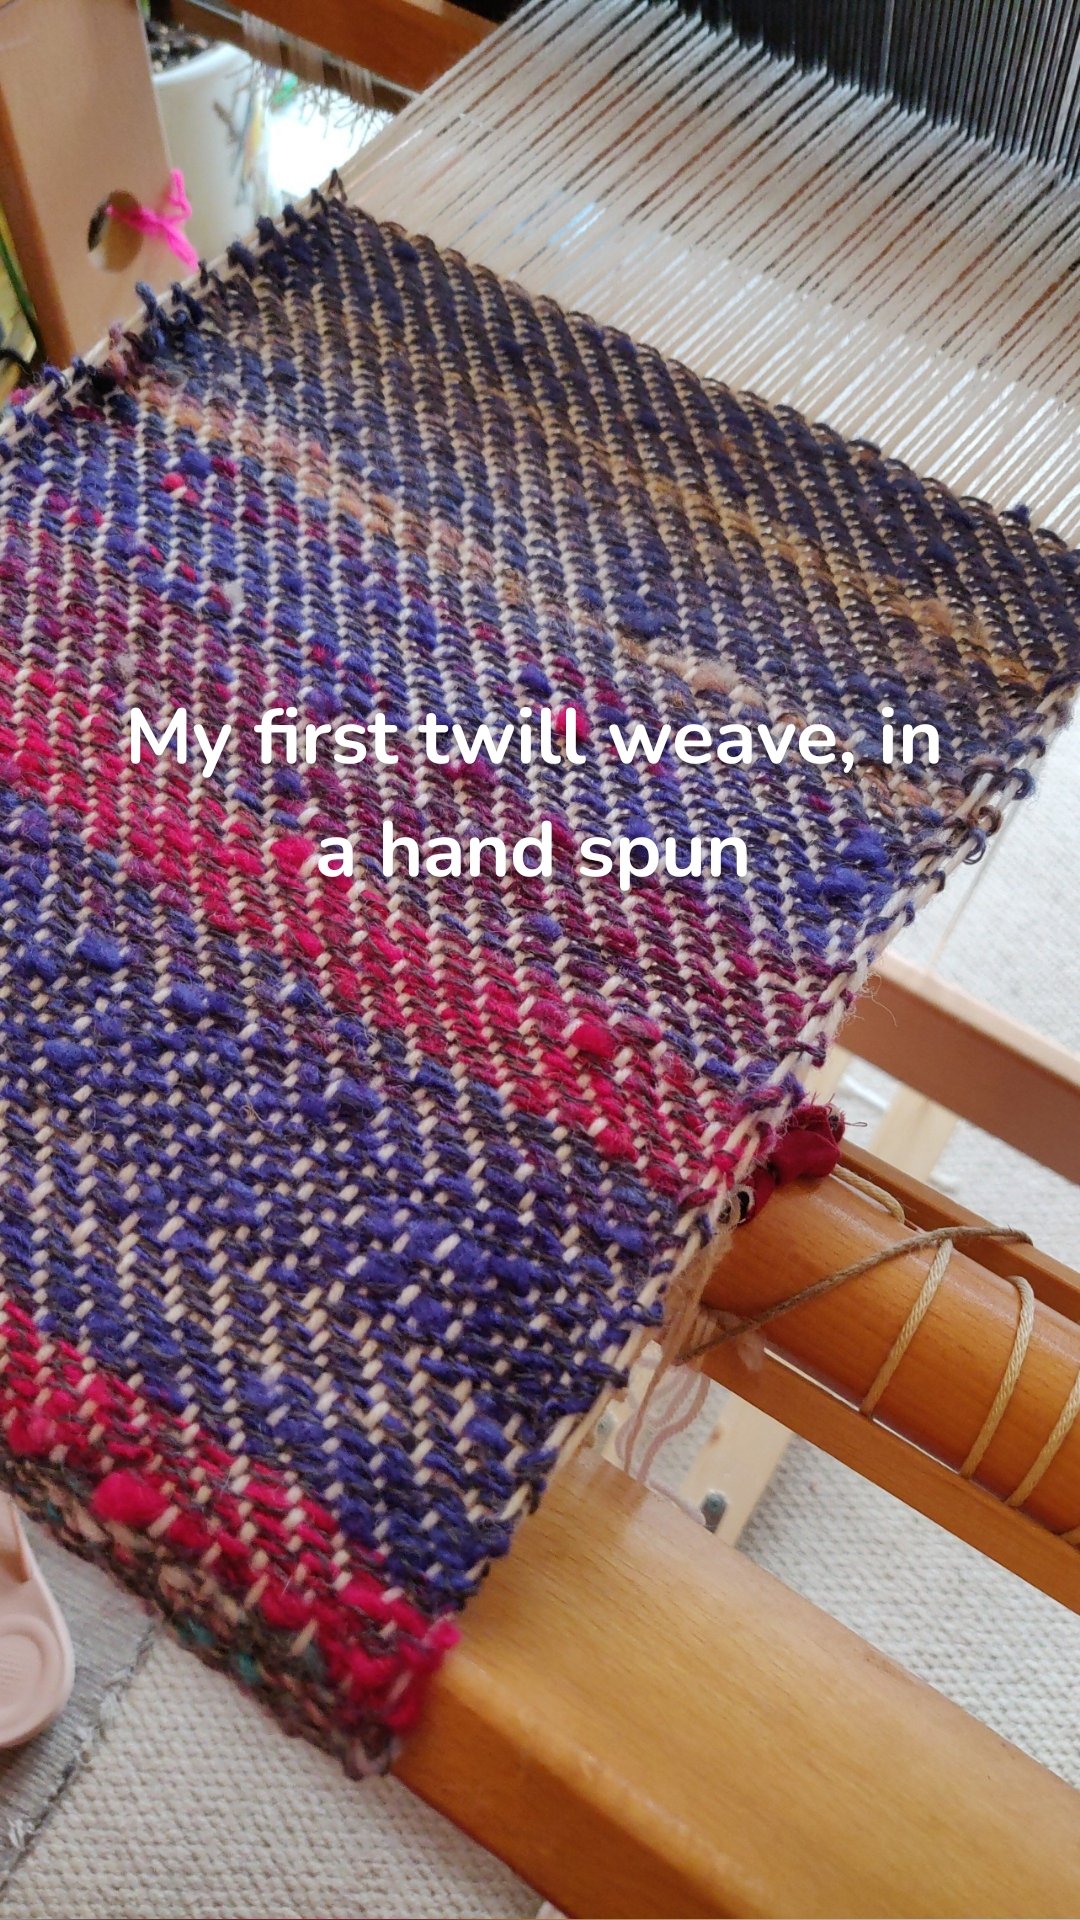
Twiddling with twill
I am so lucky, I have been given Anne Dixon’s 4 shaft weaving book and am blown away by the number of possibilities with a simple 1, 2, 3, 4 threading. My first two attempts are very rewarding, but messy edges. I was to excited putting the warp on and forgot to pack the edges and add floating selvedges. I tried rethreading the 4 edge heddles but it’s not a brilliant finish. Still it’s only a short ‘test’ warp, and I will do better next time!
Before receiving the book I had worked out how to do herringbone and combine this with stripes. I liked this, especially with a marl hand spun between commercial yarn.
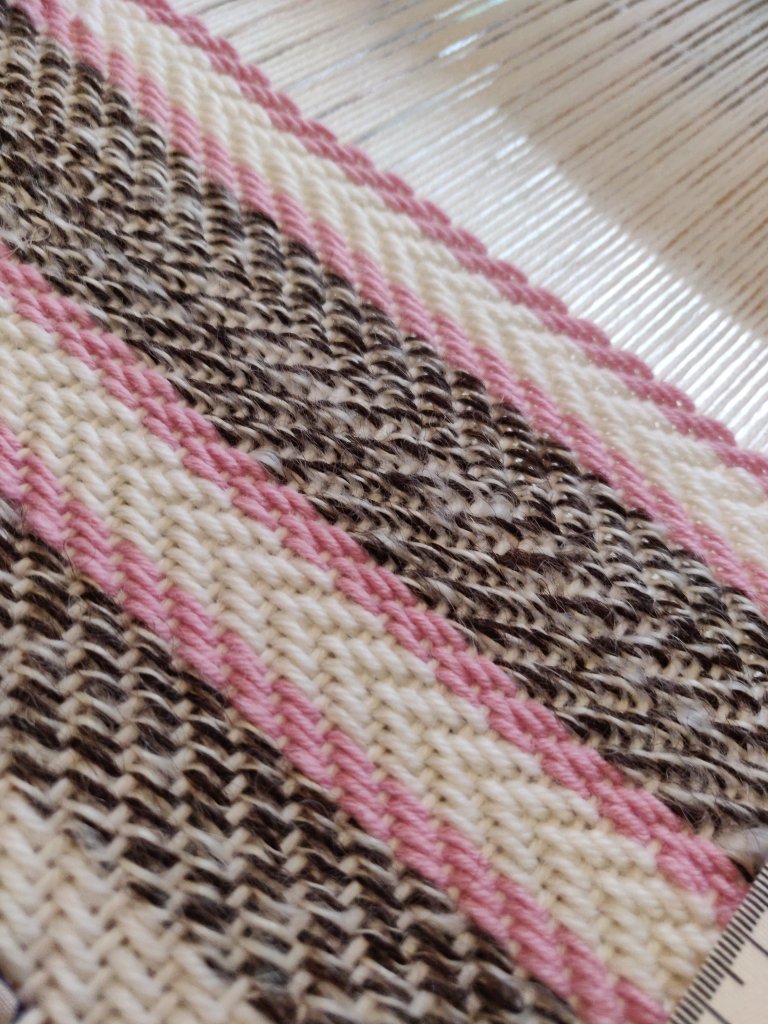
After getting the book I realised I could work with two treadles at a time and two shuttles.
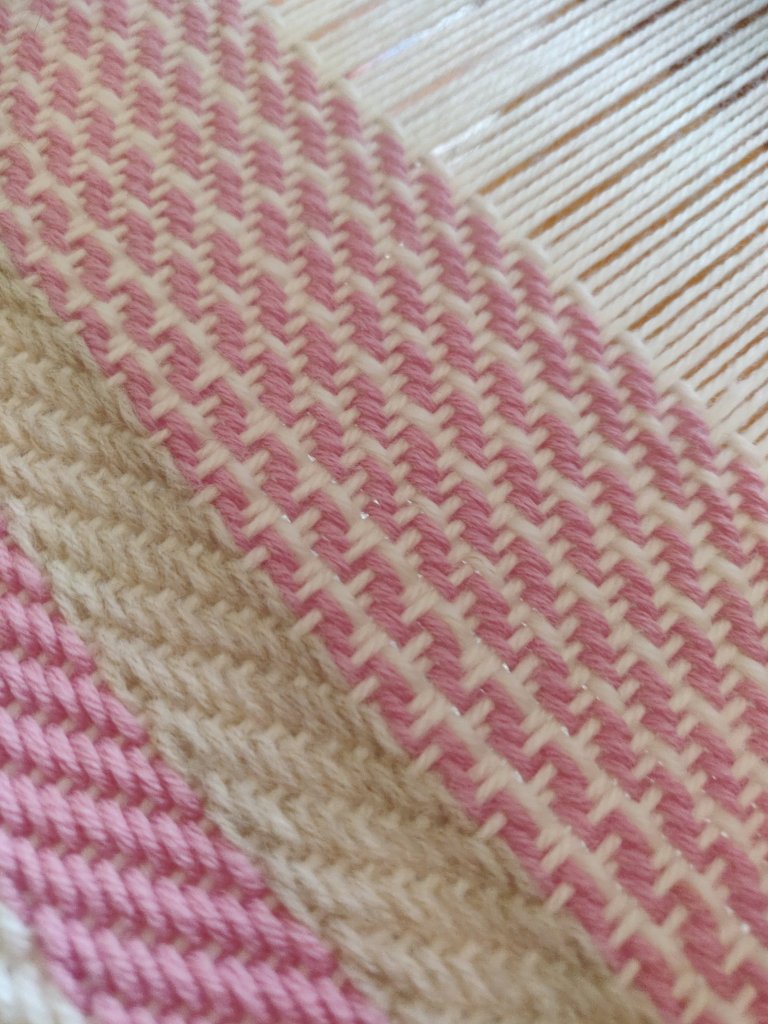
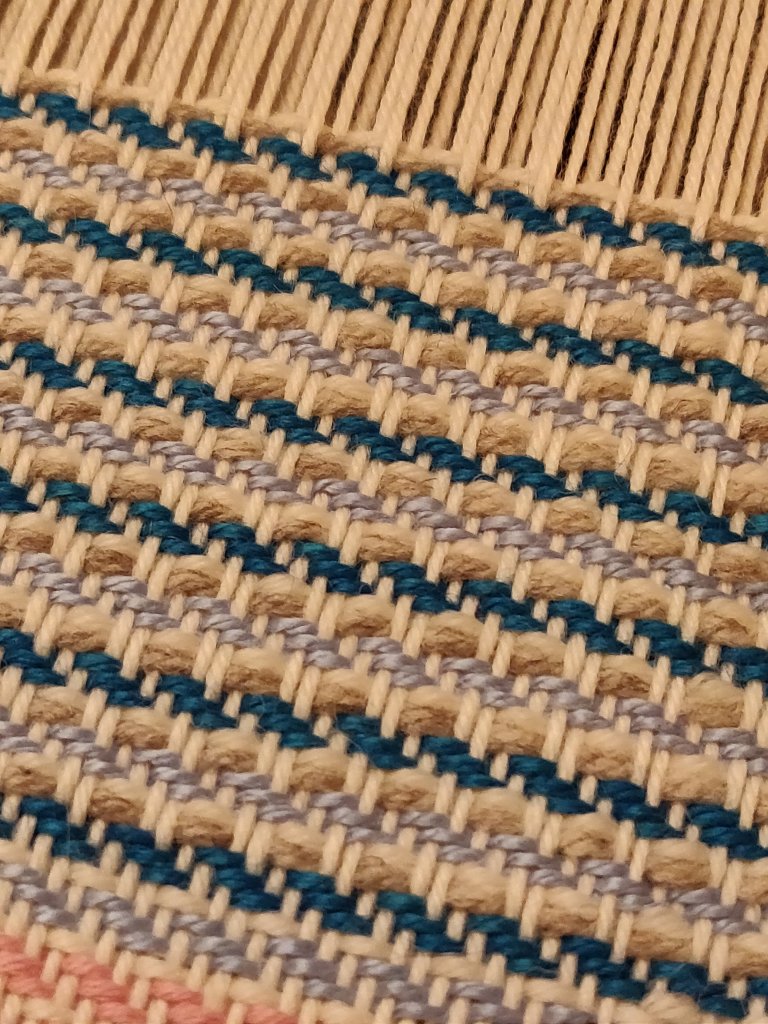
Now I am playing with colours and have added an extra pick to the pattern. Working this additional pick in thicker yarn increases the surface texture. And although it’s not clear on the photo, both blue yarns are mercerised so make a contrast to the woollier yarns.
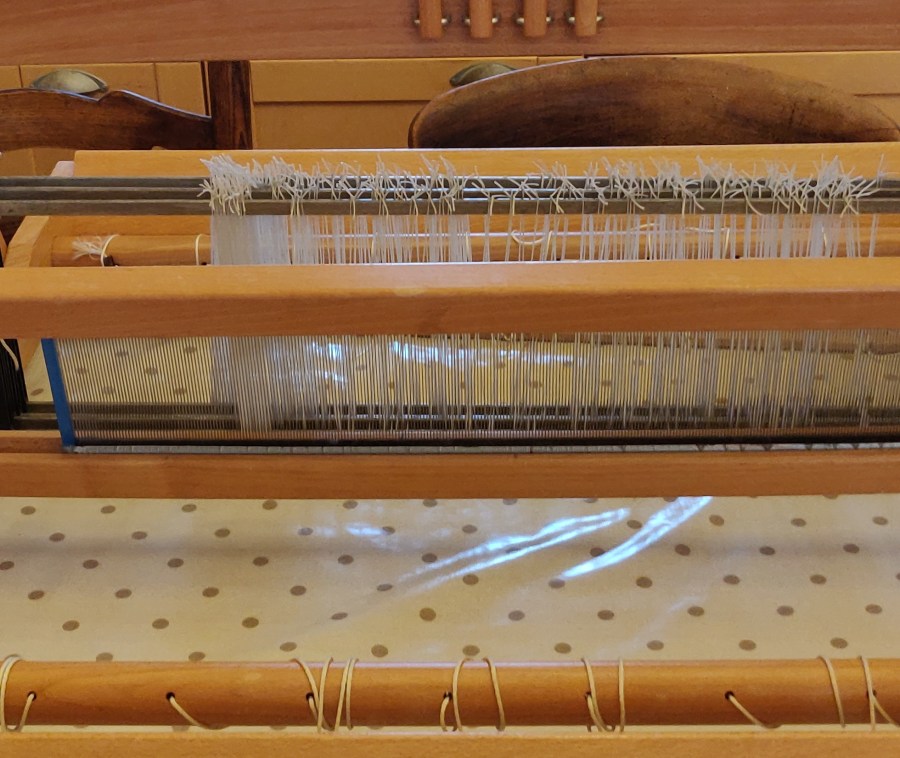
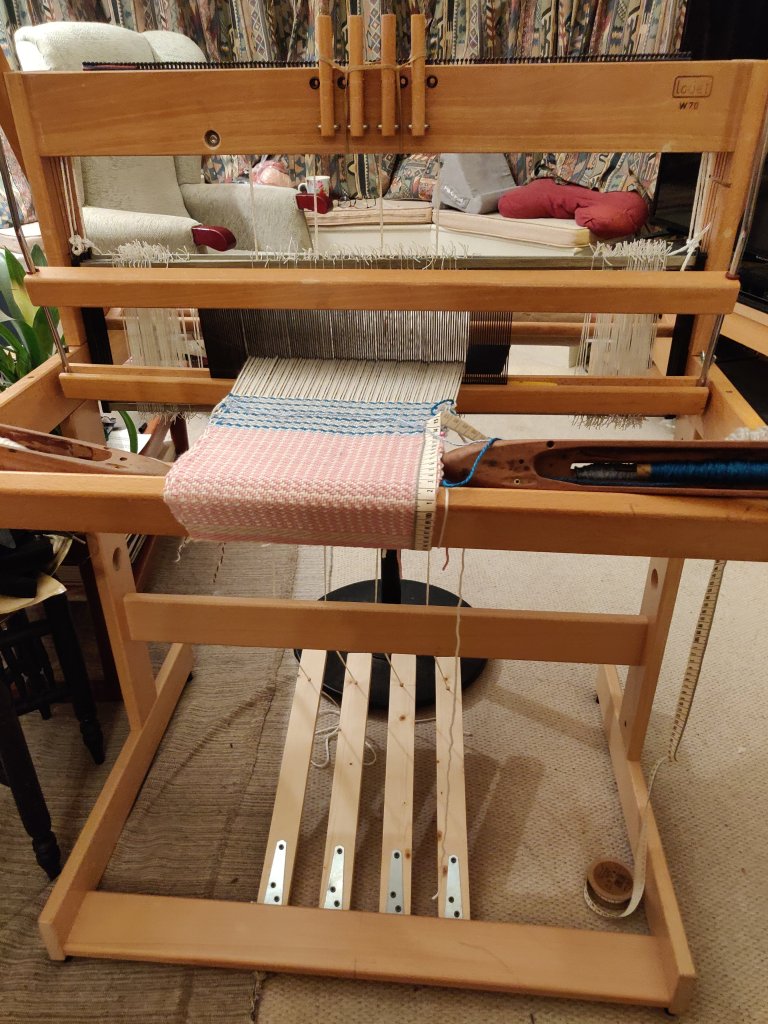
Louet W70 loom
I have just bought a Louet W70 loom to expand my skills. It is a 4 shaft and has a stand. From my internet searches I understand this look to be the earliest version of the Louet Kombo Loom, that then became the Jane. It’s very sturdy and U think I am going to have fun with it!
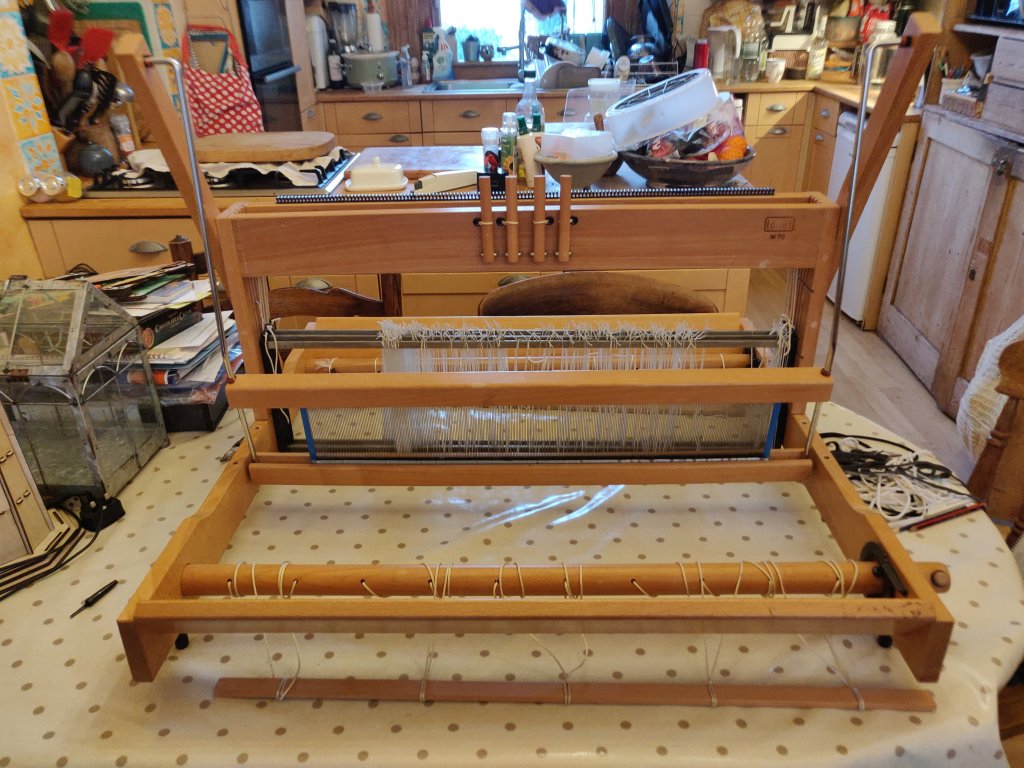
I mentioned that it would be great if I could pedal the shafts. My son took one look at it and was determined to add those pedals!
Today we spent a lot of time trawling the internet for old instruction manuals and seeing what other people had done when converting table looks to treadle ones. There is one video on Facebook that we found very informative, and so we started. He has so far designed a direct tie-up method for lifting the shafts and is now working on designing the treadles. Meanwhile I have ordered Texsolv cord and clips to make the tie-up easier and so that the pedals can be disconnected to enable folding the loom away.
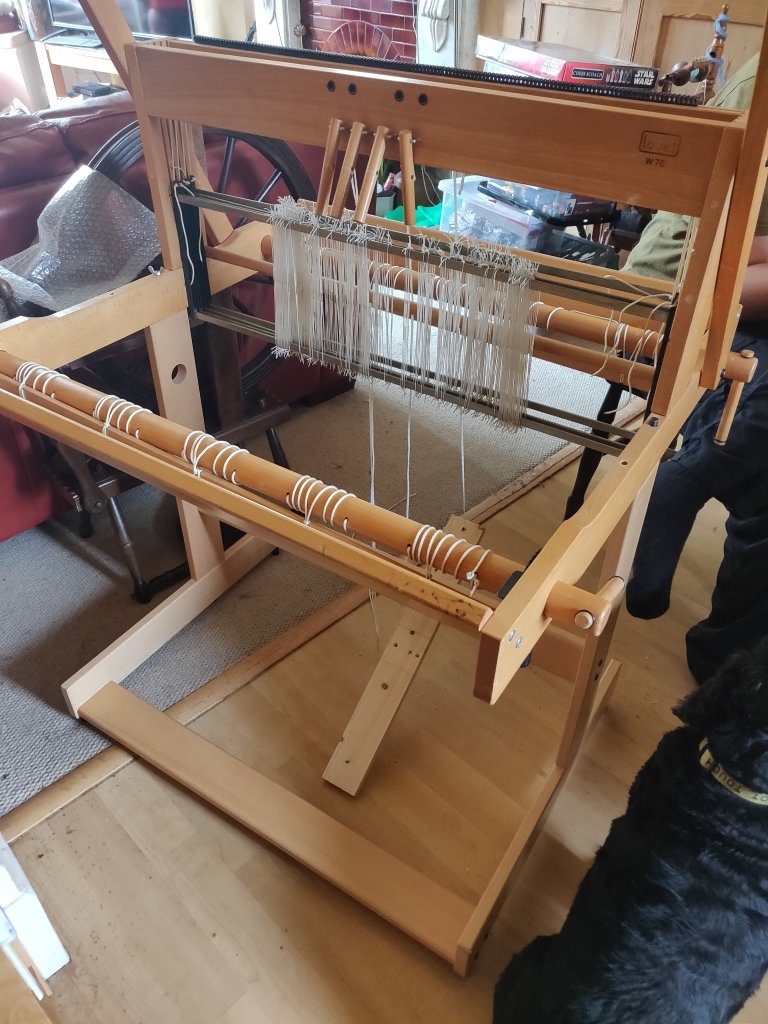
Update
The loom is now working. It has four direct threaded treadles and I’m working on it with a short, narrow test warp using some wool/acrylic and a 10epi reed.
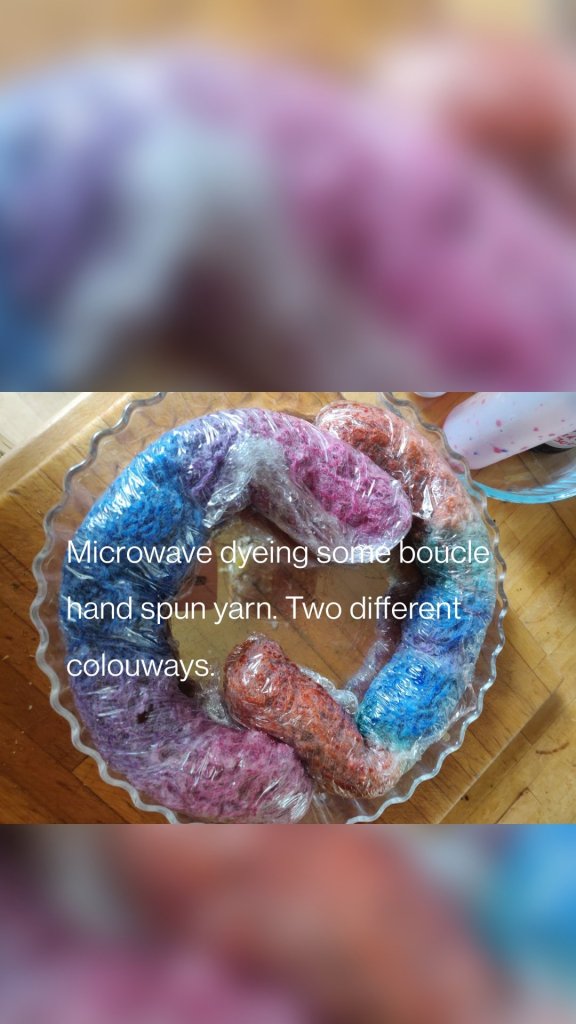
Fancy yarn workshop; spinning boucle yarn
Yesterday I had a fab time at a workshop learning to spin fancy yarns. We only managed boucle and slub but that was so rewarding. The workshop was organised by the Brighton and Hove Textile Arts Group and hosted by Spring Farm Alpacas in Fletching West Sussex. Ann Dishman led the workshop and provided Blue Faced Leicester tops, still various and other threads for us to spin with.
Although I have spun both types of yarns before, I learned a lot and really enjoyed having four hours in which to practise the techniques. I also found out that Ann had been taught to spin by my spinning hero, Mabel Ross, which made me extremely envious.
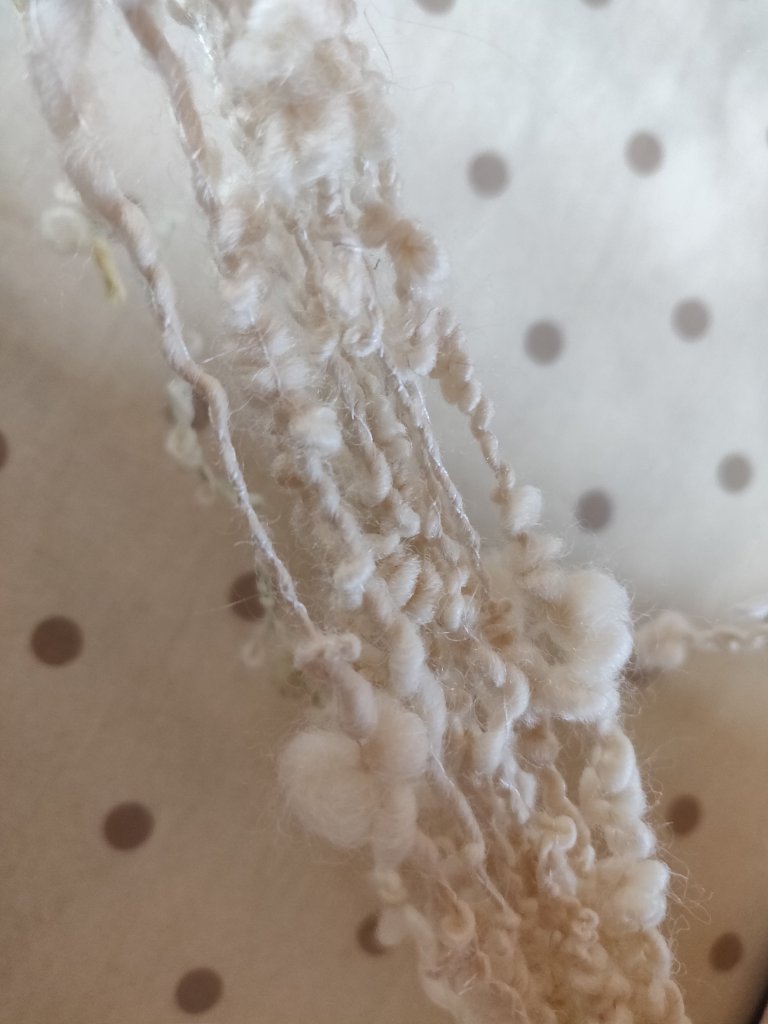
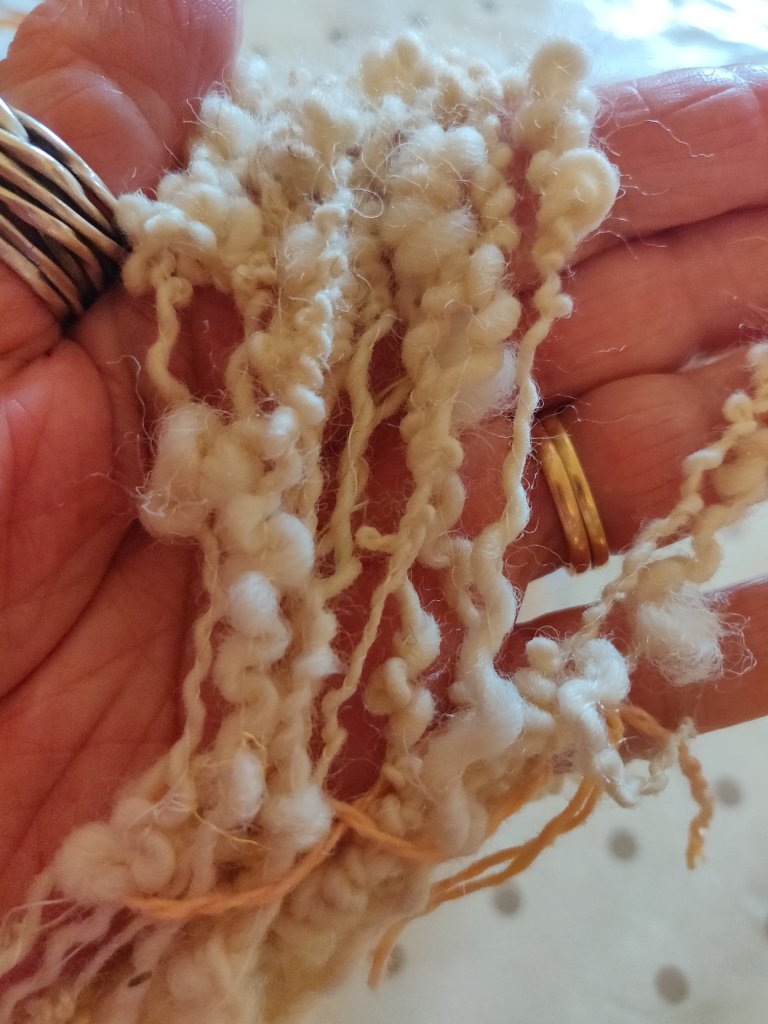
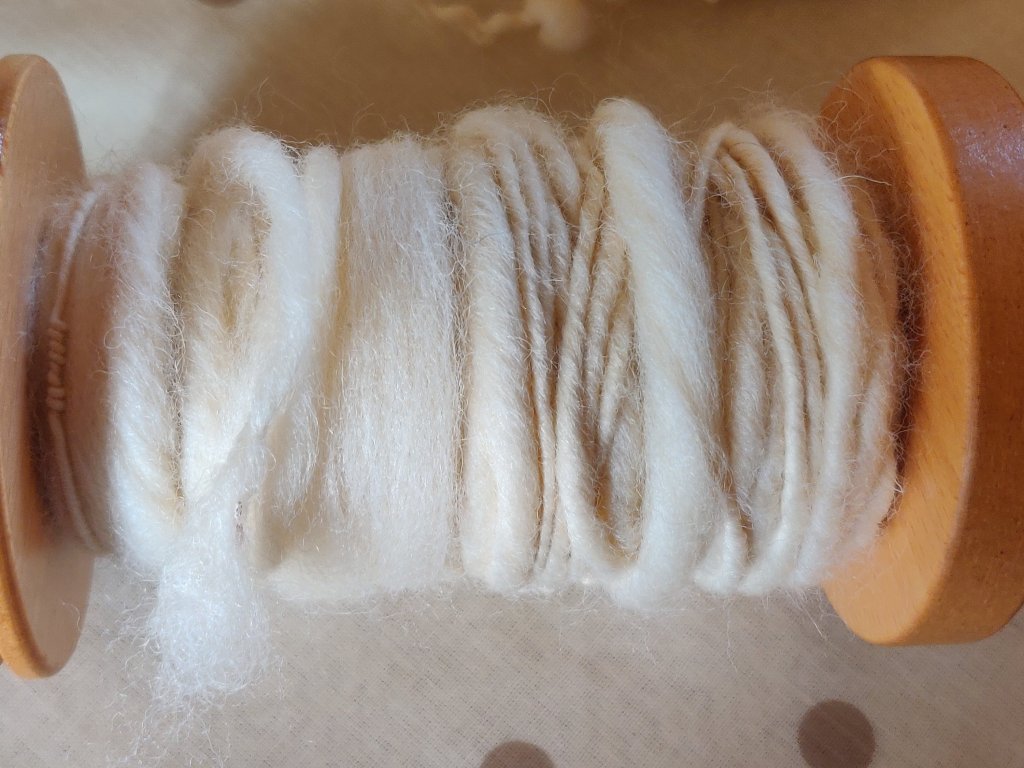
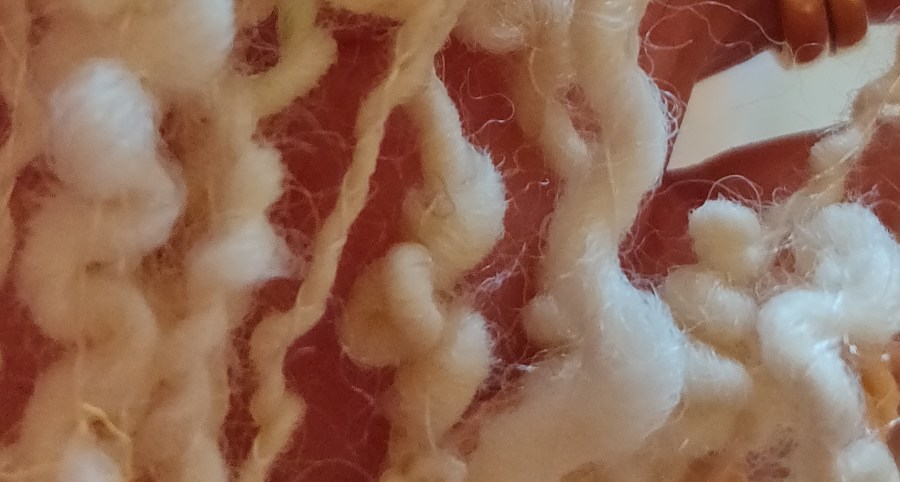
Unwashed soft slub; Blue Faced Leicester singles with a fine industrial wool binder.
I took my Louet Victoria travel wheel and at usual she spin well and reliably, it was the user who made the mistakes!
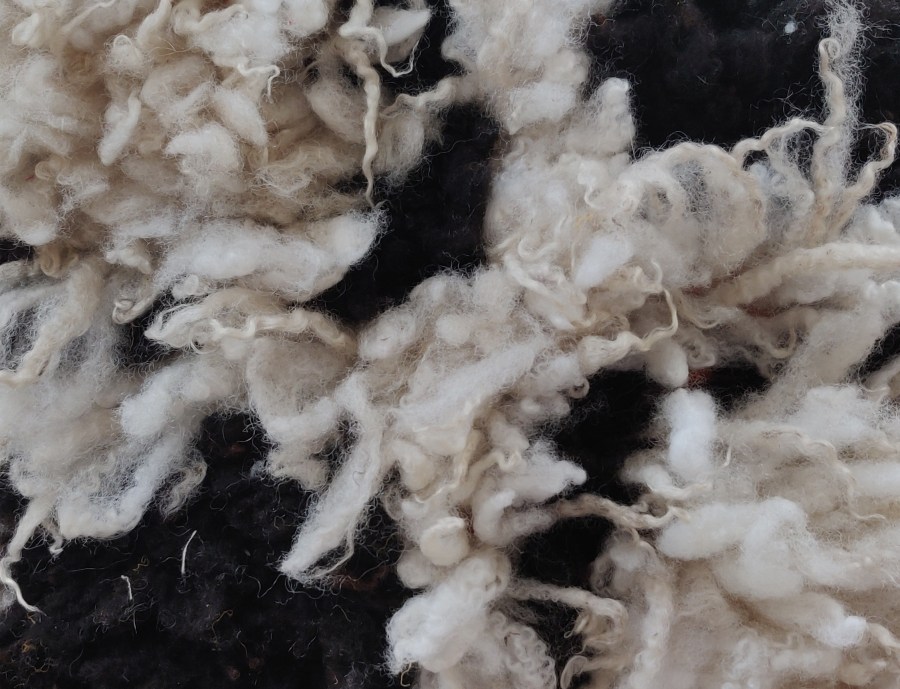
Rya weave cushion completed
Although it’s taken me a while I have finally finished this cushion.
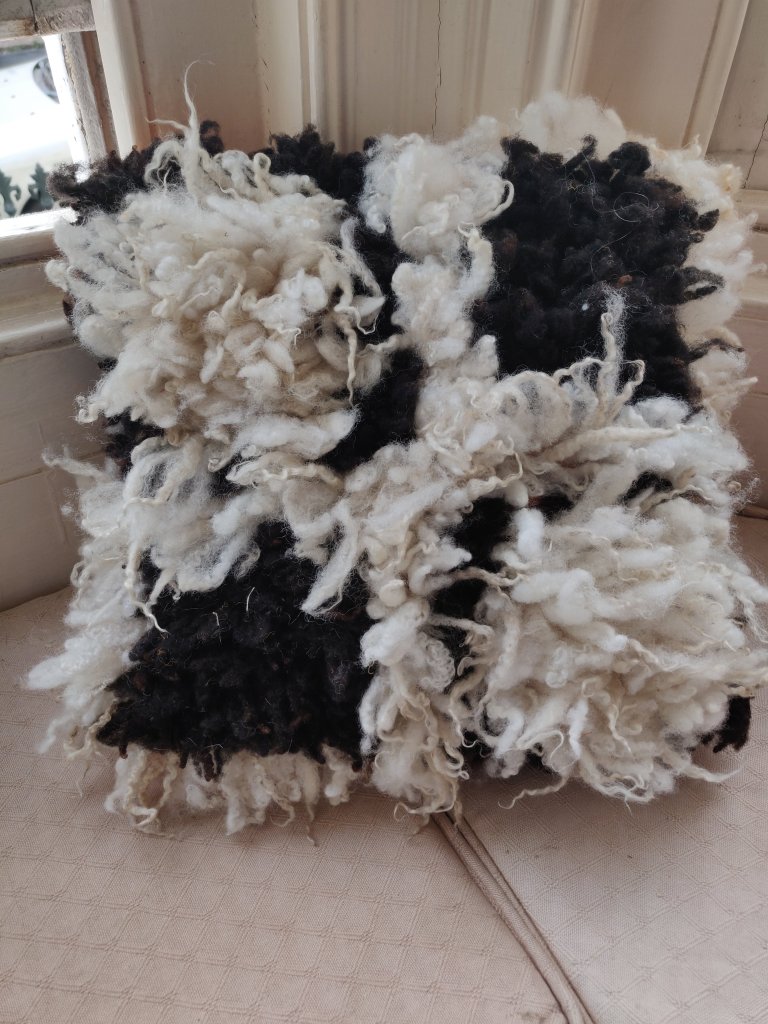
The front is Rya tufted and woven with a British wool rug yarn on a linen/cotton warp. The black tufts are Shetland staples and the cream is a mixture of Devon/Dorset staples. Although it’s not that clear in the photo, the squares are reversed; black edging with a cream centre and cream edging with a black centre.
The reverse of the cushion is a faux waffle weave in the same rug yarn that underlies the Rya tufts. Because my rigid heddle loom is only a 20 inch wide, the cushion is composed of four pieces.
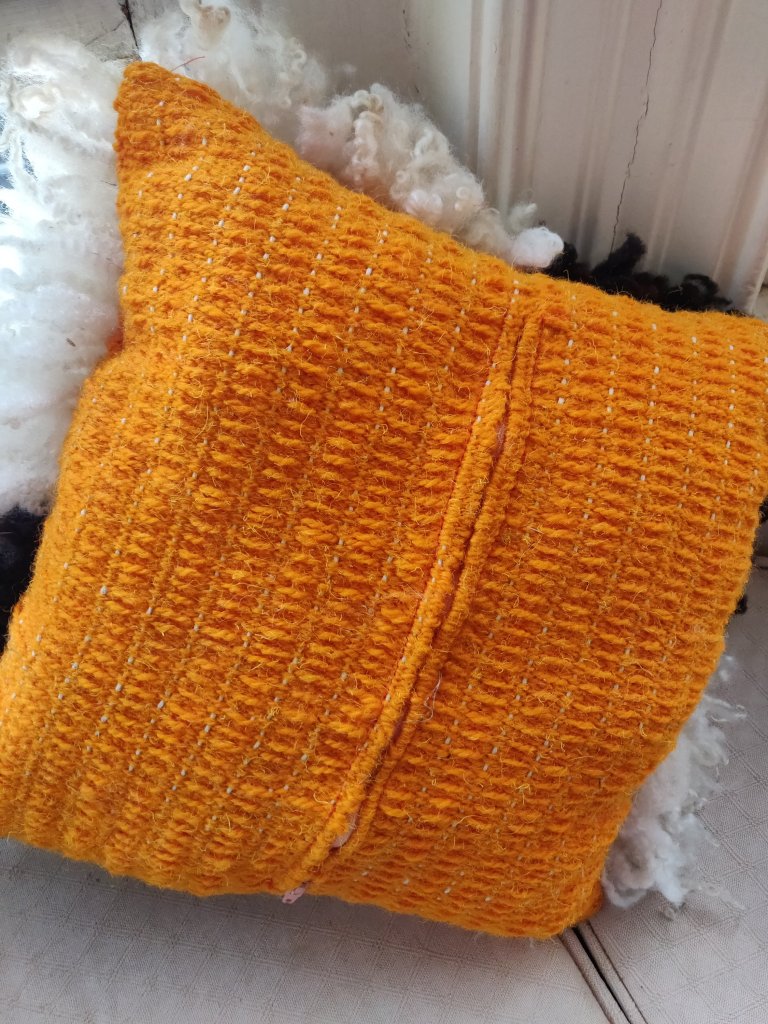
Instead of feathers or polyester wadding, the cushion is filled with a pad of lofty carded wool fleece. I will use this cushion to make my chair extra comfortable whilst spinning at my wheel.
Weaving today for a relaxing time
Today is ‘me time’, weaving with a local group, mostly members of the West Sussex Guild. Although I love knitting, it can sometimes seem like work because of my teaching and writing career. Weaving however, is a new skill to learn just for pleasure. Even though I haven’t heard grasped all the basics I am having fun designing fabrics using the simpler techniques.

Typically I have already acquired two kinds, both rigid heddle type, but perfect for my early steps.
‘Single and Double Bed Machine Knitting; the Designer’s Guide’
The advance copy of my new book arrived today, and you can see some pages from the book here.
Meanwhile here is a quick look at the book.
I have made a more in depth video introduction to the book, and if you would like to watch this, please keep on scrolling down the page.
