We finally got the Christmas tree up.

I make the cake months ago, now it’s time to wrap presents. Then make a Stolen. Run, run rush.
We finally got the Christmas tree up.

I make the cake months ago, now it’s time to wrap presents. Then make a Stolen. Run, run rush.
This is a question I often ask other spinners, as I can get quite uncomfortable if I don’t set myself up on the right chair for the wheel I am using. I must admit to being a bit of a voyeur at my local spinning group, because I like to watch how others set themselves up and see how they work their wheel, its fascinating to watch different techniques. I never stop learning!
I have several wheels that all have different height flyers and orifice, so have found that I need to change position depending on which I am using. The lowest is my vintage double drive lace wheel (single, tiny treadle, named Penny) which comes in at just above knee height, followed by a Louet Victoria (Vicky, single drive, double treadle) and then my single treadle, double drive Ashford Traditional (Hamish). I’m considering adding a double treadle kit to him, but he has been stained mahoghany by the former owner and I don’t think I could bring myself to do that to the new treadles.
The highest orifice is on my double treadle Ashford Traveller (Dora), which is the one I use most. The Traveller is easy to manoeuvre around the living room, has a small footprint, and I’ve added a jumbo flyer as well as a wide ratio standard, so its pretty versatile. I just wish it was a double drive as I prefer this set up, but you can’t have everything. One day I might come across a double drive Traveller and have the spare cash to make the upgrade.
I digress – apologies, but I do that a lot.
Back to chairs. After attempts at trying other set ups, I’ve found a dining room chair best for the Traveller – with a firm cushion at my back and one on my lap. The back cushion supports my lower back, encouraging me to stay upright, and also pushes my bum forward so that I don’t get compression from then front edge of the chair seat pushing into the back of my knees. The lap cushion helps to prevent neck and shoulder strain. An added perk is that I seem to spin a more consistent yarn when using the lap cushion.
Before I discovered that this type of chair worked for me I was sitting in a soft armchair, albeit an high and upright one. Trouble with this was I had to have lots of cushions to sit forward, and then, although my lower back was OK, my bum tended to slide forwards because the soft seat didn’t support the backs of my thighs enough to keep upright. Plus the seat is quite narrow and I got neck strain from avoiding the arms when I worked long-draw or was plying.
So I am now reasonably comfy on the dining room chair with the Traveller, but I think I’d be better with a slightly lower seat. Its just the palaver of carrying chair and wheel to a good position where: it doesn’t rock on the edge of the rug, there is a table near me to put mycup of tea on, the dog won’t walk through my fibre, and I can see the TV – not too much to ask I feel.
Working on the low lace wheel I use a nursing chair that is only 12″ (about 26cm) from the floor. This chair has a big seat and no arms, whilst the back is quite high so its a good shape for spinning. The back is a good height, but I’d like it a bit narrower to allow full movement in my shoulders.
The Traditional is in another room and I use a swivel office chair with adjustable everything. This is good, but is sadly an ugly (and patchily faded) royal blue and too heavy to carry from room to room. So its not an option for the living room where I like to spin in the evenings watching TV with my partner.
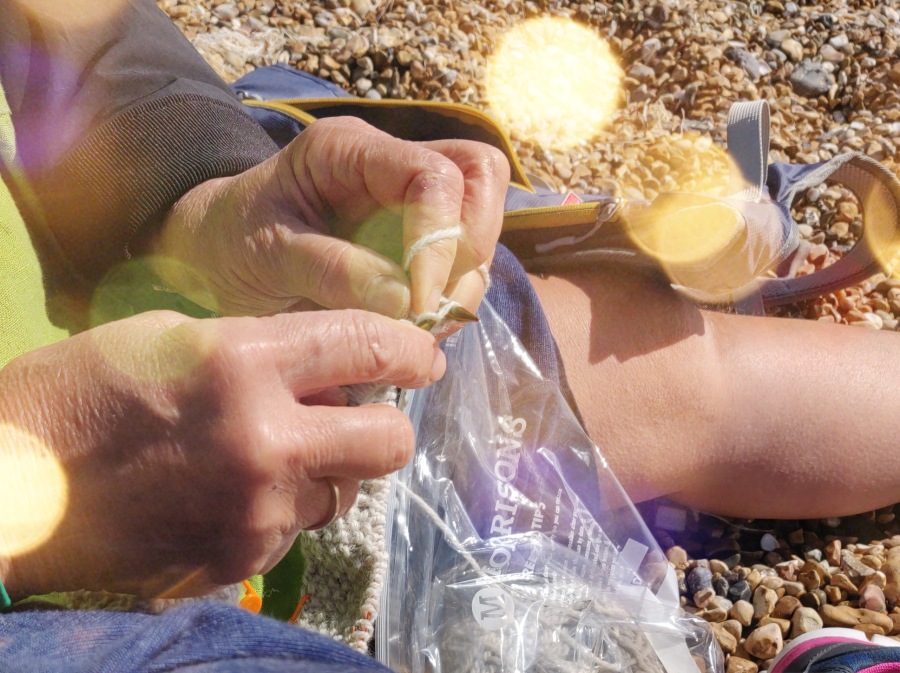
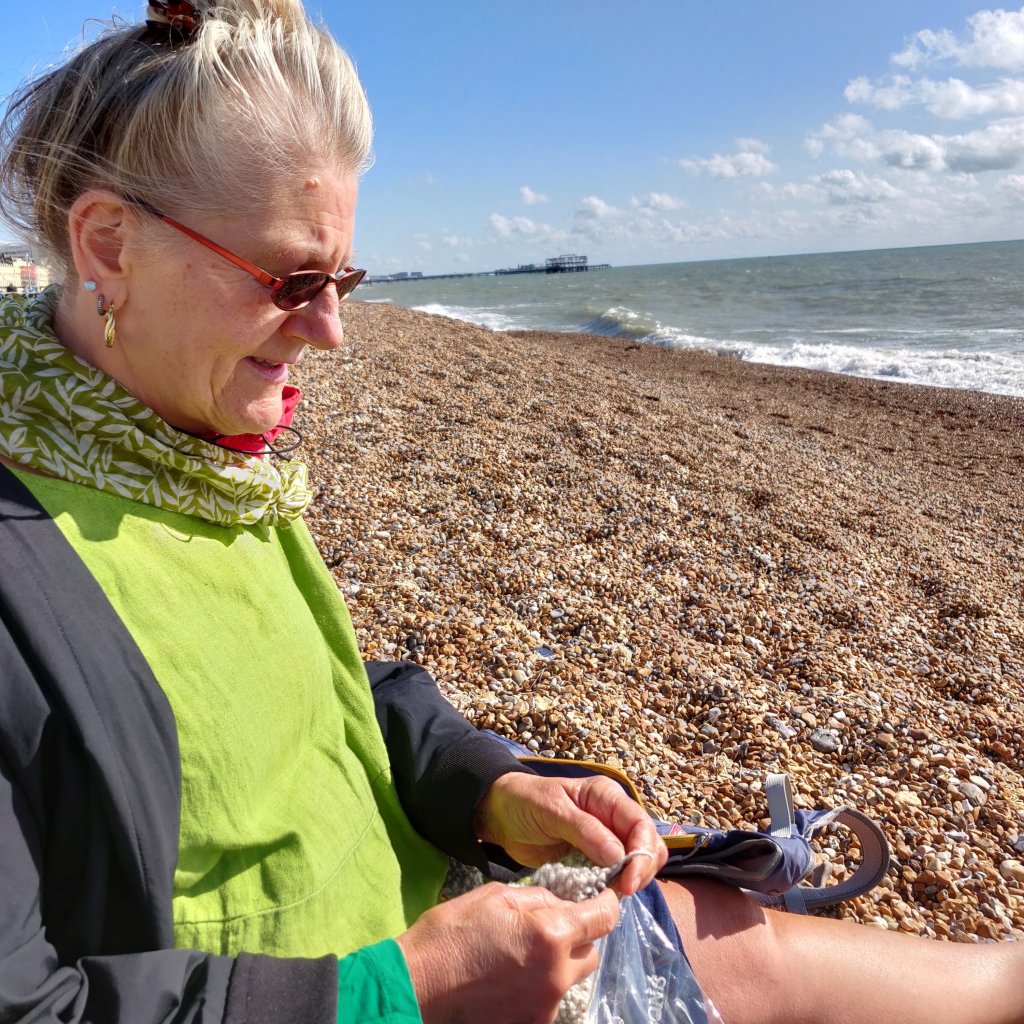
My Louet Victoria (Vicky) is a folding, portable, lightweight wheel for use outdoors or at workshops, so sometimes when using her there is no choice about where I can sit. If I can take a chair with me, I have a very lightweight aluminium folding directors chair that doesn’t have that awfully uncomfortable bar across the front under my knees. I like to take a cushion for the seat to make it super comfy and this helps me sit upright. It also keeps my bum warm if the day is cold. However this type of chair has arms – but they are pretty low and wide apart and I seem OK on this.
I’ve tried a backless stool and ended up with terrible back ache, so thats not an option for me. I am toying with the idea of a traditional ‘spinning chair’ with a low seat and narrow back, but the seats all seem really small, and I am worried my bum will overflow the sides!
So that is a summary of where my spinning chair experiments have led me.
Sometimes, depending on my overall muscular-skeletal day-to-day twinges I find working the treadle wearing a soft shoe rather than barefoot alleviates foot and knee pains. But I love spinning barefoot outdoors in warm weather.
I’ve had a number of different colour hand dyed carded batts sitting waiting for me to find inspiration. They are all from fleece I have scored and carder myself, so are a mix of Shetland, Suffolk and Texel, with maybe a little Alpaca blended into some of them. Some are in 200g amounts, some less. I’d got a bit stuck about how to use them until I saw a useful tip by Anna from my spinning group that she has put on YouTube.
Before you start, select a group of colours that work together. After a designing session during which I wrapped different colours together, I chose five: orange, pale green, mid blue, pale blue and lilac.
Anna used a combination of hand dyed and commercial roving, but the principle is the same with your own carded batts.
1. First of all split the roving/batt into the required lengths, (I just used the whole length of the batt of my drum carder).
2. Then split each length lengthwise into 4, (or more, depending on the thickness of the roving/batt).
3. Next, lay out the colours lengthwise, next to each other in the order you want to spin them into yarn. Test this beforehand to see how they mix throughout one repeat of a yarn, and if this works for your chosen outcome, such as knitting.
4. Repeat the colour sequence three more times so you have a table full of ‘stripes’ of fibre. If you have more than four lengths let colour, carry on until all are used up.
5. Now this is the clever part. I have hand spun colour changing yarns before and got the sequence wrong because I put it all away in a box between spinning sessions. To keep the sequence do the following.
6. Take a metre + long length off ribbon and tie a pencil or empty pen across one end. This is your fibre-stopper. Tie a hand-sized loop on the other end. This is your distaff.
7. Starting at one end of the ‘stripes’, wind each length off fibre into a loose roll and slip the looped end of the ribbon through the centre hole. Carry on doing this, working methodically through the fibre lengths, keeping the colour order as mapped out in your ‘stripes’.
8. You will end up with a ‘necklace’ of colour ordered fibre rolls on the ribbon. Tie the ends together to stop the fibre sliding off.

Now to can put them in a box and they won’t get muddled. To start spinning, simply lift the necklace out, untie the ends, and slip the loop over your hand. It acts as a distaff and will hold your fibre nicely as you spin each colour.

What a great tip!
I plied the colour changing yarn with a single spun made from navy blue Corriedale. This made a lovely marl yarn that to me resembles stained glass windows. I can’t wait to see what it looks like knitted.

Here is the link to Anna’s video
Today a parcel of lovely duck-egg blue linen arrived. I can’t wait to start designing with it. I may use it in the samples for another book on knitting that I am planning.
Getting the Infinity scarf mentioned in my last post knitted involved a very pleasant hour knitting on the beach.

Today was the deadline for an Infinity Scarf pattern that I had been commissoned to write at short notice, you know the sort of thing that happens!
Anyway, as I’d only finished knitting it last night we had to do the photoshoot today, even though it was raining and grey. So we set off with a collection of coloured umberellas, plastic bags for camera stuff and my nifty, home made, shower-cap camera raincover! Luckily I had been clearing out the bathroom cupboard yesterday and unearthed a bundle of those freebie ones from hotels. I knew they would be useful some day. The other thing they are great for is proving bread, but I digress…
Finding a model at short notice was not easy, but my lovely friend Jo came up trumps, and offered to stand in the rain before shooting off to see her Mum.
It was fun anyway, because I love photoshoots; seeing your knit design come to life on a person is so rewarding.
As always there were loads and loads of shots to sift through, but it was well worth braving the rain for such a nice photo.


I will be releasing the pattern on this website once it has been published later on in the Autumn so do drop back if you would like to knit the scarf. There will be a page for the Infinity Scarf with the pattern, hints and tips on working the pattern, and tutorials for the various knitting techniques used. Techniques used in the pattern, including a great stretchy cast on, are also featured in my popular knitting ‘bible’, The Knitting Book.

Thanks once again to Jo for her stoicism and humour.
We are in the New Forest for a few days, and saw all these wonderfully coloured toadstools on a walk today.
I will update this video link when I get to my pc.
Update:
The weather has turned so I have taken both sample skeins out of the dye. The results are shown below.

Original post
My lovely husband gave me roses a week ago, but sadly they have drooped and begun to drop petals. I’ve decided to use the petals for dyeing; they were a lovely dark red and I hope I’ll get at least a pale pinky-brown from them.
The main thing I have learned is not to overheat petals – or any red natural dyes for that matter – as that seems to make them brown.
I tore up the petals and covered them in cold water, then added a little salt and white vinegar to the pot before gently heating it to below a simmer. I left the petals overnight to steep and strained the liquid off this morning. After that I put the drained petals into a muslin bag, returned this to the pan and added a skein of wet mordanted yarn to the cold liquid before reheating to a mid range temperature.

After heating the dye I poured the contents of the pan into a large lidded jar and have left it to steep for as long as it needs…

I’ve also put some over-ripe strawberries into a solar-dyeing jar next to the rose petals.

I made my first non-destructive, felted ‘sheepskin’ rug yesterday. Why I chose the hottest day of the year is beyond me. Well – it was meant to be a ‘sorting wool in the shade’ time, but a cotted mid-section of a pretty black Shetland fleece inspired me to take control and made something useful from it.

After cleaning as much VM as I could stomach from it – yes I know, I will live with the little bits forever now – I started to make the rug. I didn’t take any photos until it was done because it was a truly filthy job and I didn’t want to touch anything and needed a shower afterwards.
Update 13th August 2020
I made another one from a bi-coloured Shetland fleece and took a couple of photos,shown below
I laid the portion of fleece face down on the garden table and sewed together any holes – using wool yarn. I shaped it using this as well, so drew bits together and firmed up the edges.
After lifting the fleece I put an old net curtain on the table and then a layer of of bubble wrap, ( I have to fight to keep a stock of this as my husband throws it out when parcels arrive). On top of this I laid the firmed up fleece face down.
Next I laid layers from my own carded batts of black Shetland across the back. This wasn’t from the same fleece, but from last years equivalent. I did a quick and dirty carding session to get the batts, once through and no picking of bits etc. I criss crossed these to make a firmer backing. Over these I laid a thin layer from a batt of Blue Faced Leicester I had in my store cupboard.

Over this I laid another old net curtain, and dribbled boiling water over it all, and some washing up liquid. Then I tightly rolled it around a pool noodle and rolled it back and forth lots of times – for a minute at least. This was the filthy part, as the dirt came out in spurts. Yuck.


I opened it all up, checked the felting and added more hot water and rubbed and kneaded any suspect places with a bar of soap to get them felting. The re-rolled for another minute, and repeated it all again.
Of course it still needed washing, which was another filthy job, but finally it was all done!
Drying it took a day in the sunshine. Now its on the sofa, yipee.
Is it risque? It’s certainly liberating. Given the restrictions on meeting up indoors, going to the park seemed the the perfect way to meet up when we can’t go to our normal groups.
This is the second one I’ve organised and it was lovely way to spend a Friday afternoon. I took my portable Louet wheel and others brought wheels, drop spindles, knitting and crochet. And a picnic lunch!
Shade was mandatory as it was so hot, and we found a generous tree that have us a shady space big enough for plenty of social distancing.


I took along a sack of stove-top rainbow dyed fleece as described on my Dyeing Wool page. It’s a little coarse, but in nicely formed locks, so I am flick carding it and spinning it quite thick for use in a rug, (maybe)?