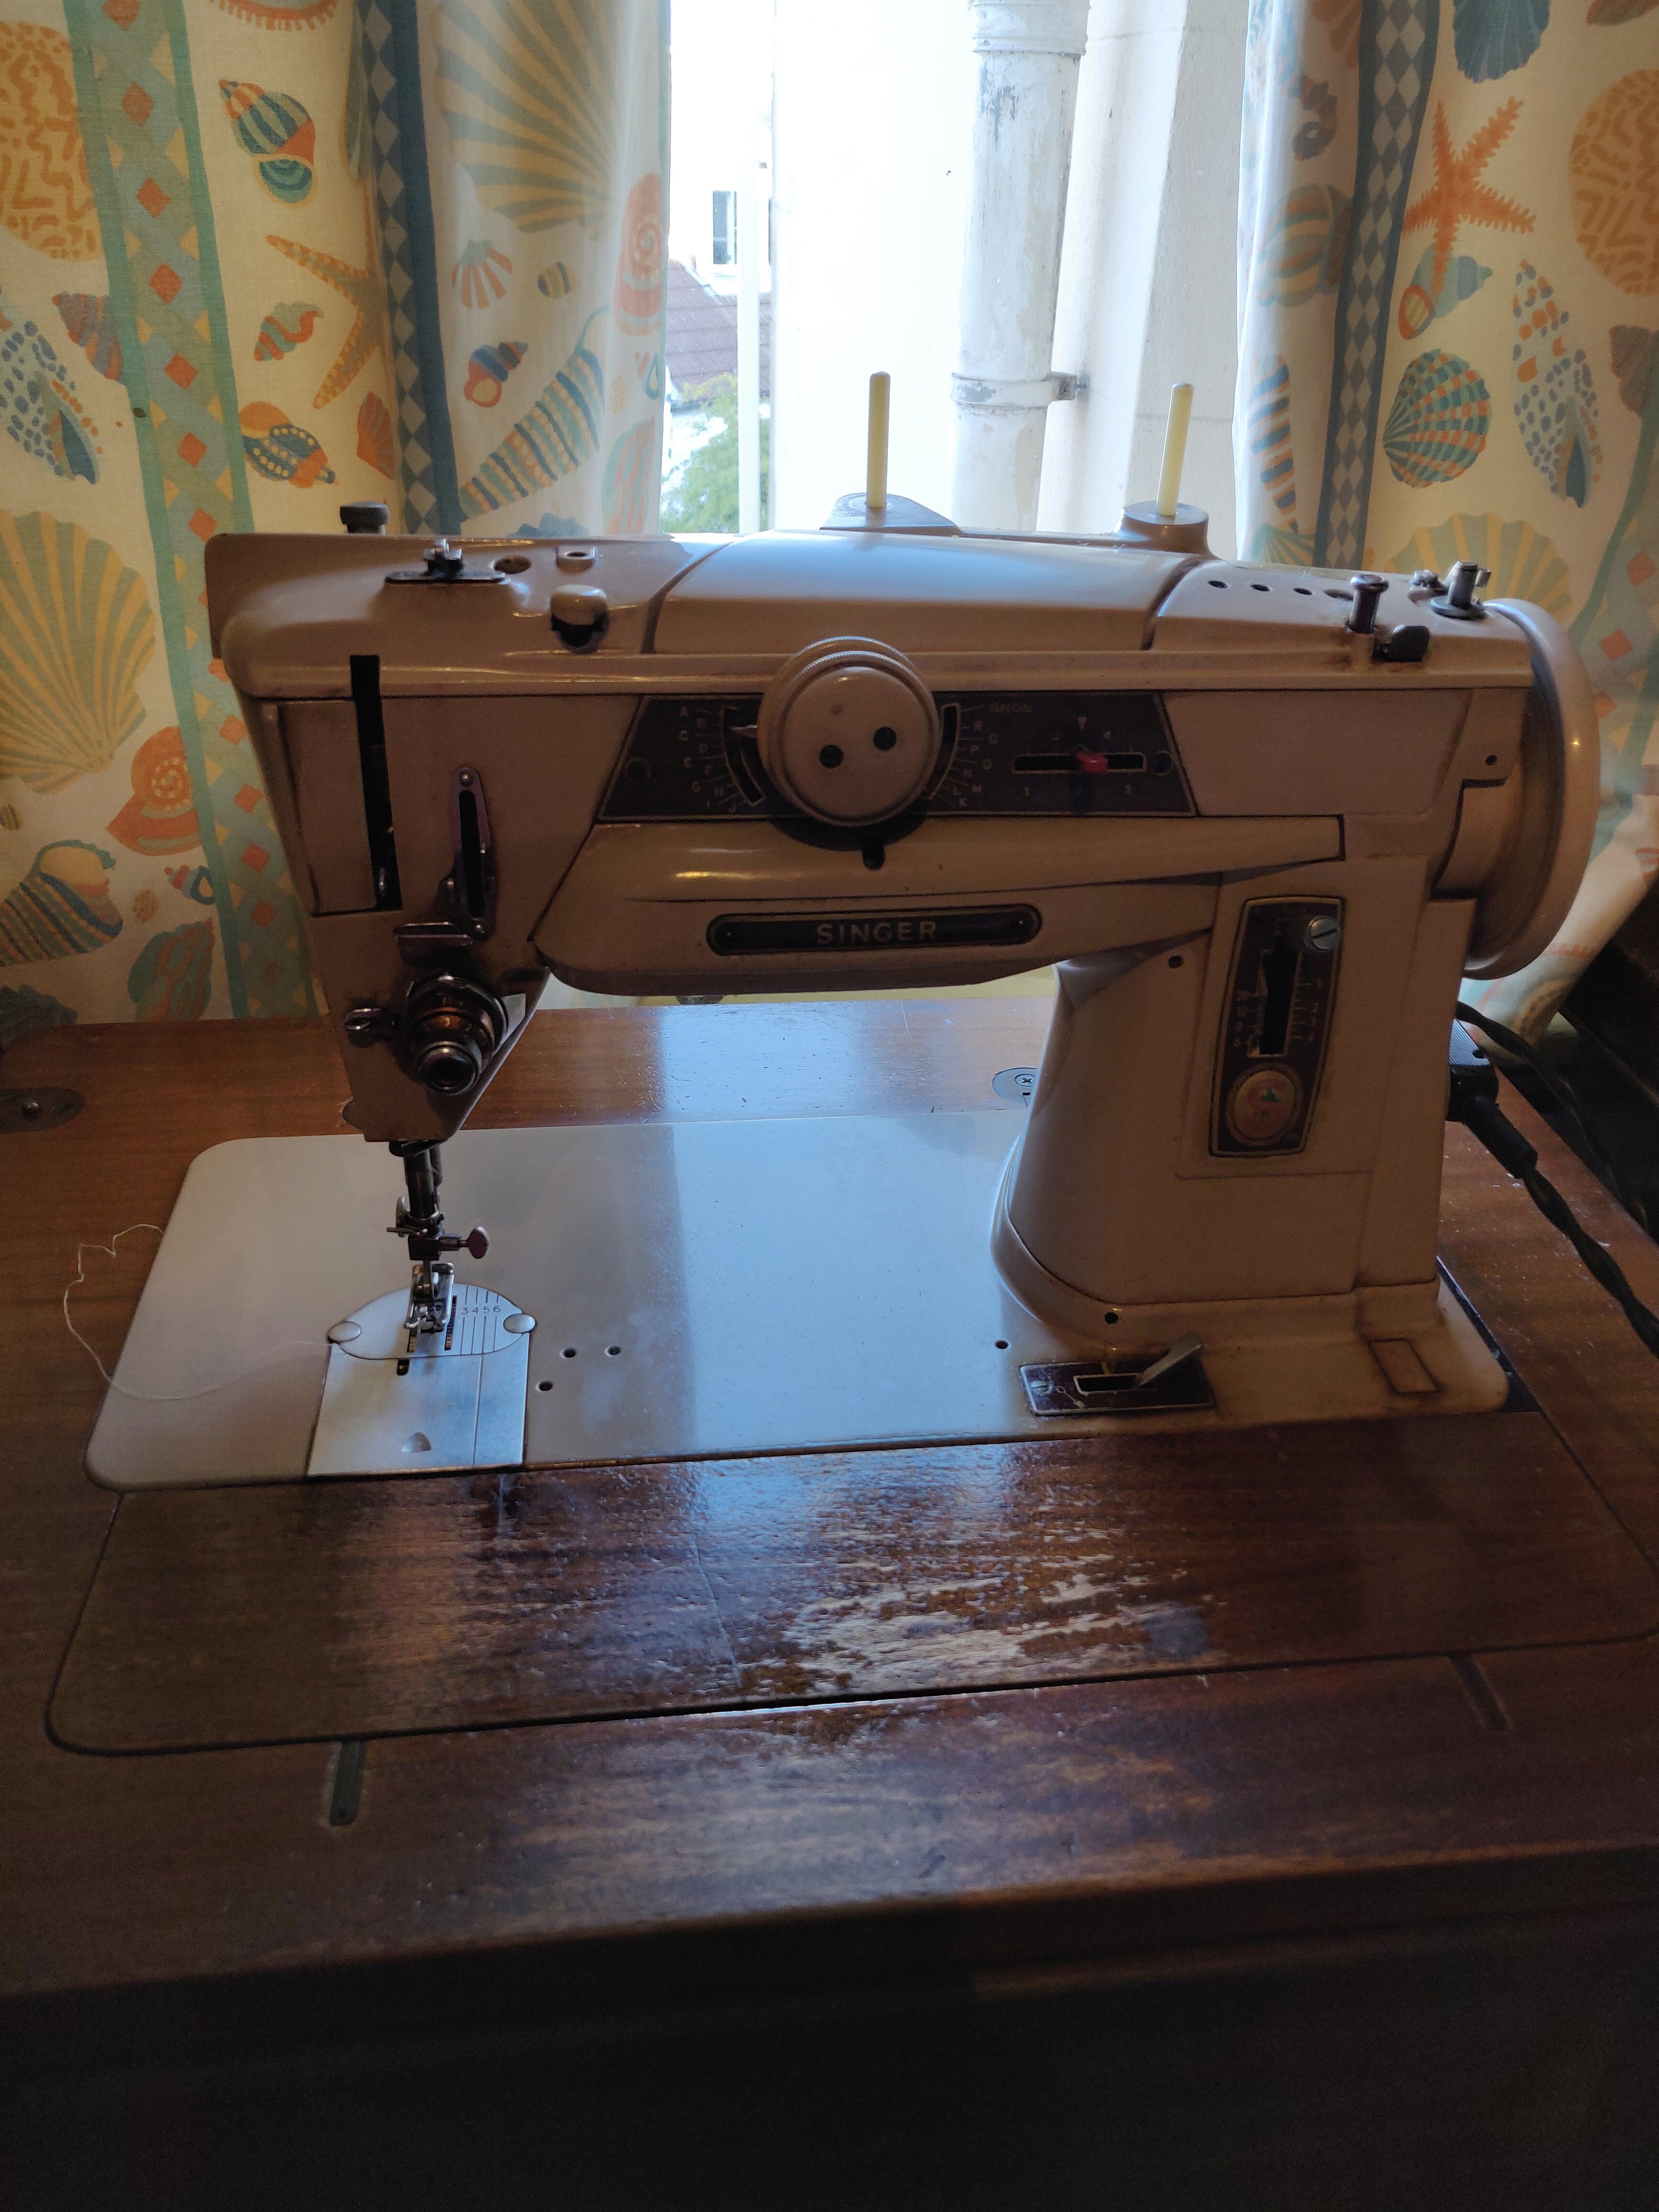
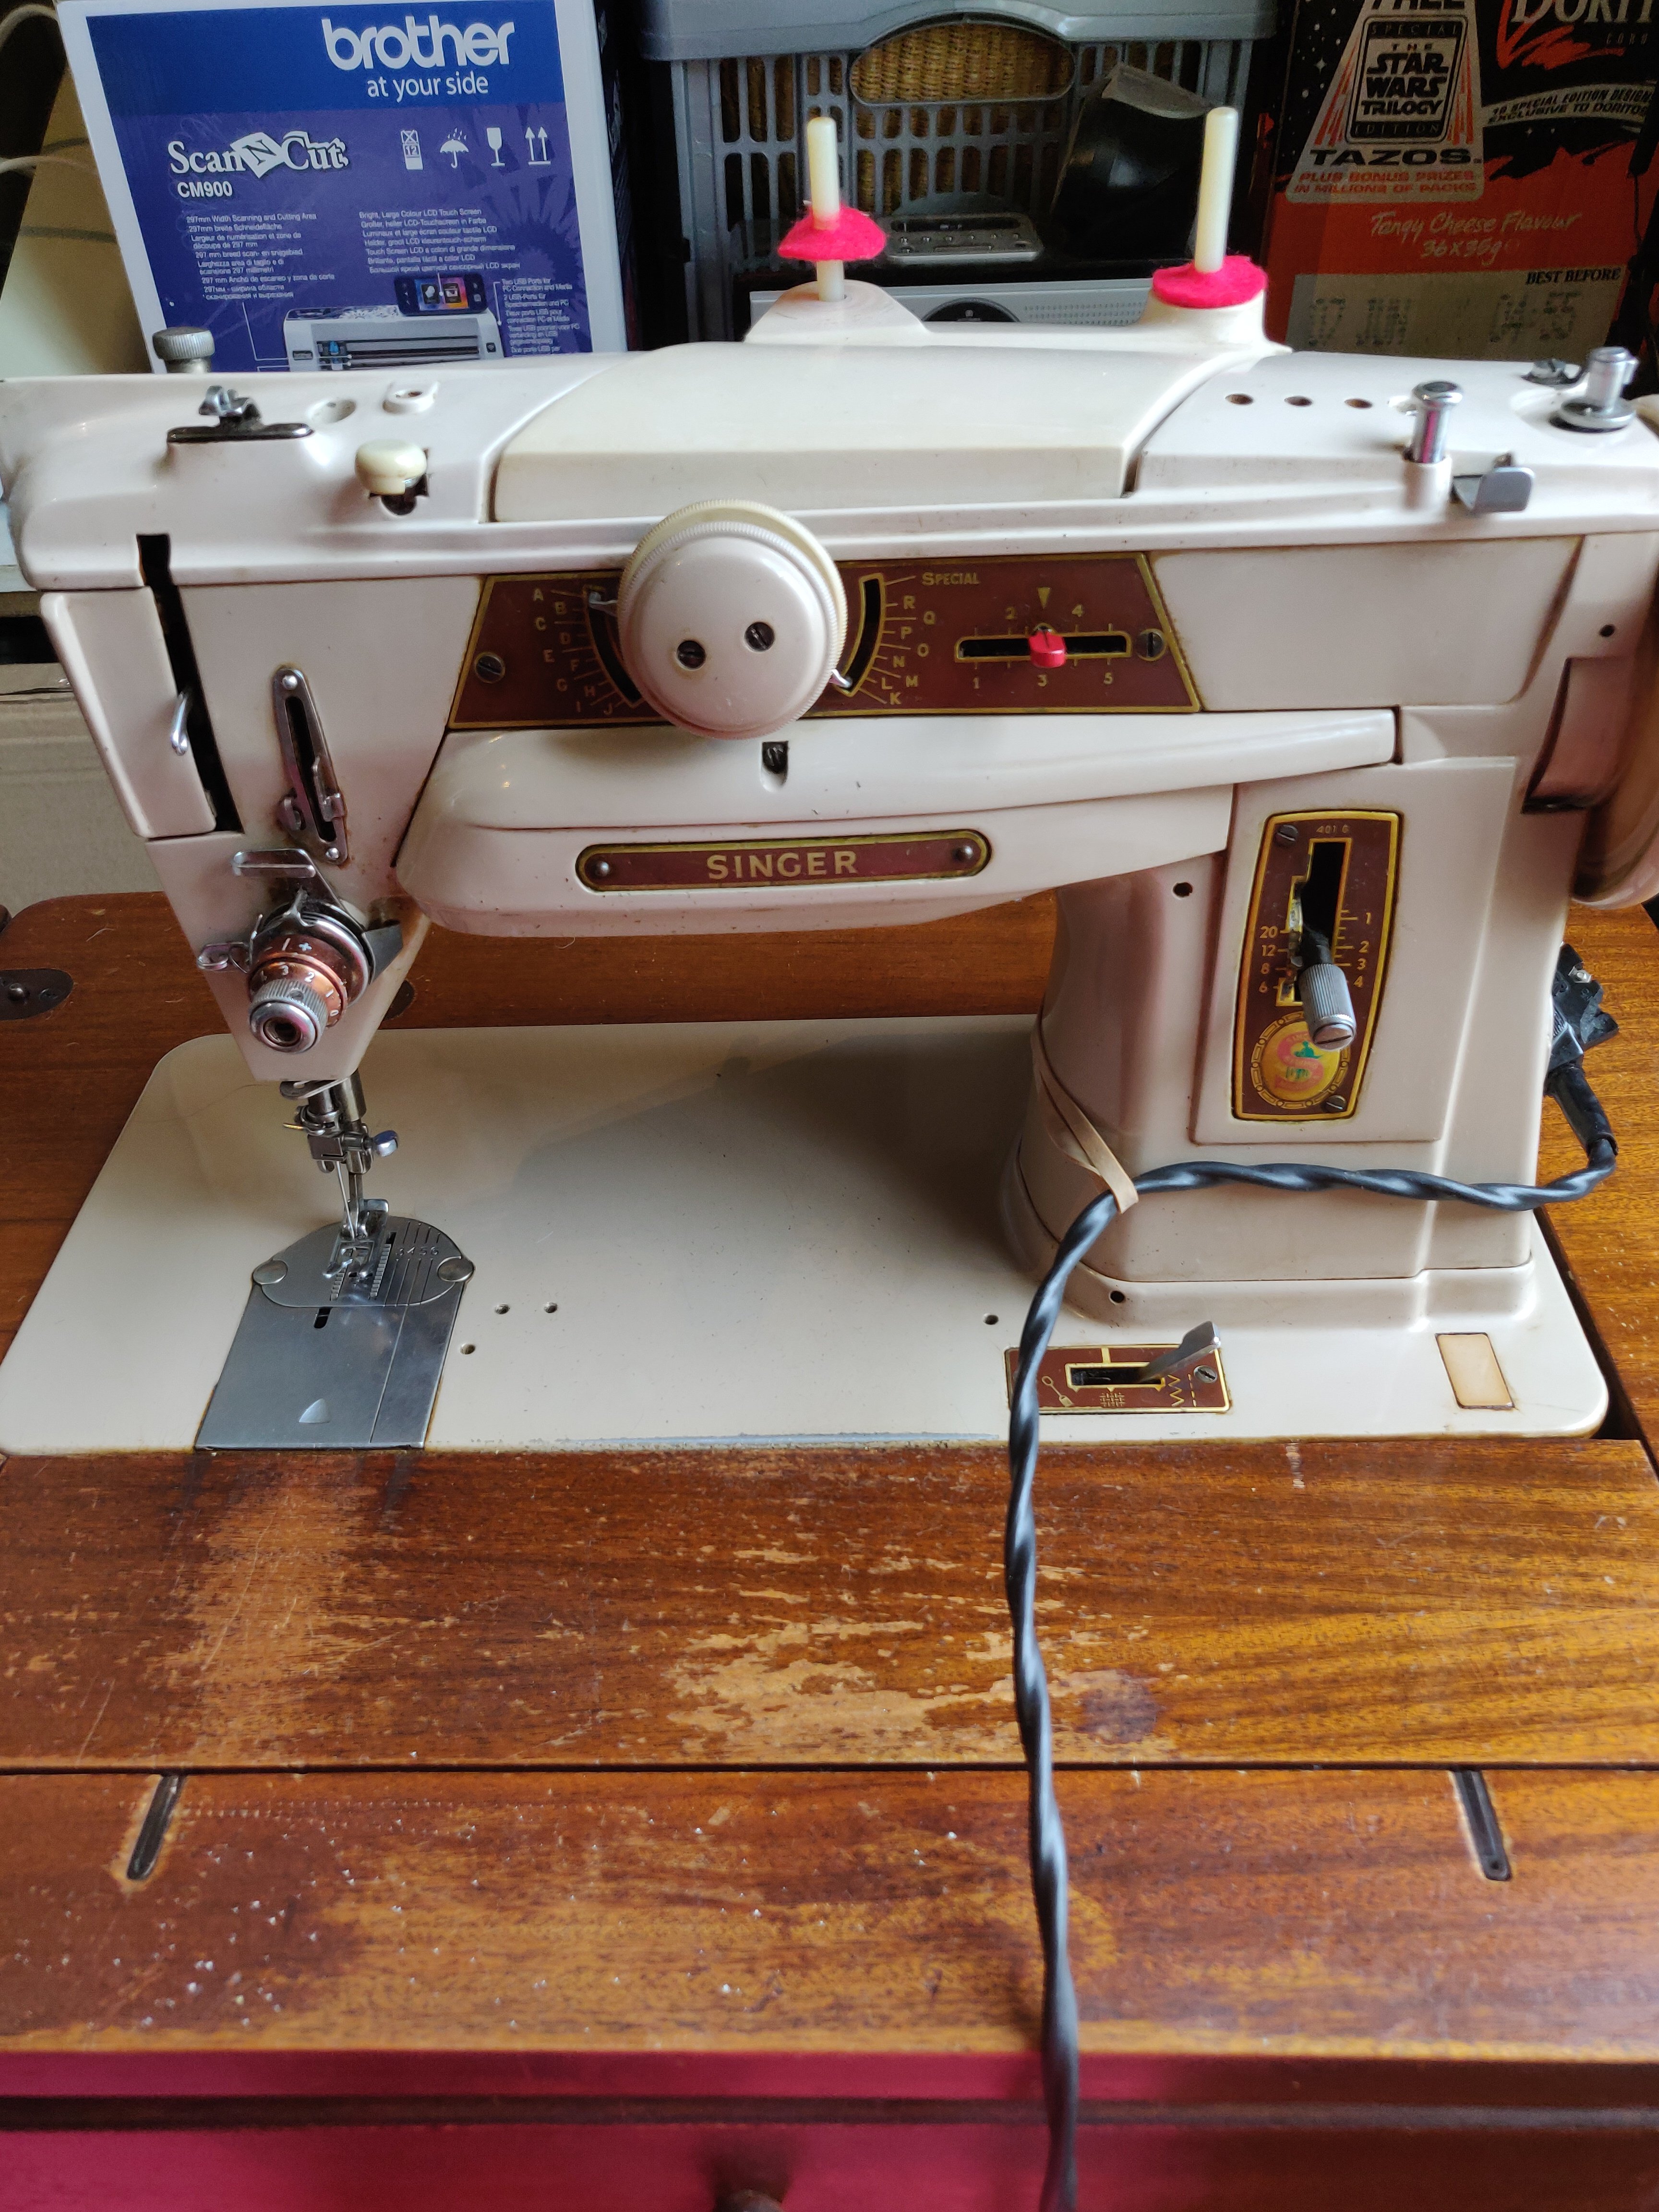
I’ve wanted a half-scale mannequin for several years, but have always been unable to justify spending the money. I made my own full-sized body double, and several other mannequins for my research, so have lots of experience making real-size ones, but wasn’t sure how to start with a half-scale one.
Luckily I happened upon Leila’s website Grow Your Own Clothes, where she has a great tutorial about making your own half-scale mannequin. I then saw that she has a pattern for a sewn and stuffed on on Etsy. I thought that would be a bit weird, but having taken a good look and having done a lot of work on fitting clothing to the body I realised I could make that! I bought the pattern – thank you Leila for putting it out there, and assembled the materials. https://growyourownclothes.com/2015/08/06/mini-stuffed-dress-form-pattern/
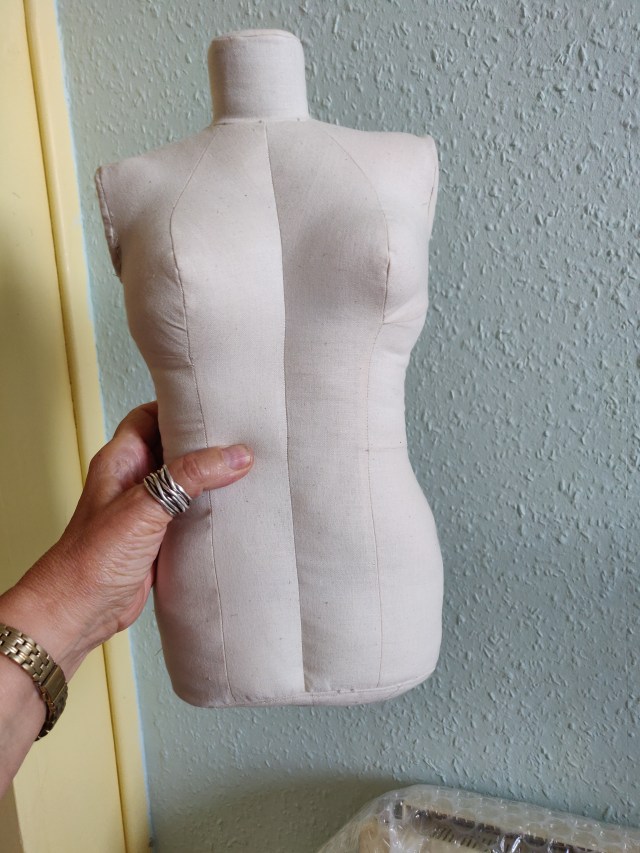
Yes it is fiddly, and you need to concentrate. There are lots of little pattern pieces that have a tendency to blow off the table if the window is open, so I don’t think its something to take on if you can’t leave things out to work on unless you are very well organised. Do read the whole thing through before starting so you get the gist of what you are going to do. The tips and hints given in the pattern are extremely helpful and the instructions are very comprehensive and easy to follow.
Its really important to be as accurate as possible cutting out and sewing the seams. I managed to be reasonably accurate, but can see where I could have done better.

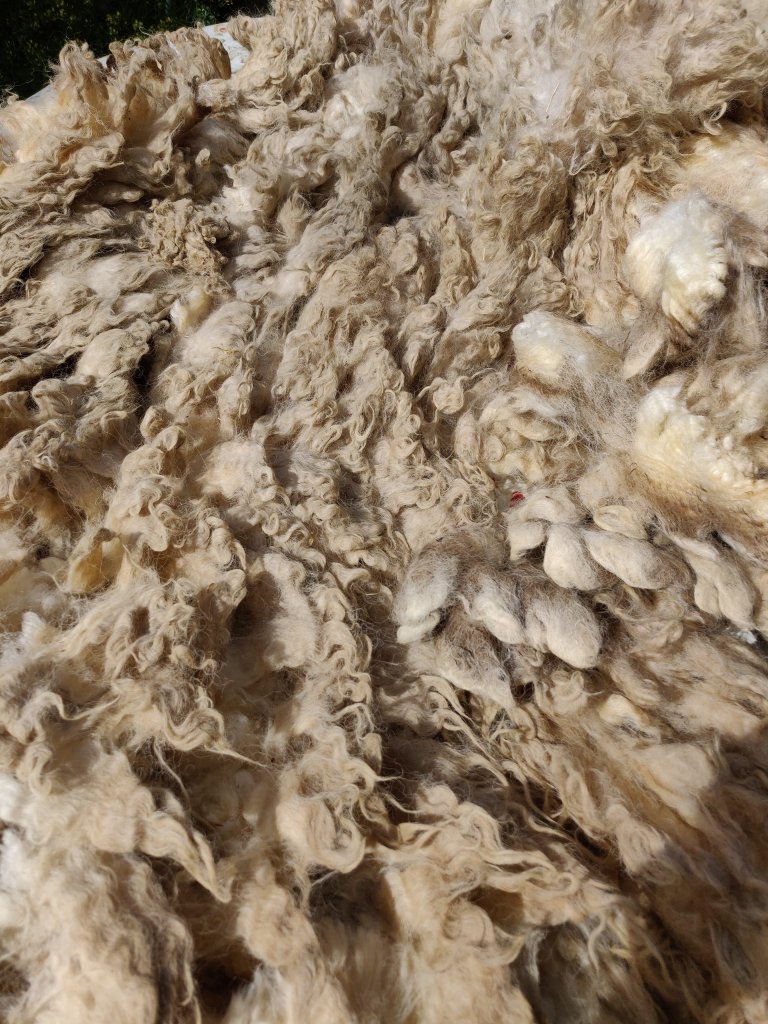
Stiffing is quite a challenge. I can again see where I could improve, and may unpick the base and rework this at a later date, but I am to excited to do this now. I luckily had a sack of carded polyester wadding that I used, but stuffed the shoulders and some other areas I felt might benefit from the behaviour of the fibre with wool that I carded myself. I might re-stuff with all wool – or at least do the next one with wool
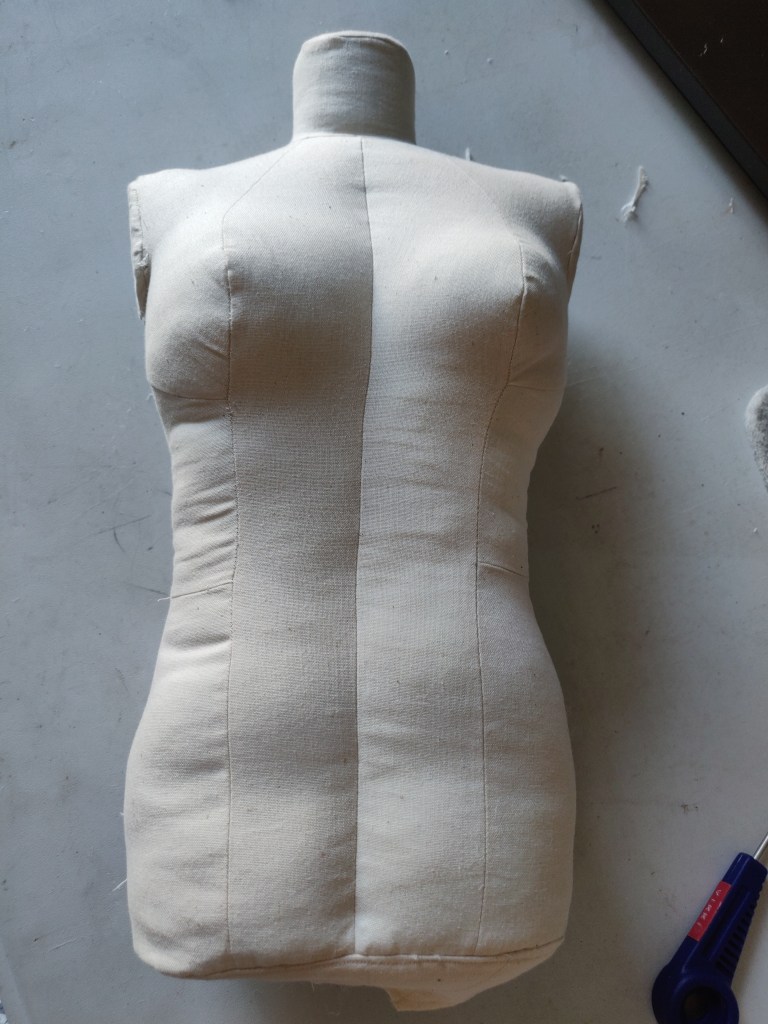
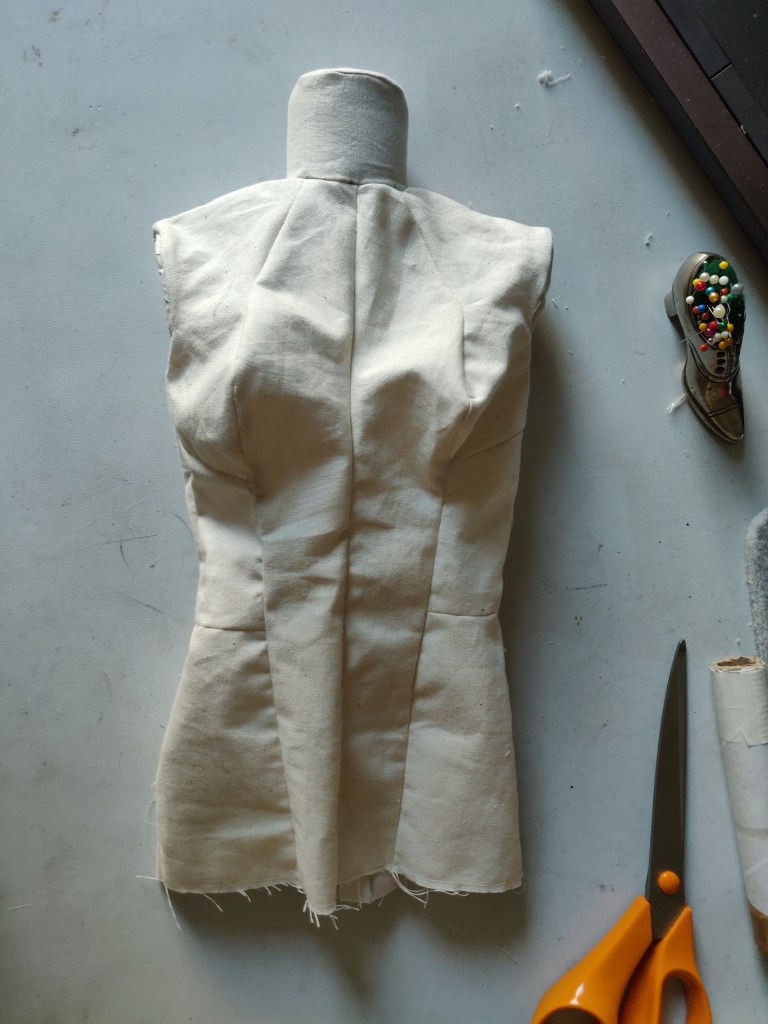
At this point I was a bit frazzled and had burned my finger on the mini-iron and stabbed myself in the palm with the point of a very sharp pair of scissors, so I decided to call it a day. Today I completed the mannequin and am thrilled with the result.
The suggested stand is a cardboard one, but I have just broken the top of a wooden lamp, and realised that this would make a great stand.
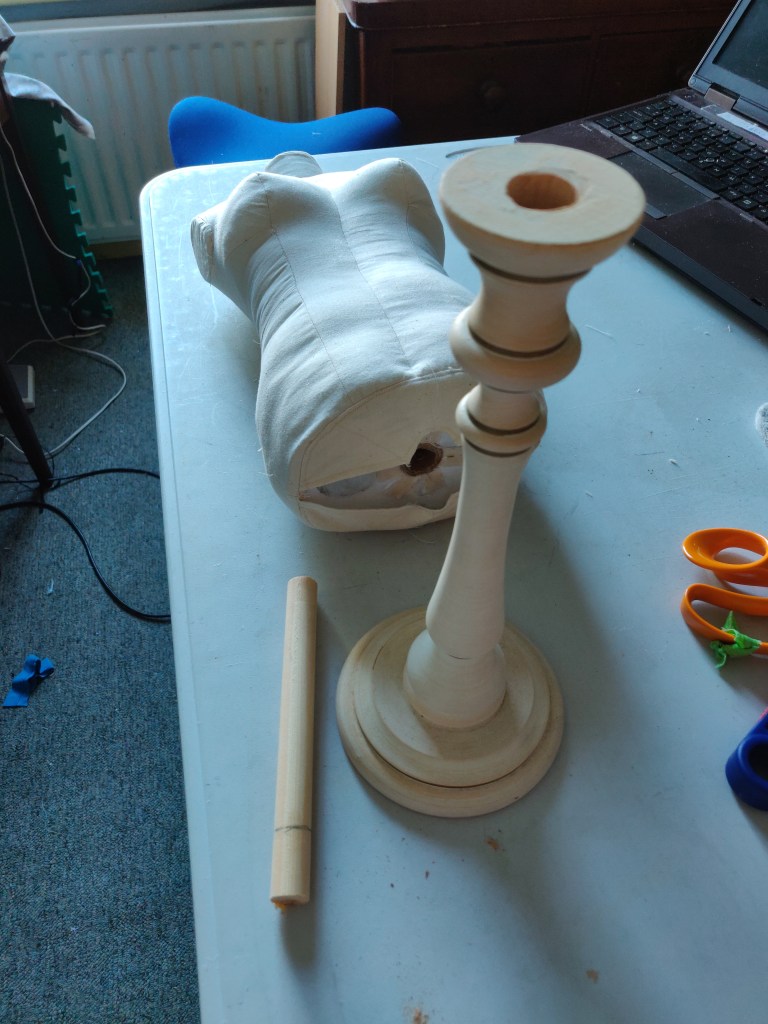


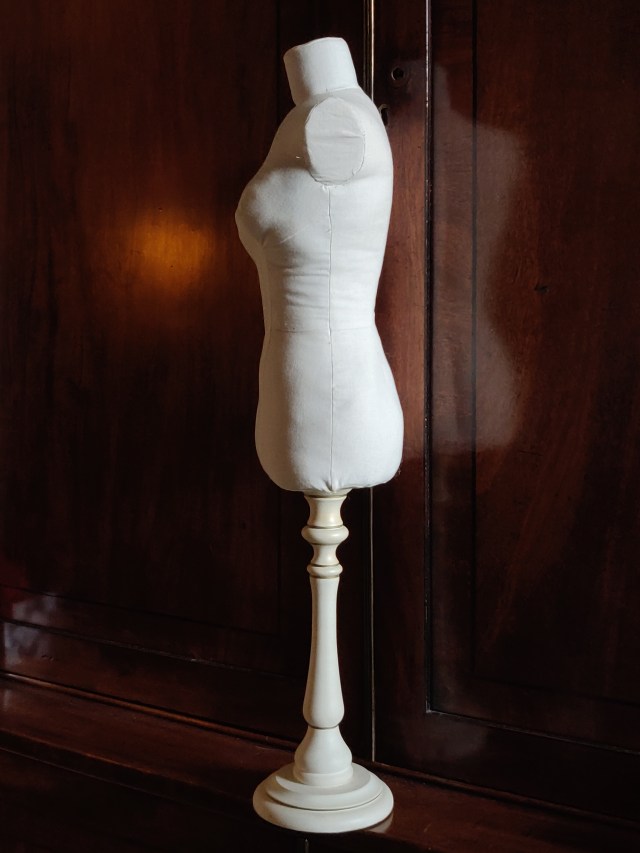
I am pleased, but as I say I am my own worse critic, so can see all the things I wish I had done better. I plan to make another one from the pattern to perfect it. For the moment I am chuffed though.


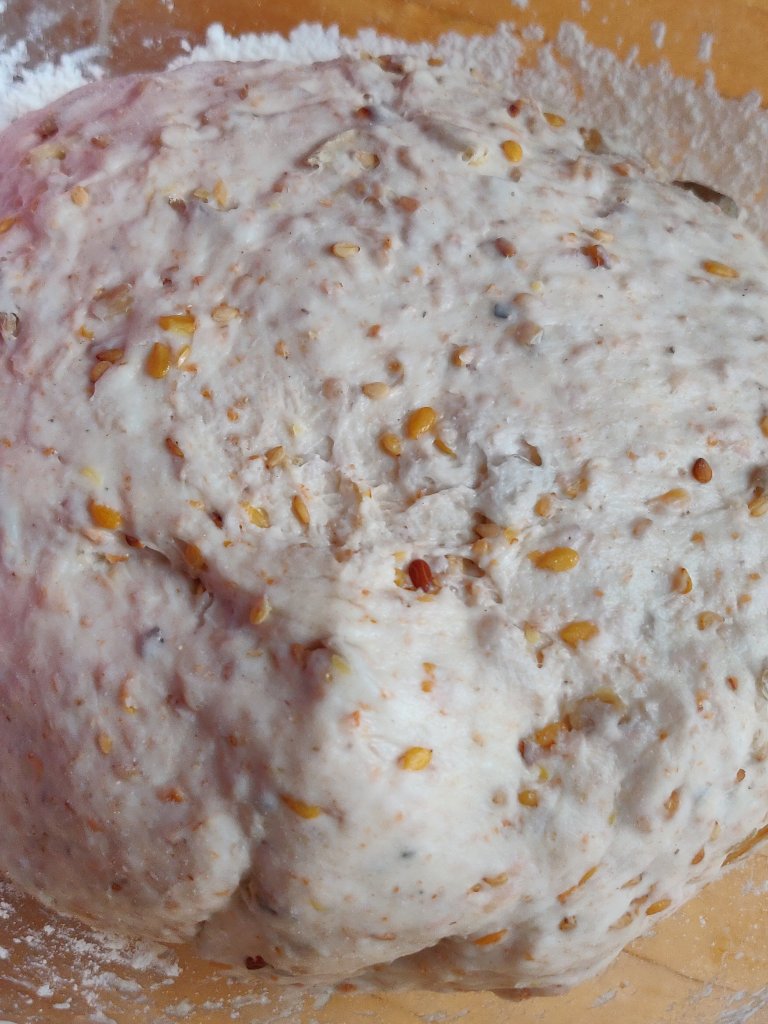


 I make bread about every 5-6 days and keep the starter in the fridge in between times. I’ve also (somewhat unsuccessfully) made apple sourdough cake. It was a bit stodgy, but tasty.Over the weeks I have established a couple of methods that are pretty foolproof for me. One is long, slow and satisfying one is fast, easy and satisfying.Long and slow:I take the starter out of the fridge in the morning, and feed it with 50g plain flour and 50g warm water and leave it on the work top for an hour or so – or until I remember, and this can be 3pm sometimes. 30 minutes before I want to knead the bread I mix 400g of white bread flour (or 100g whole meal and 300g white) with 180g water. This can is lumpy and not pretty, but is called ‘autolysing’ the dough, and I find it helps with the process.
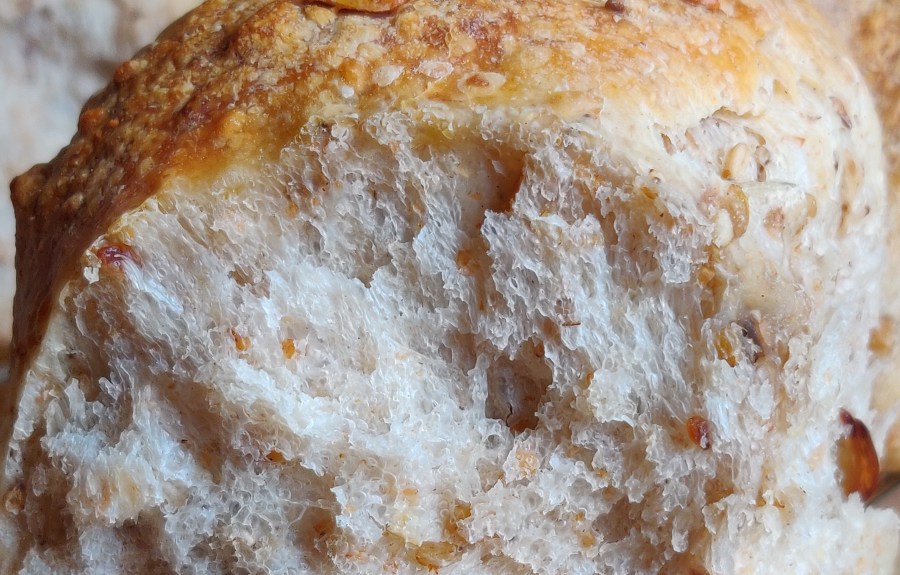
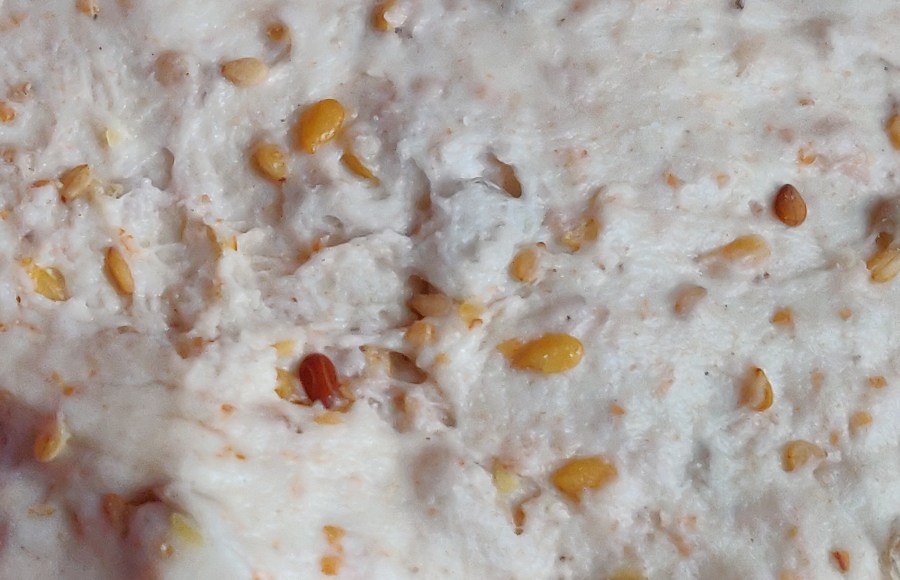
 Covering the bowl with a damp tea towel prevents crusty flour forming.When its time to knead, I give the starter a light stir and tip 200g into the bowl of flour and water and mix it all together. Feed the starter again and pop it back in the fridge for next timeI hand knead it on a floured worktop for 10-15 minutes which is incredibly therapeutic for arthritic hands, and also for edgy tempers. After about 10 minutes I sprinkle 10g of salt on the dough and knead that in. If there is a lot of wholemeal flour in the dough I might also add a 1/2 tsp of vitamin C powder to help it rise.Once its smooth and soft I return the dough to the (floured) bowl, and cover it with a wet cloth and a plastic shower cap, then put it on the worktop (or somewhere warm if the weather is chilly), and forget about it for hours on end.Sometime later, in today’s case 8pm, I knocked back the dough, shaped it into two loaves and popped them into the Lekue bread moulds I use. The wet cloth and shower cap go back over the loaves and I tonight I ended up baking the bread at 10:30pm. On other nights I might put the shaped loaves in the fridge (wet cloth and shower cap in place), and cook the loaves the next morning.
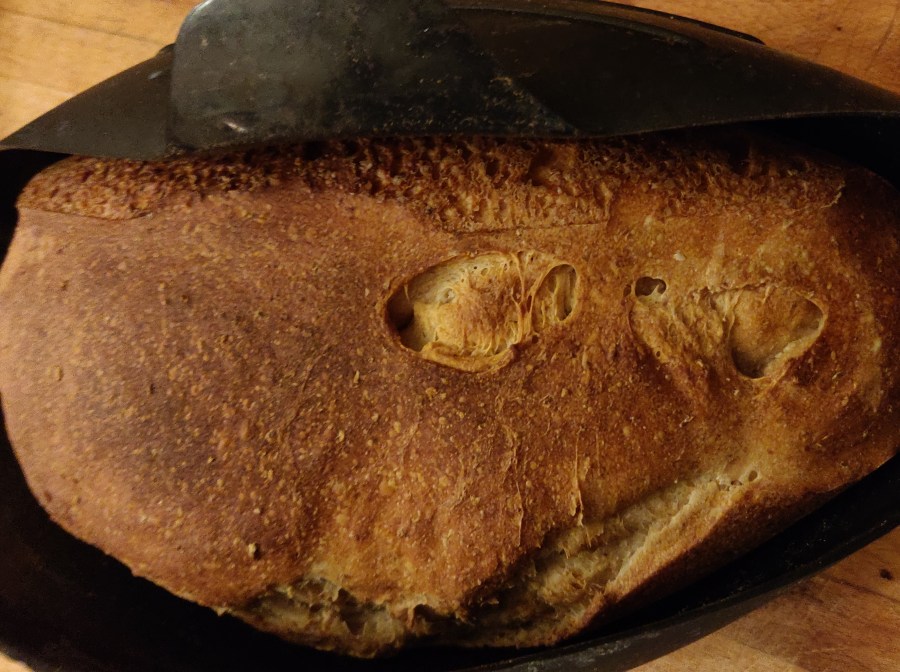
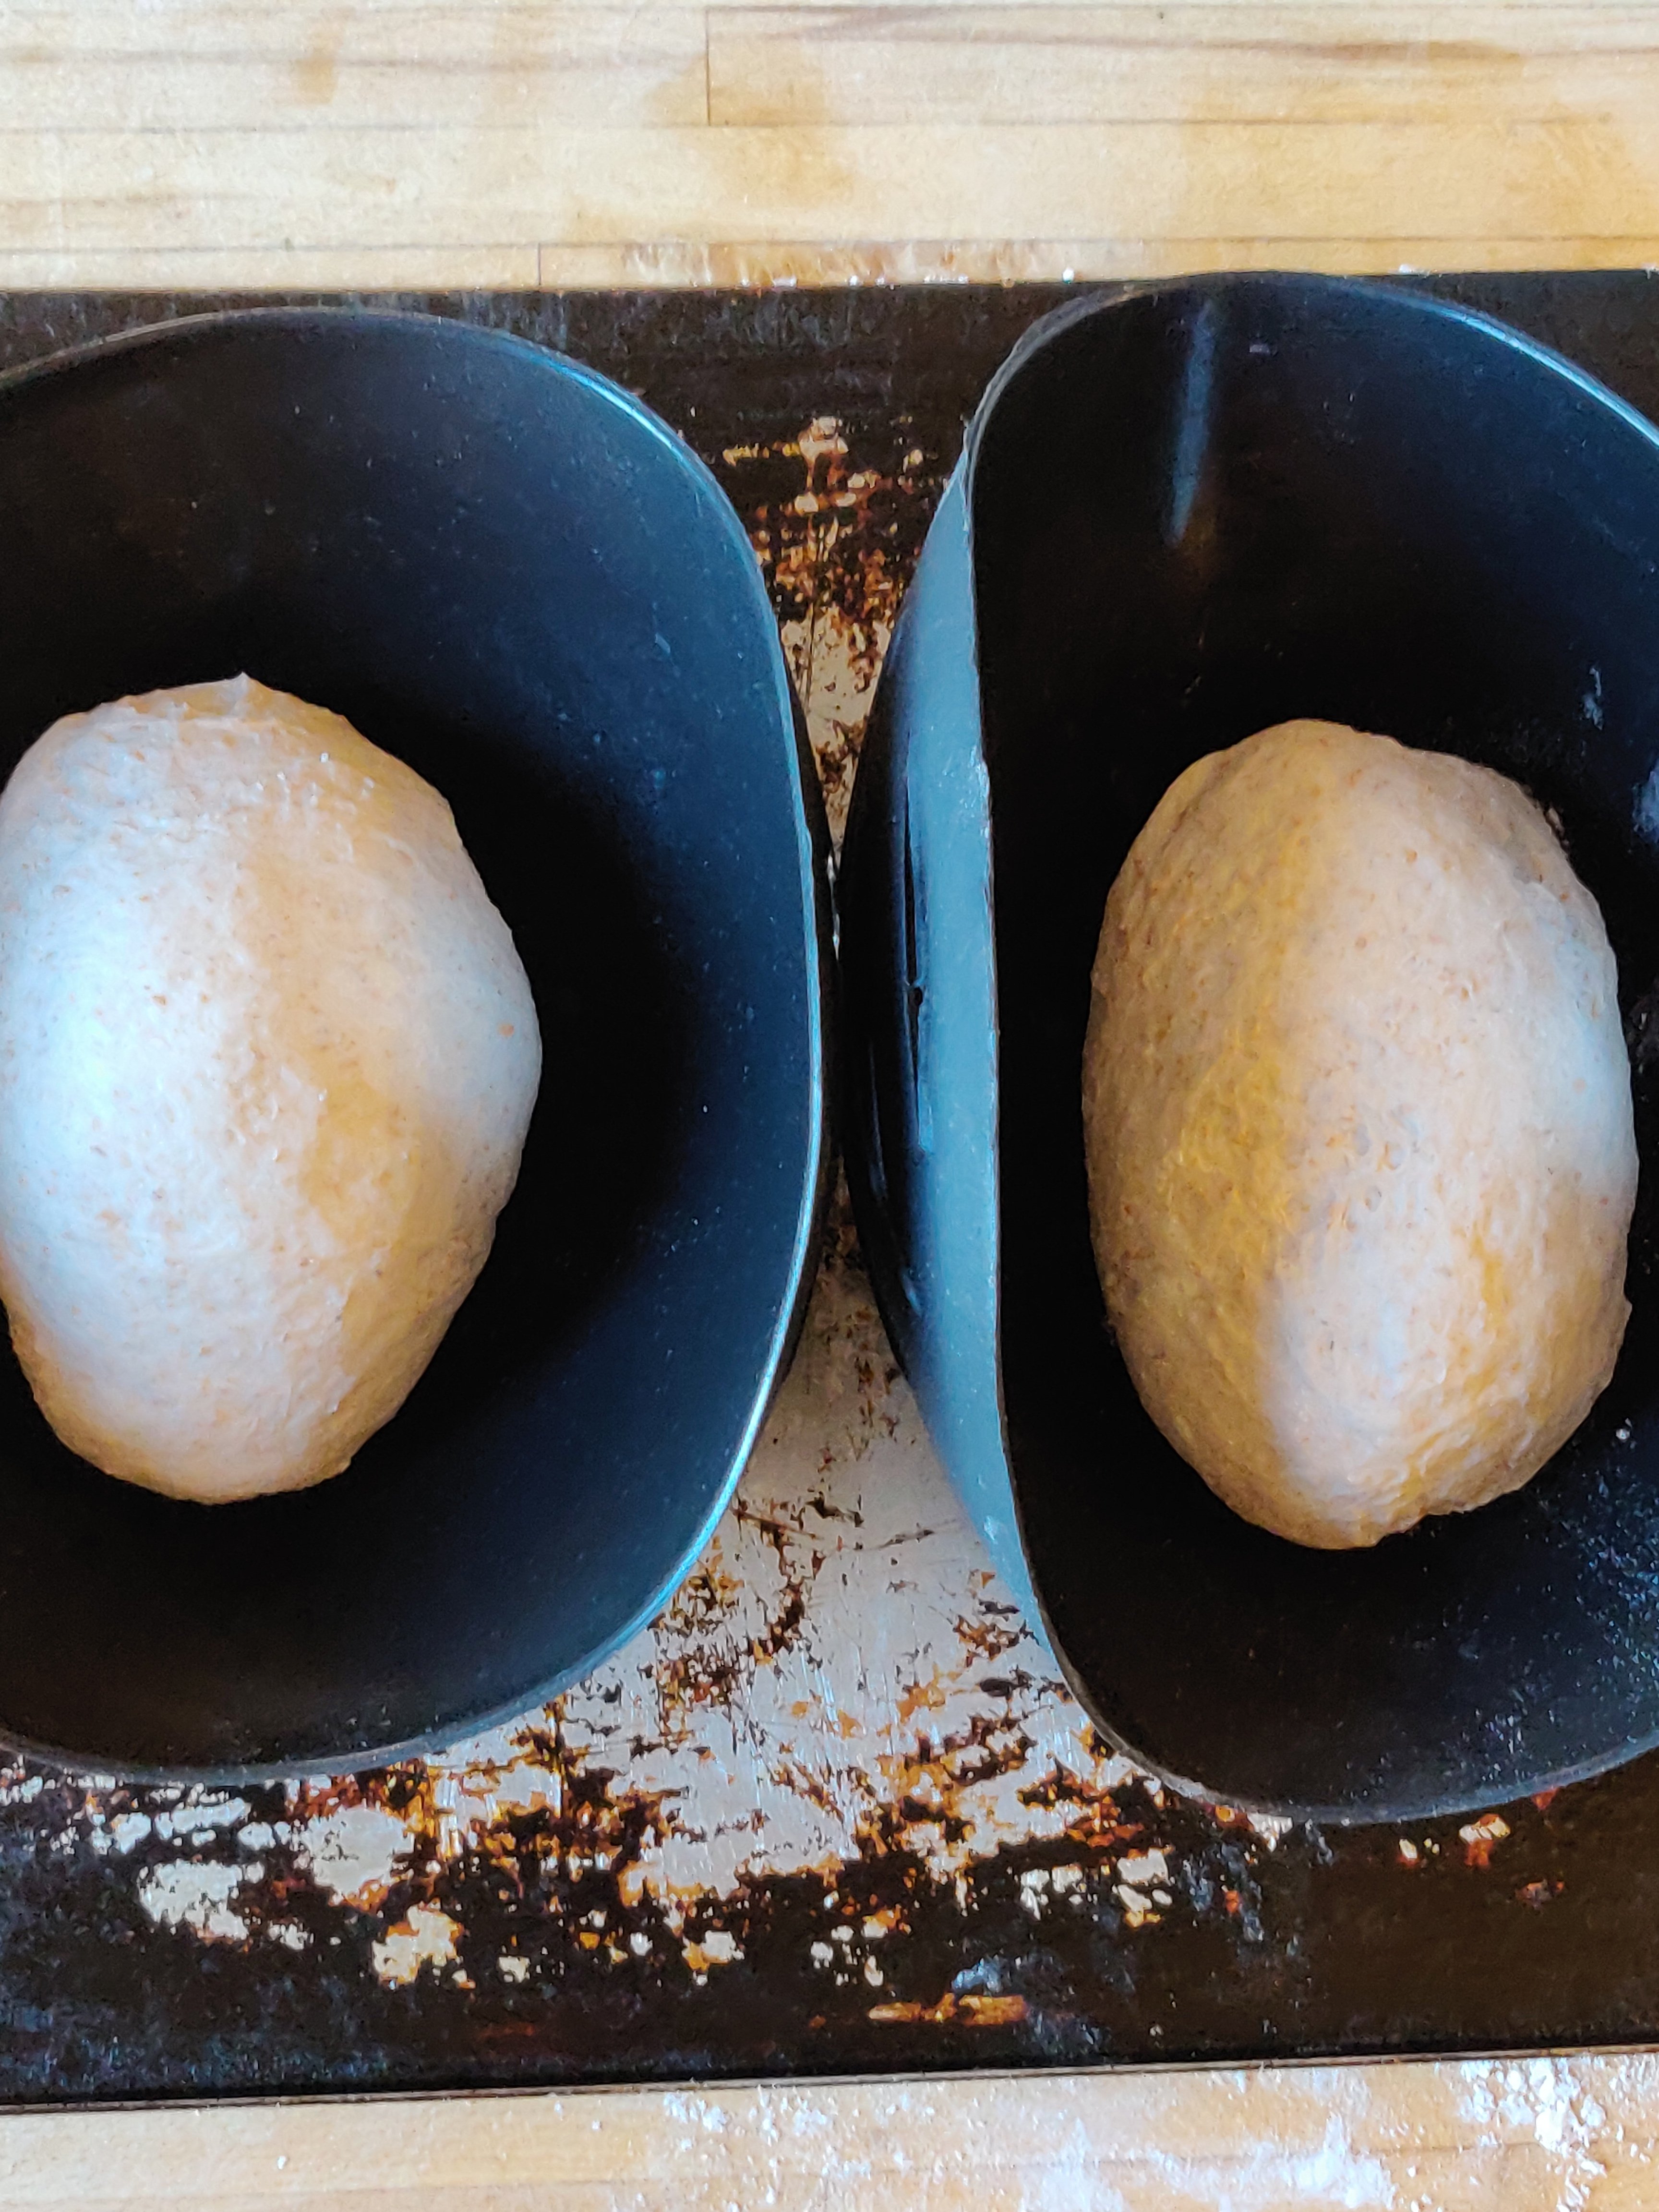
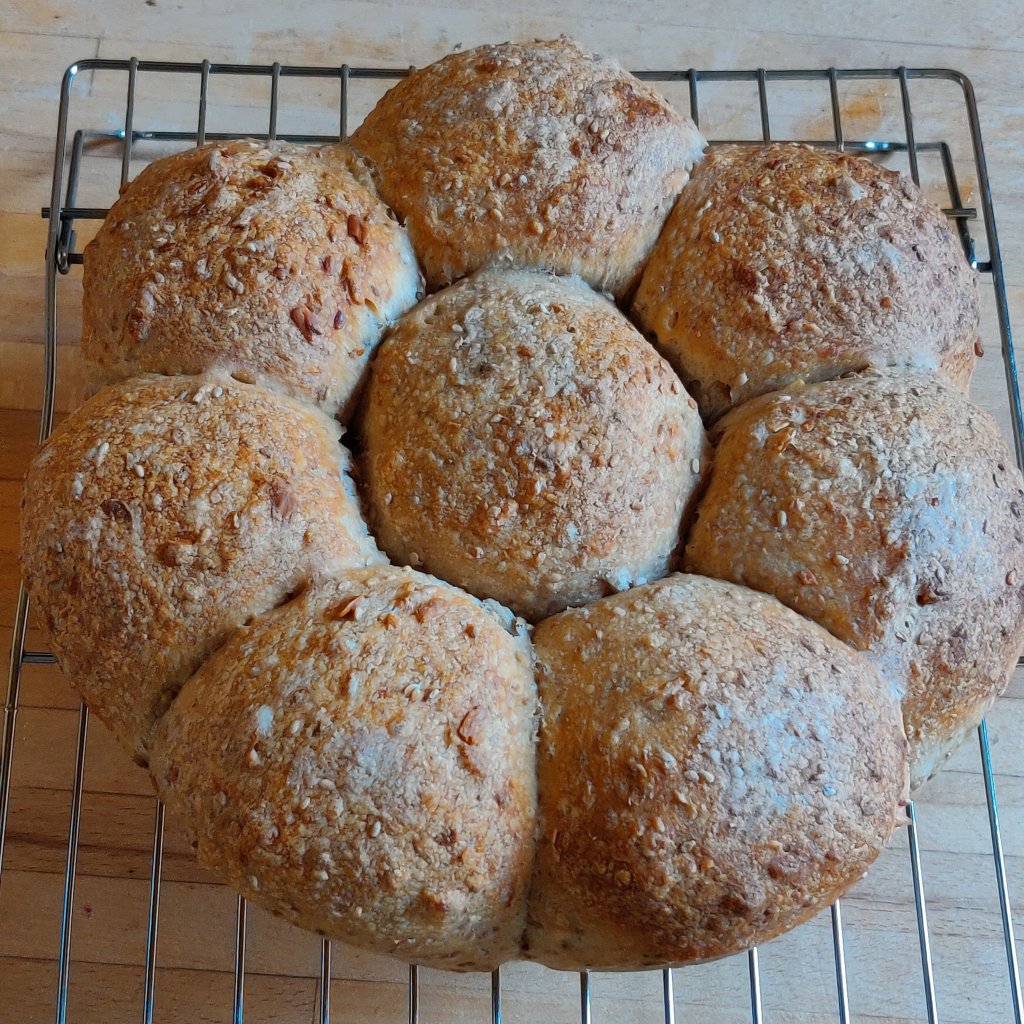
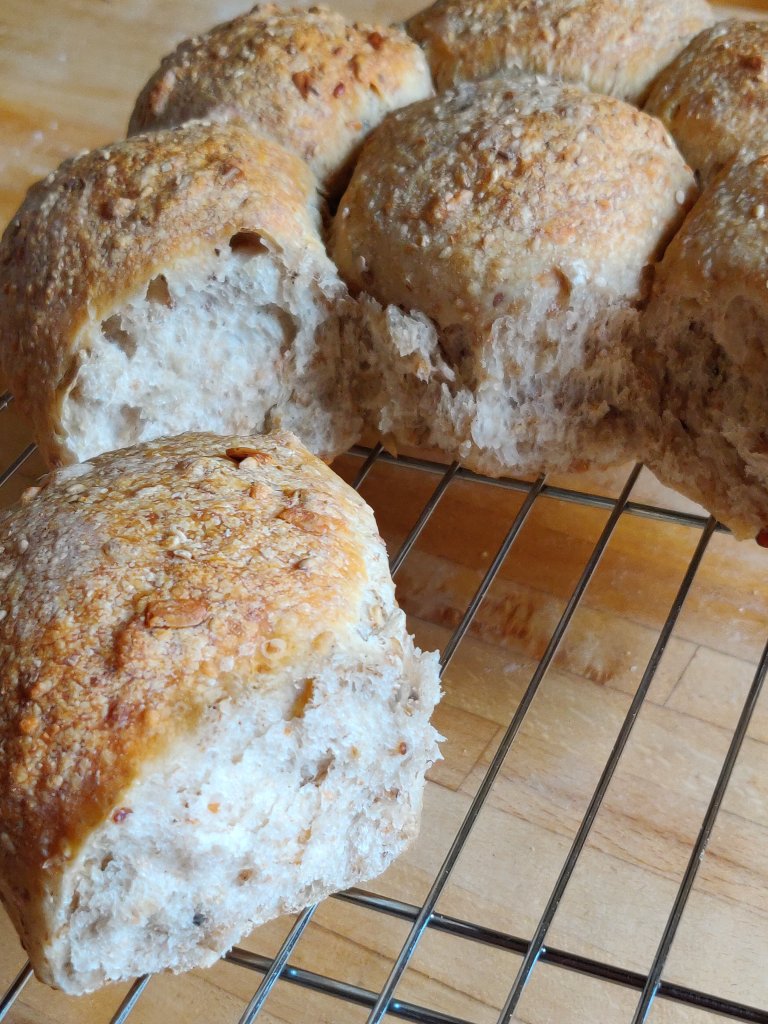
 Quite fast and easy:Feed the starter, leave it for an hour to bubble up. Put 400g bread flour, or a combination as described above, into a Kenwood chef, (or similar mixer), add 180 g warm water and pour in 200g of starter.Feed starter again and return to fridge.Mix with the dough hook for 10 minutes, adding 10g salt half way through. Remove the hook and put the bowl (covered with wet cloth and shower cap) somewhere warm to rise. Once doubled in size, knock back and shape, leave to rise again for 30-40 minutes and then bake. I use the Lekue moulds for this as well – always covering with wet cloth and shower cap as before.Easy- Peasy using a bread machine:Feed the starter, leave it for an hour to bubble up. Put 400g bread flour, or a combination as described above, into a bread machine pan, add 180 g warm water and pour in 200g of starter. Set machine to the longest dough programme (this is wholemeal on my Panasonic machine). Add 10g salt towards the end of the first knead (I set a timer to remind me otherwise I forget and have to reset the machine for an extra knead to incorporate this).Feed starter again and return to fridge.Once the machine finishes the dough programme, tip out the dough and shape, leave to rise again for 30-40 minutes and then bake, or put the shaped loaves in the fridge overnight and bake in the morning. I use the Lekue moulds for these loaves as well – always covering with wet cloth and shower cap as before.The Lekue silicone loaf moulds are great, they hold the shape of the loaf well, making a nice rustic looking loaf, and keep the dough moist during risking and baking.
 I’ve even made this loaf with only one rise and shaping into the moulds with an overnight rise, not quite as light bread, but very edible.