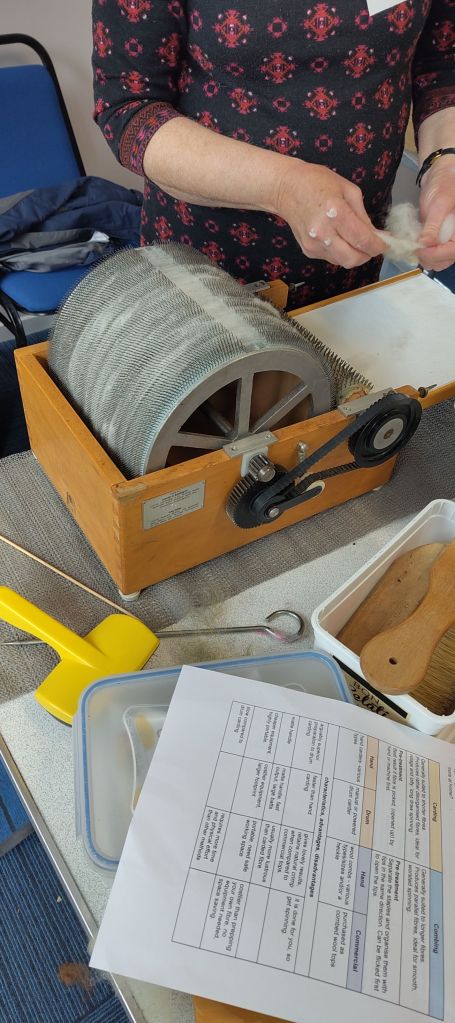
An hour spent blending on the drum carder has got me set for some serious spinning.
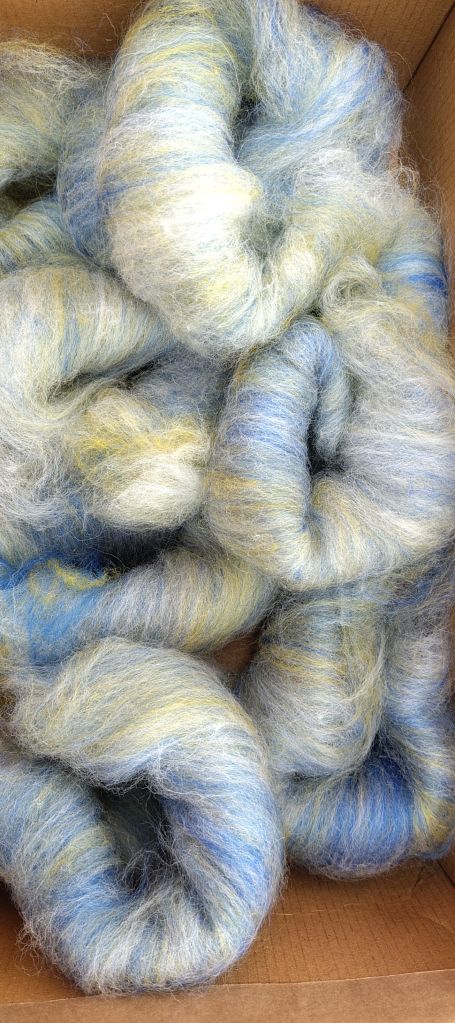
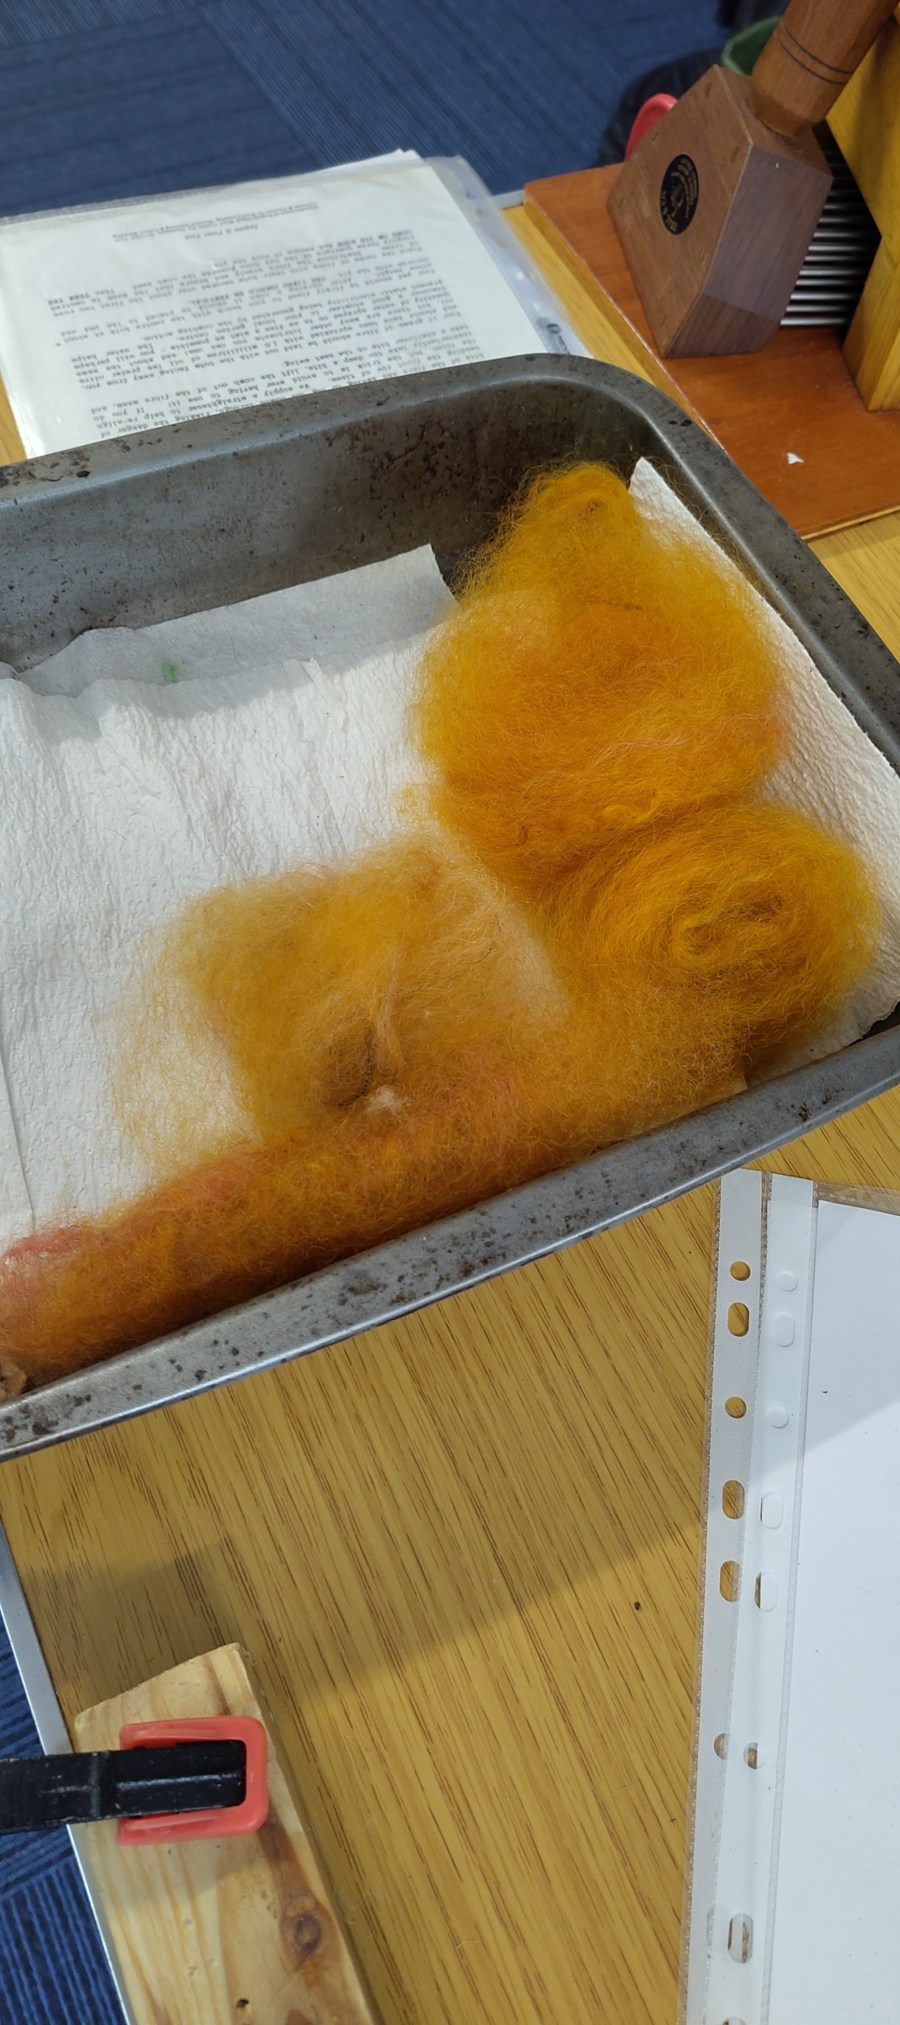
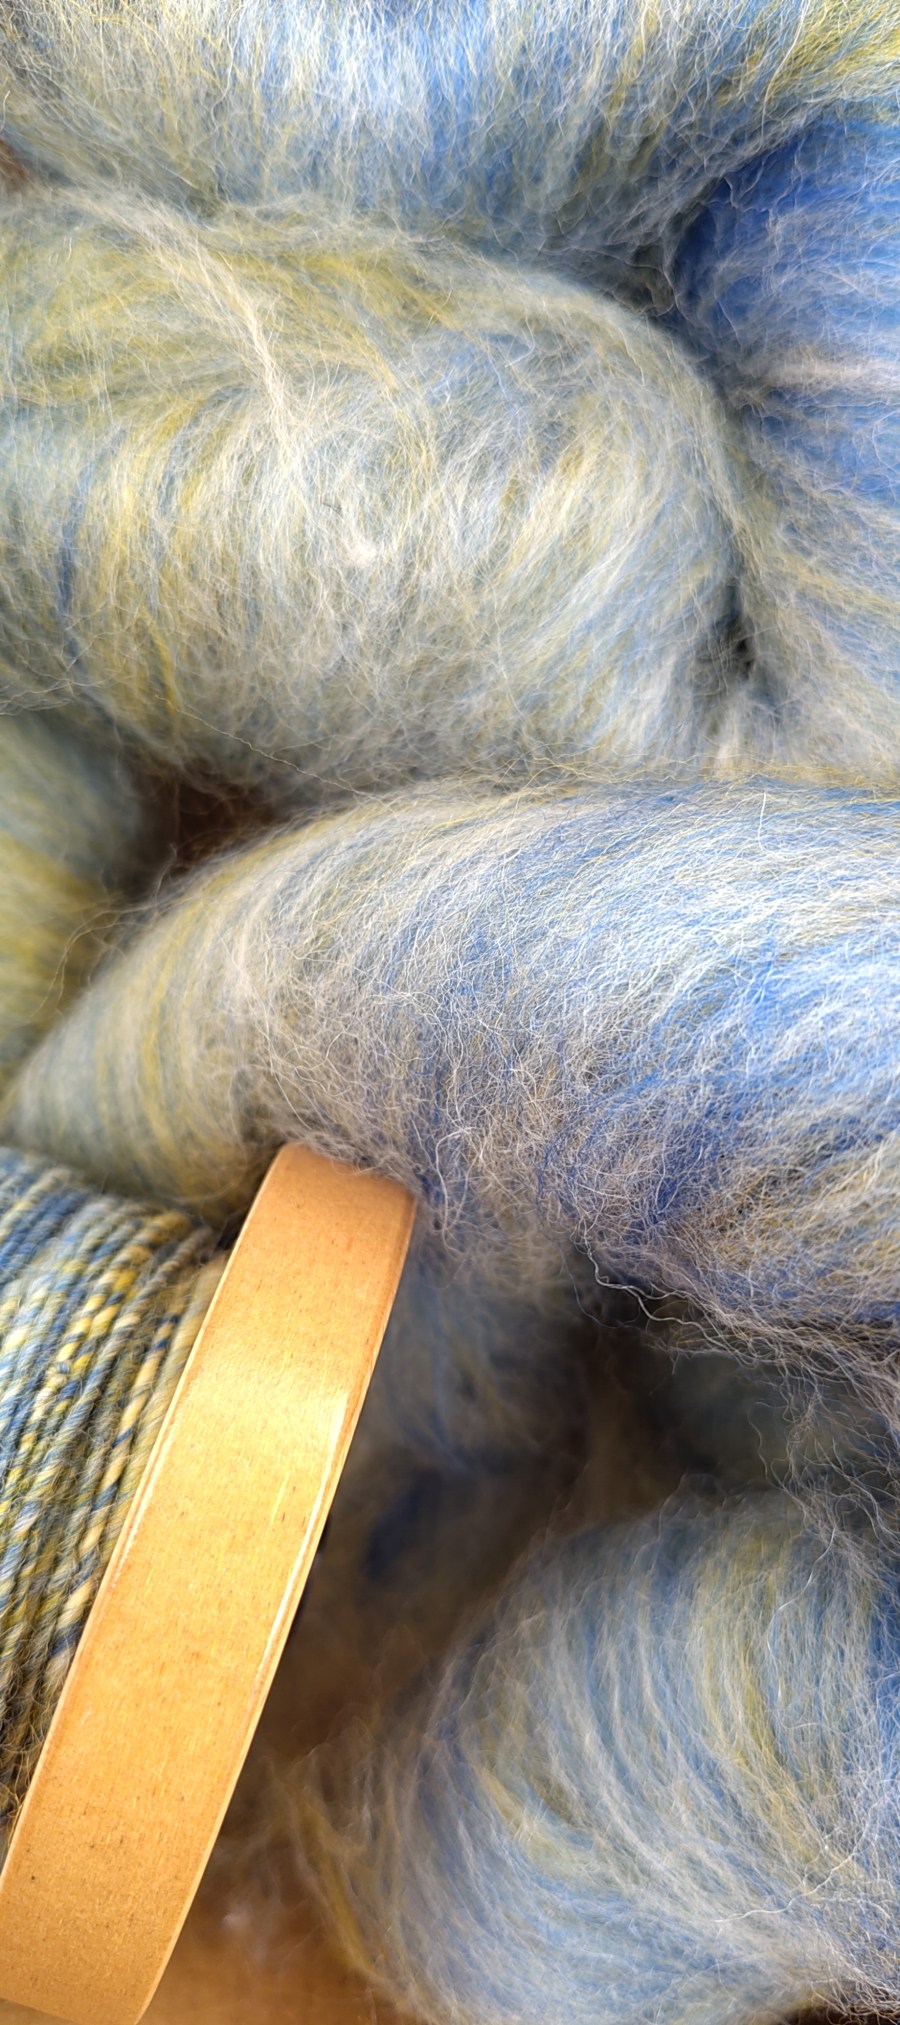
The yellow and natural are broken Merino tops that I picked up at the John arbon Open Day last year. I’ve blended these in equal parts with a very strong ultra marine blue which I won in my local Guild raffle.
I tested this first on hand carders and it produced a very nice yarn so now I’ve done it in bulk and taken rolags of a batt from the drumcard.
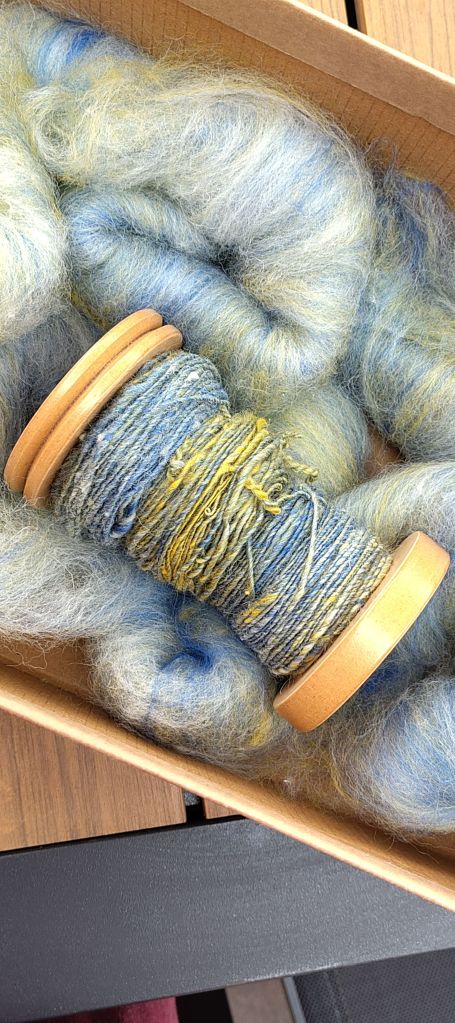
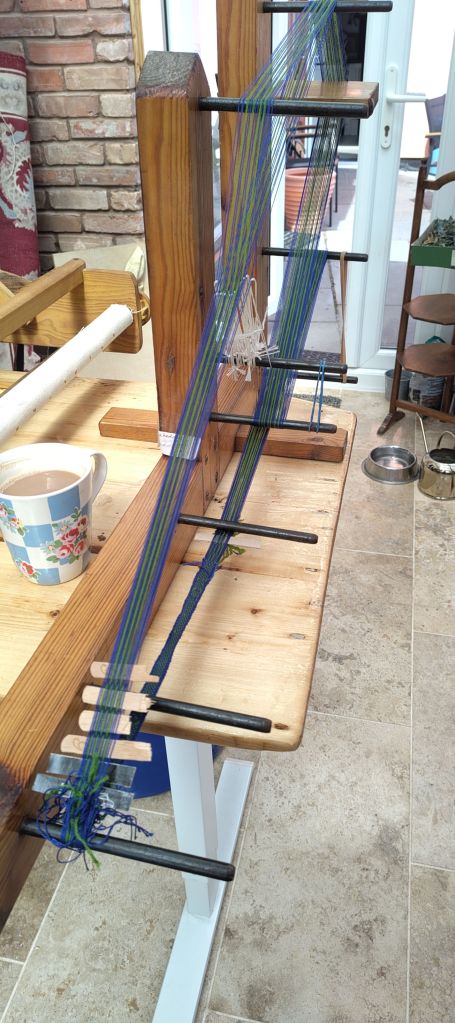
The singles so far.
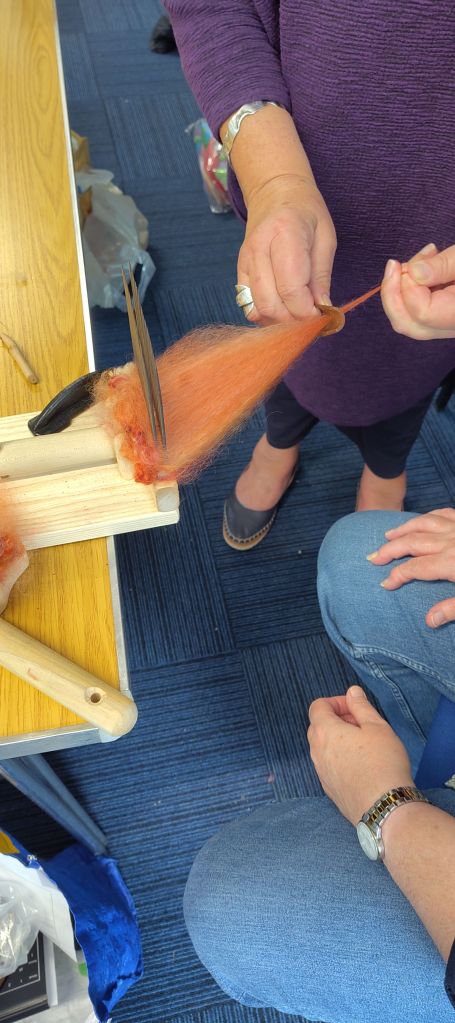
I’m aiming for a 2 ply hand knit weight yarn, so spun the singles trying to let in a bit more fibre than I usually do. I read once that as you become more proficient at spinning you tend to spin finer, and that does seem to have been the case. Not that I’m claiming to be brilliant at it, just more practiced than I was.
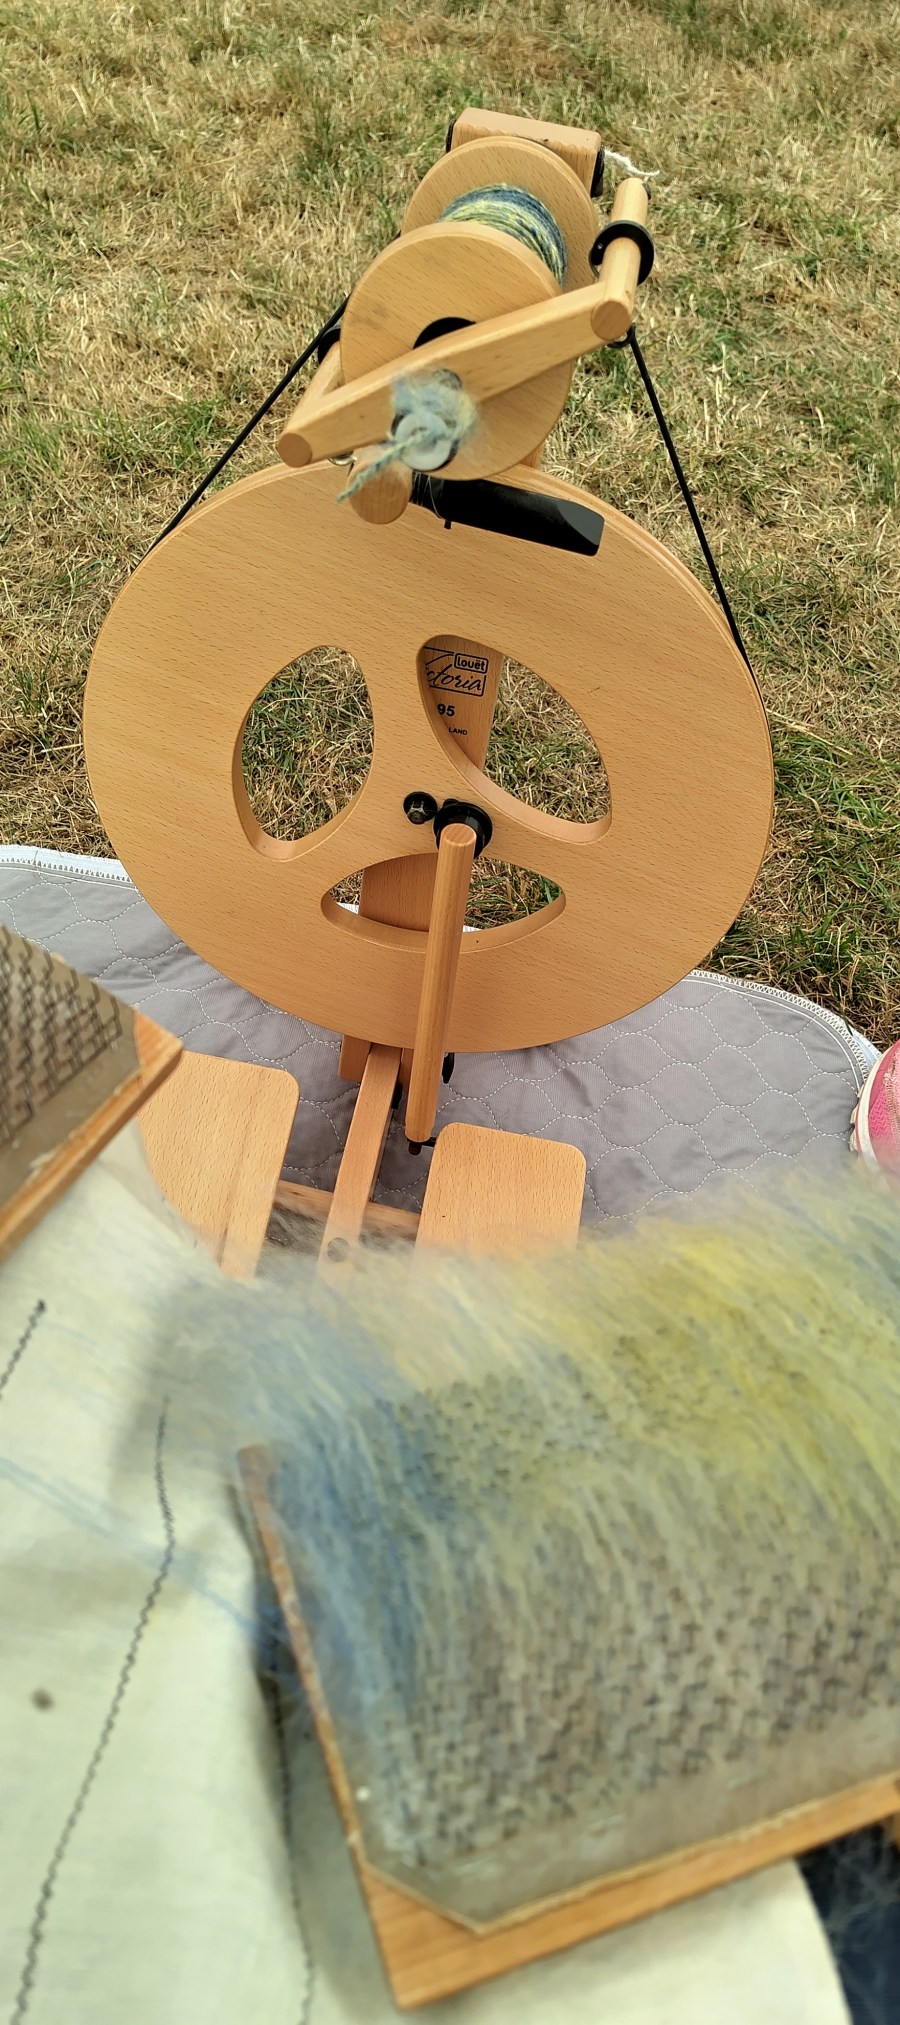
This was spun the 1:8 whorl on my Louet S95 ‘Victoria’, which is the little folding portable wheel I take out to demonstrations. I aim to ply at the same ratio although I know it will probably work out a bit less. I am looking forward to spinning and plying this.