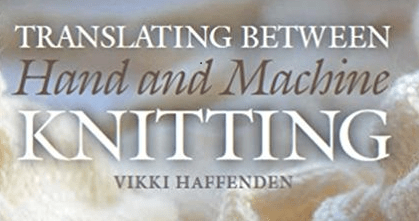
I took a quick look at the Amazon page for my book Translating Between Hand and Machine Knitting and thought I would share some reviews.
I notice that subscribe wishes to express their annoyance because the price has been reduced. I fully appreciate how annoying this can be, and wonder if retailers understand how this upsets customers. I felt similarly annoyed when I bought a new drawing tablet only to see it was reduced by £40 in the Black Friday sale two weeks later! They wasn’t much I could do but accept that I’d had two week’s use of the tablet already, (working on my next book). So although this is beyond my control, my apologies to anyone to whom this has happened.
So moving on from issues of frustrated shoppers, here are some of the very nice things said about the book.
JayBards from the US writes, ‘5.0 out of 5 stars Excellent Coverage of Topics, Great Photos and Illustrations’, and finishes the review with, ‘The text is really well-written, very clearly presented, easy on the eyes, and a pleasure to read. This book will become an important part of my extensive library on knitting. In short, I LOVE this book! Congratulations to Dr. Haffenden on an excellent book that should become a classic.’
Thank you JayBard for your feedback and review.
Meceo from Canada writes, ‘This is one of the best books I’ve purchased covering the hand knit patterns converting to knitting machines. It is beautifully done with lots of photos and information to help anyone interested in this type of knitting.’
Sharon Sullivan from the US writes. ‘Very well written book. Haven’t had the book very long, but the time I’ve spent going through it so far, it’s an A+ book. Content is excellent. Photography is excellent. Easy to understand. Definitely worth the cost. I don’t usually do reviews, but think everyone should know that this book will help a machine knitter immensely.’
Its so helpful as an author to get feedback, and positive criticism, (suggesting improvements rather than just pointing out what you don’t like) is the most helpful.
So thanks to all who have taken time to review my book and help others decide if it is right for them.
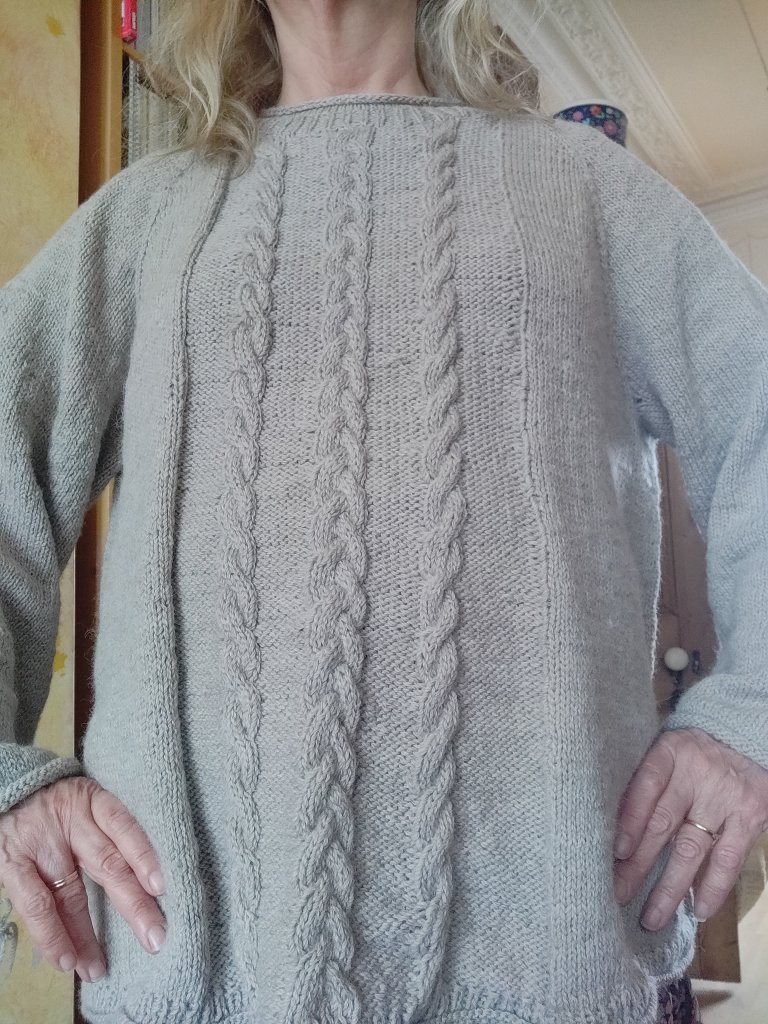
Back problems have meant I need to avoid computers and knitting machines for a while, so I wanted a hand knit project to work on. Digging around on shelves, ( I can’t get at my stash boxes at the moment) I found a bag of knitting I had forgotten about. Inside was the first few rows of a top-down sweater. I remembered how long it took to work out the pattern, (yes I did it myself) and how carefully I chose the yarn. The notes with the pattern are dated 2013, which says volumes about my engagement with larger hand knit projects!
Luckily the moth had stayed away, thanks to ziploc bags, and I haven’t used the balance of the yarn for something else. This seemed a perfect opportunity to get on with my long-lost dream jumper.
I knitted a top-down jumper last winter with good results. Although it has dropped quite considerably due to the stitch I used, do is more a dress than a number. I like the method because you can check the shoulder fit, which is so important, and adjust it before embarking on the larger areas. Monte Stanley wrote about top-down knitting and as I am interested in integral knitting, I find the technique intriguing
I had obviously found fault with the stored knitting because there is an separate neck and shoulder be sample threaded into waste yarn in the bag. On reflection I seem to remember it was discarded because of the shaping finish rather than size. I will unravel it if I need the yarn later on, but at the moment it is useful for reference.
It’s knitted in DK alpaca/wool/silk blend yarn on a very pretty warm stone colour.
I’m using a 4mm circular needle from the KnitPro convertible system. These are very versatile so am using these for this project where they are separate ‘tubes’ to work on. Being able to change the length of the cable means it’s easy to work narrower sleeves as well as the larger circumference of the body.
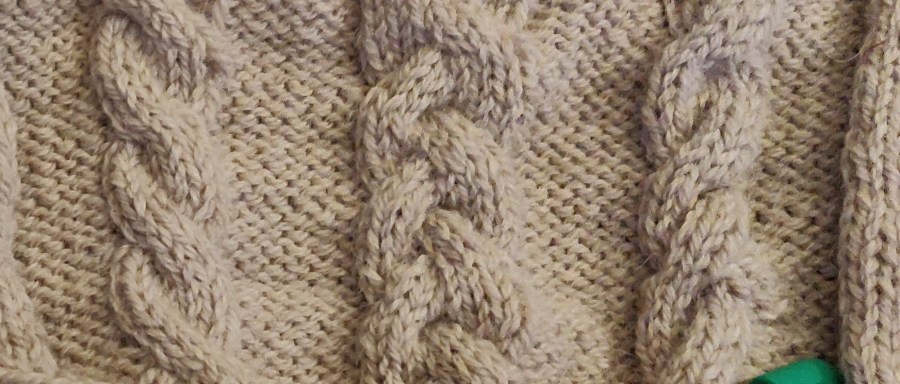
The design is a raglan sleeve, generous fit jumper with cable panels running up front and back. Shaping is worked fully fashioned along the raglan ‘seam’ lines using lifted left and right increases. My initial sample was not fully fashioned, and clearly the fully fashioning makes a much nicer finish.
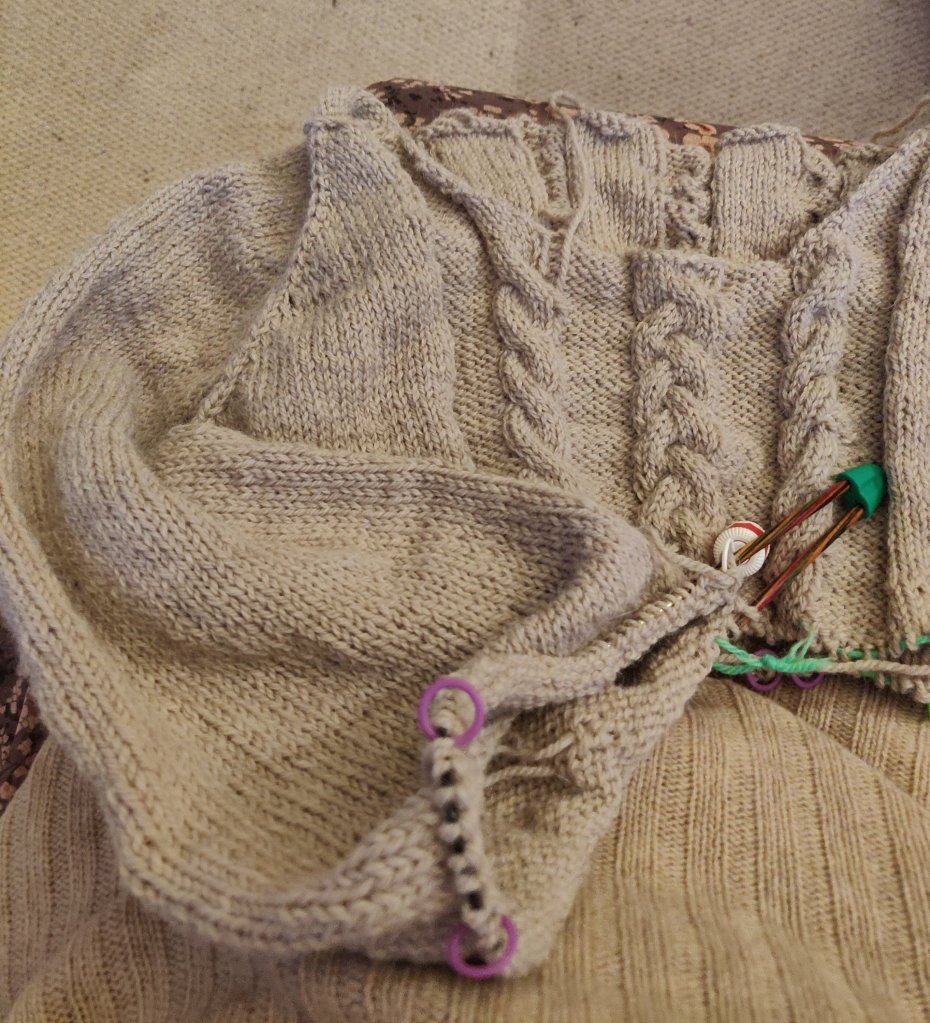
I’ve just finished one sleeve, (stocking stitch) with fully fashioned decreases along the underarm ‘seam’, and the fit seems good so far.
Part way down the first sleeve. As you can see, I love stitch markers!
Working out the pattern was quite complicated even though I used Designaknit for the basic silhouette. It was easy enough to invert the shapes, but then I had to combine them in-the-round. Some maths later I had a picture in my head, and the numbers to match it on paper. I worked out the positioning of the cable panels manually because it was important to have plain stocking stitch for the raglan shaping.
If I get the next sleeve done I might even got to finish the cable front and back before 2025!
Update : OK, it’s now the end of December and I have completed both sleeves and am part way down the body. So far I’ve used one bag of yarn, (500g) and anticipate using another 200g, making the jumper quite heavy!
The body is slightly flared, just enough so that it’s not a straight tube shape. The increases are worked down where the side seam would be, and at the outer edge of the outer cables every 11th row.
The sleeves folded towards the front cables. The cuffs are knitted as rolled edges on 3.5mm needles for 8 rows.
Update January 2022
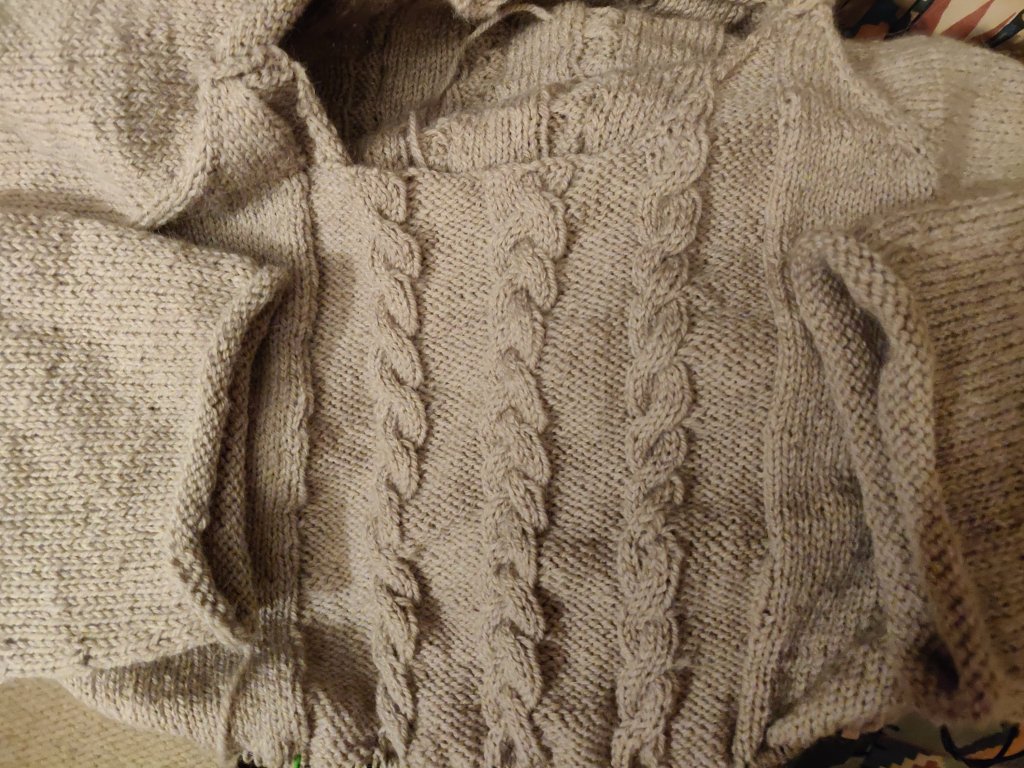
The jumper is now complete! First blocking fine, now test-wearing before sewing in the ends. Then I shall wash so that it matches the revision swatch and the stitches even out a bit more. Something I noticed whilst knitting was that although this is a lovely yarn it has a tendency to leave fine fibres on the needle so the stitches catch. At first I unpicked and reknitted some stitches, thinking I had miss-knitted the stitches and it took me a while to realise what was happening. Gentle tugging releases the fibres and opened the stitches, but from the tension swatch I can see that washing will even the knit out.
The neckband is a single rib with a rolled edge. The neck band was picked it up into the neckline so is integrally knitted which has a tendency to stretch on top-down sweaters. In the past I have sewn take along the back neck to stabilise the neckline, but Roxanne Richardson on her YouTube channel suggests making a line of crochet slip stitch along the back neck instead. She also suggests using this solution along raglan seams.
Because it’s knitted top down, seamless I’m going to watch the raglan ‘seams’ to make sure they doesn’t drop. If the jumper does start to drop I will also work a crochet slip stitch in the back of the seams to stabilise them.
I’m just hoping the weather stays cool so I can continue to wear my new jumper.
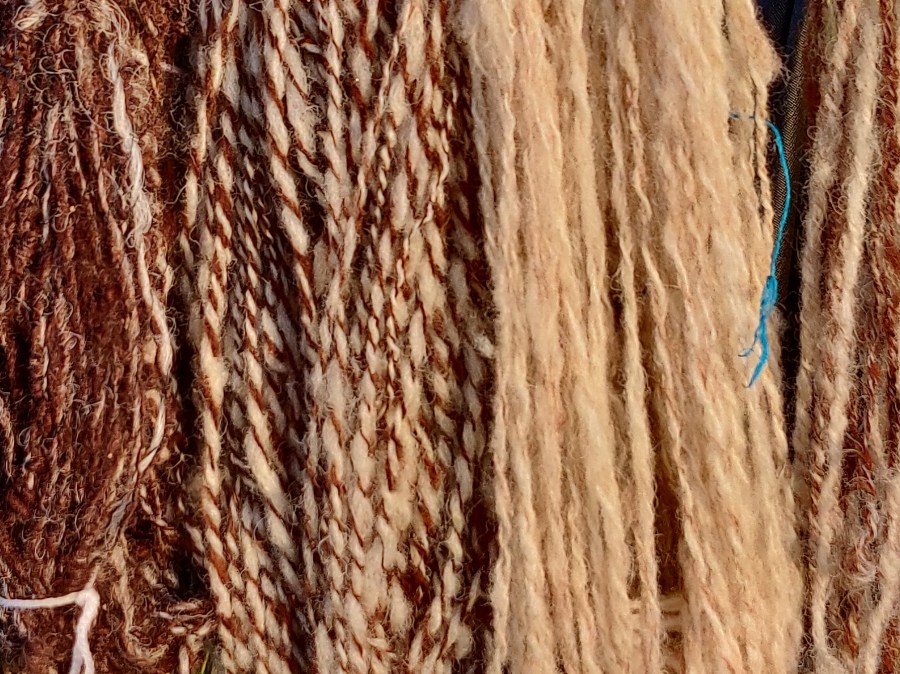
The fleece I am working with is not brilliant, but I am using it to practise making a balanced, soft spun woollen yarn for knitting. To do this I read up on Mabel Ross’ method, and with a little tweaking to suit my preferred yarn handle, it worked!
Mabel Ross worked it out for us and it is quite logical really. You do need to know your wheel’s ratios, work consistently with your draft and count your treadling to start with, so if thats not your style, don’t go there.
I was aiming for around 2tpi in the finished yarn, but actually increased this a little after the first samples.
The equation is to do with spinning the singles at the tpi you want and then plying them to get the final tpi you want. Its really helpful to remember that if you spin your singles Z, when you ply them S you will be unwinding some of the single’s twist. (update- I have subsequently spun some yarn at a much higher tpi using a 1:10 whorl that has come out soft after a similarly balancing plying method. Maybe I’m getting it…)
I worked backwards from my 2tpi goal.
For example: I was working with a 1:6 whorl, therefore one revolution of my wheel would turn the bobbin 6 times. I was spinning ‘Z’ twist with a long draw of 12″.
First of all I needed to know how many treadles to the 12″ draft would give me the tpi I required. Yes I know I’ve muddled metric and imperial, but it still works.
Number of treadles = (required tpi x planned draft length)/ divided by wheel ratio (which i know will be 6)
tpi of my singles = tpi of my plied yarn divided by number of plies
II reckoned that if I want 2tpi in the plied yarn, I needed to spin the singles at around 4tpi.
The equation I worked with using MR method to find out how many treadles I needed to a set draft length was:
tpi = (wheel ratio x treadles)/divided by draft length.
Go back to the earlier question of how many treadles?
Number of treadles = (required tpi x planned draft length)/ divided by wheel ratio (which i know will be 6)
which came out as
tpi (4) x draft (12″) = 48/6 = 8.
So 8 treadles using the 1:6 whorl to a 12′ draft should give me 4tpi. in my singles…
Well I wrote this post a while ago, and since then have done some spinning. It was not successful, way to soft and loose spun for my taste, but a balanced yarn – no twisting and it knits without bias.
I upped singles tpi a little and also the ply by a smaller amount and the yarn improved. and stayed balanced! A lesson learned.
Follow this podcast on Google Podcasts, Spotify Podcasts or iTunes.
Notes to accompany this episode:
This podcast will feature mainly machine knitting, but also hand knitting and other textile related items.
In this short introductory episode I talk about my most recent book ‘Translating Between Hand and Machine Knitting’, and the one I am working on at the moment.
Today I finally completed a top-down jumper I started last December! I bought the main 100% wool yarn in Hereford, and the stripes are worked in two odd balls, one Noro and the other Icelandic. I’m looking forward to hearing it next winter.
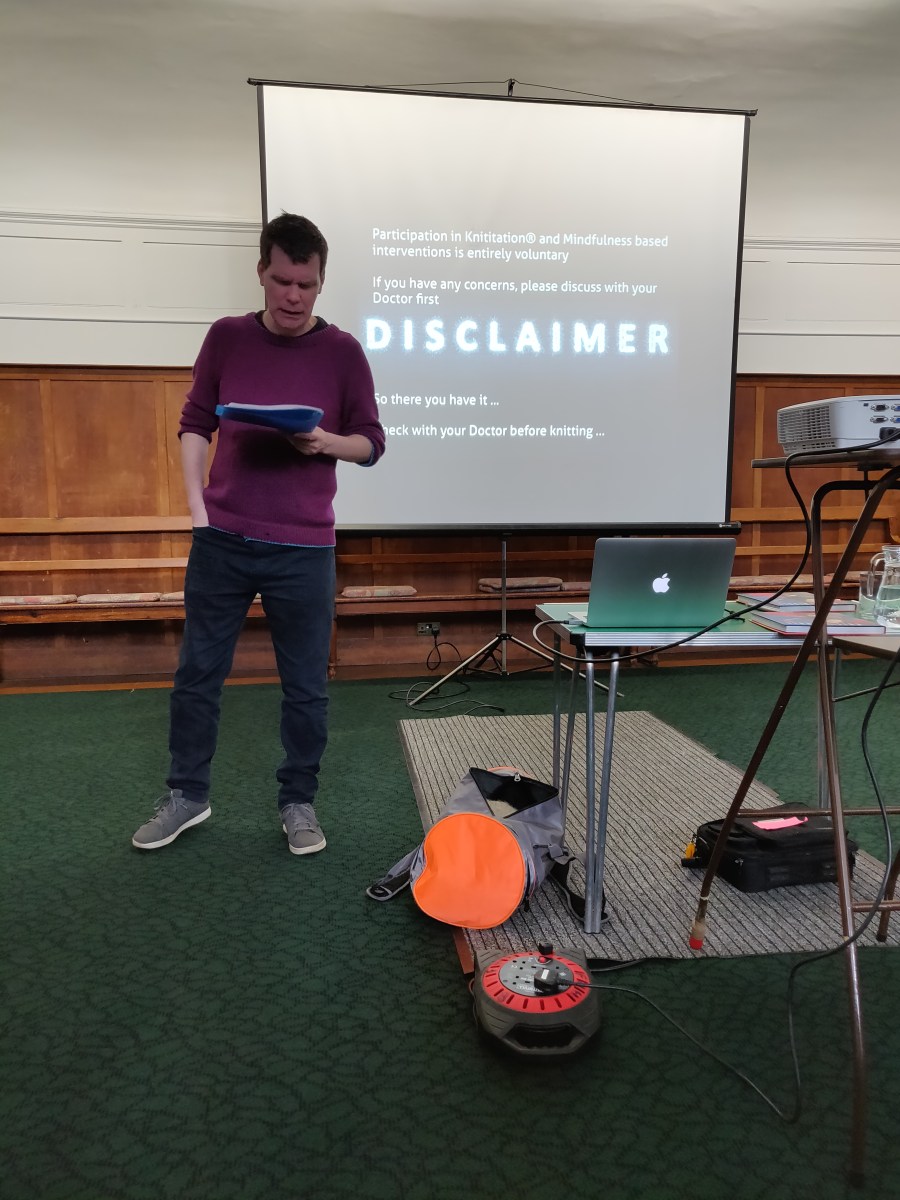
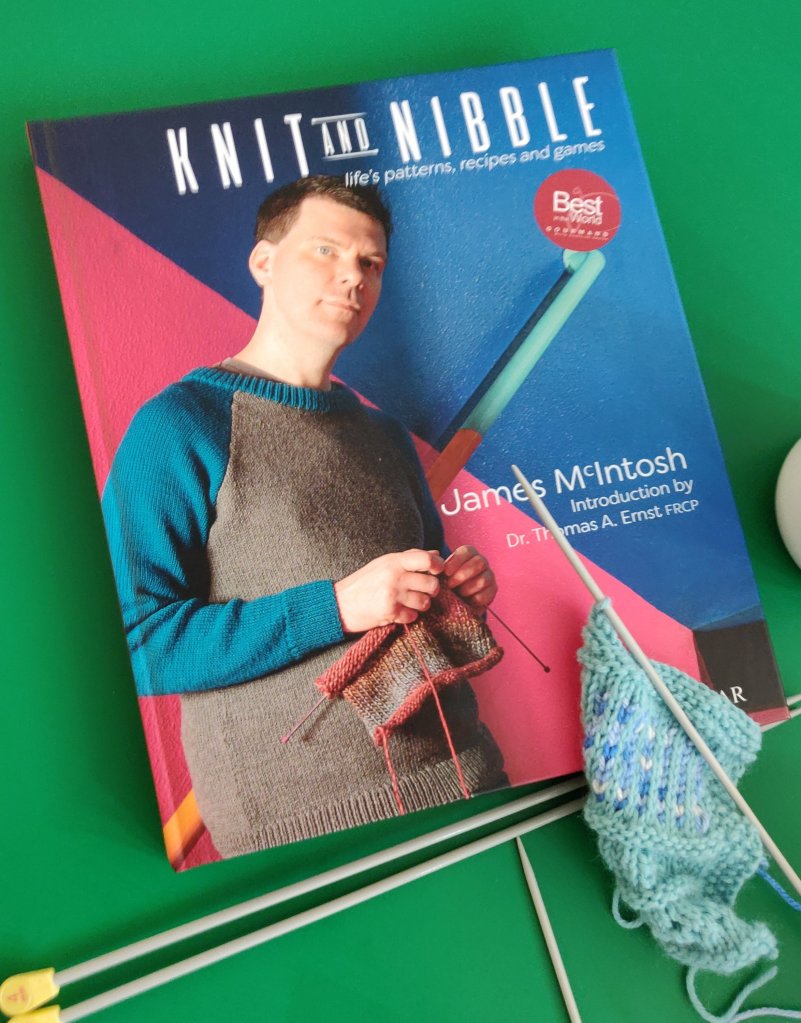
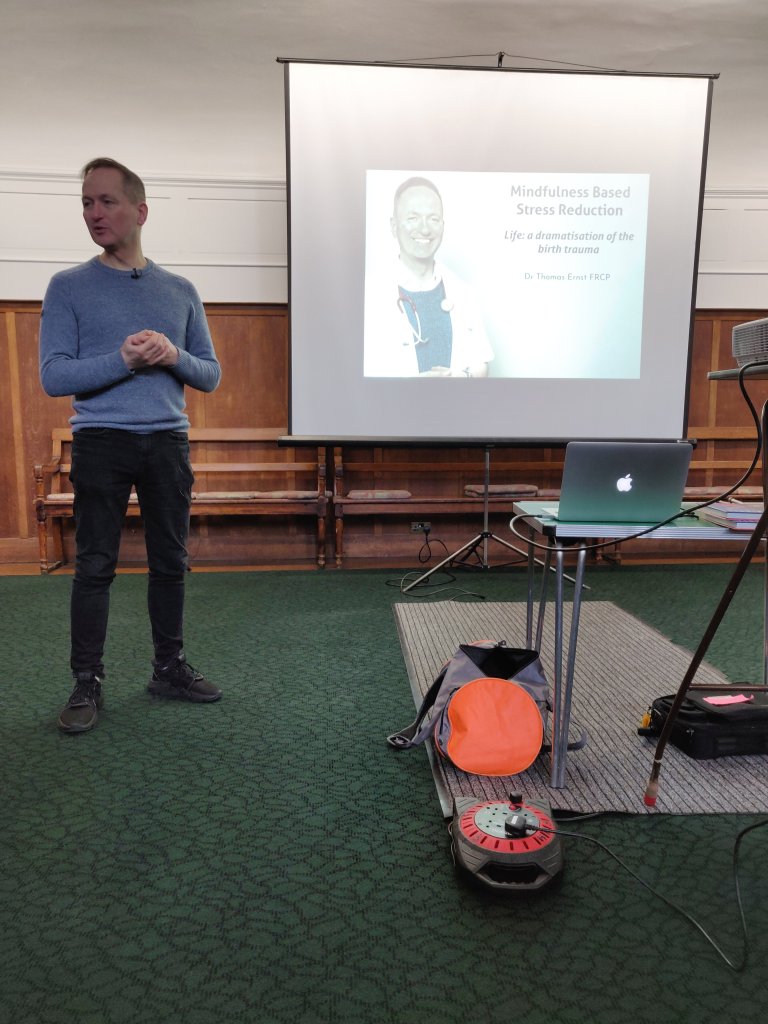
Today met James McIntosh and Dr Thomas Ernst, inventors of the term ‘knititation’ and authors of Knit and Nibble. They had been invited to speak at the University of Brighton School of Art’s Centre for Arts and Wellbeing event, Knitting and Wellness.
When we first met, James told me that he had found The Knitting Book really helpful when he was teaching himself to knit – which was truly gratifying feedback. It’s nice to find out how people use and value my contribution to sharing knowledge.
James was first to speak, and he described his personal journey through depression and how knitting mindfully enabled his recovery and brought colour back into his life. Thomas discussed the science behind mindfulness and it’s aptness to knitting.
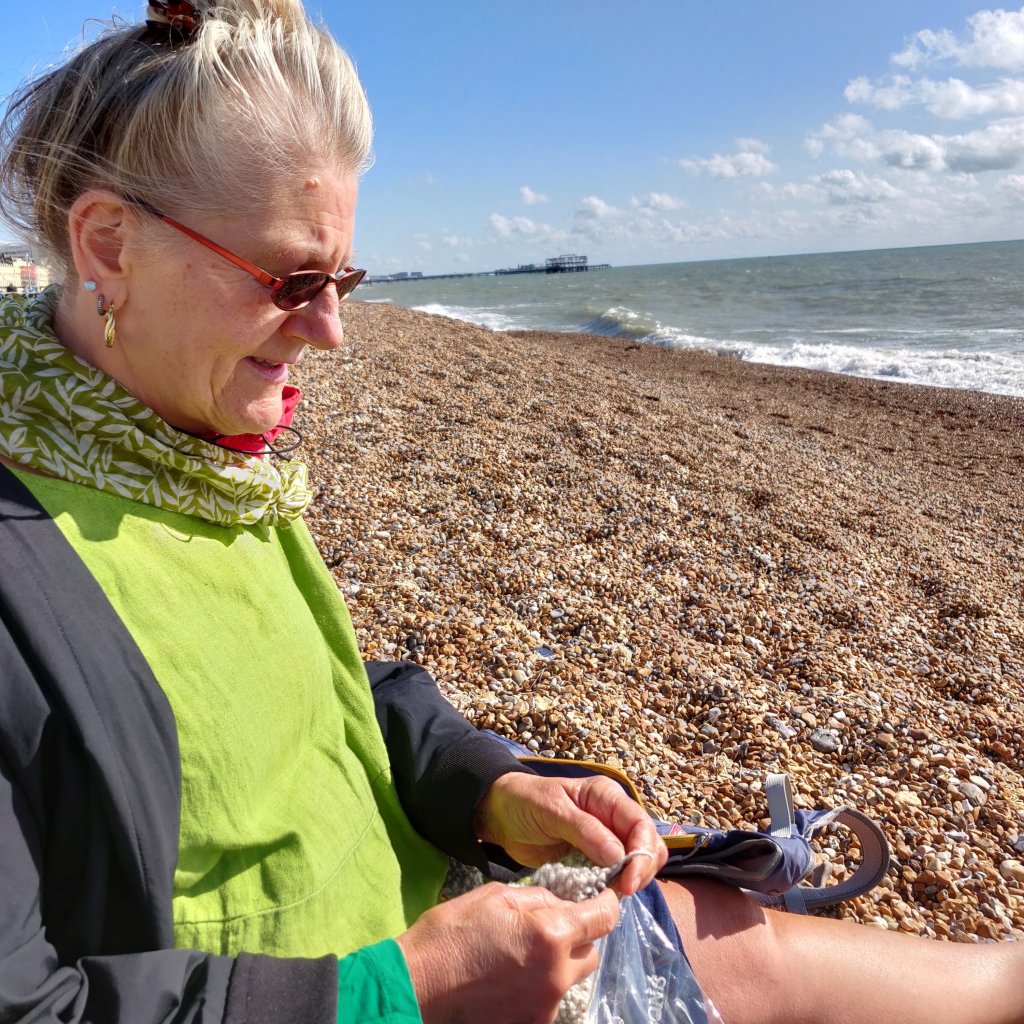
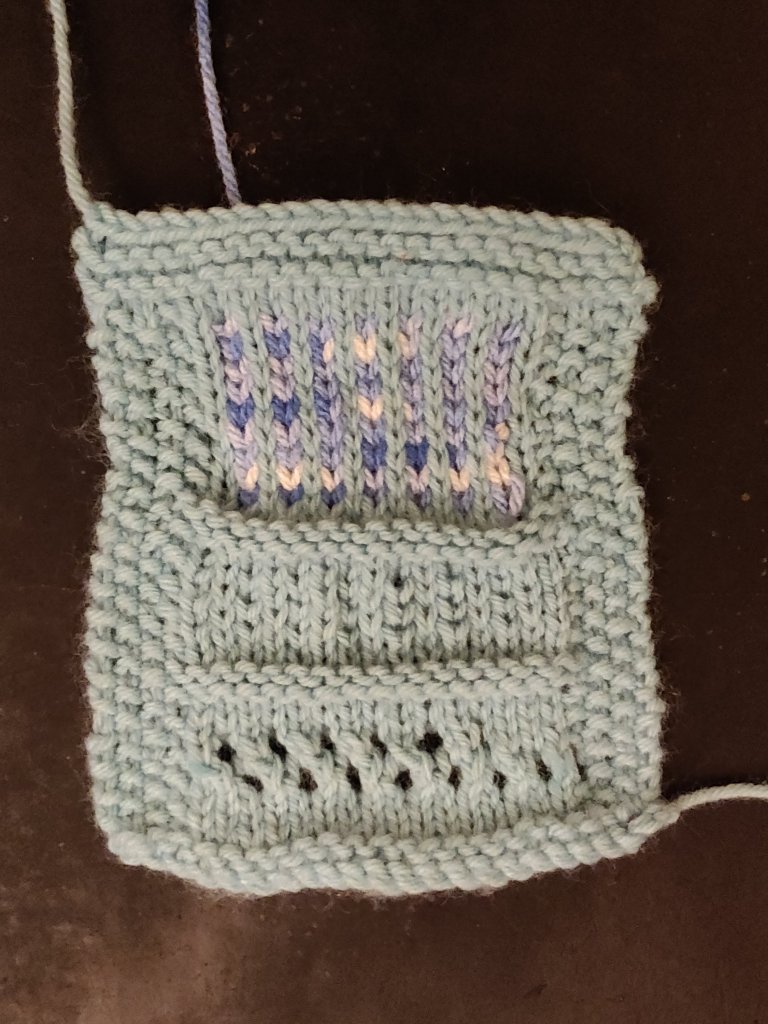
Nina Dodds, author of Invisible Jumpers, and I provided yarn and needles so that everyone who wanted to could knit during the event. We were gratified that everyone took up the opportunity!
This was my piece of knitting.
It was a great talk, entertaining and interesting. James and Thomas kindly gave me a copy of their book which I am reading this weekend.
At the end Thomas led a short mindfulness session, which was a new expressive for some of the audience. Hopefully we all left feeling refreshed.
Like James, and so many others, I find hand knitting keeps me calm; it’s repetitive movements bringing my attention back in a rythmic cycle. So now I’ve written this it’s time to take up my needles for a soothing session.
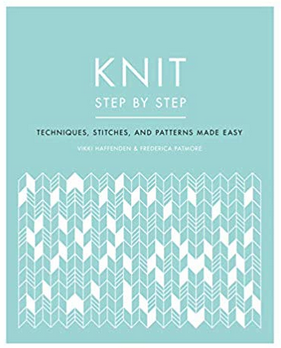
A new edition of Knit Step by Step has been published this month. With new content including step-by-step instructions (with lots of lovely photos) of how to work the exciting on-trend chunky ‘arm knitting’. All wrapped in a smart new cover it looks great!
I came across this review of my book, ‘Translating Between Hand and Machine Knitting’, and would like to share some of it with you.
“This book needs to be on every machine knitter’s manuals shelf, in pride of place, no matter if you use Silver Reed or Brother!”
“Where was this book when I was desperately trying to learn how to design lace/translate lace cards between Brother and Silver Reed?!?!”
This book is absolutely essential equipment as far as I am concerned!
The pictures will blow you away and they only get better.
The details are absolutely in depth and extremely easy to understand with stupendously clear focused pin-pointed and highlighted photography and exemplary diagrams that compare every aspect of stitches, fabric, mechanics, of hand and machine knitting.
It isn’t a how-to… it compares them and shows some GREAT visuals of them on and off the needles. Refer to your manual for specifics on how-to cast-on and cast-off. Basically, this book compiled most of the answers to questions I have asked in the past, questions I have hunted down answers to, and questions that I hadn’t even thought to ask. It is utterly fantastic.
Buy it! Buy it NOW!
I can not say enough how much you need this book! How much I needed this book… now if I can just convince her to write one on Passap…
No! I have no affiliation with the author… I wish I could say I know her.’
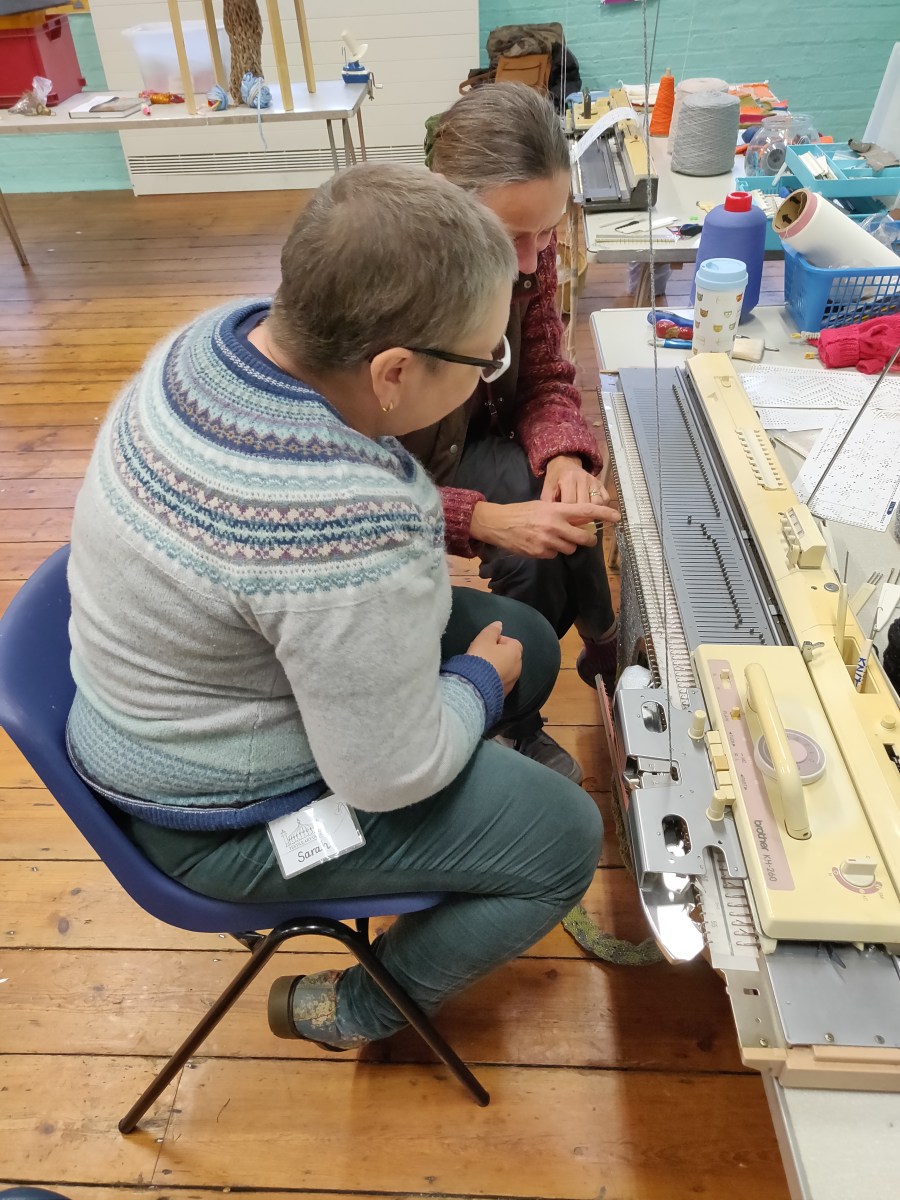
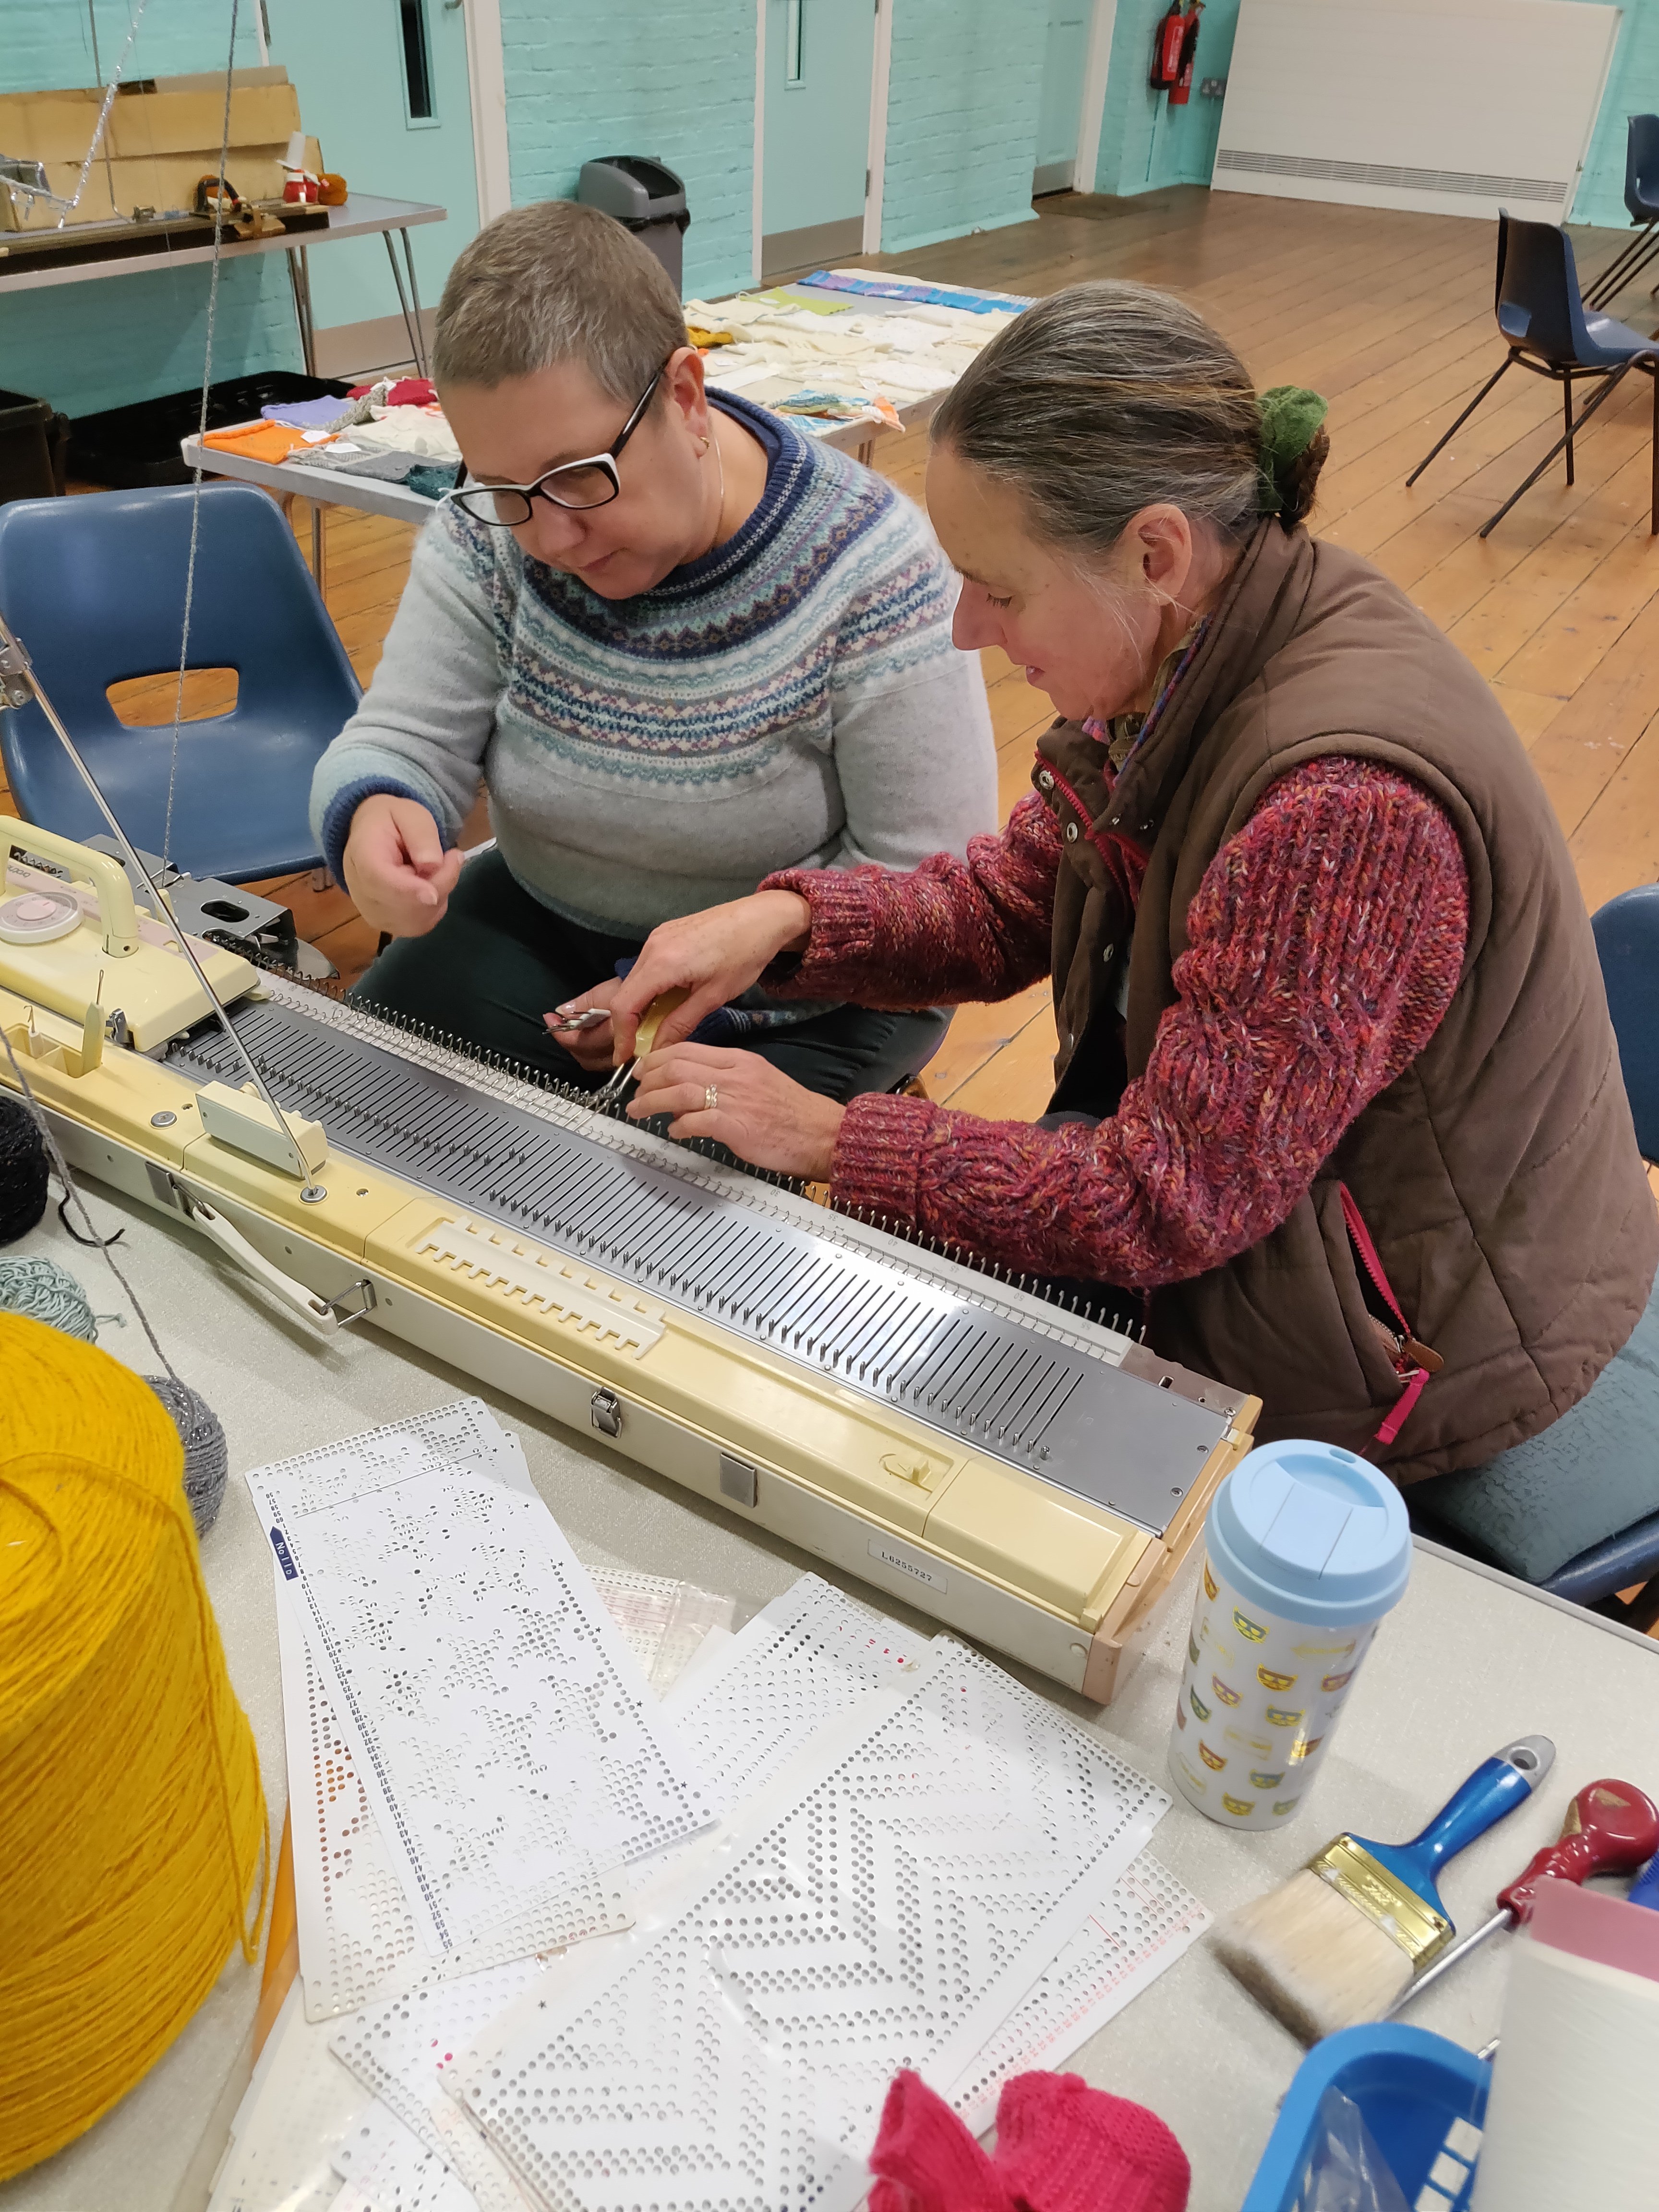
Today I ran a workshop that introduced members of Brighton Textile Art Group to machine knitting. To give a wider experience both a Knitmaster and a Brother machine were used, one standard and one chunky gauge. The chunky was particularly popular once it was found that it can knit handspun yarns.
Techniques explored included shaping, fair isle, single motif fair isle, knitwear (again great for hand spun), holding and short rows and simple, manual lace transfer.
I took along a little circular machine to demonstrate the difference between the two machine types, but the real interest was in the flat bed Japanese machines.
After the workshop response were really positive; people who had thought they would hate it had great fun, and those with machines were enthused to go home and get them out. Unfortunately the workshop clashed with the East Sussex Guild of Spinners, Weavers and Dyers meeting, so another workshop had been requested in the Spring or Summer of 2020.