Last week a few of us got together (safely distanced and masked), to take our textiles into the park. I enjoyed myself so much I forgot to take a photo!
The thought of spinning outside in the sunshine encouraged me to use bright colours. So I took along some Shetland fleece I dyed a while ago using acid dyes, (I have written more about dyeing fleece with acid dye here).
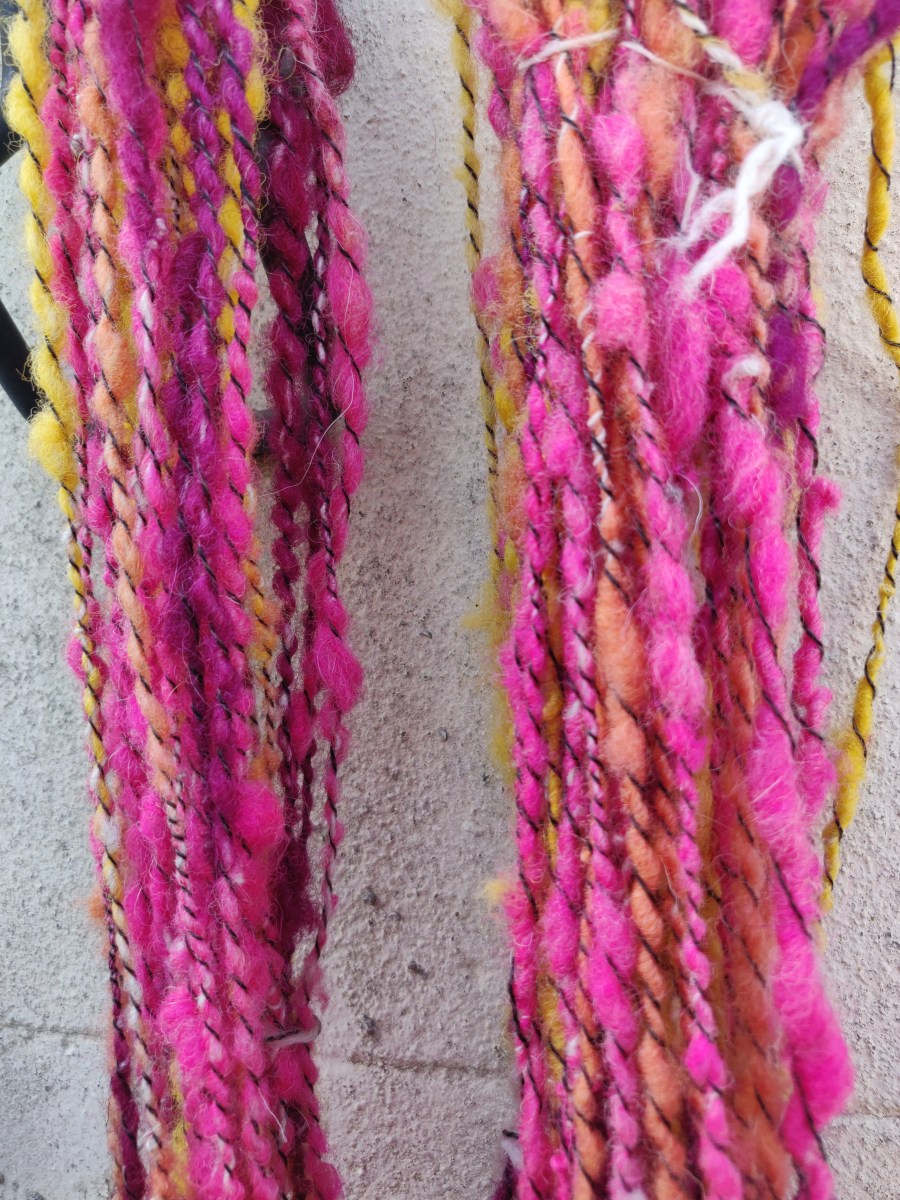
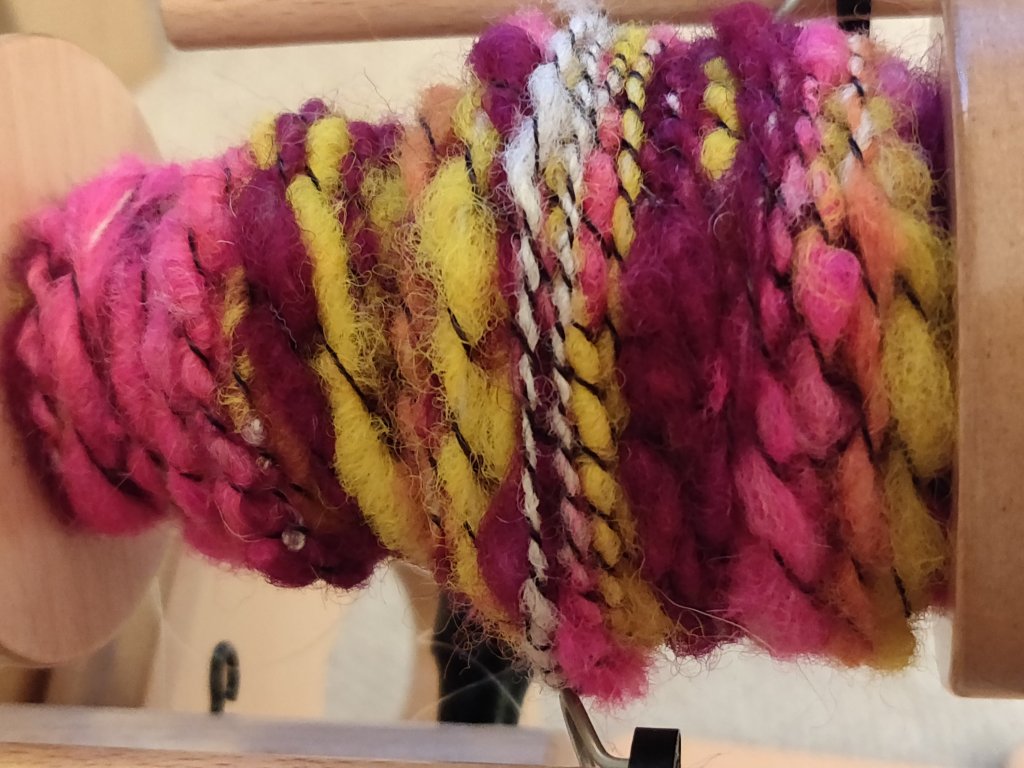
I’d spun up a bobbin of Suffolk fleece that is not very exciting, so I planned to use that as the core for a bright, irregular spun, core-spun yarn to which I would add a charcoal wrapping yarn. All 100%wool. I took my folding Louet Victoria S95 wheel which is a joy to use.
The core yarn was Z twisted quite tight. The wrapping colours were also put on Z twist, and the final charcoal, commercial yarn was S spun over the others.
Photo taken at might, so the colours are not accurate.
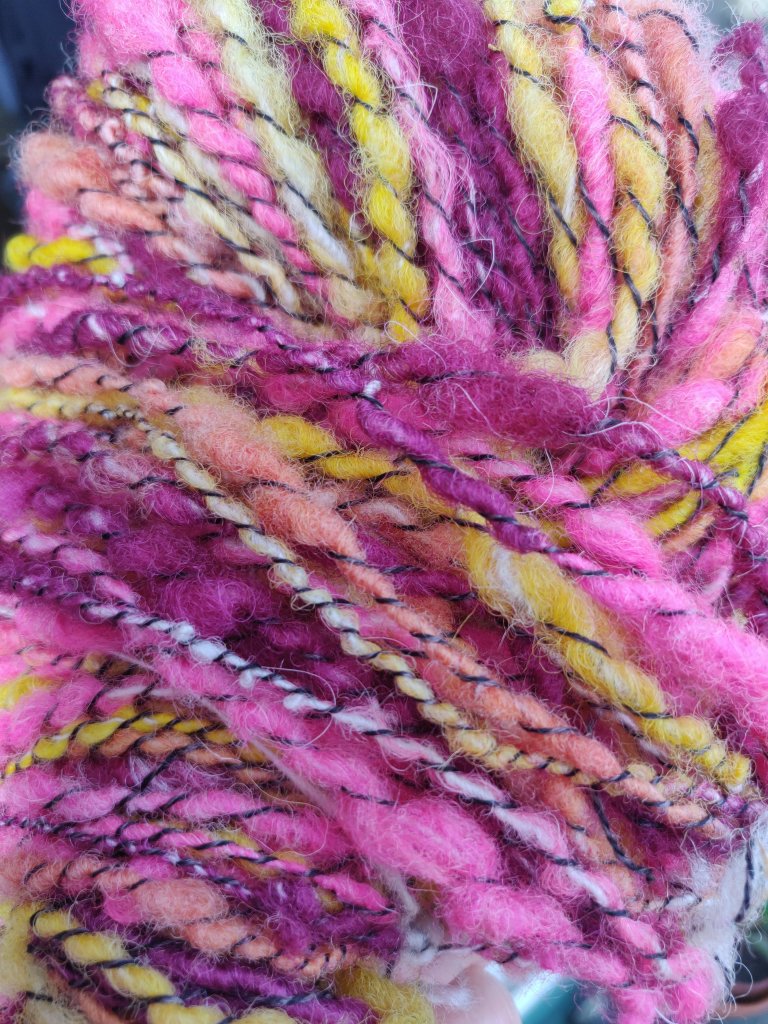
After washing and drying the twist the colours hardly muted and it’s come out as lovely yarn.
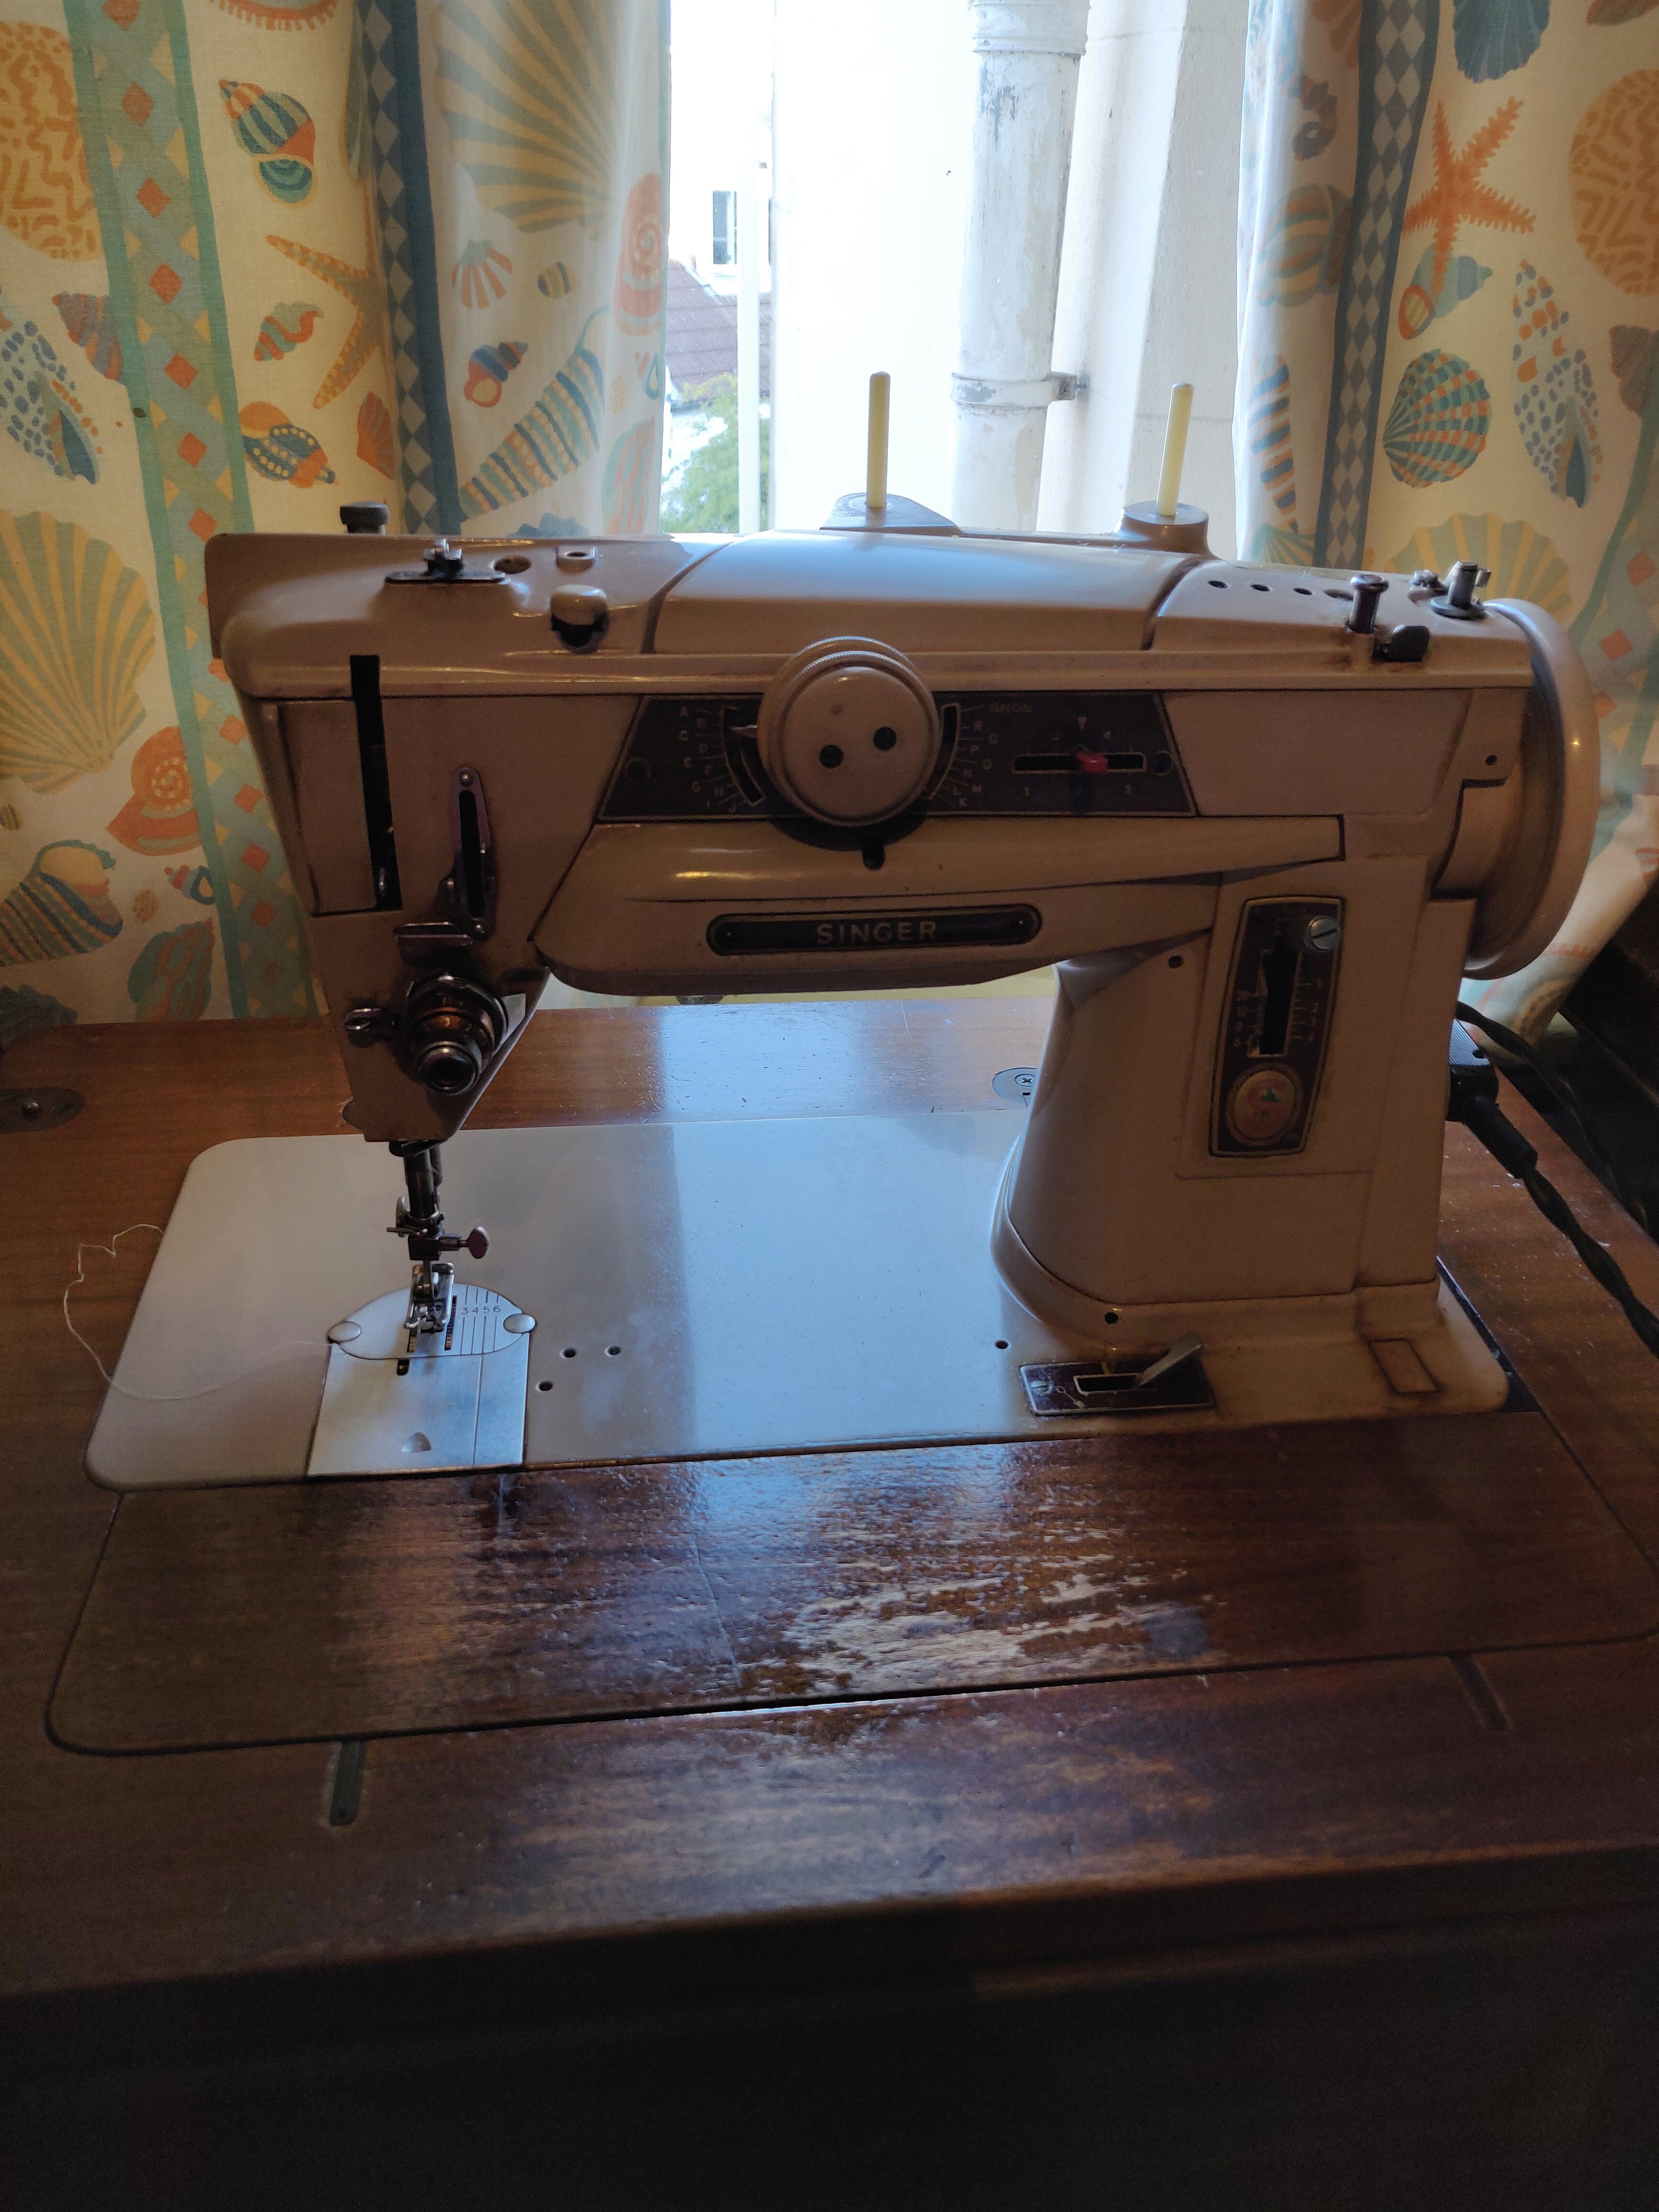
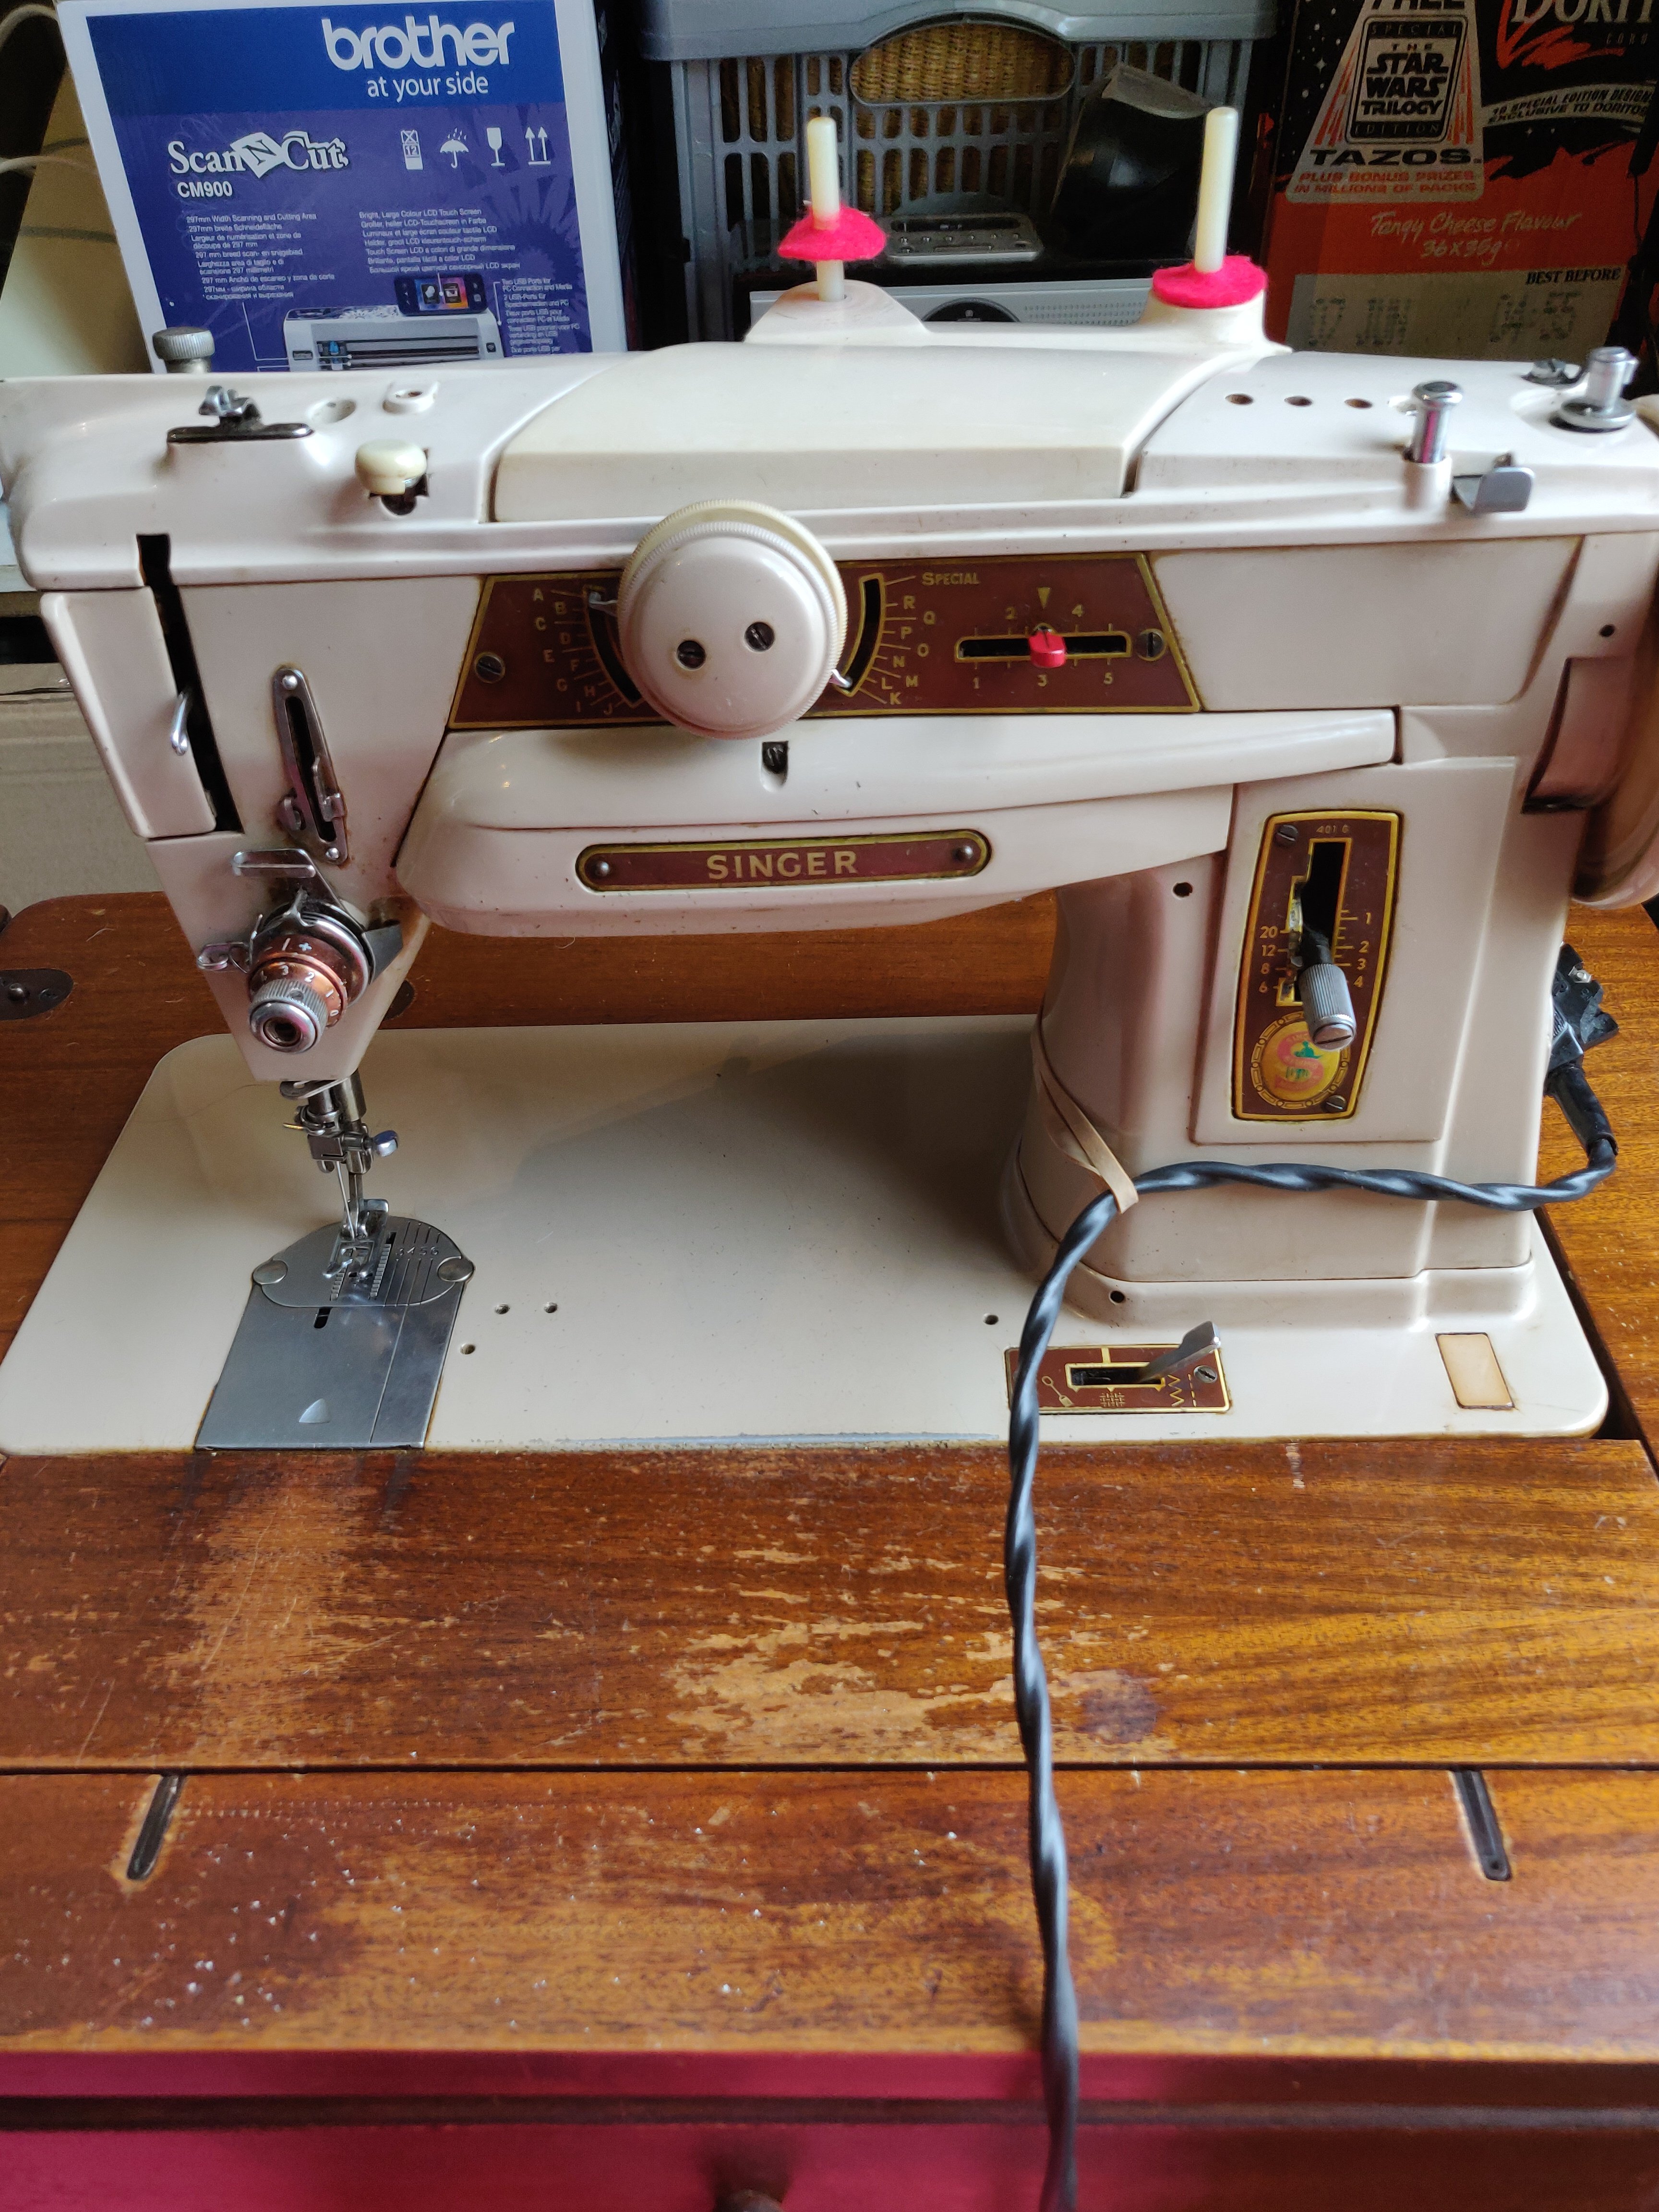
I have been toying with the idea of buying a Singer slant shank machine for a while, and during lockdown I took a punt and bought one reasonably local on eBay. Not the smartest move you might say, sight unseen and all that. I spent quite a time scrutinising the photos very carefully, read up about the machine, and asked lots of questions of the seller. Call it a treat to myself.
Updated with some photos just now, 16:00 4th July
Above, as it arrived, a bit grubb
And below, after a good clean up
Finally I went to collect it – social distanced collecting methods in use and no stopping en route. Its outside is a bit grubby, but its working and has all its accessories down to the lint brush and set of screwdrivers. Its obviously well used, it was owned by a dressmaker before, but I would guess not used for several years. However, its got service labels and having all its accessories indicates to me that it was well cared for and valued. It came in a drop down table, which was perfect as wanted one in a table, but not a massive cabinet.So far I’ve opened it up and cleaned its insides, removed as much old gummy oil – or as I can reach – and given it a thorough oil with light sewing machine oil. The double direction pattern dial was gummed up, and this gentle cleaning and oiling helped to loosen it up so that I could (very carefully) encourage it to move, and now it works freely. Its fascinating to see how the selection mechanism works, not that I am an expert at mechanics, but I can see the little paddle moving and the rise and fall of the selector post (probably the wrong name). I am itching to try out all those amazing built in patterns. I can’t right now as you will see in the next paragraph.The original clam-shell foot pedal is with it, and it did work – sporadically. After a while there was a nasty smell (reminded me of when my Bernina 1030 went into melt down, and when my Brother 950i knitting machine and very, very vintage Kenwood Chef did the same) and the machine would not stop running. Luckily the plug was close to me, so I whipped it out to the socket before any damage was done.My clever son opened the pedal and told me I should have cleaned that out (didn’t even think of it, sorry), and then he replaced a blown capacitor – he is pretty nifty at this and has a stock of electrical bits. The pedal now works – but the connection from the pedal lead to that ‘banana’ plug is dodgy. In addition some of the old plastic has broken away inside the pedal and the plug has a chunk missing which worries me. I’m not confident around electricity having had a few experiences that unnerved me, (see above). He offered to repair the lead and plug (he thought Sugru) and will in time, but I decided to order a replacement so that I could use the machine until then. I will compare them to find which gives the best speed control as some reports say new ones are not as sensitive.The motor seems OK, and my son will clean it at some point. So far the machine has displayed a lovely straight stitch – equal if not better than my Bernina 1030, and far better than the Jones 125.I did hanker after a Singer 411g or 431g but I think the 401g will satisfy me. It was only the chain stitch of these I wanted, but reading about it it sounds to require lot of fiddling to get it right and so that do you leave the machine set up just for that? Seems a waste to me, so I’ve let that wish go for the moment. I also think I remember that my Janome Coverstitch machine will do chain stitch, so maybe that is something to explore. I’m not even sure why I want chain stitch – I’m just a machine nerd (maybe?).Want this space for more chats about the Singer 401g that has joined my machine stable. Its going to be sewing frontline masks once the new pedal arrives.
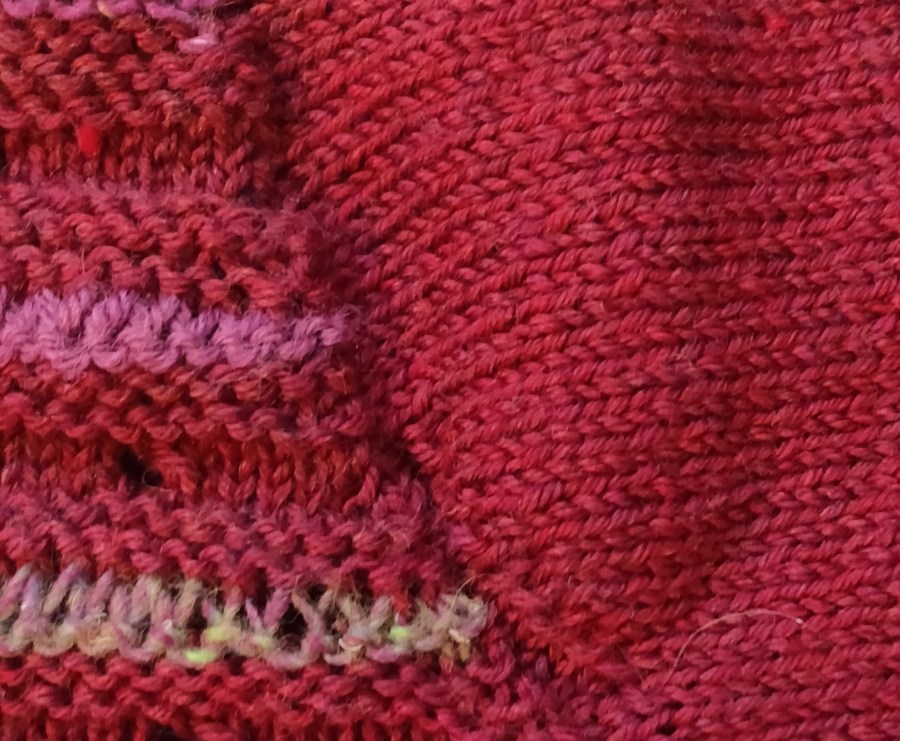
Today I finally completed a top-down jumper I started last December! I bought the main 100% wool yarn in Hereford, and the stripes are worked in two odd balls, one Noro and the other Icelandic. I’m looking forward to hearing it next winter.
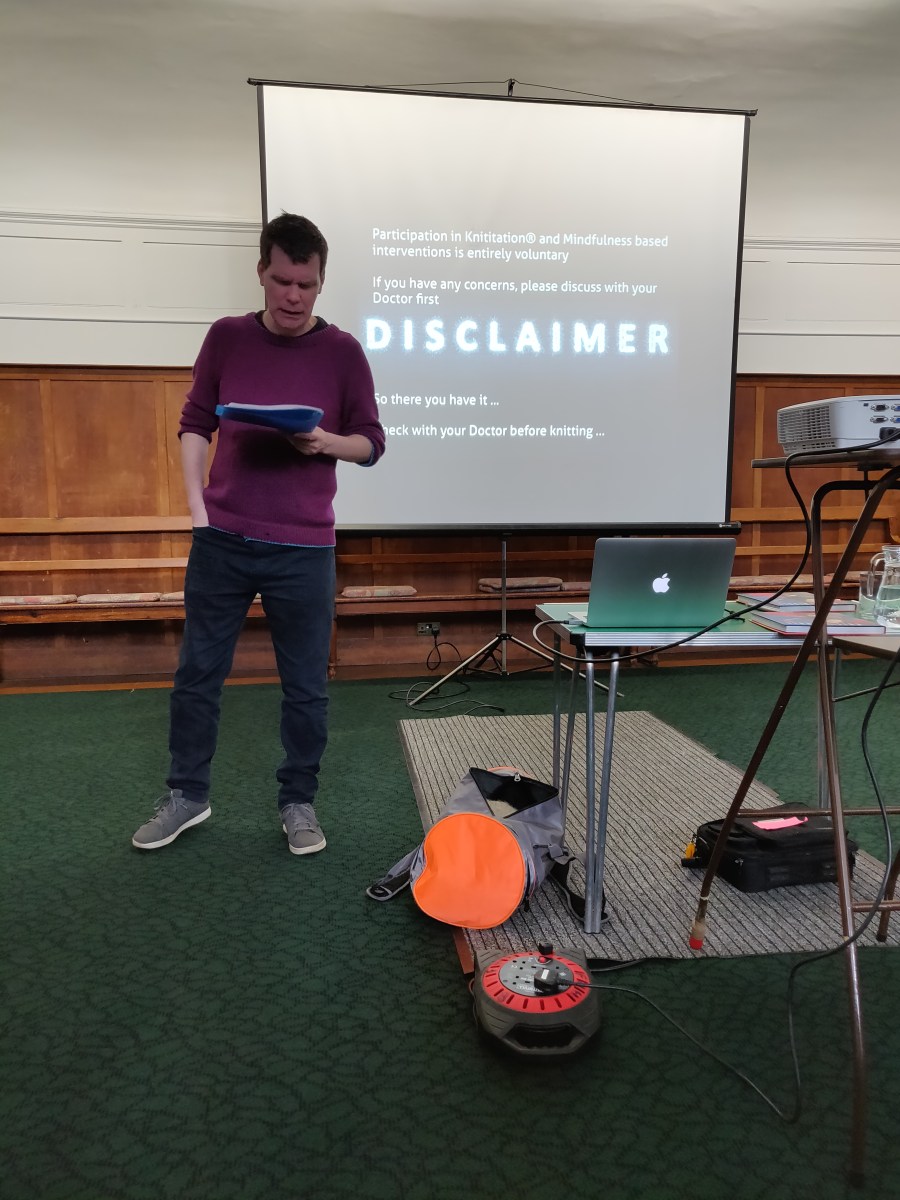
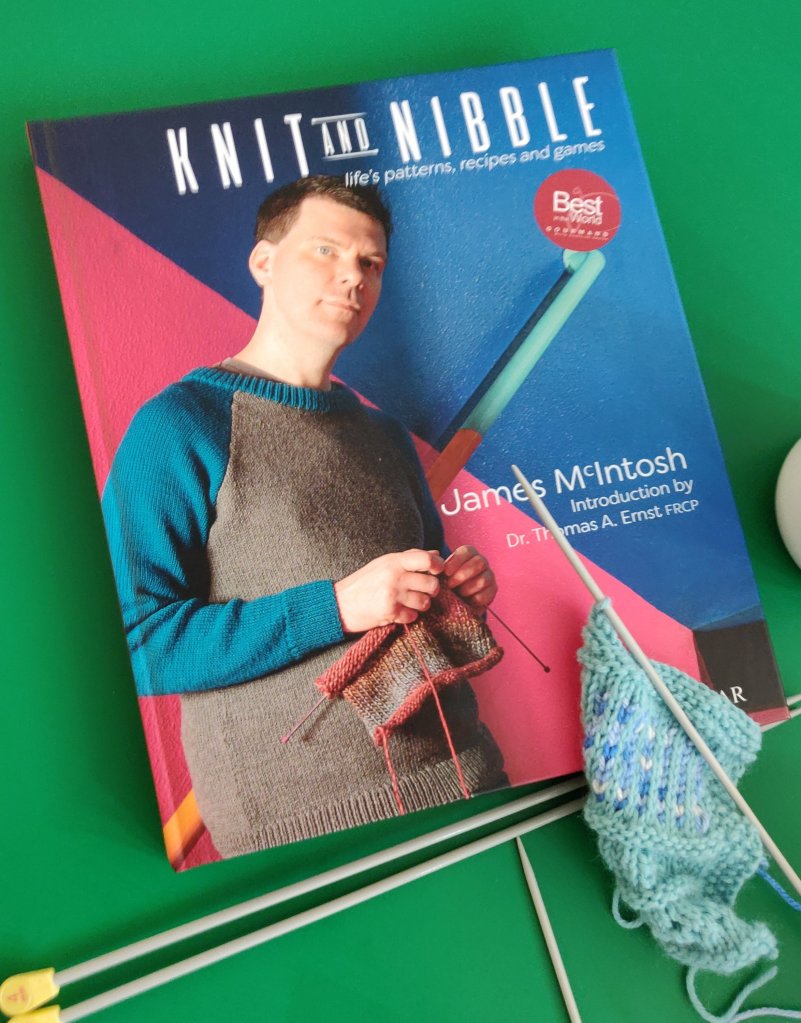
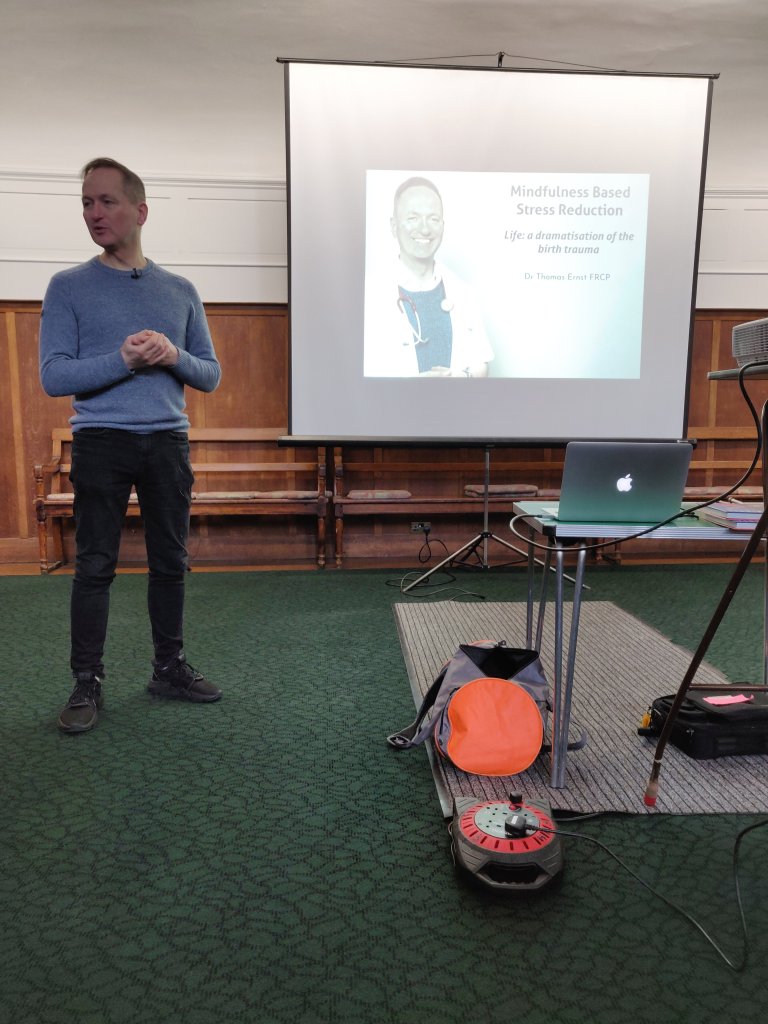
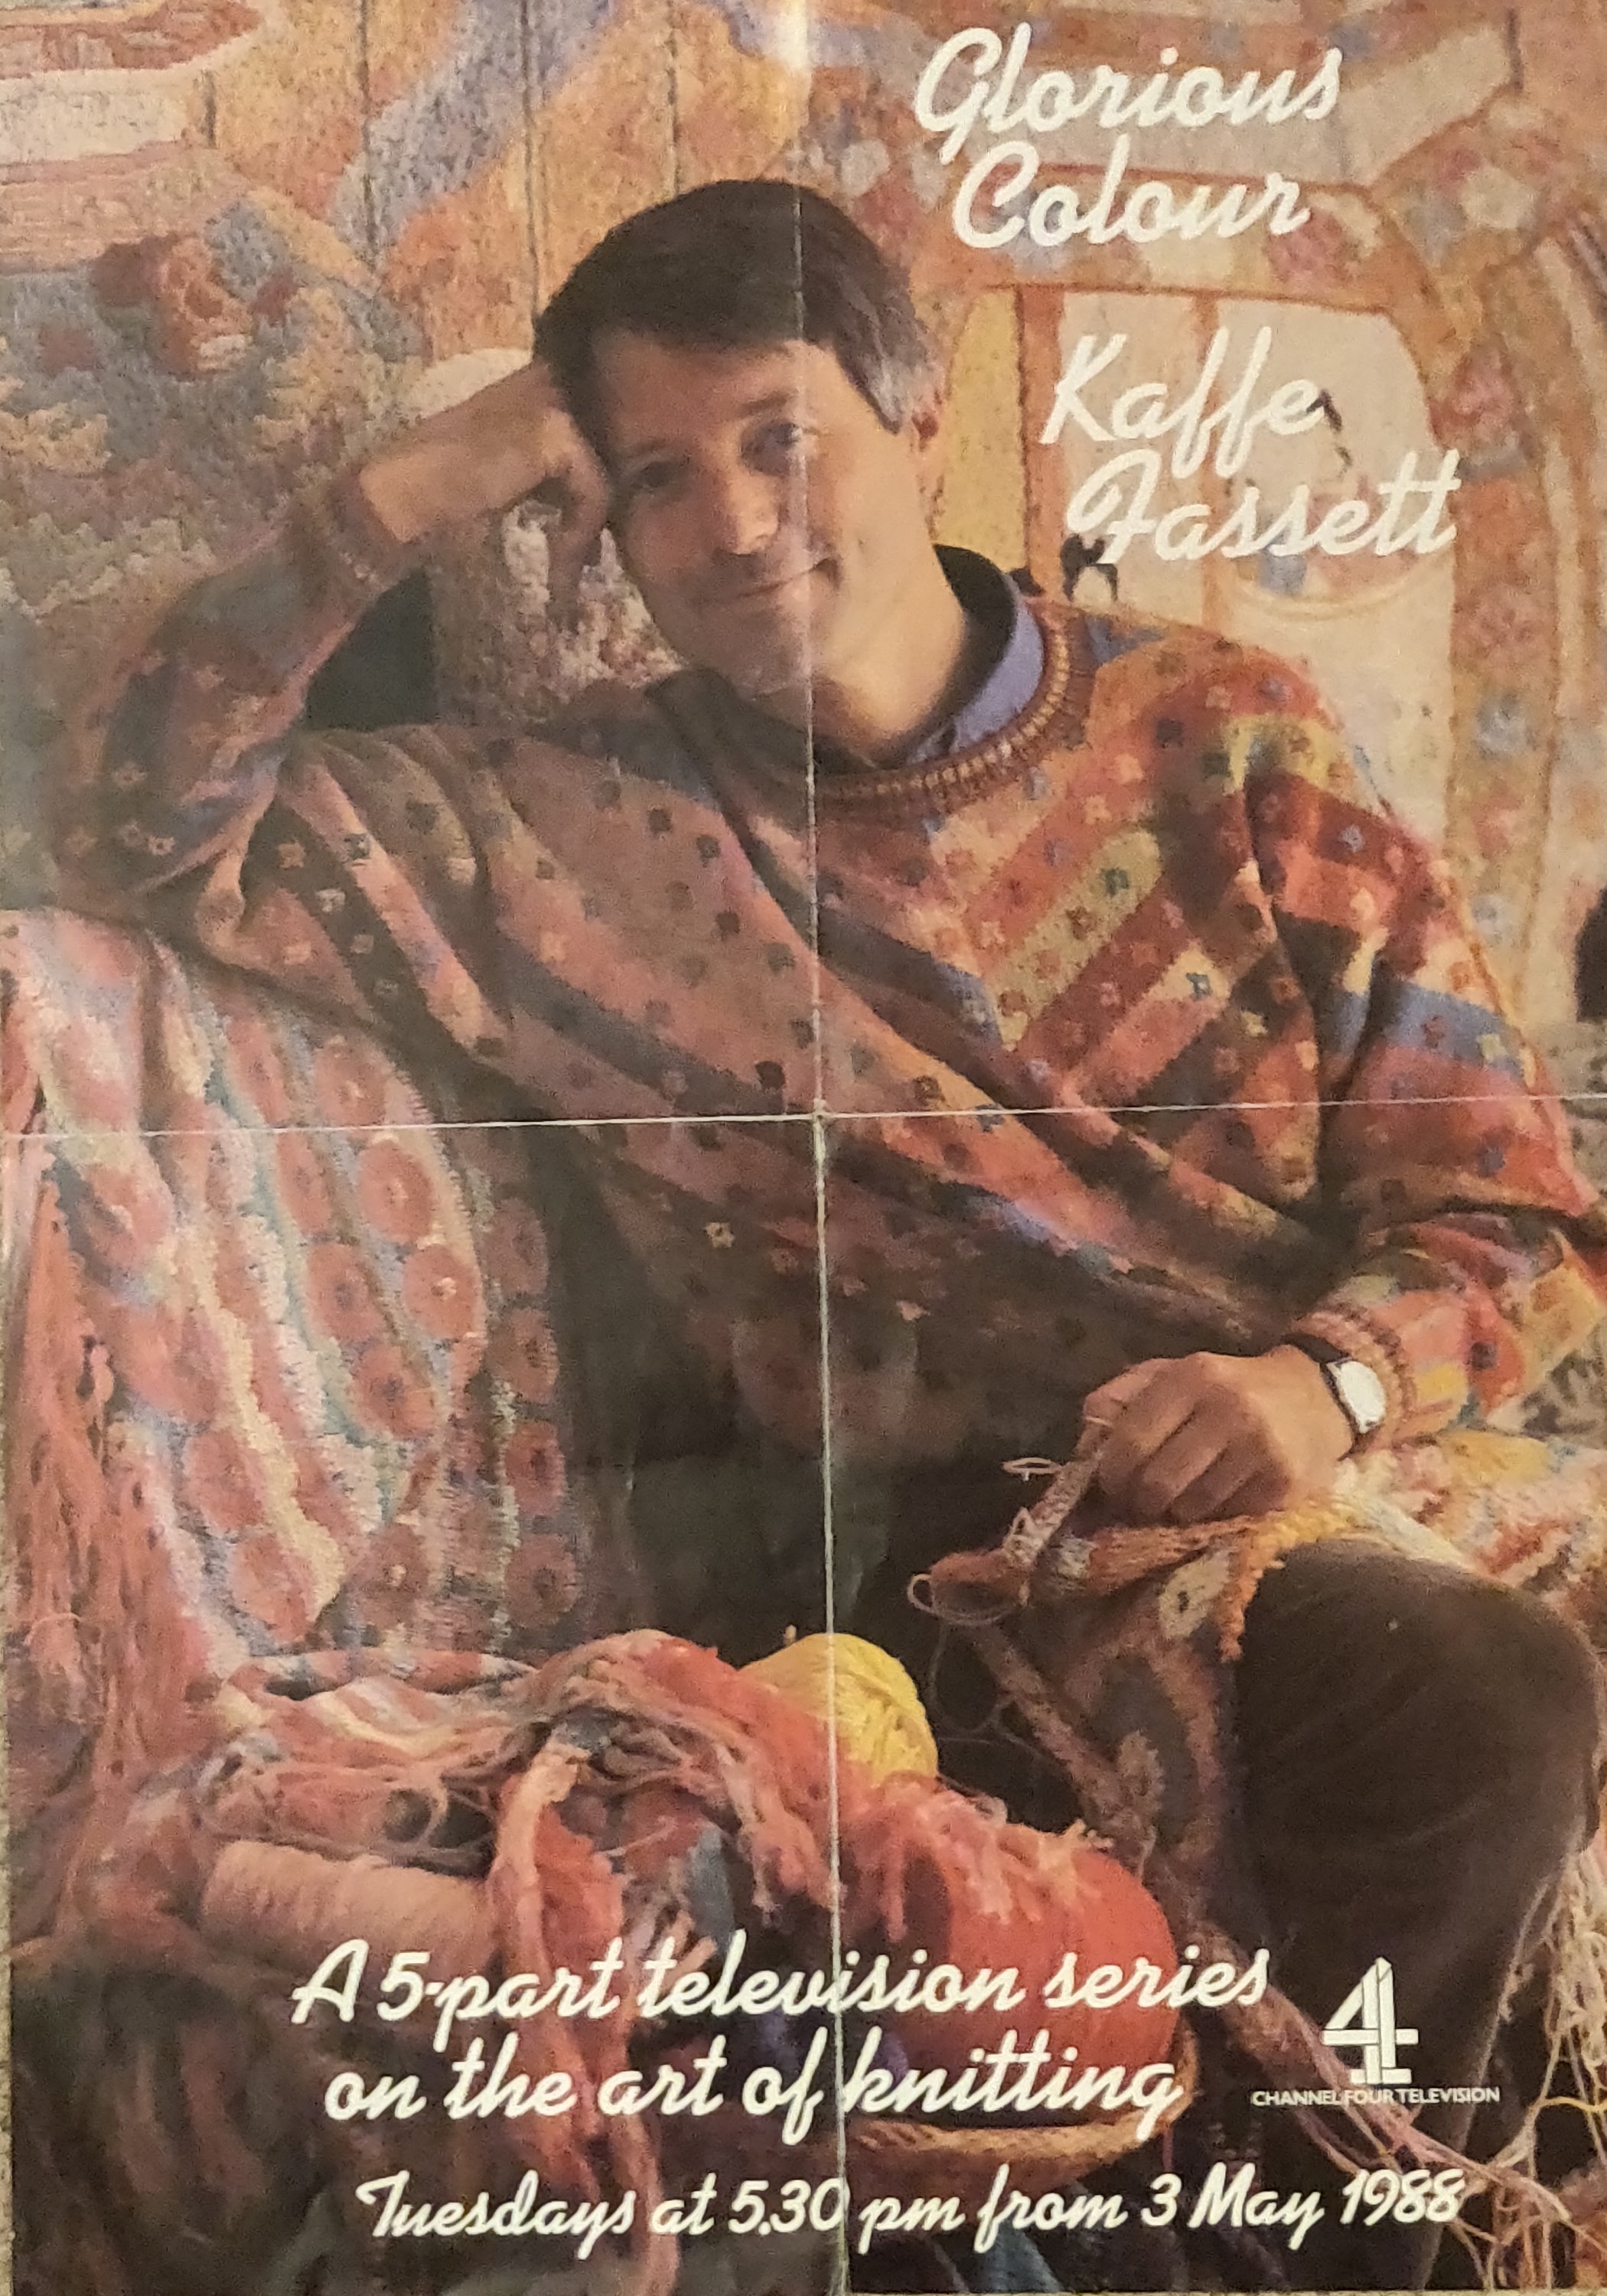
Today met James McIntosh and Dr Thomas Ernst, inventors of the term ‘knititation’ and authors of Knit and Nibble. They had been invited to speak at the University of Brighton School of Art’s Centre for Arts and Wellbeing event, Knitting and Wellness.
When we first met, James told me that he had found The Knitting Book really helpful when he was teaching himself to knit – which was truly gratifying feedback. It’s nice to find out how people use and value my contribution to sharing knowledge.
James was first to speak, and he described his personal journey through depression and how knitting mindfully enabled his recovery and brought colour back into his life. Thomas discussed the science behind mindfulness and it’s aptness to knitting.
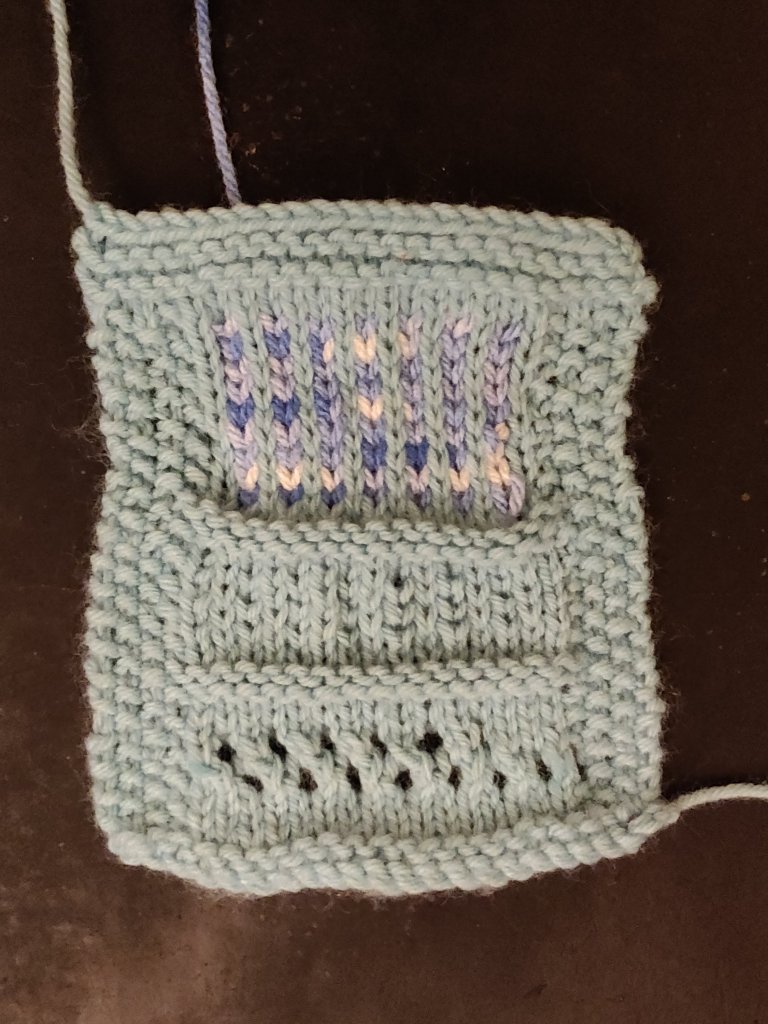
Nina Dodds, author of Invisible Jumpers, and I provided yarn and needles so that everyone who wanted to could knit during the event. We were gratified that everyone took up the opportunity!
This was my piece of knitting.
It was a great talk, entertaining and interesting. James and Thomas kindly gave me a copy of their book which I am reading this weekend.
At the end Thomas led a short mindfulness session, which was a new expressive for some of the audience. Hopefully we all left feeling refreshed.
Like James, and so many others, I find hand knitting keeps me calm; it’s repetitive movements bringing my attention back in a rythmic cycle. So now I’ve written this it’s time to take up my needles for a soothing session.
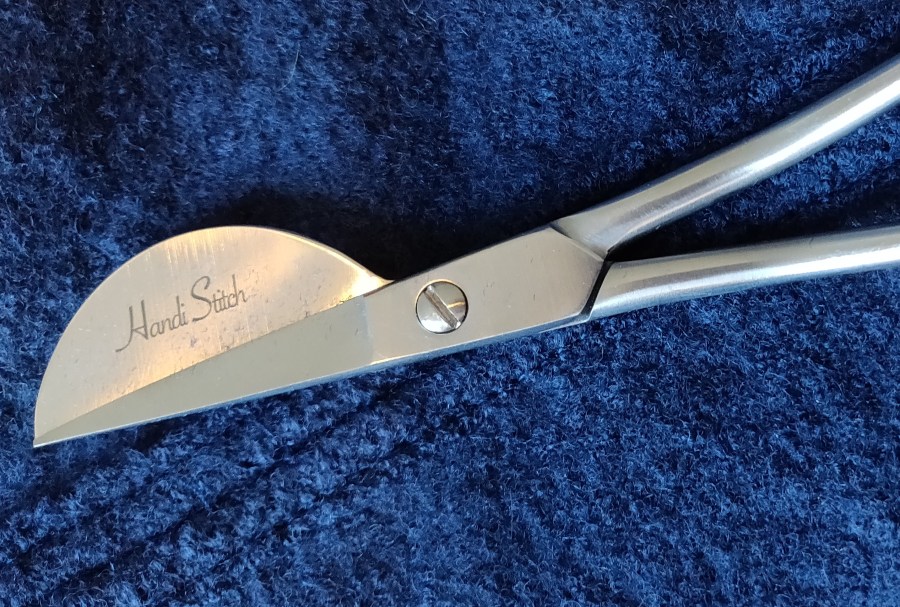
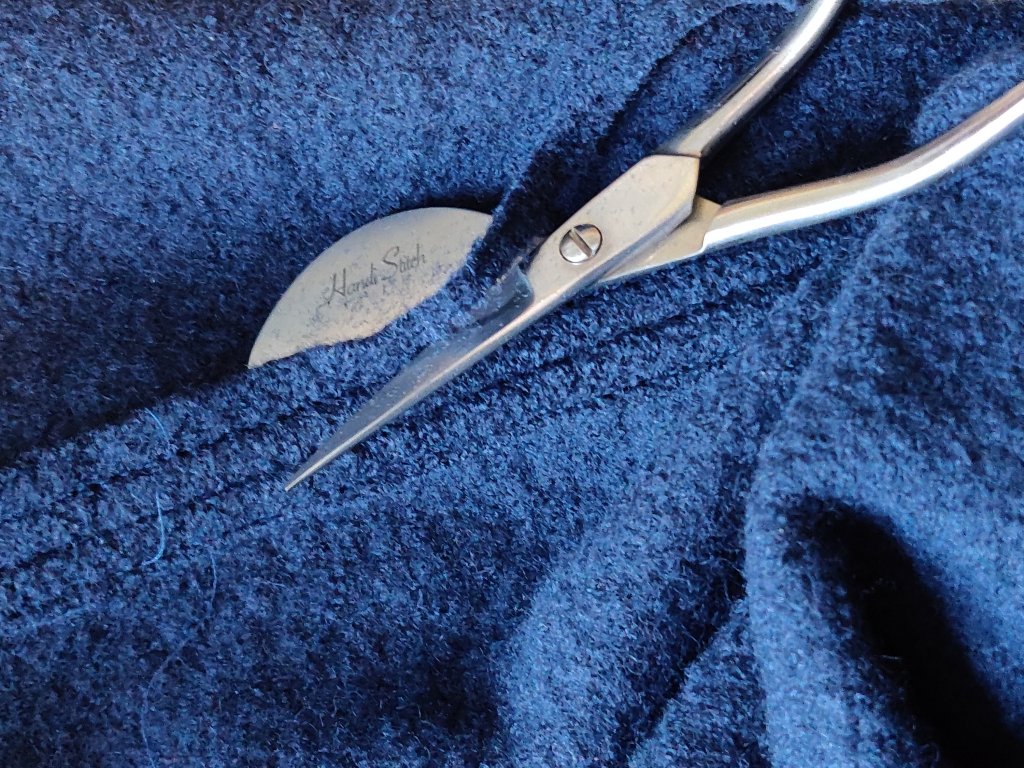
I’ve just made a boiled wool dress with to stitched seams. These needed to be trimmed to reduce bulk, which have me the chance to try out these duck-bill scissors I’d bought at an exhibition. The wide blade is supposed to prevent accidental snips into the main fabric, and enables you to get close to the stitching line.
These worked well, and are nice and sharp. A successful purchase!
I’m not sure if this is the accepted easy to use these scissors, but it worked for me.
I came across this review of my book, ‘Translating Between Hand and Machine Knitting’, and would like to share some of it with you.
“This book needs to be on every machine knitter’s manuals shelf, in pride of place, no matter if you use Silver Reed or Brother!”
“Where was this book when I was desperately trying to learn how to design lace/translate lace cards between Brother and Silver Reed?!?!”
This book is absolutely essential equipment as far as I am concerned!
The pictures will blow you away and they only get better.
The details are absolutely in depth and extremely easy to understand with stupendously clear focused pin-pointed and highlighted photography and exemplary diagrams that compare every aspect of stitches, fabric, mechanics, of hand and machine knitting.
It isn’t a how-to… it compares them and shows some GREAT visuals of them on and off the needles. Refer to your manual for specifics on how-to cast-on and cast-off. Basically, this book compiled most of the answers to questions I have asked in the past, questions I have hunted down answers to, and questions that I hadn’t even thought to ask. It is utterly fantastic.
Buy it! Buy it NOW!
I can not say enough how much you need this book! How much I needed this book… now if I can just convince her to write one on Passap…
No! I have no affiliation with the author… I wish I could say I know her.’
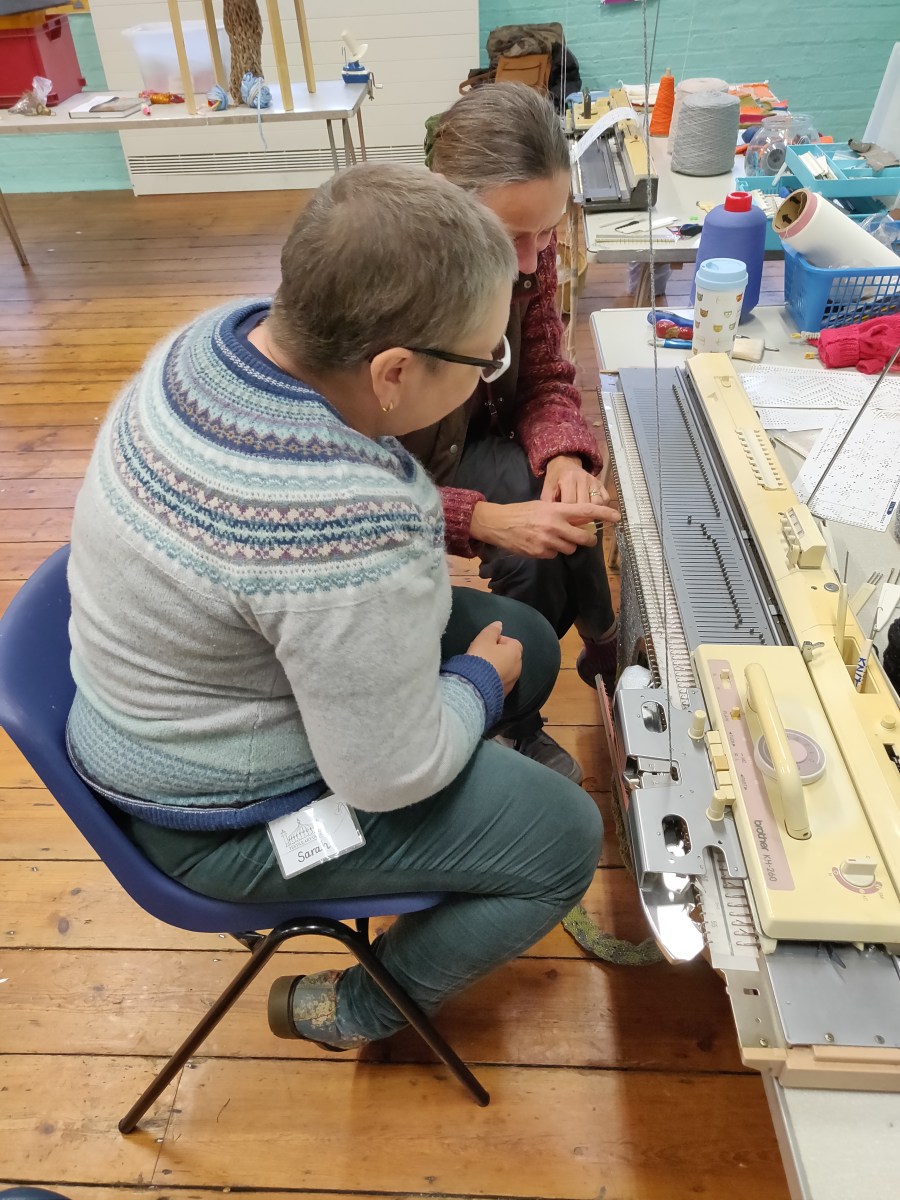
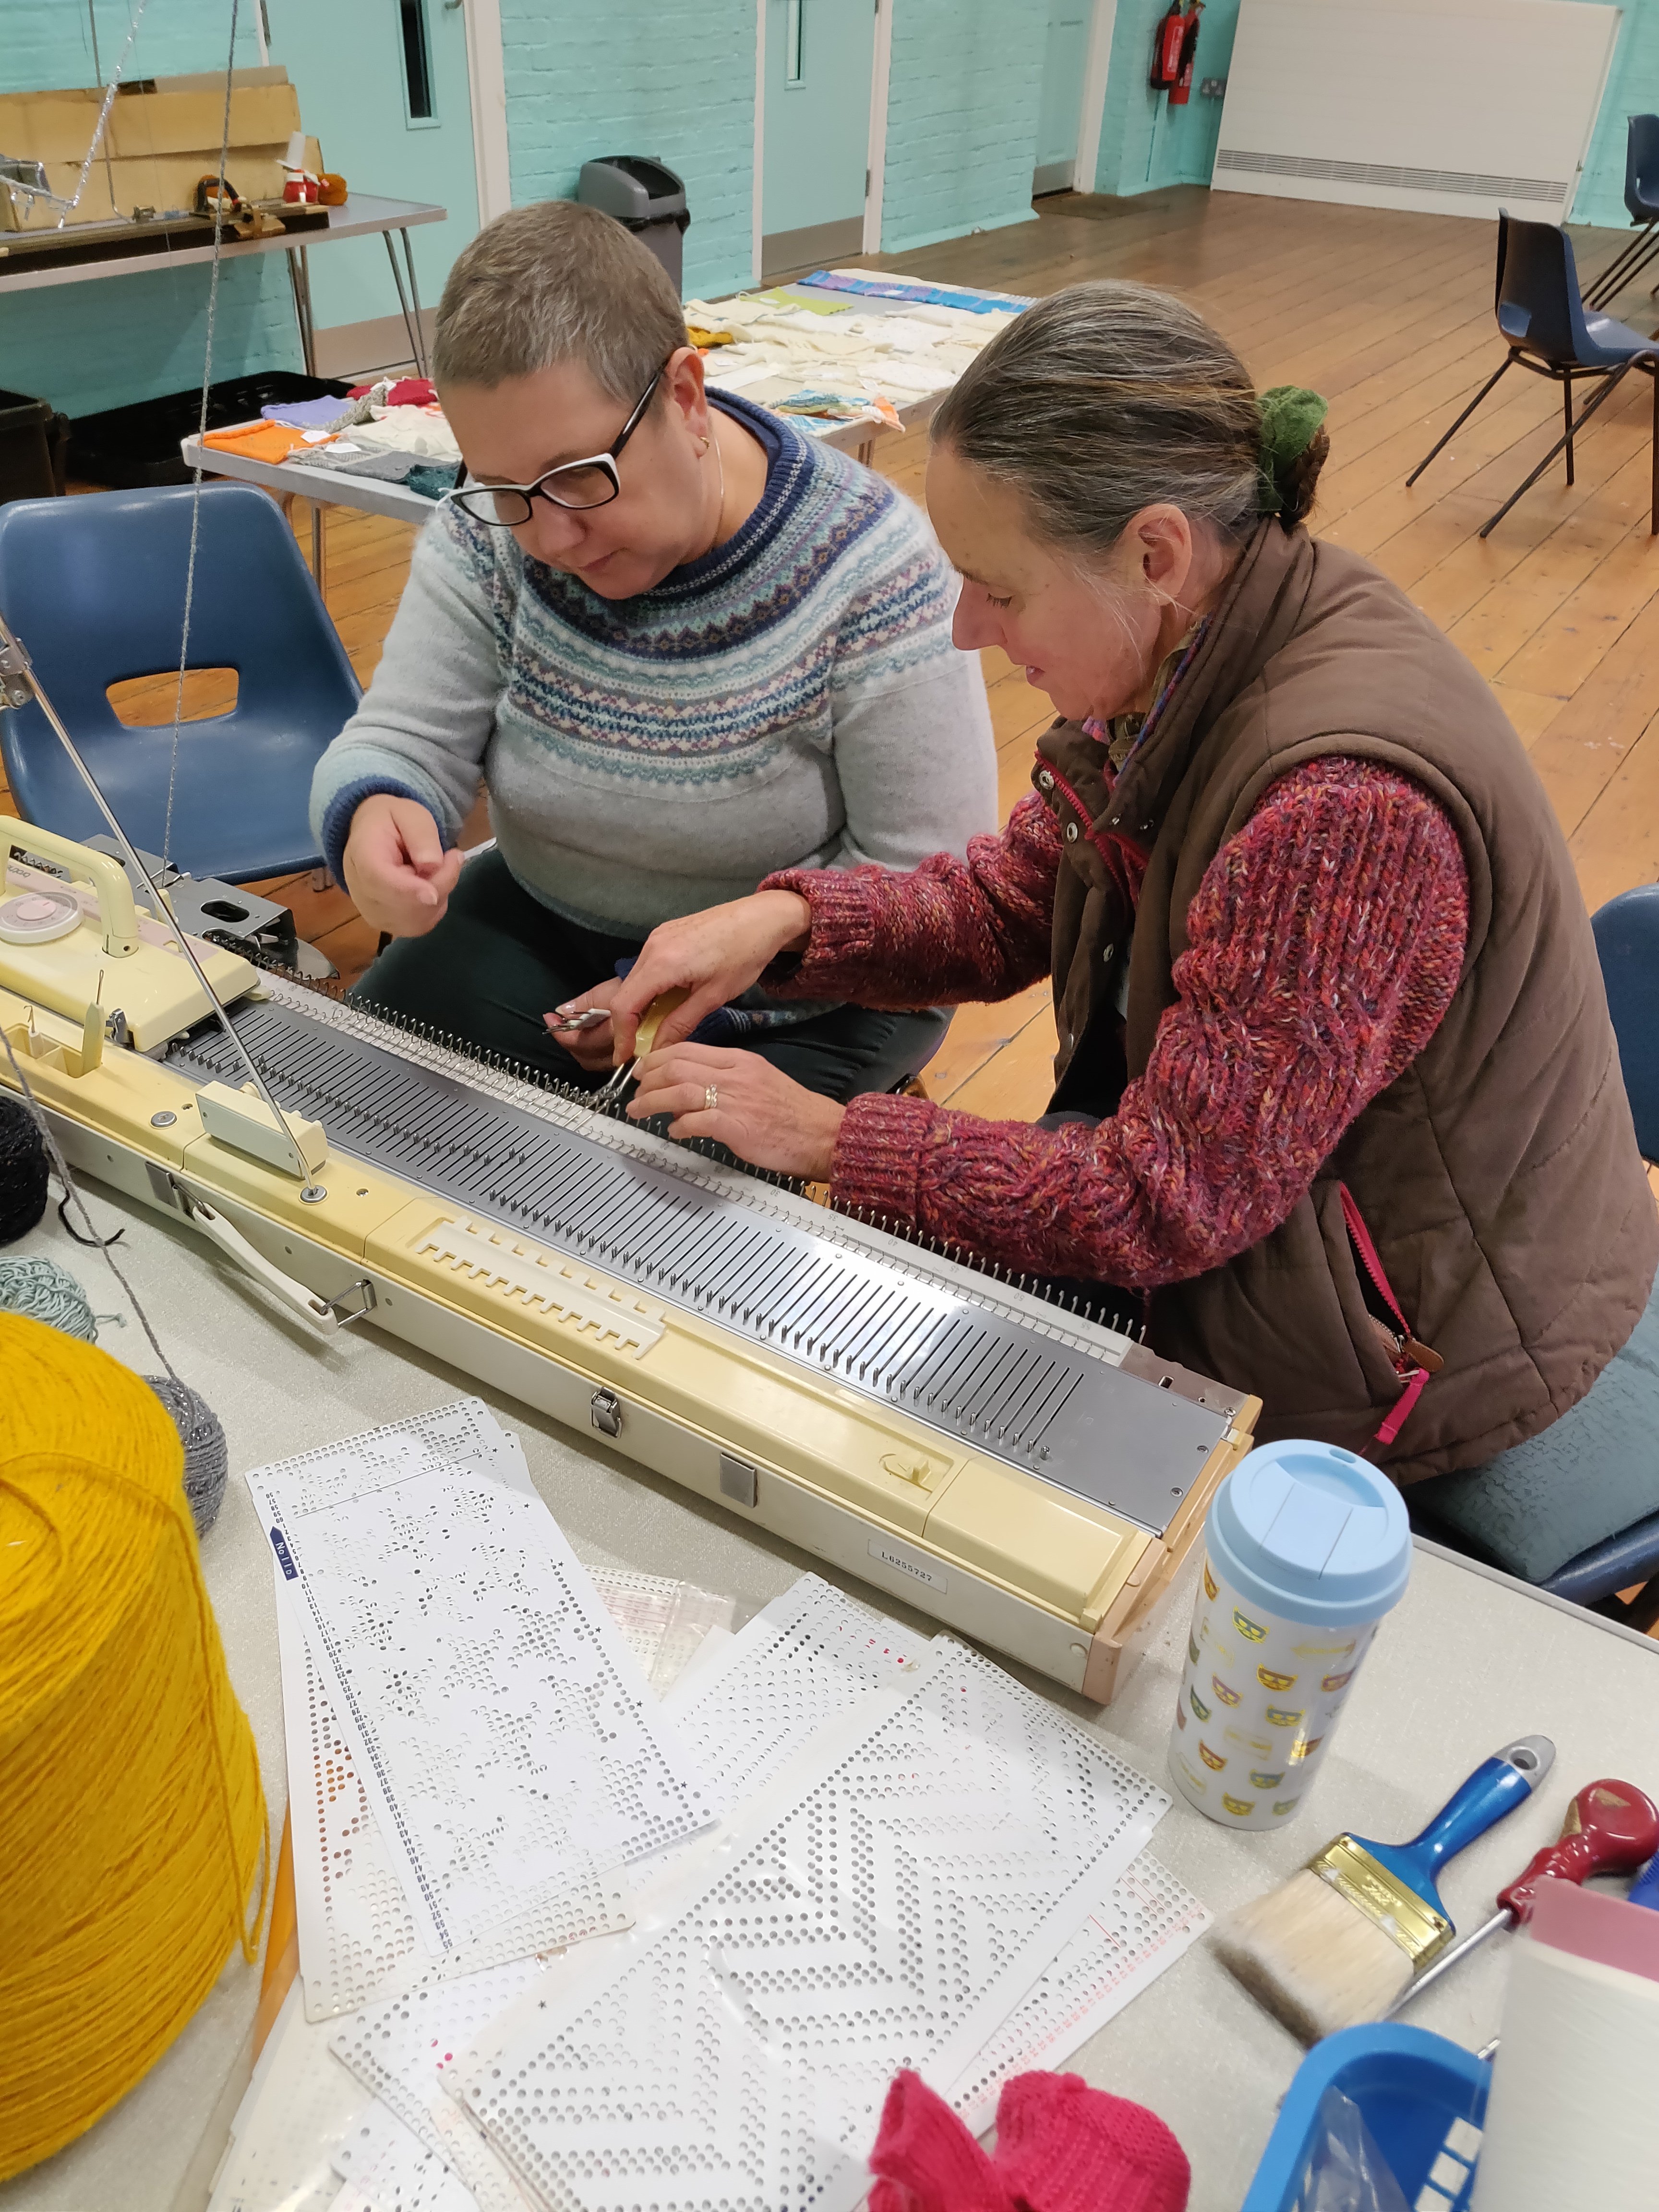
Today I ran a workshop that introduced members of Brighton Textile Art Group to machine knitting. To give a wider experience both a Knitmaster and a Brother machine were used, one standard and one chunky gauge. The chunky was particularly popular once it was found that it can knit handspun yarns.
Techniques explored included shaping, fair isle, single motif fair isle, knitwear (again great for hand spun), holding and short rows and simple, manual lace transfer.
I took along a little circular machine to demonstrate the difference between the two machine types, but the real interest was in the flat bed Japanese machines.
After the workshop response were really positive; people who had thought they would hate it had great fun, and those with machines were enthused to go home and get them out. Unfortunately the workshop clashed with the East Sussex Guild of Spinners, Weavers and Dyers meeting, so another workshop had been requested in the Spring or Summer of 2020.
I will be talking to Long Buckby Machine Group next March about my career in knitted textile and knitwear design, and the inspiration behind ‘Translating Between Hand and Machine Knitting’.
I’m looking forward to meeting members of this well-established machine knitting group.
Jacob’s fleece spun into a marl yarn and mordanted ready for dyeing
I’ve got a pot of onion skin dye ready to tie-dye a silk scarf and a skein of hand spun Jacobs marl yarn.
The yarn changed colour during the mordanting, and the cream ply has taken on a pale golden yellow tone. I think I will dip dye it to preserve this rather pleasant effect. Let’s hope the pale yellow doesn’t wash out at the end!
The scarf is already dyed in an ombre effect from grey to white, but cool greys don’t suit me; I want a warmer golden colour. The underlying ombre effect will be interesting, and I’ve tried marbles in in a pattern. I may add some eco prints on too, I’ll see what happens with the tie dye.
Rinsing the silk and wool after mordanting the fibres
I’ve rigged up a spoon and bowl into a frame to hold the hank of yarn whilst being dip-dyed.
I use a neat little induction hob from Ikea for dyeing to save energy as we have solar panels.
A steamy view of the dyeing process
The yarn was a little disappointing. I think I didn’t have enough dye material in the bath, and the silk took it up faster than the wool. However I dunked it into an iron mordant and it’s slightly saddened it into a softer yellow that blends better with the darker ply.
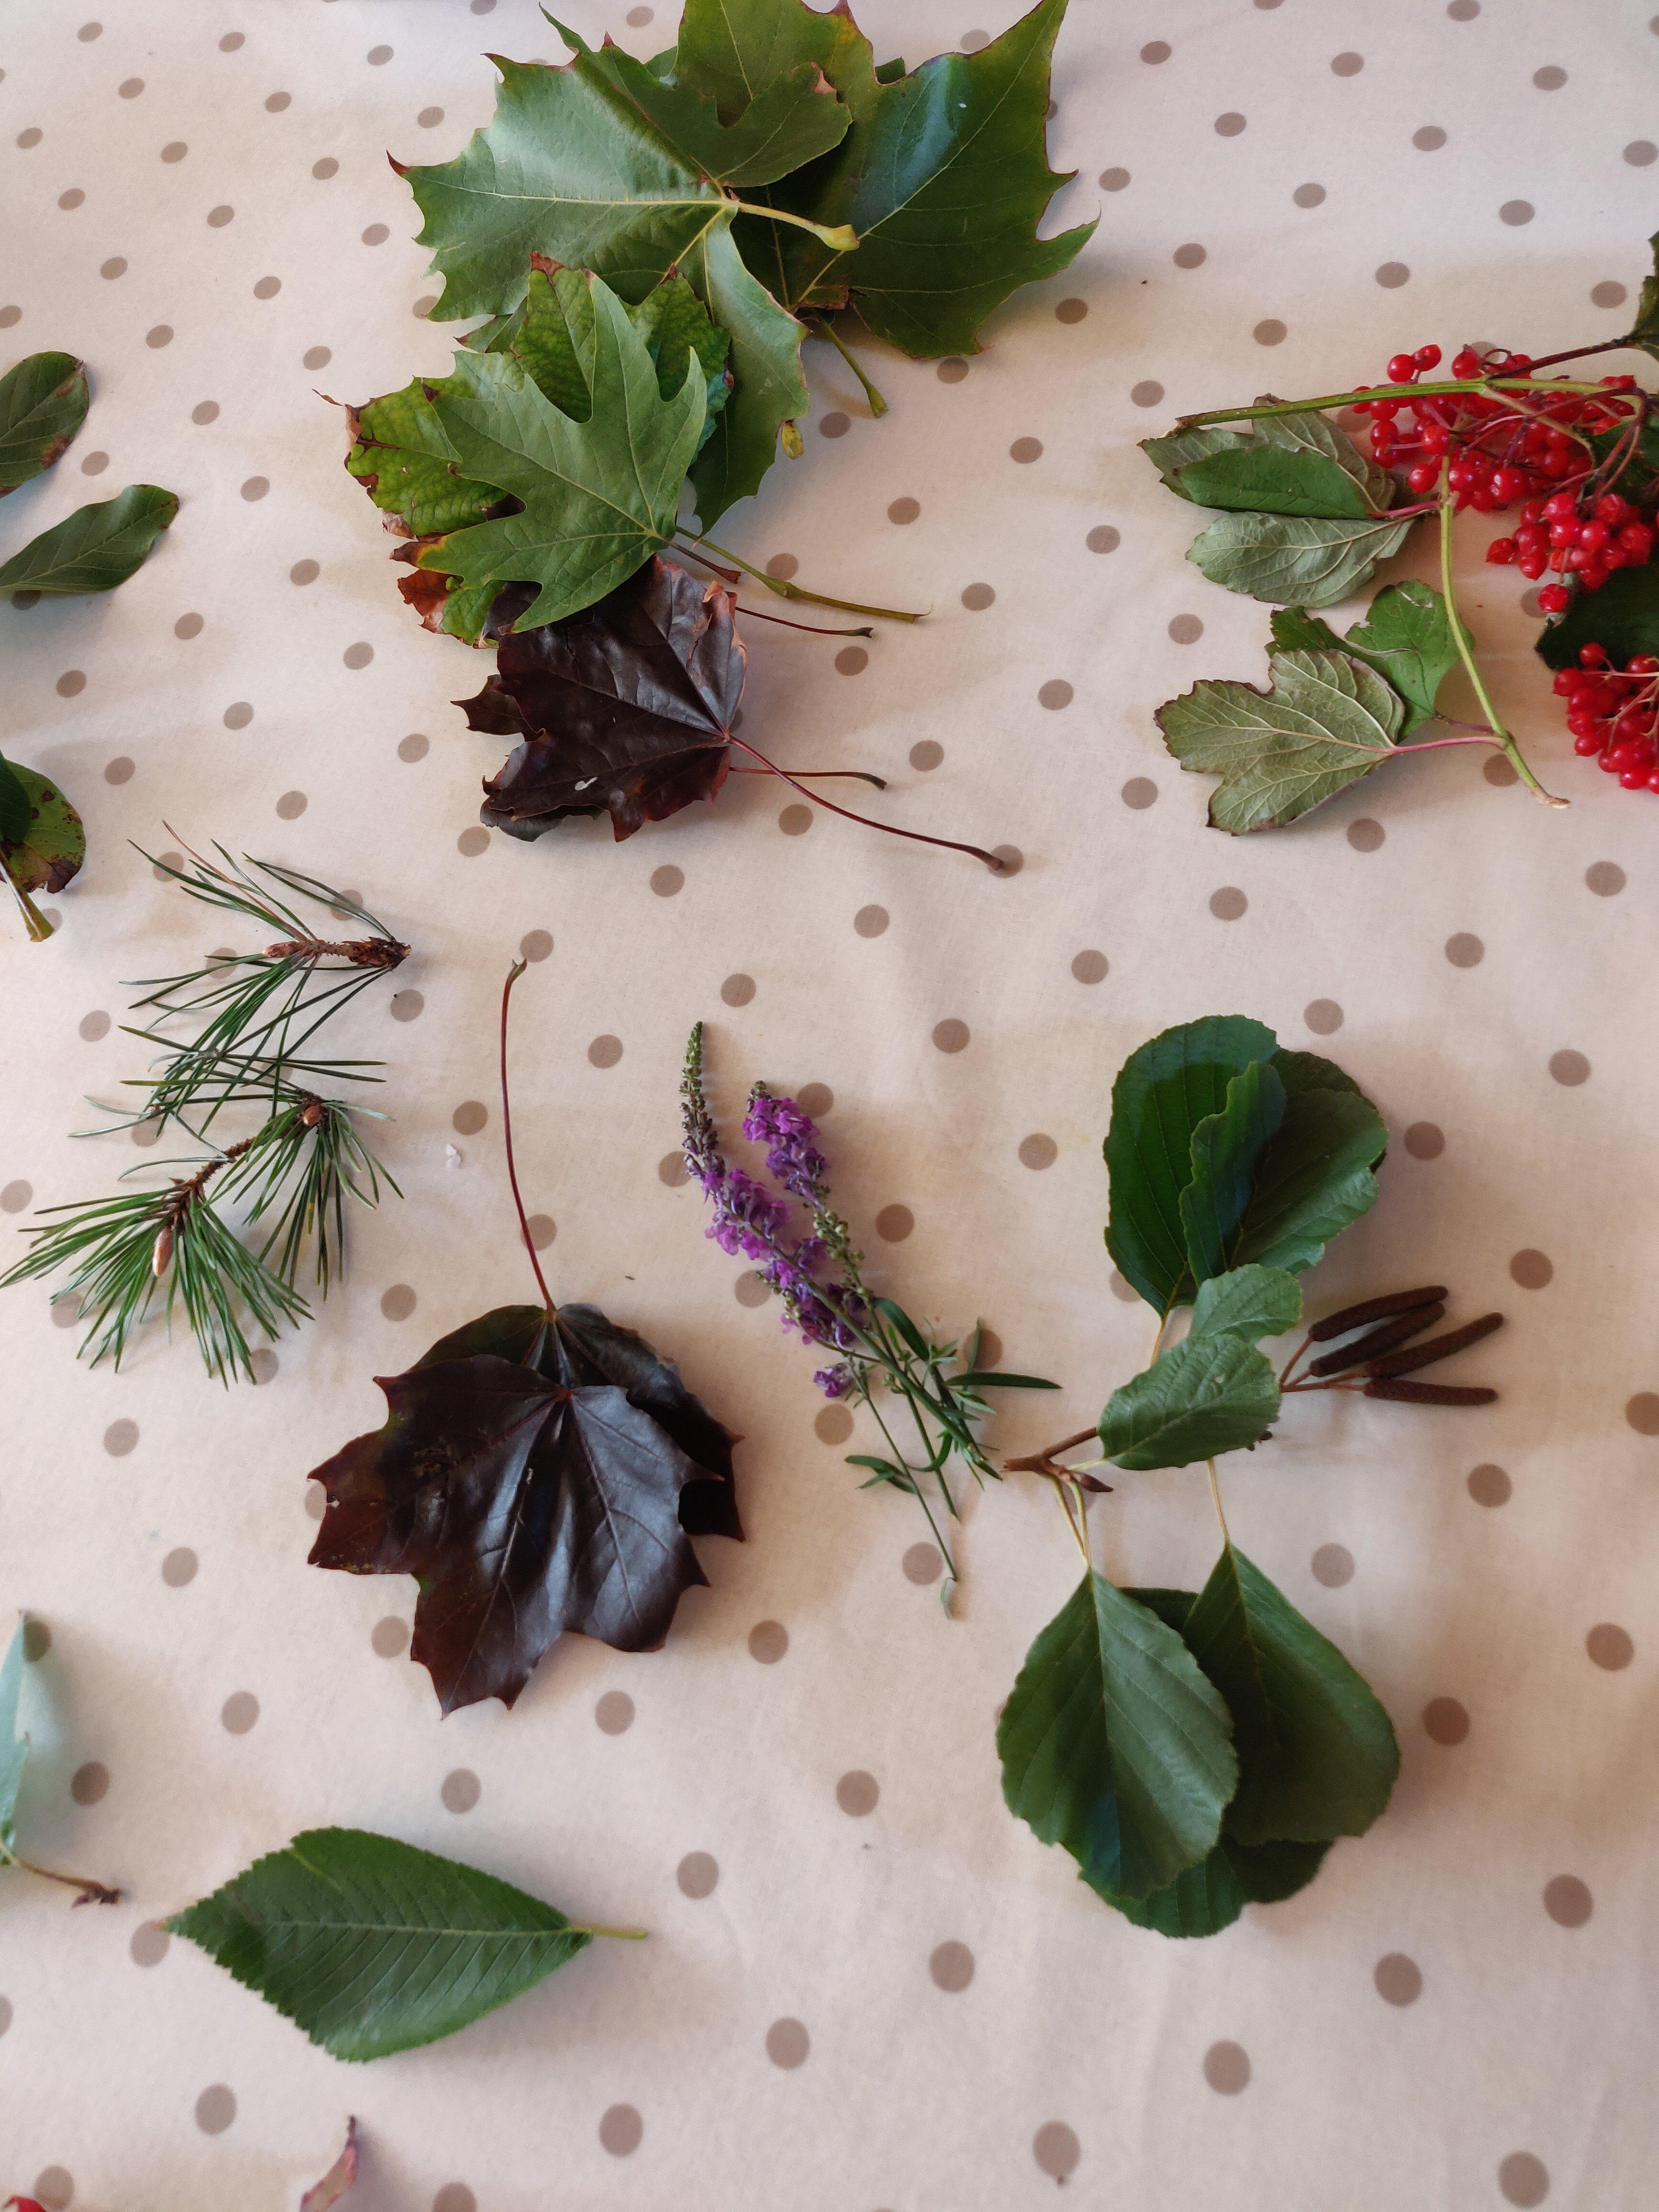
The scarf was ok, tie-dyed but wishy-washy and unexciting. So plan B, to eco print on it, came into action. During my dog-walk I collected a variety of leaves, luckily there is a small cluster of sumac and lots of Oak varieties in our local park.
My trawl of leaves, including Sumac, Oak, Maples and others
I also collected a few bunches of Rowan berries, beech and other leaves.
In my excitement I forgot to take a picture of the tie-dyed silk, or of laying out the leaves. I did that lengthwise along half of the width of the scarf, then folded it in half to sandwich the leaves between two layers. I’m not sure if this would have worked better if I had waited until the scarf had dried; I added the leaves directly after rinsing it after tie-dying.
Not having a spray bottle handy that I wanted to use for iron mordant solution, I’d already decided to soak the whole thing in the iron solution. Before doing that I folded the scarf widthwise once again and then tightly wound the folded scarf around a short length of plastic pipe, securing the ends with elastic bands. After giving the rolled packages a good soak in iron I used load of string to bind the fabric really tightly to the pipe all along its length.
Then it went into an improvised steamer for an hour. Unfortunately, because the steamer set-up only allowed a shallow water bath, I managed to boil it dry! This has mildly effected the outer layer on the underside of the pipe. It’s a bit darker.
For good measure I dribbled a bit of copper mordant on it as well. The effect was so strong that the white plastic pipe has now got leaf prints on it as well!
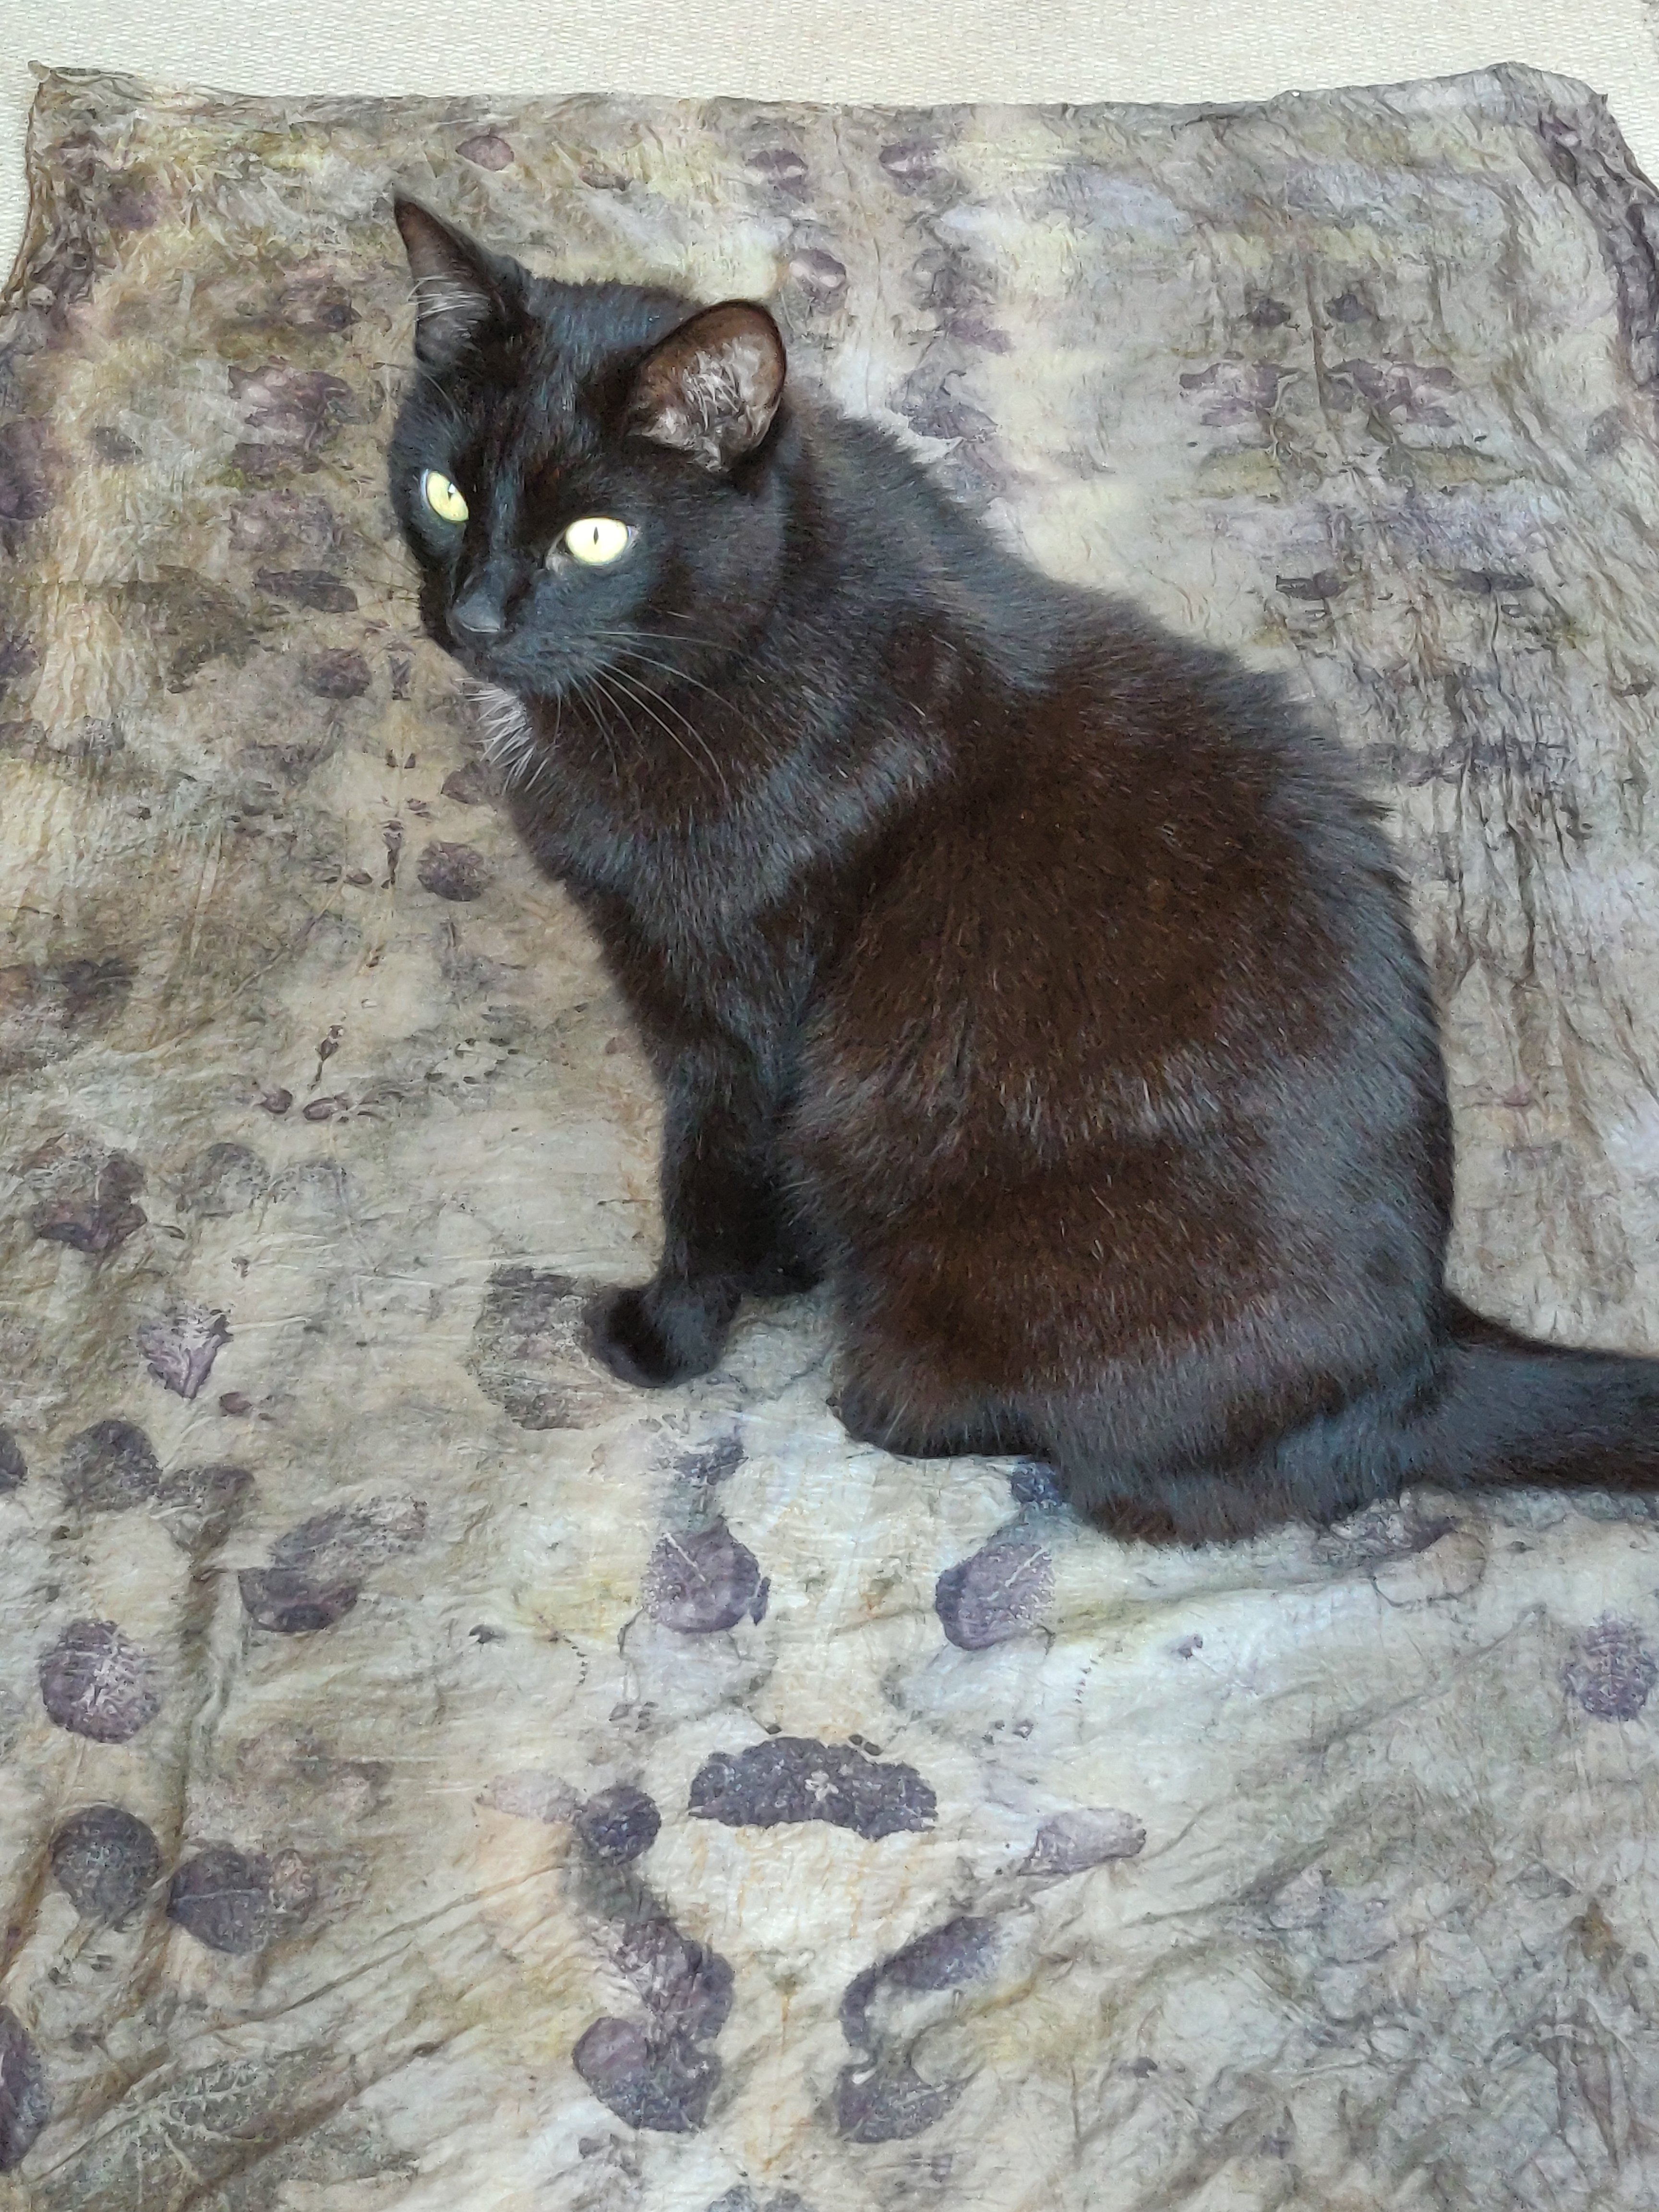
After unwrapping the scarf from the pipe, and following thorough wash it has come out rather well I think. Miles away from the boring grey one anyway!
George the cat approves of it as well!
George gives the finished scarf the seal of approval.