Irish tension on a Schacht Matchless

Yesterday, a friend who I think has more spinning wheels than even I have, brought an older Louet wheel along to the monthly meeting of the Brighton Textile Arts Group. She didn’t know the model, and I still haven’t found it online, but that’s sort of irrelevant as it’s the Irish tension that caught my eye.

I have learned from many texts and posts online that ‘Scotch’ and ‘Irish’ don’t really relate to geographical origins. I also understand that ‘Scotch’ and double drive are both flyer-led and ‘Irish’ is bobbin-led (literal and more accurate descriptors), but the terms Scotch and Irish tension are in common use so I will stick to them here. In flyer led systems the wheel drives the flyer around the bobbin, and the bobbin is braked by either the brake band or the second loop of the double drive band. In bobbin led systems the bobbin is driven by the wheel so spins constantly, but the flyer, which feeds the yarn onto the bobbin is braked by either a leather band at the front (as on the Louet) or by using a brake band. In both systems, the spinner restrains the yarn from being pulled through the hooks/flyer and onto bobbin as twist is introduced in to the fibres and then releases their hold to allow the yarn to be drawn onto the bobbin. Both systems rely on some slippage of the bands, which is something I have not fully understood as yet, and am not sure is really necessary, but fascinating all the same. So far I am not sure how the difference in circumference of bobbin and flyer whorl affect each other in Irish tension as they do in double and Scotch tension systems. Another interesting thing to spend time testing out.

I learned to spin on a Westbury wheel, which was a gem of a wheel. My Mother bought it in Glastonbury as a kit – she was so excited, and my Dad built it for her and stained it dark walnut – not a fashionable option today, but it did look charming. The Westbury has both double drive and Scotch tensions, but I only used the Scotch option as we really didn’t understand the double drive. After this there was a gap in my spinning and Mum didn’t carry on with it for long, so that wheel has long gone, (something I really regret).

My interest in yarn design endured, but was industrially focused, so it was quite a few years later that I resumed hand spinning. I now prefer double drive but have several wheel which are switchable and value the flexibility this gives me. So that I can share with you, these are a Wee Peggy and a Schacht Matchless and an Ashford Traddie that I have converted to double drive but which still retains the option of Scotch tension. Of these the Matchless is a recent purchase, chosen after trying lots of wheels over longish periods of time, (hence my collection of wheels) and is my absolute favourite. It is a dream to spin on and has double treadles and a central orifice which is super ergonomic; I find single treadles can make me twist and lead to back and hip ache nowadays so can’t spin for too long on these.

So let’s get back to yesterday and the Louet wheel. Which is a sweetie I have to say. I like Louet wheels, (and of course own one) because they are so thoughtfully designed and this was no exception; sturdy with a central orifice and an onboard Lazy Kate, all made in lovely wood – very nice apart from the rather high treadle position. I’ve not used the Irish tension system before and so was keen to try it. I didn’t actually shove her out of the way, but hovered and green-eyed it and eventually asked if I could have a go. Generously she gave me fibre, and left me with it, saying she found it quite a challenge to be able to control what she was spinning, although I thought her samples were soft and pretty even. However, she was right!

After a while I managed to set the leather band so that the fibre wasn’t ripped from my fingers, and could start to spin. I found that very little tension was needed, which I am not sure is normal. We inspected the tension band, orifice and brass bearing and whilst the band didn’t look worn at all, the orifice outer was a bit sticky and the brass bearing seemed a bit rough. We cleaned these as best we could with what we had to hand which helped a little, but probably a gentle swab of alcohol on the orifice outer and brass would be a good idea.

Once it was going I was really surprised how different the Irish tension felt to the two other systems, and can see why it is good for thicker yarns because of its pretty intense pull-in. Plus I imagine it is great for plying. However I managed a reasonably even singles that was indeed thicker than I usually spin double drive, so that sort of proved it to me.

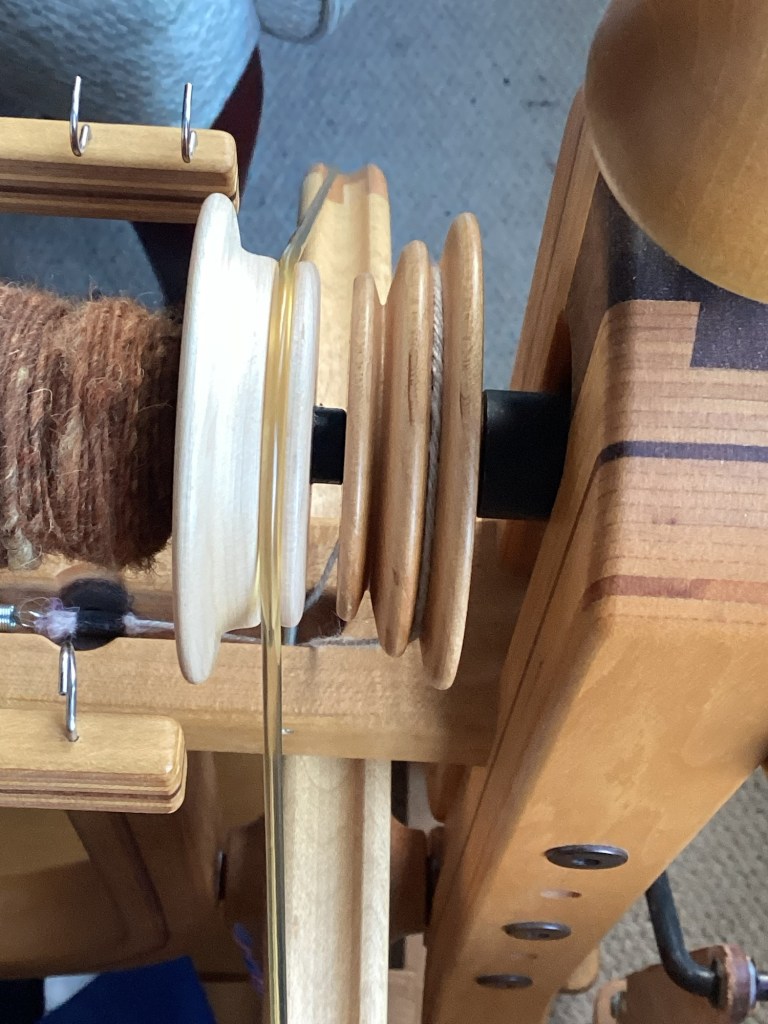
Being an equipment squirrel I immediately wanted an Irish tension wheel. So imagine my joy when I found that my Matchless would convert to Irish tension! In my excitement of first owning the Matchless I tried both double and Scotch tensions and have been using these both since then, but I clearly forgot that it has three tension modes. I’m not sure it tells you in the manual, but you simply swap the drive bands over. The wheel drive band goes on the bobbin, and the Scotch brake band on the flyer whorl. I have set mine with the larger bobbin whorl to the back with the medium flyer whorl, there may be better arrangements but I have yet to try these out.

The result felt very similar to the Louet, with the brake band needing hardly any tension, so maybe that is normal after all. I found starting needed care so that the fibre doesn’t pull away too rapidly, but once going it went well. It might be me, but most times after I moved hooks the pull-in became stronger, then settled down again. This must be because the smaller circumference of the bobbin to start with pulls the yarn in faster. Because of this I can see why a Woollee Winder type system might be useful with this tension system, but I am not tempted due to price. The hooks will do me just fine and I really don’t like the sliding hooks on any make so far.

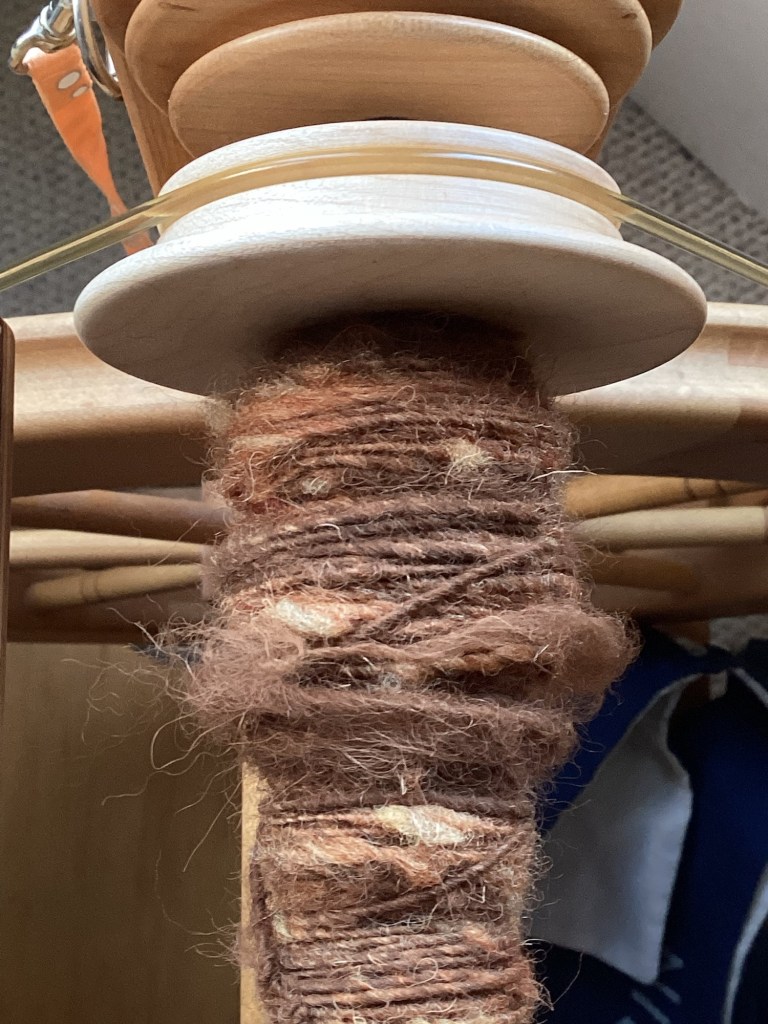
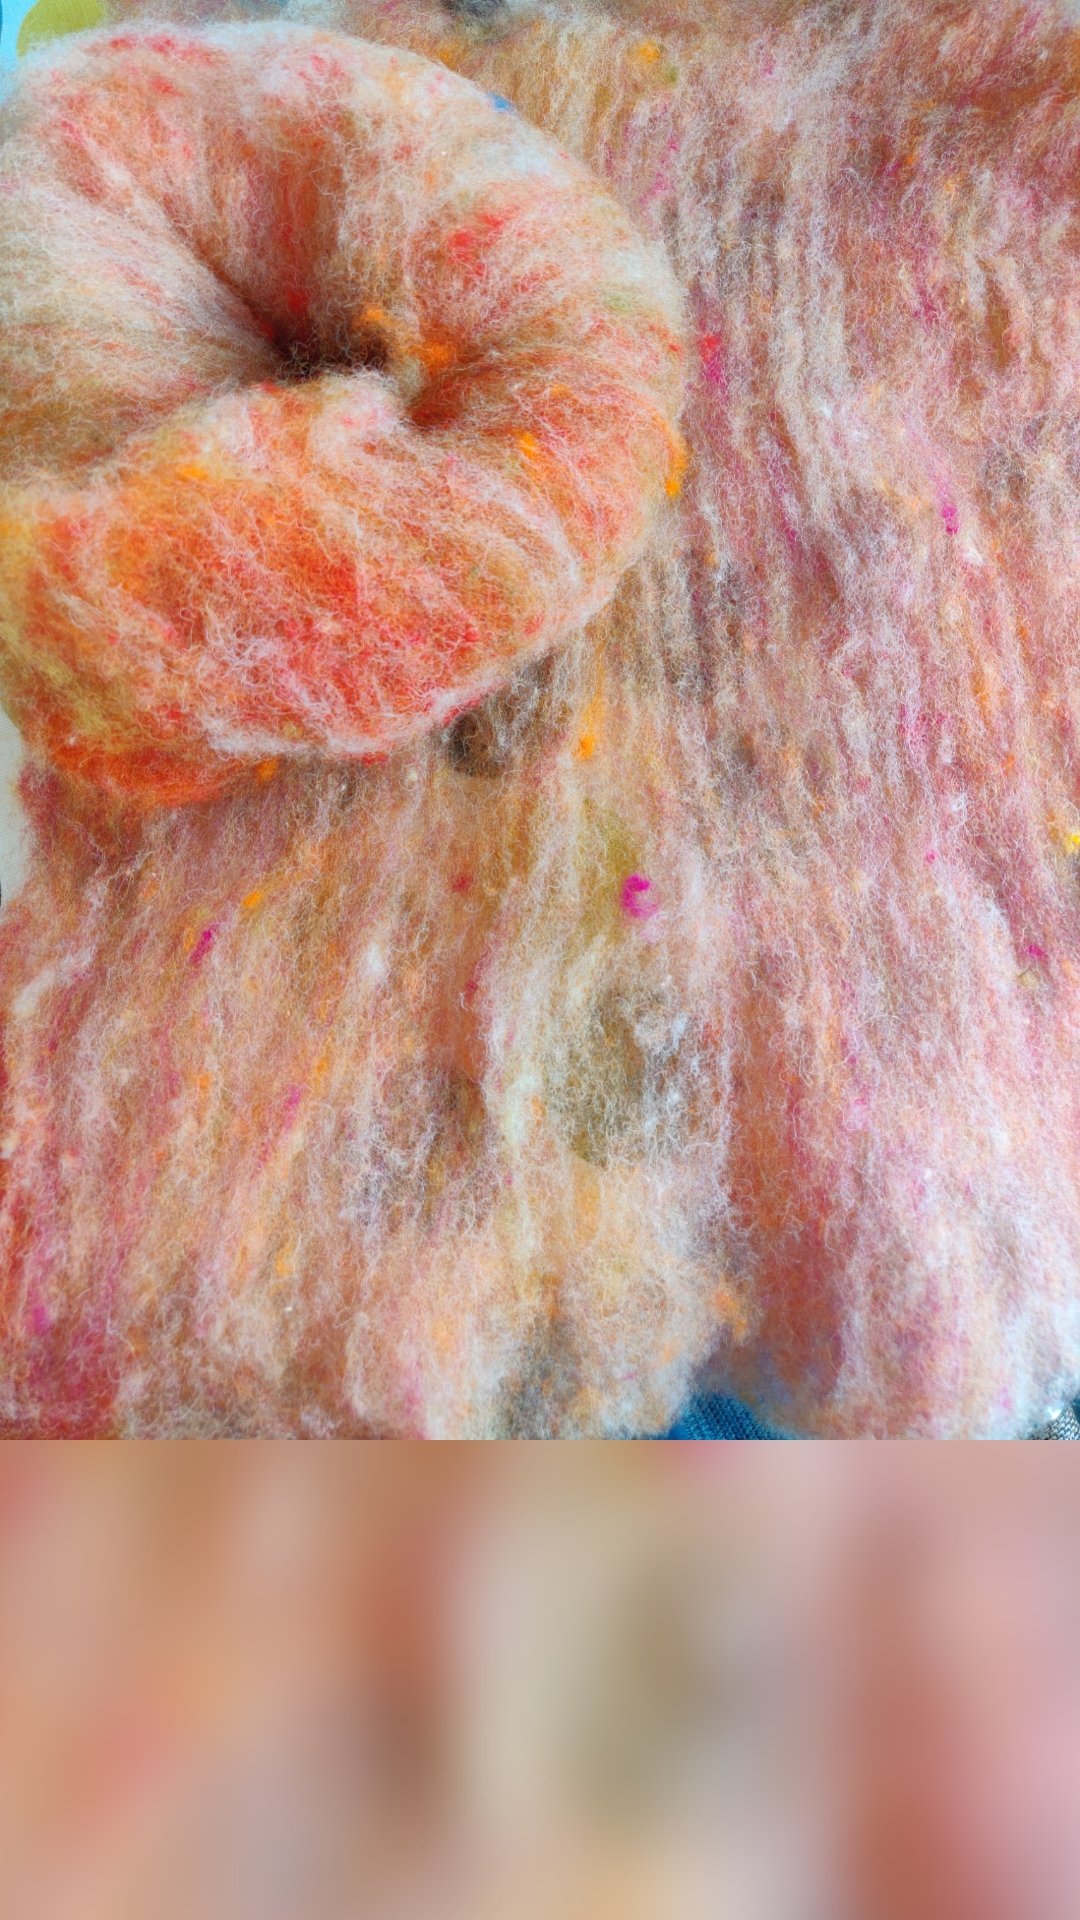
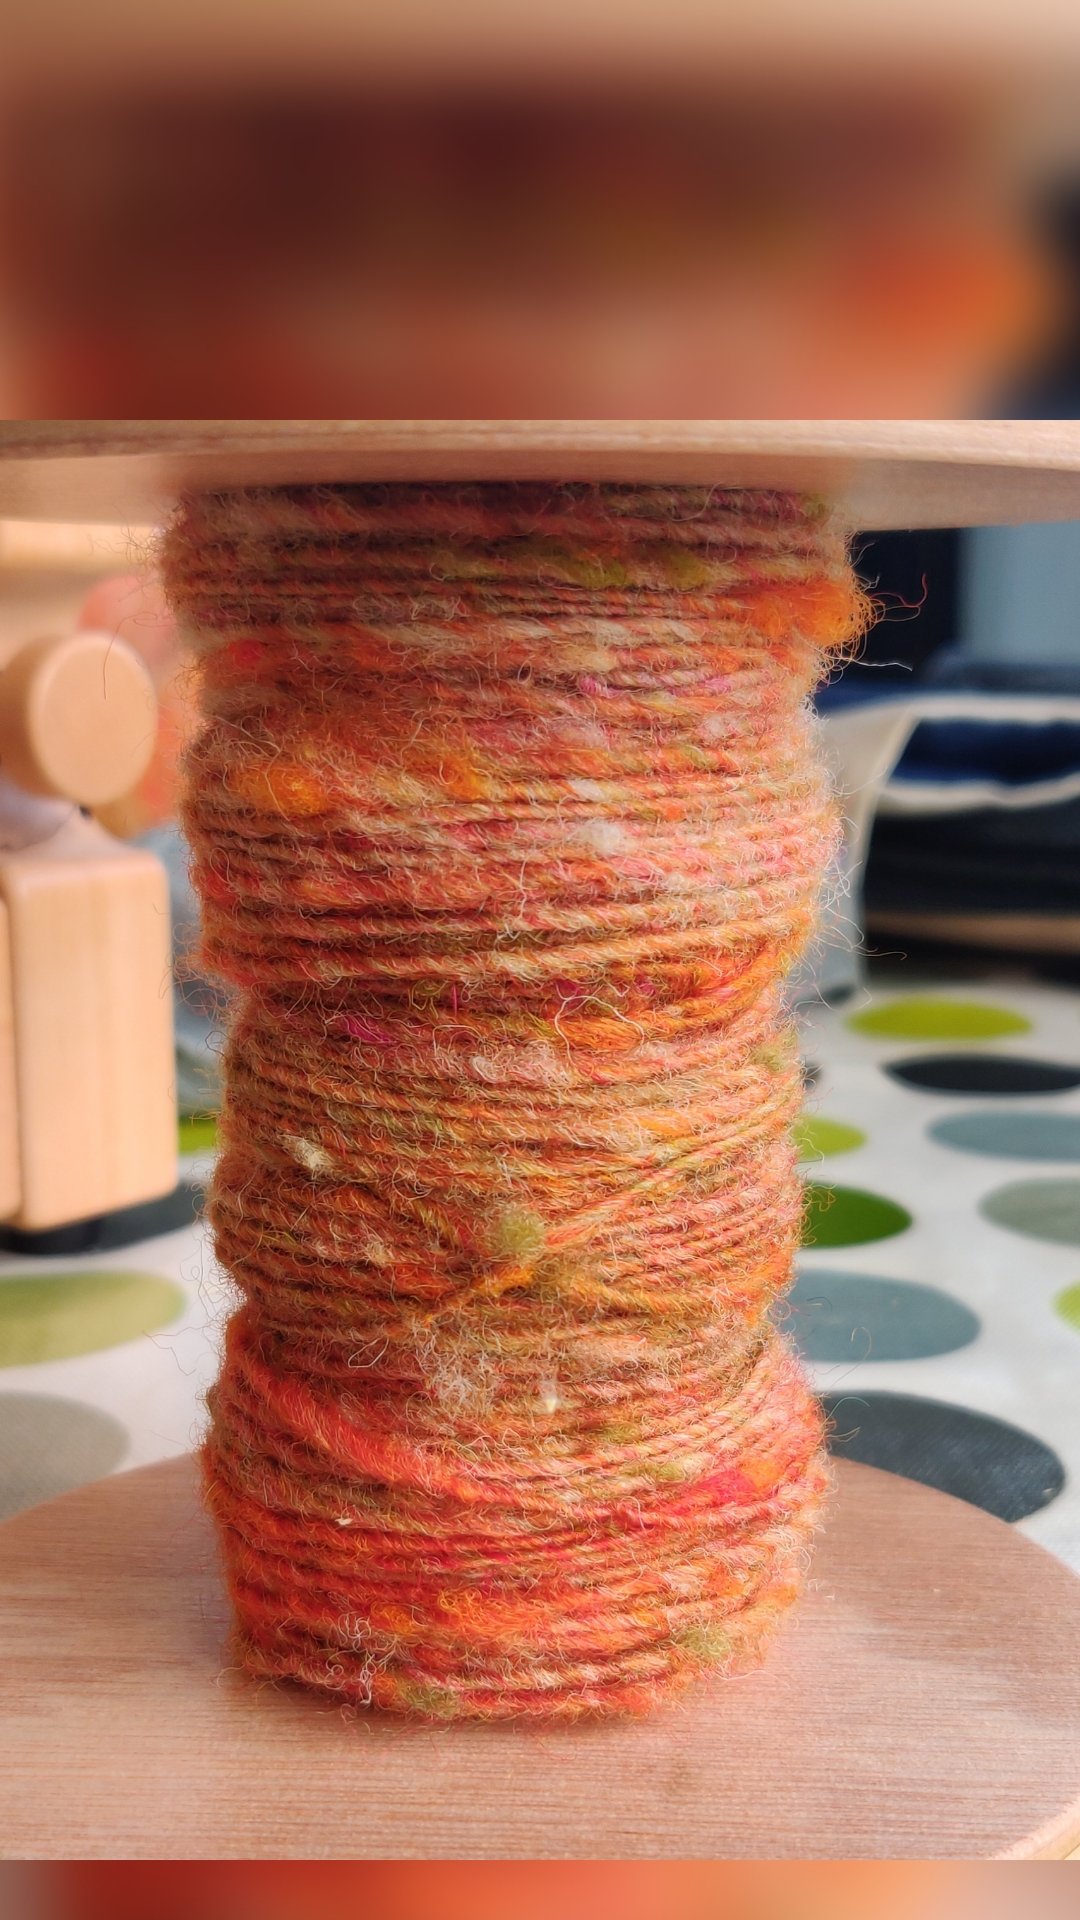
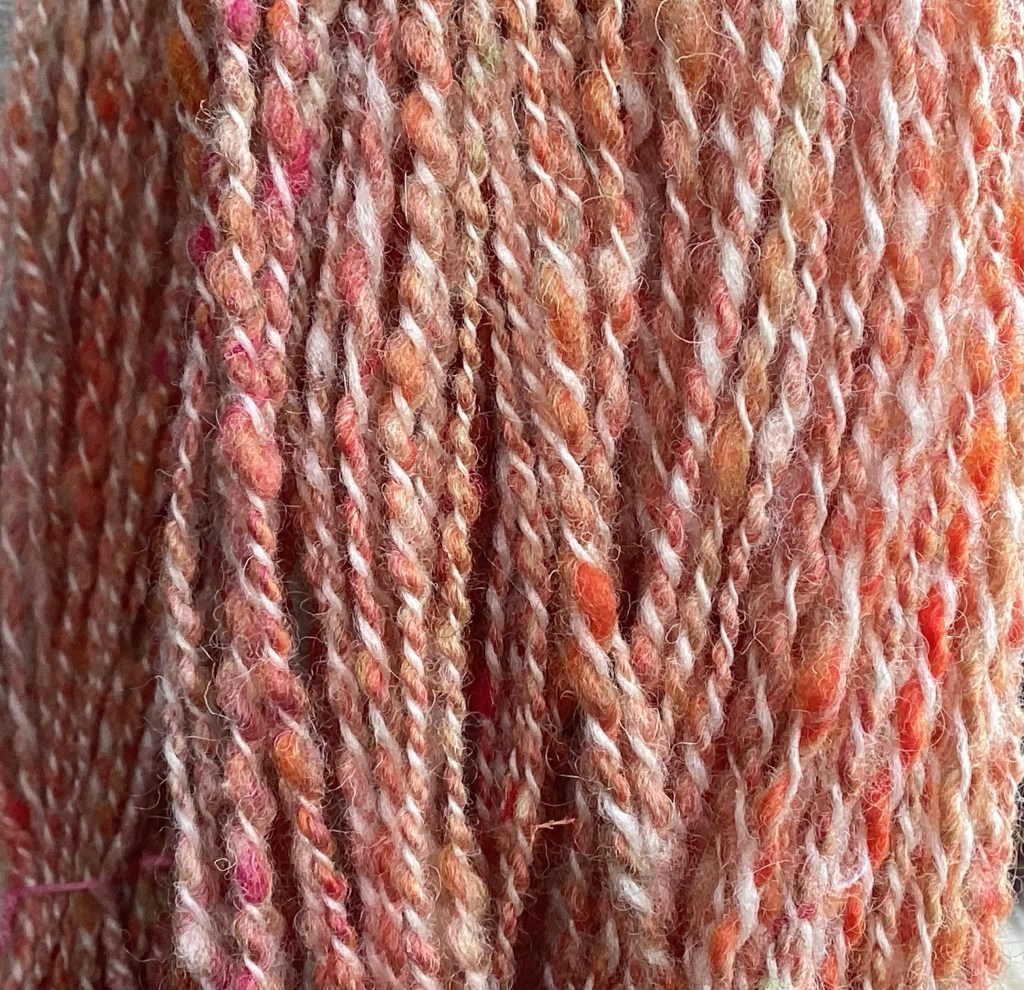
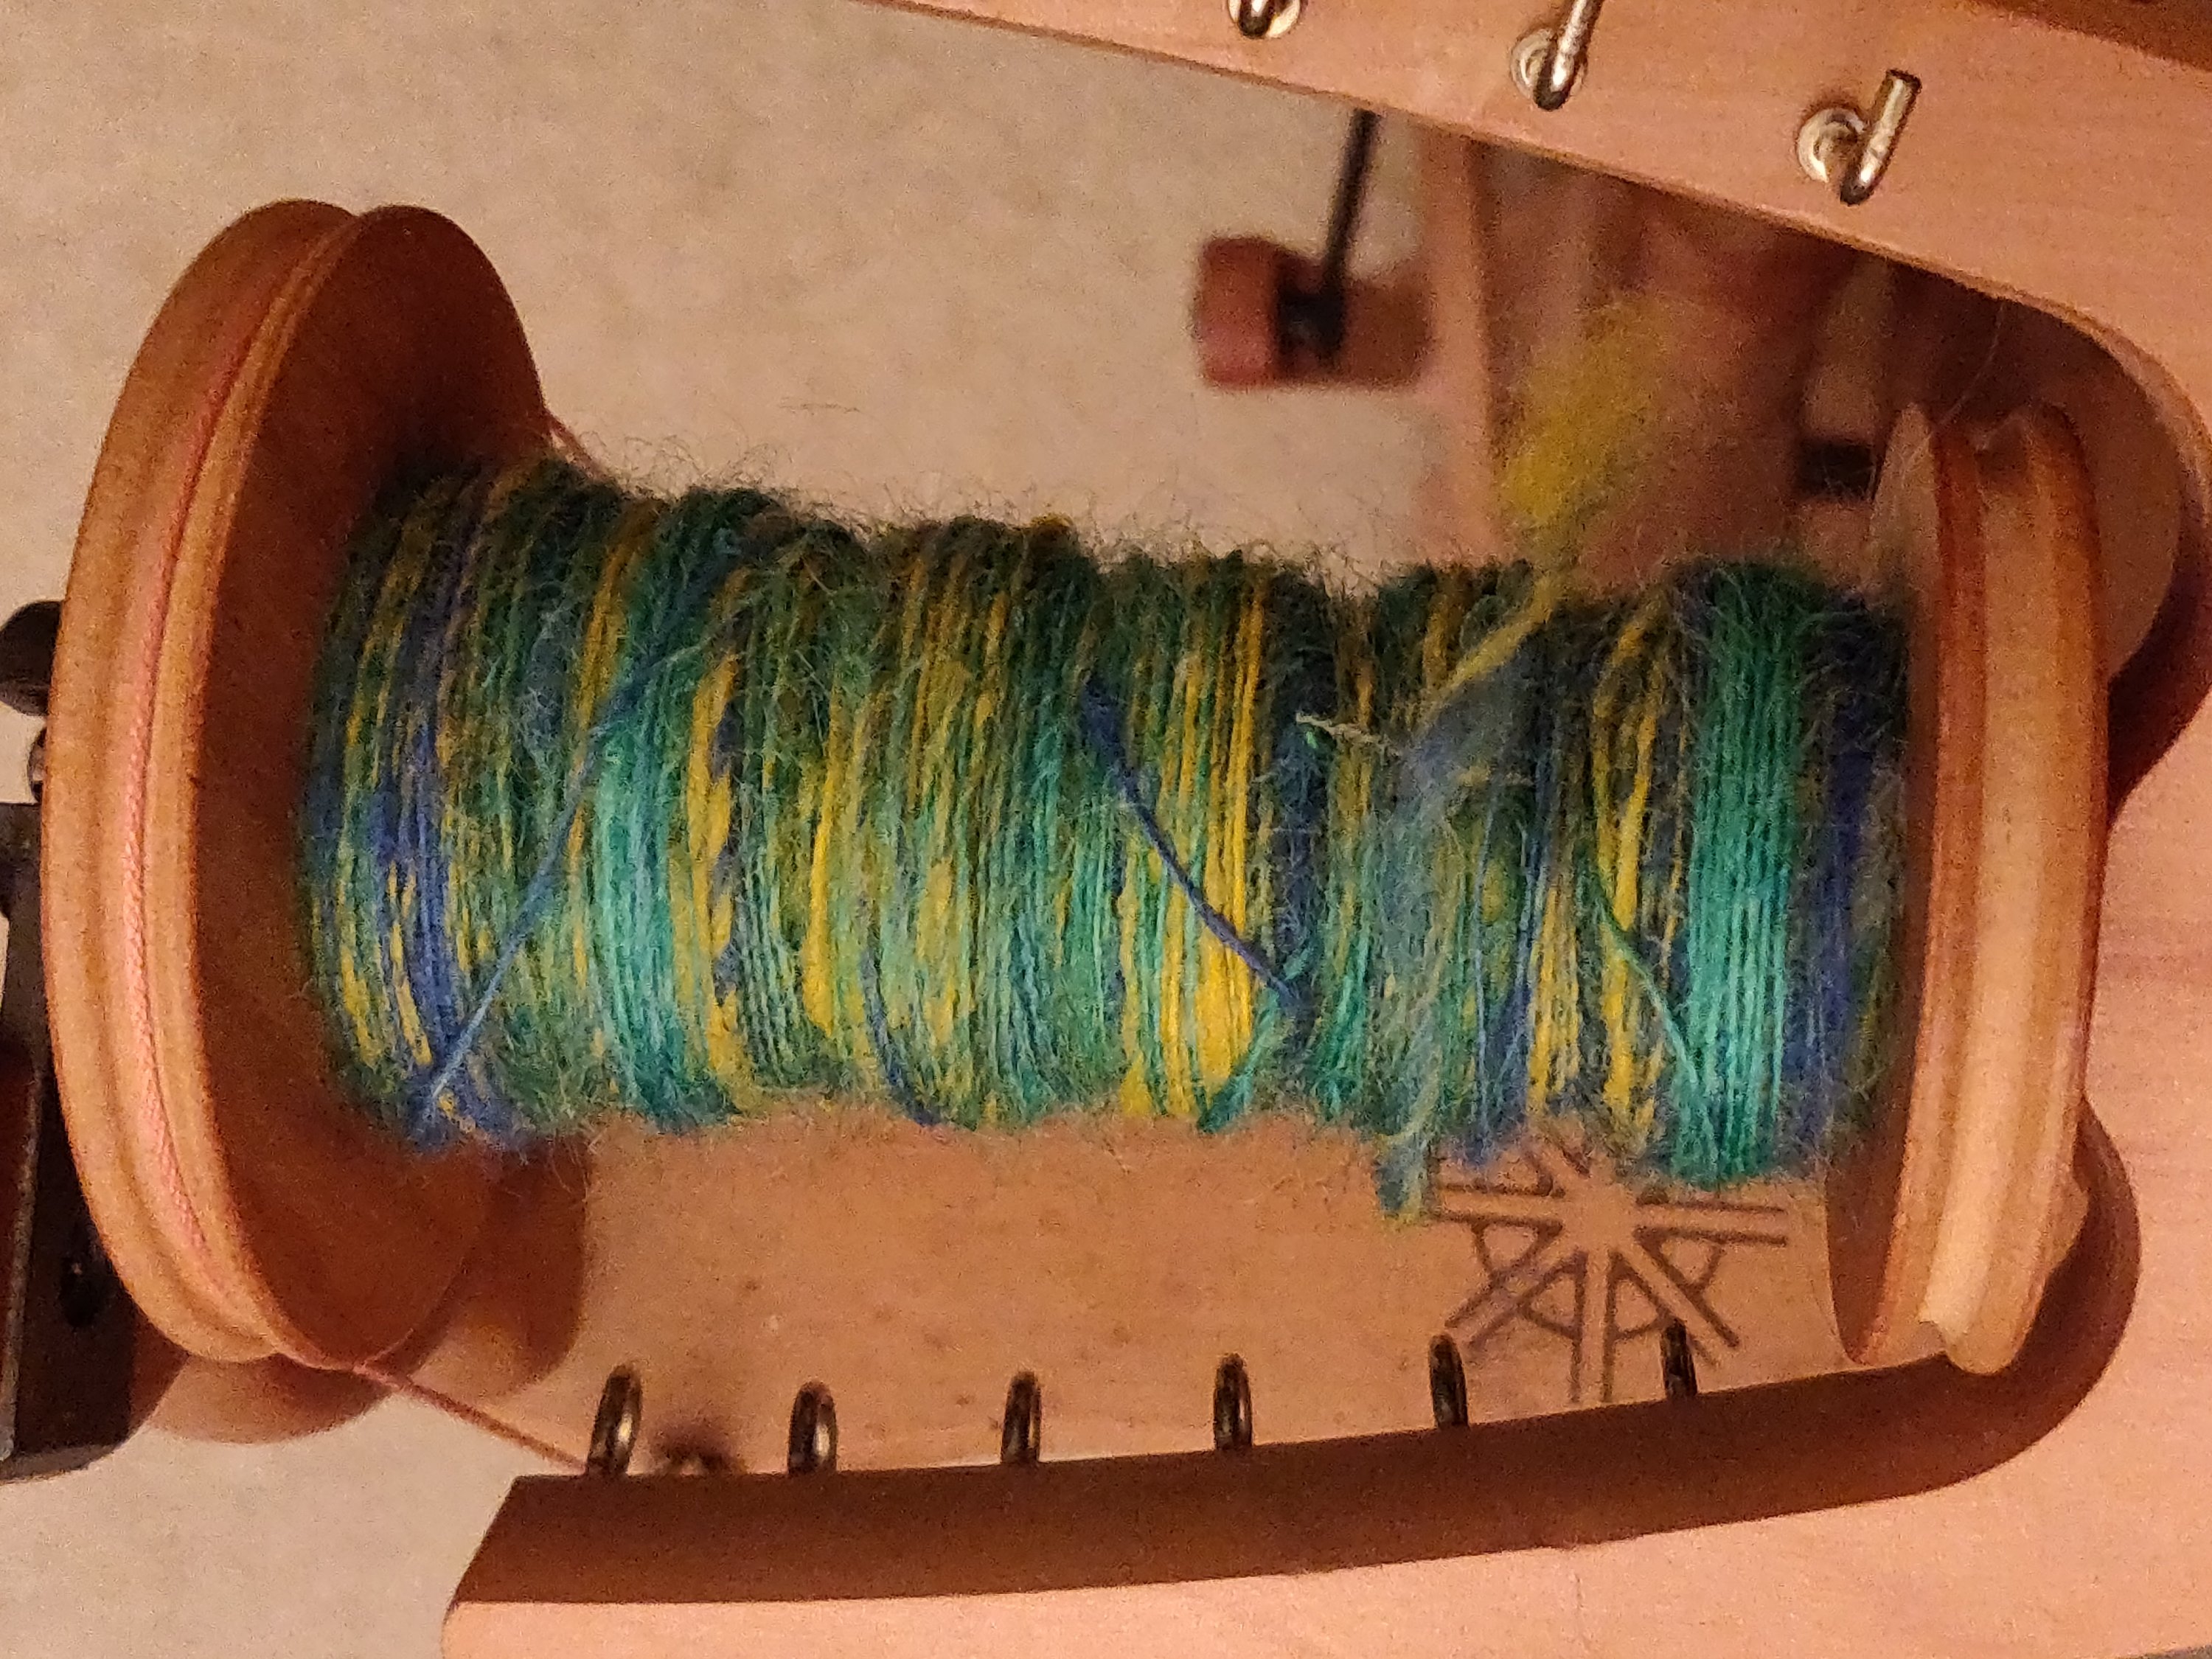
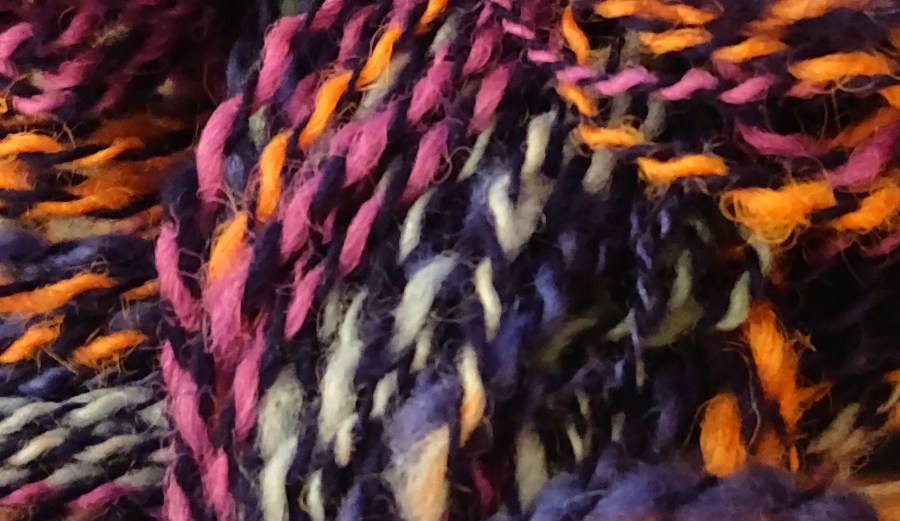
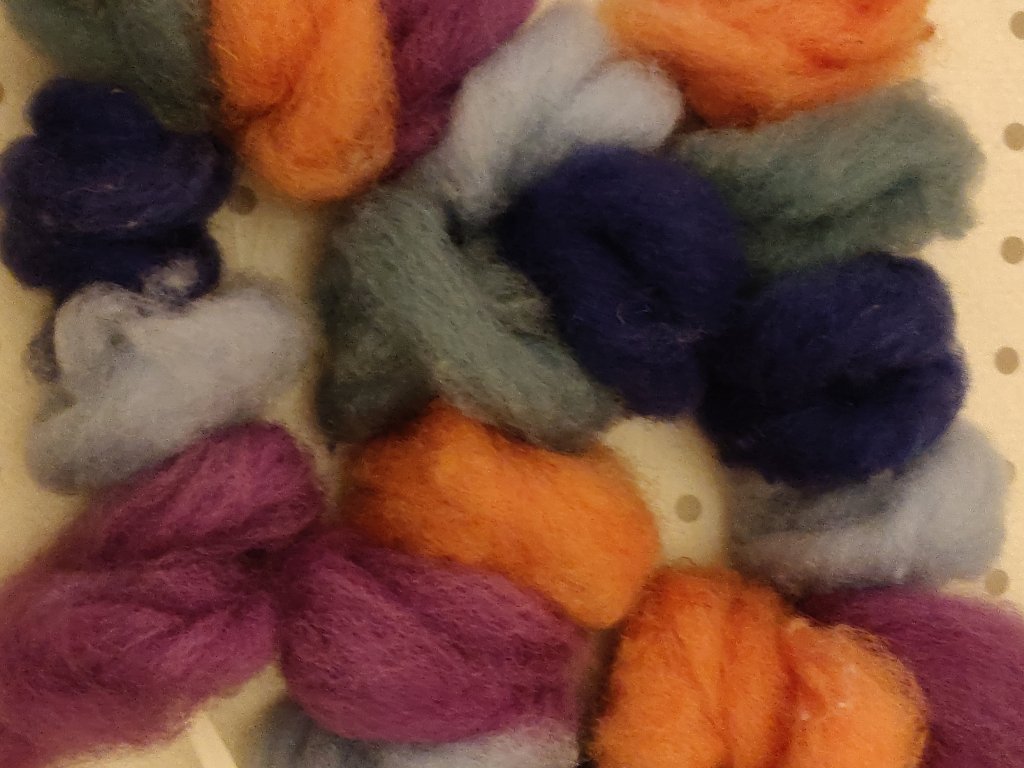
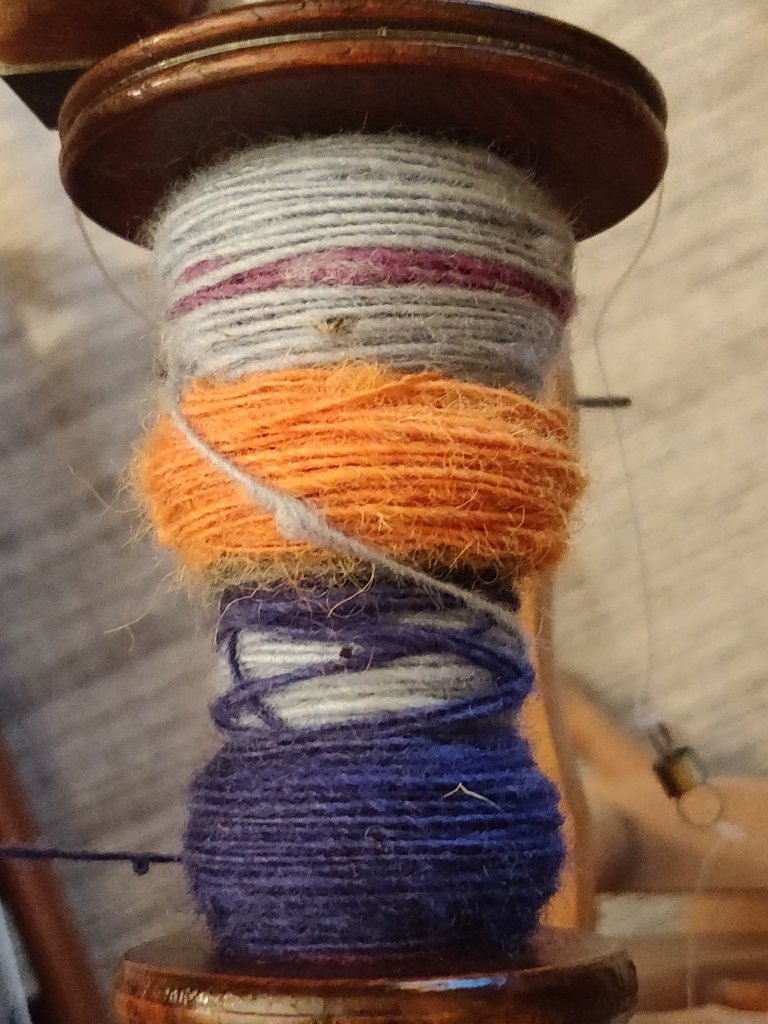
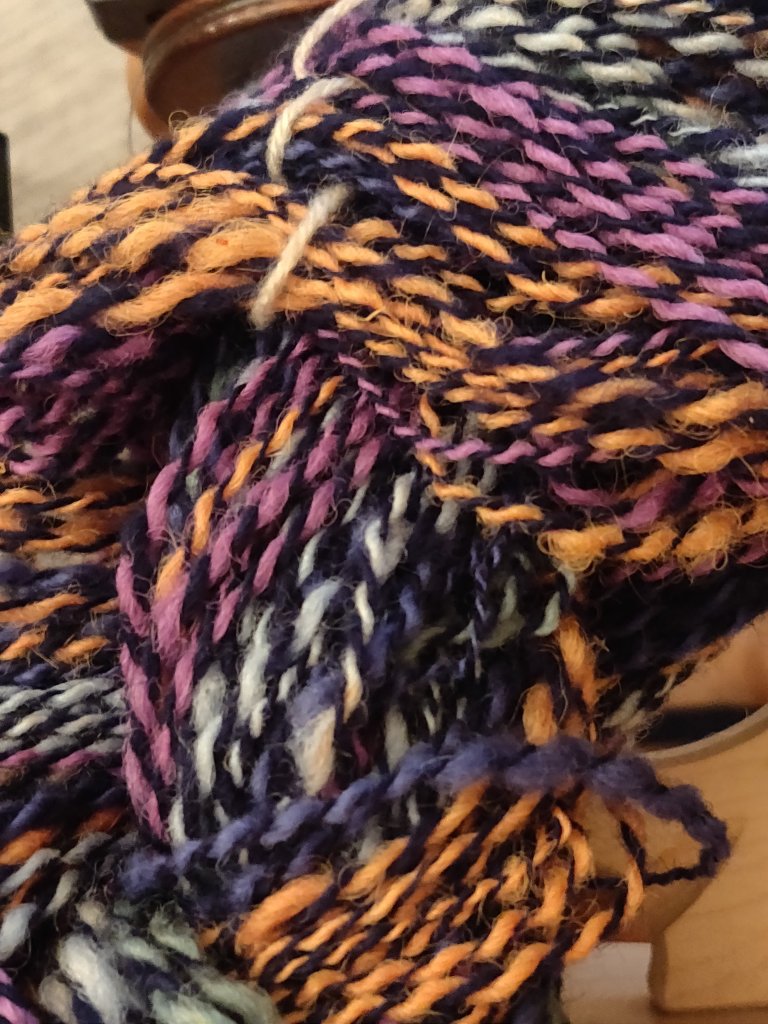
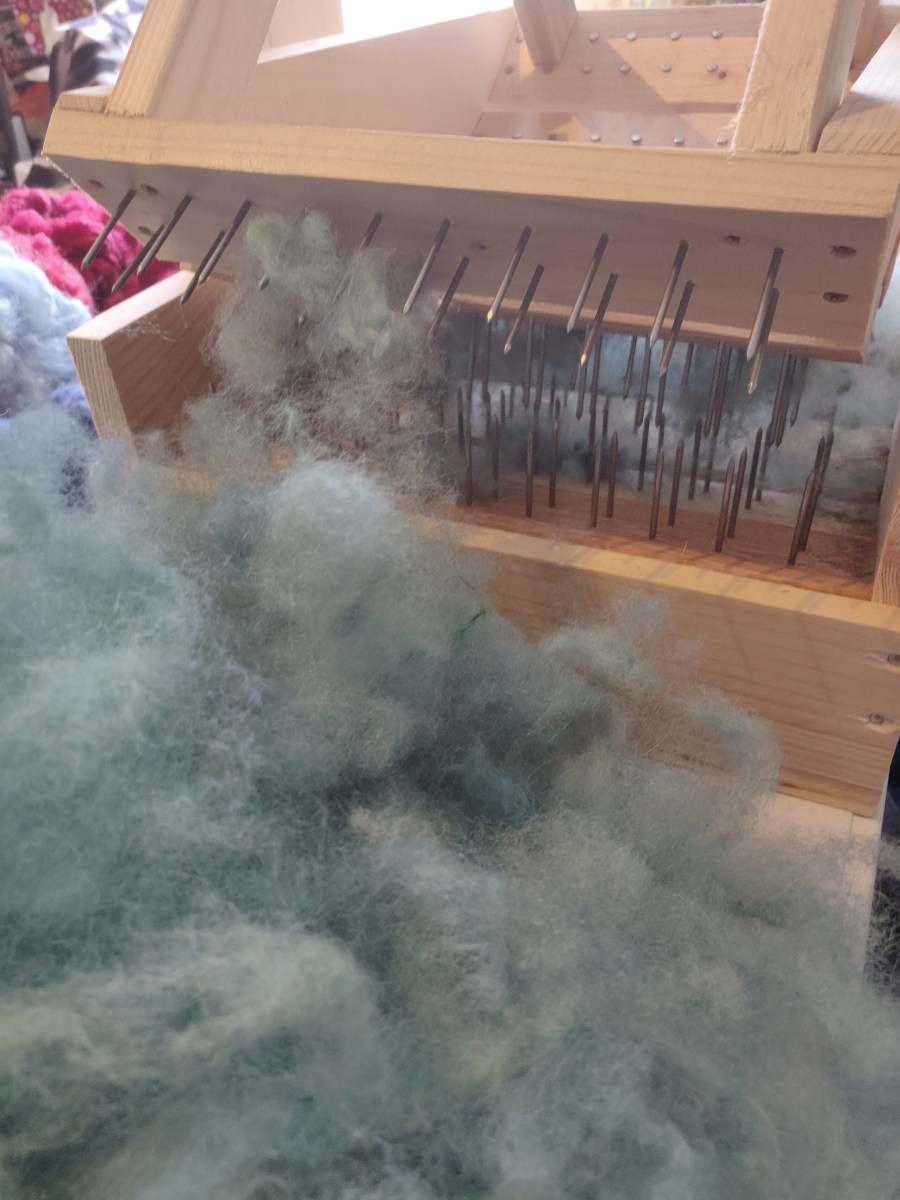
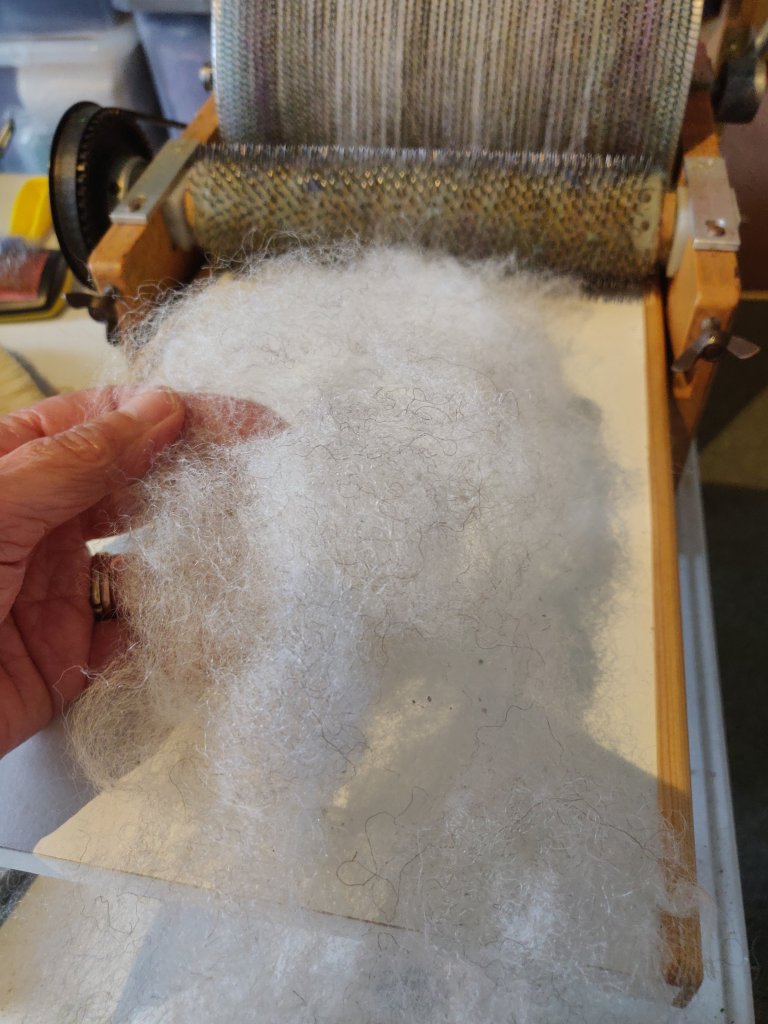
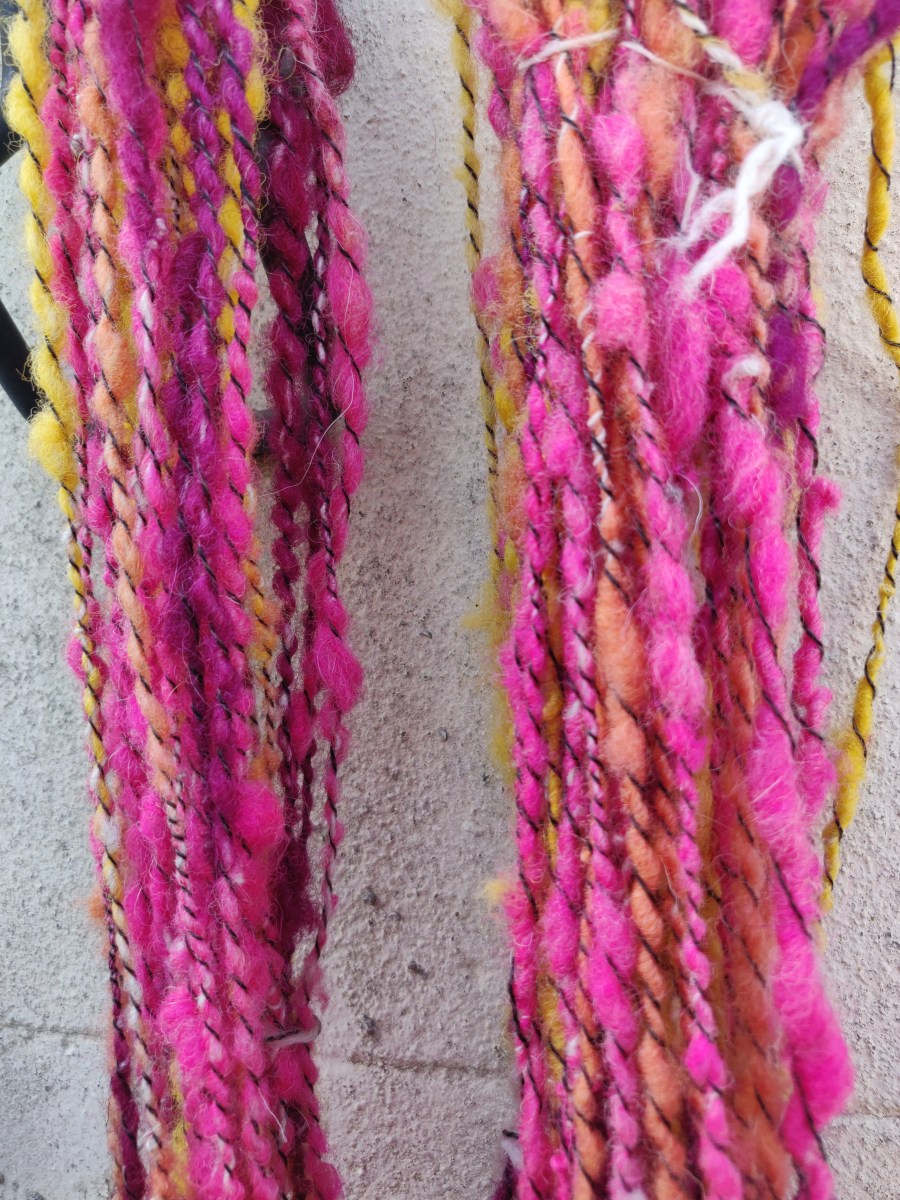
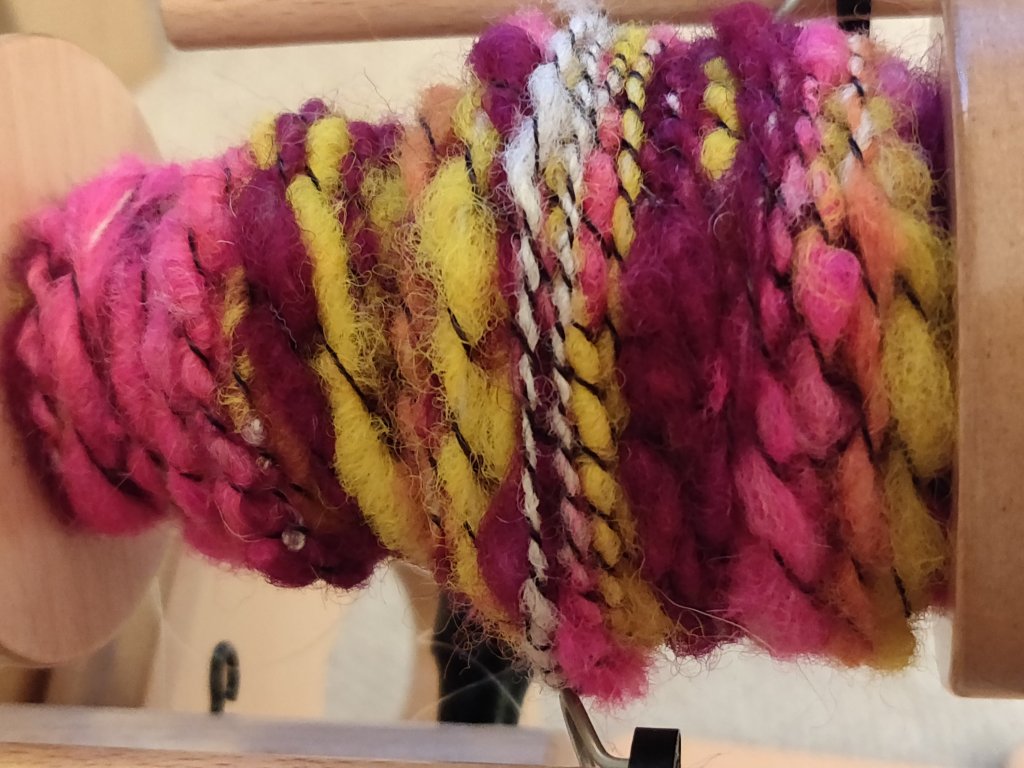
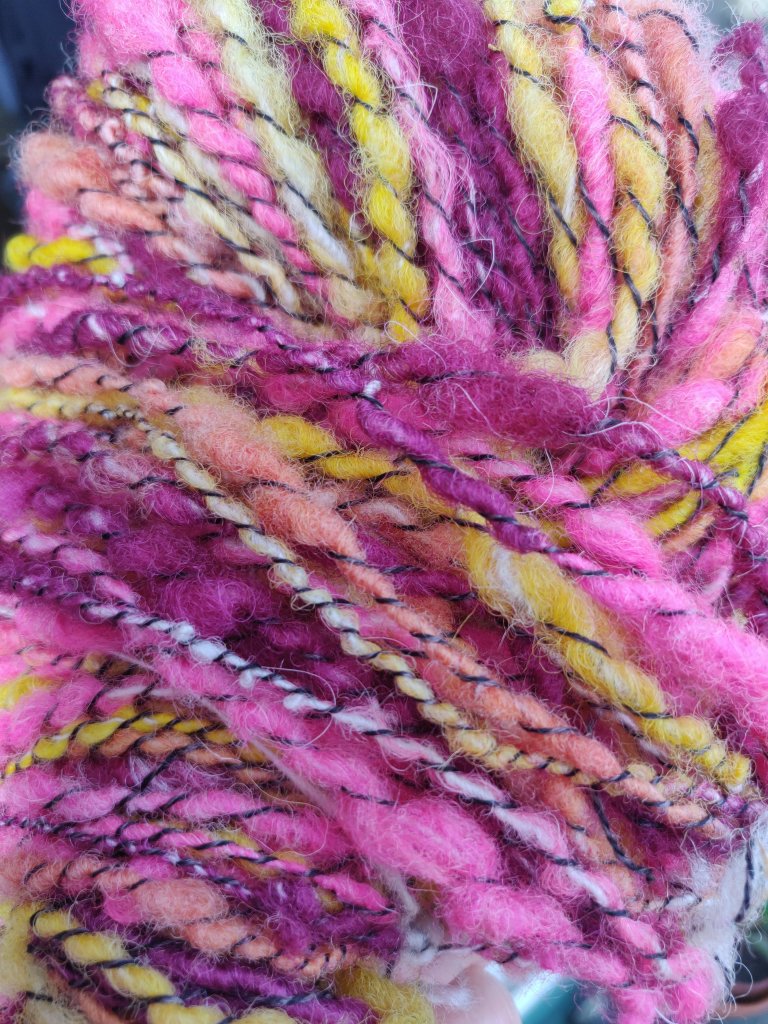
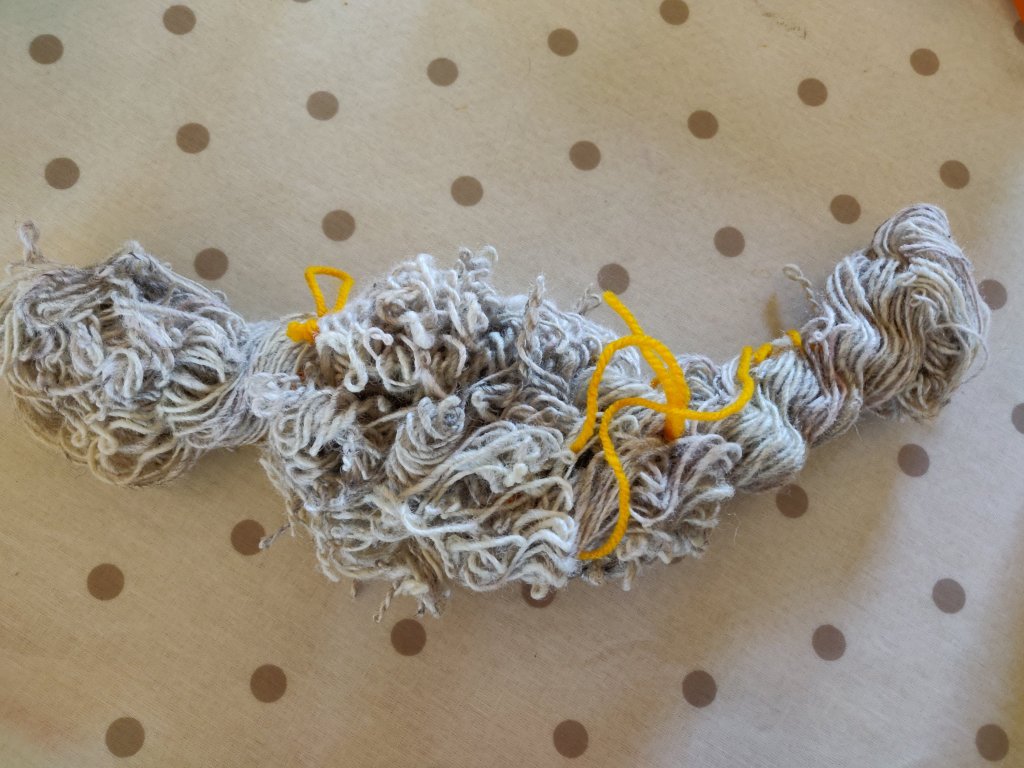
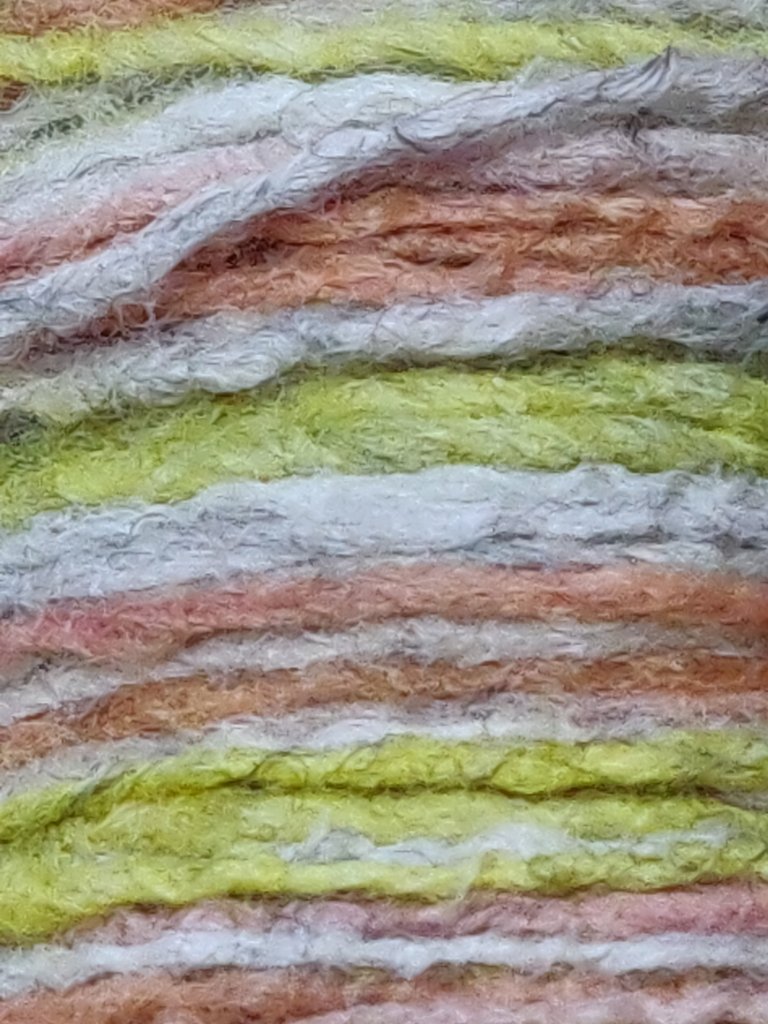
As you will see in the photos, the singles I spun are nothing to write home about, but its early days for the Irish tension set-up. The fibre is onion-skin dyed Lleyn blended, (rather poorly because I was in a hurry) with rust coloured Alpaca, then taken as tops off the drum-carder.

The Irish tension set up on my Matchless. The drive band is the one I use for Scotch tension – I have a cotton one for double drive. They both stay on the wheel tucked underneath. I am wondering what will happen if I put the brake band on the smaller flyer whorl?
The Lleyn was deliberately left with nepps to create a textured fibre, and the way the onion-skin dye has taken differently on the nepps enhances the texture. Roughly blended with the Alpaca – ‘do what I say not what I do’ is the underlying message here! I think I will ply with a finer singles made from undyed Lleyn for a tweedy final yarn.

‘Single and Double Bed Machine Knitting; the Designer’s Guide’

The advance copy of my new book arrived today, and you can see some pages from the book here.

Meanwhile here is a quick look at the book.

I have made a more in depth video introduction to the book, and if you would like to watch this, please keep on scrolling down the page.

Spinning outdoors,(well almost) – on my Ashford Espinner

Its a mix of rain and sun this afternoon, and we are in our caravan so I decided to do some spinning on my Ashford Espinner. I’ve brought four Frankenstein batts I carded from a mixture of old cream Jacobs and two pink and orange poorly dyed batches of Dorset fleece. Plus a small amount of a pretty olive green. The poorly dyed had nepps from the partial felting, and I kept some of these when carding to add texture.

These were all carded on the electric from carder in stripes. I ended up with four largish batts which I split and spun as rolags.

Below you can see how I split the batts and I worked out the TPI of the singles on the espinner.

Author’s not: I originally intended to upload this as a ‘story’ post, but after the uploads gobbled up my mobile data and it still didn’t work properly I decided to make it a normal post.

I split the large batt horizontally into smaller sections.

The smaller sections were then hand-rolled into individual rolags. Because the batt had been double carded and divided between each carding, the colours ran from side to side. I like to work with small rolags, so halved each one, but worked with through the rolags in a zig zage way so that the ends met to keep consistency to the colour grading.

Spinning singles on my Ashford Espinner in the caravan awning
Achieving the desired TPI on an espinner is based on knowing the number of flyer rotations per minute, which is controlled by the speed dial.

For this singles I wanted around 8 TPI, and I had already measured my drafting of 2″ lengths at about 40 which equals me 80″ per minute. So I multiplied the TPI x draft length per minute

8 x 80 = 640.

So I set my speed dial to where I know I get about 640rpm. Its not exact, but neither is it on a wheel, but it gave a pretty good average of 8TPI.

I plan to ply this with a plain colour, otherwise the colours become overwhelmed by each other. Maybe a rust or cream, or even a black?

Update. I eventually plied it with a Dorset singles from my stash. Made 70g of very useable yarn or approximately 7 TPI, 8 WPI and 20 degree angle of twist.

The finished yarn.

Colour-changing yarn spun from a distaff

I’ve had a number of different colour hand dyed carded batts sitting waiting for me to find inspiration. They are all from fleece I have scored and carder myself, so are a mix of Shetland, Suffolk and Texel, with maybe a little Alpaca blended into some of them. Some are in 200g amounts, some less. I’d got a bit stuck about how to use them until I saw a useful tip by Anna from my spinning group that she has put on YouTube.

Before you start, select a group of colours that work together. After a designing session during which I wrapped different colours together, I chose five: orange, pale green, mid blue, pale blue and lilac.

Anna used a combination of hand dyed and commercial roving, but the principle is the same with your own carded batts.

1. First of all split the roving/batt into the required lengths, (I just used the whole length of the batt of my drum carder).

2. Then split each length lengthwise into 4, (or more, depending on the thickness of the roving/batt).

3. Next, lay out the colours lengthwise, next to each other in the order you want to spin them into yarn. Test this beforehand to see how they mix throughout one repeat of a yarn, and if this works for your chosen outcome, such as knitting.

4. Repeat the colour sequence three more times so you have a table full of ‘stripes’ of fibre. If you have more than four lengths let colour, carry on until all are used up.

5. Now this is the clever part. I have hand spun colour changing yarns before and got the sequence wrong because I put it all away in a box between spinning sessions. To keep the sequence do the following.

6. Take a metre + long length off ribbon and tie a pencil or empty pen across one end. This is your fibre-stopper. Tie a hand-sized loop on the other end. This is your distaff.

7. Starting at one end of the ‘stripes’, wind each length off fibre into a loose roll and slip the looped end of the ribbon through the centre hole. Carry on doing this, working methodically through the fibre lengths, keeping the colour order as mapped out in your ‘stripes’.

8. You will end up with a ‘necklace’ of colour ordered fibre rolls on the ribbon. Tie the ends together to stop the fibre sliding off.

The dyed fibre arranged on the ribbon distaff before spinning

Now to can put them in a box and they won’t get muddled. To start spinning, simply lift the necklace out, untie the ends, and slip the loop over your hand. It acts as a distaff and will hold your fibre nicely as you spin each colour.

Spinning the lengths into singles

What a great tip!

I plied the colour changing yarn with a single spun made from navy blue Corriedale. This made a lovely marl yarn that to me resembles stained glass windows. I can’t wait to see what it looks like knitted.

The plied yarn

Here is the link to Anna’s video

Swinging the picker!

To chew my way through all that dyed fleece and open up the fibres I am using my swing picker.

As with any machine, I fiddle endlessly with the settings, but for the moment it’s picking like a good’un.

https://youtu.be/uLxuiqUJuY4

They are advantages to machinery. My son came in and is fascinated with the picker, so I can carry on carding whilst he does the picking!

I can’t believe how cloud soft the Dorset fleece I’m carding is after just a brief finger pick. You’d never have thought it would be like this if you’d seen the fleece before it was scoured!

Spinning outdoors

Last week a few of us got together (safely distanced and masked), to take our textiles into the park. I enjoyed myself so much I forgot to take a photo!

The thought of spinning outside in the sunshine encouraged me to use bright colours. So I took along some Shetland fleece I dyed a while ago using acid dyes, (I have written more about dyeing fleece with acid dye here).

I’d spun up a bobbin of Suffolk fleece that is not very exciting, so I planned to use that as the core for a bright, irregular spun, core-spun yarn to which I would add a charcoal wrapping yarn. All 100%wool. I took my folding Louet Victoria S95 wheel which is a joy to use.

The core yarn was Z twisted quite tight. The wrapping colours were also put on Z twist, and the final charcoal, commercial yarn was S spun over the others.

Photo taken at might, so the colours are not accurate.

After washing and drying the twist the colours hardly muted and it’s come out as lovely yarn.

Taken outdoors, but the colours are a bit light.

Felted singles

Having read about this spinning technique I though I’d have a go. It doesn’t save much time as you still have to run the yarn back through the wheel, which takes as long as simple plying. It was prompted by my practise at making a ”Z’ twist fat singles’ and so I decided to over-twist this singles yarn as I practised the night before a dyeing session. So I treated it cruelly when washed it, and also in the hot dye bath as well.

As there were several colour dye baths it was too tempting not to dip-dye the hank. Firstly it went into red-cabbage allover, and then the ends were dipped into madder and turmeric.

This is what it looked like before hot washing and dyeing.
And after re-spinning it’s open up nicely and is quite soft.

I’ll be trying this out soon to see what it looks and feels like as a knit.

Knit Step by Step – new edition

A new edition of Knit Step by Step has been published this month. With new content including step-by-step instructions (with lots of lovely photos) of how to work the exciting on-trend chunky ‘arm knitting’. All wrapped in a smart new cover it looks great!

step by step 2020
Cover of the 2020 editon of Knit Step by Step