Although it’s taken me a while I have finally finished this cushion.
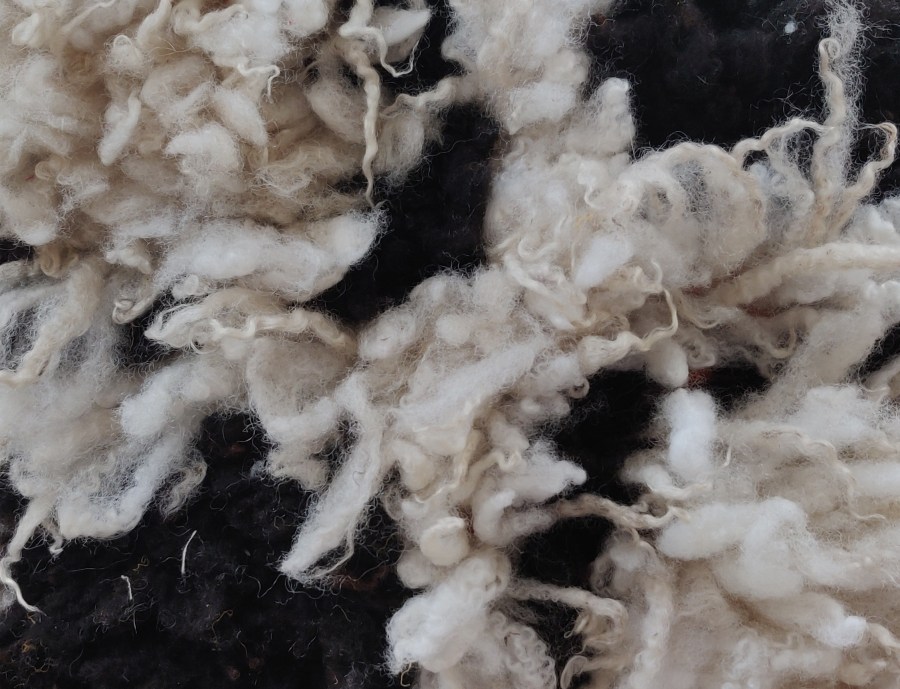
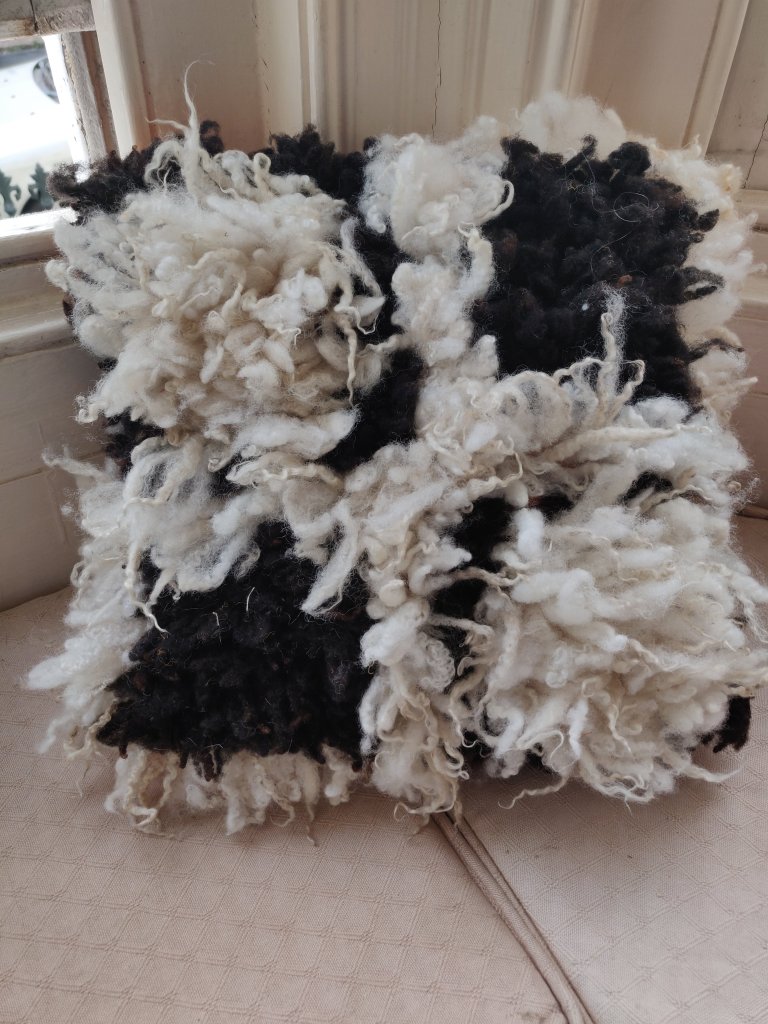
Front of the cushion. A tufted chequer board that is very tactile and squishy.
The front is Rya tufted and woven with a British wool rug yarn on a linen/cotton warp. The black tufts are Shetland staples and the cream is a mixture of Devon/Dorset staples. Although it’s not that clear in the photo, the squares are reversed; black edging with a cream centre and cream edging with a black centre.
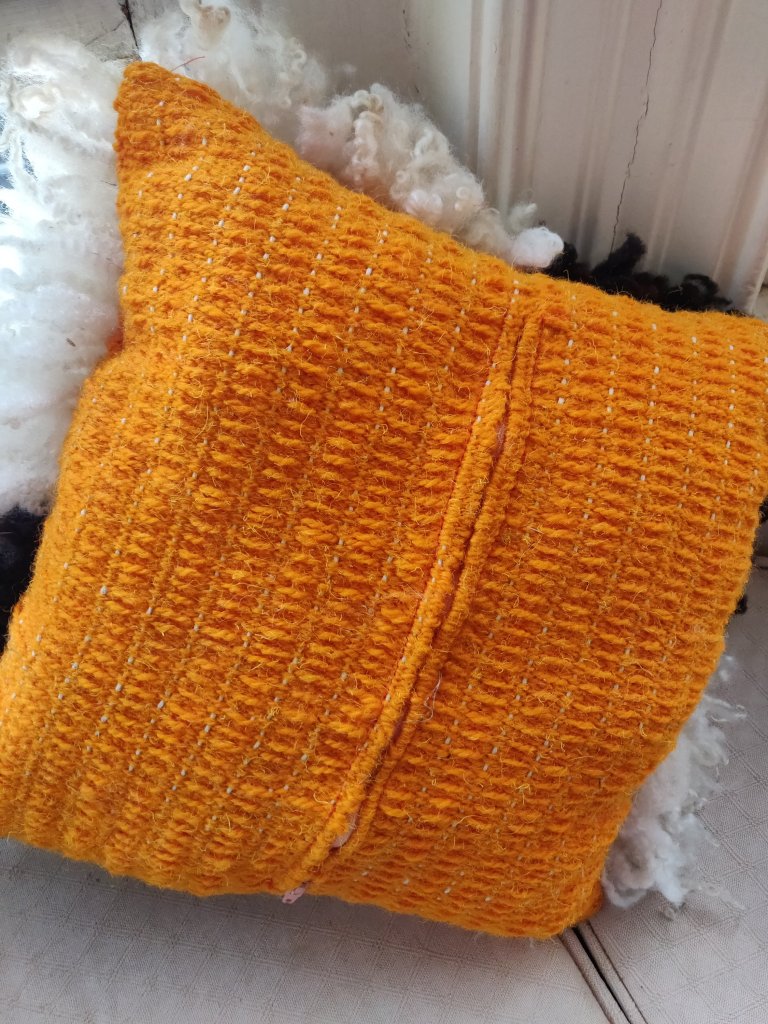
The reverse of the cushion is a faux waffle weave in the same rug yarn that underlies the Rya tufts. Because my rigid heddle loom is only a 20 inch wide, the cushion is composed of four pieces.
I took the opportunity to insert a zip in the centre back seam.
Instead of feathers or polyester wadding, the cushion is filled with a pad of lofty carded wool fleece. I will use this cushion to make my chair extra comfortable whilst spinning at my wheel.
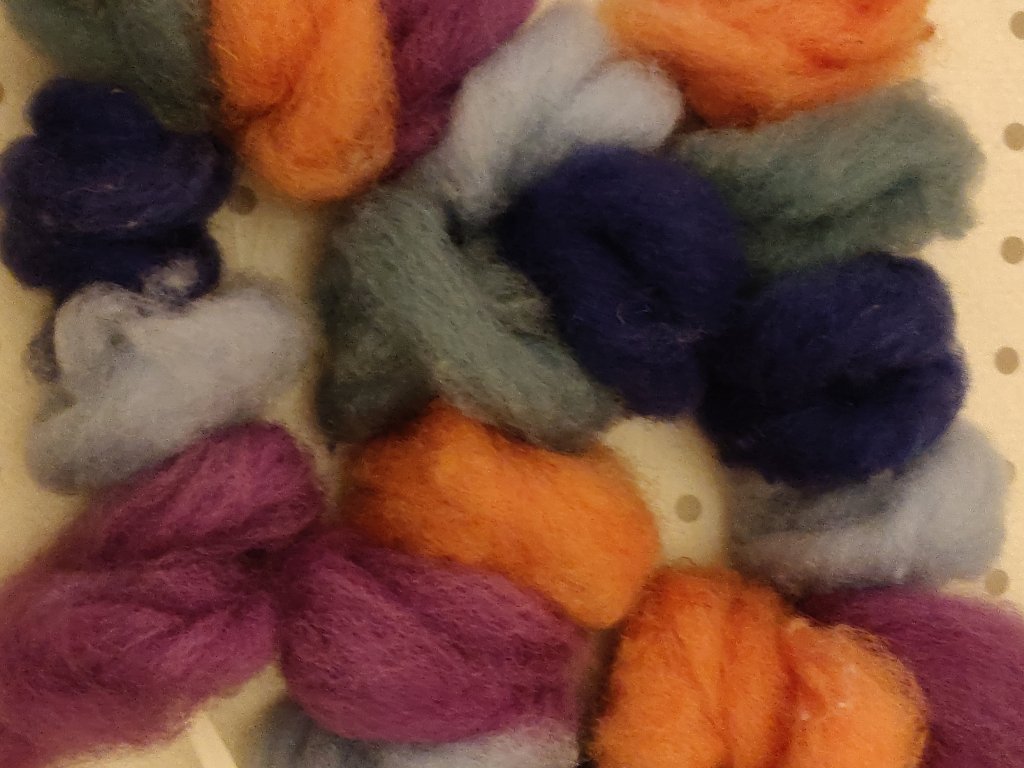
I’ve had a number of different colour hand dyed carded batts sitting waiting for me to find inspiration. They are all from fleece I have scored and carder myself, so are a mix of Shetland, Suffolk and Texel, with maybe a little Alpaca blended into some of them. Some are in 200g amounts, some less. I’d got a bit stuck about how to use them until I saw a useful tip by Anna from my spinning group that she has put on YouTube.
Before you start, select a group of colours that work together. After a designing session during which I wrapped different colours together, I chose five: orange, pale green, mid blue, pale blue and lilac.
Anna used a combination of hand dyed and commercial roving, but the principle is the same with your own carded batts.
1. First of all split the roving/batt into the required lengths, (I just used the whole length of the batt of my drum carder).
2. Then split each length lengthwise into 4, (or more, depending on the thickness of the roving/batt).
3. Next, lay out the colours lengthwise, next to each other in the order you want to spin them into yarn. Test this beforehand to see how they mix throughout one repeat of a yarn, and if this works for your chosen outcome, such as knitting.
4. Repeat the colour sequence three more times so you have a table full of ‘stripes’ of fibre. If you have more than four lengths let colour, carry on until all are used up.
5. Now this is the clever part. I have hand spun colour changing yarns before and got the sequence wrong because I put it all away in a box between spinning sessions. To keep the sequence do the following.
6. Take a metre + long length off ribbon and tie a pencil or empty pen across one end. This is your fibre-stopper. Tie a hand-sized loop on the other end. This is your distaff.
7. Starting at one end of the ‘stripes’, wind each length off fibre into a loose roll and slip the looped end of the ribbon through the centre hole. Carry on doing this, working methodically through the fibre lengths, keeping the colour order as mapped out in your ‘stripes’.
8. You will end up with a ‘necklace’ of colour ordered fibre rolls on the ribbon. Tie the ends together to stop the fibre sliding off.
The dyed fibre arranged on the ribbon distaff before spinning
Now to can put them in a box and they won’t get muddled. To start spinning, simply lift the necklace out, untie the ends, and slip the loop over your hand. It acts as a distaff and will hold your fibre nicely as you spin each colour.
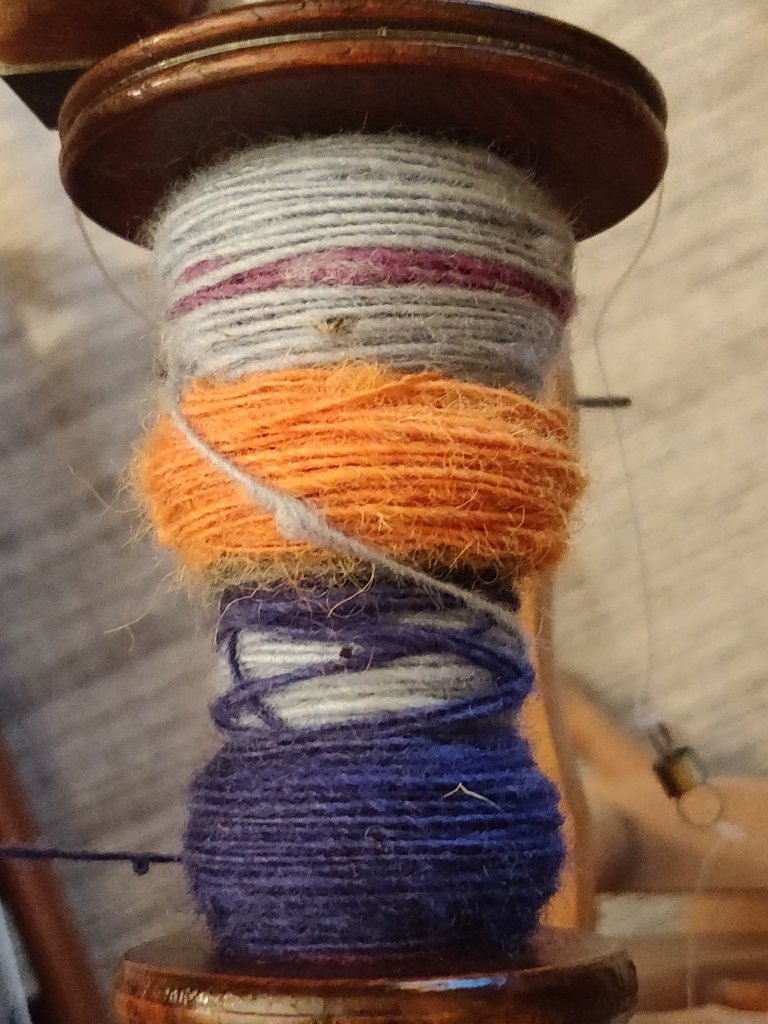
Spinning the lengths into singles
What a great tip!
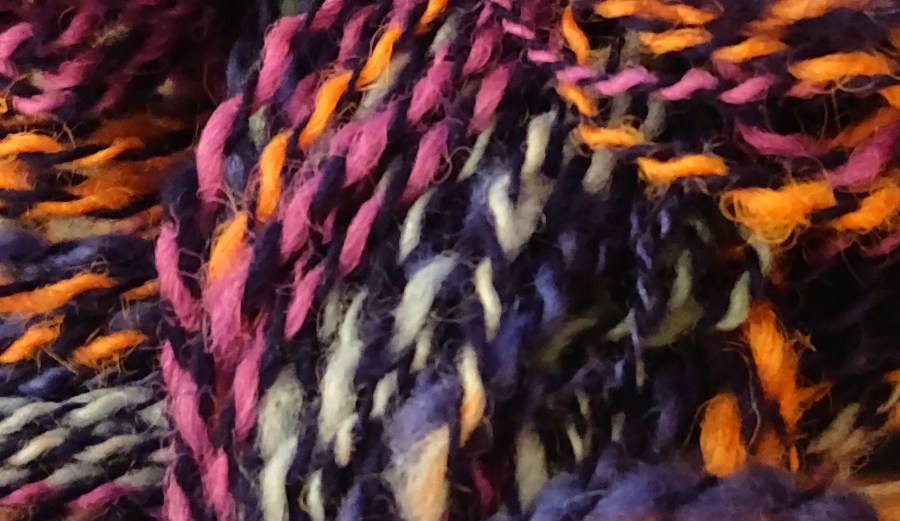
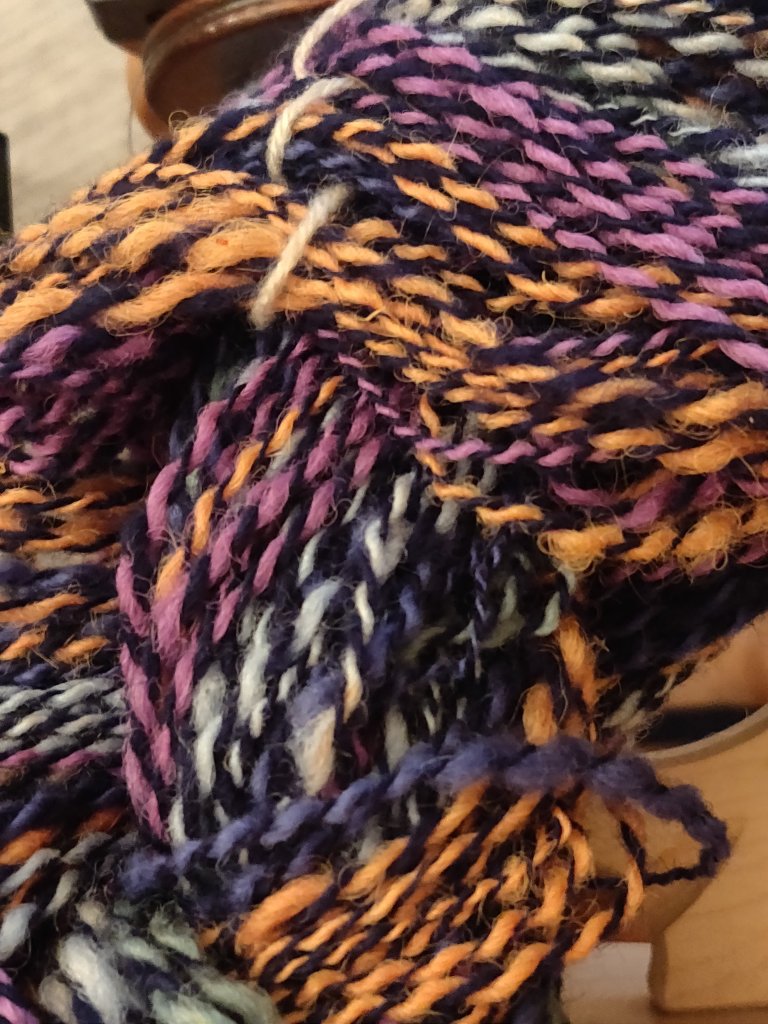
I plied the colour changing yarn with a single spun made from navy blue Corriedale. This made a lovely marl yarn that to me resembles stained glass windows. I can’t wait to see what it looks like knitted.
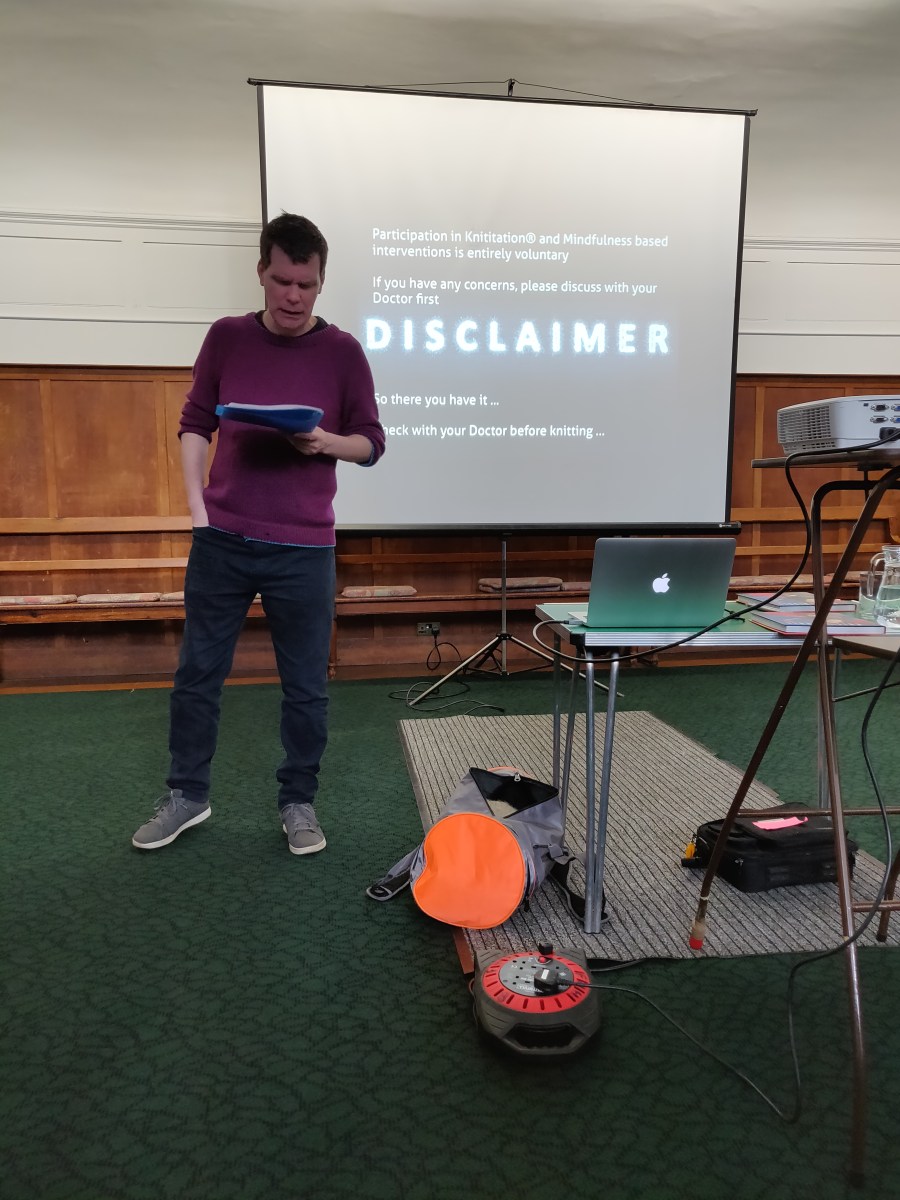
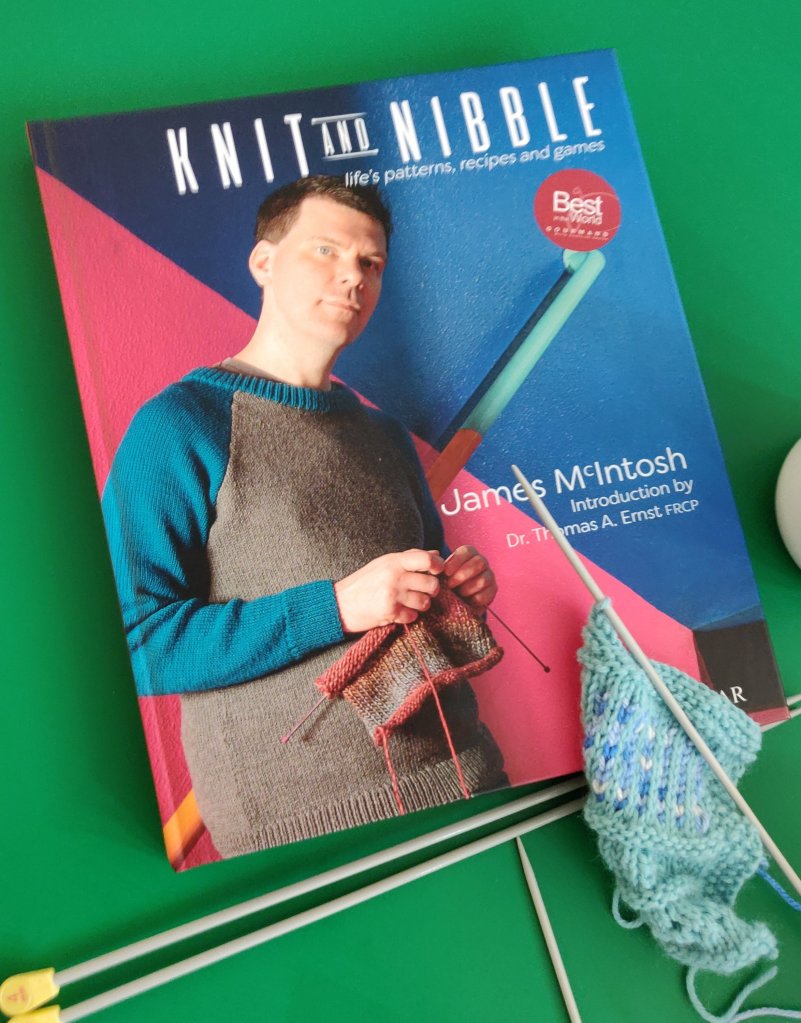
Today met James McIntosh and Dr Thomas Ernst, inventors of the term ‘knititation’ and authors of Knit and Nibble. They had been invited to speak at the University of Brighton School of Art’s Centre for Arts and Wellbeing event, Knitting and Wellness.
When we first met, James told me that he had found The Knitting Book really helpful when he was teaching himself to knit – which was truly gratifying feedback. It’s nice to find out how people use and value my contribution to sharing knowledge.
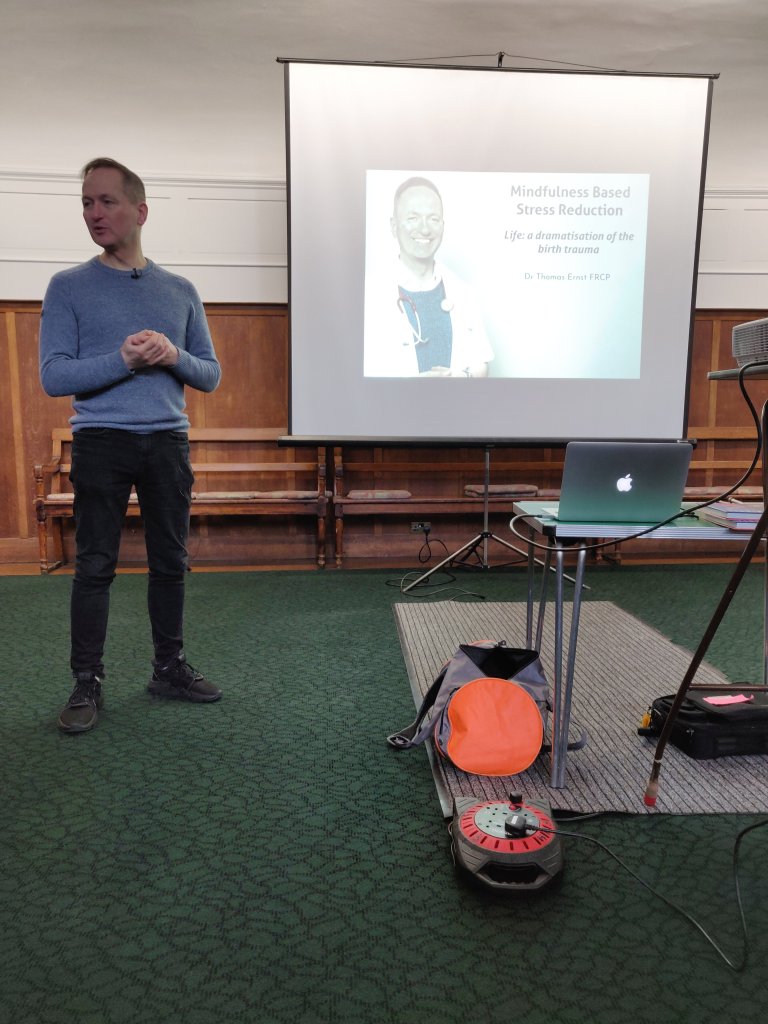
James was first to speak, and he described his personal journey through depression and how knitting mindfully enabled his recovery and brought colour back into his life. Thomas discussed the science behind mindfulness and it’s aptness to knitting.
Nina Dodds, author of Invisible Jumpers, and I provided yarn and needles so that everyone who wanted to could knit during the event. We were gratified that everyone took up the opportunity!
This was my piece of knitting.
It was a great talk, entertaining and interesting. James and Thomas kindly gave me a copy of their book which I am reading this weekend.
At the end Thomas led a short mindfulness session, which was a new expressive for some of the audience. Hopefully we all left feeling refreshed.
Like James, and so many others, I find hand knitting keeps me calm; it’s repetitive movements bringing my attention back in a rythmic cycle. So now I’ve written this it’s time to take up my needles for a soothing session.
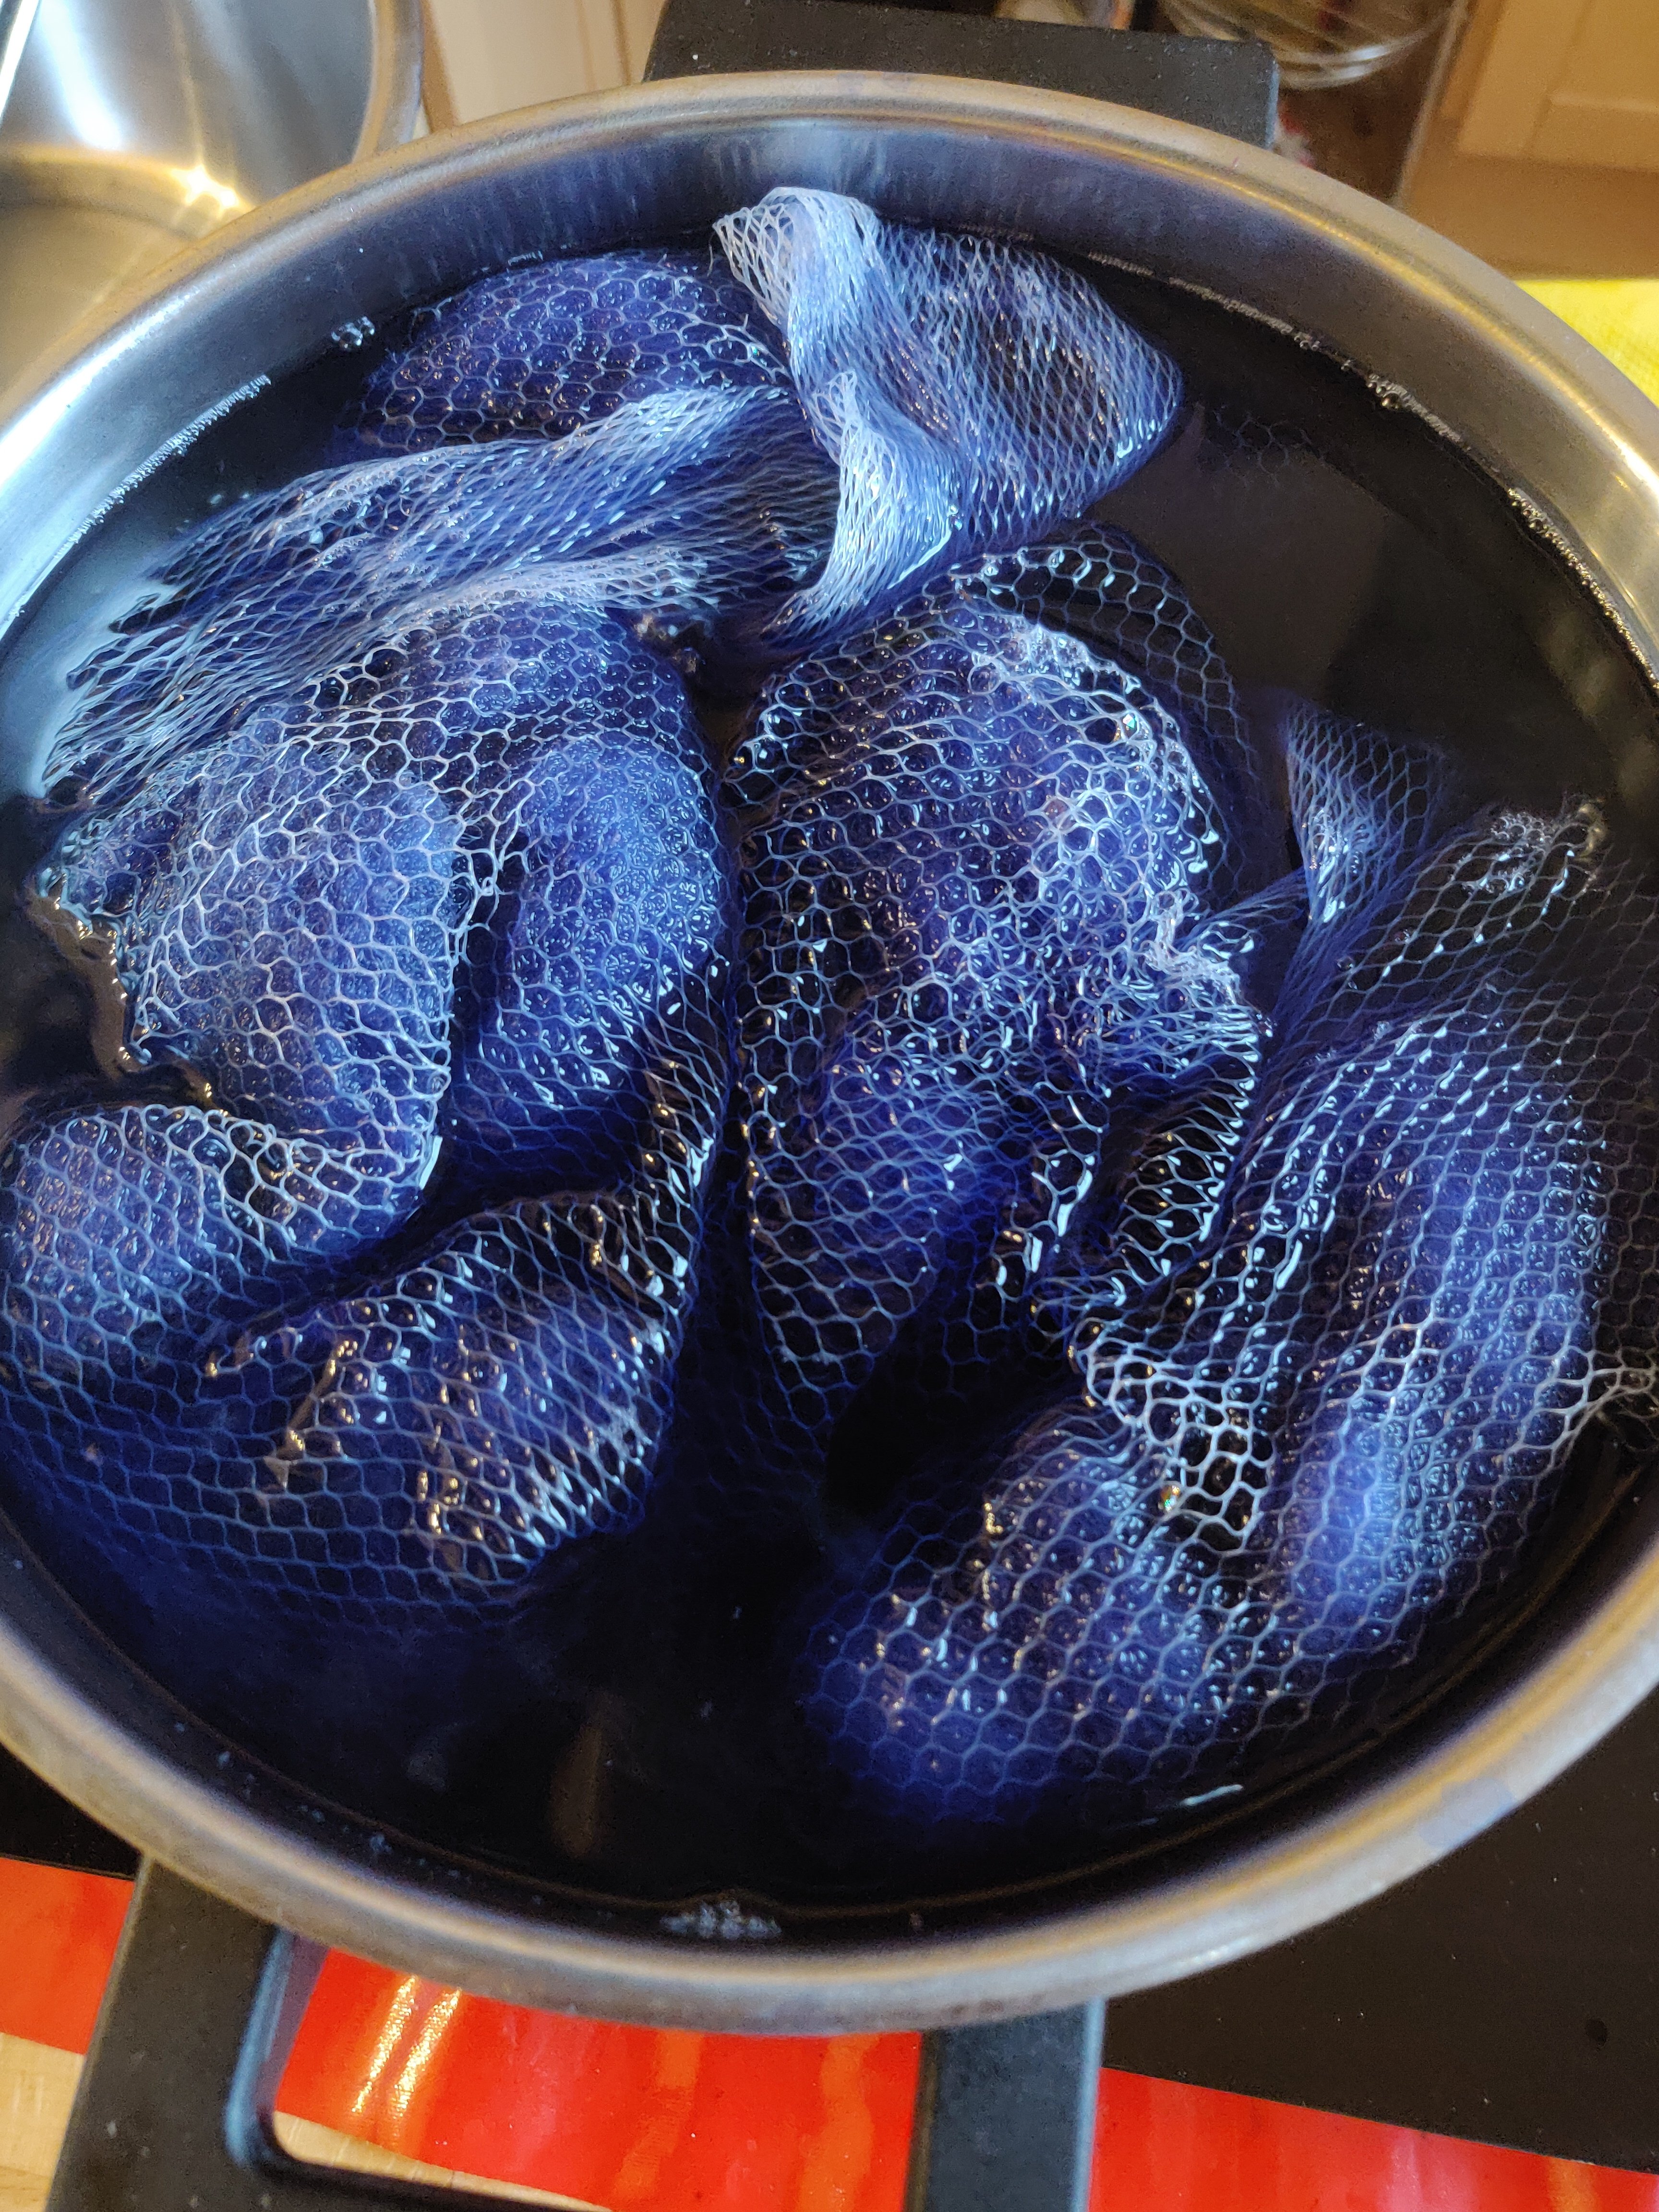
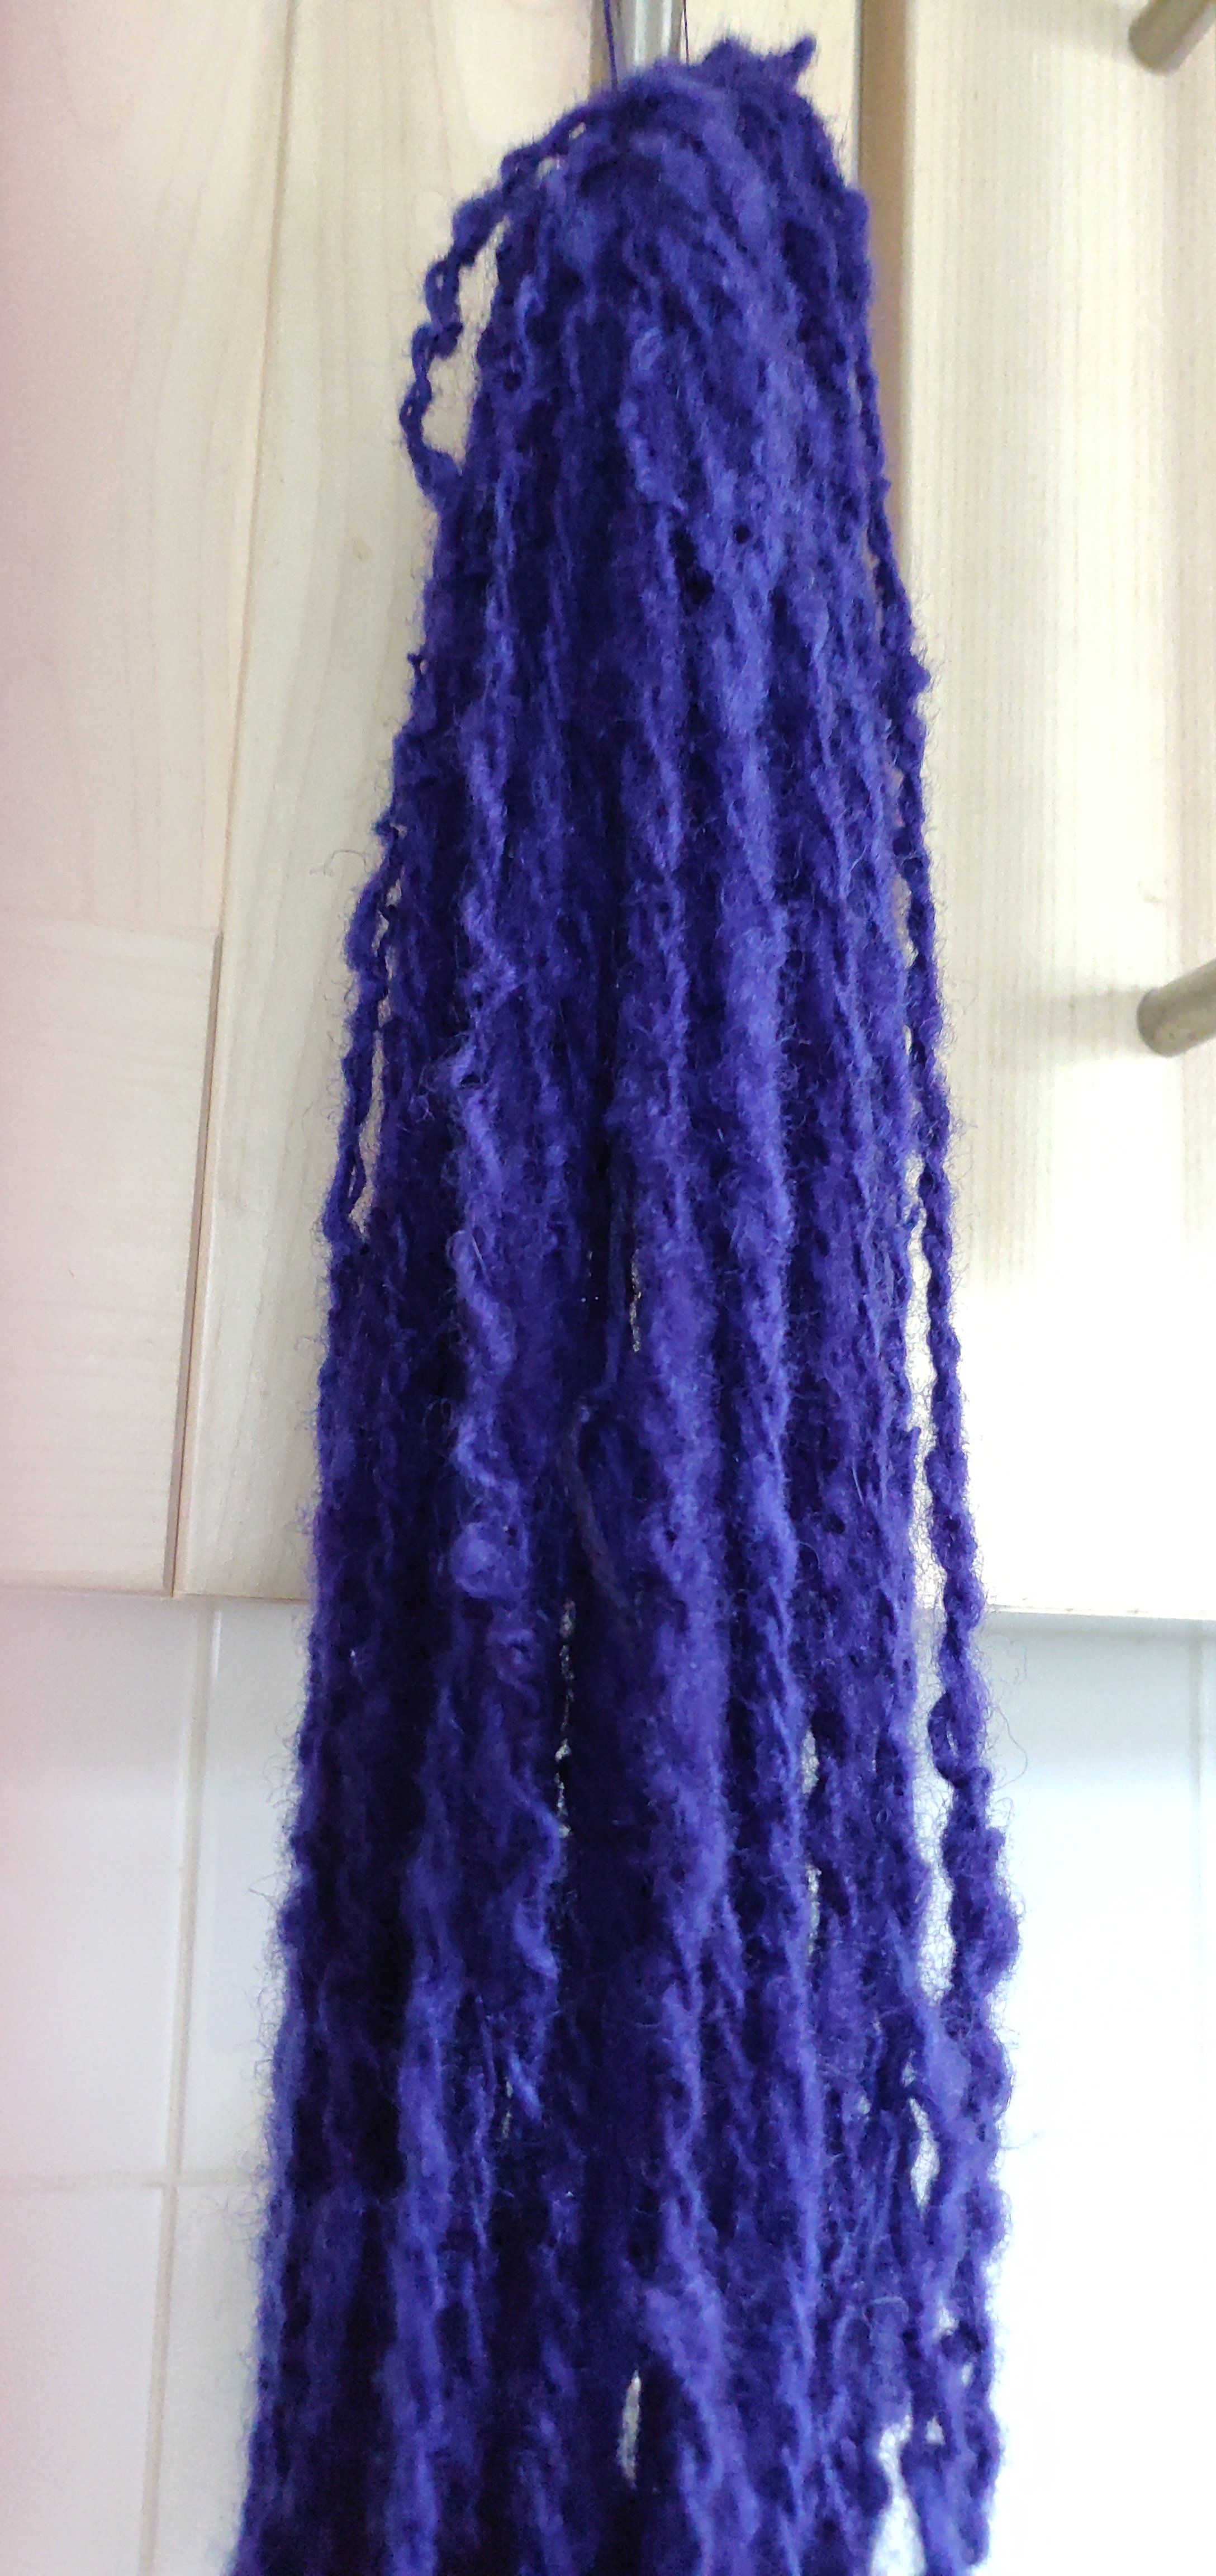
For no better reason than wanted to play with acid dyes I dyed a 58g hank of handspun Texel and Clun Forest 2 ply today. Inspired by WASPI I chose to mix a purple. If we haven’t won our pension compensation by the winter I shall knit mittens for wearing on demos.
I’m going to pop 100g of Shetland fleece that has some pink staining on the tips into the exhausted bath to hopefully give it a tint.
Half-way through the tint was looking too blue, so I added 1/8th TSP magenta to bring it back towards purple.
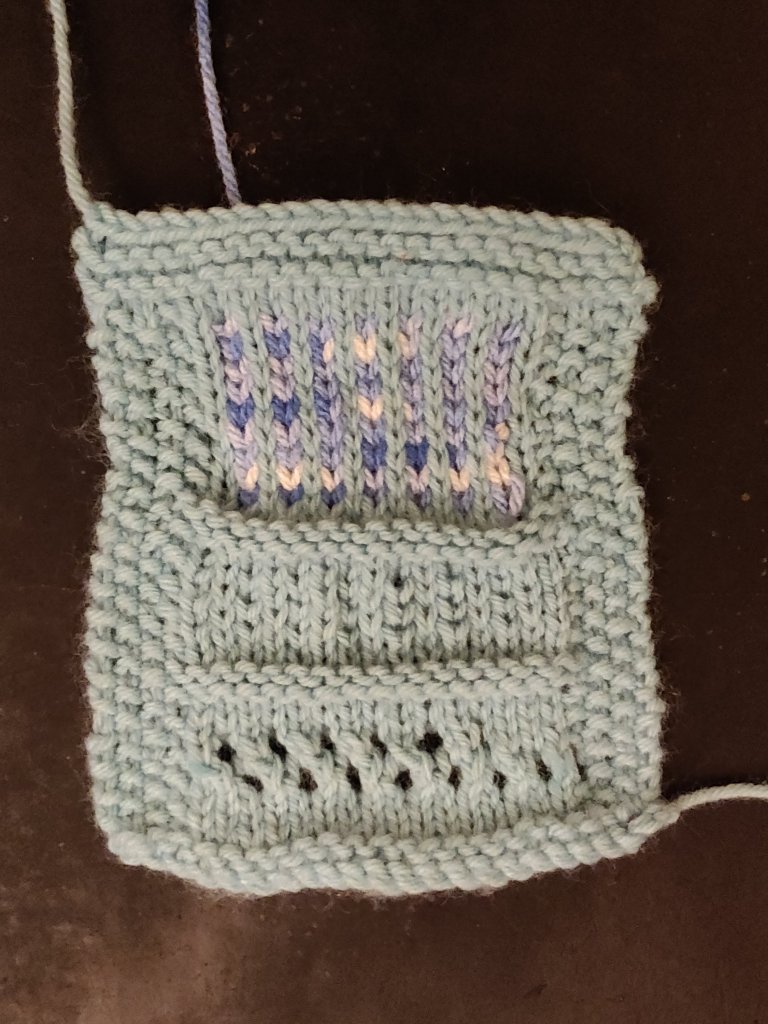
Below is the yarn, it’s still wet so it’s going to be a lot lighter when dry.
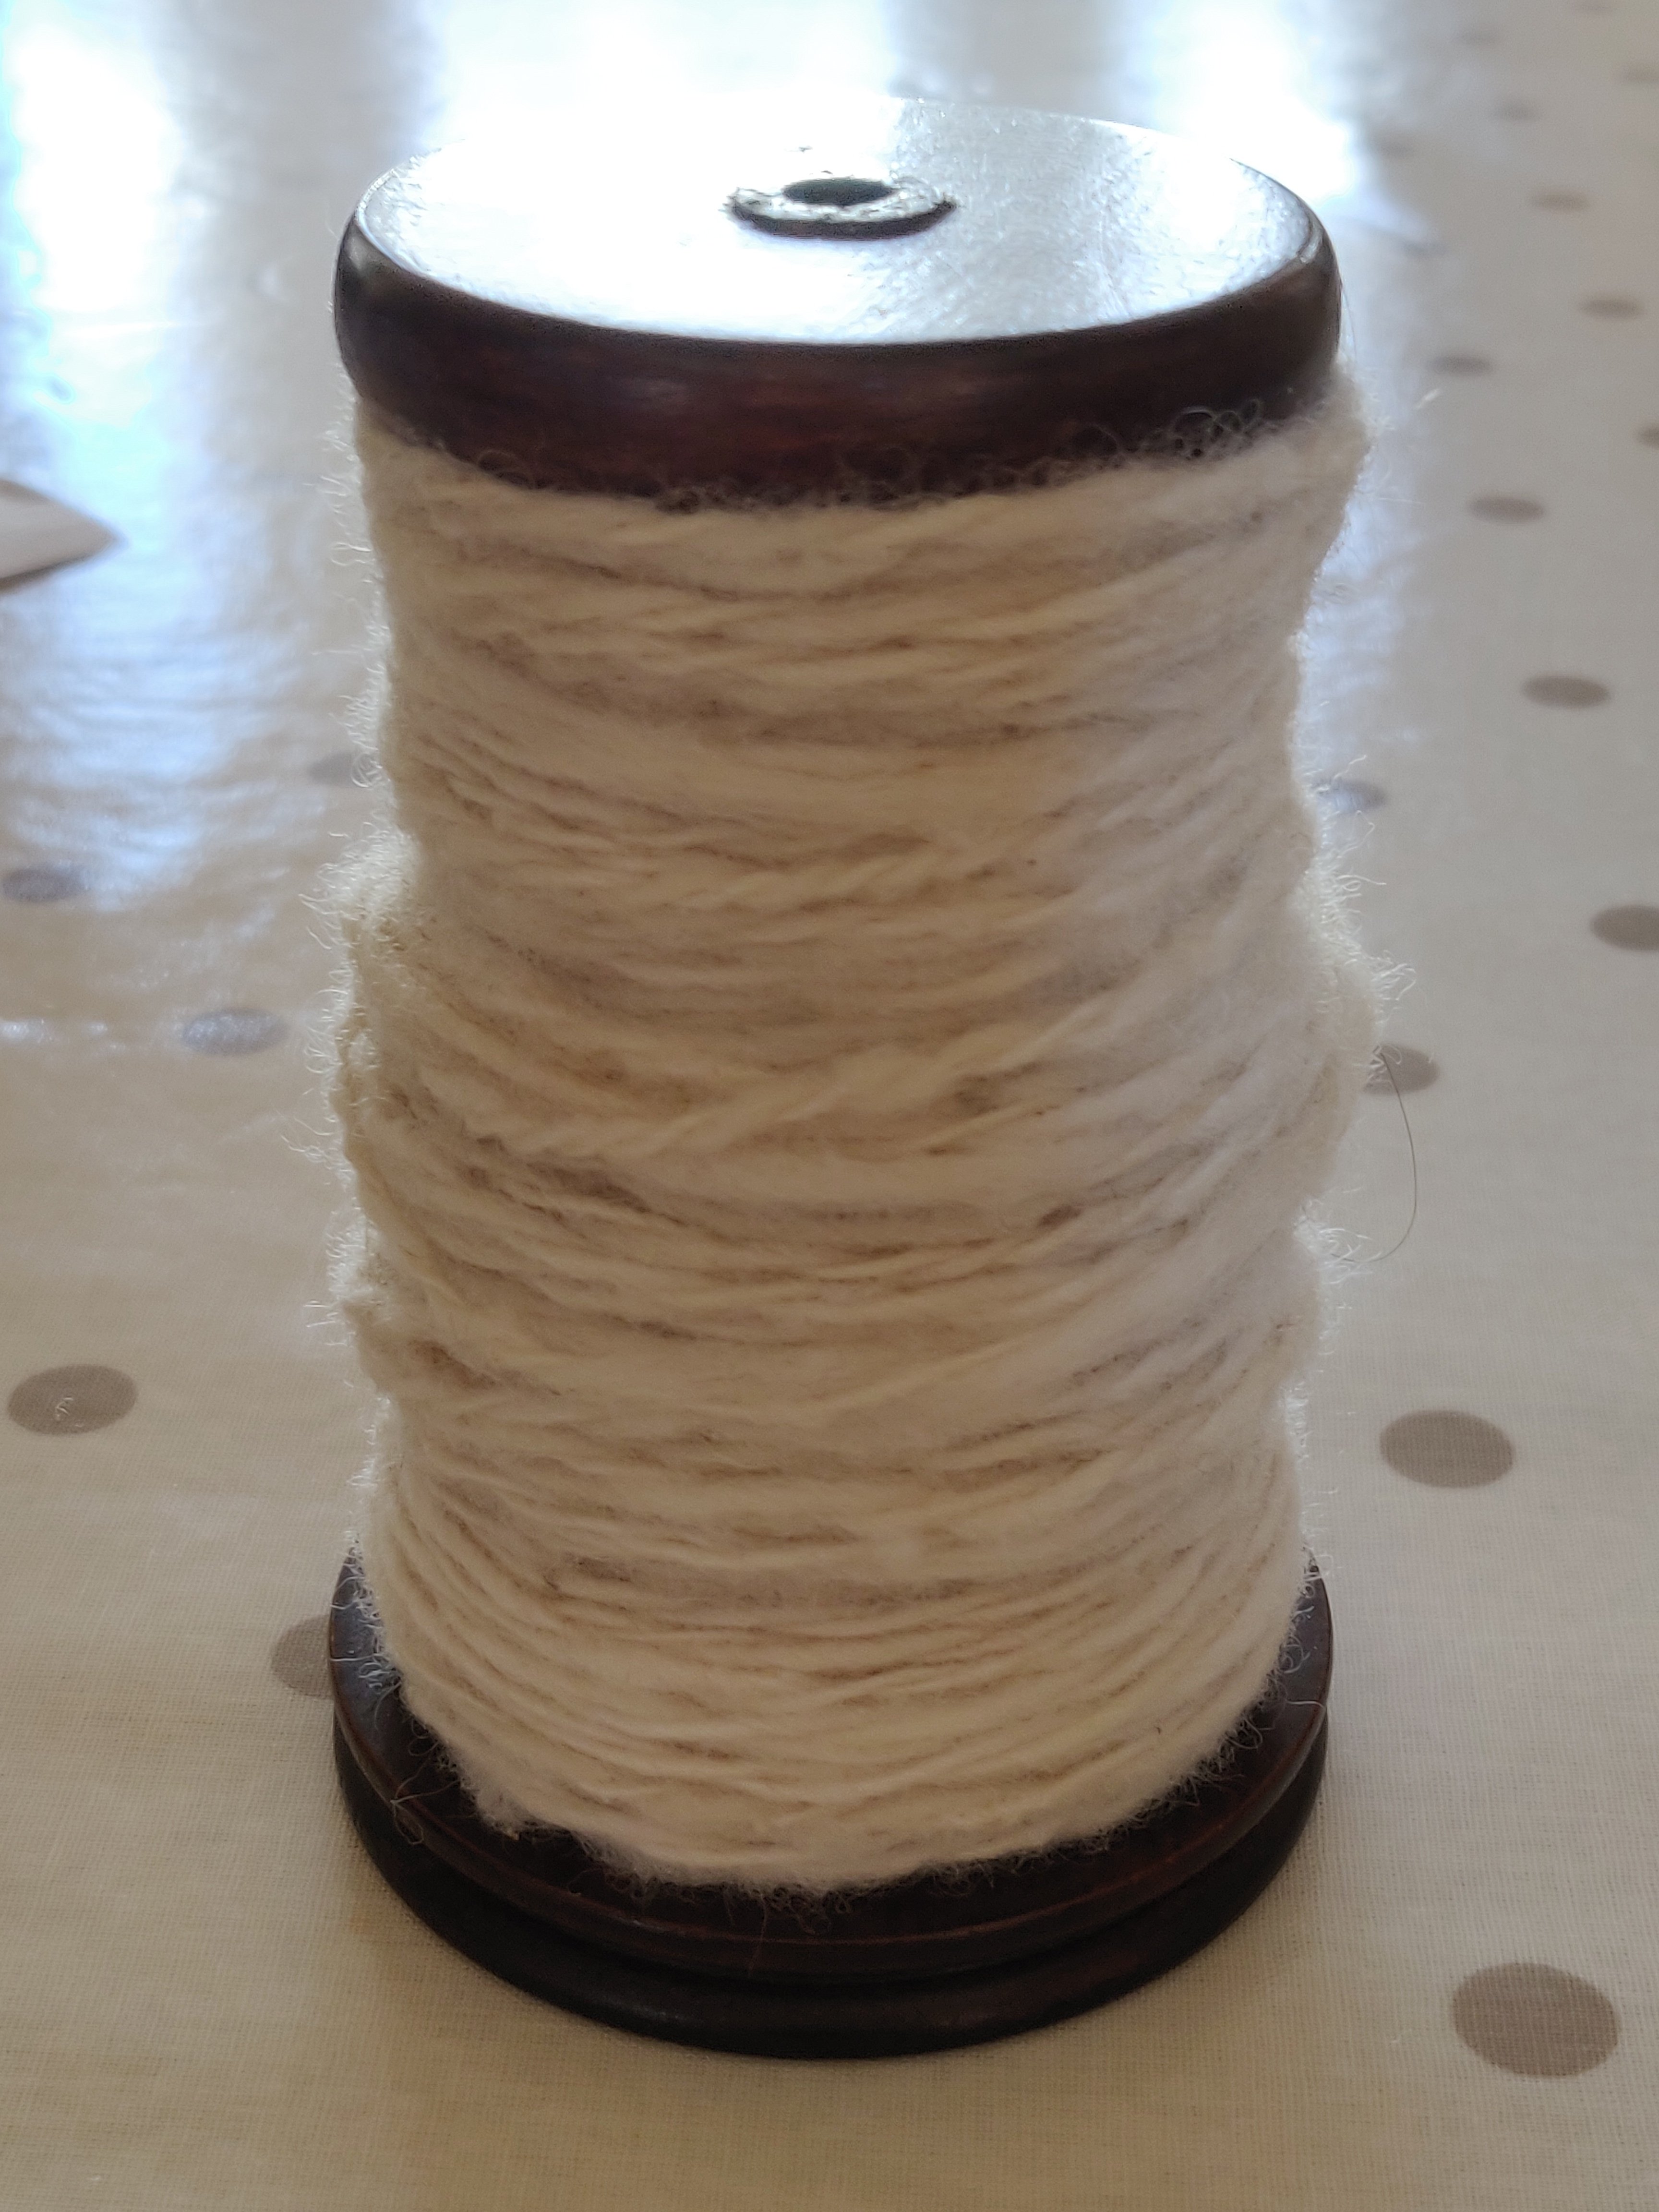
I love the final plying process when spinning yarn. This is Texel and Clun Forest wool fibre, processed from raw fleece. One single of each as an experiment.
I find it very difficult to get a smooth yarn from my own prepared raw fleece. It’s pretty easy from commercially prepared tops, but getting all those little nepps and second cuts out is pretty impossible for me.
In a flurry of energy today I made a T-shirt tunic out of some of my fabric stash. My stash is a pile of fabric that hunkers down in the corner, offering me enticing glimpses of exotic colours, textures and exciting new projects before my guilt makes me go and do the hoovering.
So today I said ‘hang the Hoover, dump the dishes, it’s time to SEW!’. And I did!
This is my variation of The Makers Atelier ‘Boxy T-Shirt’ pattern. I’ve lengthened the whole T-Shirt into a tunic, and made the back a little longer than the front. They advise using stretch interfacing to stabilise the shoulder seams, neck, cuffs and hem, and luckily I had some to hands – that’s the beauty of being a fabric hoarder.
The Makers Atelier patterns are easy sized and they encourage you to be inventive when using their patterns. I cut between the medium and large to get the fit I wanted. I considered altering the pattern by adding bust darts but am now pleased I didn’t bother. In a fabric with less drape that might still be a good idea for the future.
This cotton print Jersey fabric has been tantalising me from the depths of my stash for a few years. It was a remnant, so only just over a metre long and never quite enough for most things I considered. It had been expensive as it’s really good quality fabric so I didn’t want to waste it on something I wasn’t going to be happy with. All of which meant that it’s lain there waiting for its moment.
Now it is finally made-up into this tunic I am very pleased with it; this will be going on holiday with me. The Jersey won’t crease too adult and I can dress it up and ring the changes with linen trousers, Capri pants, leggings and even skirts I think. Plus it will work on the beach. Win-win I think!
It took me about 4 hours to make including cutting out the main fabric and interfacing, (oh and finding the interfacing which I had put somewhere totally illogical). The making was interrupted by the ‘incident of the bloody overlocker’ – when there was a ‘bang’ and the machine light went out. Well yes, I did panic, but it turned out that the bulb had gone ‘pop’ and blown the fuse of the overlocker at the same time. So it was easily repaired thank heavens. I hate it when my machines break.
Finishing off called for the coversew machine. I could have topstitched with a double needle on the sewing machine, but why have a coversew machine if you don’t use it? Threading it up is a bit of a pain but it sews a lovely hem, especially when the fabric is interfaced, so it was worth the bother.
I have a glow of achievement as I sit here blogging.
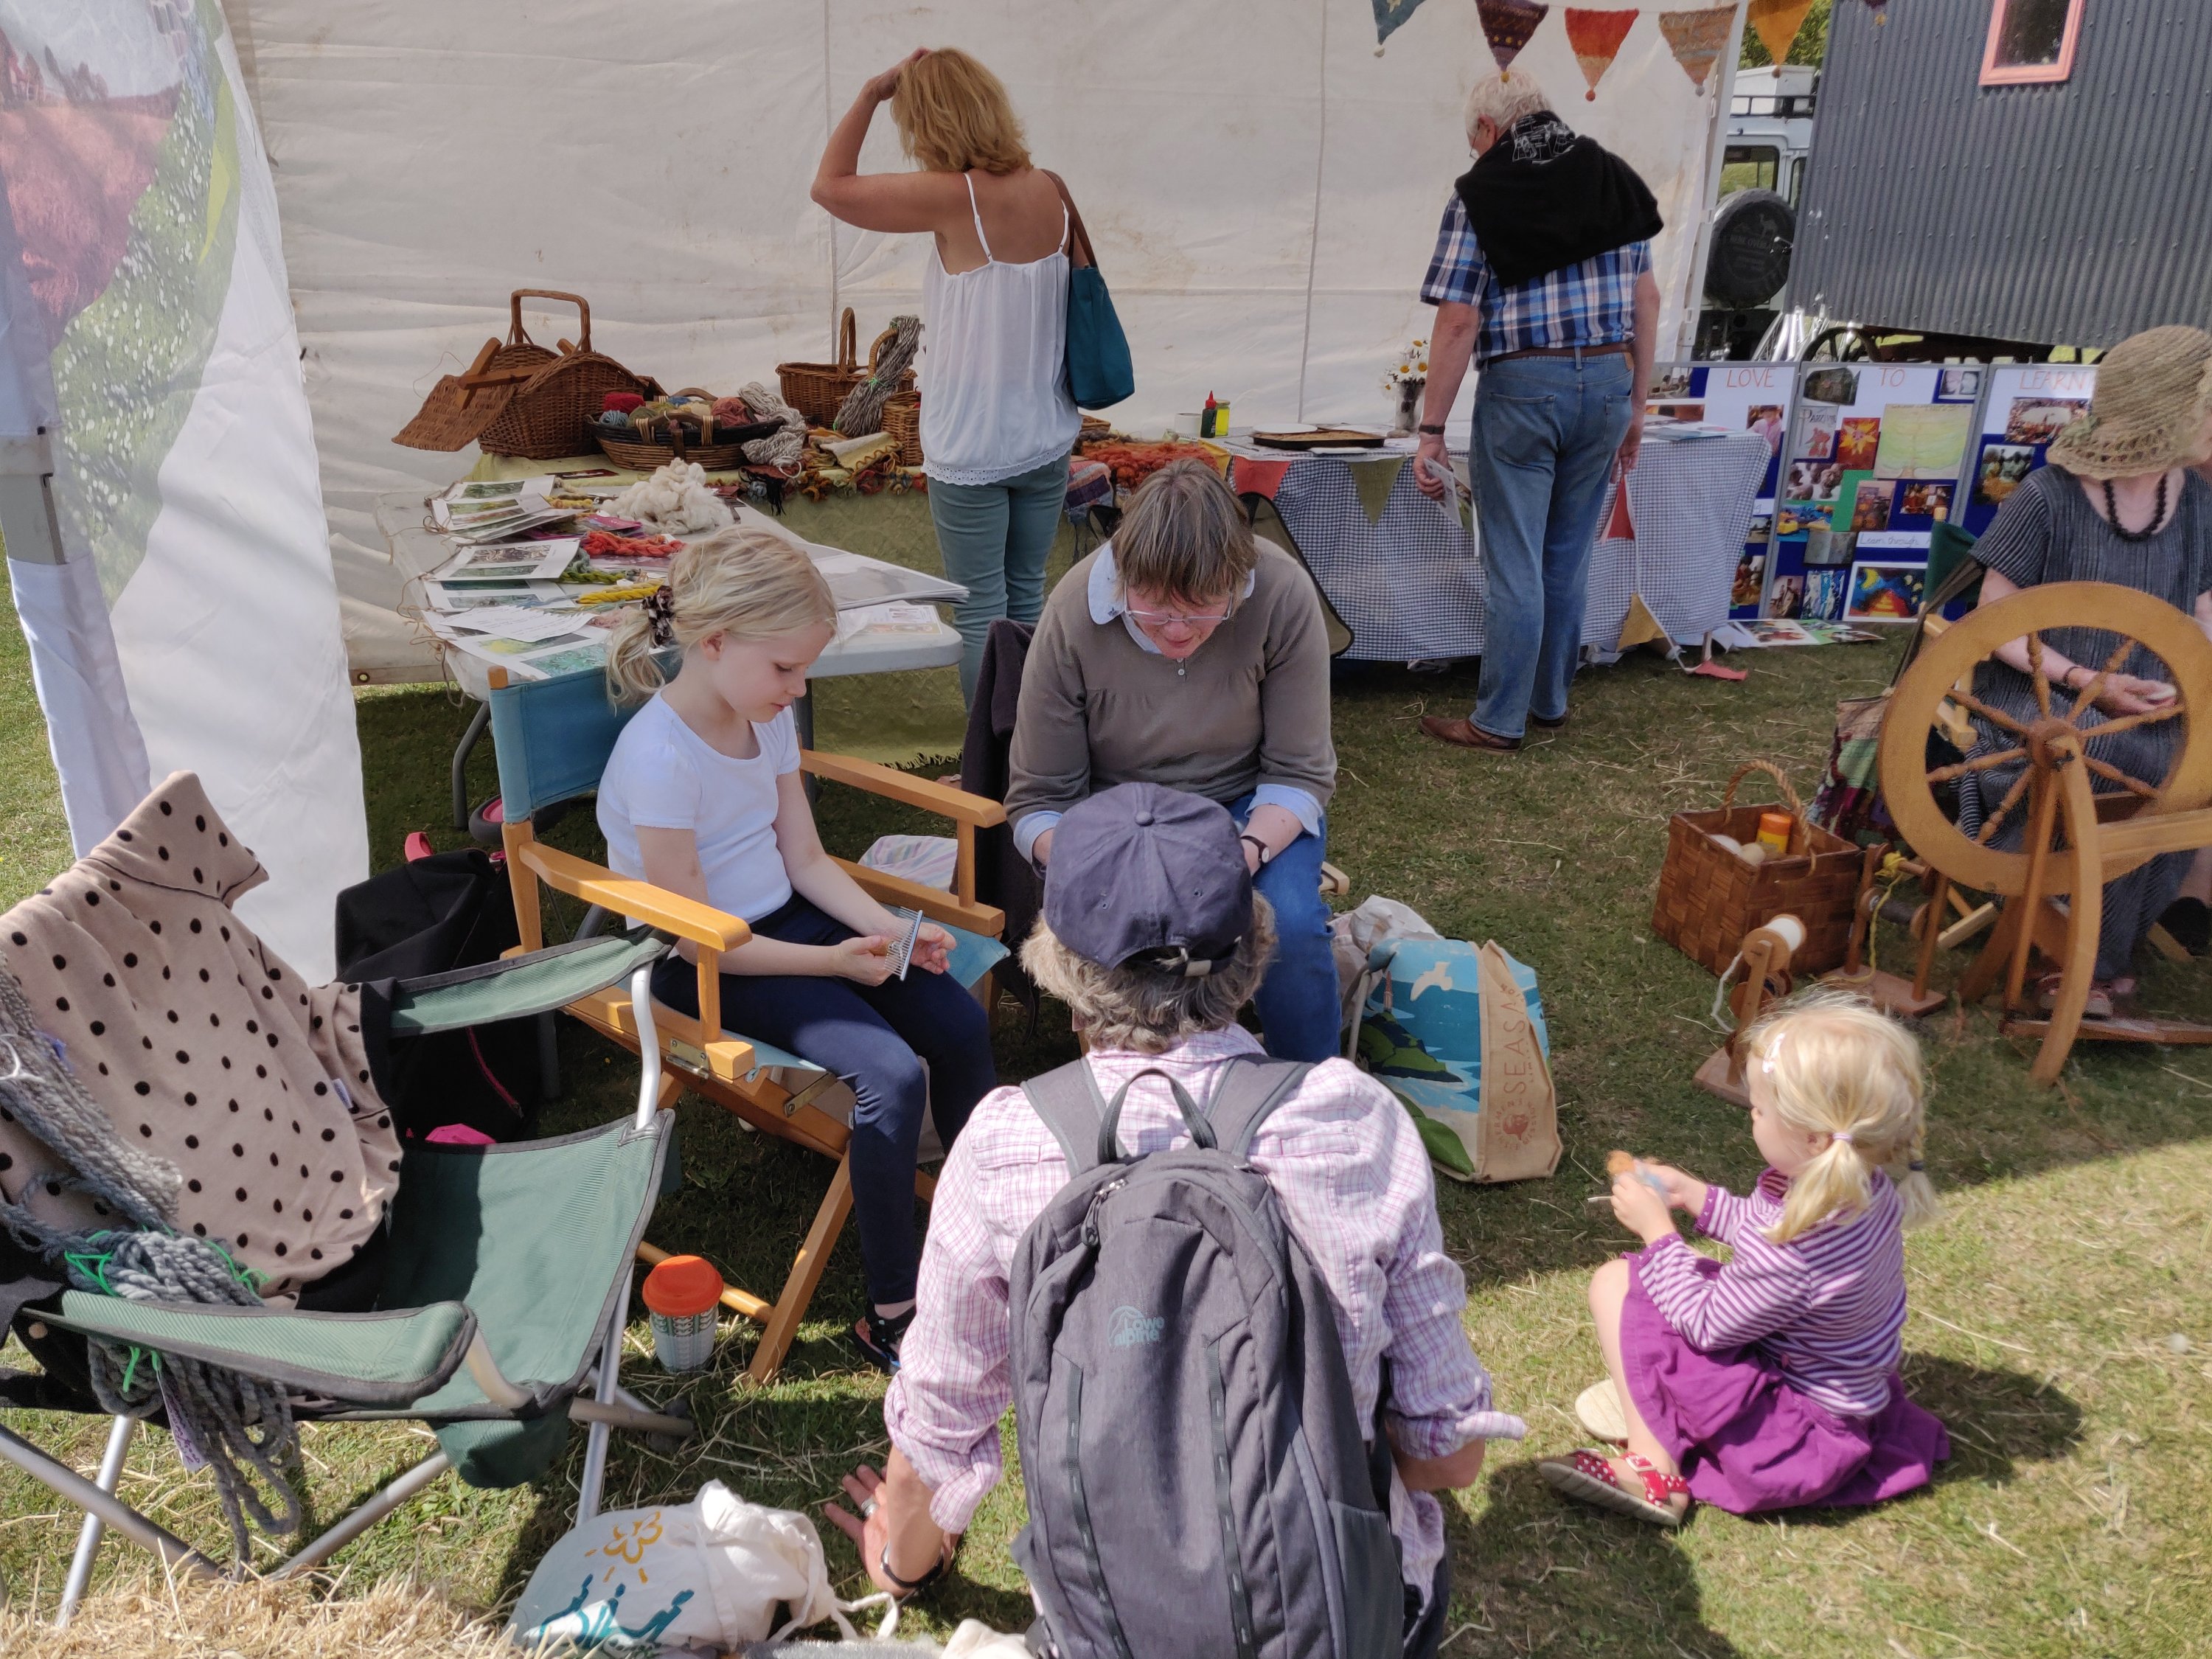
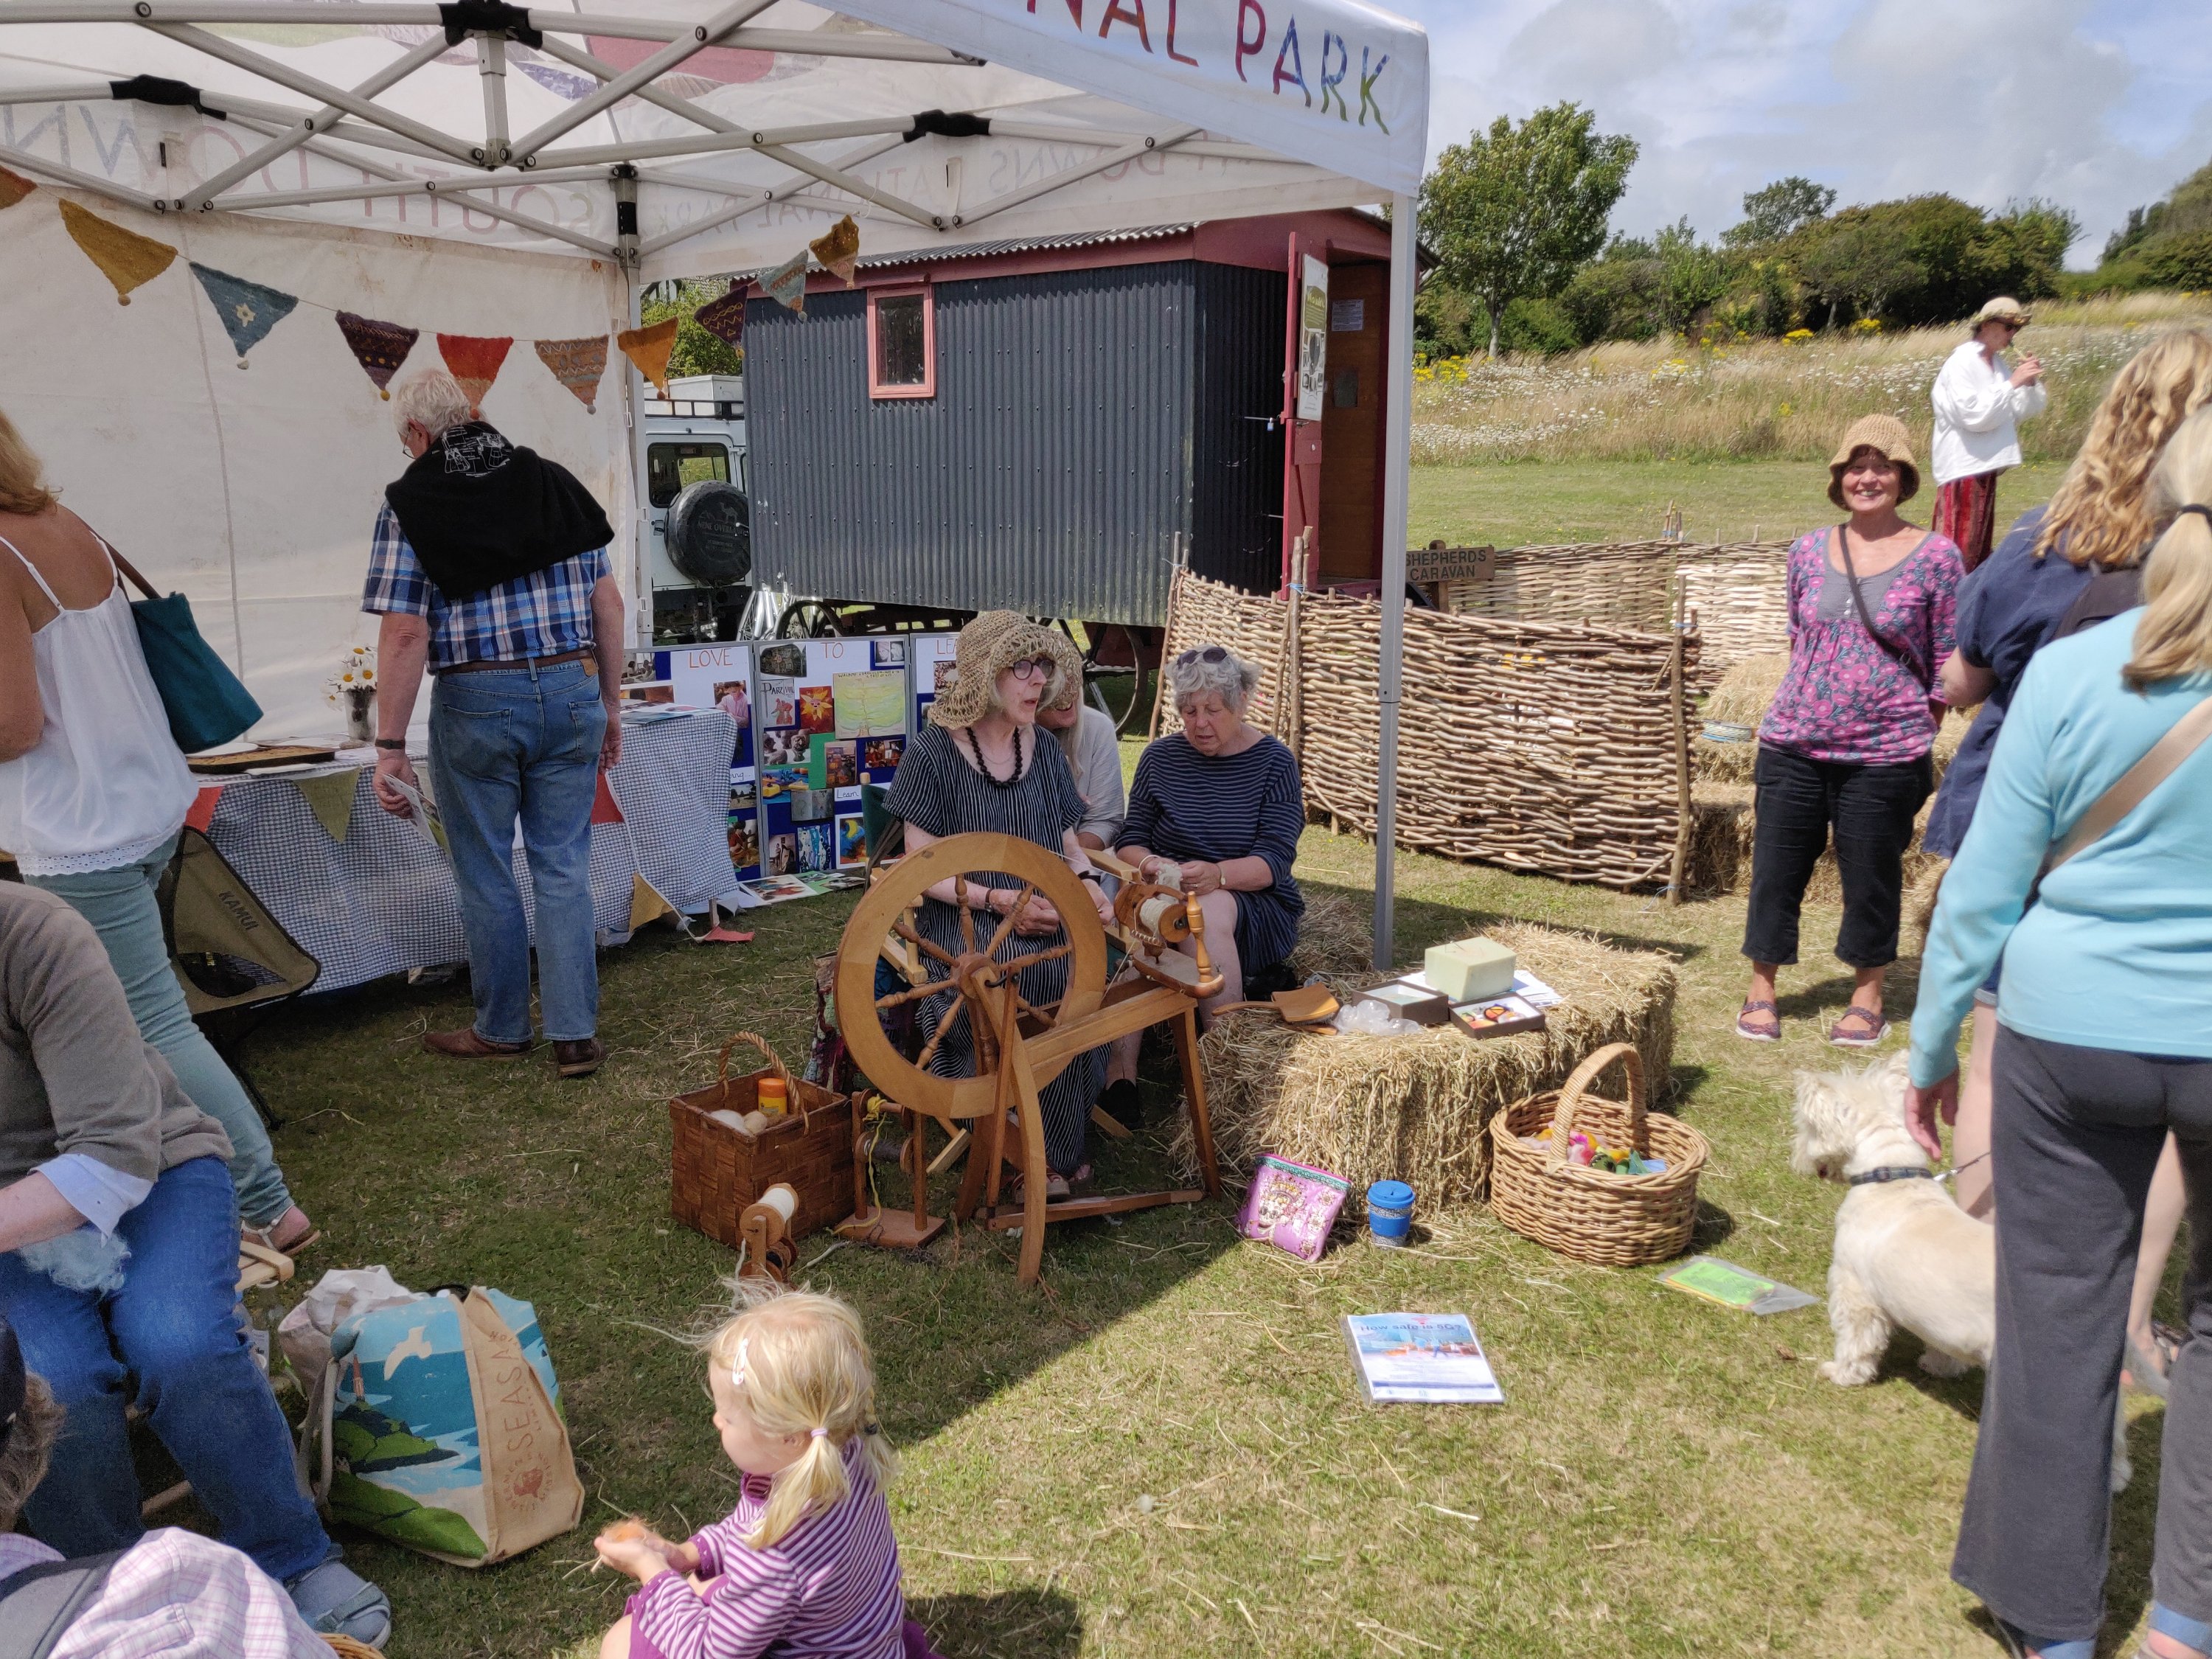
The South Downs are home to the Southdown breed of of sheep, the wool from which can be used for hand spinning. So to support the local Shout Downs national park and sheep farmers I joined several other members of my local spinning group, Woolly Umbrella, and took my skills (basic as they are) along to Wild Chalk. This free event, organised by the South Down National Park Rangers, was held in East Brighton park. Our part was to demonstrate spinning wool and encouraged people to have a go. I took along several drop spindles and a sack of washed fleece. Others brought along a spinning wheel, drop spindles and needle felting to share, plus an exhibition with some beautiful examples of naturally dyed, handspun wool. Most people were spinning the local Southdown fibre but mine, to my shame, was Texel cross Southdown.
As you can see children and adults alike really loved to watch, and most of them tried spinning from fleece to some extent or other.
I practised with a newly acquired Turkish spindle and using the Andean Plying technique even produced some reasonable 2ply.
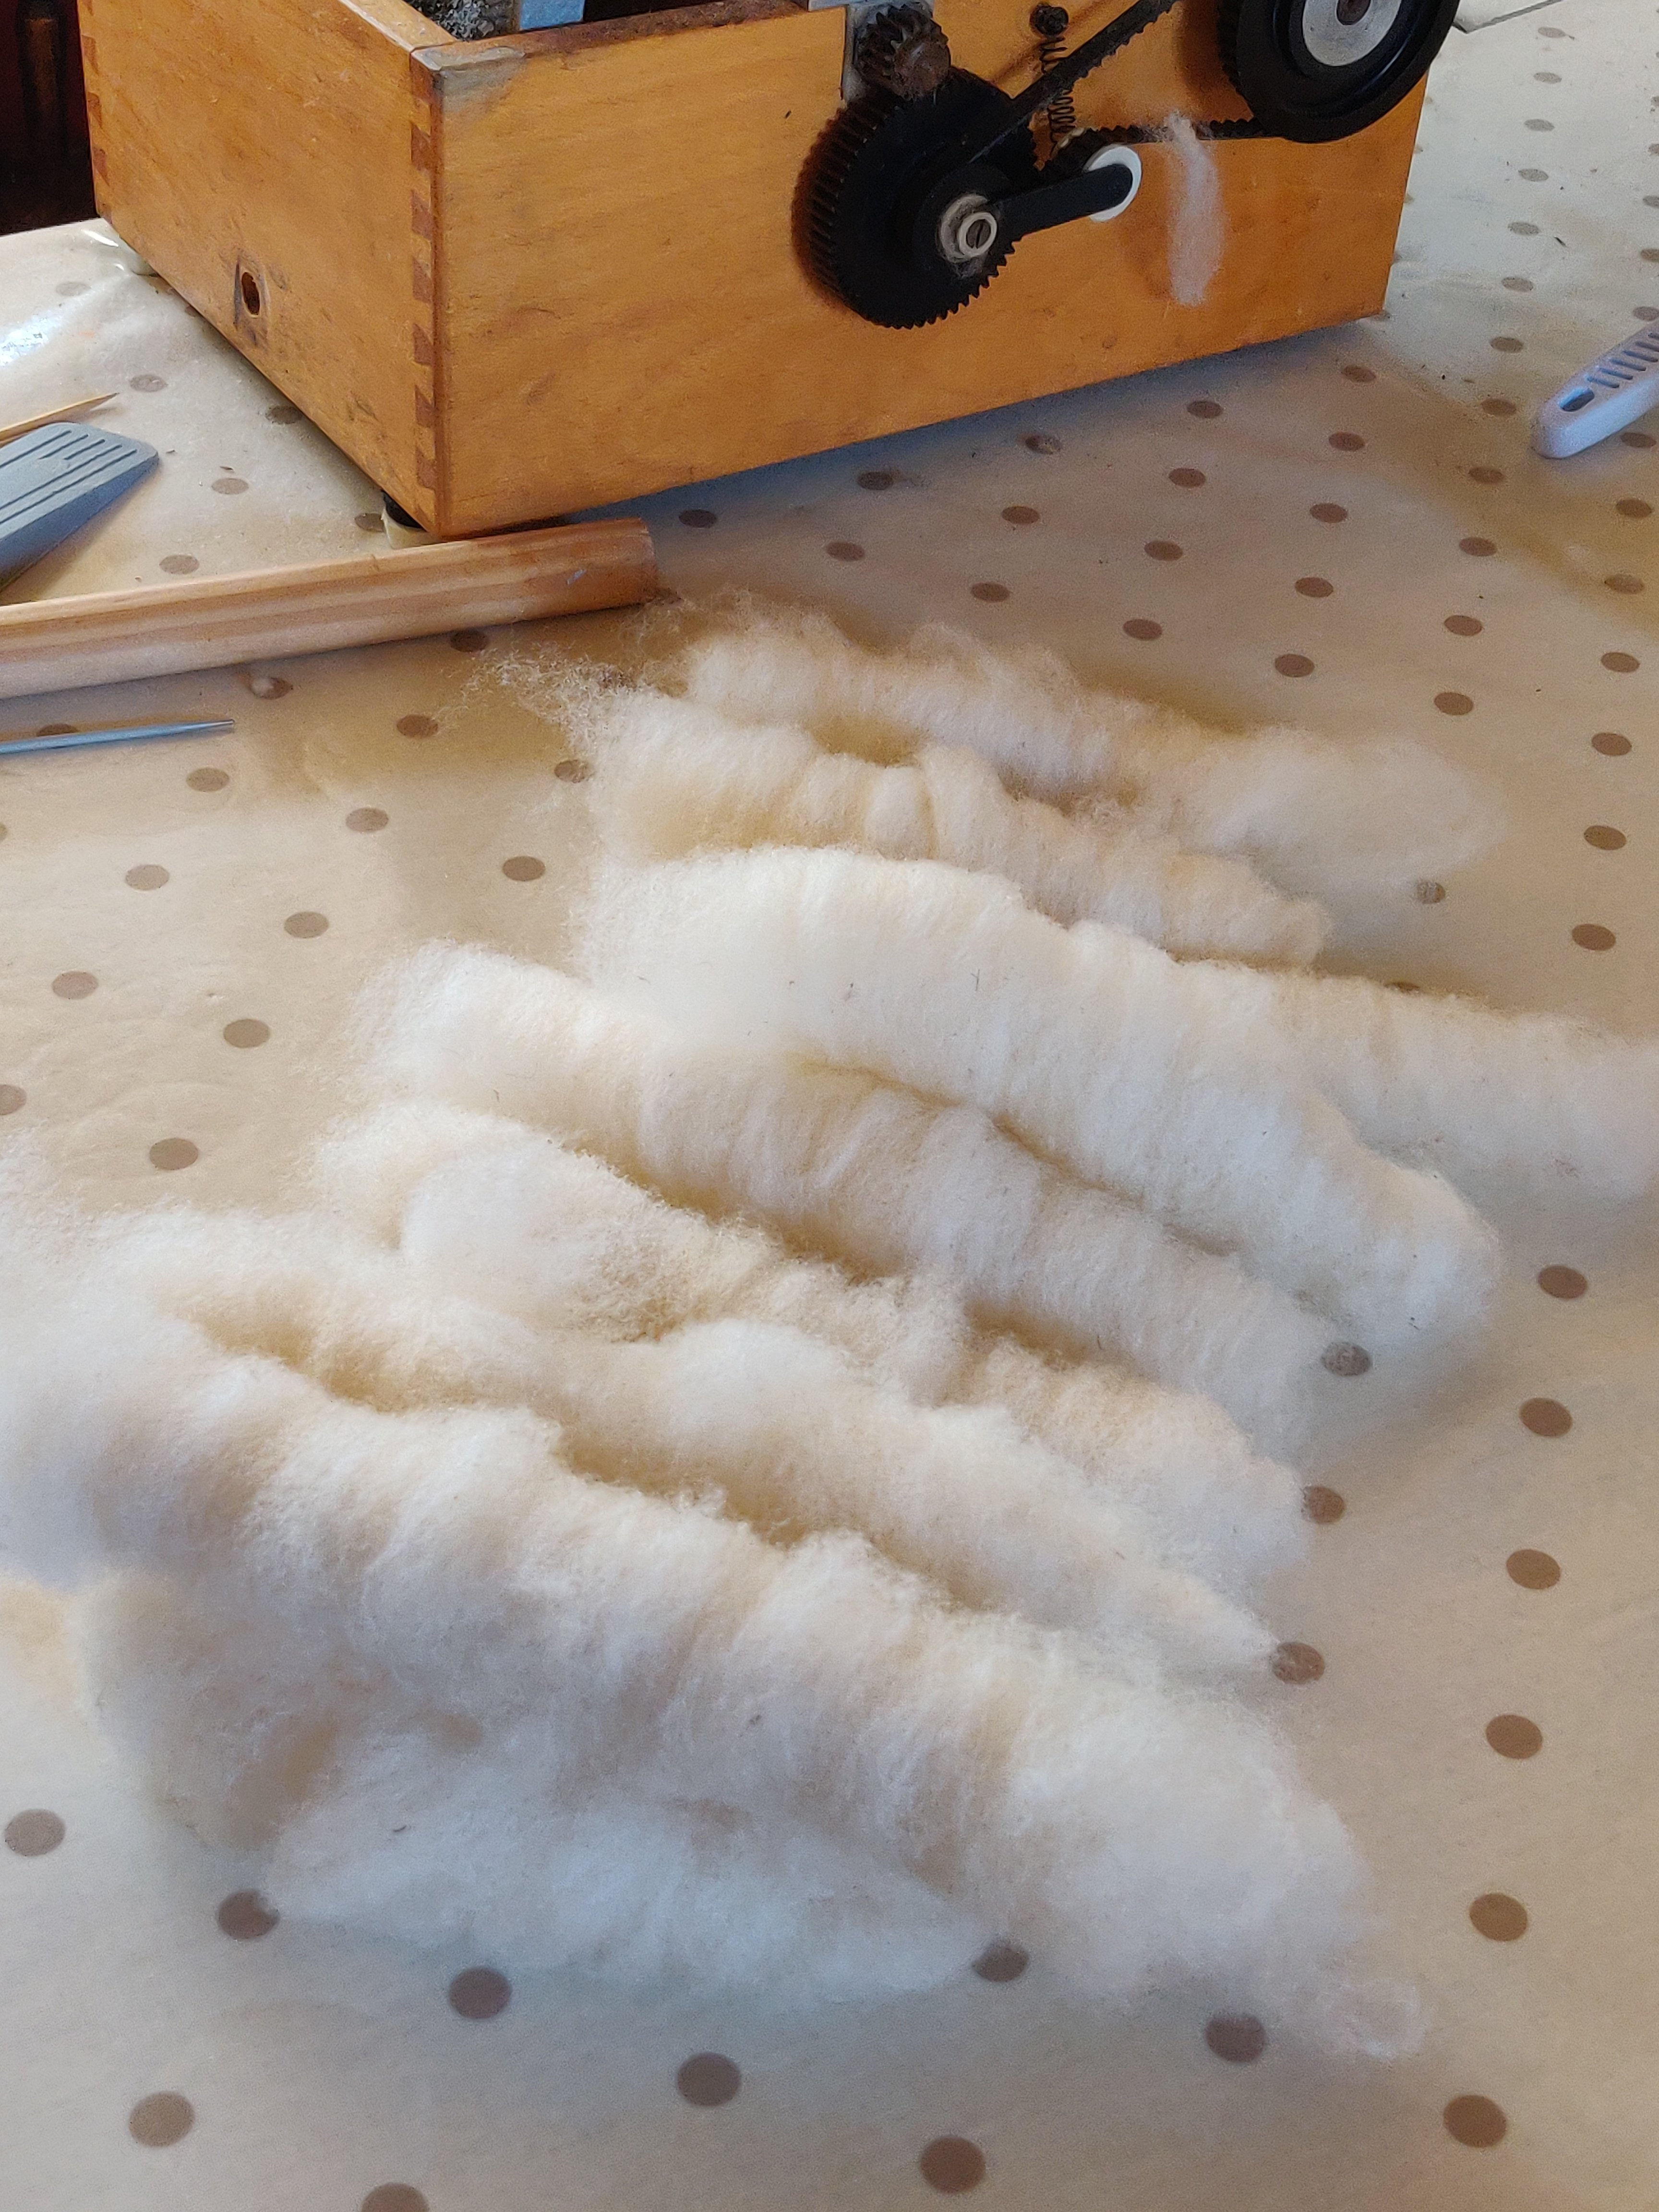
I just need to share this pile of rolags waiting to be spun. They are made from a Clun Forest fleece which is crimpy and lustrous. My fingers are itching to spin, but I have other jobs to do first.