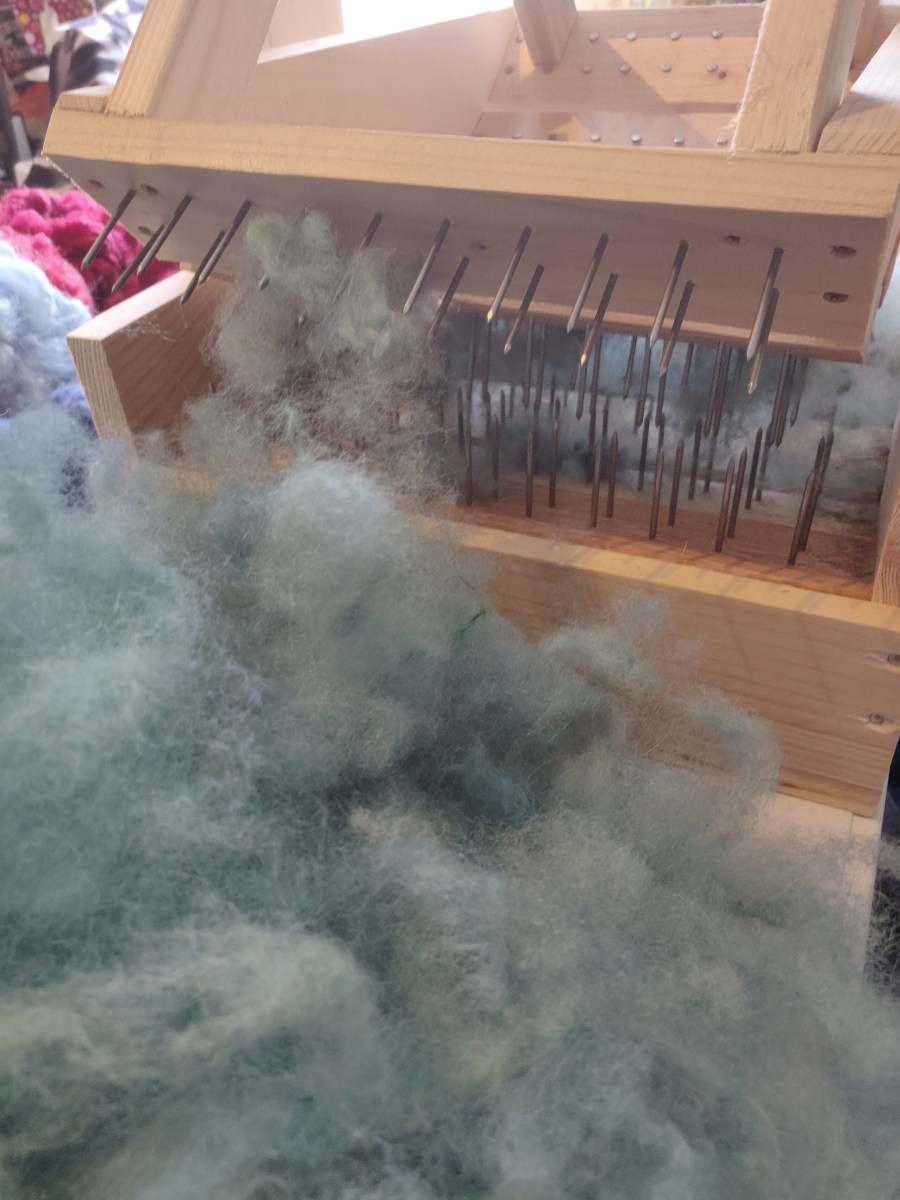
We had a few rainy days recently so I put a lot of fleece to soak outside – hoping the rain water would help the process along. The catch of course was that I then didn’t want the waste the opportunity that the glorious weather we had today offered for washing the fleece in the garden and getting a head start on the drying.
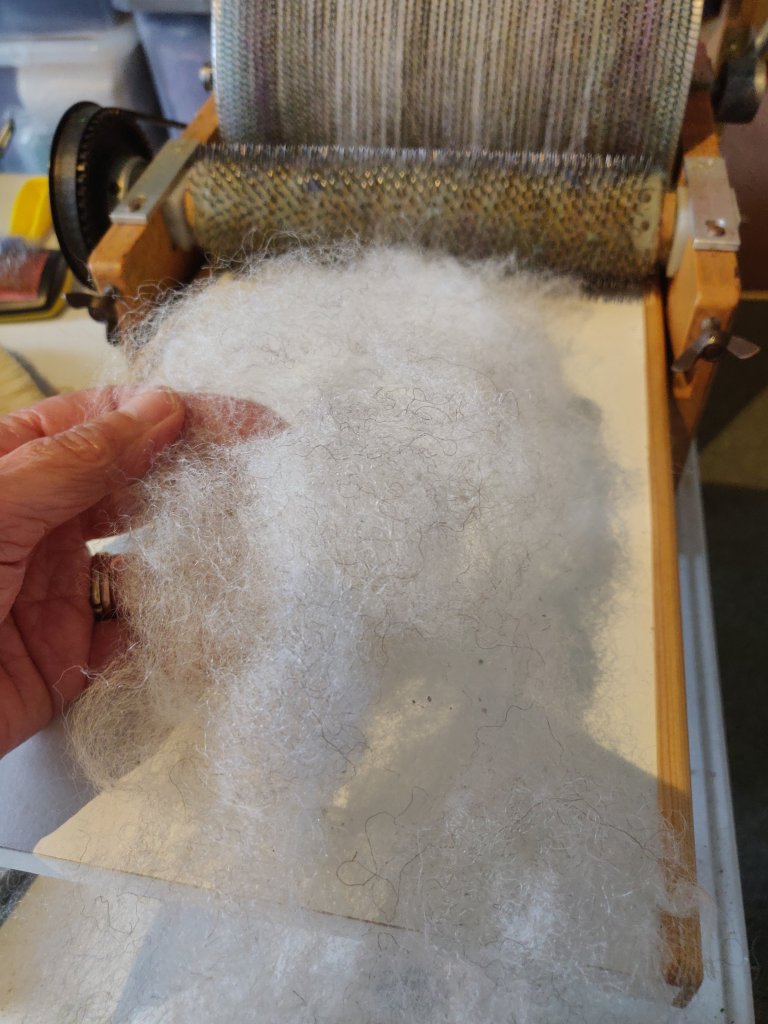
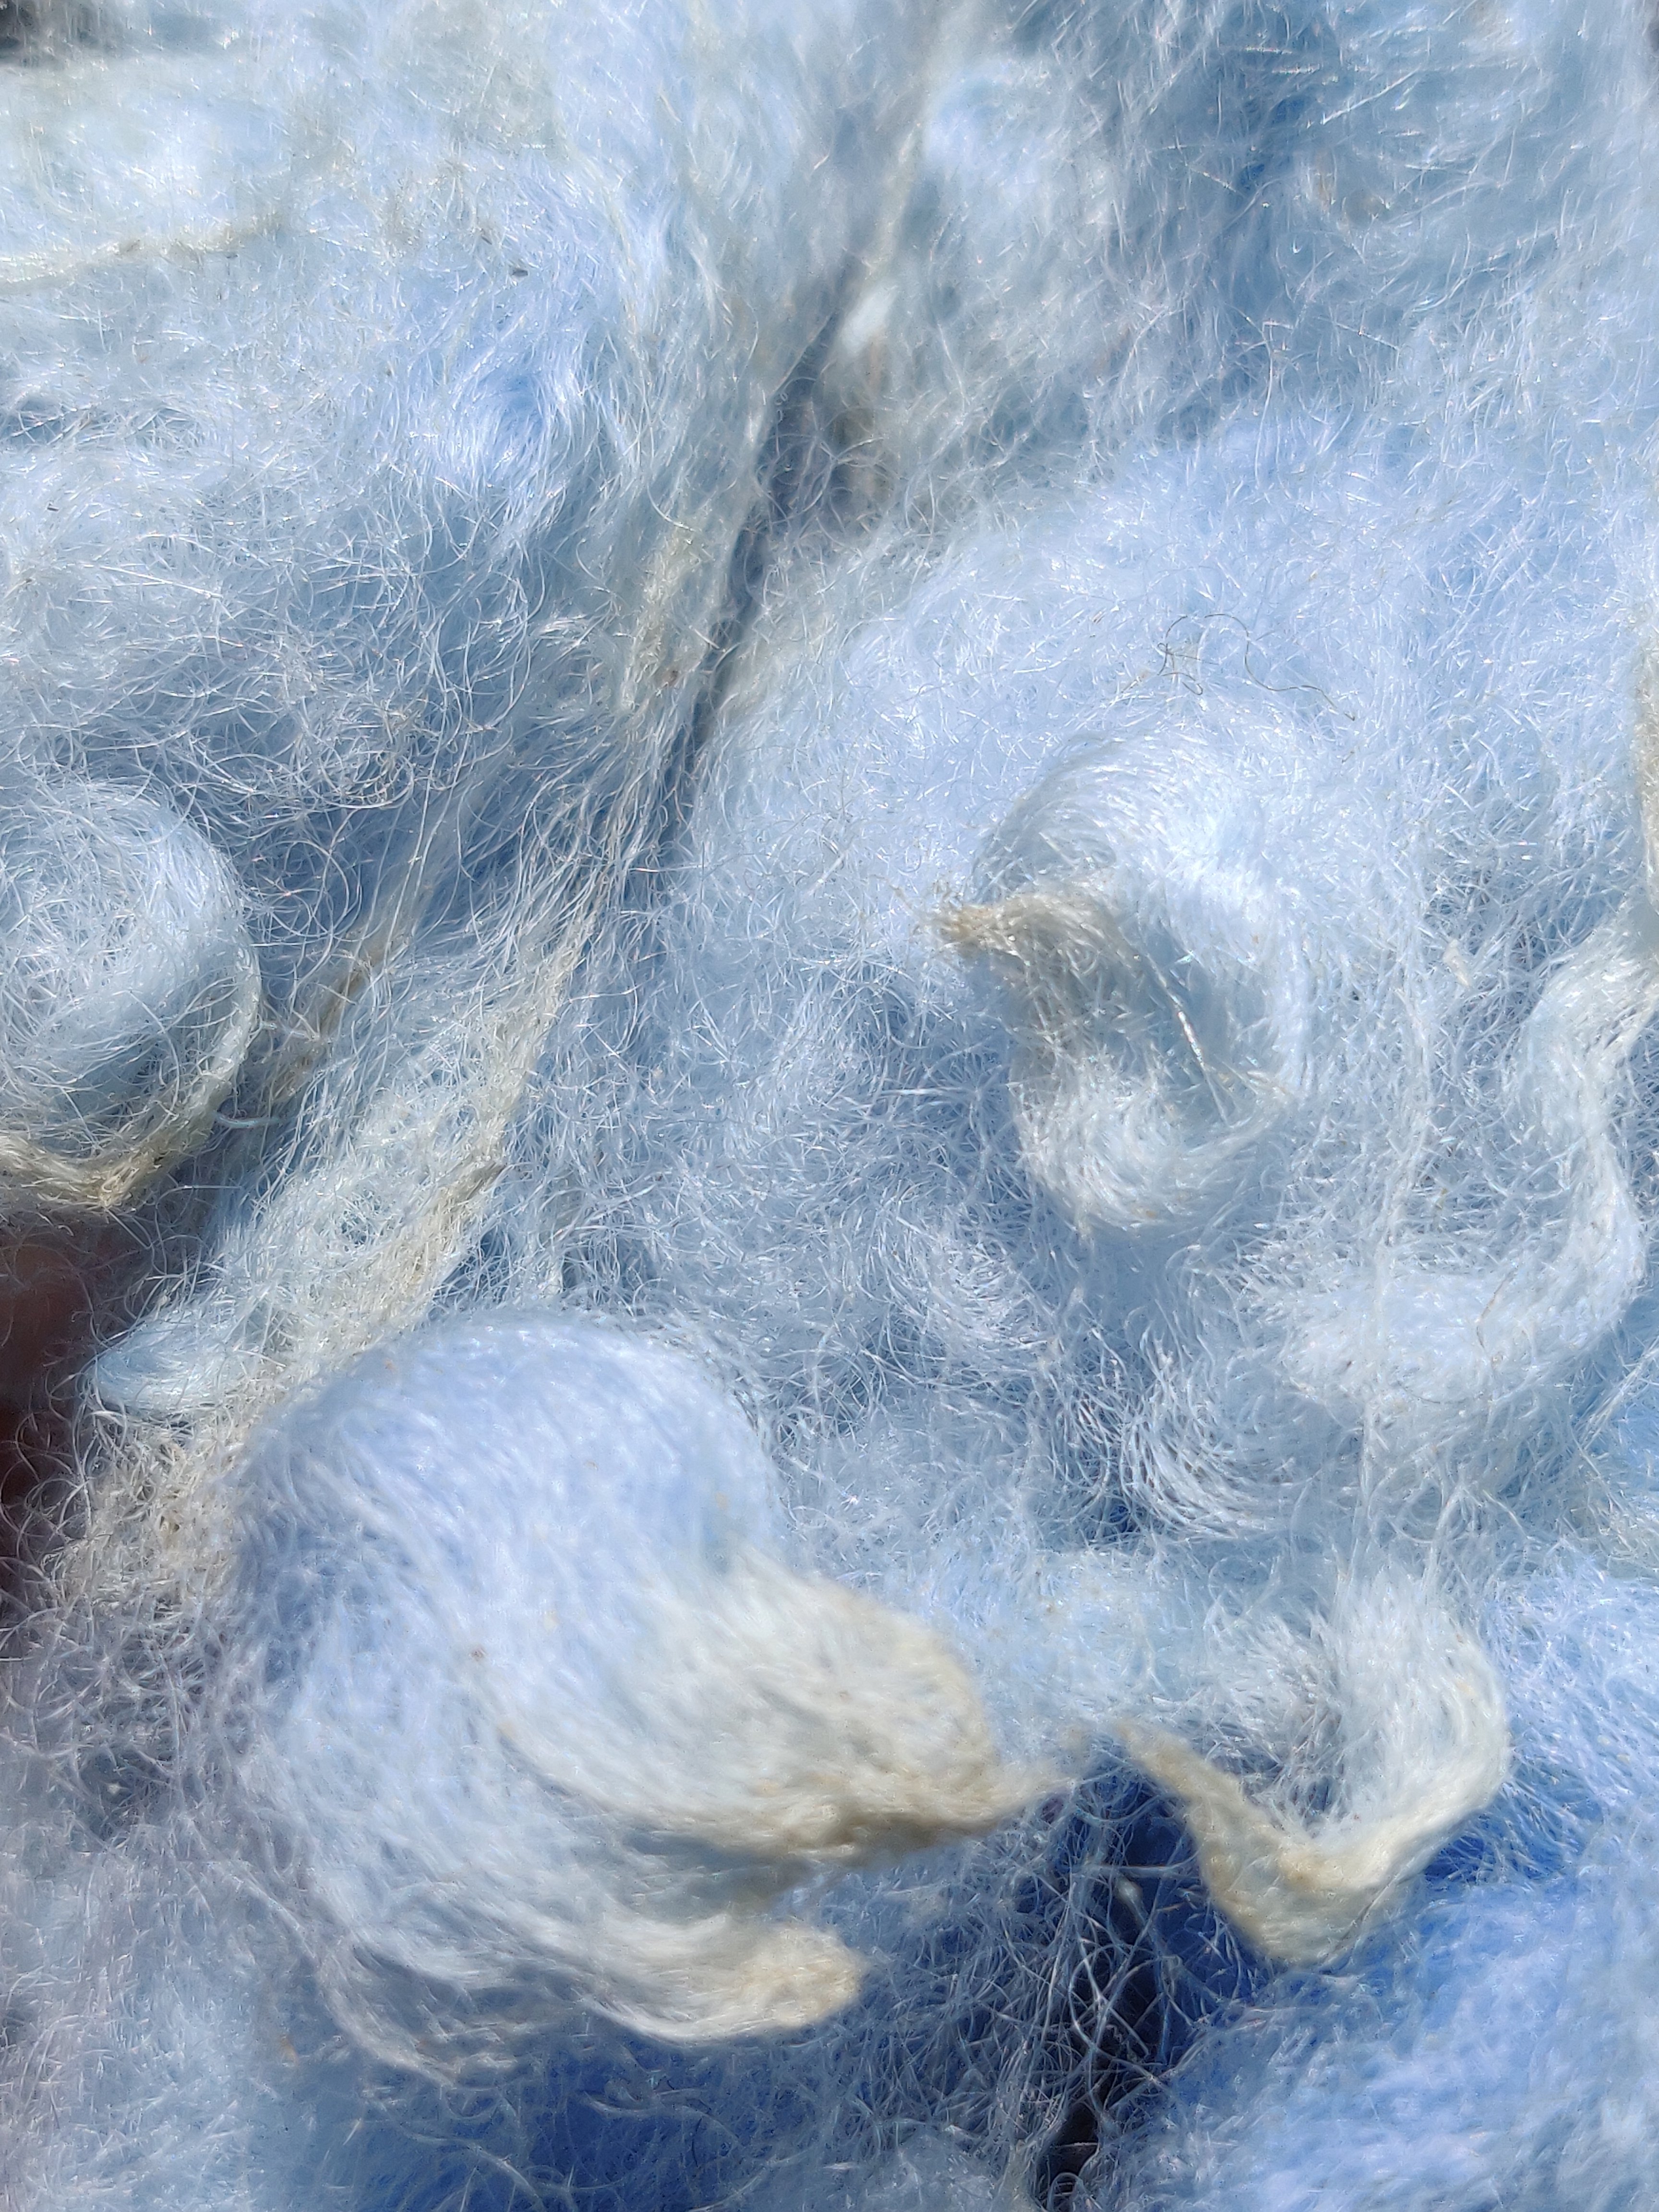
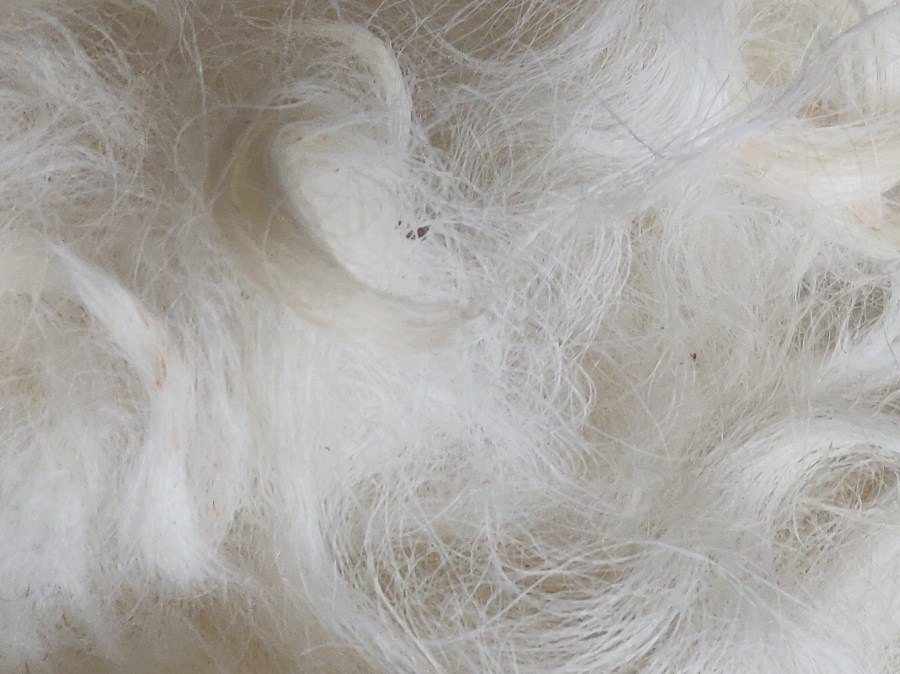
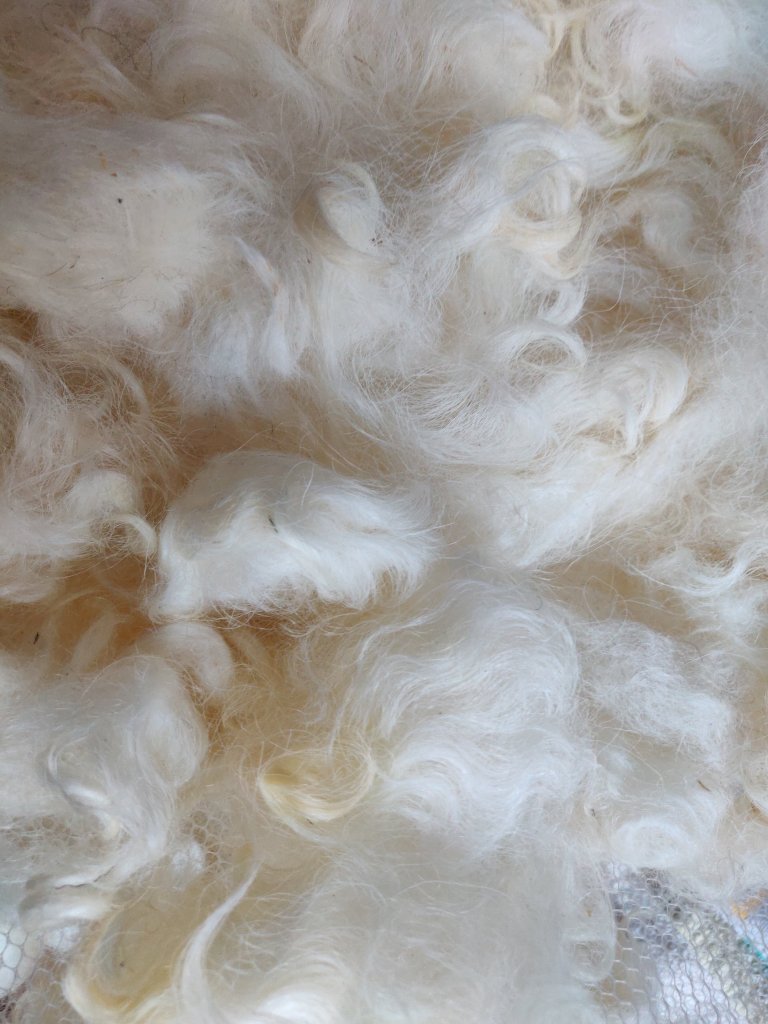
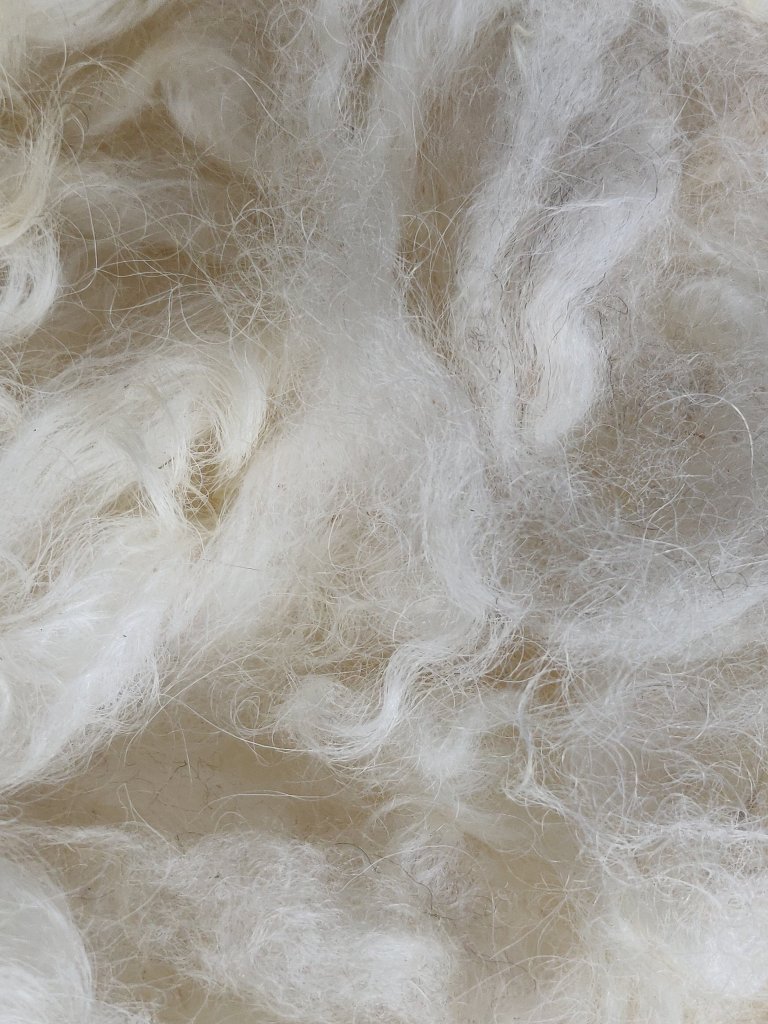
When will I learn? Four hours later I do have a load of lovely white fleece hanging up to dry on meshes, but I am exhausted.
Because I had soaked the fleece in cold water for a few days, I had to wash it by slowly heating it in batches in a pot on a stove. I wish I had an old Burco boiler – my Mum used to use one for washing the bed linen. I will keep an eye out for one. Using pots meant that I had to do four batches. I have two big maslin pans I use for this and for dyeing, so after heating the first one, the second could be warming whilst the first was cooling sufficiently for me to handle it.
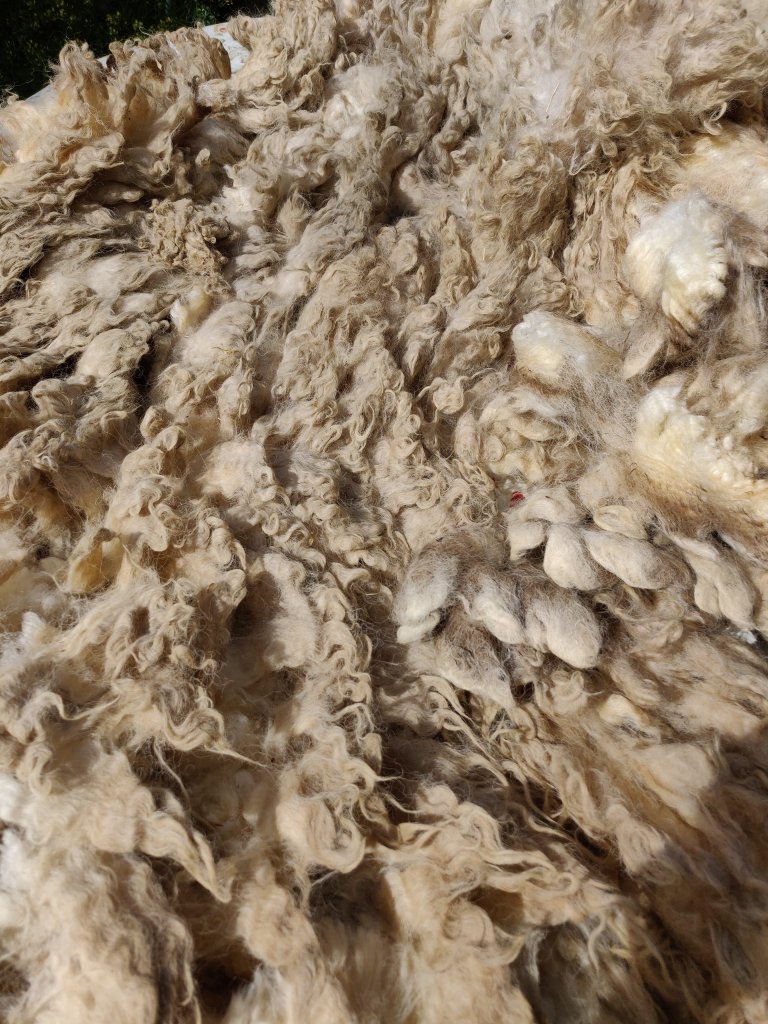
It was a pretty filthy fleece and the overnight cold water soak had really helped loosen the dirt, but I still had to give each batch two washes before rinsing twice.
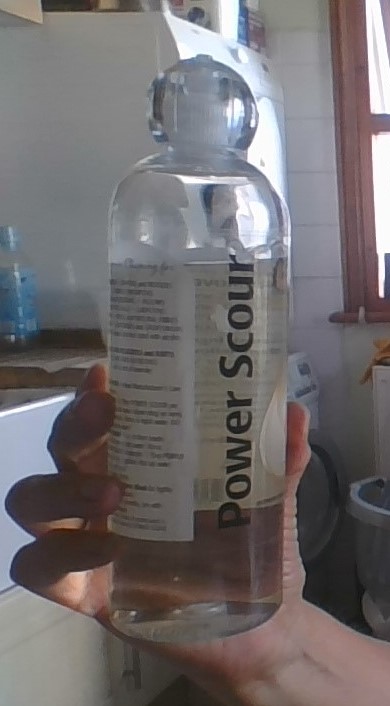
I’ve invested in both Fibre Scour and Power Scour for washing fleece, as well as working with washing up liquid. I’ve not tried Kookaburra or any other as I haven’t found them for sale in the UK. The results of both of the ‘professional’ scourers I have tested are very good, there is no doubt about it. But, and its a big BUT, is it financially worth it?
This was the first lot I have washed using Power Scour, but because I did all the fleece with this, I don’t have any of the same fleece washed in any other way to compare. However, the Power Scour has done a good job. It doesn’t foam up so is easier to use than washing up liquid. Price-wise per wash some people claim its no more expensive than using washing up liquid, but in the UK the 473ml (16 oz) bottle of Power Scour cost me £21! OK, they claim you only need a tablespoon to wash a pound of fleece, using around 2 gallons of water (that is 15ml to wash approximately 450g of fleece in 9 litres of water), but I think this will still work out more expensive than using washing up liquid.
UPDATE 11th August 2020
https://www.unicornclean.com/fibre
The Unicorn website recommend using 1 tablespoon of Power Scour to 2 gallons of water (15ml to 9 litres of water) when washing in a washing machine. As those of us in the UK don’t generally have top-loader washing machines this is not usually an option for us, but it is useful to know the water to detergent ratio as opposed to the fibre weight to detergent ratio.
2 gallons being equivalent to 9 litres is neat as that is the capacity of my maslin pans. My fleece was in batches of around 250-300g, so I used 10ml per batch). My frugal soul overrode my experimental spirit and I have to admit that I did the second wash in washing up liquid.
I also added a few drops of Tea Tree oil to the second wash for its antibacterial properties, and lovely clean smell. Fibre Scour already has Tea Tree oil as an ingredient which is a plus for me, as well as the clever bottle that measures the dose each time.
Power Scour ingredients are listed as:
Nonionic and Anionic Surfactants, Propylene Glycol or Ethanol, Copolymer, Lavender Fragrance & Filtered Water.
POWER SCOUR COST
Lets do the maths: At 15ml per wash you can get between 31 and 32 washes out of the 473ml bottle of Power Scour. If 15mls wash 450g fleece this means you can wash up to 14 kilos of fleece with one bottle (assuming you only do one wash using Power Scour).
My bottle of Power Scour cost £21 (including post and packing). Divide £21 by the number of washes (31) makes it about 68 pence per 450g wash, or £1.50 per kilo of fleece.
So how does this compare to washing up liquid?
WASHING UP LIQUID COSTS
Washing up liquid ranges between £5.64 per litre for Method, £3.56 for Ecover, £2.88 per litre for Fairy, down to £1.78 for supermarket own brands (all prices for Tesco website 30th July 2020).
Lets work with Fairy as it is pretty like Dawn, the one recommended by many spinners in the US. I will work with the regular sized 625ml bottle, not the giant one (it will offer a bit of a saving if you opt for that size, in the same way that buying a gallon of Power Scour should save on cost per wash).
I reckon you need a pretty good squirt of Fairy to wash even 100g fleece. I count 1-2-3 whilst squirting and find this about right. I’ve just measured this and it comes out as 20ml of washing up liquid (give or take a bit for the size of the nozzle and the viscosity of the liquid).
Lets do the maths again: At 20ml per wash you can get between 31 and 32 washes out of the 625ml bottle – so far so similar! However, here is the difference, if 20ml is needed to wash 100g fleece you can only wash up to 3 and a bit kilos of fleece with one bottle of Fairy, (assuming you only wash the fleece once).
A 675ml bottle of Fairy costs £1.80 at Tesco. Divide £1.80 by the number of washes (31) makes it about 6 pence per 100g wash, or 60 pence per kilo of fleece. Hmm, that seems a big difference; less than half the cost per kilo of Power Scour.
So unless my amounts or maths are totally off the mark, washing up liquid is clearly cheaper to use that Power Scour, even when the amount of washing up liquid used to wash a kilo of fleece is significantly more than Power Scour.
FIBRE SCOUR COSTS
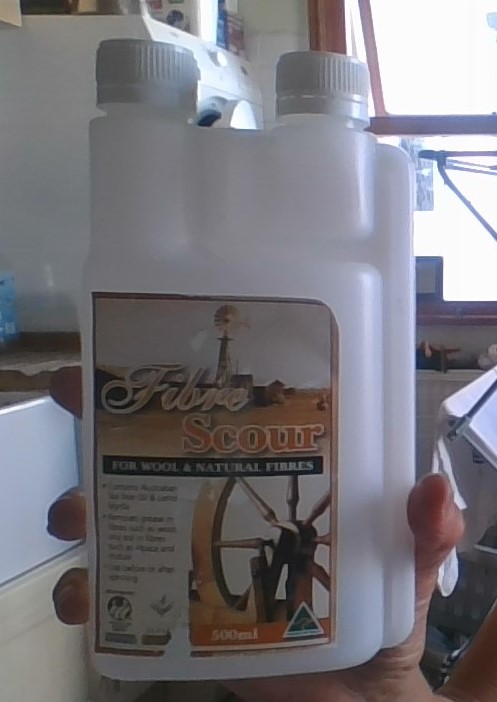
Fibre Scour recommends 20ml to 10 litres of water – but does not give a fibre weight which I find really annoying – you can wash 10g or 500g of fibre in 10 litres! So lets opt for the 500g.
Lets do the maths: At 20ml per wash you can get 25 washes out of the 500ml bottle of Fibre Scour. If 20mls wash 500g fleece this means you can wash up to 12.5 kilos of fleece with one bottle (assuming you only do one wash using Fibre Scour).
My bottle of Fibre Scour cost £14.99 (including post and packing). Divide £14.99 by the number of washes (25) makes it about 60 pence per 500g wash, or £1.20 per kilo of fleece. Marginally cheaper than Power Scour, but no real economic challenge to washing up liquid.
Lets return to the fact that the results of both Fibre Scour and Power Scour are very good, there is no doubt about it. They also seem to make the washing a lot easier, removing the dirt more thoroughly and getting the stains out. But is it worth it?
CONCLUSION
In believe the reviews that compare the cost as ‘not that different’ are based on purchasing Power Scour in the US, where it is considerably cheaper than in the UK. US websites advertise it at around $19 for the 473ml bottle, whereas the cheapest I could find it in the UK was £19.99. $19 is about £14.50 at current exchange rates. Still pricey to my mind, but more in line with the Australian Fibre Scour which costs £12 for a 500ml bottle in the UK.
I wish I could afford to use either Fibre Scour or Power Scour for all my fleece as I do like the result. I’ve opted to purchase another bottle of Fibre Scour as it is a better financial option in the UK.
I look forward to a time when increased sales volume might mean that the ‘professional’ products come down to a more reasonable price. However, until then I shall be saving these for either extremely dirty (but what I hope are good quality fleece), or my ‘best’ planned and purchased special fleece, whilst continuing to use washing up liquid for everything else. I will mostly likely always use washing up liquid if a second wash is needed.
If there is a UK based chemical/cleaning company out there who would like to venture into ecological raw-fleece-washing territory it would be wonderful to hear from you.
There is more about my experiences scouring raw fleece here…