Testing the set of home made pectin

I think I have another post about this, but here goes with my latest version.

Windfalls, some were smaller and more bruised than these

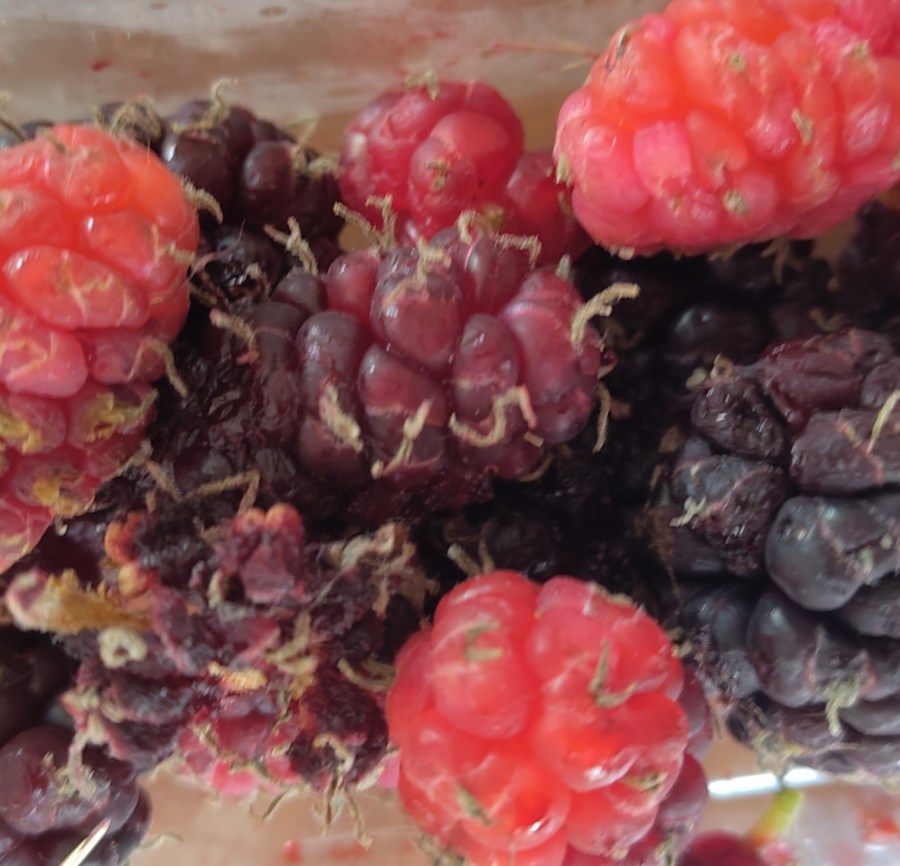
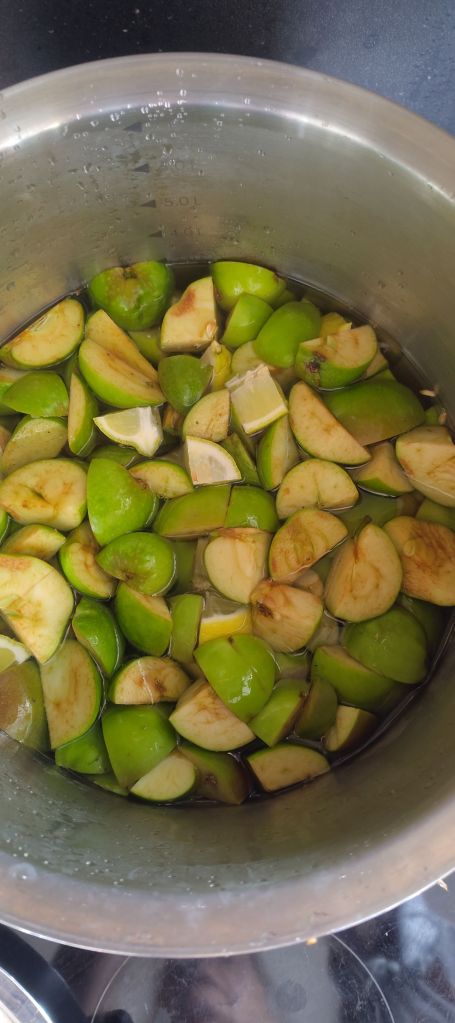
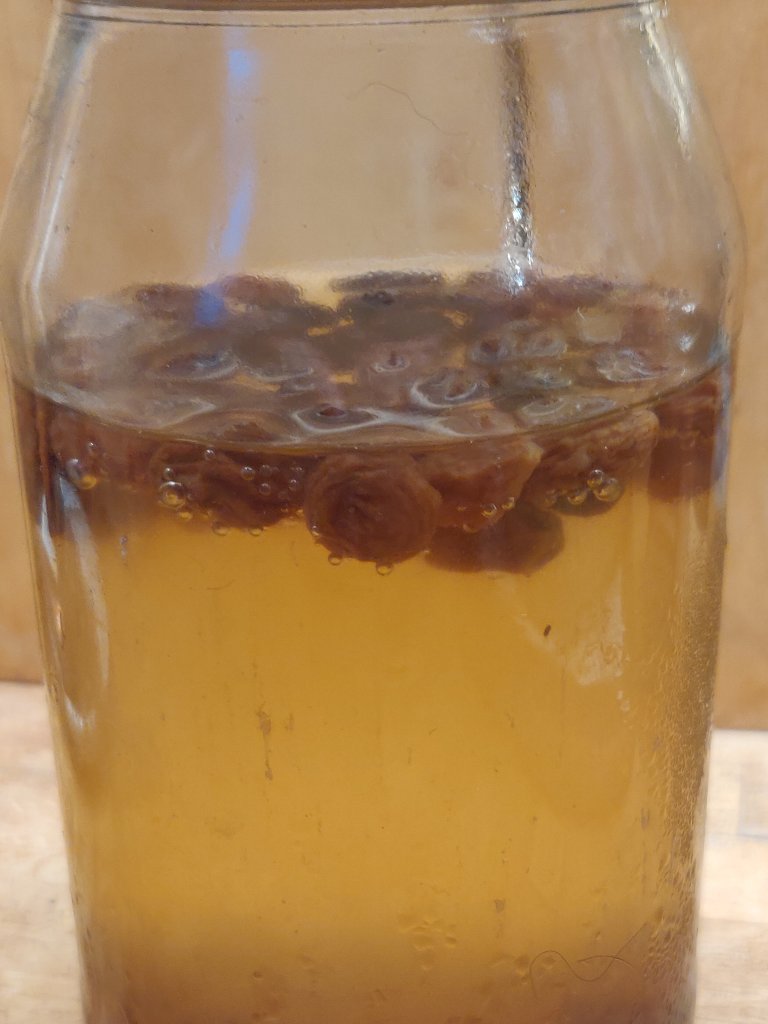
We have a prolific harvest this year, so jam and other preserving is under way. Because there are several punnets of raspberries waiting to cook, I need more pectin. So I made another batch from the windfalls from the apple trees. I cut all the bruising and bugs out, and cut the pieces into 2cm chunks. Then squeezed 2 lemons and put the juice and the squashed peel into a saucepan with the apples with water to just about half way up.

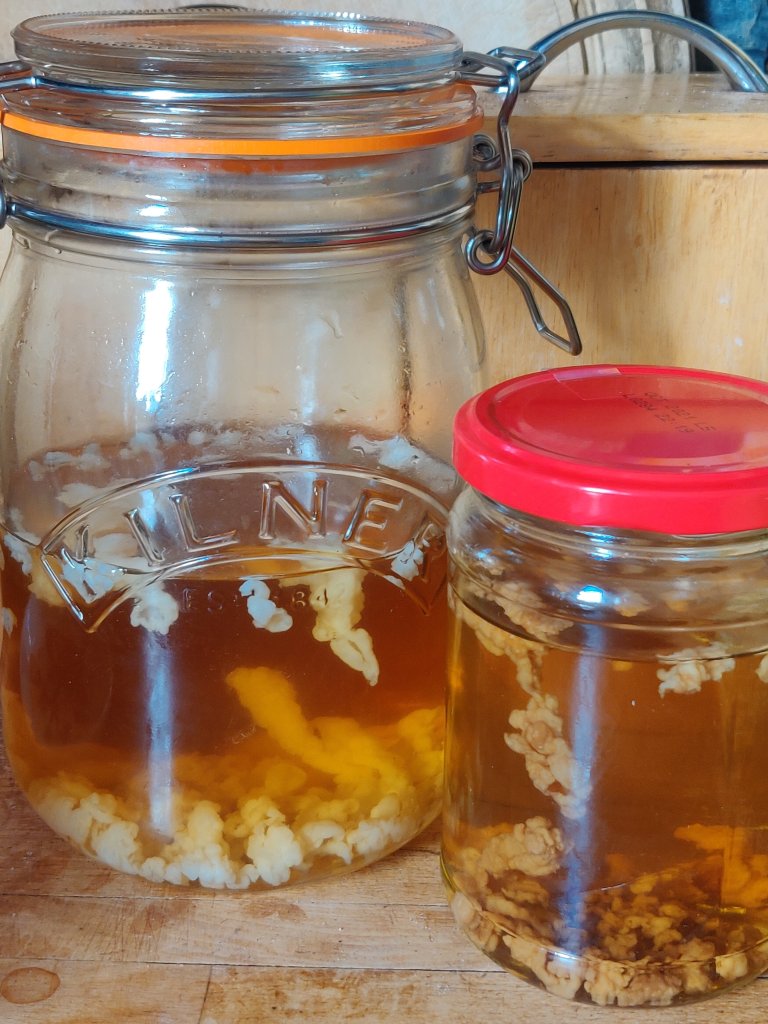
Cook them until they are soft and squash them into a mush. Then strain through a muslin overnight.

Pectin after straining, such a lovely colour..

I am tempted to squeeze more juice out, but that will make the pectin cloudy, it’s up to you. 

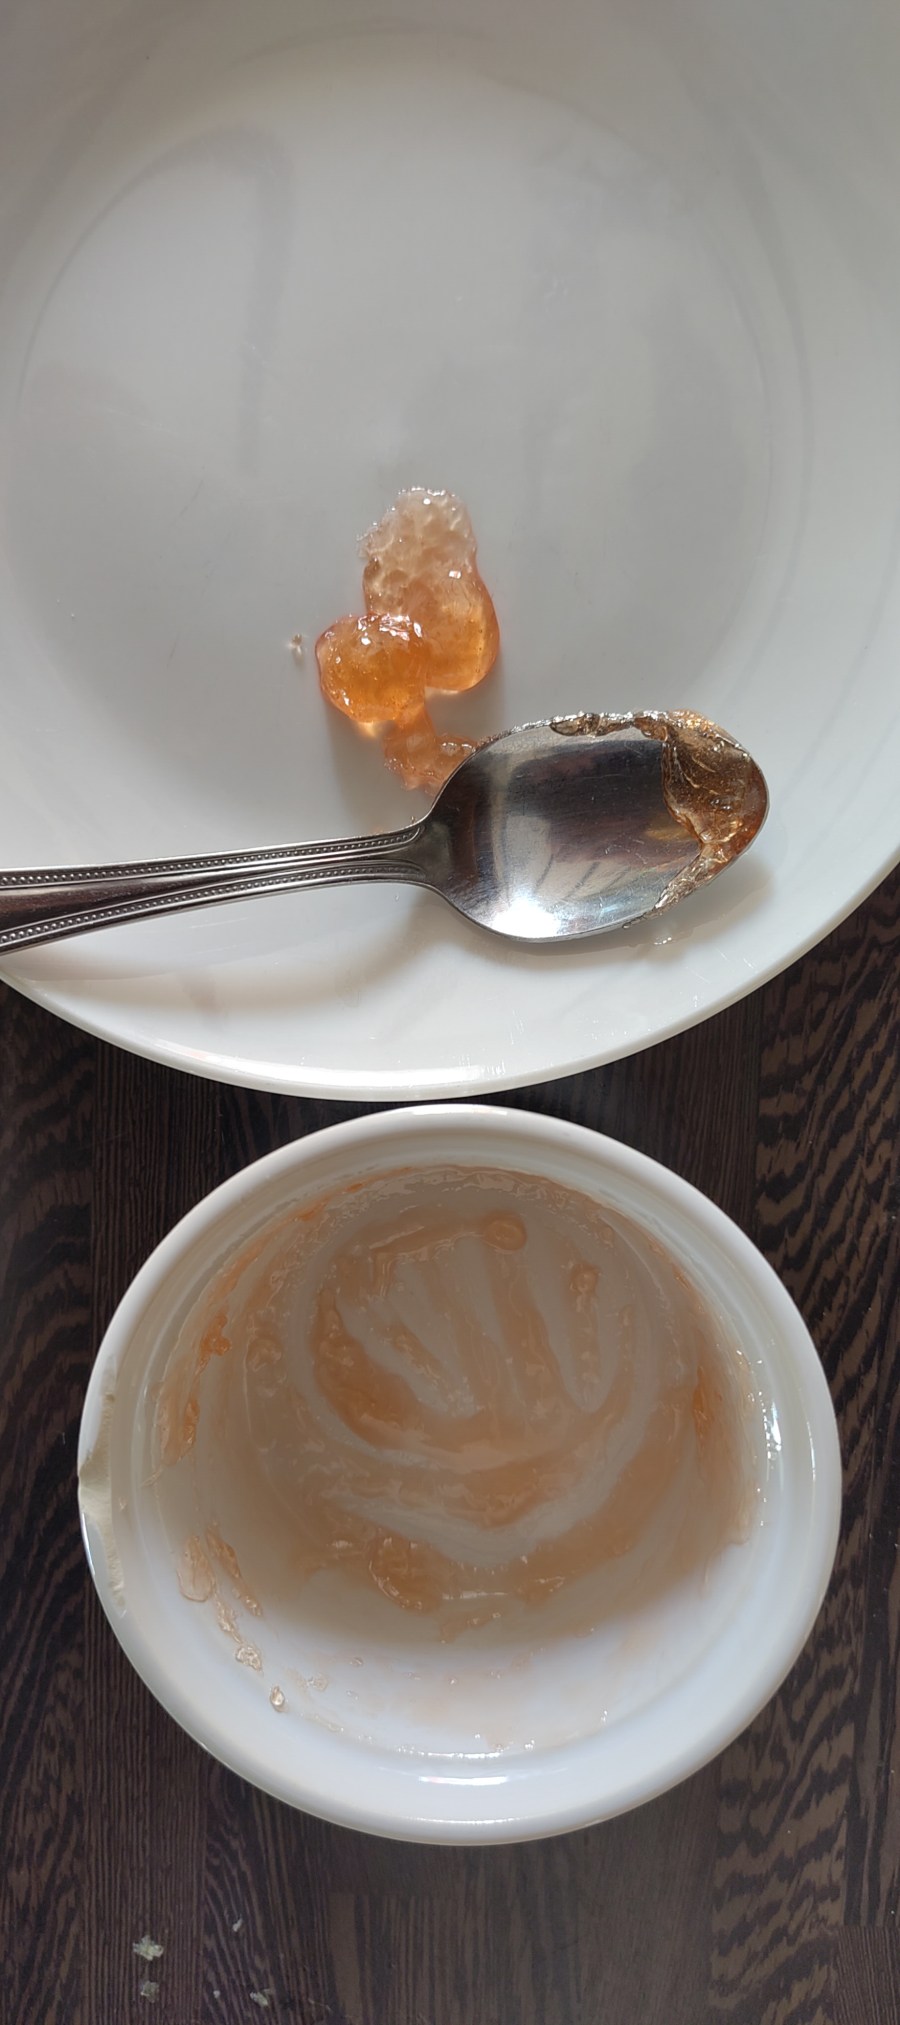
Now check for the set of the pectin. You can put small, equal amounts of sugar and pectin into a saucepan, stir, boil and rest.  But I out the two ingredients into a ramekin  and cook in the microwave for 40 seconds on full power. Take it out and stir. Repeat.

A nice form set, I couldn’t resist licking the spoon – and the blob!

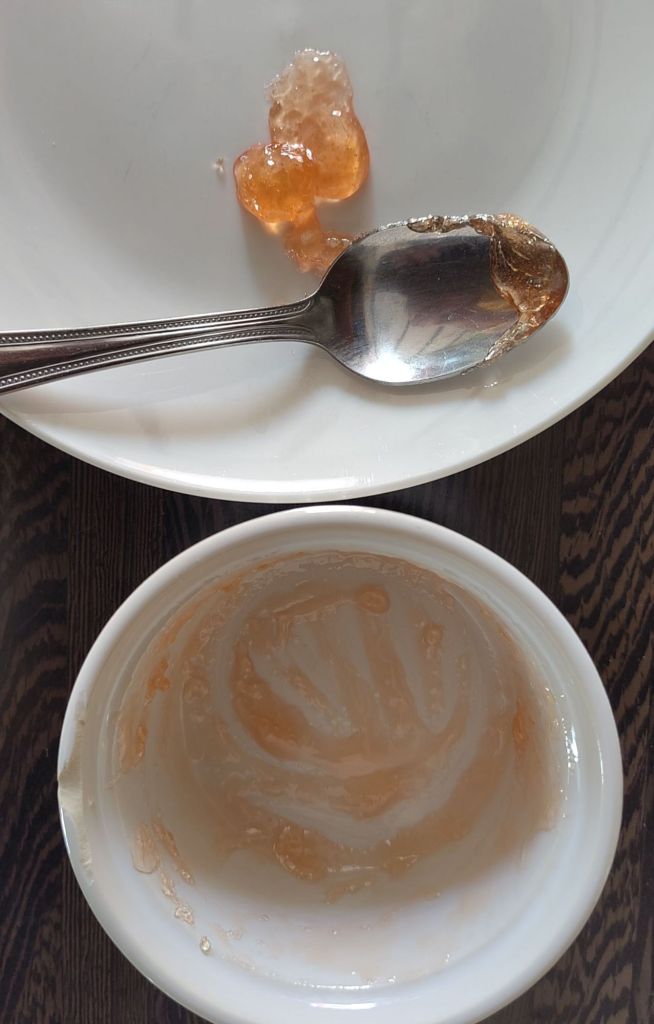
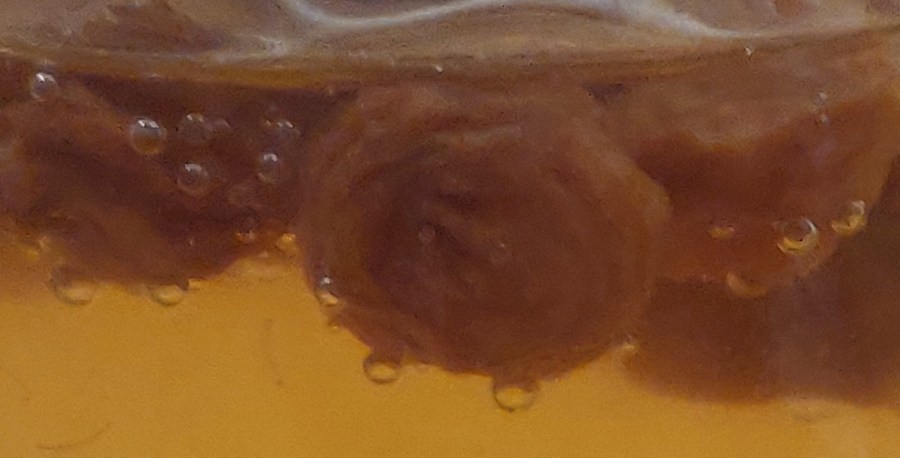
Whichever cooking method to have used, drop a blob onto a chilled saucer and if it sets into a soft lump, the pectin is ready to bottle. Otherwise, return it to the saucepan and boil to reduce then retest.

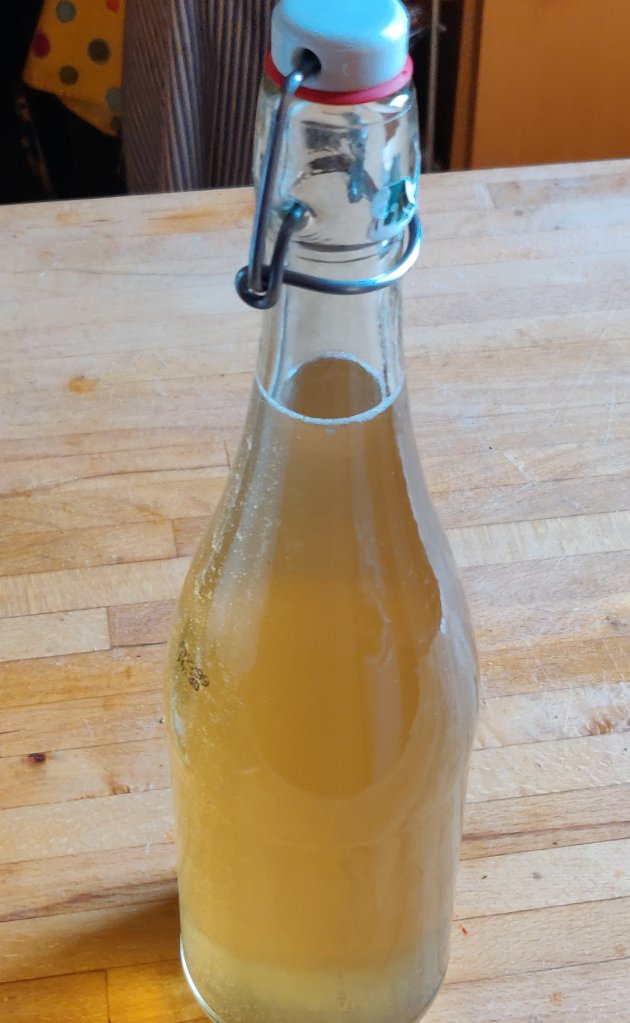
Bottle the pectin in a sterilised bottle, (use the microwave for the glass bottle, but boil the metal lid).

Once cooked, store in the fridge for up to 4 weeks. Can also be frozen in a plastic container.

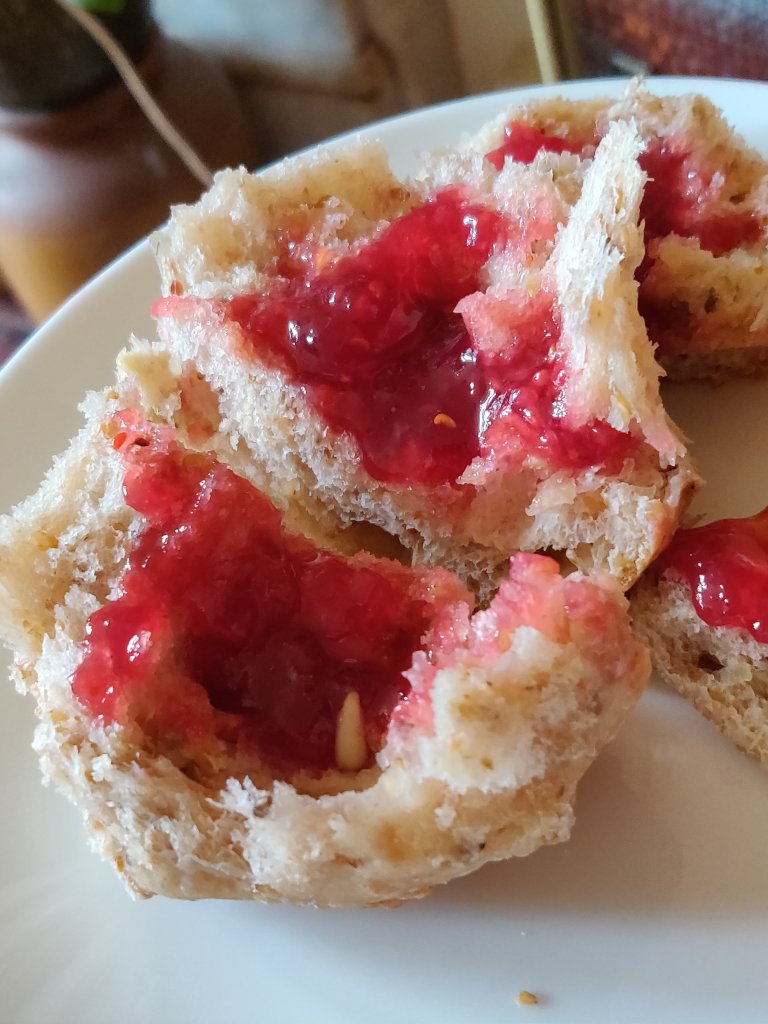
I use about a third to half a cup to 500g fruit when making soft fruit jam, but always test for the set before bottling jam.

Happy jam making.. 🙂

Preserving time is almost here

The warm spring and early summer has meant that everything’s cropping madly in the garden a bit early.

So to get a match on jam making I’m making a batch of pectin from the wind for apples. If you’ve made jam before you will know that pectin helps soft fruit jam set. I’ve made it before and then forgot about it as we didn’t have any windfalls  from our two apples trees worth speaking of, so I bought commercial pectin. However, after we moved here with lots of fruit trees and seeing all the wind falls and the piles of blackcurrants and mulberries saying, “make me into jam”,  reminded me that I can make my own.  Hence there is a large pot smelling very ‘appley’ bubbling on the stove right now.

Simmering windfall apples to make pectin for settng soft fruit jam

If you’ve never made your own pectin it’s very, very simple. You just chop up the little windfall apples into  chunks about two, two and a half centimeters size.  Core, peel, all goes in, then put them in a big saucepan and cover with water. Bring to the boil and simmer for about two hours, until mushy.  Then strain the whole lot through a muslin bag overnight or for about 6 hours. Give the muslin bag a good squeeze to get all the liquid out.

The liquid that you’ve strained out is the pectin and the apple pulp in the bag can be put in the compost bin. Return the pectin to the pan and reduce it until a bit thicker. There is a test with alcohol to check if it is strong enough, but I boil it with a little sugar and test the set as if it were jam and that has worked fine for me. I store the pectin in sterilised jam jars in the fridge and use within two or three weeks, but you can also freeze it, in which case it lasts about four to five months.

Just got to make all that jam now.

My best loaf yet…I hope

I’ve called this post ‘my best loaf yet… I hope’, because I haven’t sliced this sourdough loaf yet.

Sprinkled with a little stardust… Specially for the ‘ear’

Typically this was rather thrown together on a hot day day.and baked in a hurry, straight from the fridge, before I went out this morning. I used the same Sourly recipe as my last loaf, with 50g of the bread flour swapped for 50g Spelt. As I suspected I was allowing my shaped dough you over-prove, I put it straight in the fridge after shaping – without leaving it out for the 80 minutes that is suggested. I think in the winter it will probably need this, but the temperatures at the moment here in the UK are in the 30s so it works best without.

The starter is still my original one made from raisin-water yeast that I started in January 2020. I feed it with plain flour and occasionally with spelt or rye – just to give it a bit of a different flavour. I feed the starter with 100 g of flour and 100g of water to 100g of starter so I think this makes it 100% hydrated? Not sure.

As with my own recipe the bread dough comes out as about 70 – 72% hydrated after mixing. The main difference between the recipes is that Sourly’s uses 130g starter, and I was using 94g. I prefer using 130g as there is less starter to discard each time. Then it’s just a matter of less flour and less water to manorial the ‘baker’s percentage’. You can read more about the ‘baker’s perecentage’ in my post here.

Update – crumb is as good as the crust!

Open crumb loaf sourced open

Possibly my first sourdough ‘ear’

This is the first time I’ve got an ear on my sourdough loaf!

Flap of dough lifted up on a cooked sourdough loaf. Black sesame seed topping

The loaf was prepared using Sourly’s recipe which only really varies for my own in that it’s got honey in it but otherwise is about 70% hydration I think. This has always seemed to work normally ok for me.

I made a double quantity and a round and rectangular shape but was a bit disappointed in the round loaf. The dough just spread out and made out of blob not a nice boule shape. I’m sure it will taste nice it just looks a bit burnt to be honest. The boule was scored and then baked open on a baking stone – with steam – in the oven.

The rectangular was open cooked for 5 minutes, scored then covered in the cloche with a good water spray.

Sourdough boule with flax seed topping

I think my oven temperature is probably too high – it’s so hot today day maybe I could have done with the lower temperature?

I’ve come to the conclusion that my problem is that I over prove the dough. So although I retarded this in the fridge overnight I followed Sally’s suggestion to sit outside for 80 minutes before putting in the fridge. I think it was this in the hot weather that has caused yet another over- proof.

To be honest I used to get much nicer looking loads with a lower hydration somewhere between 60 and 65% but a nicer, holey crumb with the 72%. So more experimentation still needed on one day I might get it right.

Sourdough bread-baking update

I’ve purchased some new tools for my bread making. The first was a bread cloche (well my version of this). More recently I indulged in a bannetton basket with liner and a plasterer’s spatula. These are not only useful, but fun to use and experiment with. I’ve written a bit more about using these, and how they have aided my sourdough baking in my page Getting a Great Crust on Sourdough Bread.

If purchasing a plasterer’s spatula, make sure it has a stainless steel blade.

Still practising scoring…

Sourdough bake-fest

I’m going to a small garden-gathering, and taking some food along. Sourdough bread was the obvious choice, so I checked out some new recipes as I wanted to make baguettes and a rustic style Rye loaf.

I chose the baguette and Rye recipes from baking sense.com. These use a ‘levain’ to start the dough which I like to do if I have time

Sourdough Rye Bread

Years ago I bought 4 baguette trays at great expense, so these were going to come in useful. After discovering I’d run out of Rye flour, a quick dash to the local shop was needed. Breathless but successful I started to prep my starters.

I had already halved my 100% hydrated starter and increased my normal feeding schedule to make a starter that would allow 250g for the baguettes, and 100g left to carry on with. I used Rye to feed the other half to a total of 300g.

The baguette starter was ready before the Rye one, so I kneaded the dough but then left it in the fridge for 2 days. The Rye starter was ready the next day, but was ‘held’ in the fridge so that I could work the two doughs concurrently. On the third day – which was very warm, I made the Rye dough early in the morning, and left it to prove until the late afternoon. Meanwhile I removed the baguette dough from the fridge and let it warm to room temperature.

The four baguettes were shaped first, and set to prove whilst I shaped the Rye into two rustic cobs with caraway seeds on top.

The baguettes were ready to bake at 10pm and the Rye went into the oven directly after.

We ate one baguette because the smell was irresistible and it is deliciously tasty with a great chewy texture.

The the remaining baguettes and a Rye cob loaf

Water kefir experiment

Having found I had excess milk kefir grains I thought I’d see if they would convert to water grains. After a bit of reading up I decided to give it a try.

I put the excess grains (2 tbsp?) In a jar and added about 1.5 cups of tap water and 1/8 cup Demerara sugar, oh and a tiny pinch of salt. That seemed about right based on my reading.

I left them, with occasional swirls, for 4 days on the worktop. Then I drained the grains, re made the sugar solution and did it again, but for 3 days. And so it went on until it was down to 24 hours.

I started a second batch the day after, as the first ones went a weird brown colour. Both seem OK though.

The first, smaller jar had started to go cloudy, so I think I need a bigger jar and more solution.

I started the second, bigger jar of as flavoured ‘pop’. I strained the liquid from larger jar and put the same amount of cold ginger and lemon tea into a Grolsch bottle. It’s sitting fermenting right now. Hope it works. I tasted it before sealing the bottle and it was good but not bubbly.

Let’s hope it tastes good in a day or so!

Amazing raisin yeast – still active

The raisin yeast that I started off at the beginning of the UK lockdown in March is still bubbling! It has sat on the fridge with very sporadic periodic teaspoons of sugar added when I remember.

Today I used some commercial yeast to seed my Stollen dough starter, but it’s pretty un-bubbly. Maybe I am used to my active sourdough starter, but I’m unimpressed. So I am going to add some of the raisin yeast to give it some welly. Let’s see what happens!

Still bubbling after 9 months of mostly fridge-life

Well that was a success

Following on from yesterday’s post. The dough rose well, and I knocked out back and shaped it at about 11pm. For the first time with this sourdough I shaped it onto buns in a round silicone cake tray. Then it went, under a wet cloth and plastic, into the fridge overnight.

This morning the buns hadn’t proved quite enough, so I put the tray on too of the heating oven for 30 minutes to encourage the rise.

After baking the bin round looked amazing.

Once cooled I planned to make the tools up for a picnic, and splitting the round revealed a scrumptious centre.

The picnic rolls had pastrami and salad inside, but I opted for raspberry jam on mine!

The family say, “you can make this bread again!”, and I agree.