
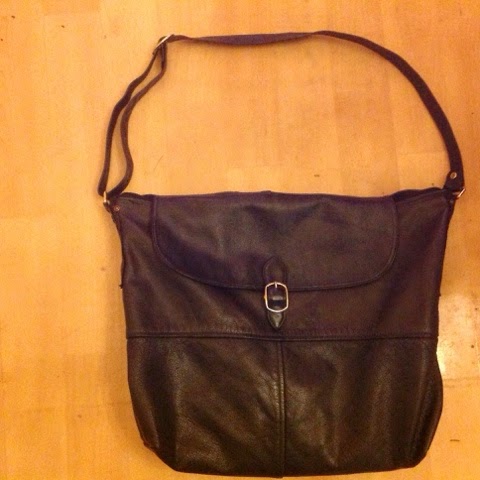
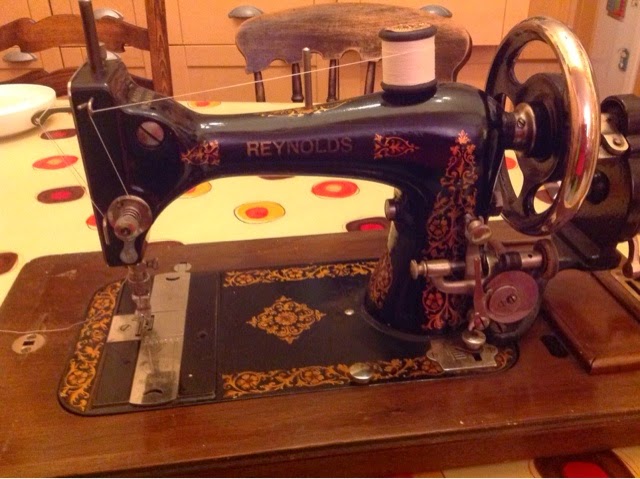
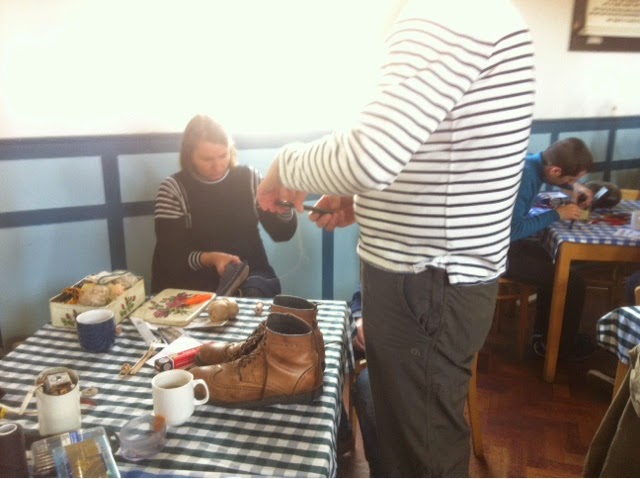
I am quite pleased with this cross-body messenger type bag I have made. It is a fusion of a really knackered and nasty men’s leather ‘donkey’ style jacket and a most unattractive leather bag, both bought in charity shops for £4.99 and £3.99 respectively. I revived the leather parts I wanted to use with a hefty dose of Dubbin and a renovating treatment in black, plus plenty of rubbing-in to soften it all. I sewed the leather and zips using a combination of a walking foot, roller foot and Teflon zipper foot, depending on the seam I was working on.
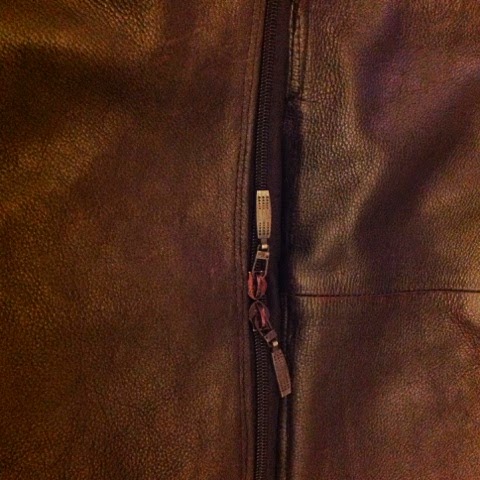
The flap and strap are from the handbag and the body is made from the jacket back. The off-cuts were useful for straps and edgings on other projects. I carefully prised the magnetic fastening off the old handbag and re-mounted it on the ‘new’ front, and reused the metal strap fittings. I added some rivets to strengthen the strap mounting (they had been in my work-box since the 1980s judging by the packaging). The double puller top zipper was salvaged from a broken sports bag, and the internal one came from my horde of zips un-picked from clothing that is worn past wearing.
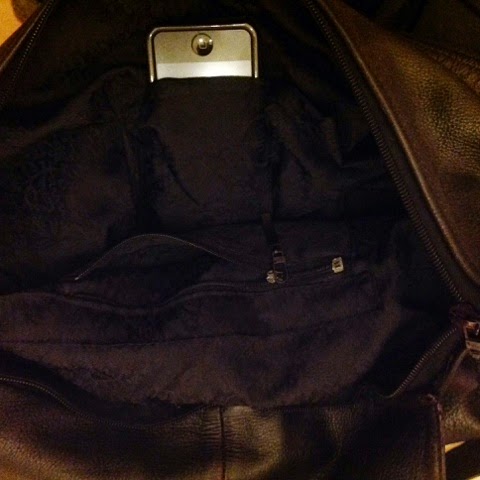
I then added a new lining in a polyester dark navy brocade which I had bought from Fabricland a number of years ago (not originally an expensive fabric). I including a phone pocket and zipped inner pocket to organise the interior. The brocade was from my fabric pile – so yes, not recycled!
I also purchased three new zip-pullers, which cost £8.97 but give the bag a professional finish.
One last treatment to cover the effects of working on the leather, and the darken open edges, and it looks good, even though I say so myself.
So taking the coat, bag, lining and zip pullers, my lovely new recycled/upcycled leather messenger bag cost me around £20.


